Home>Garden Essentials>How To Transfer Germinated Seeds To Soil
Garden Essentials
How To Transfer Germinated Seeds To Soil
Modified: March 16, 2024
Learn how to transfer germinated seeds to soil in your garden. Find out the best methods and tips to ensure successful plant growth.
(Many of the links in this article redirect to a specific reviewed product. Your purchase of these products through affiliate links helps to generate commission for Storables.com, at no extra cost. Learn more)
Introduction
Gardening is a rewarding and fulfilling hobby, allowing us to connect with nature and witness the beauty of plant growth firsthand. One of the most exciting stages in gardening is when seeds germinate and sprout into tiny seedlings, ready to be transferred to the soil. This critical step sets the foundation for healthy plant growth and eventual success in your garden.
In this article, we will guide you through the process of transferring germinated seeds to soil. We will cover the necessary steps, from preparing the soil to caring for the transplanted seedlings. Additionally, we will provide troubleshooting tips for common issues that may arise during this process.
So, let’s roll up our sleeves and get ready to delve into the world of transferring germinated seeds to soil!
Key Takeaways:
- Prepare the soil by choosing the right location, clearing debris, and adding organic matter. This sets the stage for healthy plant growth and provides a stable foundation for the seedlings.
- Handle the seedlings gently when transferring them to the soil, ensuring the roots remain intact. Provide proper care by watering, mulching, and monitoring for pests and diseases to help the seedlings thrive.
Read more: How To Plant Germinated Seeds In Soil
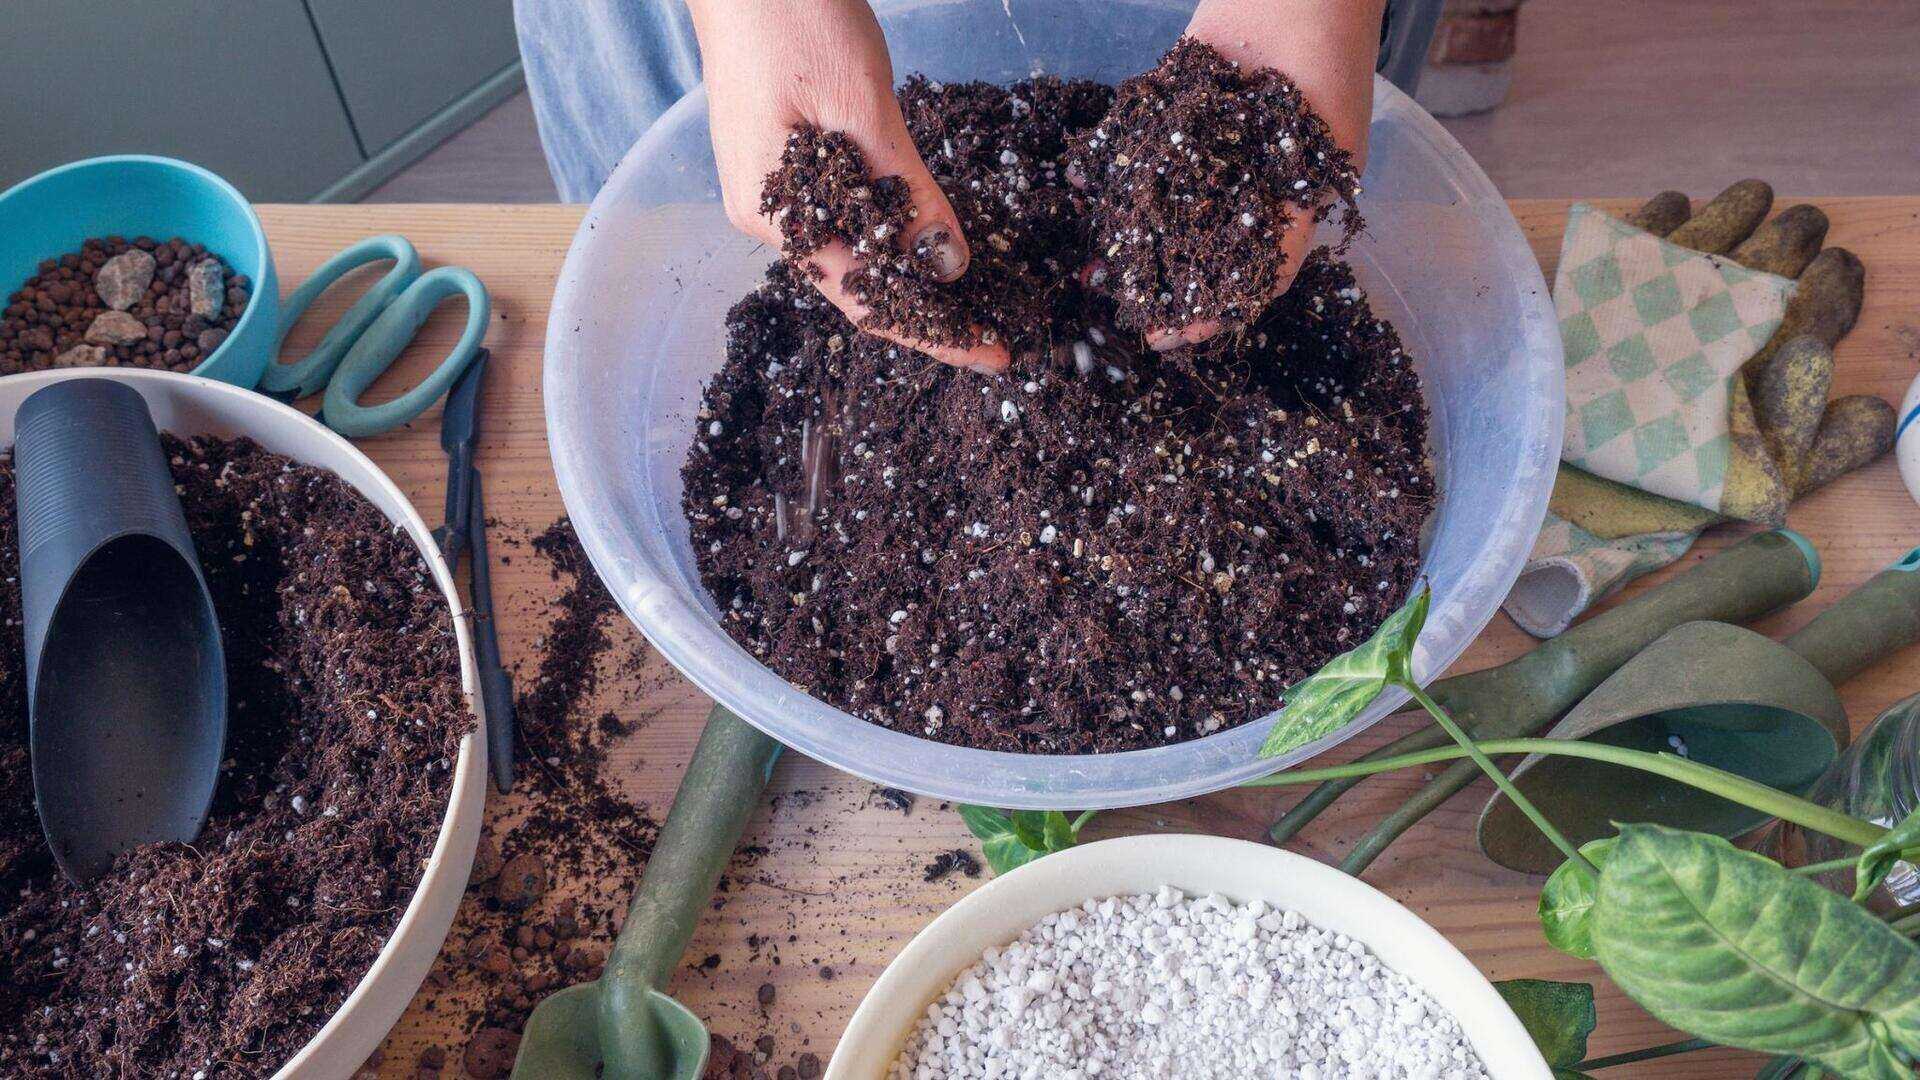
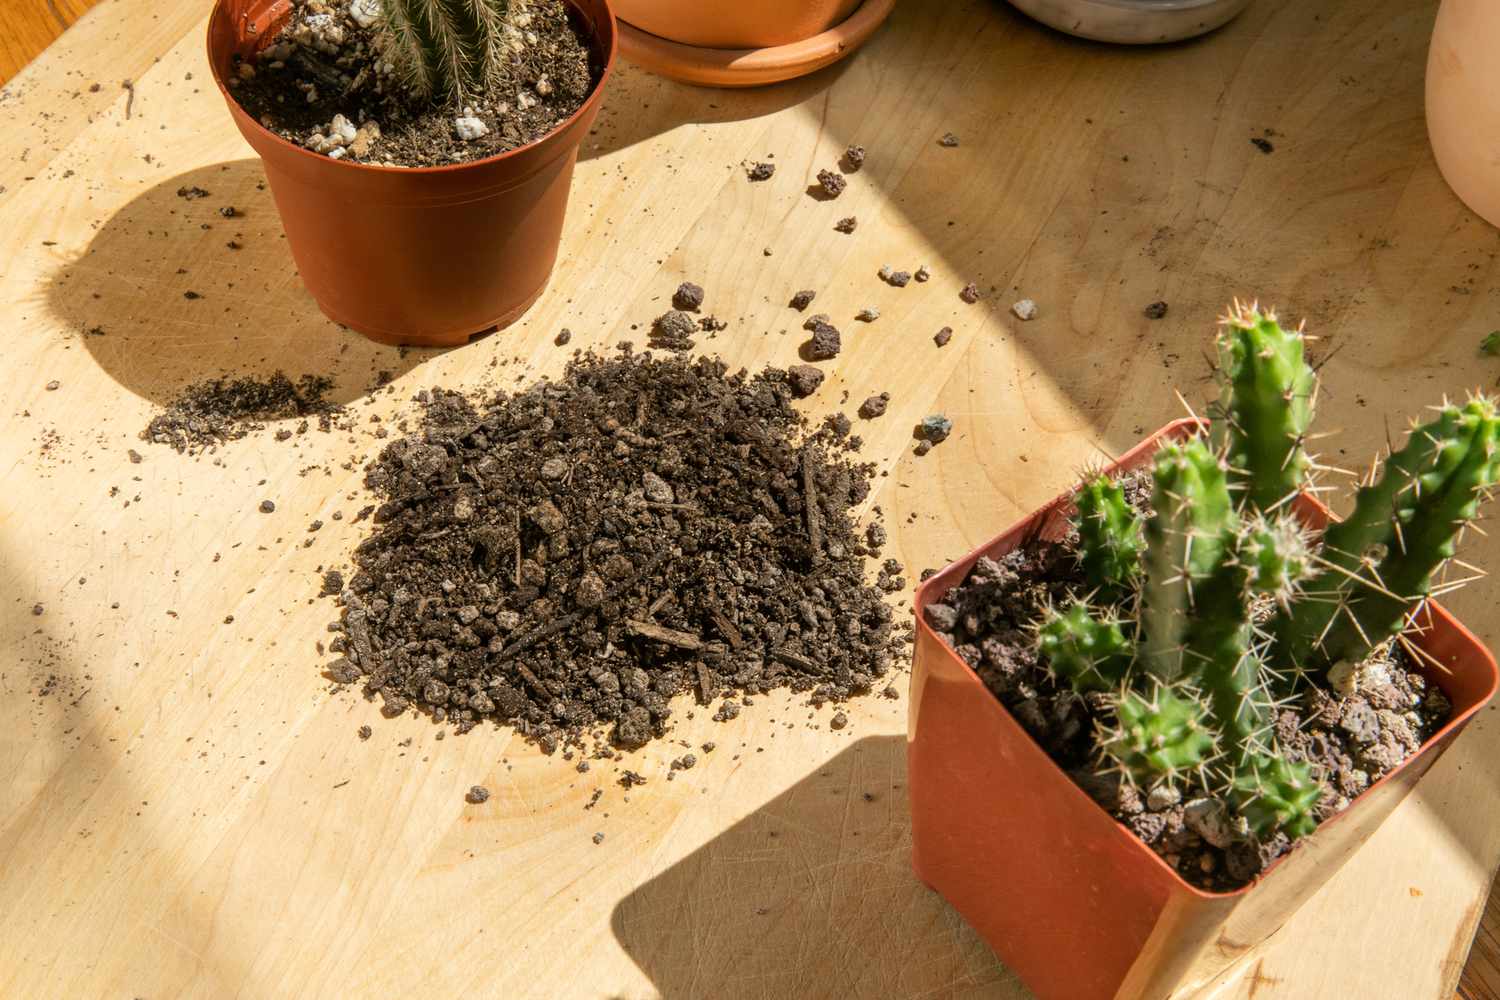
Step 1: Preparing the soil
Before transferring germinated seeds to the soil, it’s essential to ensure that the growing medium is fertile, well-draining, and nutrient-rich. By preparing the soil properly, you provide the ideal environment for seedlings to establish strong root systems and thrive.
1. Choose the right location: Select a spot in your garden that receives adequate sunlight for the specific type of plant you are growing. Most vegetables and flowers require at least 6-8 hours of direct sunlight per day.
2. Clear the area: Remove any weeds, rocks, or debris from the soil. These can obstruct root growth and compete for nutrients with your seedlings.
3. Loosen the soil: Use a garden fork or shovel to loosen the soil to a depth of 8-10 inches. This improves aeration and allows the roots to penetrate the soil easily.
4. Amend the soil: Add organic matter such as compost, well-rotted manure, or peat moss to enrich the soil. These amendments improve soil structure, water retention, and nutrient availability.
5. Test the soil: Consider conducting a soil test to determine its nutrient composition and pH levels. This will help you identify any deficiencies or imbalances and allow you to adjust the soil accordingly.
6. Adjust soil pH if necessary: Most plants prefer a slightly acidic to neutral pH range. If your soil is too acidic or alkaline, you can amend it by adding lime to raise the pH or sulfur to lower it.
7. Level and firm the soil: Smooth the soil surface with a rake and gently firm it down with the backside of a garden rake or your hands. This provides a stable foundation for the seedlings.
By following these steps, you will create an optimal growing environment for your transplanted seedlings, ensuring they have the best start for healthy growth and development.
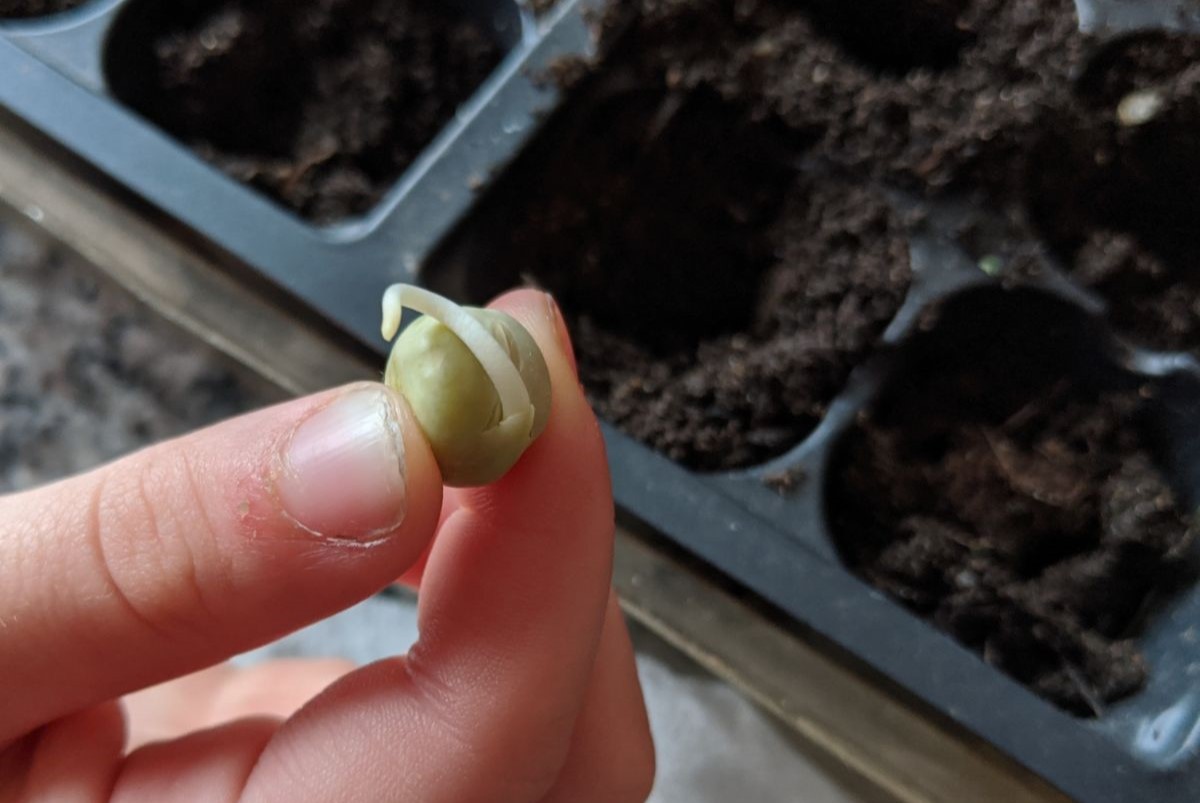
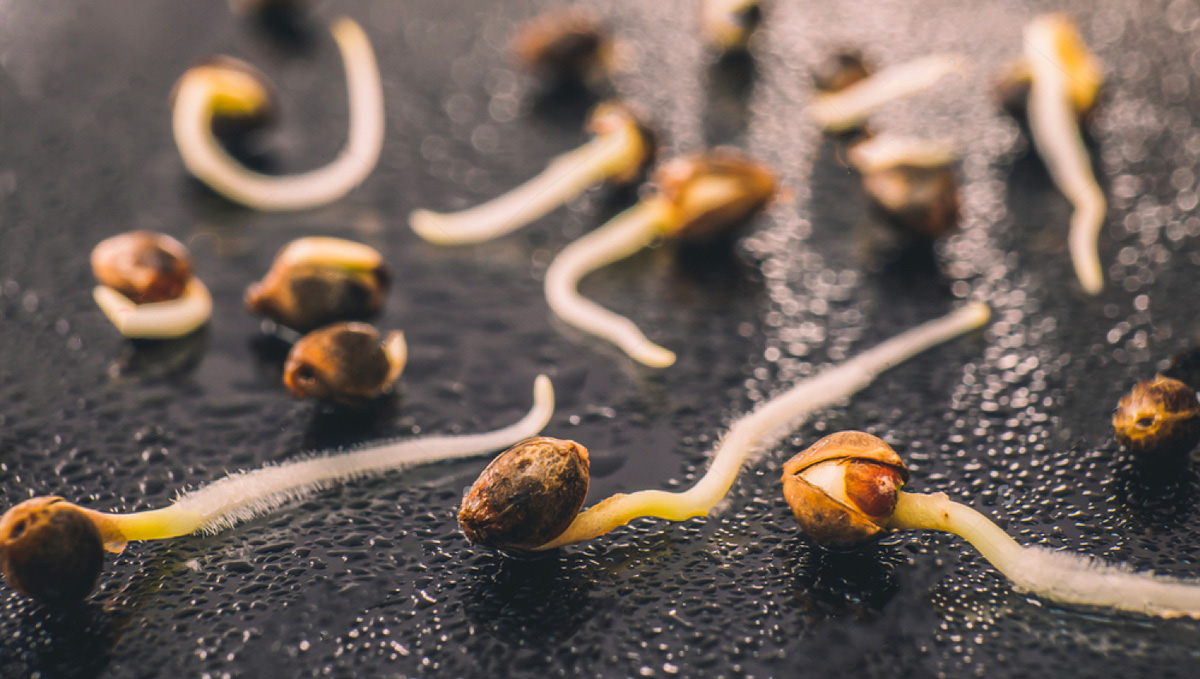
Step 2: Transferring the germinated seeds to soil
Now that you’ve prepared the soil, it’s time to transfer your germinated seeds to their new home. This delicate process requires care and attention to minimize damage to the delicate seedlings and promote successful establishment.
1. Prepare the planting holes: Dig small holes or create furrows in the prepared soil with a trowel or your fingers. The size of the holes should be deep enough to accommodate the root system of the seedling without crowding or bending.
2. Handle the seedlings gently: Take care when handling the seedlings to avoid damaging the delicate stems and leaves. Hold them by the leaves rather than gripping the stems, as the stem can be easily injured.
3. Transplant with care: While transferring the seedlings from their germination containers to the soil, make sure to keep the roots intact. Avoid pulling or tugging on the plant as this can cause damage. Instead, use a small spoon or your fingers to carefully lift the seedling from the container.
4. Place the seedlings in the planting holes: Carefully lower each seedling into the planting hole, ensuring that the root system is fully submerged in the soil. Gently fill in the hole around the roots, firming the soil gently to eliminate any air pockets.
5. Space the seedlings appropriately: Provide enough space between the transplanted seedlings to allow for proper air circulation and growth. The spacing requirements vary for different plants, so refer to the seed packet or plant label for guidance.
6. Water immediately: After transplanting the seedlings, water the soil thoroughly to settle it around the roots and provide necessary moisture. Use a gentle stream of water to minimize the risk of dislodging the newly transplanted seedlings.
7. Label the transplanted seedlings: It’s crucial to label your transplanted seedlings to keep track of their variety and planting date. This will help you monitor their growth and provide the appropriate care as they develop.
By following these steps, you can ensure a smooth and successful transfer of your germinated seeds to the soil. The seedlings will have a better chance of adapting to their new environment and continue to thrive towards maturity.
When transferring germinated seeds to soil, make sure to handle the delicate roots carefully to avoid damage. Plant the seedling at the same depth it was in the germination medium and water gently to help it establish in the soil.
Step 3: Caring for the transplanted seedlings
After transferring your germinated seeds to the soil, it’s important to provide proper care and attention to help the seedlings thrive and grow into healthy plants. Here are some essential tips for caring for transplanted seedlings:
1. Water regularly: Keep the soil consistently moist, but avoid overwatering, which can lead to root rot. Water the seedlings deeply, ensuring that the water reaches the root zone. Check the moisture level regularly and adjust your watering schedule accordingly.
2. Mulch around the seedlings: Apply a layer of organic mulch, such as straw or wood chips, around the base of the seedlings. Mulching helps conserve moisture, suppresses weed growth, and regulates soil temperature, promoting healthy growth.
3. Provide adequate sunlight: Ensure that the transplanted seedlings receive the appropriate amount of sunlight based on their specific requirements. If necessary, provide shade during the hottest part of the day to prevent stress or sunburn. Monitor the seedlings for any signs of light deficiency or excess.
4. Fertilize as needed: Depending on the nutrient needs of your plants, apply a balanced organic fertilizer or compost to provide essential nutrients. Follow the recommended guidelines for fertilization and avoid over-fertilizing, as this can lead to nutrient burn or stunted growth.
5. Protect from pests and diseases: Monitor the seedlings regularly for any signs of pest infestation or disease. Apply organic pest control methods and take preventive measures like companion planting and maintaining good garden hygiene to minimize the risk.
6. Stake or support taller plants: If you are growing taller plants, such as tomatoes or beans, stake or provide appropriate support to prevent them from bending or breaking under their weight. This helps maintain an upright growth and prevents damage to the stems.
7. Monitor and adjust: Observe the growth and overall health of the transplanted seedlings on a regular basis. Make adjustments to their care regimen if needed, such as adjusting watering frequency, providing additional support, or addressing any signs of nutrient deficiency or stress.
By providing proper care and attention, you will help the transplanted seedlings establish themselves in the soil and encourage healthy growth and development. Paying attention to their needs will set the stage for a successful and bountiful garden.
Step 4: Troubleshooting common issues
Transferring germinated seeds to soil can sometimes come with challenges. Here are some common issues you may encounter during this process and tips for troubleshooting:
1. Transplant shock: Seedlings may experience transplant shock, where they appear wilted or undergo temporary growth stalling after being moved. To minimize transplant shock, ensure that the seedlings are well-hydrated before transplanting, handle them gently, and provide adequate water and shelter from extreme weather conditions.
2. Root damage: The delicate roots of seedlings can be easily damaged during transplanting. To avoid this, handle the seedlings with care, keeping the root system intact. If any roots are damaged or torn, trim them with clean pruning shears before planting.
3. Overcrowding: Planting seedlings too close together can lead to competition for nutrients, sunlight, and airflow. Be sure to follow recommended spacing guidelines for the specific plant variety you are growing. If overcrowding occurs, thin out excess seedlings to provide enough room for healthy growth.
4. Damping-off disease: Damping-off is a common fungal disease that affects young seedlings, causing them to wilt and eventually die. To prevent damping-off, ensure good air circulation, avoid overwatering, and use sterile potting soil or soilless mix for starting your seeds.
5. Nutrient deficiencies: Transplanted seedlings may sometimes exhibit signs of nutrient deficiencies, such as yellowing leaves or stunted growth. Address nutrient deficiencies by adjusting the pH of the soil, providing organic fertilizers, or using nutrient-rich supplements like compost or fish emulsion.
6. Pest infestation: Seedlings are vulnerable to pest attacks, such as aphids, slugs, or caterpillars. Monitor your seedlings regularly and take appropriate measures to control pests, such as using organic insecticidal soaps, introducing beneficial insects, or employing physical barriers.
7. Environmental stress: Changes in temperature, light, or moisture levels can stress transplanted seedlings. Provide shade during hot afternoons, shield from cold drafts, and gradually acclimate seedlings to outdoor conditions before transplanting to prevent stress and encourage successful adaptation.
Remember that each garden and plant variety is unique, and the specific challenges you face may vary. Stay observant and attentive to the needs of your transplanted seedlings, making adjustments as necessary to ensure their success.
Read more: What Soil Temperature Do Weeds Germinate
Conclusion
Transferring germinated seeds to the soil is a crucial step in the gardening process, setting the stage for healthy plant growth and a bountiful harvest. By following the steps outlined in this guide, you can ensure a successful transition for your seedlings.
Start by preparing the soil, creating a fertile and well-draining environment for the seedlings to thrive. Take care when transferring the seedlings to the soil, handling them gently and ensuring that their root systems remain intact.
Once the seedlings are in the soil, provide them with the care they need to flourish. Water them regularly, mulch around them to conserve moisture, and provide adequate sunlight and nutrients. Monitor for pests and diseases, and address any issues promptly to ensure the health and vitality of your plants.
Throughout the process, be prepared to troubleshoot common issues that may arise, such as transplant shock, root damage, or nutrient deficiencies. By staying vigilant and taking appropriate measures, you can overcome these challenges and help your seedlings thrive.
Remember, gardening is a journey that requires patience and continuous learning. Each success and setback provides valuable insights that will help you become a better gardener. Embrace the joy of watching your transplanted seedlings grow, and enjoy the rewards of your hard work as they mature into beautiful plants.
So, roll up your sleeves, get your hands dirty, and let the magic of growing plants from germinated seeds fill your garden with life and beauty!
Frequently Asked Questions about How To Transfer Germinated Seeds To Soil
Was this page helpful?
At Storables.com, we guarantee accurate and reliable information. Our content, validated by Expert Board Contributors, is crafted following stringent Editorial Policies. We're committed to providing you with well-researched, expert-backed insights for all your informational needs.


0 thoughts on “How To Transfer Germinated Seeds To Soil”