Home>Garden Essentials>How To Start Sage Seeds
Garden Essentials
How To Start Sage Seeds
Modified: April 28, 2024
Learn how to start sage seeds in your garden with this easy step-by-step guide. Grow your own sage plants and enjoy fresh herbs all year round.
(Many of the links in this article redirect to a specific reviewed product. Your purchase of these products through affiliate links helps to generate commission for Storables.com, at no extra cost. Learn more)
Introduction
Welcome to the world of gardening, where nature’s beauty meets human creativity. If you’re looking to add a touch of elegance and a burst of flavor to your garden, growing sage from seeds is a wonderful choice. Sage, with its aromatic leaves and colorful flowers, is not only a beautiful addition to any garden but also a versatile herb that can be used in a variety of culinary and medicinal applications.
In this comprehensive guide, we will walk you through the process of starting sage seeds, from understanding the basics to troubleshooting common issues. Whether you’re a seasoned gardener or a beginner with a green thumb, this article will provide you with all the information you need to successfully grow sage from seeds and enjoy a bountiful harvest.
Before we dive into the details, it’s important to note that starting sage seeds requires a commitment of time, patience, and care. However, the rewards are well worth the effort. Imagine having a fresh supply of sage at your fingertips whenever you need it, whether it’s for culinary delights or herbal remedies.
So let’s roll up our sleeves, put on our gardening gloves, and embark on this exciting journey of starting sage seeds!
Key Takeaways:
- Starting sage seeds requires patience, warmth, and well-drained soil. With the right care, you can enjoy a bountiful harvest of aromatic and flavorful sage leaves for years to come.
- Proper watering, occasional fertilization, and regular pruning are essential for healthy sage plants. Harvest the leaves just before flowering for the best flavor, and enjoy using them in a variety of dishes!
Read more: When To Plant Sage Seeds
Understanding Sage Seeds
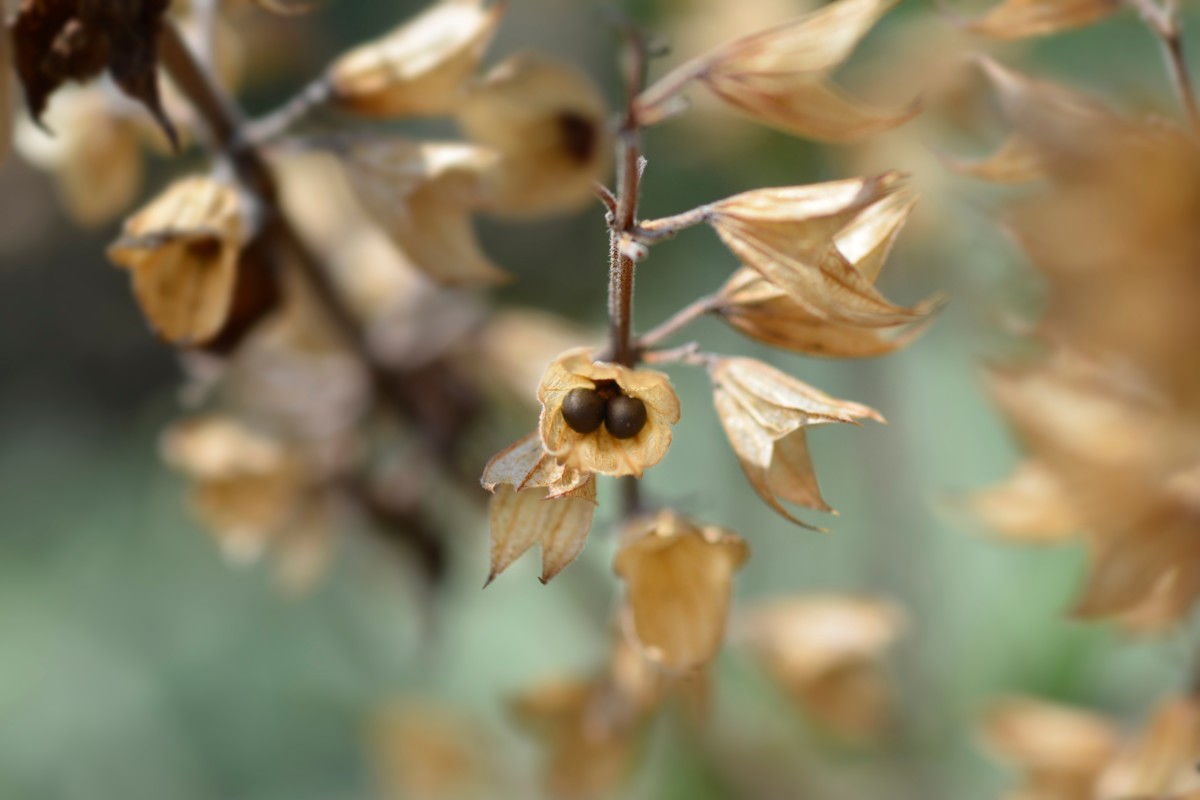
Before we start planting sage seeds, it’s important to have a good understanding of what they are and how they behave. Sage seeds, also known as Salvia officinalis, are tiny, brownish-black seeds that come from the sage plant. They have a hard outer shell that protects the embryo inside.
When it comes to germination, sage seeds can be a bit slow to sprout. It typically takes anywhere from 10 to 21 days for the seeds to germinate, so patience is key. It’s also worth noting that sage seeds have a higher germination rate when fresh, so it’s advisable to use seeds that are no more than a year old.
Another important aspect to consider is the viability of the seeds. Seeds that have been stored in optimal conditions, such as a cool and dry place, have a higher chance of germinating successfully. However, if your sage seeds are not germinating, it could be due to their age or improper storage.
Sage seeds thrive in full sun and well-drained soil. They are known to be drought-tolerant and can withstand dry conditions. However, it’s important to water the seeds regularly during germination to ensure that the soil stays moist but not soaked.
Lastly, it’s worth mentioning that sage is a perennial herb, meaning it can continue to grow and produce leaves year after year. So, by starting sage seeds, you’ll be creating a long-term investment in your garden that will yield results for years to come.
Now that we have a good understanding of sage seeds, it’s time to move on to the next step – choosing the right environment for successful sage seed germination.
Choosing the Right Environment
Creating the ideal environment for sage seed germination is crucial to ensure successful growth. Sage plants thrive in warm, sunny conditions, so it’s important to choose a location that receives at least 6-8 hours of direct sunlight per day.
When selecting a spot in your garden, make sure the soil is well-drained and has good fertility. Sage prefers soil with a pH between 6.0 and 7.0, which is slightly acidic to neutral. You can easily test the pH level of your soil using a soil testing kit available at garden centers or through online retailers.
If your soil is clayey or heavy, consider amending it with organic matter such as compost or well-rotted manure to improve drainage and aeration. This will help prevent waterlogged soil, which can lead to root rot and other plant diseases.
In addition to soil conditions, you should also consider the climate in your region. Sage is a hardy plant that can tolerate a wide range of temperatures, but it thrives in areas with moderate climates. If you live in a region with extreme heat or cold, you may need to provide some protection or adjust your planting schedule accordingly.
If you’re limited on space or have poor soil conditions, you can also grow sage in containers. This allows you to control the soil quality and easily move the plants to optimize sunlight exposure.
Now that you have chosen the right environment for your sage plants, it’s time to prepare the soil to create a nourishing bed for your seeds.
Preparing the Soil
Preparing the soil before planting sage seeds is essential for providing the plants with the nutrients they need to thrive. Here are some steps to follow:
- Clear the area: Begin by clearing the area of any weeds, rocks, or debris. You want to create a clean and tidy space for your sage plants to grow.
- Loosen the soil: Use a garden fork or a tiller to loosen the soil to a depth of about 8-10 inches. This helps improve drainage and allows the roots to penetrate the soil easily.
- Amend the soil: If your soil is lacking in organic matter or essential nutrients, consider adding compost, well-rotted manure, or a balanced organic fertilizer to enrich the soil. Work the amendments into the top few inches of soil using a rake or garden fork.
- Level the soil: Smooth out the soil surface with a rake to create a level bed for planting your sage seeds. This ensures that the seeds are evenly distributed and have a consistent growing environment.
By following these steps, you’ll create a fertile and well-prepared soil bed that promotes healthy root development and optimum growth for your sage plants.
Now that the soil is prepared, it’s time to sow the sage seeds and start your gardening journey.
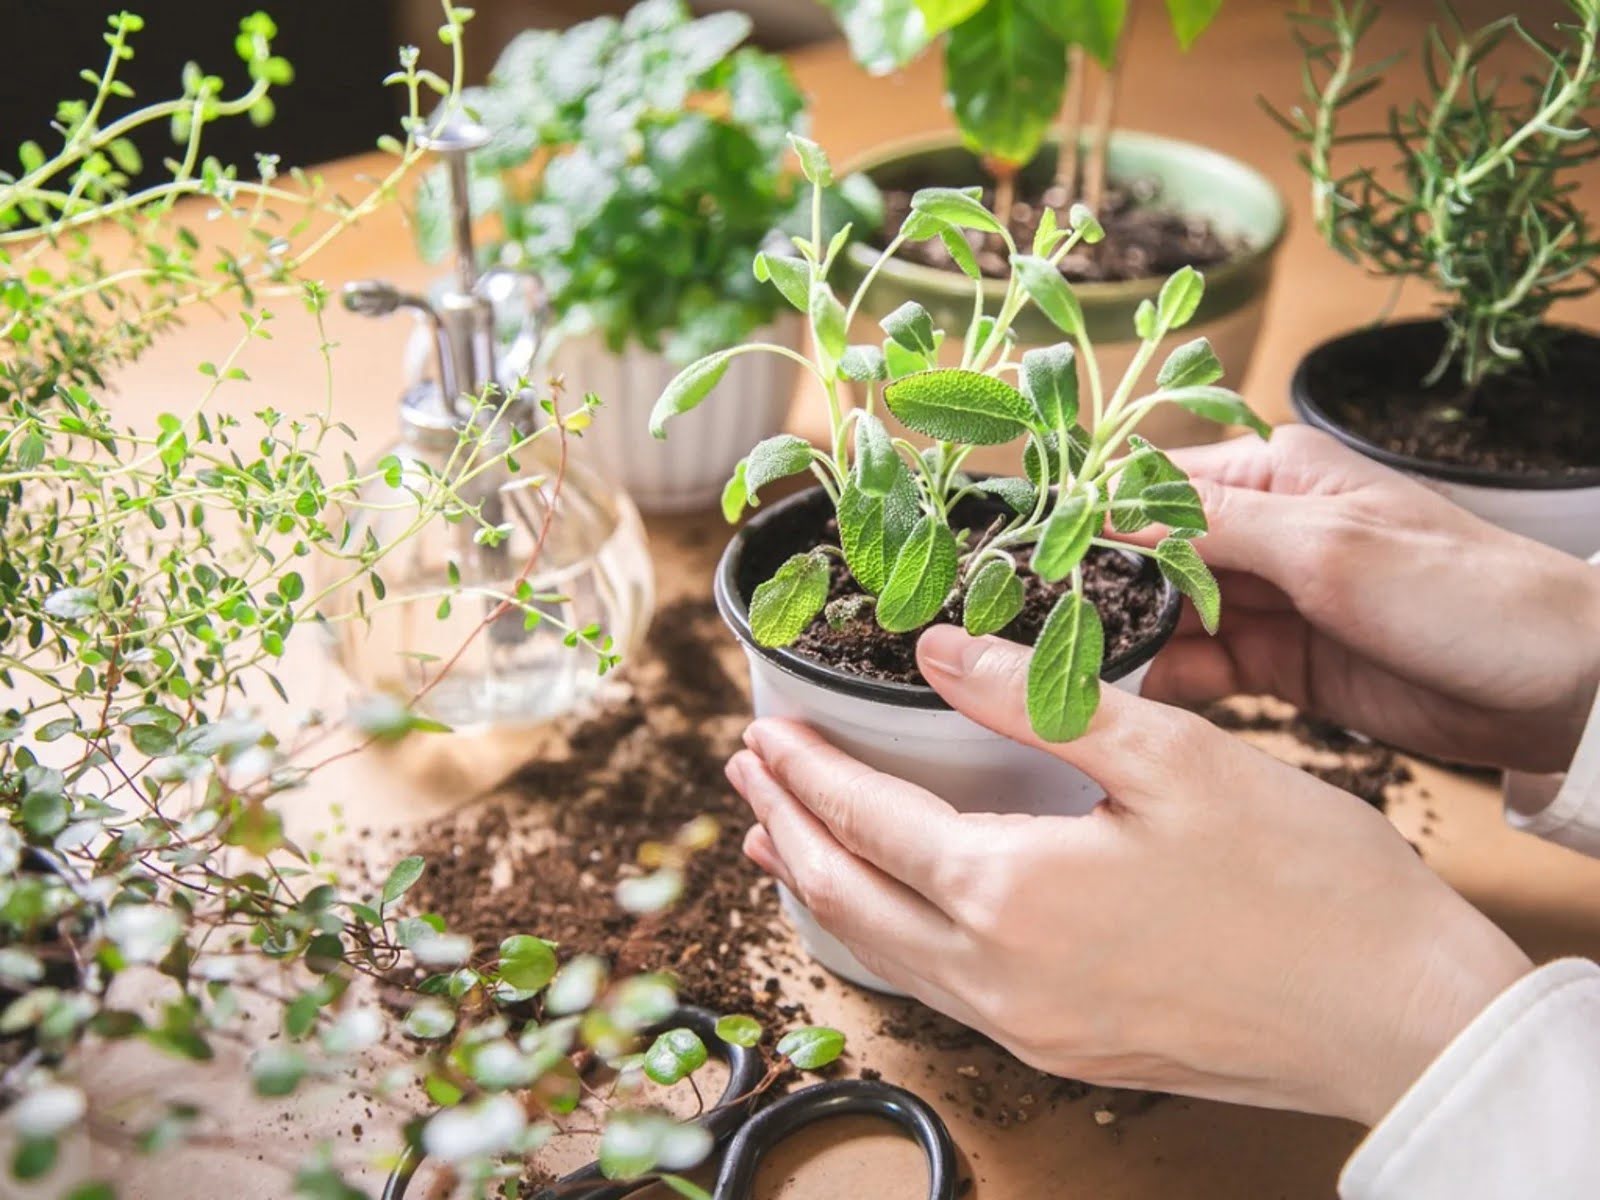
Planting Sage Seeds
Planting sage seeds is an exciting step in the process of growing this versatile herb. Here are the steps to follow:
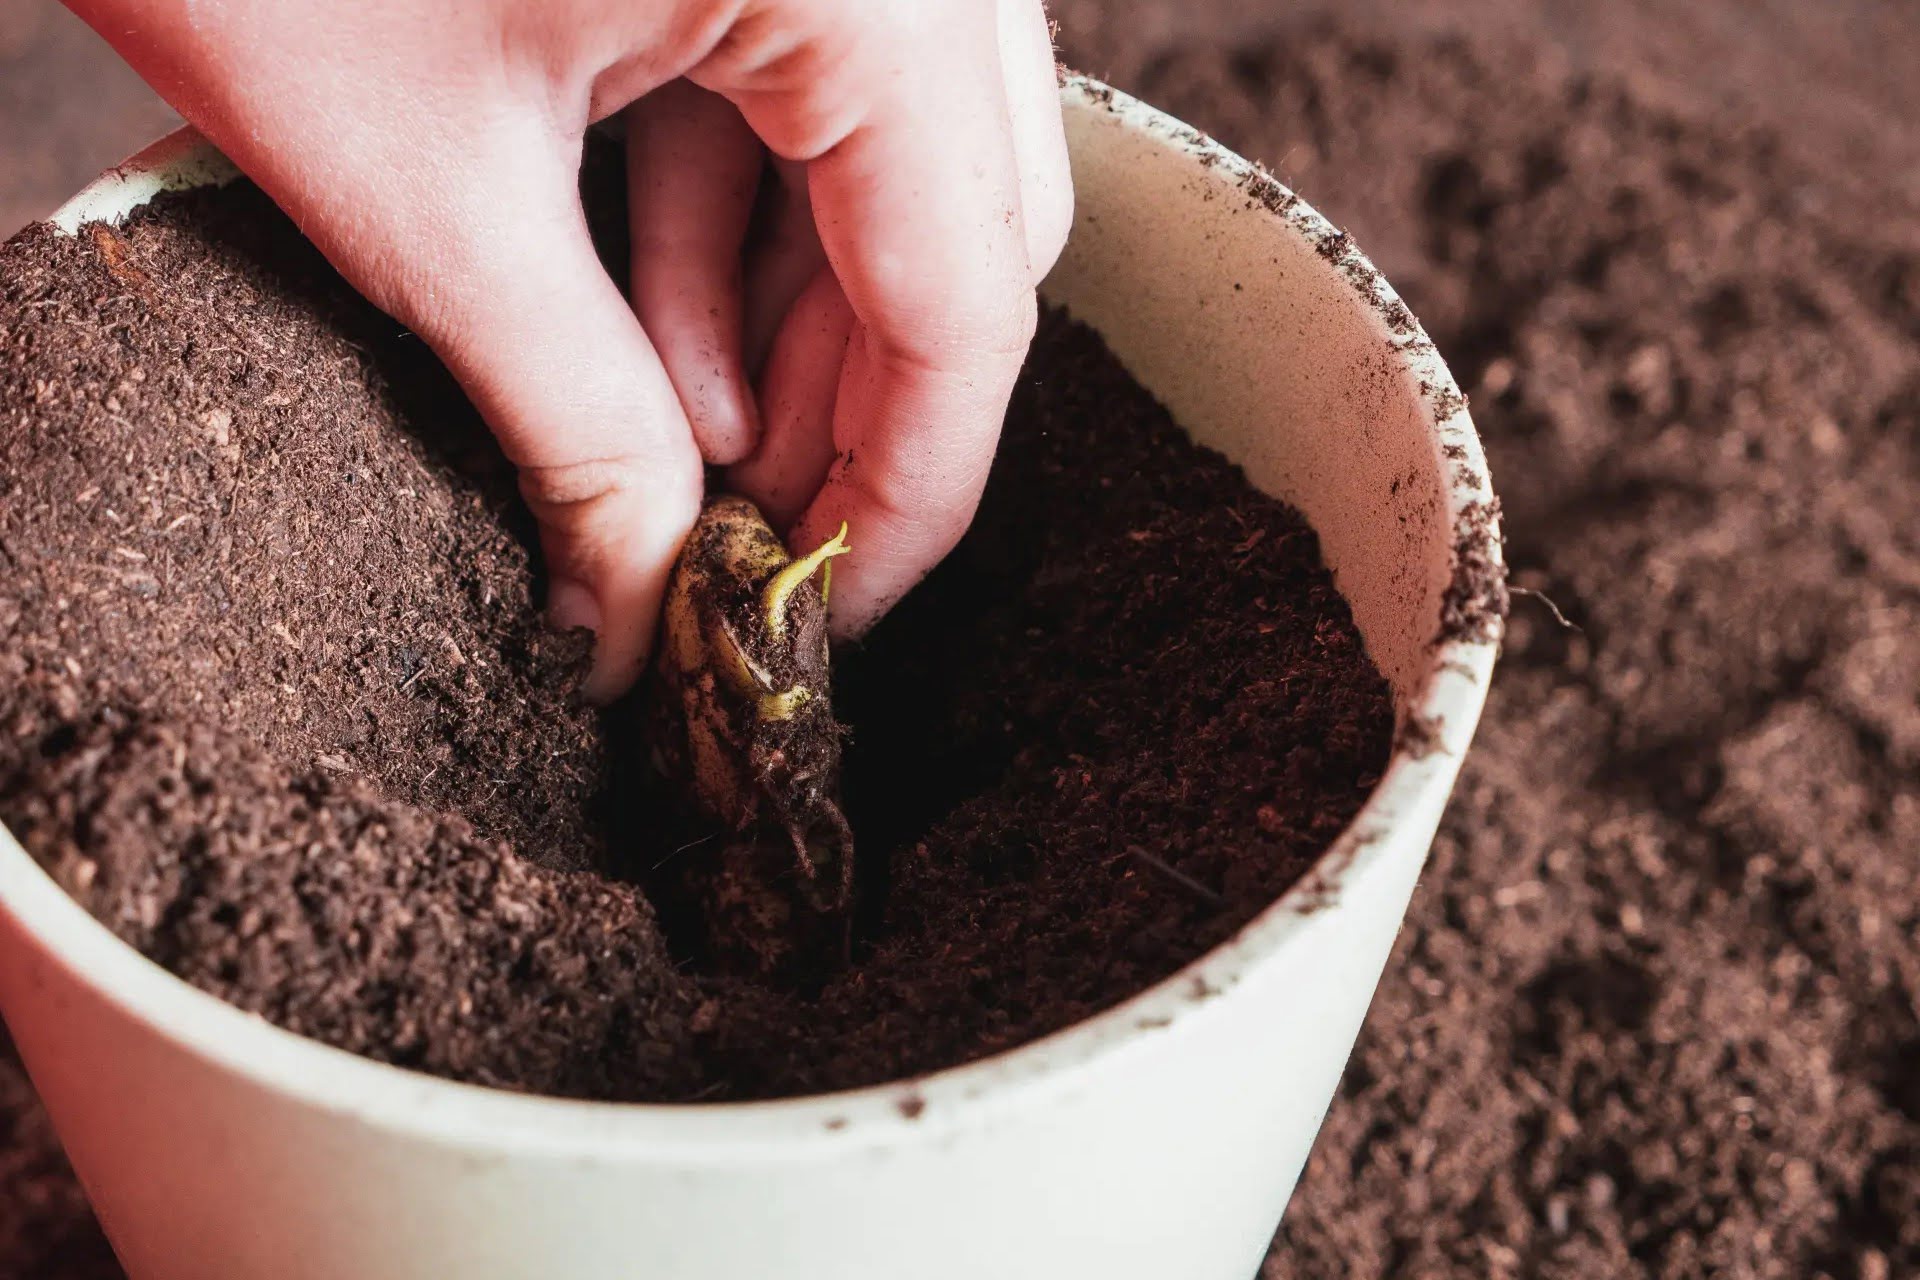
- Sowing seeds: Start by creating shallow furrows in the prepared soil, about 1/4 inch deep. Space the furrows at least 12-18 inches apart to allow room for the sage plants to grow. Alternatively, you can sow the seeds in individual seed-starting pots filled with seed-starting mix.
- Planting the seeds: Place the sage seeds along the furrows, spacing them about 1-2 inches apart. Gently cover the seeds with a thin layer of soil or seed-starting mix, ensuring they are adequately covered but not buried too deeply.
- Watering: After planting the seeds, give them a gentle dose of water to moisten the soil. Be careful not to overwater, as excessive moisture can lead to seed rot. Maintain the soil moisture by lightly watering as needed during the germination period.
- Labeling: To keep track of your sage plants, it’s a good practice to label the rows or seed-starting pots. This will help you identify the sage plants as they sprout and grow.
- Providing warmth: Sage seeds germinate best in warm conditions. To facilitate germination, you can use a seedling heat mat or a propagator to provide bottom heat. This helps to maintain a consistent temperature, enhancing germination success.
Remember to keep a watchful eye on your sage seeds as they germinate and sprout. It may take anywhere from 10 to 21 days for the seeds to germinate and for the tiny seedlings to emerge.
Once the sage seeds have sprouted, it’s time to provide them with proper care to ensure healthy growth. Let’s move on to the next section on watering and care for your sage plants.
Sage seeds can be started indoors 6-8 weeks before the last frost. Plant the seeds in well-draining soil, keep them moist, and place them in a sunny spot. Once the seedlings have grown a few inches tall, they can be transplanted outdoors.
Read more: How To Grow Sage From Seed
Watering and Care
Proper watering and care are crucial for the healthy development of sage plants. Here are some guidelines to follow:
- Watering: Sage plants prefer moderate watering. It’s important to keep the soil evenly moist, but avoid overwatering, as sage is susceptible to root rot. Allow the top layer of soil to dry out slightly between watering sessions. During hot and dry periods, you may need to water more frequently.
- Fertilizing: Sage plants are not heavy feeders, but you can provide them with a boost of nutrients by applying a balanced organic fertilizer in the early spring. Follow the instructions on the fertilizer packaging for proper application rates. Avoid over-fertilization, as it can lead to excessive foliage growth with reduced flavor.
- Pruning: Regular pruning helps promote bushier growth and prevents the plants from becoming straggly. After the plants are established, you can trim the stems by one-third to encourage branching. Harvesting sage leaves regularly also keeps the plant in shape and ensures a continuous supply of fresh leaves.
- Weeding: Keep the area around your sage plants free from weeds. Weeds can compete for nutrients and moisture, which can hinder the growth of your sage plants. Regularly inspect and remove any weeds that appear.
- Pest and disease control: Sage plants are relatively resistant to pests and diseases, especially due to their aromatic nature. However, keep an eye out for common garden pests such as aphids or spider mites. If needed, you can use organic insecticidal soap or neem oil spray to control infestations.
By providing proper watering, occasional fertilization, regular pruning, and keeping an eye on pests and diseases, you can ensure that your sage plants remain healthy and productive.
Next, let’s discuss the exciting part – harvesting sage and enjoying its delightful flavors.
Harvesting Sage
Harvesting sage is a rewarding experience as it allows you to enjoy the aromatic and flavorful leaves in your culinary creations. Here’s what you need to know about harvesting sage:
- Timing: Sage leaves are at their peak flavor just before the plant flowers. It’s best to harvest the leaves in the morning after the dew has dried, as the oils responsible for the fragrance and taste will be the most concentrated.
- Leaf selection: Select healthy, mature leaves for harvesting. Look for leaves that are firm, vibrant, and free from disease or damage. Avoid harvesting more than a third of the plant’s foliage at once to ensure healthy growth.
- Harvesting technique: To harvest sage leaves, use a pair of sharp garden scissors or pruners. Cut the stems just above a node or leaf joint to encourage new growth. You can harvest individual leaves or cut entire stems, depending on how you plan to use them.
- Drying sage: Sage leaves can be used fresh or dried for later use. To dry sage, tie a bundle of stems together and hang it upside down in a warm, well-ventilated area. Once the leaves are fully dry, remove them from the stems and store them in an airtight container away from direct sunlight.
- Using harvested sage: Sage leaves can be used in a variety of dishes, including roasted meats, stuffing, soups, and sauces. The leaves can be added whole, chopped, or infused into oils and vinegars to enhance the flavor profile of your dishes. Experiment with different recipes to discover the versatility of sage in your kitchen.
By harvesting sage leaves properly, you can enjoy the rich aroma and distinct flavor that this herb brings to your culinary endeavors.
Now, let’s move on to the next section where we discuss common issues that may arise when growing sage from seeds and how to troubleshoot them.
Troubleshooting Common Issues
While growing sage from seeds is generally a straightforward process, there are a few common issues that you may encounter. Here are some troubleshooting tips to help you overcome these challenges:
- Poor germination: If your sage seeds are not germinating, it could be due to several factors. Ensure that the seeds are fresh and have been stored properly. Also, check the soil temperature, as sage seeds require warmth for germination. If necessary, use a seedling heat mat to provide the optimal temperature range.
- Damping off: Damping off is a fungal disease that can affect young seedlings, causing them to wilt and die. To prevent damping off, make sure the soil is well-drained and avoid overwatering. Provide adequate air circulation and avoid overcrowding seedlings, as this can promote fungal growth.
- Poor growth: If your sage plants are not growing as expected, it may be due to nutrient deficiencies in the soil. Consider amending the soil with compost or a balanced organic fertilizer to provide the necessary nutrients. Also, ensure that the plants are receiving enough sunlight and water.
- Insect pests: While sage is generally resistant to pests, some common garden pests, such as aphids or spider mites, may occasionally infest the plants. Use organic insecticidal soap or neem oil spray to control these pests. Regularly inspect your plants for any signs of infestation.
- Disease issues: Sage plants are relatively resistant to diseases. However, overwatering or poorly draining soil can lead to root rot and other fungal diseases. Ensure that the soil is well-drained and avoid overwatering the plants. If you notice any signs of disease, remove and dispose of the affected plants to prevent the spread.
By addressing these common issues promptly and taking preventive measures, you can ensure the health and vitality of your sage plants.
Now that we’ve covered troubleshooting, let’s conclude our guide to growing sage from seeds.
Conclusion
Congratulations on completing our comprehensive guide on starting sage seeds and growing this versatile herb in your garden. By now, you should have a good understanding of the process and the care involved in cultivating sage from seeds.
Remember, growing sage from seeds requires patience, attention, and the right environmental conditions. By choosing the ideal location, preparing the soil, sowing the seeds, and providing proper care, you can enjoy a bountiful harvest of aromatic and flavorful sage leaves.
From enhancing the taste of your culinary creations to exploring the medicinal benefits of sage, this herb holds an array of possibilities in the kitchen and beyond. Whether you’re using sage in savory dishes, herbal teas, or DIY skincare products, its versatility is sure to impress.
During your gardening journey, you may encounter common issues such as poor germination, pests, or diseases. But armed with the troubleshooting tips we’ve provided, you’ll be equipped to tackle these challenges and ensure the success of your sage plants.
So, go ahead and start your sage seeds with confidence. Nurture them, watch them grow, and indulge in the joy of harvesting fresh sage leaves from your very own garden. Whether you’re a seasoned gardener or embarking on your first gardening adventure, growing sage from seeds is a rewarding and fulfilling experience.
Thank you for joining us on this journey. Happy gardening and enjoy the beauty and flavor that sage brings to your garden and kitchen!
Frequently Asked Questions about How To Start Sage Seeds
Was this page helpful?
At Storables.com, we guarantee accurate and reliable information. Our content, validated by Expert Board Contributors, is crafted following stringent Editorial Policies. We're committed to providing you with well-researched, expert-backed insights for all your informational needs.


0 thoughts on “How To Start Sage Seeds”