Home>Gardening & Outdoor>Garden Tools & Equipment>How To Change Oil In A Lawnmower
Garden Tools & Equipment
How To Change Oil In A Lawnmower
Modified: February 18, 2024
Learn the step-by-step process of changing oil in a lawnmower to keep your garden tools and equipment in top shape. Follow our guide for easy maintenance.
(Many of the links in this article redirect to a specific reviewed product. Your purchase of these products through affiliate links helps to generate commission for Storables.com, at no extra cost. Learn more)
Introduction
Maintaining a healthy lawn requires regular upkeep of your lawnmower, and changing the oil is a crucial aspect of its maintenance. Just like a car, a lawnmower's engine needs clean oil to function efficiently. Over time, the oil in the engine can become contaminated with dirt and debris, leading to decreased performance and potential damage to the engine. In this comprehensive guide, you will learn how to change the oil in your lawnmower, ensuring that it operates at its best while extending its lifespan.
Regular oil changes not only prolong the life of your lawnmower but also contribute to a healthier lawn. By keeping the engine well-lubricated with fresh oil, you can ensure that it runs smoothly, providing a clean and even cut to your grass. This simple maintenance task can prevent costly repairs and keep your lawnmower in peak condition for years to come.
Whether you are a seasoned lawnmower enthusiast or a novice looking to take charge of your lawn care, this step-by-step guide will equip you with the knowledge and confidence to perform an oil change on your lawnmower. So, gather your tools, roll up your sleeves, and let's dive into the process of refreshing your lawnmower's vital fluids.
Key Takeaways:
- Regular oil changes are crucial for a healthy lawnmower, preventing costly repairs and extending its lifespan. Follow the manufacturer’s guidelines for oil type, viscosity, and capacity to keep your lawnmower running smoothly.
- Prioritize safety during the oil change process by wearing protective gear and ensuring the engine is cool. Enjoy the improved performance and reliability of a well-maintained lawnmower for a beautifully manicured lawn.
Read more: How To Change Oil In A Toro Lawnmower
Step 1: Gather Necessary Materials
Before embarking on the oil change process, it’s essential to gather all the required materials and tools. Ensuring that you have everything at hand will streamline the process and prevent unnecessary delays. Here’s a list of the materials and tools you’ll need:
- Fresh Engine Oil: Refer to your lawnmower’s manual to determine the recommended type and viscosity of oil. Typically, 10W-30 oil is suitable for most lawnmower engines.
- New Oil Filter: Check your lawnmower’s manual for the specific oil filter model required for your engine.
- Oil Drain Pan: A container capable of holding the old oil and preventing spills during the draining process.
- Ratchet and Socket Set: To remove the oil drain plug and access the oil filter.
- Funnel: An essential tool for pouring the fresh oil into the engine without spills or mess.
- Rags or Paper Towels: For wiping any spills and keeping the work area clean.
- Safety Glasses and Gloves: Protect yourself from potential oil splashes and sharp components.
- Oil Absorbent Pads (Optional): Useful for placing under the lawnmower to catch any drips or spills.
By ensuring that you have all the necessary materials and tools ready, you can proceed with confidence, knowing that the oil change process will be smooth and efficient. With everything in place, you’re now ready to prepare your lawnmower for the oil change.
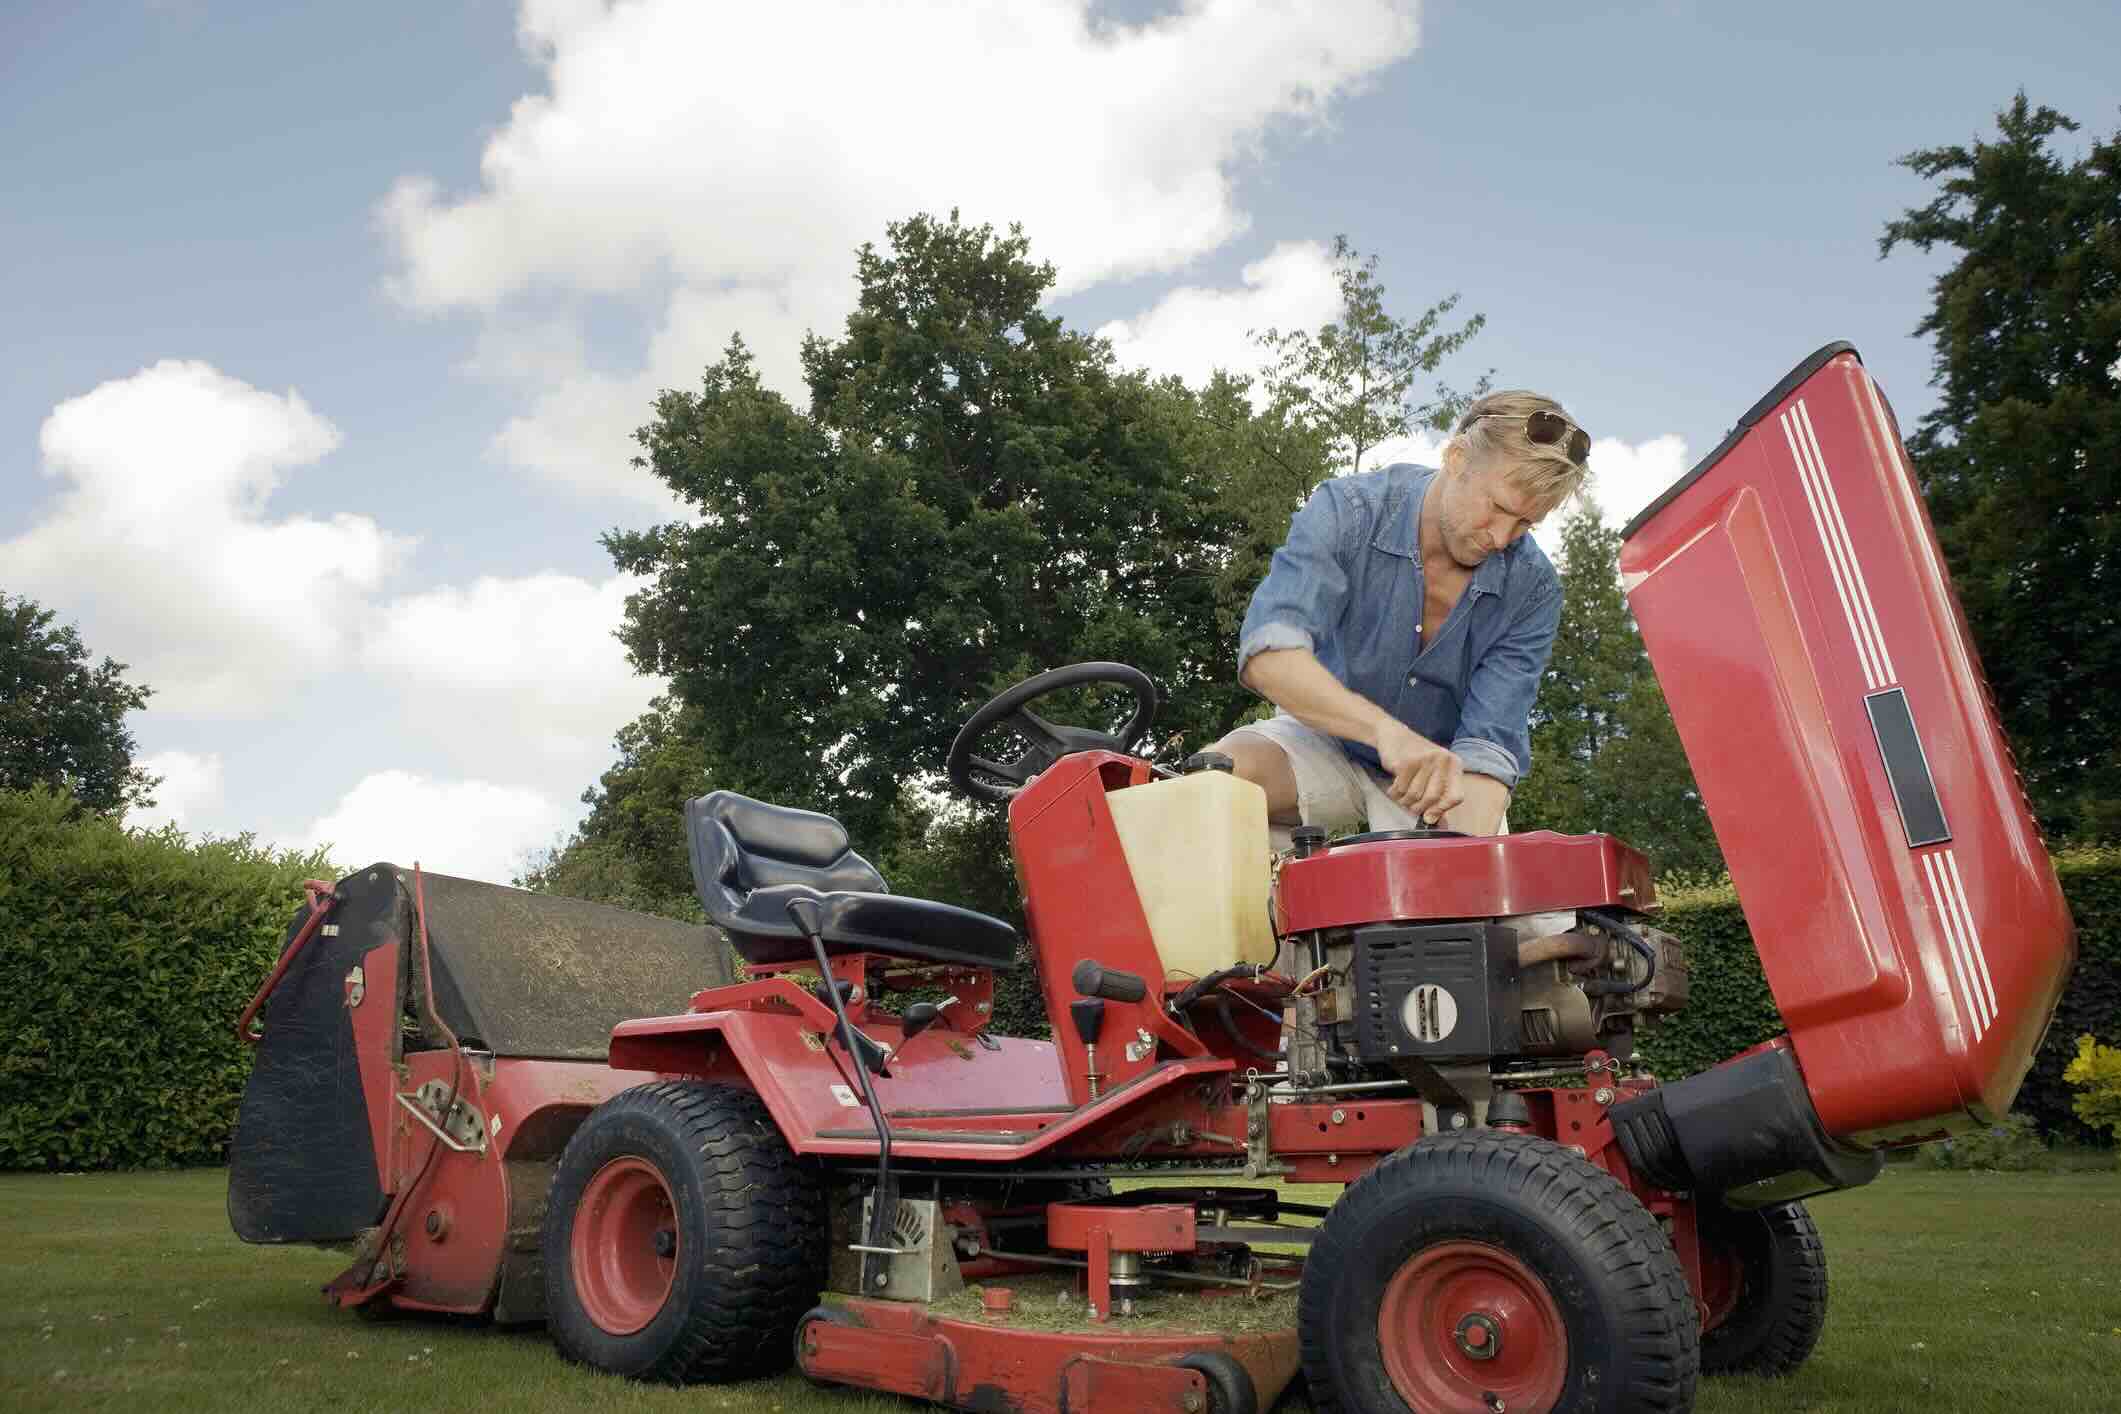
Step 2: Prepare the Lawnmower
Before initiating the oil change, it’s crucial to prepare your lawnmower to ensure a safe and effective maintenance process. Follow these steps to properly prepare the lawnmower:
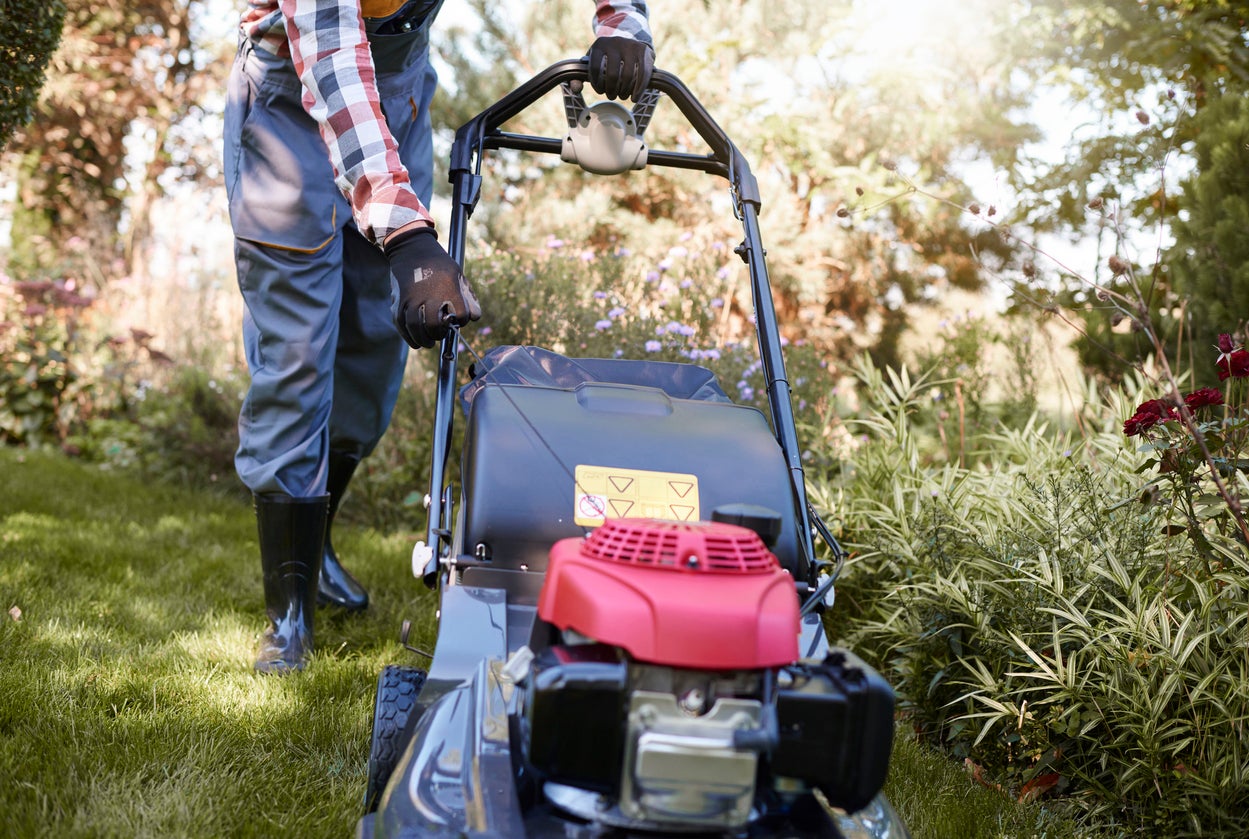
- Turn Off the Engine: Ensure that the lawnmower’s engine is completely turned off and has had sufficient time to cool down. Performing maintenance on a hot engine can lead to accidental burns and increased safety hazards.
- Locate the Oil Drain Plug: Refer to your lawnmower’s manual to identify the location of the oil drain plug. Typically, it is located beneath the engine, near the base. Position the oil drain pan beneath the plug to catch the old oil.
- Access the Oil Filter: Depending on the lawnmower model, the oil filter may be easily accessible or require the removal of a protective cover. Use the appropriate tools to access the oil filter and prepare for its replacement.
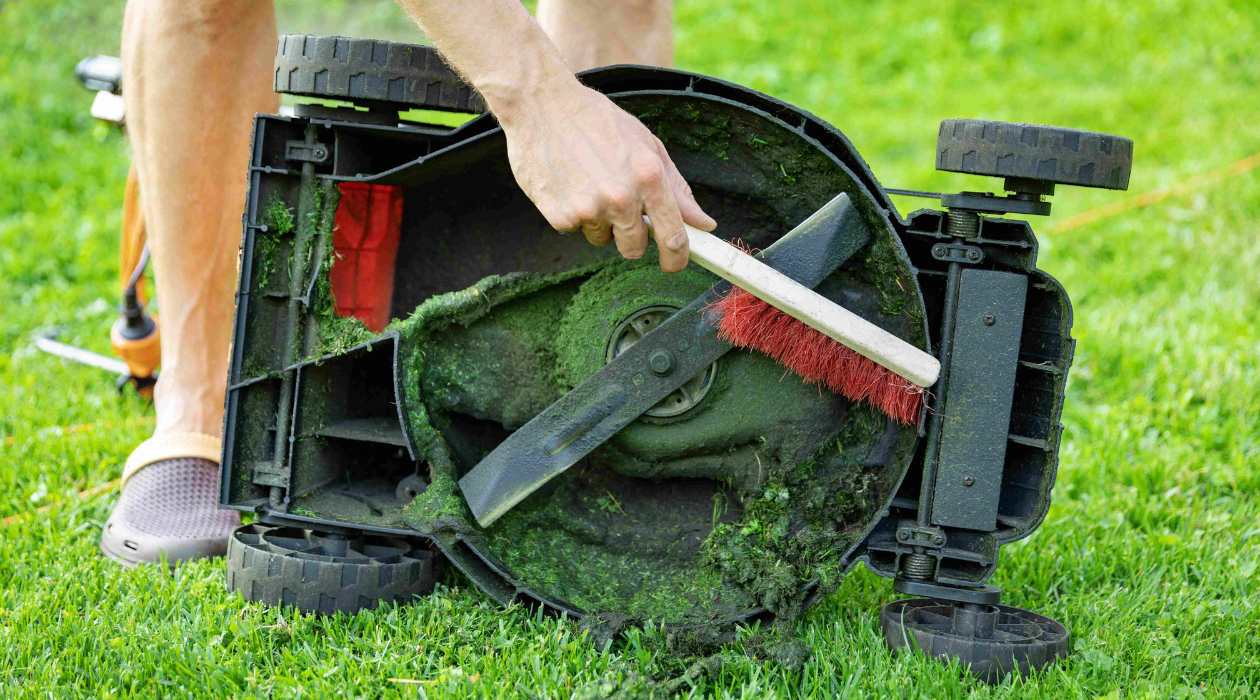
- Clean the Surrounding Area: Wipe any dirt or debris from around the oil fill and drain areas to prevent contamination of the new oil. Keeping the work area clean will also facilitate a smoother process.
- Secure the Lawmower: If possible, place the lawnmower on a flat, level surface to ensure stability during the oil change. This will prevent accidental tipping or spills.
By meticulously preparing the lawnmower for the oil change, you can ensure a seamless and safe process. Taking the time to complete these preparatory steps will contribute to a successful oil change and help maintain the overall condition of your lawnmower.
Step 3: Drain the Old Oil
Draining the old oil from your lawnmower is a fundamental step in the oil change process. Follow these steps to effectively remove the old, contaminated oil from the engine:
- Position the Oil Drain Pan: Ensure that the oil drain pan is positioned directly beneath the oil drain plug to catch the old oil. This will prevent spills and make for easy disposal.
- Loosen the Oil Drain Plug: Using a ratchet and the appropriate socket, carefully loosen the oil drain plug. Be prepared for the initial rush of oil as it begins to drain into the pan.
- Allow Complete Drainage: Once the plug is fully loosened, allow the old oil to drain completely into the pan. Tilting the lawnmower slightly can help ensure that all the old oil is removed from the engine.
- Inspect the Drain Plug: While the oil is draining, inspect the drain plug and its washer for any signs of damage or wear. Replacing the washer, if necessary, will help prevent leaks when the new oil is added.
- Secure the Drain Plug: After the old oil has fully drained, carefully clean the drain plug and its surrounding area. Then, securely tighten the drain plug back into place, ensuring a proper seal to prevent leaks.
By effectively draining the old oil from your lawnmower, you pave the way for a fresh infusion of clean oil, promoting optimal engine performance and longevity. With the old oil successfully removed, you can proceed to the next vital step: replacing the oil filter.
Step 4: Replace the Oil Filter
Replacing the oil filter is a crucial aspect of the oil change process, as it ensures that the new oil remains free from contaminants and debris. Follow these steps to effectively replace the oil filter in your lawnmower:
- Locate the Oil Filter: Refer to your lawnmower’s manual to identify the precise location of the oil filter. It is commonly situated near the engine and may be enclosed within a protective cover.
- Remove the Old Oil Filter: Using the appropriate tools, carefully remove the old oil filter from its housing. Be prepared for residual oil to drain from the filter and its housing.
- Prepare the New Oil Filter: Before installing the new oil filter, apply a small amount of fresh oil to the rubber gasket to ensure a proper seal and facilitate easy removal during the next oil change.
- Install the New Oil Filter: Carefully thread the new oil filter into place, ensuring that it is securely seated but not over-tightened. Refer to the manufacturer’s instructions for the recommended level of tightness.
- Inspect the Filter Housing: After installing the new oil filter, inspect the filter housing for any signs of leaks or damage. Wipe away any excess oil and ensure that the area is clean and free from debris.
By replacing the oil filter, you safeguard your lawnmower’s engine and promote the longevity of the new oil. The fresh filter will effectively trap contaminants, allowing the clean oil to circulate through the engine without the risk of contamination. With the oil filter successfully replaced, you are now ready to add the new oil to your lawnmower.
Before changing the oil in your lawnmower, make sure to run the engine for a few minutes to warm up the oil. This will make it easier to drain and will help remove any debris.
Read more: How To Change Oil On Craftsman Lawnmower
Step 5: Add New Oil
Adding fresh oil to your lawnmower is a vital step that ensures proper lubrication and smooth operation of the engine. Follow these steps to add new oil to your lawnmower:
- Refer to the Manufacturer’s Guidelines: Consult your lawnmower’s manual to determine the specific type and quantity of oil required for your engine. Different models may have varying oil capacity and viscosity requirements.
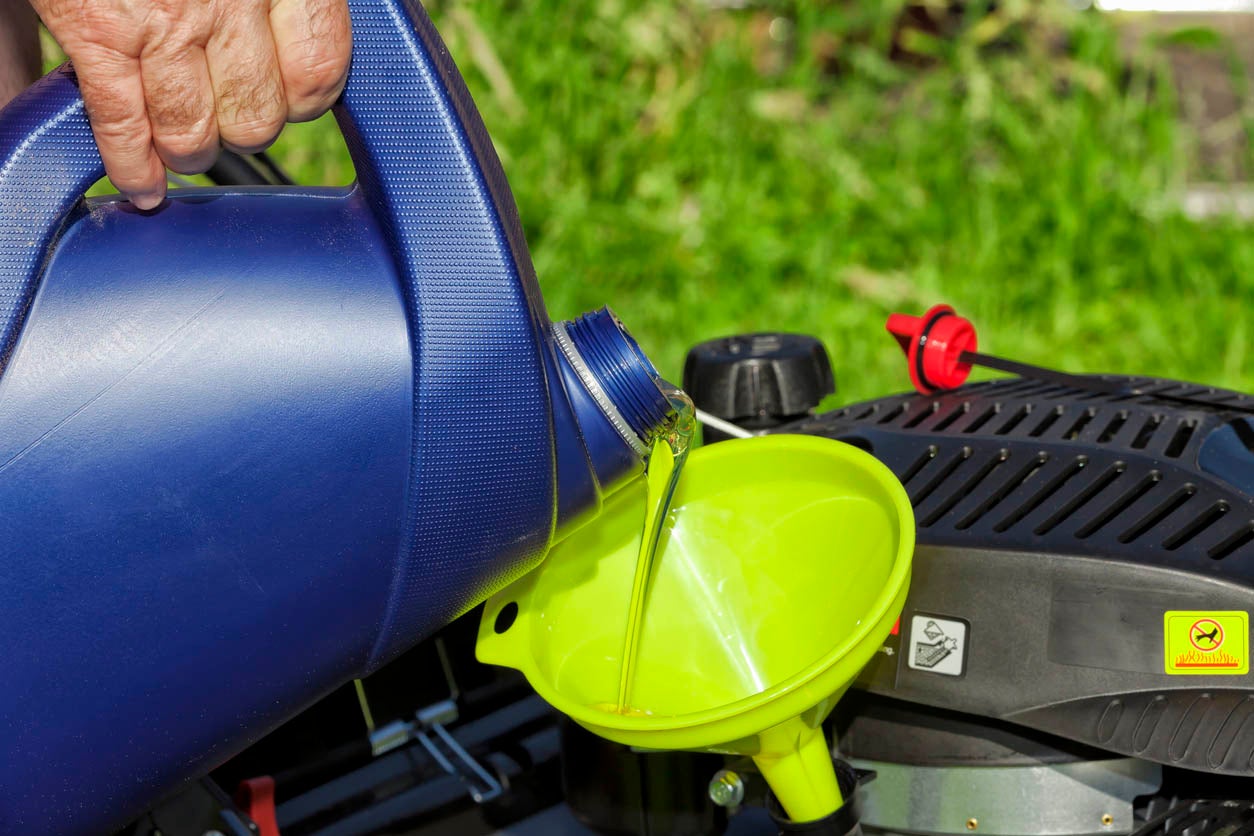
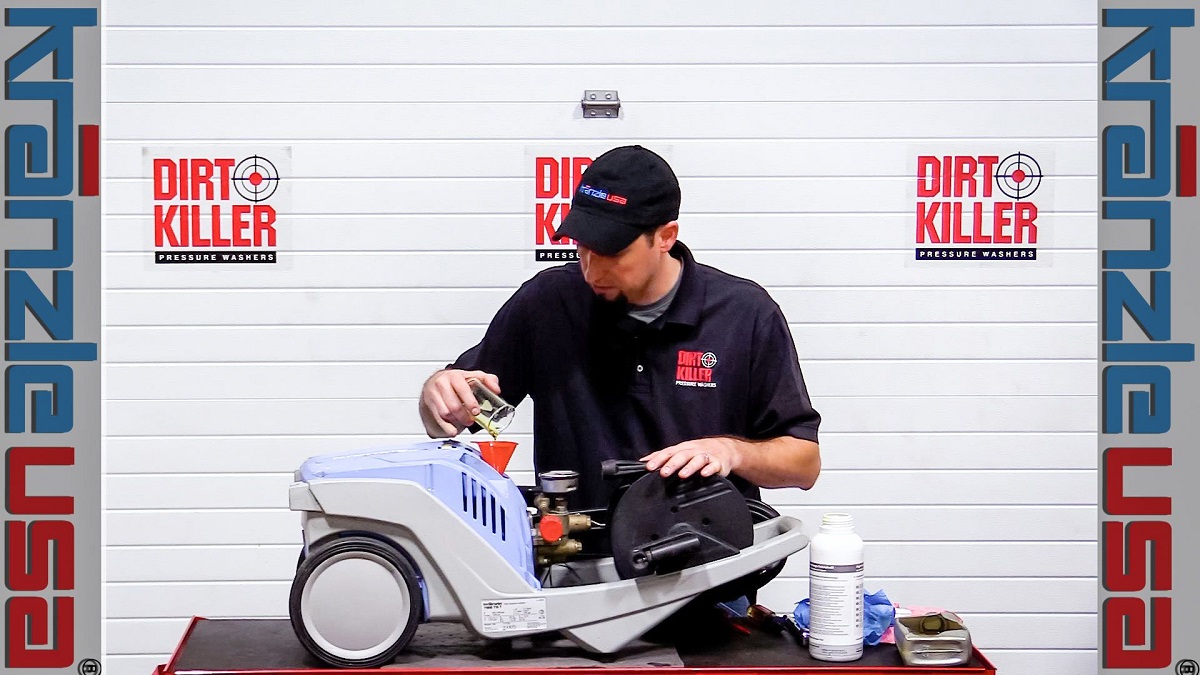
- Position the Funnel: Place a clean funnel securely into the oil fill opening to prevent spills and ensure a controlled pour of the new oil.
- Pour the New Oil: Slowly pour the recommended type and amount of fresh oil into the oil fill opening. Take care to avoid overfilling, as this can lead to engine damage and reduced performance.
- Check the Oil Level: After adding the initial quantity of oil, pause to check the oil level using the dipstick or sight glass, as indicated by your lawnmower’s design. Add more oil as needed to reach the appropriate level.
- Secure the Oil Fill Cap: Once the correct oil level is achieved, securely replace the oil fill cap to prevent leaks and ensure the proper functioning of the engine.
By adding the appropriate amount of fresh oil, you provide your lawnmower’s engine with the necessary lubrication to operate efficiently and maintain optimal performance. With the new oil successfully added, the final step involves verifying the oil level and preparing to start the lawnmower.
Step 6: Check the Oil Level
Verifying the oil level in your lawnmower is a critical final step in the oil change process. Ensuring that the engine has the correct amount of oil is essential for its proper function and longevity. Follow these steps to check the oil level in your lawnmower:
- Allow the Oil to Settle: After adding the new oil, allow the lawnmower to sit for a few moments to allow the oil to settle in the engine’s reservoir.
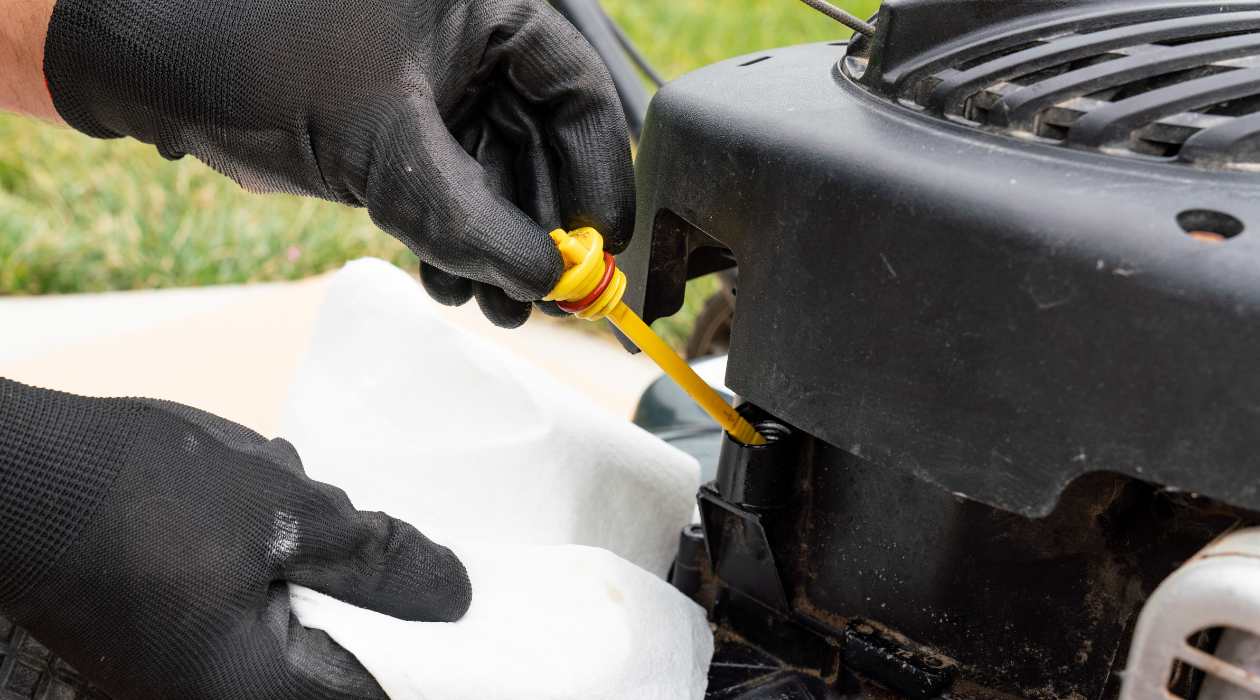
- Locate the Oil Dipstick or Sight Glass: Depending on your lawnmower’s design, you will either have an oil dipstick or a sight glass to check the oil level. Refer to your manual for the precise location and method of checking the oil level.
- Check the Oil Level: If your lawnmower is equipped with a dipstick, remove it, wipe it clean, reinsert it fully, and then remove it again to check the oil level. If a sight glass is used, inspect the oil level against the markings provided.
- Adjust the Oil Level: If the oil level is below the recommended range, add a small amount of oil and recheck the level until it falls within the specified range. Be cautious not to overfill the engine with oil.
- Secure the Dipstick or Sight Glass: Once the oil level is within the appropriate range, securely replace the dipstick or close the sight glass cover to prevent oil leaks and contamination.
By meticulously checking and adjusting the oil level, you ensure that your lawnmower’s engine is properly equipped with the necessary lubrication to function optimally. With the oil level confirmed, the final step involves starting the lawnmower to circulate the fresh oil throughout the engine.
Step 7: Start the Lawnmower
After completing the oil change process and confirming the oil level, the final step involves starting your lawnmower to circulate the fresh oil throughout the engine. Follow these steps to safely start your lawnmower after an oil change:
- Prime the Engine (If Applicable): If your lawnmower is equipped with a primer bulb, press it several times to prime the engine before starting.
- Position the Choke (If Applicable): If your lawnmower features a choke, adjust it to the appropriate setting based on the manufacturer’s recommendations for starting the engine.
- Engage the Safety Features: Ensure that all safety features, such as the operator presence control, are engaged to promote safe operation of the lawnmower.
- Pull the Starter Cord or Turn the Key: Depending on your lawnmower’s design, initiate the starting process by pulling the starter cord or turning the ignition key. Follow the manufacturer’s instructions for starting the engine.
- Observe the Engine: Once the engine starts, observe it for any unusual noises or signs of malfunction. A properly serviced engine should run smoothly and emit minimal exhaust.
- Allow the Engine to Warm Up: Allow the engine to run for a few minutes to ensure that the fresh oil circulates throughout the system and reaches optimal operating temperature.
- Verify Proper Operation: Test the lawnmower’s functionality by engaging the cutting blades and observing its performance. Ensure that the engine runs smoothly and that the cutting blades operate efficiently.
By starting your lawnmower after an oil change and verifying its proper operation, you confirm that the fresh oil is effectively lubricating the engine, promoting optimal performance and longevity. With the engine running smoothly, you can look forward to a well-maintained lawnmower ready to tackle your lawn care needs.
Conclusion
Congratulations! By following this comprehensive guide, you have successfully completed the essential task of changing the oil in your lawnmower. This proactive maintenance endeavor ensures that your lawnmower’s engine remains well-lubricated and ready to deliver optimal performance, contributing to a healthier and more vibrant lawn. As you reflect on the process, consider the following key takeaways:
- Regular Maintenance is Key: Performing routine oil changes is a fundamental aspect of maintaining a reliable and efficient lawnmower. By adhering to a regular maintenance schedule, you can prevent costly repairs and extend the lifespan of your equipment.
- Follow Manufacturer’s Recommendations: Always consult your lawnmower’s manual for specific guidelines regarding oil type, viscosity, and capacity. Adhering to the manufacturer’s recommendations ensures that your lawnmower operates at its best.
- Safety First: Prioritize safety throughout the oil change process by wearing appropriate protective gear, ensuring the engine is cool before starting, and engaging all safety features when operating the lawnmower.
- Enjoy the Fruits of Your Labor: With a freshly serviced lawnmower, take pleasure in the improved performance and reliability it offers. A well-maintained lawnmower contributes to a beautifully manicured lawn, enhancing the overall aesthetic of your outdoor space.
As you bask in the satisfaction of a job well done, take a moment to appreciate the impact of your efforts. By investing time and care into your lawnmower’s maintenance, you are not only preserving a valuable piece of equipment but also cultivating a lush and inviting outdoor environment. Embrace the sense of accomplishment that comes with taking charge of your lawncare routine and relish the benefits of a well-tended lawn.
Now, armed with the knowledge and confidence gained from this guide, you are well-equipped to tackle future maintenance tasks and ensure that your lawnmower continues to serve you reliably. With a commitment to regular maintenance and a passion for nurturing your outdoor space, you can look forward to a thriving lawn and many seasons of enjoyable lawncare ahead.
Frequently Asked Questions about How To Change Oil In A Lawnmower
Was this page helpful?
At Storables.com, we guarantee accurate and reliable information. Our content, validated by Expert Board Contributors, is crafted following stringent Editorial Policies. We're committed to providing you with well-researched, expert-backed insights for all your informational needs.


0 thoughts on “How To Change Oil In A Lawnmower”