Home>Furniture>Bedroom Furniture>How To Fix A Bent Bed Frame
Bedroom Furniture
How To Fix A Bent Bed Frame
Modified: December 7, 2023
Learn how to fix a bent bed frame with our step-by-step guide. Restore the stability and functionality of your bedroom furniture efficiently and conveniently.
(Many of the links in this article redirect to a specific reviewed product. Your purchase of these products through affiliate links helps to generate commission for Storables.com, at no extra cost. Learn more)
Introduction
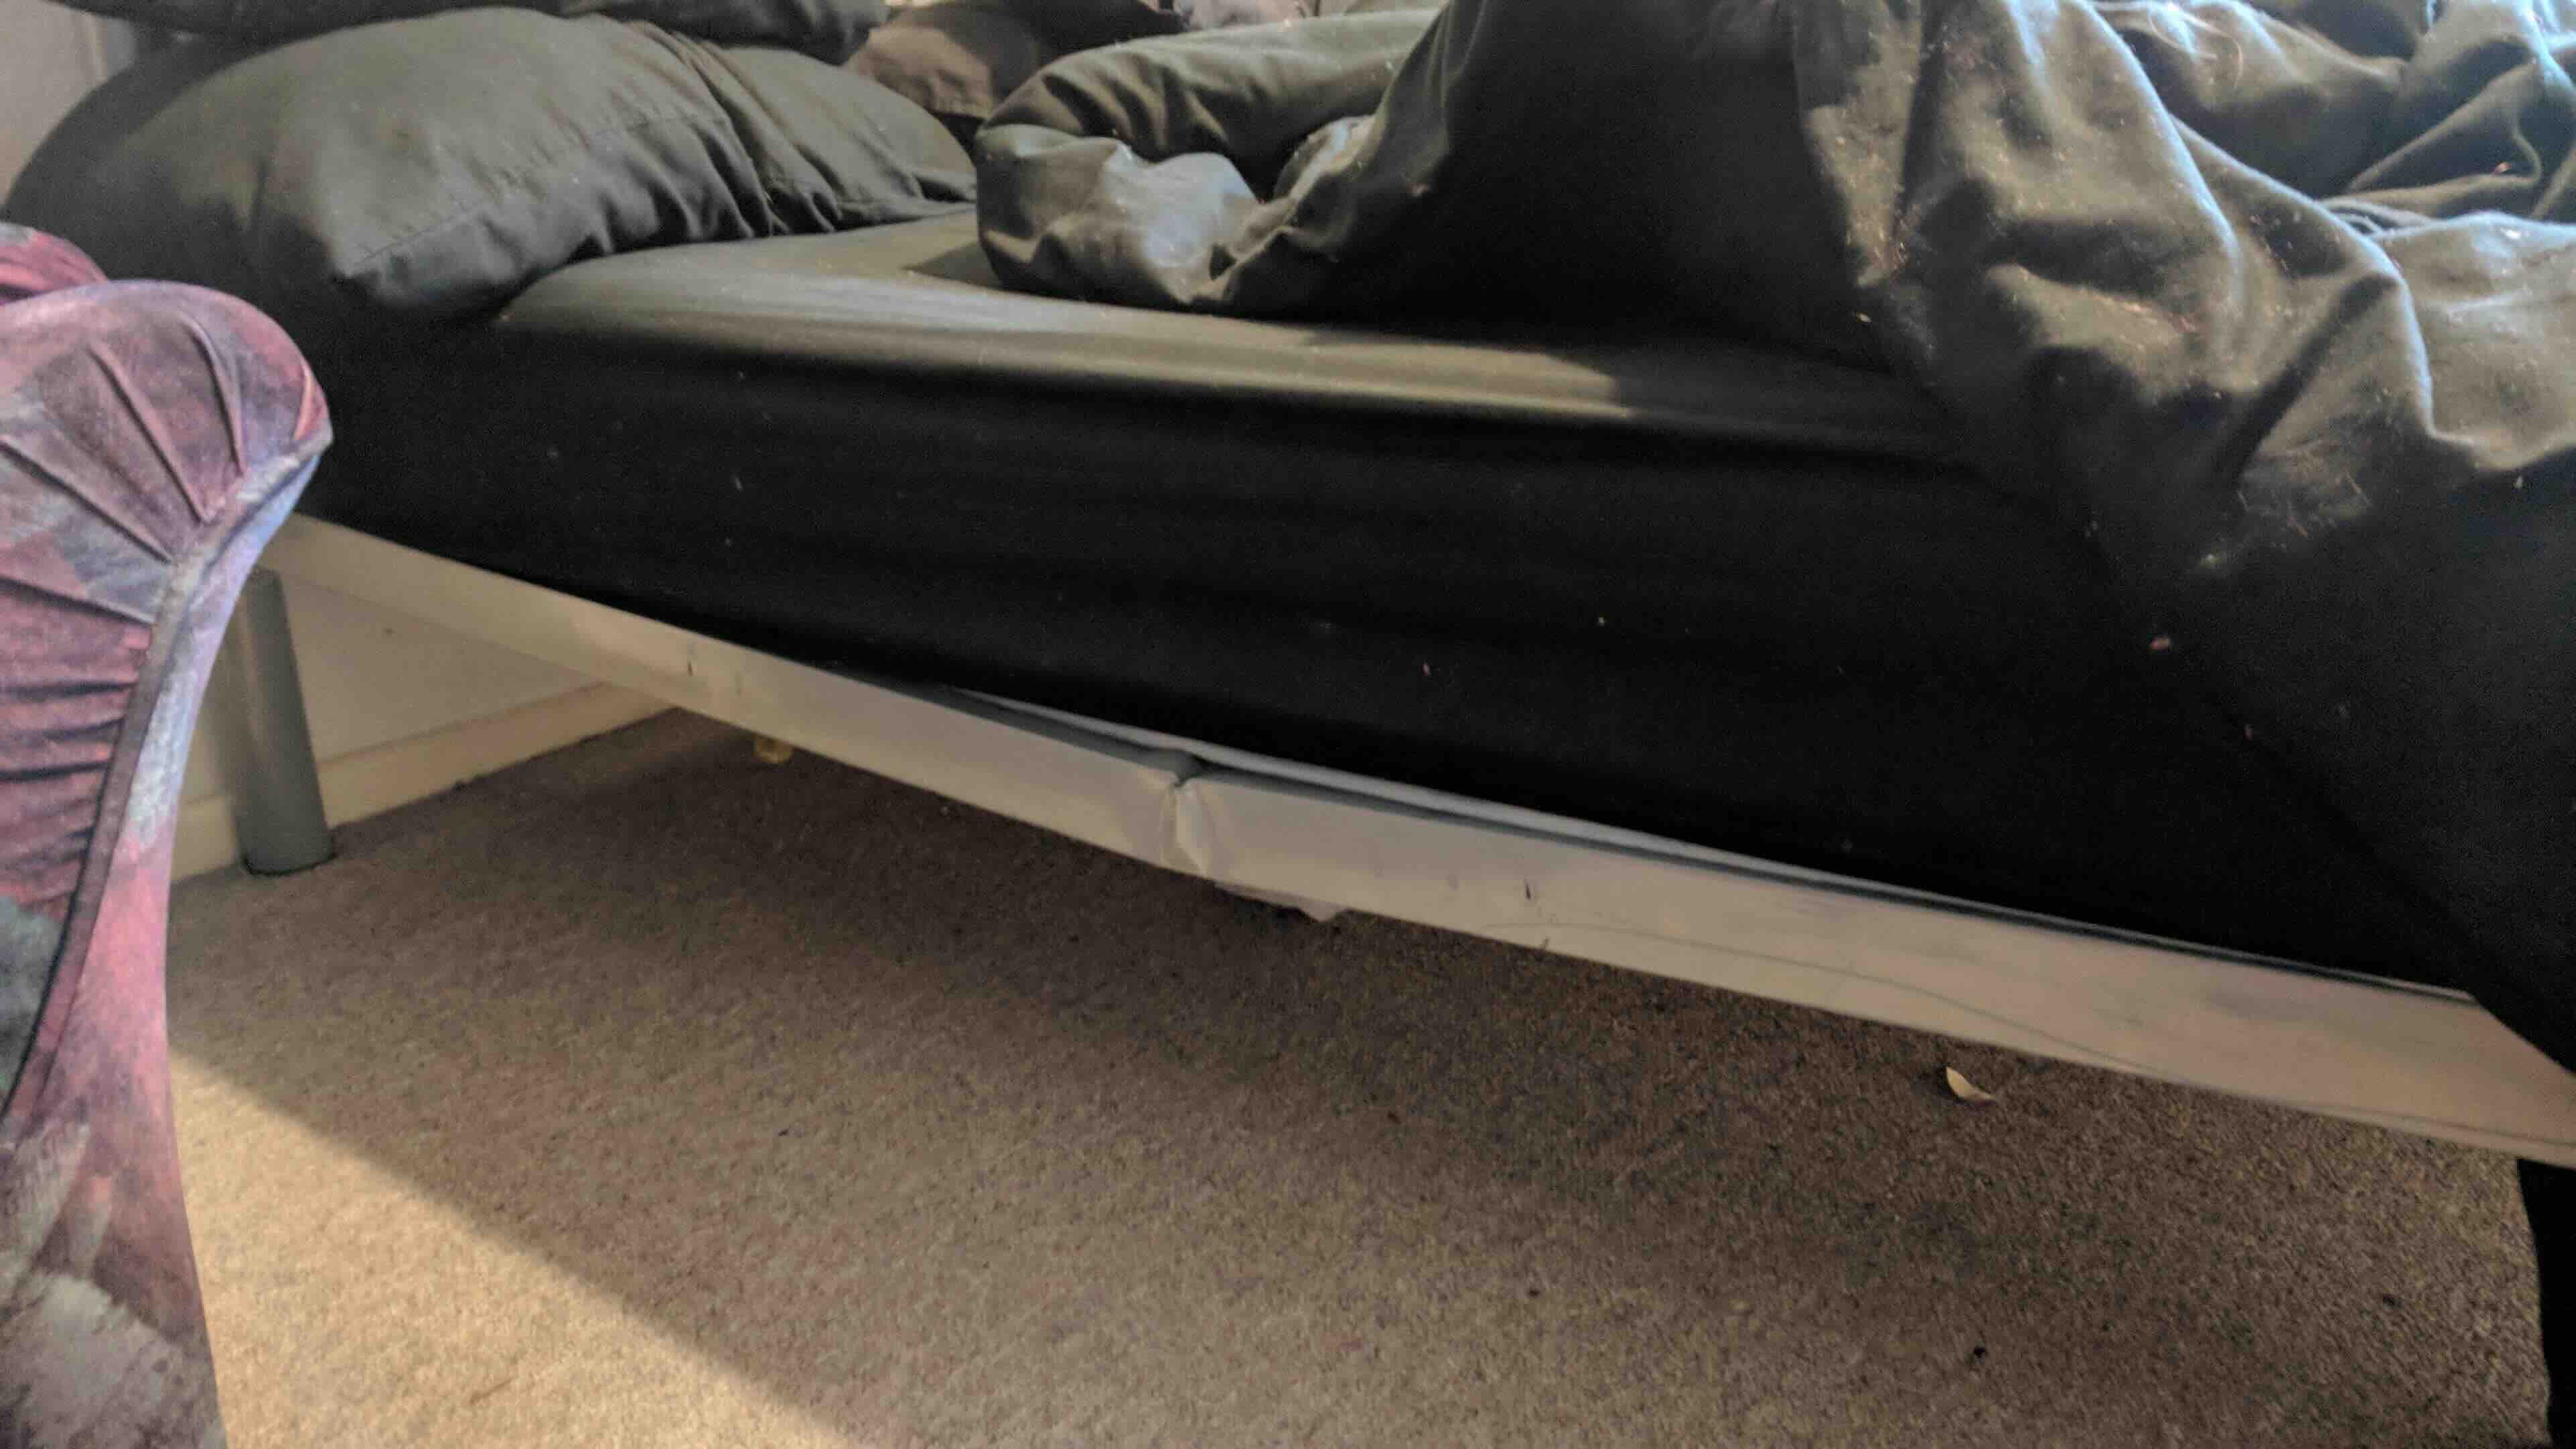
A bed frame is an essential component of any bedroom, providing support and stability to the mattress and ensuring a comfortable sleep experience. However, over time, bed frames can become damaged or bent due to various factors such as heavy usage or improper assembly.
If you have noticed that your bed frame is starting to sag or has visible signs of bending, it is crucial to address the issue promptly. Ignoring a bent bed frame not only affects your sleep quality but can also lead to further damage to the frame and potentially cause discomfort or even safety hazards.
In this guide, we will take you through a step-by-step process to help you fix a bent bed frame and restore it to its original strength and stability. By following these instructions and utilizing some basic tools, you can save money on professional repairs and enjoy a comfortable night’s sleep.
Before we get started, it’s important to note that the specific method of fixing a bent bed frame may vary depending on the type of bed frame you have. This guide will provide general instructions that are applicable to most bed frames, but it’s always a good idea to consult the manufacturer’s instructions or seek professional assistance if you are unsure about the specific repair process.
Now, let’s dive into the steps needed to fix a bent bed frame and restore it to its optimal condition.
Key Takeaways:
- Don’t ignore a bent bed frame – assess, repair, and strengthen it to ensure a comfortable and safe sleep experience. Follow the step-by-step guide to save money on professional repairs and enjoy a revitalized bed frame.
- By following the repair process, you can easily address a bent bed frame and restore its strength and stability, creating a secure and supportive foundation for a good night’s sleep.
Read more: How To Fix A Wobbly Bed Frame
Step 1: Assessing the Damage
The first step in fixing a bent bed frame is to assess the extent of the damage. Take a close look at the bed frame and identify the areas that are bent or distorted. This will help you determine the best course of action for repairing the frame.
If the damage is minor and limited to one specific area, such as a bent slat or a loosened connection, you may be able to fix it easily with simple tools and adjustments. However, if the damage is extensive or affects the overall structure of the bed frame, you may need to consider more substantial repairs or even replacing the frame entirely.
To properly assess the damage, consider the following factors:
- Visible bending or distortion: Look for any obvious signs of bending, warping, or distortion in the frame. Pay attention to areas where the frame may be weakened or where the bend is causing the frame to sag or become uneven.
- Noise or creaking: If you hear any unusual noises or creaking when you move or apply pressure to the bed frame, it could be a sign of structural damage. Listen carefully for any sounds that indicate the frame is not properly aligned or secure.
- Mattress sagging: A bent bed frame may cause the mattress to sag or dip in certain areas. If you notice unevenness or sinking in the mattress, it could be a result of a bent frame.
- Loose or broken connections: Check the joints and connections of the bed frame for any looseness, cracks, or damage. This includes screws, bolts, brackets, and any other fasteners that hold the frame together. Loose connections can contribute to the bending or sagging of the frame.
By thoroughly assessing the damage, you’ll have a clearer understanding of the specific issues that need to be addressed. This will help you determine the appropriate steps and tools required to effectively repair the bed frame.
Once you have assessed the damage, you can move on to the next step of gathering the necessary tools for the repair process.
Step 2: Gathering the Necessary Tools
Before you begin the repair process, it’s important to gather all the necessary tools and equipment. Having the right tools on hand will make the repair process easier and ensure that you can effectively fix the bent bed frame.
Here is a list of the tools you may need:
- Screwdriver: A screwdriver is essential for loosening and tightening screws or bolts in the bed frame. Make sure to have both flathead and Phillips head screwdrivers, as different types of screws may be used.
- Adjustable wrench or socket set: Depending on the bed frame design, you may need an adjustable wrench or a socket set to loosen or tighten various fasteners. This will allow you to adjust or remove bolts and nuts with ease.
- Pliers: Pliers can be handy for gripping and manipulating small parts or wires. They can help you with tasks such as straightening bent metal or manipulating fasteners.
- Hammer: A hammer may be useful for tapping or adjusting certain components of the bed frame. For instance, if there are bent metal supports, a hammer can be used to gently straighten them.
- Measuring tape: A measuring tape can help you accurately measure and align various components of the bed frame. This is particularly important when adjusting or replacing slats, as they need to be evenly spaced and aligned for optimal support.
- Level: A level will help you ensure that the bed frame is correctly aligned and not uneven or sloping. This is crucial for ensuring that the repaired frame provides proper support to the mattress.
- Additional materials: Depending on the specific repair required, you may need additional materials such as wood glue, brackets, or replacement screws or slats. These materials will vary based on the type of bed frame and the extent of the damage.
It’s always a good idea to have these tools readily available before you start the repair process. This way, you won’t have to interrupt your progress to search for a specific tool.
With all the necessary tools in hand, you are now prepared to move on to the next step of removing the bedding and mattress.
Step 3: Removing the Bedding and Mattress
Now that you have gathered the necessary tools, it’s time to prepare the bed frame for repair by removing the bedding and mattress. This step is essential to ensure easy access to the bent or damaged areas of the frame.
Follow these steps to remove the bedding and mattress:
- Strip the bed: Remove all the pillows, sheets, blankets, and any other bedding materials from the bed. Set them aside in a safe location.
- Remove the mattress: Carefully lift the mattress off the bed frame and place it in a clean and safe area. Depending on the size and weight of the mattress, you may need assistance to lift it off the frame.
- Remove any additional support: If your bed frame has any additional support systems such as slats, box springs, or center beams, remove them as well. This will allow for better access to the affected areas of the frame.
Once the bedding and mattress are removed, take a moment to inspect the bed frame without any obstructions. This will give you a clearer view of the bent or damaged areas and help you plan the repair process accordingly.
During this step, it’s also a good idea to clean the bed frame if needed. Use a damp cloth or mild cleaning solution to wipe away any dust, dirt, or debris that may have accumulated on the frame. This will ensure a clean and optimal surface for the repair process.
With the bed frame cleared and cleaned, you are now ready to proceed to the next step of loosening the affected joints or connections.
Step 4: Loosening the Affected Joints or Connections
Now that you have removed the bedding and mattress, it’s time to focus on the affected joints or connections of the bed frame. In this step, you will loosen the fasteners that hold the bent or damaged sections together.
Follow these steps to loosen the affected joints or connections:
- Identify the bent sections: Take a close look at the bed frame and identify the specific areas that are bent or damaged. This will help you determine which joints or connections need to be loosened.
- Use the appropriate tools: Based on the type of fasteners used in your bed frame (e.g., screws, bolts, or brackets), select the appropriate tool (such as a screwdriver or wrench) to loosen them. You may need different tools for different types of fasteners.
- Loosen the fasteners: Carefully loosen the screws, bolts, or brackets that hold the affected joint or connection together. Turn the tool counterclockwise to loosen the fasteners, but be sure not to remove them completely just yet.
- Repeat for all affected joints: Go through each bent or damaged section of the bed frame and repeat the process of loosening the fasteners. This will allow you to separate the affected parts and straighten them in the next step.
As you loosen the fasteners, pay attention to any additional components that may need to be removed or disconnected to fully access the bent sections. This may include support bars, slats, or other attachments that prevent easy access to the damaged areas.
Remember to keep track of all the loosened fasteners and components, organizing them in a safe place. This will make it easier to reassemble the bed frame during the final step of the repair process.
With the affected joints or connections loosened, you are now ready to move on to the next step of straightening the bent sections of the bed frame.
If your bed frame is bent, try using a rubber mallet to gently tap the frame back into place. You can also use a piece of wood to help distribute the force and protect the frame.
Read more: How To Fix A Sofa Bed Frame
Step 5: Straightening the Bent Section
Now that you have loosened the affected joints or connections of the bed frame, it’s time to focus on straightening the bent sections. This step requires careful attention and precision to ensure that the frame is properly aligned and restored to its original shape.
Follow these steps to straighten the bent section of the bed frame:
- Inspect the bent section: Take a closer look at the bent area of the frame to determine the best approach for straightening it. Depending on the extent of the bend, you may need to apply different techniques.
- Apply pressure: In some cases, gentle pressure may be enough to straighten a minor bend. Use your hands or a tool, such as pliers or a hammer, to apply steady and even pressure to the bent section. Be careful not to apply too much force, as it could cause further damage.
- Use leverage: If the bend is more severe, you may need to use leverage to straighten it. This can be done by placing a sturdy object, such as a wooden block or another piece of furniture, under the bent section. Apply pressure to the opposite side to gradually straighten the frame.
- Gradually adjust: Work slowly and methodically when straightening the frame, making small adjustments at a time. Continuously check the progress and ensure that the frame is becoming straighter without any excessive force.
- Seek professional help if needed: If the bend is too severe or you are unsure about your ability to straighten it, it’s best to seek professional help. A professional can provide the expertise and equipment necessary to correct the bend safely.
Remember to take your time and be patient during this step. Rushing the process or applying too much force can lead to further damage or even injury. It’s always better to take a cautious approach and ensure that the frame is straightened properly.
Once you have successfully straightened the bent section, you can move on to the next step of strengthening the bed frame to prevent future damage.
Step 6: Strengthening the Bed Frame
After straightening the bent section of the bed frame, it’s important to strengthen the frame to prevent future damage and ensure long-term stability. This step involves reinforcing the weakened areas and enhancing the overall structural integrity of the bed frame.
Follow these steps to strengthen the bed frame:
- Replace damaged components: If any of the bed frame components, such as slats or support beams, were damaged or bent beyond repair, consider replacing them with new ones. This will help ensure that the frame is in optimal condition.
- Use wood glue: Apply wood glue to the joints and connections of the bed frame. This extra layer of adhesive will help strengthen the connections and provide added stability. Make sure to follow the glue manufacturer’s instructions for proper application and drying time.
- Add additional support: Depending on the design of your bed frame, you may want to add additional support to reinforce weak areas. This could involve installing additional slats, support bars, or brackets to provide extra stability and distribute weight evenly.
- Consider braces or brackets: In some cases, using braces or brackets can provide extra reinforcement to the bed frame. These metal supports can be attached to key areas of the frame, helping to strengthen and stabilize the structure.
- Tighten fasteners: Before reassembling the bed frame, make sure to tighten all the fasteners securely. This will ensure that all connections are secure and the frame is stable.
By taking these strengthening measures, you can restore the strength and stability of the bed frame and minimize the risk of future bending or damage. These steps will help prolong the lifespan of your bed frame and ensure a comfortable and supportive sleeping environment.
Once you have strengthened the bed frame, you are now ready to proceed to the next step of reassembling the bed frame.
Step 7: Reassembling the Bed Frame
After strengthening the bed frame, it’s time to reassemble the various components and put the bed frame back together. This step requires careful attention to detail to ensure that all parts are properly aligned and securely attached.
Follow these steps to reassemble the bed frame:
- Refer to the manufacturer’s instructions: If you have the manufacturer’s instructions for assembling the bed frame, consult them to ensure that you follow the recommended steps.
- Organize the components: Gather all the components that were removed during the disassembly process, including screws, bolts, brackets, or any additional support systems.
- Start with the frame: Begin by reattaching the main frame components. Align the joints and connections and use the appropriate tools to tighten the screws, bolts, or brackets.
- Attach support systems: If your bed frame has additional support systems such as slats, center beams, or support bars, reattach them according to the manufacturer’s guidelines. Ensure that they are evenly spaced and properly aligned.
- Strengthen the connections: Double-check that all fasteners are securely tightened. Use your tools to ensure that the connections are sturdy and stable.
Throughout the reassembly process, periodically check that all components are properly aligned and securely attached. This will help prevent any misalignments or weak connections that could compromise the stability of the bed frame.
Once all the components are reassembled and the connections are secure, give the bed frame a final visual inspection. Ensure that everything looks straight, stable, and aligned. Take a moment to appreciate your hard work in restoring the bed frame to its functional state.
With the bed frame successfully reassembled, the final step is to test the repaired bed frame and ensure that it provides the desired support and stability.
Step 8: Testing the Repaired Bed Frame
After completing the repair and reassembly process, it’s important to thoroughly test the bed frame to ensure that it is now sturdy, stable, and ready to provide a comfortable sleep experience. Testing the repaired bed frame will help you identify any remaining issues and make any necessary adjustments.
Follow these steps to test the repaired bed frame:
- Ensure proper alignment: Step back and visually inspect the bed frame to ensure that all components are properly aligned. Check that the frame is level and not leaning to one side.
- Add weight: Apply pressure to different areas of the bed frame to simulate the weight of a person lying on it. This will help you identify any areas of weakness or instability.
- Test mattress support: Place the mattress back on the bed frame and lie down on it. Pay attention to any sagging or discomfort that may indicate insufficient support. Move around and adjust positions to fully test the support system.
- Check for noise or creaking: Move on the bed frame and listen for any unusual noises or creaking sounds. A quiet and stable bed frame indicates proper repair and assembly.
- Make necessary adjustments: If you encounter any issues during the testing phase, take note of them and make any necessary adjustments to address the problems. This may include tightening connections, adding additional support, or repositioning components.
By thoroughly testing the repaired bed frame, you can ensure that it is functioning properly and provides the necessary support for a restful sleep. Take the time to make any final adjustments before enjoying your renewed bed frame.
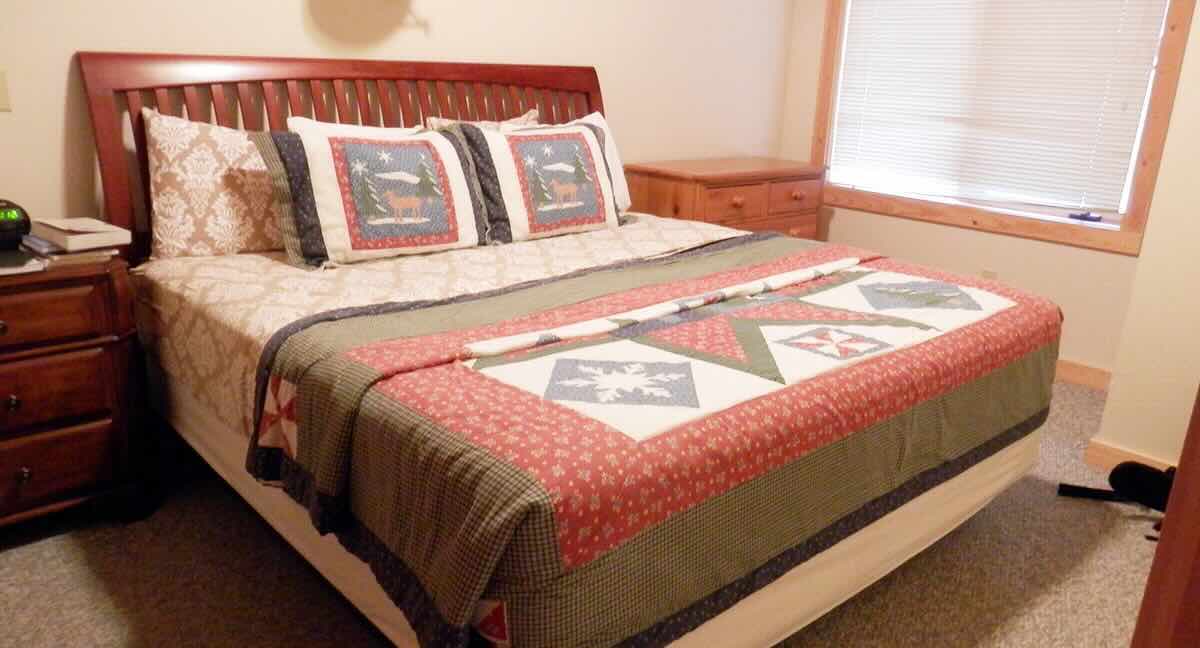
Congratulations! You have successfully fixed and tested your bent bed frame. By following the steps in this guide, you have restored the stability and strength of your bed frame, allowing for a comfortable and peaceful sleep experience.
Remember to periodically inspect and maintain your bed frame to prevent future issues. Regularly tightening connections and addressing any signs of bending or damage will help prolong the life of your bed frame and ensure continued support.
If you encountered any difficulties during the repair process or if the damage was beyond your ability to fix, it’s always a good idea to consult a professional for further assistance. They can provide expert advice and help you with more complex repairs or replacements.
Now, enjoy your revitalized bed frame and get ready for a good night’s sleep!
Read more: How To Fix A Broken Wooden Bed Frame
Conclusion
Fixing a bent bed frame is a practical and cost-effective way to restore its strength and stability. By following the step-by-step process outlined in this guide, you can easily address the issue and enjoy a comfortable and supportive sleep experience.
Throughout the repair process, it’s important to assess the damage, gather the necessary tools, remove the bedding and mattress, loosen the affected joints or connections, straighten the bent sections, strengthen the bed frame, reassemble the components, and thoroughly test the repaired bed frame for stability and comfort.
Remember, each bed frame may have specific requirements and instructions, so it’s always helpful to consult the manufacturer’s guidelines or seek professional assistance if needed.
By giving proper attention to the repair process, you not only extend the lifespan of your bed frame but also create a secure and supportive foundation for a good night’s sleep. Taking the time to fix a bent bed frame ensures that you have a peaceful sleeping environment and prevents further damage to the frame, allowing you to enjoy years of comfortable sleep.
Don’t hesitate to prioritize the repair of a bent bed frame and use the knowledge and techniques from this guide to restore its functionality. A little effort and attention to detail can make a significant difference in the quality of your sleep and the longevity of your bed frame.
So, roll up your sleeves, gather your tools, and embark on the journey of repairing your bent bed frame. Rest assured that with careful execution and patience, you will successfully bring your bed frame back to optimal condition and enjoy countless nights of restful sleep. Sweet dreams!
Frequently Asked Questions about How To Fix A Bent Bed Frame
Was this page helpful?
At Storables.com, we guarantee accurate and reliable information. Our content, validated by Expert Board Contributors, is crafted following stringent Editorial Policies. We're committed to providing you with well-researched, expert-backed insights for all your informational needs.


0 thoughts on “How To Fix A Bent Bed Frame”