Home>Gardening & Outdoor>Landscaping Ideas>How To Layer A Raised Garden Bed
Landscaping Ideas
How To Layer A Raised Garden Bed
Published: January 31, 2024
Learn how to layer a raised garden bed with our expert landscaping ideas. Create a beautiful and functional garden space with our step-by-step guide.
(Many of the links in this article redirect to a specific reviewed product. Your purchase of these products through affiliate links helps to generate commission for Storables.com, at no extra cost. Learn more)
Introduction
Creating a raised garden bed is an excellent way to elevate your gardening experience and enhance the visual appeal of your outdoor space. Whether you're a seasoned gardener or just starting out, a raised garden bed offers numerous benefits, including improved soil quality, better drainage, and easier access for planting and maintenance.
In this comprehensive guide, we will walk you through the step-by-step process of layering a raised garden bed to ensure optimal growing conditions for your plants. From selecting the ideal location to adding the finishing touches, you'll gain valuable insights into transforming a simple plot of land into a thriving garden oasis.
By following these steps, you'll not only create a beautiful and functional raised garden bed but also cultivate a deeper connection with nature and the food you grow. So, roll up your sleeves, grab your gardening tools, and let's embark on this enriching journey of building and nurturing a vibrant raised garden bed.
Let's dive into the first step: choosing the right location for your raised garden bed.
Key Takeaways:
- Choose a sunny, accessible location with good drainage and soil quality for your raised garden bed. Consider future growth and aesthetics to create a thriving garden oasis.
- Prepare the ground, build a sturdy base layer, add nutrient-rich soil and compost, and carefully plant your garden for a vibrant and flourishing raised garden bed.
Read more: How To Layer Raised Garden Bed
Step 1: Choose the Right Location
Selecting the optimal location for your raised garden bed is a crucial first step in ensuring the success of your gardening endeavors. The right spot can significantly impact the growth and health of your plants. Here's how to make the best choice:
-
Sunlight Exposure: Assess the sunlight exposure in different areas of your yard. Most vegetables and flowering plants thrive in full sunlight, which typically means a minimum of 6-8 hours of direct sunlight per day. Choose a location that receives ample sunlight to promote robust plant growth and bountiful harvests.
-
Accessibility: Consider the accessibility of the chosen location. Ensure that it is easily accessible for planting, watering, and harvesting. Accessibility is particularly important if you have physical limitations or mobility challenges, as it allows for convenient maintenance and care of your garden bed.
-
Water Drainage: Evaluate the water drainage in the area. Avoid low-lying spots that tend to accumulate water, as excessive moisture can lead to root rot and other issues. Look for a location with good natural drainage to prevent waterlogging and promote healthy root development.
-
Soil Quality: Take note of the existing soil quality. While raised garden beds allow for control over the soil composition, it's beneficial to choose a location with relatively good soil quality. Avoid areas with compacted or poor-quality soil, as they may require more extensive preparation before building the raised bed.
-
Aesthetic Considerations: Consider the visual impact of the chosen location. Aesthetics play a significant role in the overall enjoyment of your garden. Select a spot that complements the surrounding landscape and adds to the beauty of your outdoor space.
-
Future Growth: Anticipate the future growth of nearby trees and shrubs. Avoid placing the raised garden bed too close to large trees whose roots may compete with the plants for nutrients. Additionally, consider the potential shading effects of nearby structures or vegetation as they grow over time.
By carefully considering these factors, you can confidently choose a location that sets the stage for a thriving raised garden bed. Once you've identified the perfect spot, you'll be ready to move on to the next step: preparing the ground for your garden bed.
Step 2: Prepare the Ground
Preparing the ground for your raised garden bed is a crucial step that sets the foundation for a successful gardening venture. By taking the time to properly prepare the site, you can ensure optimal growing conditions for your plants and minimize potential challenges down the road. Here's a detailed guide on how to prepare the ground for your raised garden bed:
Clear the Area
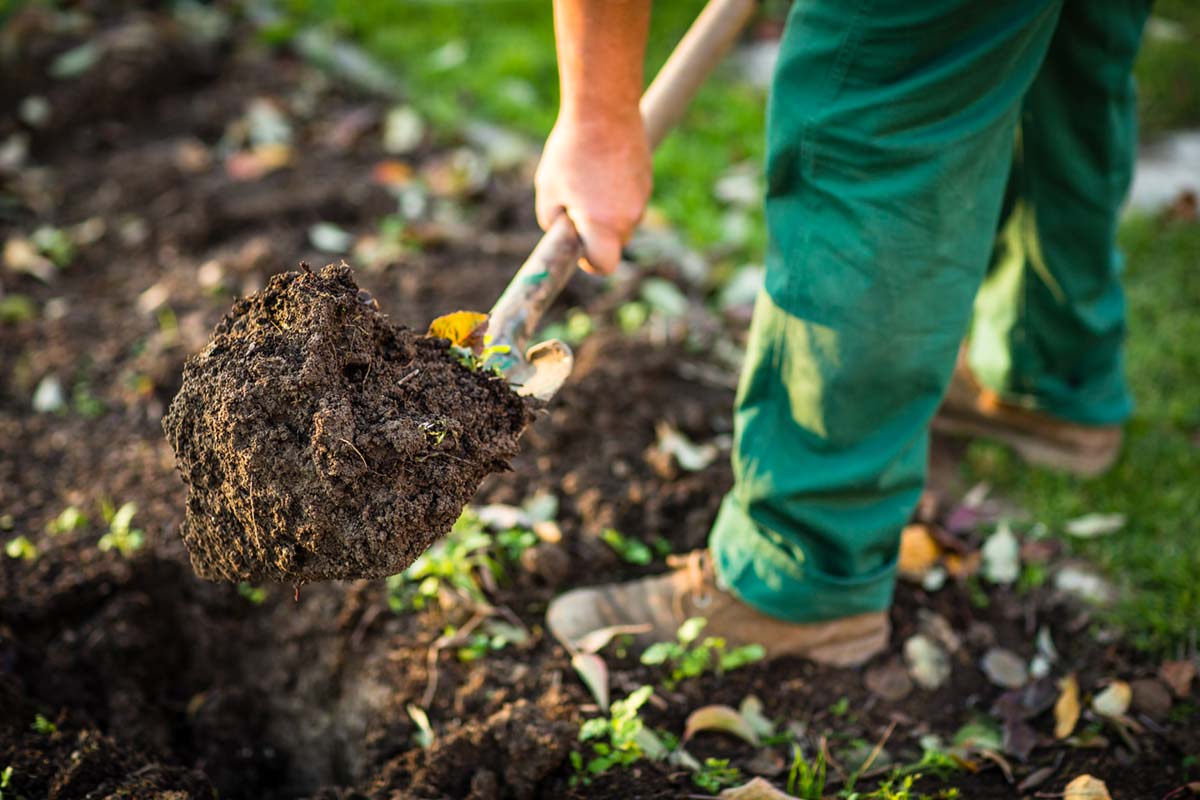
Begin by clearing the selected area of any existing vegetation, debris, or obstacles. Remove weeds, rocks, and any other impediments that may hinder the construction and placement of your raised garden bed. This process provides a clean canvas for building and prevents competing vegetation from encroaching on your garden bed.
Level the Ground
Next, assess the levelness of the ground where the raised garden bed will be situated. Use a shovel, rake, or a leveling tool to ensure that the ground is relatively flat and even. A level surface is essential for the stability and uniformity of the raised bed structure.
Read more: Why A Raised Garden Bed
Weed Control
Take proactive measures to control weed growth in the designated area. Consider laying down a weed barrier fabric or applying a layer of mulch to suppress weed emergence. This step helps maintain a tidy and weed-free environment within and around the raised garden bed, reducing the need for ongoing weed management.
Improve Soil Quality
Assess the soil quality in the prepared area and make any necessary amendments to enhance its fertility and structure. Incorporate organic matter such as compost, well-rotted manure, or soil conditioner to enrich the soil and promote a healthy growing environment for your plants. Mixing in these organic materials also aids in improving drainage and water retention, creating an optimal growing medium for your garden.
Define the Borders
Outline the borders of the raised garden bed area using stakes, string, or a temporary marking tool. This step helps visualize the dimensions of the garden bed and ensures a clear boundary for the subsequent construction phase. It also allows for adjustments to the layout before proceeding with the construction of the raised bed.
By meticulously preparing the ground for your raised garden bed, you establish a solid groundwork for the next stages of building and planting. With the site properly prepped, you are now ready to move on to the exciting phase of constructing the base layer of your raised garden bed.
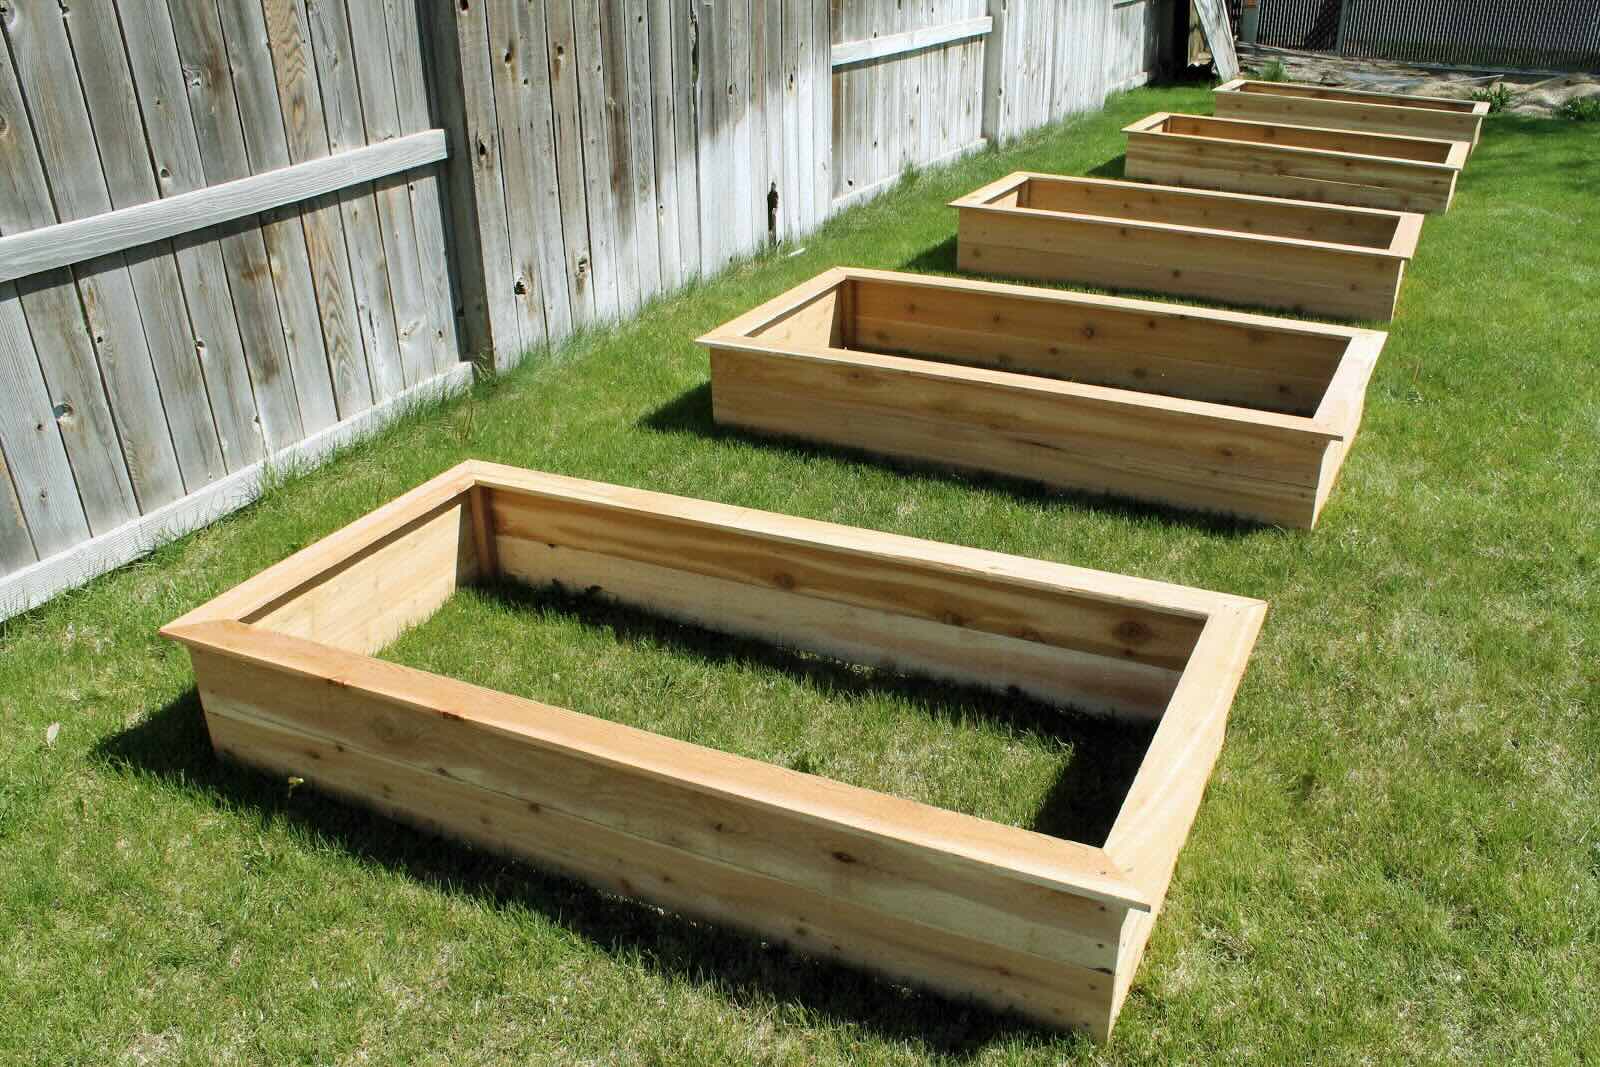
Step 3: Build the Base Layer
Building the base layer of your raised garden bed is a pivotal stage that lays the groundwork for the structural integrity and functionality of the entire garden bed. This foundational layer serves as the support system for the soil and plants, providing stability and promoting healthy root development. Here's a comprehensive guide on how to construct the base layer of your raised garden bed:
Read more: What Is A Raised Garden Bed
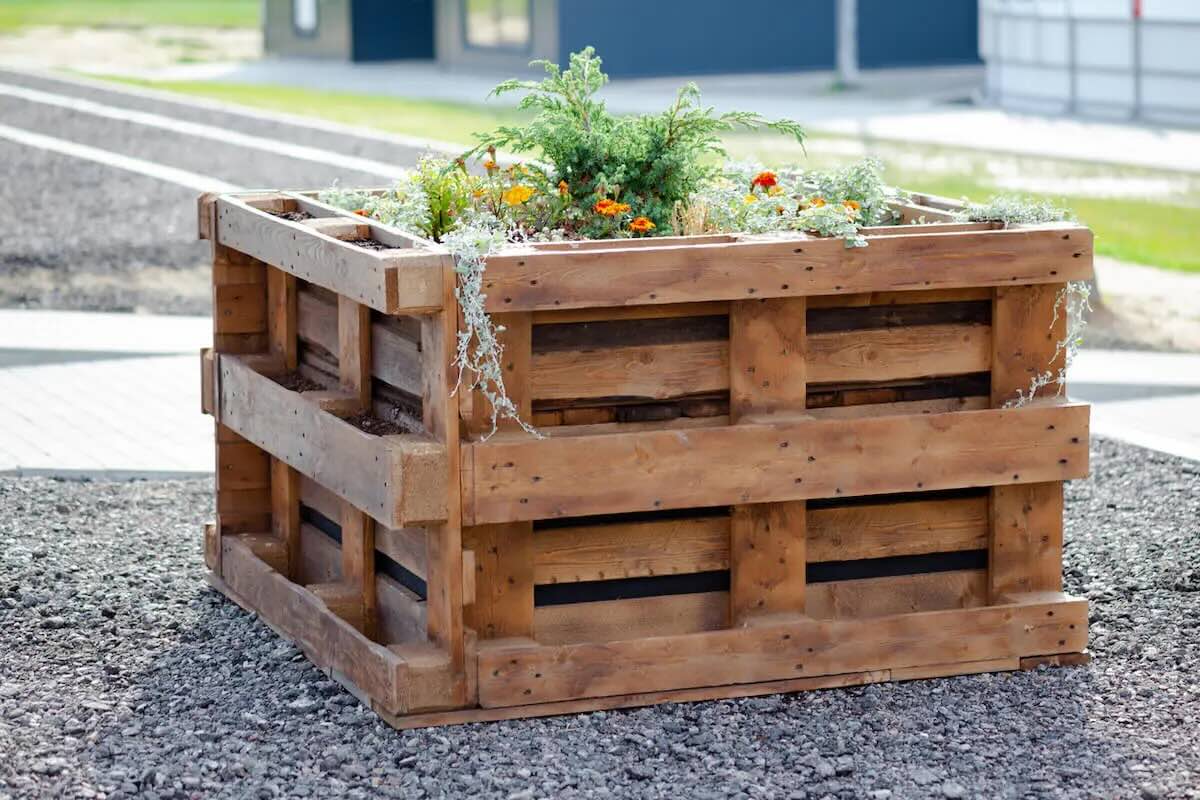
Select the Right Materials
When building the base layer, it's essential to choose durable and rot-resistant materials that can withstand the elements and support the weight of the soil. Common materials for constructing the base layer include rot-resistant lumber, such as cedar or redwood, or composite materials designed for outdoor use. These materials offer longevity and structural stability, ensuring the longevity of your raised garden bed.
Construct the Frame
Begin by assembling the selected materials to create the frame of the raised garden bed. Cut the lumber to the desired dimensions and securely fasten the pieces together at the corners to form a sturdy and level frame. Use galvanized or stainless steel screws or nails to prevent corrosion and ensure the longevity of the structure.
Add Support Braces
For larger or longer garden beds, consider adding support braces across the interior of the frame to prevent bowing or warping over time. These braces enhance the structural integrity of the base layer, especially when filled with soil, and contribute to the overall durability of the raised garden bed.
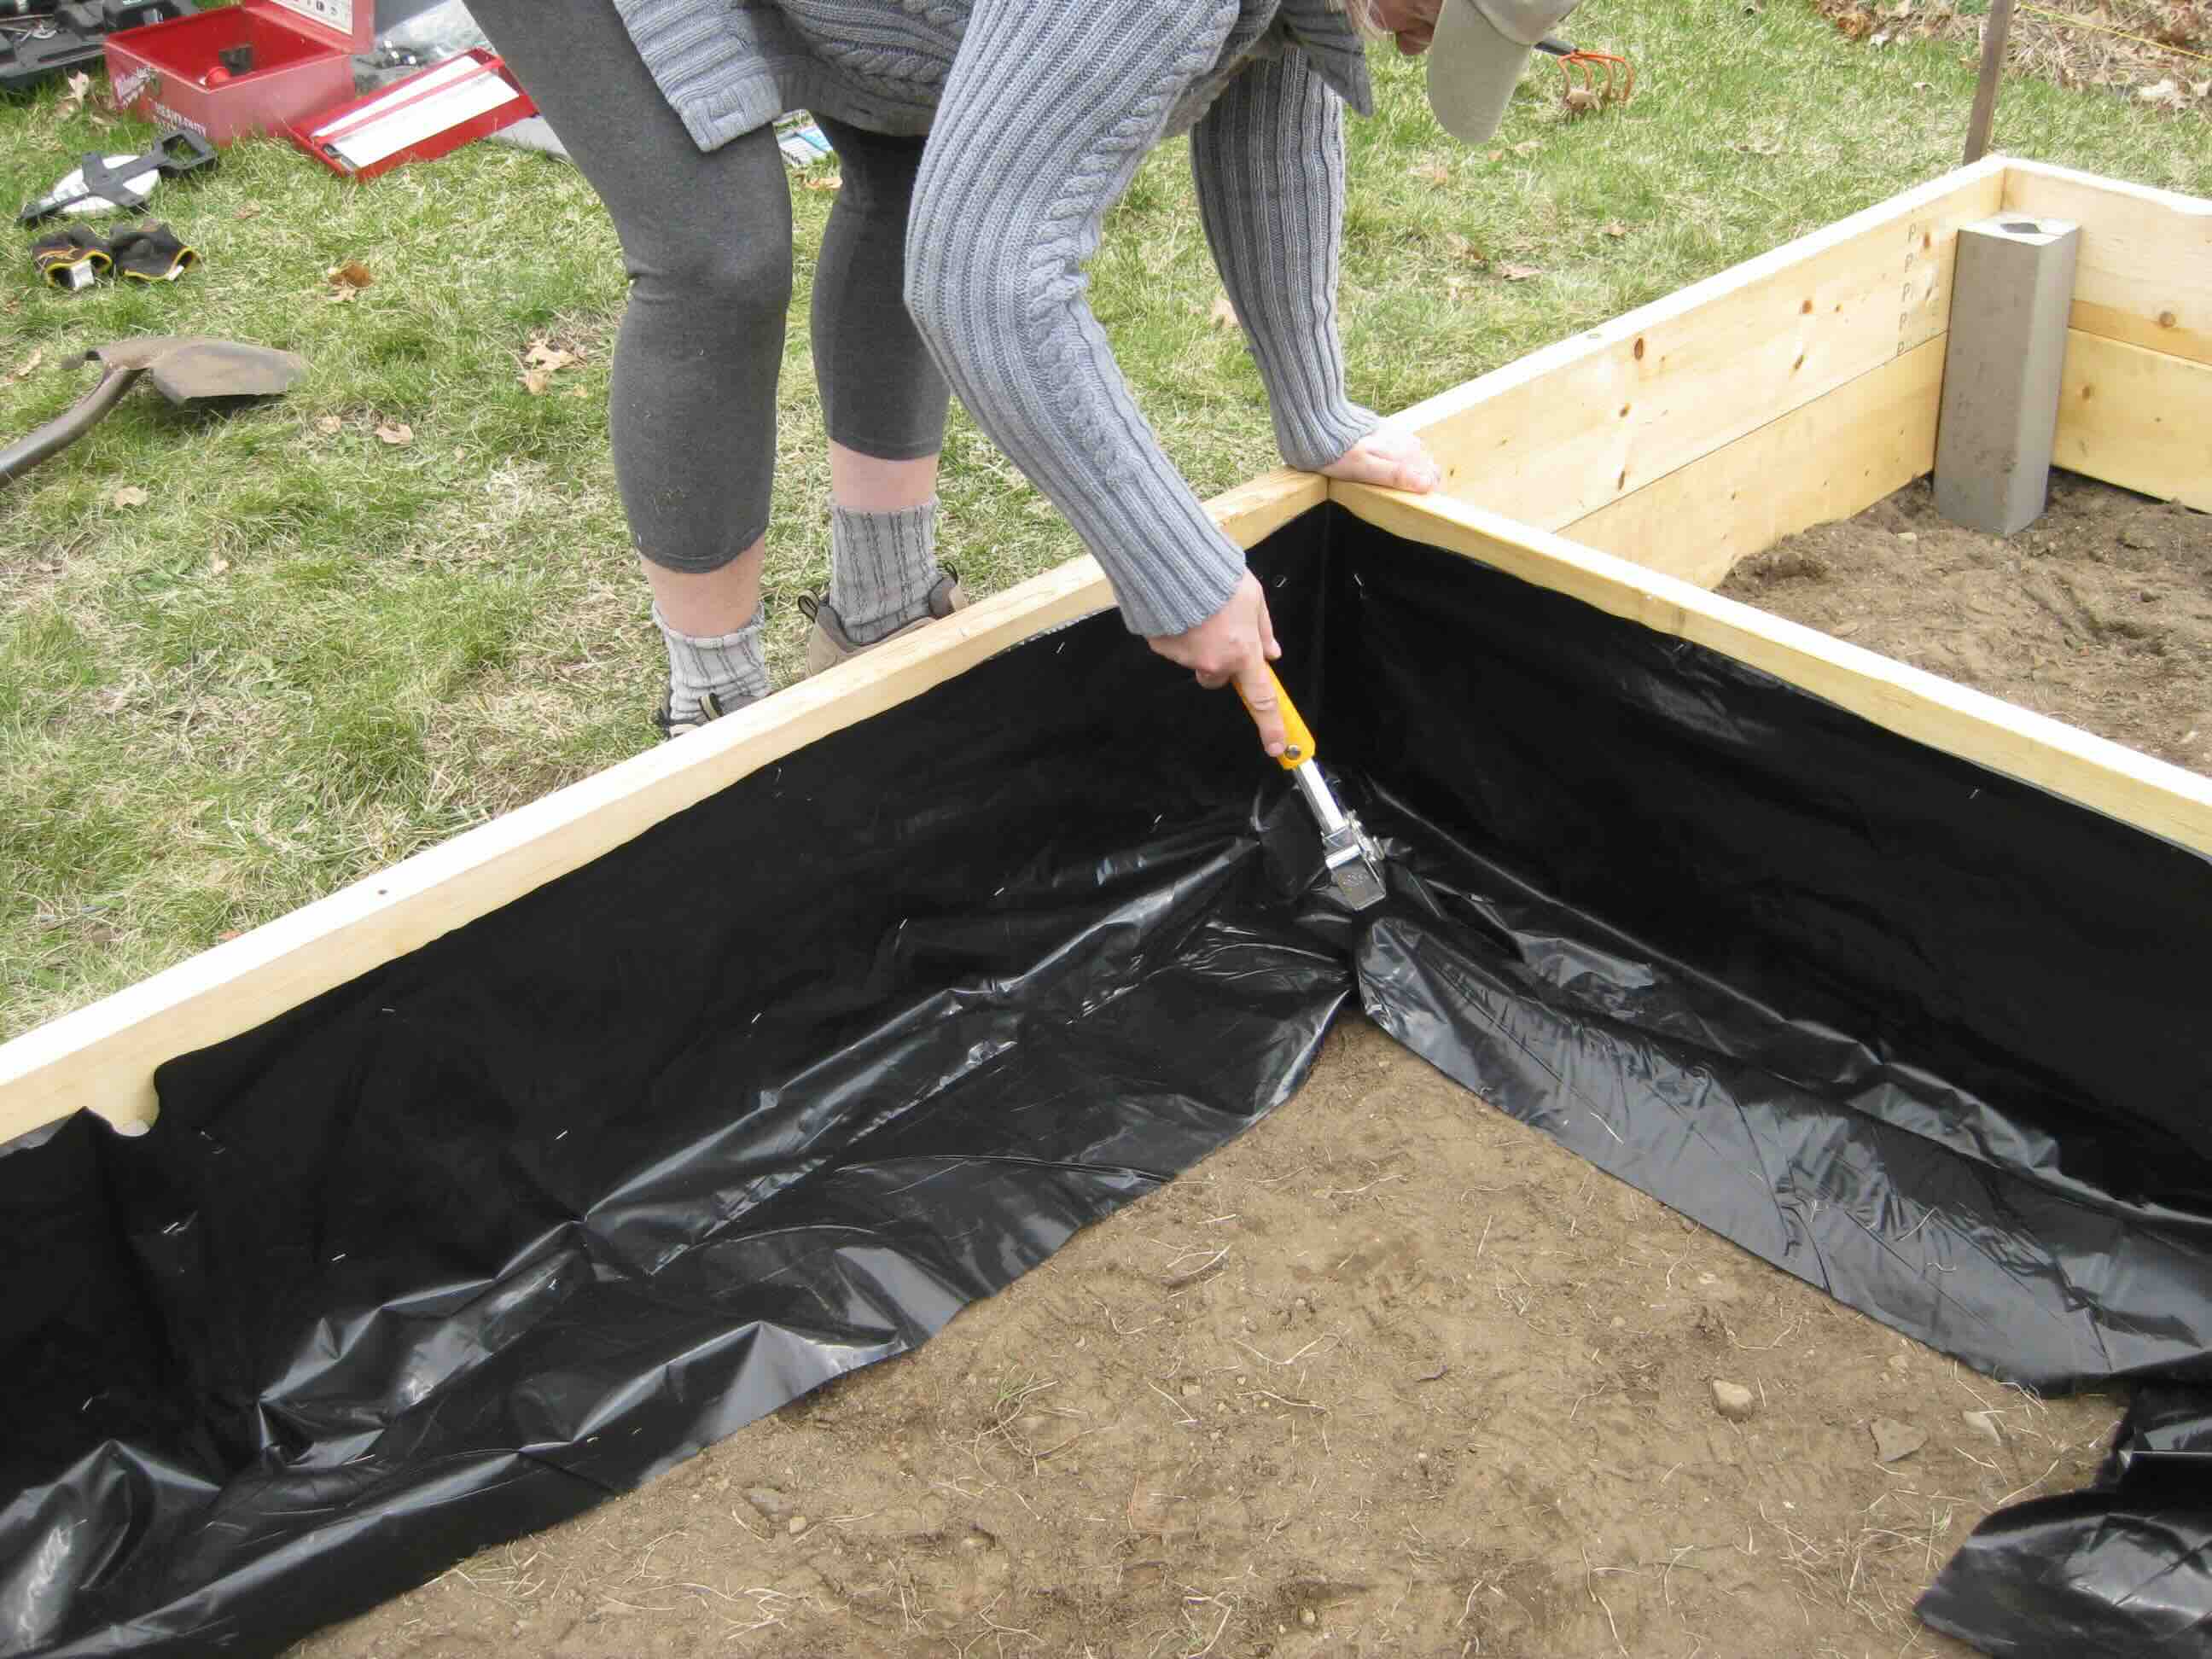
Install a Weed Barrier
Once the frame is constructed, install a weed barrier fabric or landscaping cloth at the bottom of the bed to prevent weed growth and minimize the intrusion of roots from surrounding vegetation. This barrier helps maintain a clean and weed-free environment within the raised garden bed, reducing the competition for nutrients and promoting the health of your plants.
Read more: How To Seal A Raised Garden Bed
Elevate the Base
If desired, elevate the base layer of the raised garden bed by placing it on top of a layer of gravel or compacted soil. This elevation promotes better drainage and aeration, preventing waterlogging and ensuring optimal growing conditions for your plants.
By meticulously following these steps, you can construct a solid and reliable base layer for your raised garden bed, setting the stage for the subsequent addition of soil and the exciting process of planting your garden. With the base layer in place, you are now ready to move forward and enrich the bed with soil and compost to create a nurturing environment for your plants.
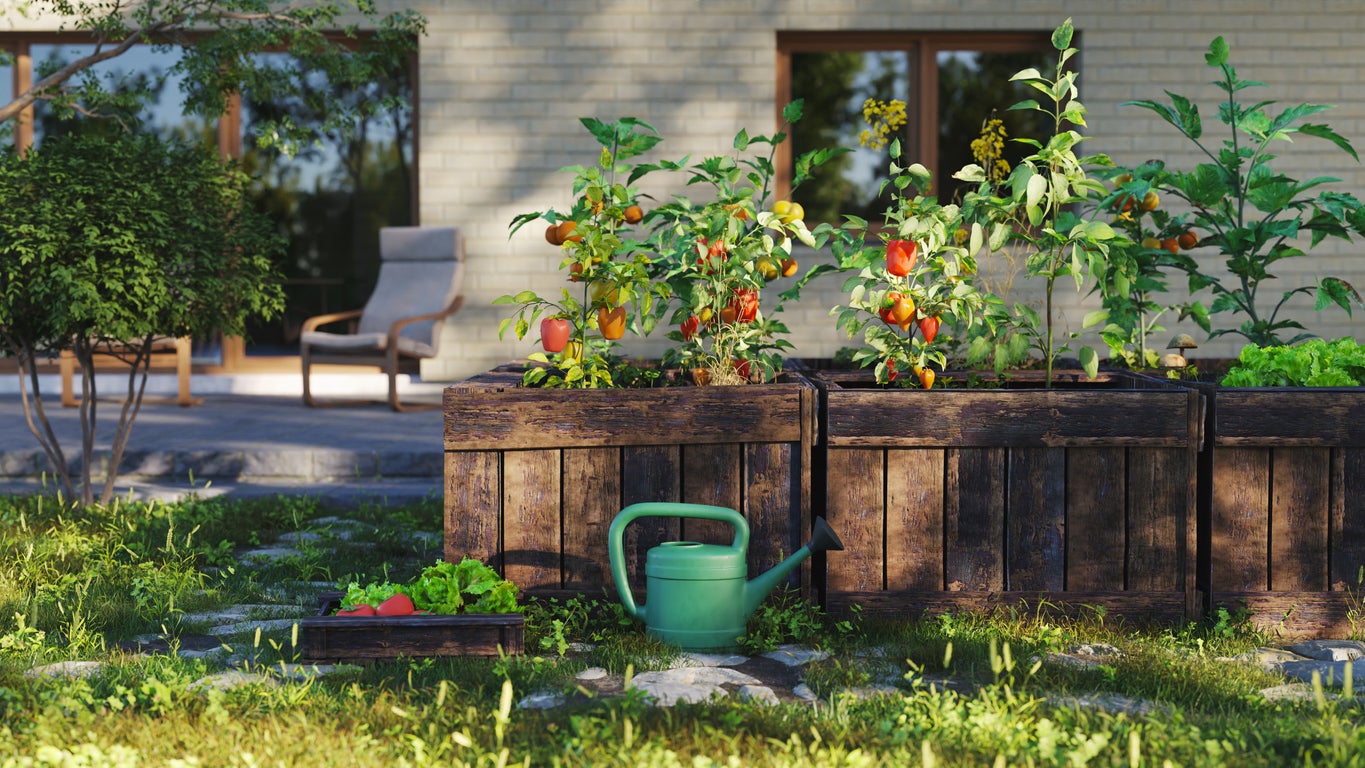
Step 4: Add Soil and Compost
Adding soil and compost to your raised garden bed is a transformative step that sets the stage for vibrant plant growth and abundant harvests. The quality of the soil and the richness of the compost play a pivotal role in creating a nurturing environment for your plants. Here's a detailed guide on how to add soil and compost to your raised garden bed:
Select High-Quality Soil
Choose a high-quality soil mix that is well-draining and rich in nutrients. Opt for a balanced blend of topsoil, compost, and other organic matter to create an optimal growing medium for your plants. Avoid using dense or clay-heavy soils, as they can impede root development and water penetration.
Layer the Soil Mix
Begin by layering the soil mix evenly across the base layer of the raised garden bed. Spread the soil mix to the desired depth, ensuring uniform coverage and a level surface. The depth of the soil layer may vary depending on the types of plants you intend to grow, with deeper-rooted plants requiring a deeper soil layer.
Read more: How To Prepare A Raised Garden Bed
Incorporate Nutrient-Rich Compost
Integrate nutrient-rich compost into the soil mix to enhance its fertility and provide essential organic matter for plant growth. Compost enriches the soil with beneficial microorganisms, improves its structure, and promotes healthy root development. Mix the compost thoroughly with the soil to ensure even distribution of nutrients.
Consider Soil Amendments
Assess the specific needs of the plants you plan to grow and consider incorporating targeted soil amendments, such as organic fertilizers or pH adjusters, to create an ideal growing environment. Soil amendments can address specific deficiencies in the soil and promote optimal plant nutrition and vitality.
Level and Firm the Soil
After adding the soil and compost, use a rake or gardening tool to level the surface of the soil mix and gently firm it to create a stable planting bed. A level and firm soil surface provides a uniform foundation for planting and ensures consistent moisture retention and root support.
By meticulously adding soil and compost to your raised garden bed, you establish a fertile and nurturing environment that sets the stage for successful plant growth and a bountiful harvest. With the soil and compost in place, you are now ready to move on to the exciting phase of planting your garden and witnessing the beauty of nature unfold in your own backyard.
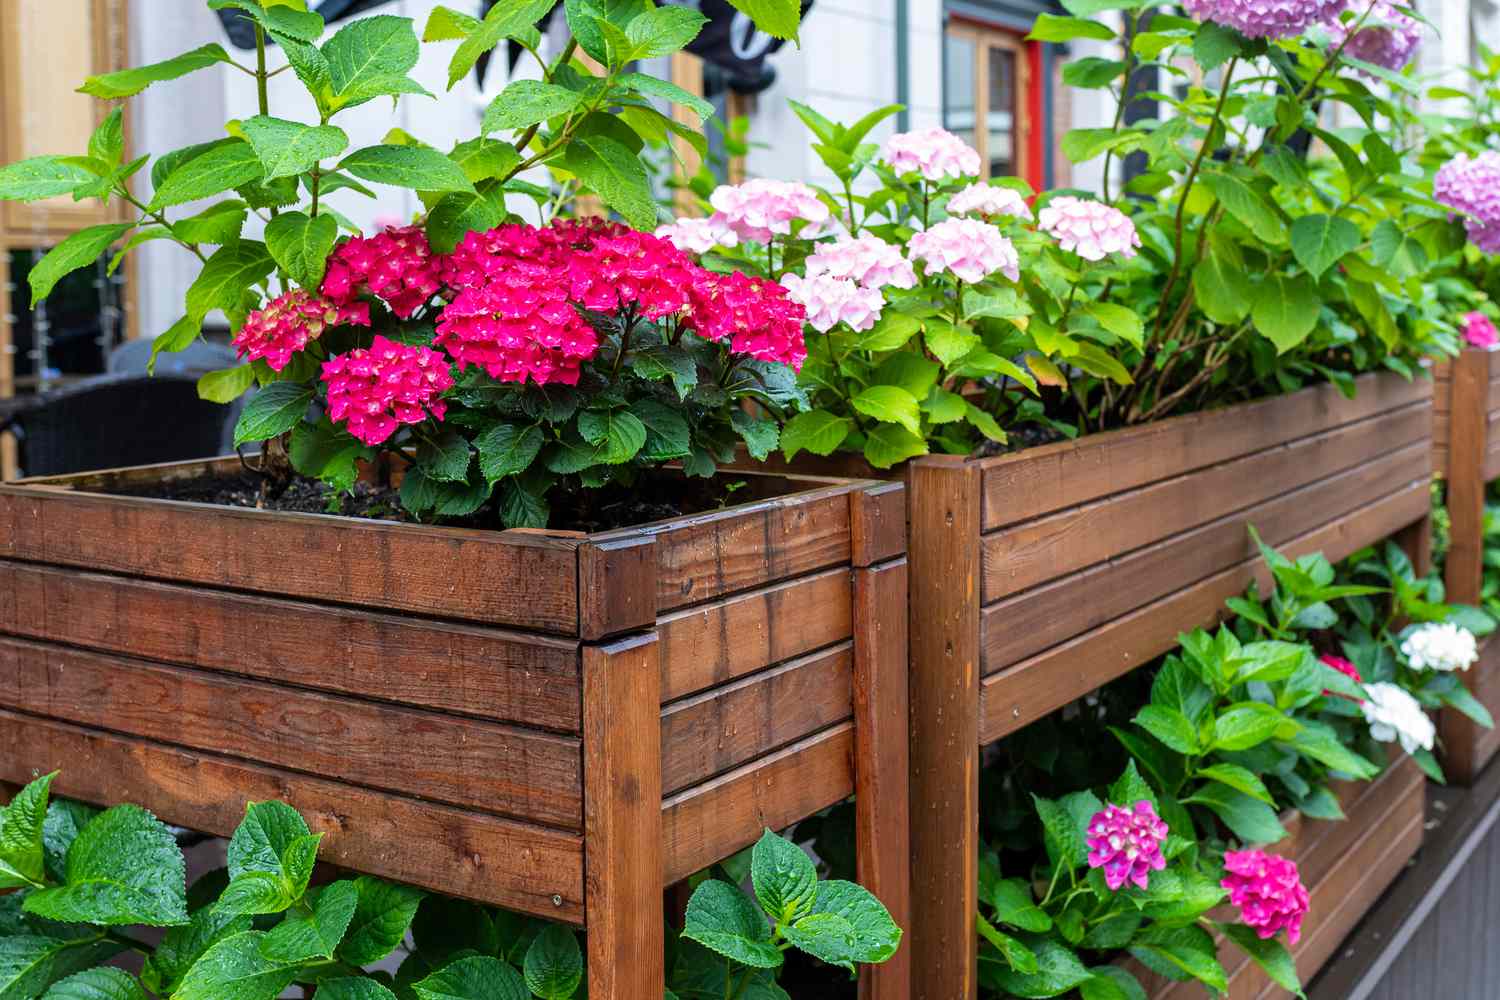
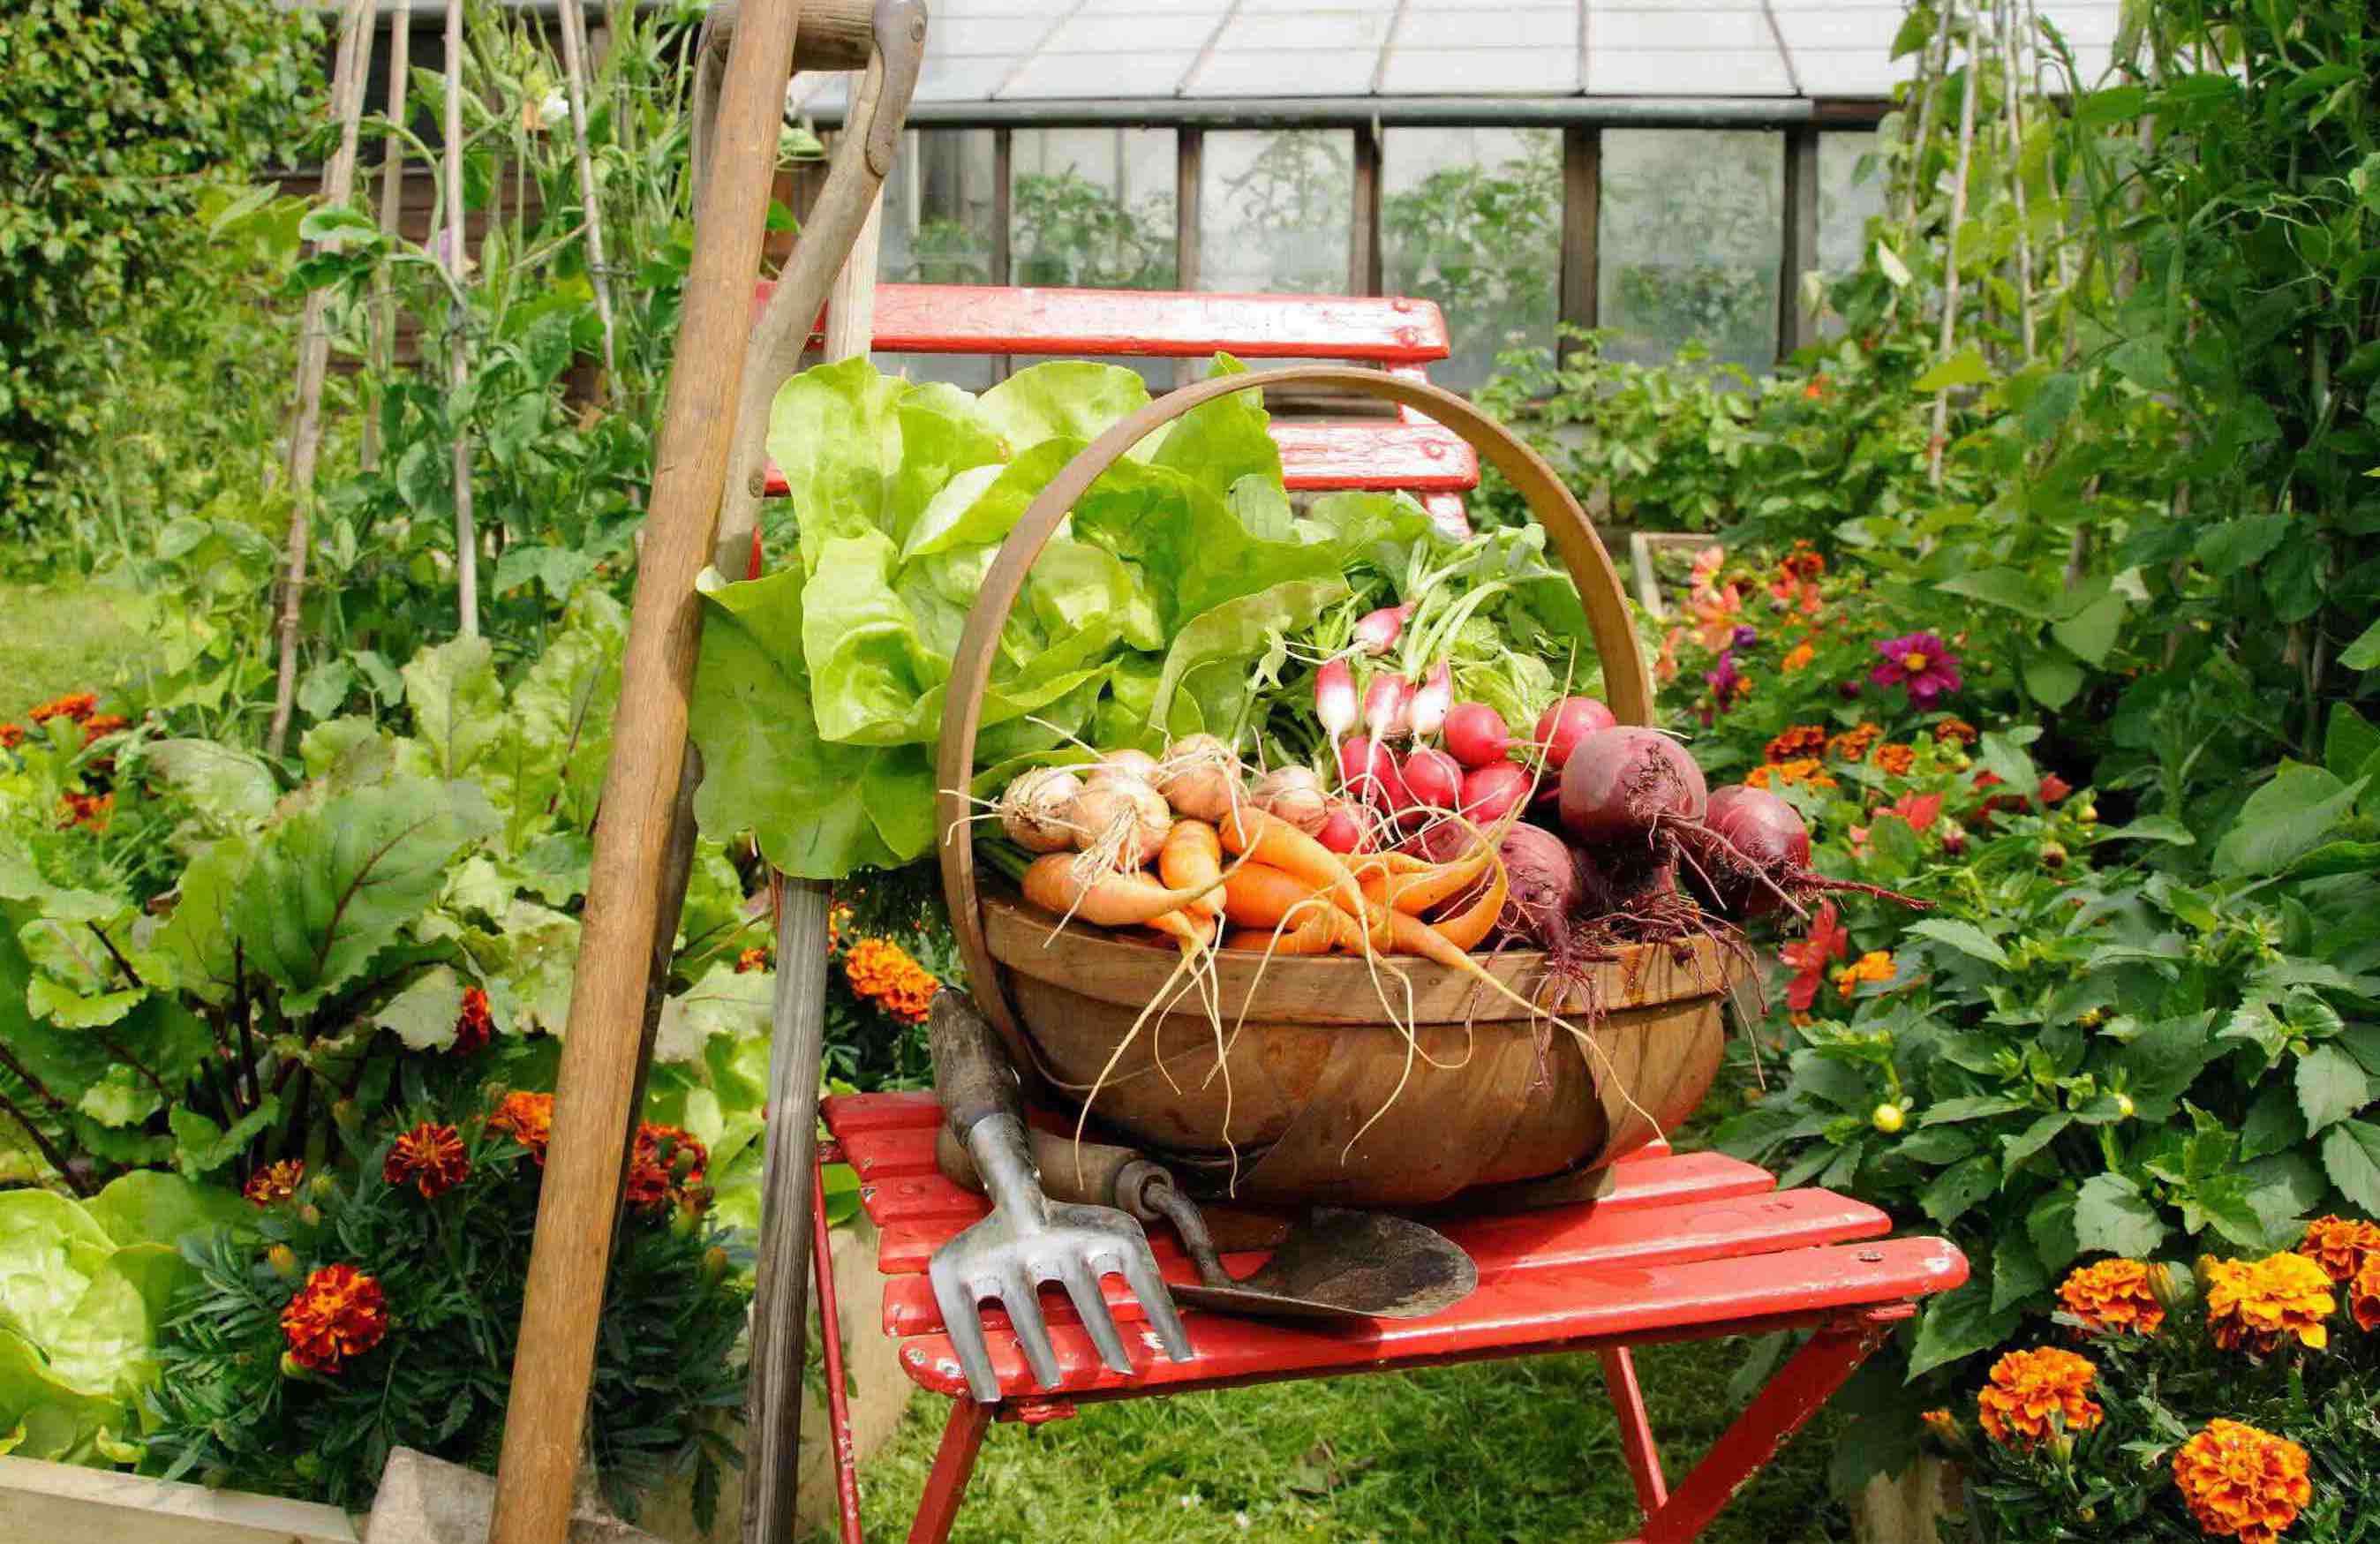
Step 5: Plant Your Garden
Planting your garden is the culmination of your efforts in creating a thriving raised garden bed. This step marks the transition from preparation to cultivation, as you bring life to the carefully constructed environment. Here's a detailed guide on how to plant your garden and set the stage for a flourishing and vibrant outdoor space.
Read more: How To Start A Raised Bed Garden
Plan Your Layout
Before diving into the planting process, take the time to plan the layout of your garden bed. Consider factors such as plant spacing, sunlight requirements, and the potential height and spread of mature plants. By strategically arranging your plants, you can optimize space utilization and create an aesthetically pleasing and functional garden layout.
Select Your Plants
Choose a diverse selection of plants that align with your gardening goals and preferences. Whether you're cultivating a vegetable garden, a colorful flower bed, or a combination of both, select plant varieties that thrive in your local climate and are well-suited for the available sunlight and soil conditions. Consider incorporating a mix of annuals, perennials, herbs, and vegetables to create a dynamic and visually appealing garden.
Dig and Plant
Begin the planting process by digging individual holes or trenches for each plant, ensuring that they are spaced according to their specific requirements. Gently remove the plants from their containers, loosen the root balls, and carefully place them in the prepared holes. Backfill the holes with soil, gently firming the soil around the base of each plant to provide stability and promote root-to-soil contact.
Water and Mulch
After planting, thoroughly water the garden bed to settle the soil around the roots and provide essential moisture for the newly transplanted plants. Consider applying a layer of organic mulch, such as straw, wood chips, or shredded leaves, to conserve moisture, suppress weed growth, and insulate the soil. Mulching also contributes to the overall health of the garden bed by promoting soil microbial activity and regulating soil temperature.
Read more: How To Drain A Raised Garden Bed
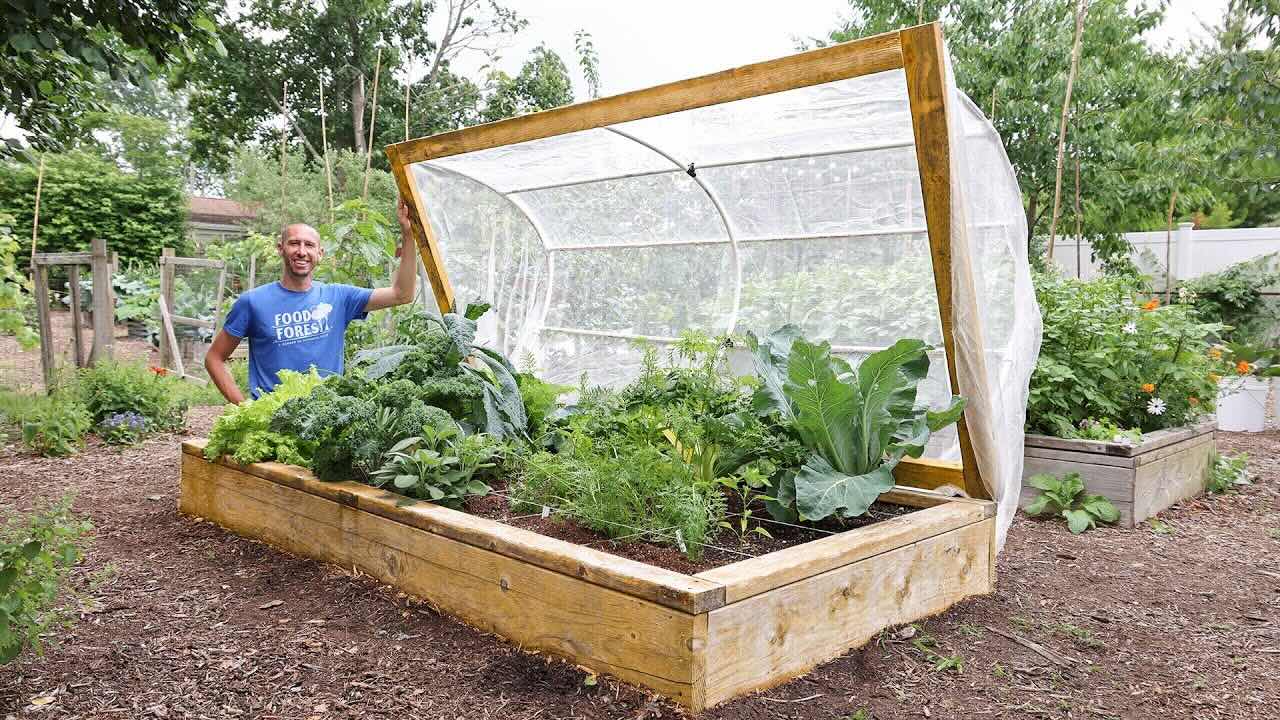
Provide Care and Maintenance
Once your garden is planted, it's essential to provide ongoing care and maintenance to ensure the health and vitality of your plants. Regularly monitor soil moisture, address any pest or disease issues promptly, and provide necessary support, such as staking or trellising, for climbing plants. Additionally, consider implementing a regular fertilization schedule to provide essential nutrients for robust plant growth and development.
By following these steps, you can plant your garden with confidence, knowing that you've created an optimal environment for your plants to thrive. As you witness the beauty of your garden coming to life, take the time to appreciate the fruits of your labor and the natural splendor that unfolds within your raised garden bed.
Conclusion
As you conclude this enriching journey of building and nurturing a vibrant raised garden bed, it's essential to reflect on the transformative process you've undertaken. From selecting the perfect location to planting a diverse array of greenery, each step has contributed to the creation of a flourishing outdoor oasis. The culmination of these efforts not only yields a bountiful harvest but also fosters a deeper connection with nature and the food you grow.
The raised garden bed you've meticulously constructed is more than a mere gardening space; it's a testament to your dedication to sustainable living and your commitment to cultivating a thriving ecosystem. By elevating your plants in a raised bed, you've provided them with optimal growing conditions, ensuring improved soil quality, better drainage, and easier access for maintenance.
As you gaze upon the vibrant tapestry of colors and textures within your garden bed, you're not just witnessing the beauty of nature; you're actively participating in its creation. The careful selection of plants, the nurturing of the soil, and the ongoing care and maintenance all contribute to the harmonious coexistence of flora and fauna within your garden.
Beyond the tangible rewards of a flourishing garden, the process of building and tending to a raised garden bed offers immeasurable benefits for your well-being. Engaging in gardening activities has been shown to reduce stress, promote physical activity, and enhance overall mental well-being. The act of nurturing plants and witnessing their growth fosters a sense of accomplishment and a profound connection to the natural world.
As you continue to tend to your raised garden bed, remember that it's not just a plot of land with plants; it's a living, breathing ecosystem that evolves with each passing season. Embrace the joy of observing the delicate unfurling of new leaves, the vibrant blooms that adorn your garden, and the abundant harvests that reward your efforts.
In conclusion, the journey of layering a raised garden bed extends far beyond the physical act of construction and planting. It's a journey of growth, connection, and appreciation for the wonders of the natural world. As you revel in the beauty of your garden, take pride in the role you've played in fostering a thriving and sustainable outdoor sanctuary.
Frequently Asked Questions about How To Layer A Raised Garden Bed
Was this page helpful?
At Storables.com, we guarantee accurate and reliable information. Our content, validated by Expert Board Contributors, is crafted following stringent Editorial Policies. We're committed to providing you with well-researched, expert-backed insights for all your informational needs.


0 thoughts on “How To Layer A Raised Garden Bed”