Articles
How To Build A Raised Garden Bed On Legs
Modified: October 25, 2024
Learn how to build a raised garden bed on legs and elevate your gardening experience. Discover tips and techniques for successful gardening in limited space.
(Many of the links in this article redirect to a specific reviewed product. Your purchase of these products through affiliate links helps to generate commission for Storables.com, at no extra cost. Learn more)
Introduction
Welcome to the world of gardening! If you’re a gardening enthusiast or someone who has always wanted to grow your own plants but don’t have the space, building a raised garden bed on legs might be the perfect solution for you. This innovative and practical gardening technique allows you to create a productive and attractive garden without the need for a traditional in-ground planting bed.
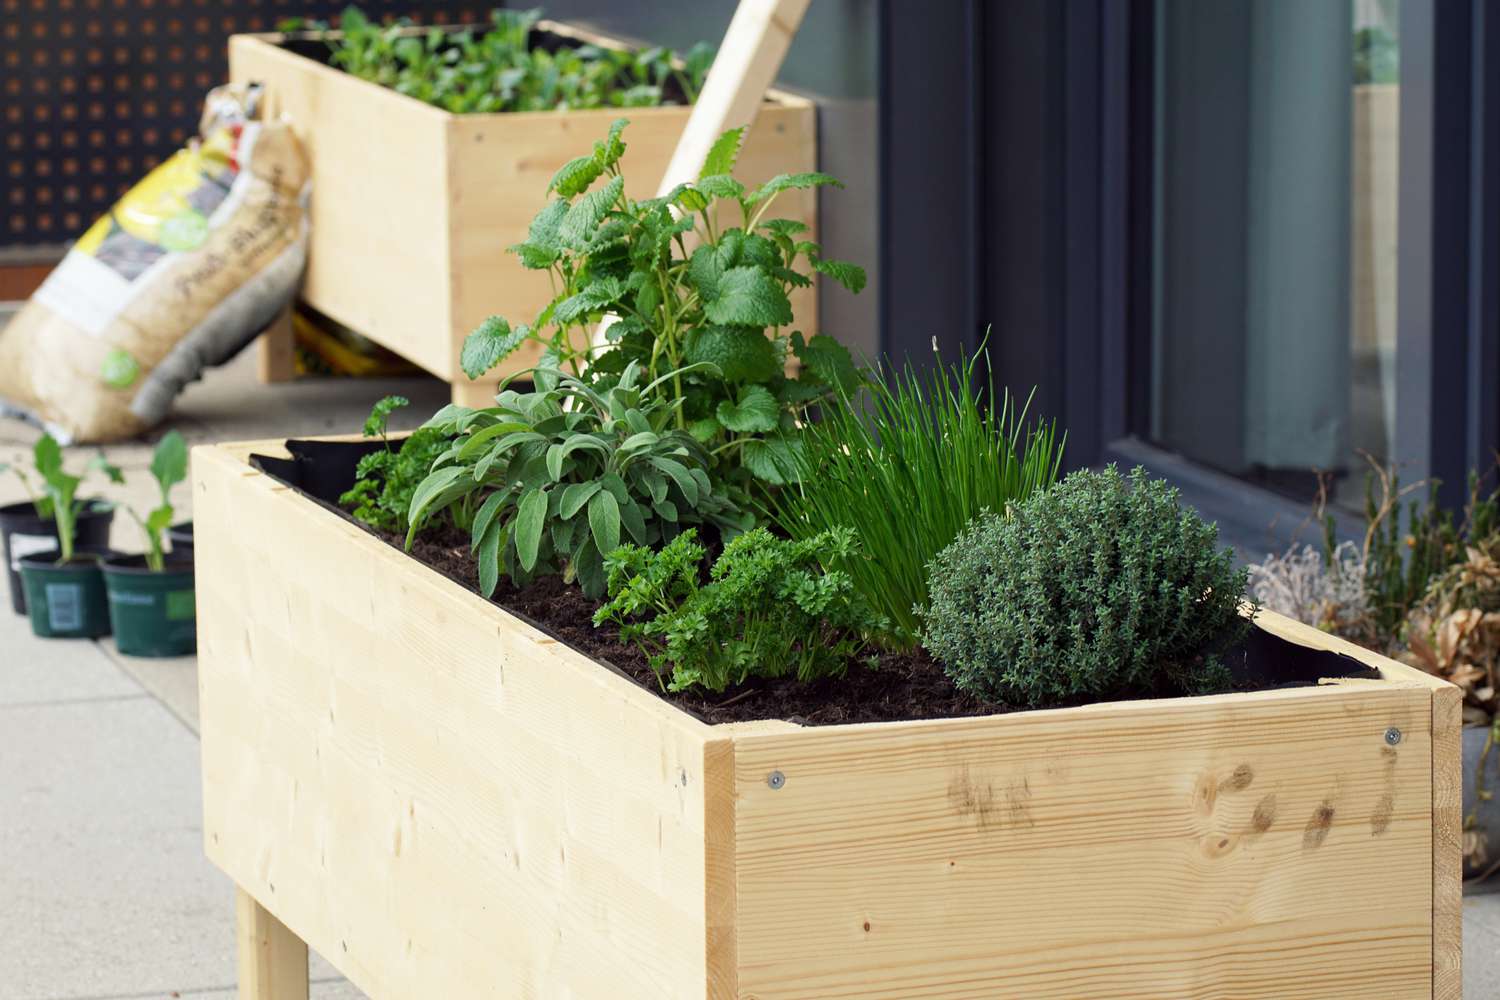
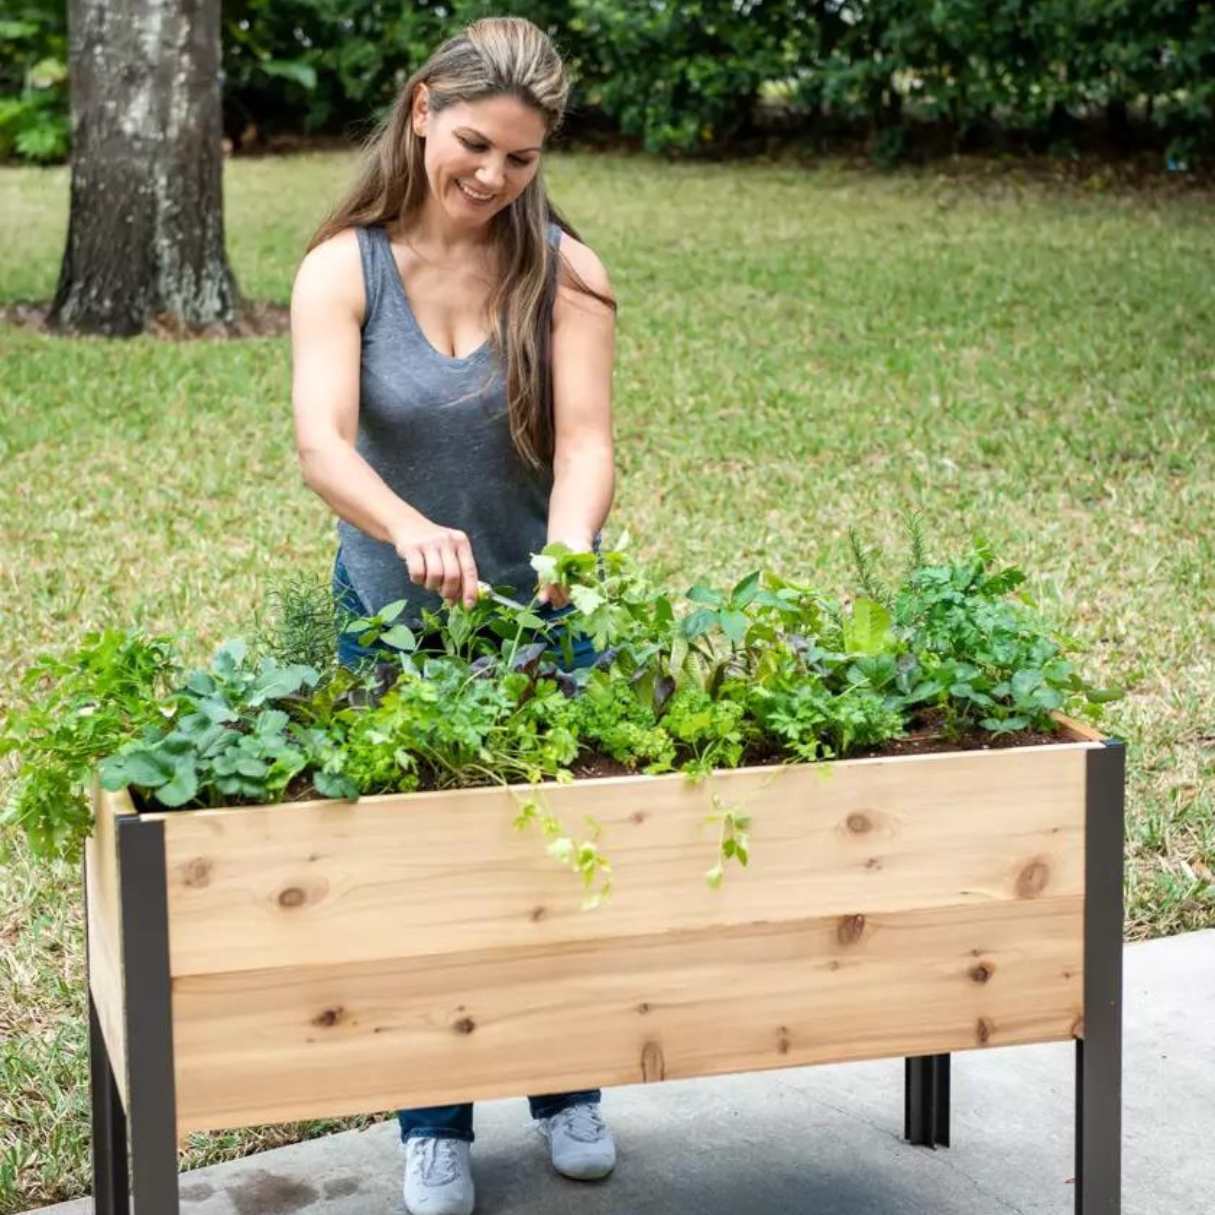
A raised garden bed on legs is a self-contained unit that provides a raised surface for planting, supported by sturdy legs. This elevated design offers numerous benefits, including easier access for planting, weeding, and harvesting, as well as better drainage and control over soil quality. Additionally, raised beds on legs can be a great option for people with limited mobility, as they reduce the need to bend or kneel down, making gardening more accessible to everyone.
Whether you have a small balcony, a compact patio, or a limited backyard space, a raised garden bed on legs can be customized to fit your unique needs. It’s a versatile solution that allows you to grow a variety of plants, from flowers and herbs to vegetables and fruits, right at your fingertips.
In this article, we will explore the many benefits of building a raised garden bed on legs, provide step-by-step instructions on how to construct one, and offer valuable tips for successful gardening in this type of bed. By the end, you’ll have all the knowledge and inspiration you need to start your own elevated garden oasis.
Key Takeaways:
- Elevate your gardening experience with a raised garden bed on legs, providing easy access, improved drainage, and customizable design for a thriving garden in limited spaces.
- Optimize your raised bed gardening with quality soil, vertical space utilization, companion planting, and consistent maintenance for a bountiful and rewarding gardening journey.
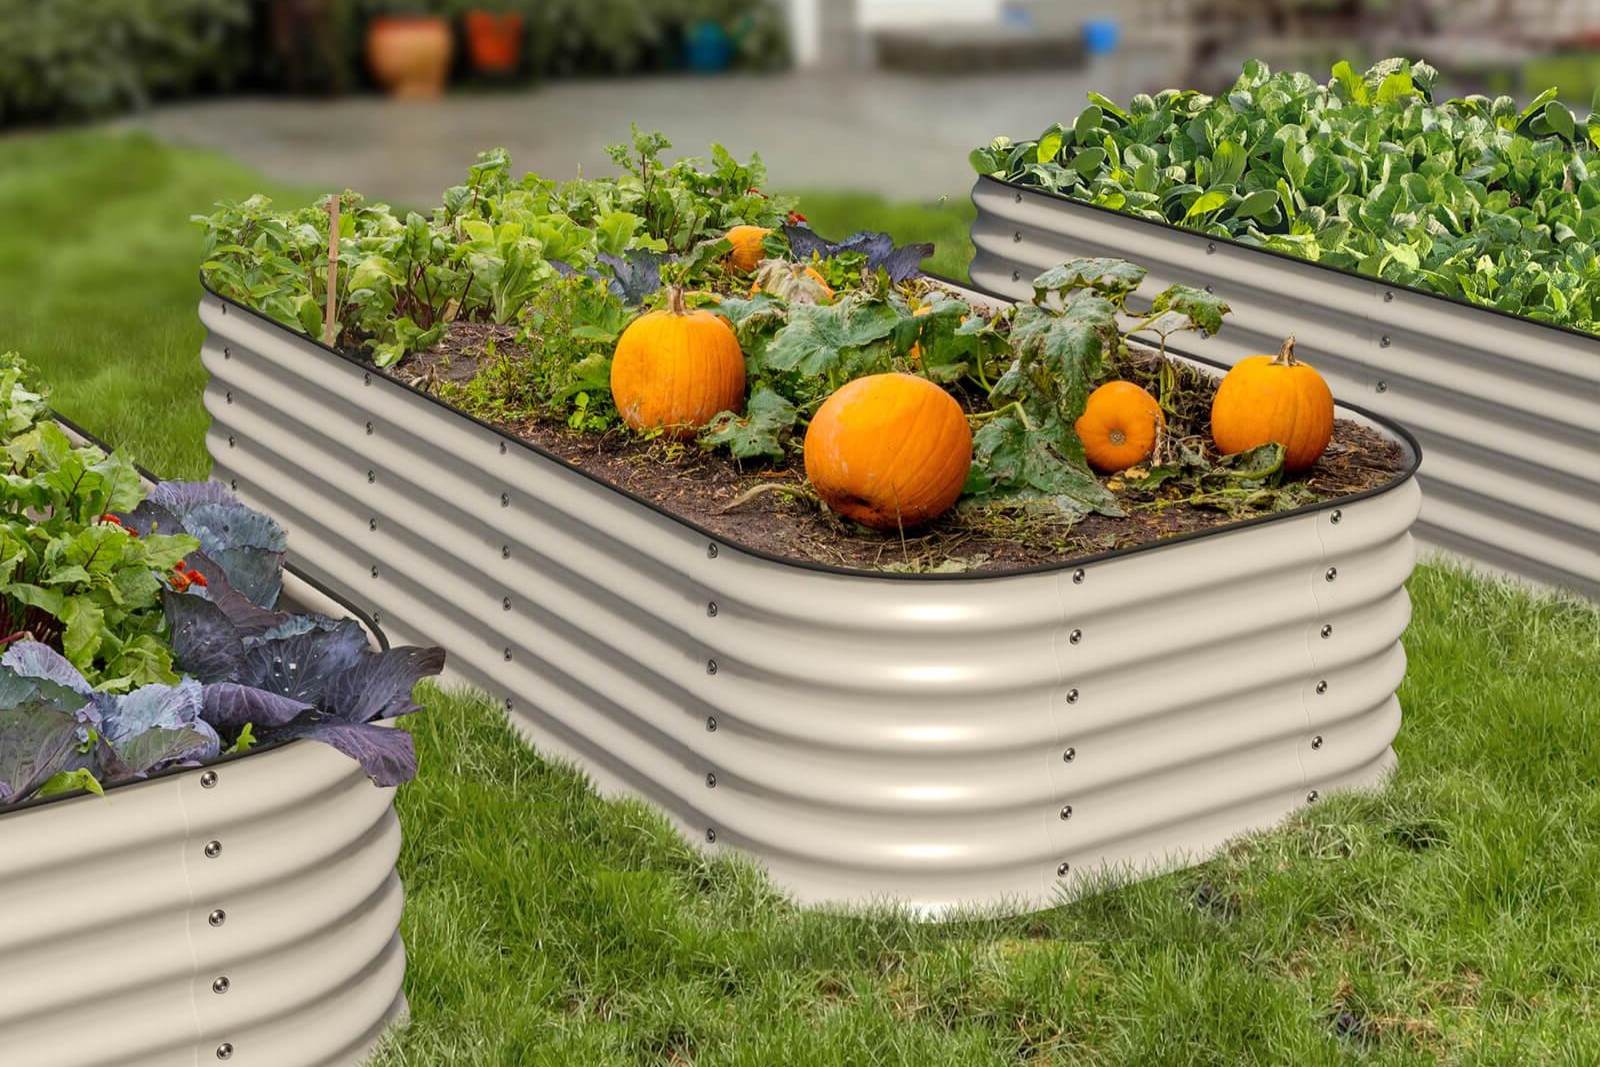
Benefits of Building a Raised Garden Bed on Legs
There are several compelling reasons why building a raised garden bed on legs is a smart choice for any gardening enthusiast. Let’s explore some of the key benefits:
- Ease of Access: One of the primary advantages of a raised garden bed on legs is the convenience it offers. The elevated height makes it easier to reach and tend to your plants without straining your back or knees. This is particularly beneficial for individuals with mobility issues or those who prefer to garden while standing.
- Improved Drainage: Raised beds on legs provide better drainage compared to traditional in-ground beds. The elevated design allows excess water to drain away more efficiently, preventing potential issues such as waterlogged soil and root rot. This ensures that your plants have the ideal moisture levels for healthy growth.
- Customizable Design: Building your own raised garden bed on legs allows you to customize the dimensions and materials to suit your specific needs. You can adjust the height and size of the bed based on your gardening space, making it a versatile option for gardens of all sizes.
- Pest and Weed Control: Raised garden beds on legs can help minimize problems with pests and weeds. The elevated design makes it harder for pests like slugs and snails to access your plants, and it also provides a physical barrier against weeds. This reduces the need for chemical pesticides and herbicides, promoting a more natural and eco-friendly gardening approach.
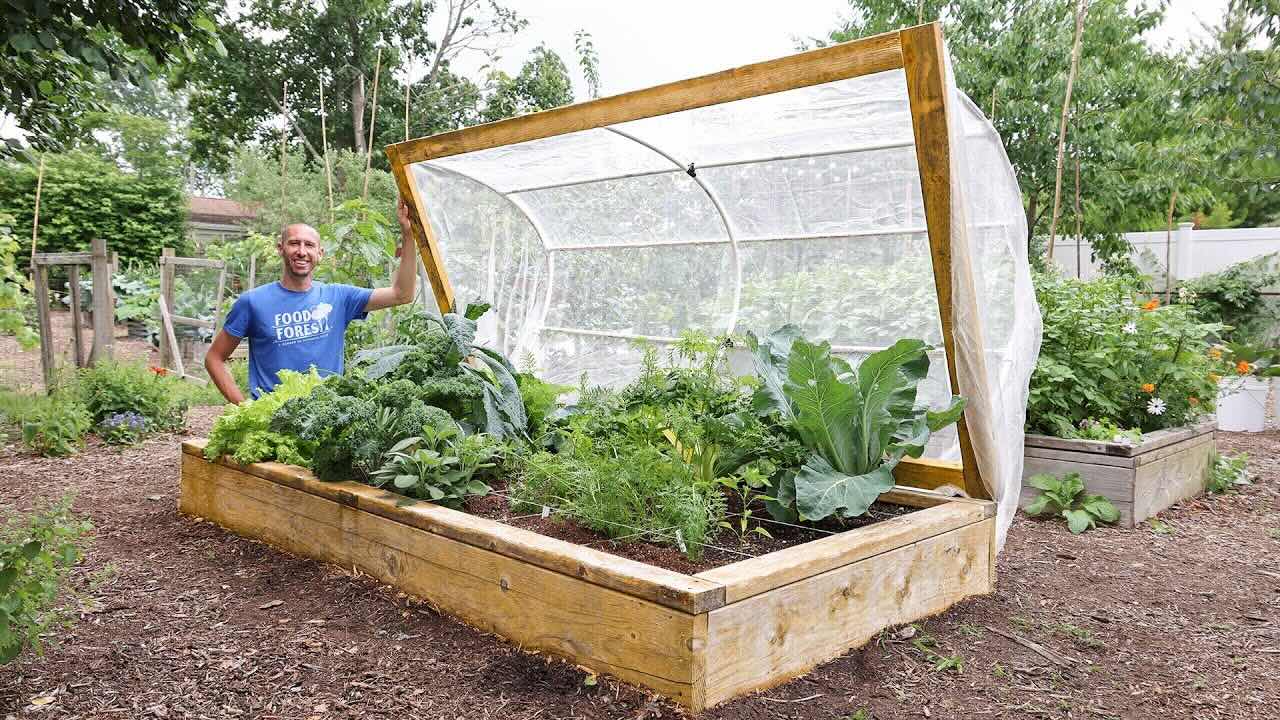
- Extended Growing Season: Raised beds on legs offer better temperature control, allowing you to start planting earlier in the spring and extend the growing season in the fall. The soil in raised beds warms up faster in the spring, providing an ideal environment for seeds to germinate. Additionally, you can easily install a protective cover or hoop house to shield your plants from frost and cold temperatures.
By building a raised garden bed on legs, you can enjoy these benefits and more. Not only does it provide a practical and accessible gardening solution, but it also adds a beautiful and functional element to your outdoor space. So, let’s get started on planning and designing your raised garden bed on legs!
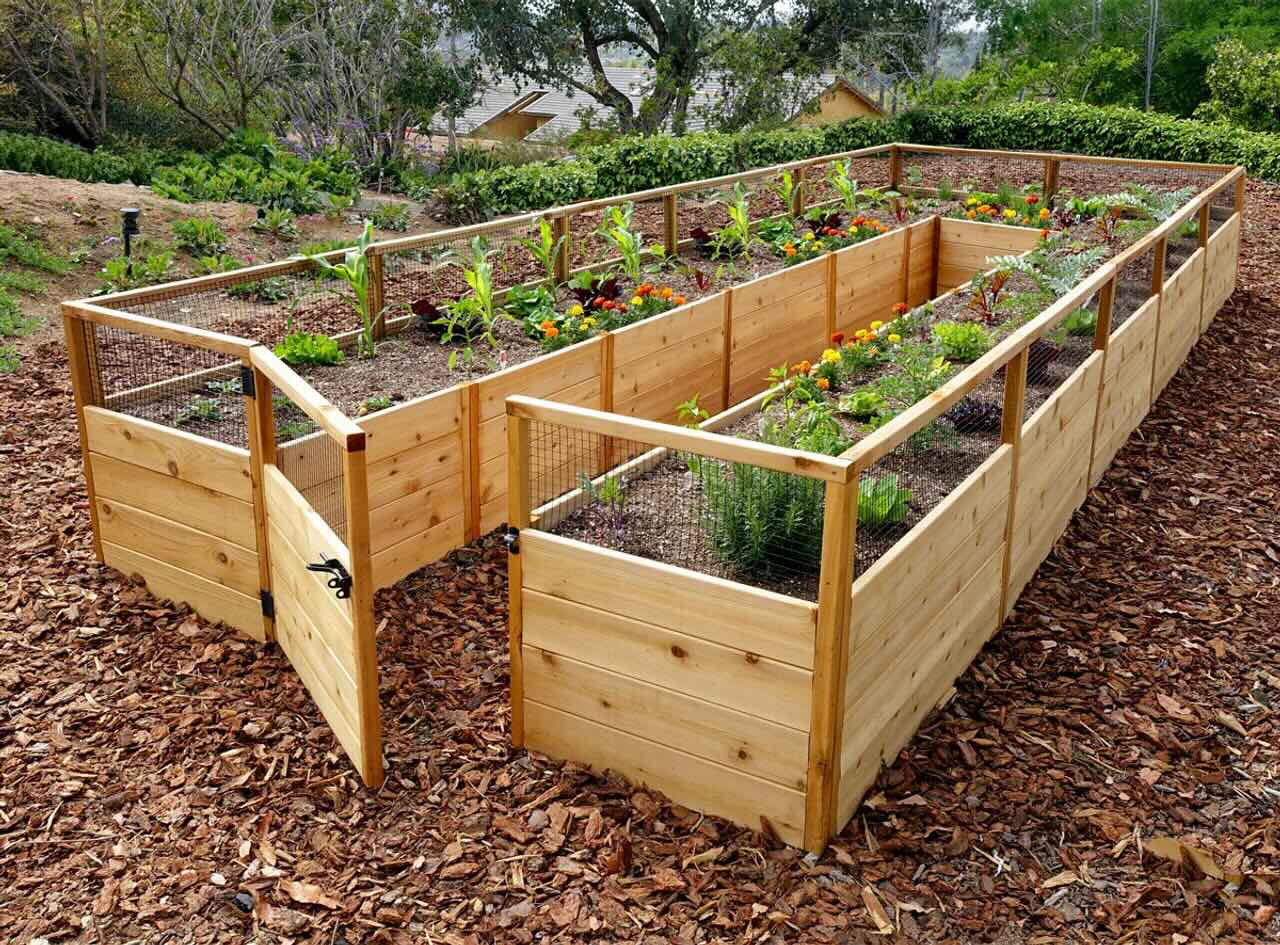
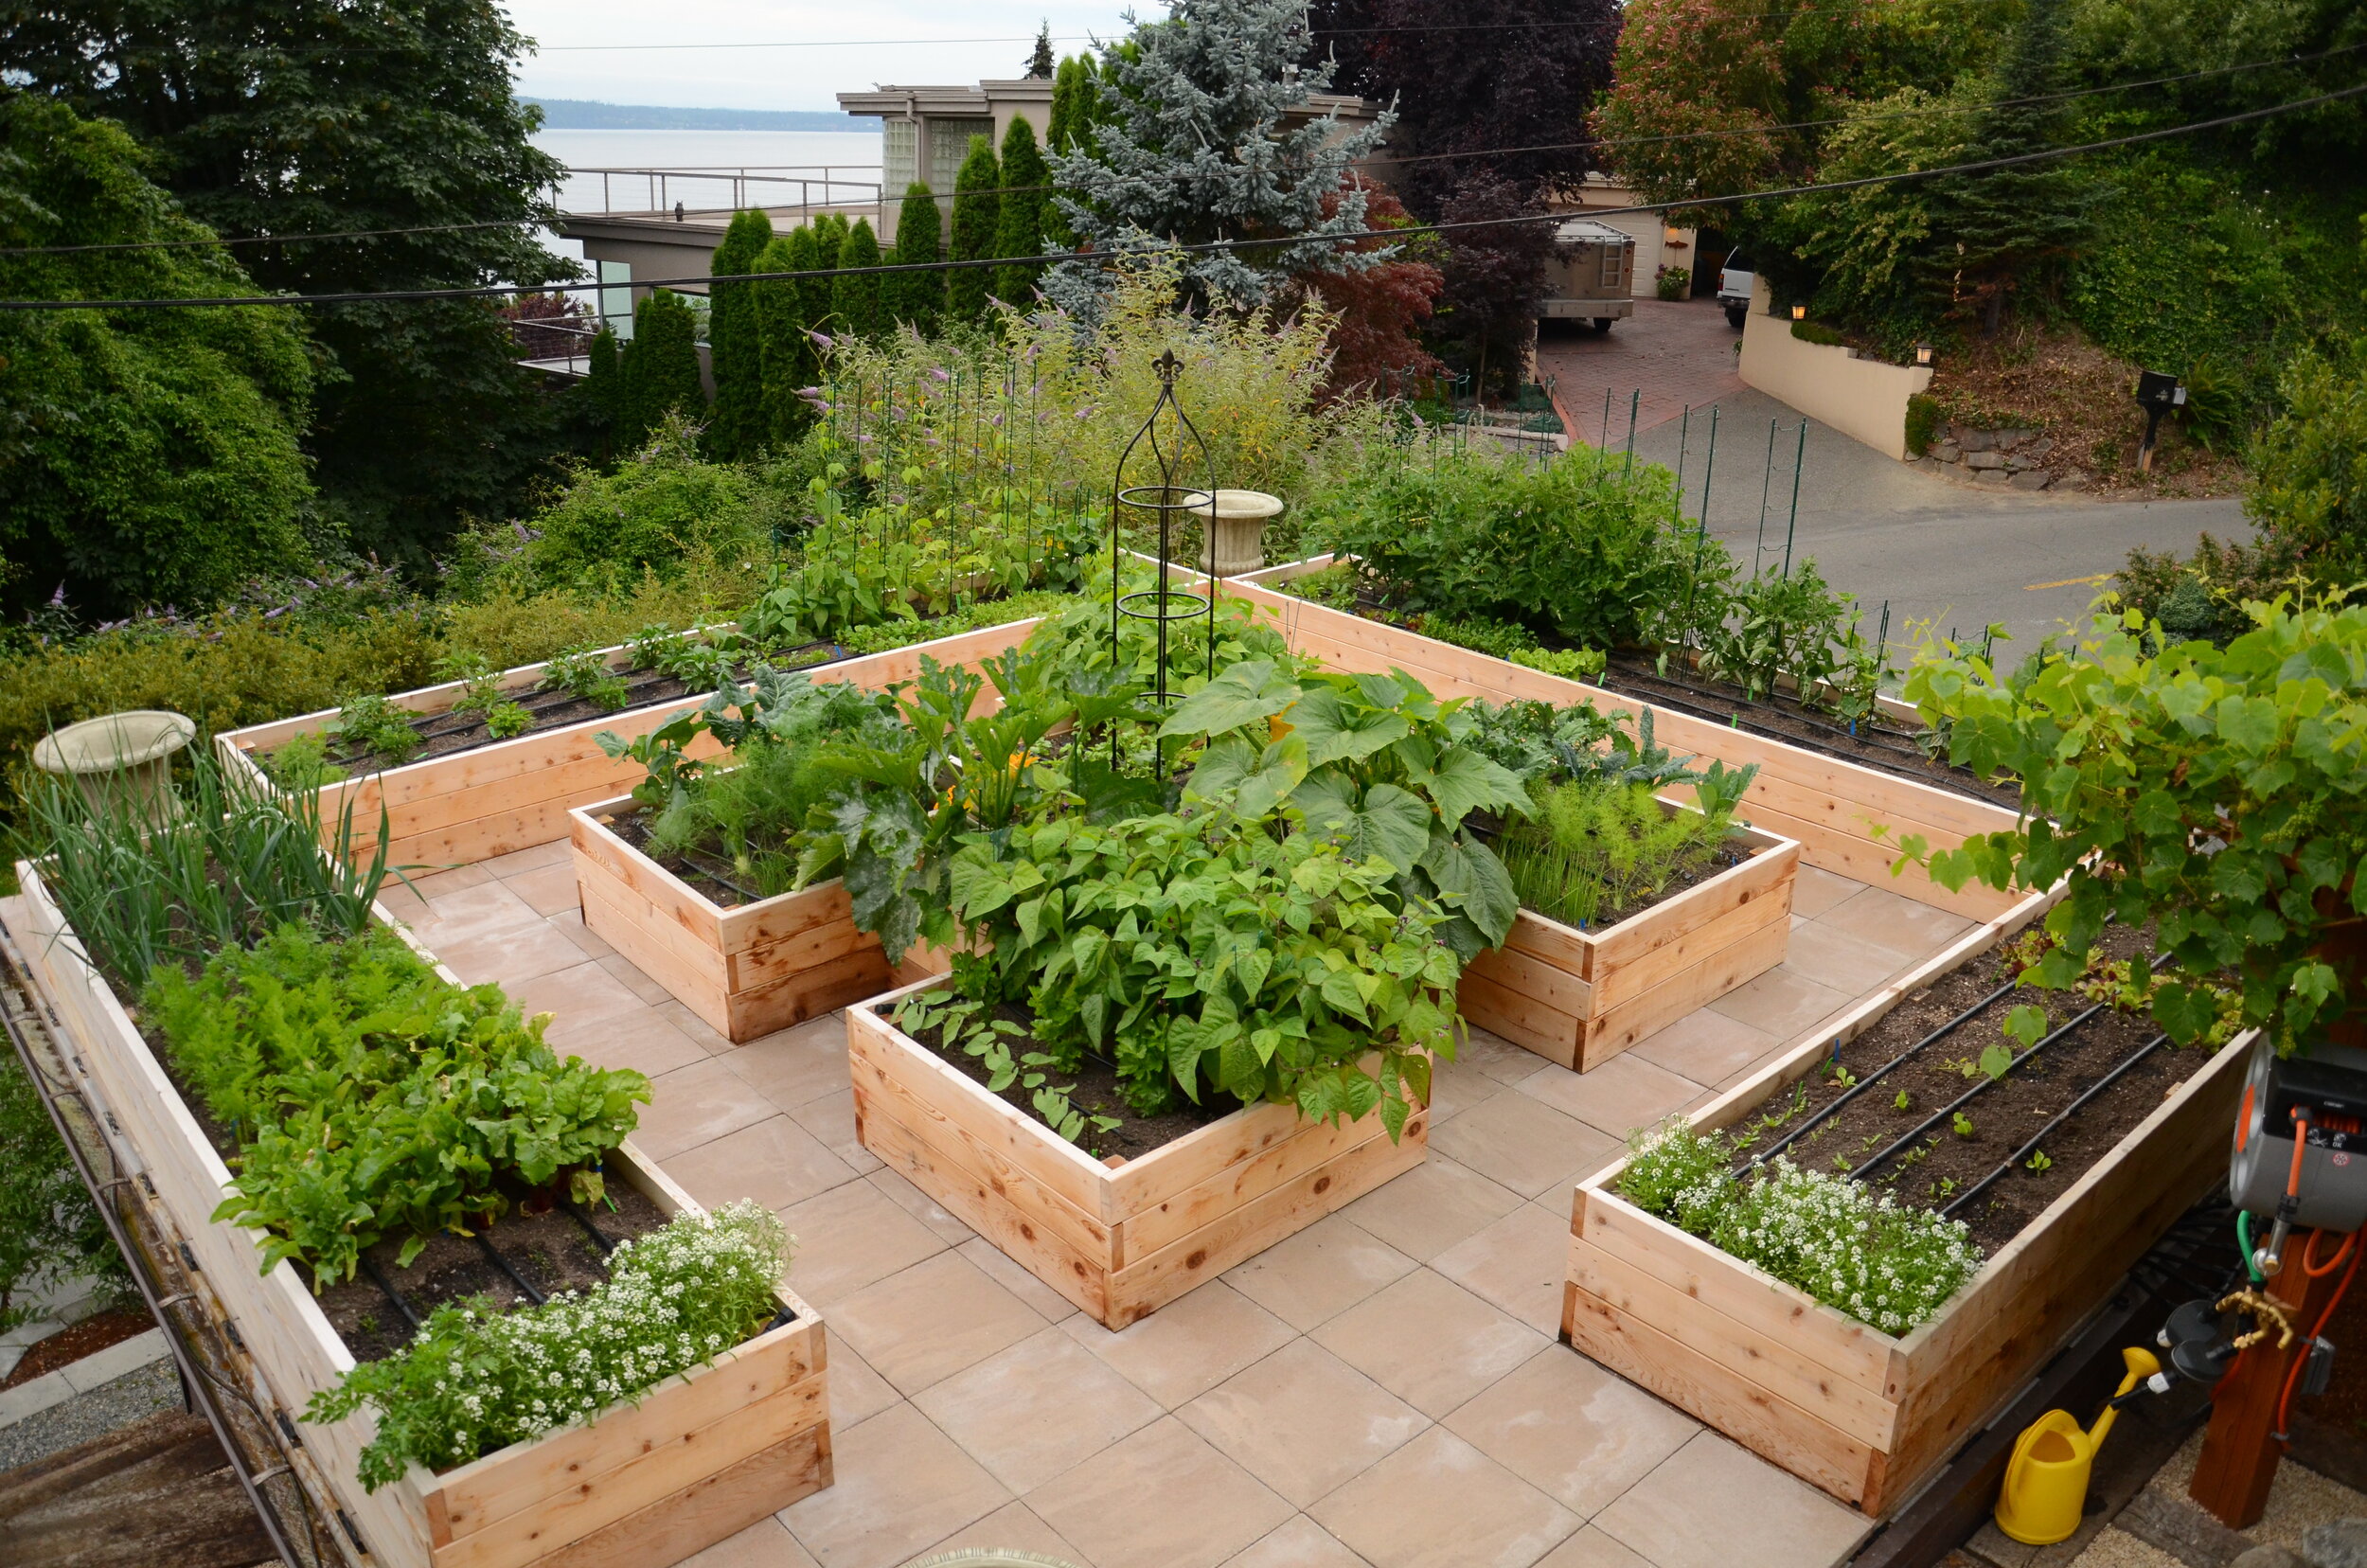
Planning and Designing Your Raised Garden Bed
Before you begin building your raised garden bed on legs, it’s important to take some time for planning and designing. This will help ensure that you create a bed that meets your specific needs and maximizes the potential of your gardening space. Here are some key considerations to keep in mind:
- Location: Choose a suitable location for your raised garden bed on legs. Consider factors such as sunlight exposure, accessibility, and proximity to a water source. Most plants require at least six hours of direct sunlight per day, so select a spot that receives adequate sunlight. If possible, place your raised bed in a convenient and visible area so you can easily monitor and care for your plants.
- Dimensions: Determine the size and shape of your raised bed. Consider the available space and your gardening goals. If you have limited space, a rectangular or square-shaped bed might be more practical. Ensure that the dimensions of your raised bed allow for easy access and convenient gardening.
- Height: Decide on the height of your raised garden bed on legs. Consider factors such as your own height, accessibility needs, and the types of plants you want to grow. A height of around 2 to 3 feet is commonly recommended, as it provides easier access and allows for deeper root growth.
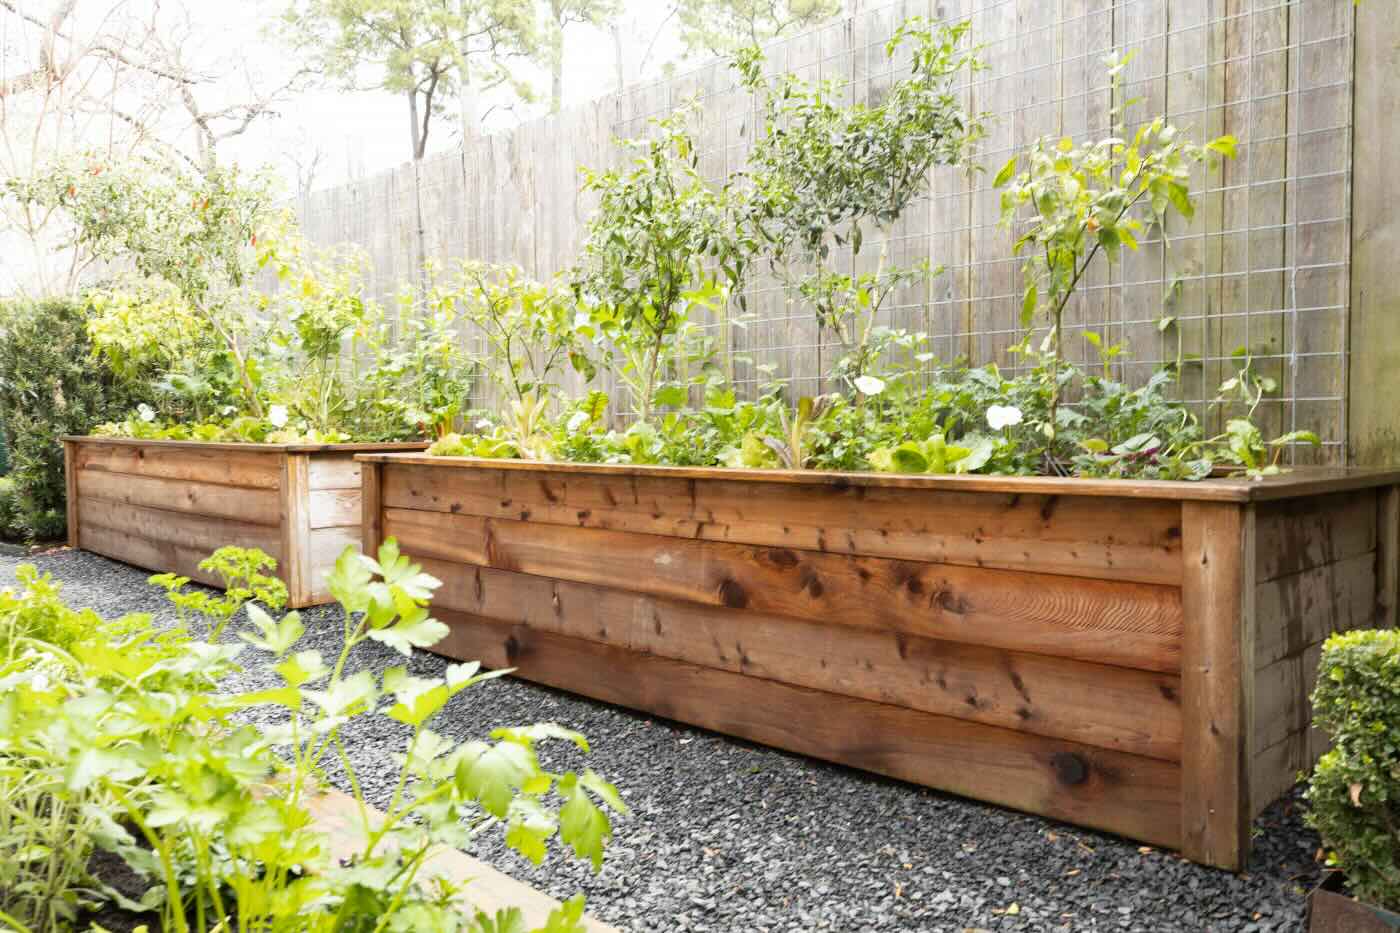
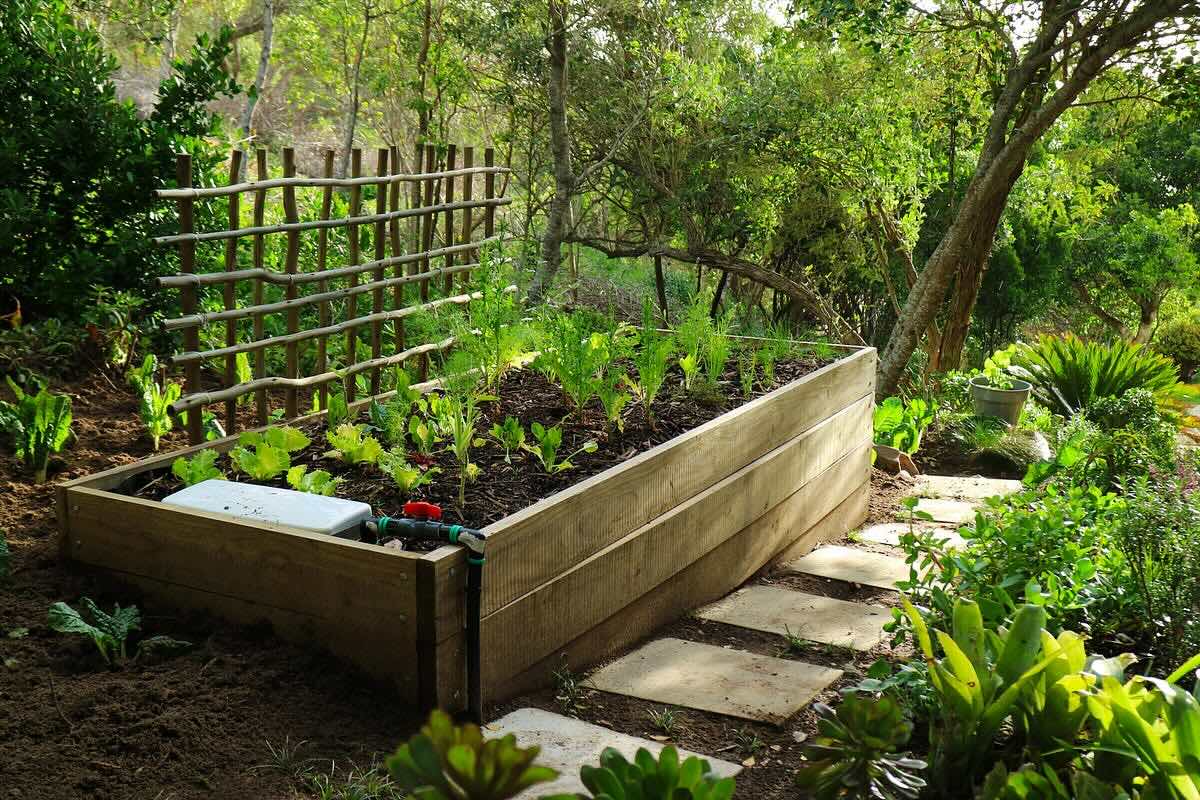
- Material: Choose the material for your raised bed. Common options include wood, metal, and plastic. Wood is a popular choice due to its affordability, availability, and natural aesthetics. However, ensure that the wood is untreated or use a liner to prevent chemicals from leaching into the soil. If using metal or plastic materials, ensure they are safe for gardening use.
- Drainage: Incorporate proper drainage into your raised garden bed design. This can be achieved by adding drainage holes or using a layer of gravel at the bottom of the bed. Adequate drainage helps prevent waterlogged soil and promotes healthy root growth.
By carefully planning and designing your raised garden bed, you can create a functional and visually appealing gardening space. Take measurements, sketch out the design, and consider any additional features such as trellises or wire mesh for climbing plants. Once you have the design in place, gather the necessary materials and tools to start building your raised garden bed on legs.
Materials and Tools Needed
Now that you have finished planning and designing your raised garden bed on legs, it’s time to gather the materials and tools needed for the construction process. Here’s a list of essential items you’ll need:
Materials:
- Wood planks or alternative material for the bed frame
- Four sturdy legs (such as pressure-treated lumber or metal posts)
- Galvanized screws or nails
- Landscaping fabric or weed barrier
- Compost or topsoil
- Organic fertilizer
- Mulch or straw for insulation
- Optional: Hardware cloth or wire mesh to deter pests
Read more: How To Build A Stone Raised Garden Bed
Tools:
- Tape measure
- Saw (circular saw or handsaw)
- Drill or hammer
- Screwdriver or nails
- Level
- Gardening gloves
- Shovel or garden spade
- Optional: Staple gun or fasteners for securing landscaping fabric
These are the basic materials and tools you’ll need, but depending on your specific design and preferences, you may require additional items. For instance, if you plan to attach a trellis to your raised bed for vertical gardening, consider including appropriate materials and tools for that as well.
Before purchasing materials, make sure to double-check your design and dimensions to ensure you have enough of everything. It’s always a good idea to have some extra supplies on hand in case of any unexpected changes or challenges during the construction process.
With all the necessary materials and tools at your disposal, you’re ready to start building your raised garden bed on legs. Follow the step-by-step guide provided next to ensure a smooth and successful construction process!
Step-by-Step Guide for Building a Raised Garden Bed on Legs
Building a raised garden bed on legs is a straightforward process that requires basic carpentry skills. Follow this step-by-step guide to construct your elevated garden oasis:
- Measure and cut: Using a tape measure, measure and mark the dimensions of your raised bed frame on the wood planks. Use a saw to cut the planks according to your measurements. Cut four additional pieces of wood for the legs.
- Assemble the frame: Lay out the cut wood planks on a flat surface to form the frame of the raised bed. Attach the planks together using galvanized screws or nails. Ensure the corners are square and the frame is sturdy.
- Attach the legs: Position the legs at each corner of the frame. Use screws or nails to securely attach the legs to the frame. Double-check that the legs are level and evenly supporting the weight of the frame.
- Add landscaping fabric: Lay down landscaping fabric or a weed barrier inside the bed to prevent weeds from growing up through the soil. Secure the fabric in place using a staple gun or other fasteners.
- Fill with soil: Fill the raised bed with a mixture of compost and topsoil. This will provide essential nutrients for your plants to thrive. Consider adding organic fertilizer to enrich the soil even further.
- Optional: Install pest deterrent: If pests are a concern in your area, you can attach hardware cloth or wire mesh to the bottom of the raised bed to deter burrowing animals. This will help protect your plants from damage.
- Planting: Now comes the exciting part – planting your desired plants in the raised bed! Follow specific planting instructions for each type of plant and make sure to give them proper spacing to promote healthy growth.
- Mulch and water: Apply a layer of mulch or straw around your plants to help retain moisture, suppress weeds, and insulate the soil. Water the raised bed regularly to keep the soil evenly moist, but be mindful not to overwater.
- Maintenance: Regularly check your raised bed for any signs of pests, diseases, or nutrient deficiencies. Remove weeds as soon as they appear and prune or harvest your plants as needed. Remember to replenish the soil periodically with compost or organic fertilizer to keep it nutrient-rich.
Following these steps will help you create a sturdy, functional, and beautiful raised garden bed on legs. Once you have completed the construction process, it’s time to focus on soil and planting considerations. Read on for more information on optimizing the growing conditions in your raised bed!
Soil and Planting Considerations
Creating optimal soil conditions and making thoughtful plant selections are crucial for the success of your raised garden bed on legs. Here are some important considerations to keep in mind:
Soil Composition:
Since your raised bed is elevated off the ground, it’s important to ensure that the soil within it is loose, well-draining, and nutrient-rich. A mixture of compost and topsoil is a great base for your raised bed. Compost improves soil structure, provides essential nutrients, and enhances moisture retention. Consider adding organic fertilizers to further enrich the soil and promote healthy plant growth.
Plant Selection:
When choosing plants for your raised bed, consider factors such as sunlight requirements, height, and compatibility. Opt for plants that thrive in your specific climate and are suitable for the amount of sunlight your raised bed receives. You can grow a variety of plants, including flowers, herbs, vegetables, and even small fruits, depending on the size of your bed and your personal preferences. Arrange taller plants towards the back and shorter ones towards the front for an aesthetically pleasing and functional layout.
Spacing:
Proper spacing of plants is essential to allow for optimal growth and airflow, which helps prevent overcrowding and disease. Consult planting guides or follow the recommendations provided on seed packets or plant labels to determine the appropriate spacing for the plants you choose. This will help ensure that each plant has enough space to grow and access the necessary sunlight, nutrients, and water.
Watering:
Watering your raised bed correctly is crucial for the health of your plants. Raised beds generally require more frequent watering compared to plants grown in the ground, as they tend to dry out more quickly. Monitor the moisture level of the soil and water when it feels dry to the touch. Be careful not to overwater, as excessive moisture can lead to root rot. Use a watering can or a drip irrigation system to provide a gentle and steady water supply to the plants.
Crop Rotation and Succession Planting:
Maximize the productivity of your raised bed by practicing crop rotation and succession planting. Crop rotation involves changing the types of plants grown in a specific area to prevent the buildup of pests and diseases. Succession planting involves staggering the planting of crops to ensure a continuous harvest throughout the growing season. This helps optimize space and ensures a steady supply of fresh produce.
By paying attention to soil quality, plant selection and spacing, watering practices, and smart planting techniques, you can create an optimal environment for your plants to thrive in your raised garden bed. Keep reading for maintenance and care tips to keep your garden looking its best!
Read more: How To Build A Cedar Raised Garden Bed
Maintenance and Care for Your Raised Garden Bed
Maintaining and caring for your raised garden bed on legs is essential to ensure the health and productivity of your plants. Here are some tips for proper maintenance:
Weeding:
Regularly inspect your raised bed for any weeds that may be competing with your plants for nutrients and space. Pull out weeds as soon as you spot them to prevent them from taking over your garden. Applying a layer of mulch or straw can help suppress weed growth and reduce the need for constant weeding.
Watering:
Consistent and adequate watering is crucial for the success of your plants. Check the moisture level of the soil regularly and water as needed. Aim to keep the soil evenly moist, but be cautious of overwatering. Avoid watering late in the day to minimize the risk of fungal diseases. Water deeply at the base of the plants rather than overhead to prevent wetting the foliage excessively.
Fertilizing:
Periodically replenish the nutrients in the soil by adding compost or organic fertilizers. This helps sustain plant growth and promote fruitful yields. Follow the recommended application rates and timing for the specific type of fertilizer you choose. Avoid over-fertilization, as it can lead to excessive vegetative growth and nutrient imbalances.
Pest and Disease Management:
Regularly inspect your plants for signs of pests and diseases. Remove any infected or damaged plant material to prevent the spread of diseases. Consider using organic pest control methods such as hand-picking insects, applying natural insecticidal soaps or oils, or introducing beneficial insects to control pest populations. Implementing physical barriers like netting or wire mesh can help protect your plants from larger pests like birds or rodents.
Pruning and Harvesting:
Prune your plants as needed to remove dead or diseased branches and maintain their shape and health. Regularly harvest your crops to promote continuous production and prevent overcrowding. Harvesting at the right time ensures the best flavor and quality of your produce.
Protecting from Extreme Weather:
During extreme weather conditions like heavy rain, strong winds, or frost, protect your raised garden bed and plants as needed. Use covers or row covers to shield your plants from excessive moisture, strong winds, or frost. This helps prevent damage and preserves the health of your plants.
By consistently following these maintenance practices, you’ll create an environment that fosters the growth and productivity of your raised garden bed on legs. With proper care, your garden will flourish and provide you with a bountiful harvest season after season. Read on for additional tips and tricks to make the most out of your raised bed gardening experience!
Tips and Tricks for Successful Gardening in a Raised Bed on Legs
Gardening in a raised bed on legs is a rewarding and efficient way to grow plants. Here are some tips and tricks to help you make the most out of your elevated gardening experience:
1. Use quality soil:
Start with high-quality soil that is well-draining, nutrient-rich, and free from contaminants. This provides a healthy foundation for your plants to grow and thrive. Consider mixing in compost or organic matter to further enhance the soil’s fertility and structure.
2. Optimize vertical space:
Take advantage of the vertical space in your raised bed by incorporating trellises, stakes, or cages. Growing vining or climbing plants, such as tomatoes, cucumbers, or beans, vertically saves space and allows for better airflow and sunlight penetration.
3. Practice companion planting:
Utilize companion planting techniques to maximize the productivity of your raised bed. Some plants have natural synergies and can benefit from being planted together. For example, planting marigolds alongside tomatoes can help repel pests, while basil planted near peppers can enhance their flavor.
4. Rotate crops:
Implement crop rotation by changing the location of different plant families each growing season. This helps prevent the buildup of pests and diseases and optimizes the nutrient uptake from the soil. Consult a crop rotation guide specific to your plant selection for recommended rotation patterns.
5. Mulch to retain moisture:
Apply a layer of organic mulch, such as straw, wood chips, or shredded leaves, around your plants. Mulch helps retain moisture in the soil, suppresses weed growth, and moderates soil temperature. Ensure that the mulch is not directly touching the stems of the plants to prevent rot.
6. Monitor soil moisture levels:
Regularly check the moisture level of the soil in your raised bed. Stick your finger into the soil to determine if it feels moist about an inch below the surface. Adjust your watering schedule accordingly, ensuring that the soil remains evenly moist without becoming waterlogged.
7. Stay on top of pest control:
Inspect your plants regularly for signs of pests and take preventive measures to keep them at bay. Monitor the undersides of leaves, stems, and the soil for any pests or signs of damage. Early detection can greatly reduce the impact of pests on your plants.
8. Regularly harvest and prune:
Harvest your crops regularly to encourage continued production and prevent over-ripening. Prune plants to remove dead or diseased parts, maintain their shape, and improve airflow. Pruning also redirects the plant’s energy to producing more fruitful yields.
9. Maintain a record:
Keep a gardening journal or record to track your planting dates, crop yields, and any observations. This will help you plan future plantings, identify successful techniques, and troubleshoot any issues that arise.
By implementing these tips and tricks, you can optimize the productivity and enjoyment of your raised bed on legs. Don’t be afraid to experiment and adapt to the unique needs of your plants and gardening space. Now, it’s time to put your newfound knowledge into practice and start enjoying the benefits of your elevated garden oasis!
Conclusion
Congratulations! You’ve reached the end of this comprehensive guide on building and maintaining a raised garden bed on legs. By now, you should have a clear understanding of the benefits of using this innovative gardening technique, as well as the steps involved in creating your own elevated garden oasis.
A raised garden bed on legs offers numerous advantages, including easier access, improved drainage, and customizable design. It allows you to overcome space constraints and enjoy the pleasures of gardening, no matter how small or limited your outdoor area may be. With careful planning, proper soil and plant selection, and consistent maintenance, you can create a thriving and productive garden right at your fingertips.
Remember, successful gardening in a raised bed on legs relies on a few key factors. Using quality soil, optimizing vertical space, practicing companion planting, and staying on top of pest control are just some of the techniques you can employ. Regular monitoring, watering, and pruning will contribute to the health and vitality of your plants.
As you embark on this gardening journey, don’t forget to enjoy the process and take pleasure in watching your plants grow and flourish. Gardening is not only a rewarding hobby but also offers a connection to nature and a sense of accomplishment as you nurture and harvest your own produce and flowers.
Lastly, remember that gardening is a continuous learning experience. Each season brings new opportunities and challenges, and through observation, experimentation, and the willingness to adapt, you will become a more skilled and confident gardener. Don’t hesitate to seek advice from fellow gardeners, join gardening communities, or explore online resources to expand your knowledge and learn from others.
So, roll up your sleeves and get ready to transform your outdoor space with a beautiful and productive raised garden bed on legs. Whether you’re growing vibrant flowers, aromatic herbs, or delicious vegetables, the joy and satisfaction of tending to your own garden know no bounds. Happy gardening!
Inspired to take your gardening and crafting skills further? Perfect your outdoor space by learning the essentials of Raised Bed Gardening, where you'll find practical tips for optimizing plant health and space efficiency. Meanwhile, if you're keen on honing your crafting abilities, check out the latest trends and designs in Woodworking Projects for the upcoming year. These guides are packed with insights to help you create more functional, stylish spaces at home.
Frequently Asked Questions about How To Build A Raised Garden Bed On Legs
Was this page helpful?
At Storables.com, we guarantee accurate and reliable information. Our content, validated by Expert Board Contributors, is crafted following stringent Editorial Policies. We're committed to providing you with well-researched, expert-backed insights for all your informational needs.
0 thoughts on “How To Build A Raised Garden Bed On Legs”