Home>Gardening & Outdoor>Landscaping Ideas>How To Prepare A Garden Bed To Grow Flowers
Landscaping Ideas
How To Prepare A Garden Bed To Grow Flowers
Modified: March 20, 2024
Learn expert landscaping ideas for preparing a garden bed to grow beautiful flowers. Discover step-by-step tips for creating a stunning flower garden.
(Many of the links in this article redirect to a specific reviewed product. Your purchase of these products through affiliate links helps to generate commission for Storables.com, at no extra cost. Learn more)
Choose the Right Location for Your Garden Bed
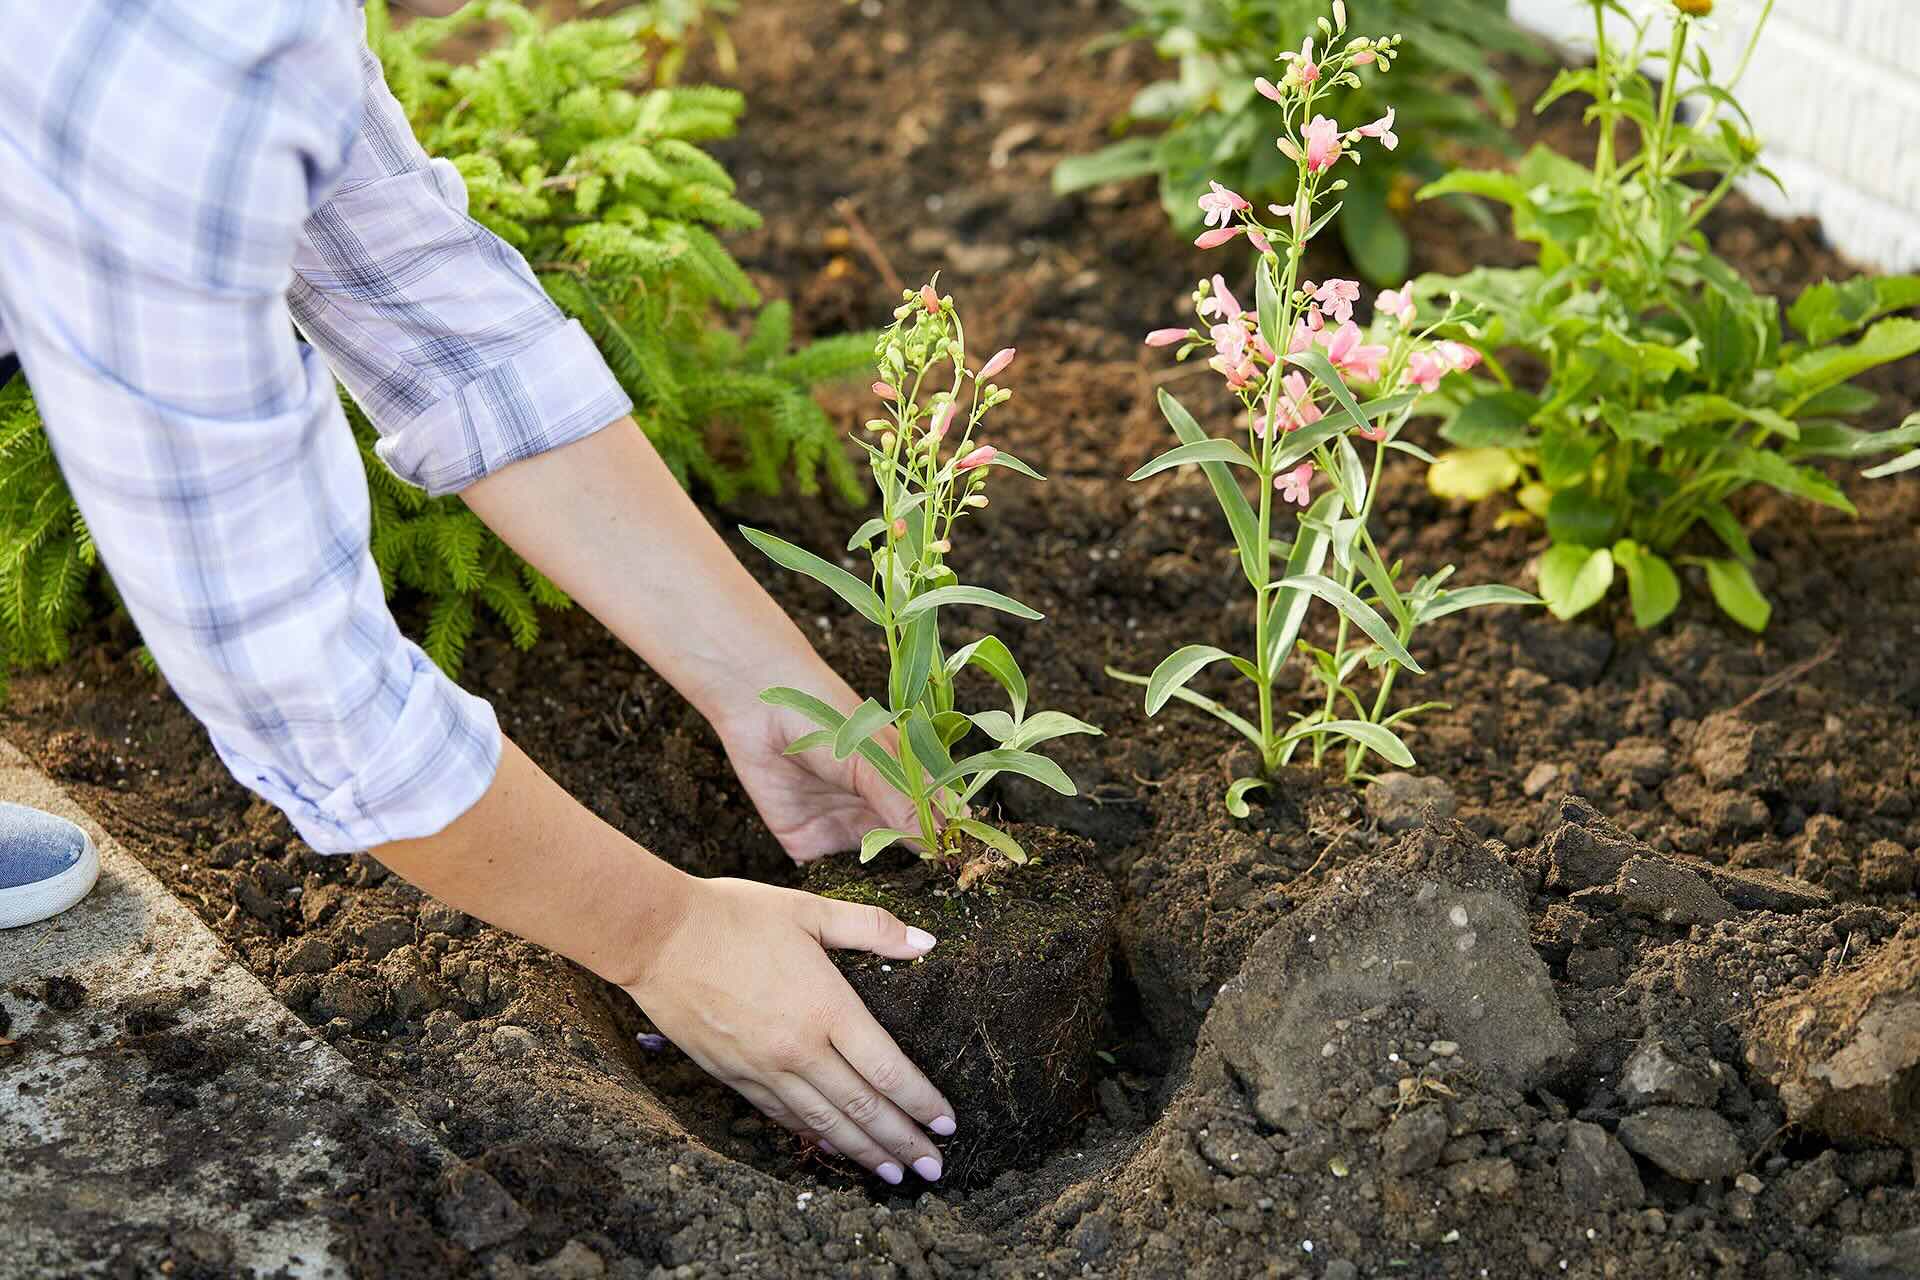
Selecting the ideal location for your garden bed is crucial for the success of your flower-growing endeavor. The right location can significantly impact the health and growth of your plants. Here's how to choose the perfect spot for your garden bed:
-
Sunlight Exposure: Determine the amount of sunlight the area receives throughout the day. Most flowering plants thrive in full sunlight, which typically means a minimum of six hours of direct sunlight daily. However, some varieties, such as impatiens and begonias, prefer partial shade. Understanding the sunlight requirements of your chosen flowers is essential in selecting the right location.
-
Soil Drainage: Assess the soil drainage in the potential garden bed area. Flowers generally prefer well-draining soil to prevent waterlogging, which can lead to root rot and other issues. To test the drainage, dig a hole about 12 inches deep and fill it with water. If the water drains within a few hours, the soil drainage is adequate. If it takes longer, consider raised beds or improving the soil's drainage.
-
Protection from Elements: Consider the exposure of the area to strong winds and extreme weather conditions. While some plants can tolerate windy conditions, delicate flowers may suffer damage. Additionally, areas prone to frost pockets should be avoided, as they can harm tender plants.
-
Accessibility: Choose a location that is easily accessible for maintenance tasks such as watering, weeding, and deadheading. Convenience plays a significant role in the long-term care and enjoyment of your garden bed.
-
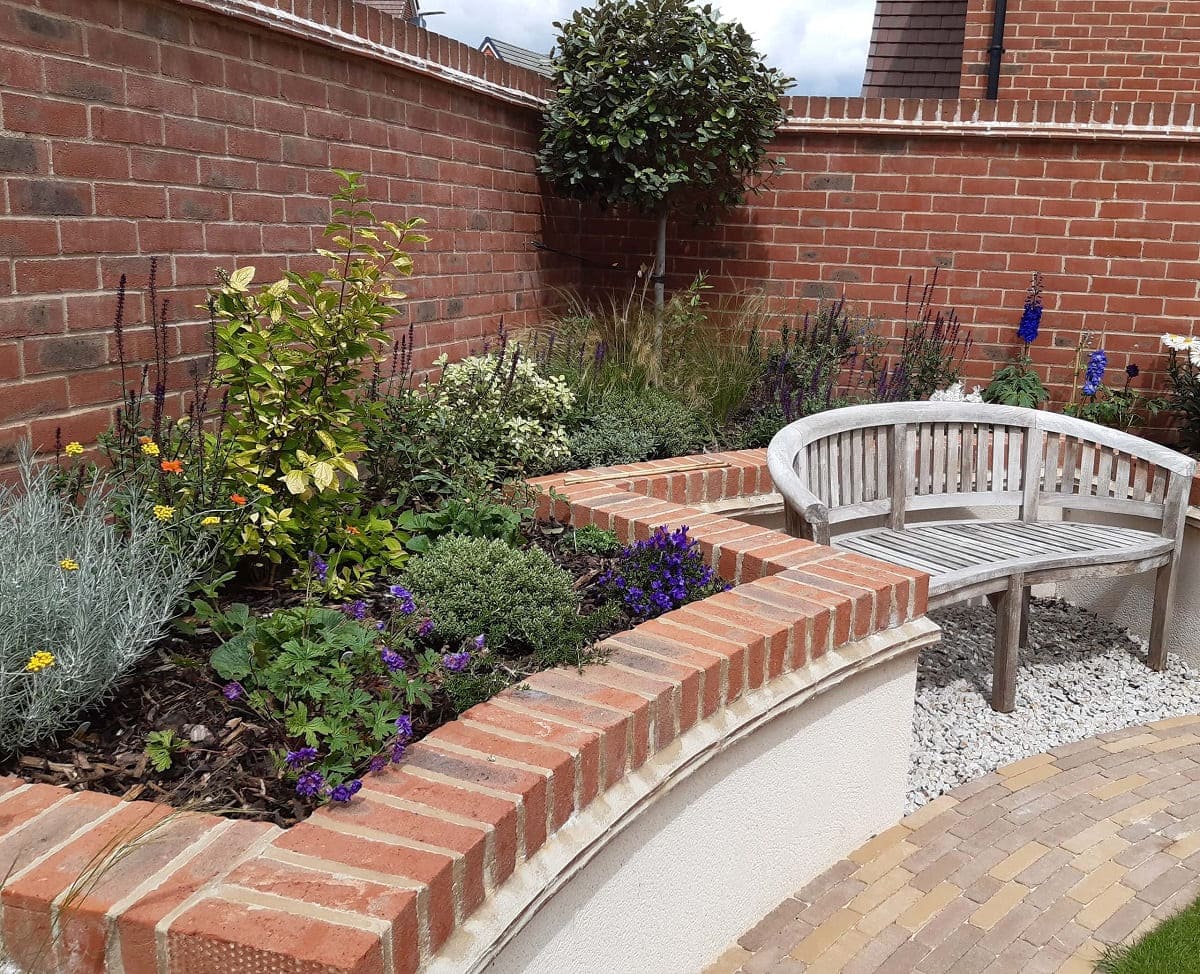
Aesthetic Considerations: Take into account the visual impact of the garden bed location. Consider how it will complement the overall landscape and whether it will create an appealing focal point in your garden.
By carefully considering these factors, you can select the perfect location for your garden bed, setting the stage for healthy and vibrant blooms.
Key Takeaways:
- Choose the Right Location for Your Garden Bed
Select a sunny, well-drained spot with protection from strong winds for your flower garden. Consider accessibility and aesthetics to set the stage for healthy and vibrant blooms. - Clear, Test, and Enrich for Flower Success
Clear the area, remove weeds, test the soil, and add organic matter and fertilizer to create a balanced and enriched environment for your flowers to thrive.
Read more: How To Prepare A Raised Garden Bed
Clear the Area and Remove Weeds
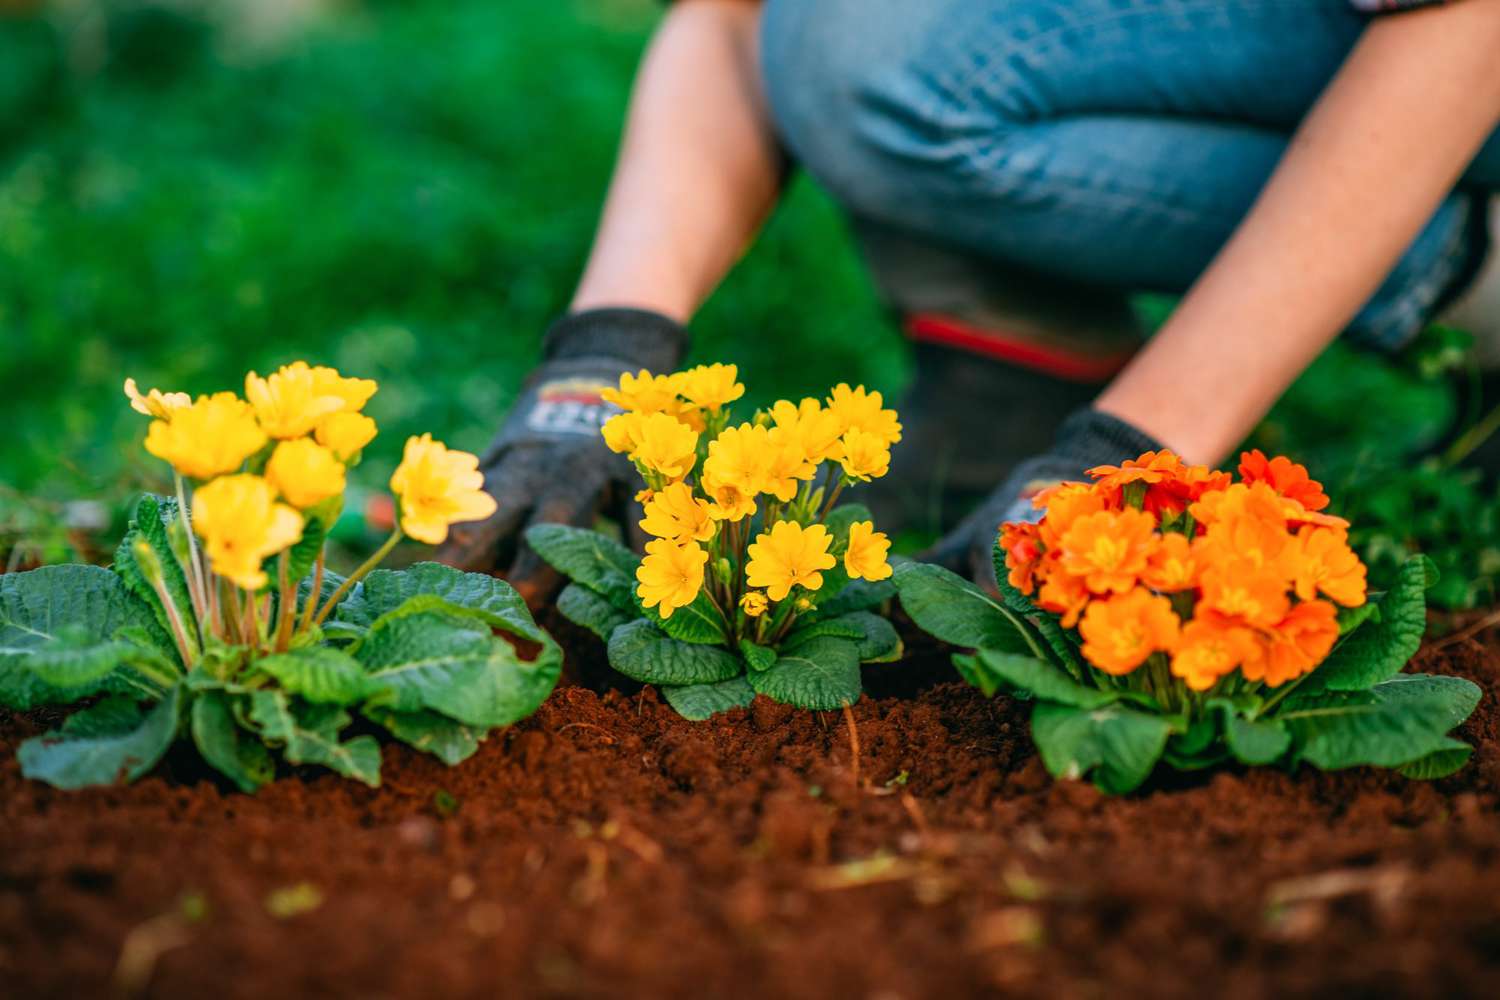
Preparing a garden bed for flourishing flowers begins with clearing the designated area and eradicating any existing weeds. This essential step sets the foundation for a healthy and thriving garden bed. Here's a detailed guide on how to effectively clear the area and remove weeds to create an optimal environment for your flowers.
Clearing the Area
Start by clearing the designated garden bed area of any debris, such as rocks, branches, and other obstructions. Use a rake or garden hoe to remove these impediments, ensuring a clean and unobstructed space for your flowers to grow. This process also helps in leveling the ground, providing a smooth surface for planting and maintenance.
Weed Removal
Weeds are notorious for competing with flowers for essential nutrients, water, and sunlight. Therefore, it's crucial to eliminate them effectively. Begin by manually pulling out visible weeds, ensuring to remove them from the root to prevent regrowth. For larger areas or persistent weed problems, consider using a garden fork or hoe to loosen the soil and facilitate the removal of deep-rooted weeds.
Using Weed Control Fabric
To further prevent weed growth and maintain a tidy garden bed, consider using weed control fabric. This permeable material suppresses weed growth while allowing water and nutrients to reach the soil. After clearing the area and removing existing weeds, lay the weed control fabric over the prepared bed, securing it in place with landscape staples. This additional measure helps in creating a weed-free environment for your flowers to thrive.
Read more: How To Prepare A Vegetable Garden Bed
Benefits of Clearing the Area and Removing Weeds
Clearing the area and removing weeds offer several benefits for your garden bed and the overall health of your flowers. By creating a clean and weed-free environment, you provide your flowers with the best opportunity to establish strong root systems and receive essential nutrients without competition from invasive weeds. Additionally, a well-maintained garden bed enhances the visual appeal of your outdoor space, creating an inviting and aesthetically pleasing environment.
By diligently clearing the area and eradicating weeds, you pave the way for a successful and vibrant flower garden, setting the stage for the next crucial step in the preparation process: testing and improving the soil.
Test and Improve the Soil
Testing and improving the soil is a fundamental aspect of preparing a garden bed for growing flowers. The quality of the soil directly impacts the health, growth, and overall success of your plants. By understanding the composition of the soil and making necessary improvements, you can create an optimal environment for your flowers to thrive.
Soil Testing
Before planting your flowers, it's essential to conduct a soil test to assess its pH level and nutrient content. Soil pH influences the availability of essential nutrients to plants, with most flowers thriving in slightly acidic to neutral soil (pH 6.0-7.0). Testing kits are readily available at garden centers and provide a simple and effective way to determine the pH level of your soil. Additionally, professional soil testing services can offer comprehensive analysis, providing insights into nutrient deficiencies and recommendations for soil improvement.
Improving Soil Structure
Once the soil test results are obtained, it's time to address any deficiencies and enhance the soil structure. Adding organic matter, such as compost or well-rotted manure, can significantly improve soil fertility, texture, and drainage. Incorporating organic matter into the soil enhances its ability to retain moisture and nutrients while promoting beneficial microbial activity. This amendment also aids in loosening compacted soil, creating a favorable environment for root development and overall plant growth.
Read more: How To Grow Cucumbers In A Raised Garden Bed
Adjusting pH Levels
If the soil test reveals an imbalanced pH level, it's crucial to make the necessary adjustments to create an ideal growing environment for your flowers. To raise the pH of acidic soil, incorporate ground limestone or wood ash, while sulfur or aluminum sulfate can be used to lower the pH of alkaline soil. These amendments help in achieving the optimal pH range for most flowering plants, ensuring they can effectively access essential nutrients for healthy growth and vibrant blooms.
Fertilization
In addition to organic matter, applying a balanced fertilizer tailored to the specific needs of flowering plants can further enhance the soil's nutrient content. Select a high-quality, slow-release fertilizer designed for flowering plants and incorporate it into the soil according to the manufacturer's instructions. This supplemental nutrition provides an added boost for your flowers, supporting their overall health and vitality.
By diligently testing and improving the soil, you create an enriched and balanced foundation for your flower garden, setting the stage for robust growth and stunning floral displays. This crucial step in garden bed preparation lays the groundwork for the successful cultivation of a vibrant and thriving flower garden.
Add Organic Matter and Fertilizer
Incorporating organic matter and fertilizer into the soil is a pivotal step in preparing a garden bed for the successful growth of flowers. This process enriches the soil, providing essential nutrients and creating an optimal environment for vibrant blooms to thrive.
Organic Matter Enrichment
The addition of organic matter, such as compost, well-rotted manure, or leaf mold, offers numerous benefits to the soil. Organic matter enhances soil structure, promoting aeration and improving water retention. It also fosters the development of beneficial microorganisms, which contribute to the overall health of the soil ecosystem. As organic matter decomposes, it releases vital nutrients, including nitrogen, phosphorus, and potassium, essential for robust plant growth and flower production.
Read more: Why Are Mushrooms Growing In My Garden Bed
Application Techniques
When incorporating organic matter, ensure thorough mixing with the existing soil to distribute nutrients evenly. Spread a layer of organic matter over the prepared garden bed and use a garden fork or tiller to work it into the soil to a depth of 6-8 inches. This process facilitates the integration of organic matter, promoting a balanced and fertile growing medium for your flowers.
Fertilizer Application
Selecting the right fertilizer is crucial for providing additional nutrients to support the growth and blooming of flowers. A balanced, slow-release fertilizer formulated for flowering plants is recommended. This type of fertilizer gradually releases essential nutrients over an extended period, ensuring a consistent supply for sustained plant growth and flower production.
When applying fertilizer, follow the manufacturer's instructions regarding the appropriate quantity and distribution. Gently work the fertilizer into the soil around the root zone of the plants, taking care to avoid direct contact with the stems or foliage. This method ensures that the plants can efficiently access the nutrients as they develop and grow.
Benefits of Organic Matter and Fertilizer
The incorporation of organic matter and fertilizer enriches the soil, providing a nutrient-rich foundation for your flowers to thrive. This enrichment supports robust root development, healthy foliage, and prolific flowering. Additionally, the gradual release of nutrients from organic matter and fertilizer sustains the plants' nutritional needs, promoting long-term vitality and resilience.
By adding organic matter and fertilizer to the garden bed, you create an enriched and balanced soil environment, setting the stage for the successful cultivation of a vibrant and thriving flower garden. This essential step in garden bed preparation lays the groundwork for the optimal growth and stunning floral displays that will grace your outdoor space.
Create Defined Edges for the Garden Bed
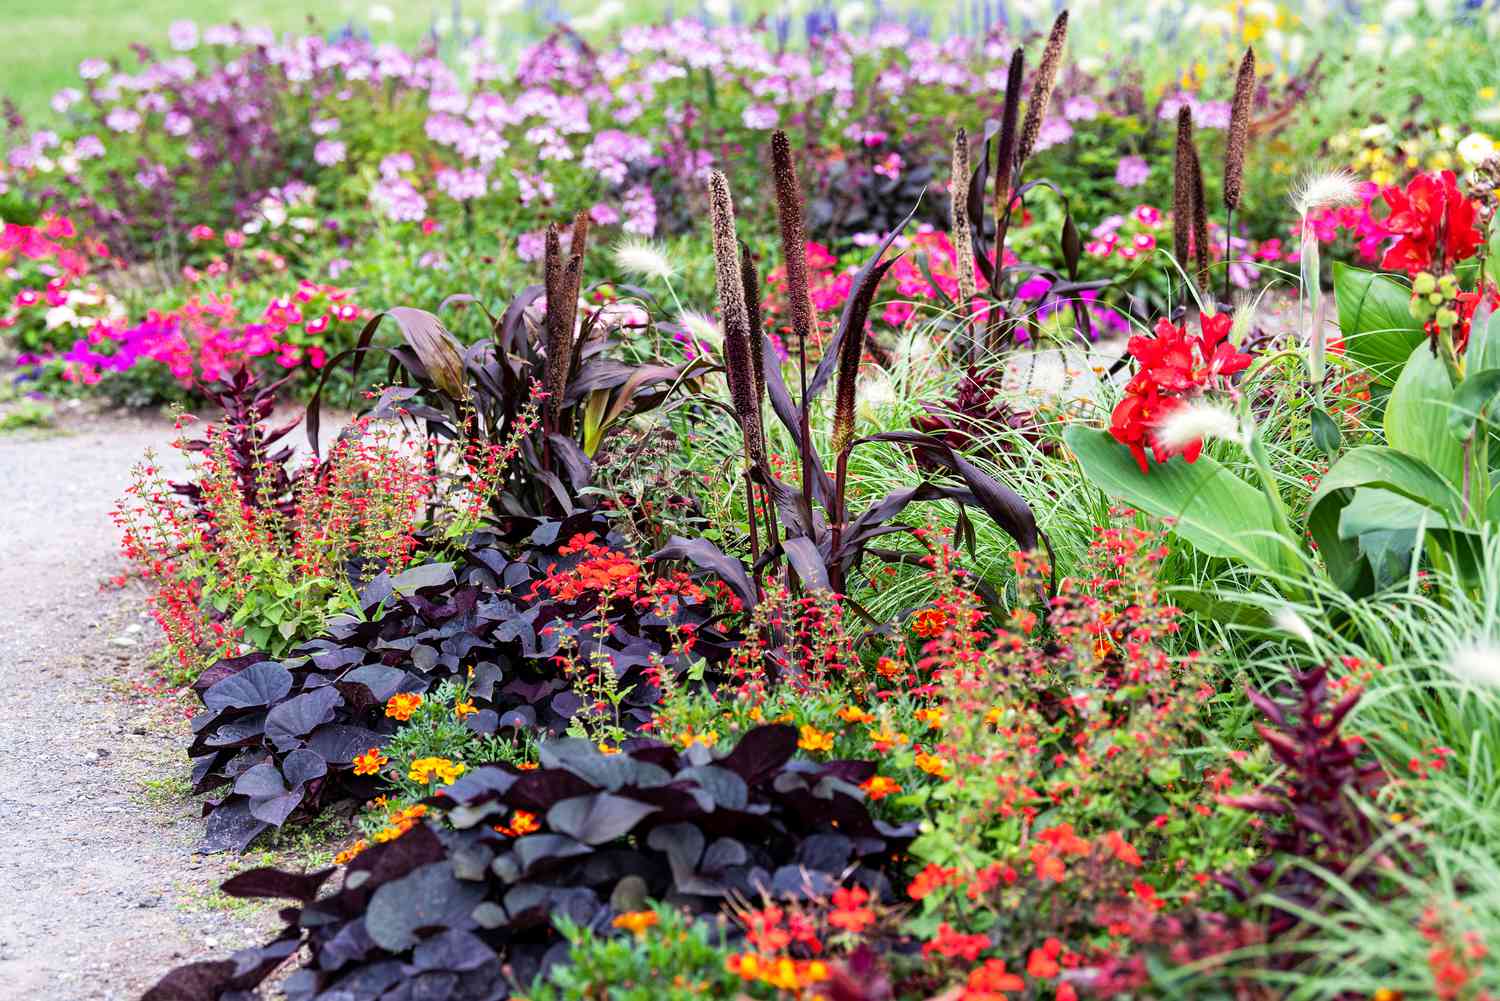
Creating defined edges for your garden bed not only adds aesthetic appeal but also serves practical purposes in maintaining the overall structure and health of the flower garden. Well-defined edges provide a clear boundary between the garden bed and the surrounding area, preventing soil erosion, encroachment of grass or weeds, and facilitating easier maintenance. Here's a detailed guide on how to create defined edges for your garden bed:
Read more: How To Prepare A Garden For Winter
Selecting Edging Materials
Choose suitable edging materials that complement the style of your garden and provide a durable border for the flower bed. Options include natural stone, brick, concrete pavers, wooden edging, or metal landscape edging. Consider the overall aesthetic of your garden and the durability of the materials in your local climate when making your selection.
Planning the Edging Layout
Before installing the edging, carefully plan the layout to define the shape and boundaries of the garden bed. Use a garden hose or spray paint to outline the desired shape, ensuring smooth curves or straight lines, depending on your garden's design. This step allows you to visualize the layout and make adjustments before proceeding with the installation.
Excavating the Edging Trench
Once the layout is determined, use a spade or edging tool to excavate a trench along the marked lines. The depth of the trench will depend on the chosen edging material and the desired height of the border. Typically, a depth of 4-6 inches is sufficient to accommodate most edging materials while providing stability and a clean separation from the surrounding area.
Installing the Edging Material
Carefully place the selected edging material into the trench, ensuring a snug fit and level alignment. For flexible materials such as metal or plastic edging, use stakes or anchoring pins to secure the edging in place. If using natural stone or brick, ensure a secure and stable placement by embedding the edging material into the soil to prevent shifting over time.
Read more: How To Prepare For A Garden
Finishing Touches
Once the edging is installed, backfill any gaps with soil to provide stability and support for the border. Tamp down the soil to secure the edging in place and create a seamless transition between the garden bed and the surrounding area. Consider adding a layer of mulch along the garden bed edge to further enhance the visual appeal and provide a clean, finished look.
By creating defined edges for your garden bed, you establish a well-defined and visually appealing border that enhances the overall aesthetics of your outdoor space. Additionally, the defined edges help maintain the integrity of the garden bed, preventing soil displacement and encroachment, while simplifying maintenance tasks. This essential step in garden bed preparation adds a polished and professional touch to your flower garden, elevating its visual impact and contributing to a well-maintained and inviting outdoor environment.
Consider Mulching the Garden Bed
Mulching is a vital practice that offers a multitude of benefits for garden beds, including those dedicated to growing flowers. By applying a layer of mulch to the garden bed, you can enhance the overall health and appearance of the flower garden while providing numerous advantages for the plants and the soil.
Benefits of Mulching
Mulch serves as a protective barrier, shielding the soil and plant roots from extreme temperatures and fluctuations in weather conditions. During hot weather, mulch helps to retain moisture, reducing the need for frequent watering and preventing soil dehydration. Conversely, in colder temperatures, mulch acts as insulation, safeguarding the roots from frost and temperature variations. This protective function of mulch creates a stable and favorable environment for the flowers to thrive, promoting healthy growth and resilience.
In addition to its protective role, mulch plays a crucial part in weed suppression. By forming a barrier over the soil, mulch inhibits the germination and growth of weeds, minimizing competition for essential nutrients and reducing the need for frequent weeding. This not only contributes to the overall aesthetic appeal of the garden bed but also alleviates the burden of ongoing maintenance, allowing the flowers to take center stage without the intrusion of unwanted vegetation.
Furthermore, mulch aids in soil moisture regulation, preventing excessive evaporation and maintaining consistent moisture levels. This is particularly beneficial during dry spells or in regions with limited rainfall, as it helps to sustain adequate soil moisture for the flowers, promoting healthy root development and minimizing water stress.
Types of Mulch
When considering mulching for a flower garden, various types of mulch can be utilized, each with its unique characteristics and benefits. Organic mulches, such as shredded bark, wood chips, straw, or compost, gradually decompose over time, enriching the soil with organic matter and nutrients. This decomposition process contributes to the improvement of soil structure and fertility, enhancing the overall health of the garden bed.
Alternatively, inorganic mulches, such as gravel, pebbles, or landscape fabric, offer long-lasting weed suppression and moisture retention benefits. While they do not contribute organic matter to the soil, inorganic mulches provide durable and low-maintenance solutions for garden beds, particularly in areas where aesthetics and long-term functionality are prioritized.
Application of Mulch
To effectively mulch a garden bed, apply a layer of mulch approximately 2-4 inches thick, ensuring even coverage across the soil surface. Take care to leave a small gap around the base of the plants to prevent moisture-related issues and allow for air circulation. Additionally, replenish the mulch layer as needed to maintain the desired thickness and maximize its benefits throughout the growing season.
By considering mulching for the garden bed, you can create an optimal environment for your flowers, promoting their health, vigor, and visual appeal. This simple yet impactful practice contributes to the overall success and beauty of the flower garden, providing enduring benefits for both the plants and the soil.
Frequently Asked Questions about How To Prepare A Garden Bed To Grow Flowers
Was this page helpful?
At Storables.com, we guarantee accurate and reliable information. Our content, validated by Expert Board Contributors, is crafted following stringent Editorial Policies. We're committed to providing you with well-researched, expert-backed insights for all your informational needs.


0 thoughts on “How To Prepare A Garden Bed To Grow Flowers”