Home>Garden Essentials>How To Install Landscaping Edging
Garden Essentials
How To Install Landscaping Edging
Modified: March 7, 2024
Learn how to install garden landscaping edging to enhance the beauty of your outdoor space. Step-by-step instructions and helpful tips included.
(Many of the links in this article redirect to a specific reviewed product. Your purchase of these products through affiliate links helps to generate commission for Storables.com, at no extra cost. Learn more)
Introduction
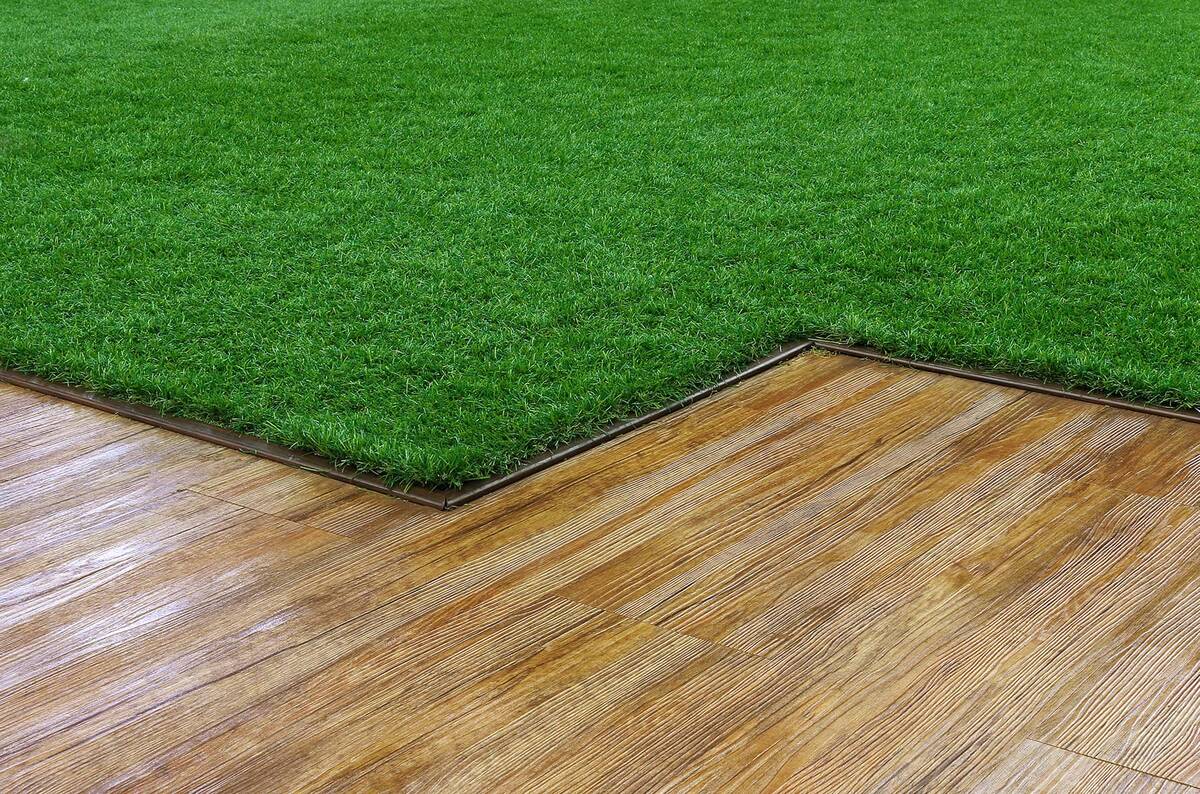
Welcome to our comprehensive guide on how to install landscaping edging! Whether you’re a seasoned gardener or just starting out, using edging materials can transform the look of your garden and provide a neat and polished appearance. Landscaping edging serves several purposes, from separating different areas of your garden to providing a barrier for retaining mulch or rocks.
In this article, we will walk you through the process of choosing the right edging materials, preparing the site, installing the edging, and adding those finishing touches to complete the project. By following these steps, you’ll be well on your way to achieving a professional-looking landscape that will enhance the overall aesthetics of your outdoor space.
Before we dive into the nitty-gritty of installation, it’s important to note that there are various types of landscaping edging materials available, each with its own set of advantages and considerations. Whether you opt for a classic look with brick or stone, a more modern feel with metal or plastic, or a natural appearance with wood, it’s essential to choose the material that best suits your design preferences, budget, and the specific needs of your garden.
Now that we’ve covered the basics, let’s explore the various types of landscaping edging materials and the benefits they offer.
Key Takeaways:
- Choose the right landscaping edging material based on your garden’s style, maintenance needs, and budget to achieve a professional and durable result.
- Prepare the site thoroughly and add finishing touches like mulch, plants, and lighting to enhance the aesthetics and functionality of your newly edged garden.
Read more: How To Install Sawtooth Brick Edging
Choosing the Right Landscaping Edging
When it comes to choosing the perfect landscaping edging for your garden, there are several factors to consider. These include the overall design aesthetic you want to achieve, the level of maintenance required, the durability of the material, and your budget. Let’s take a closer look at some popular options:
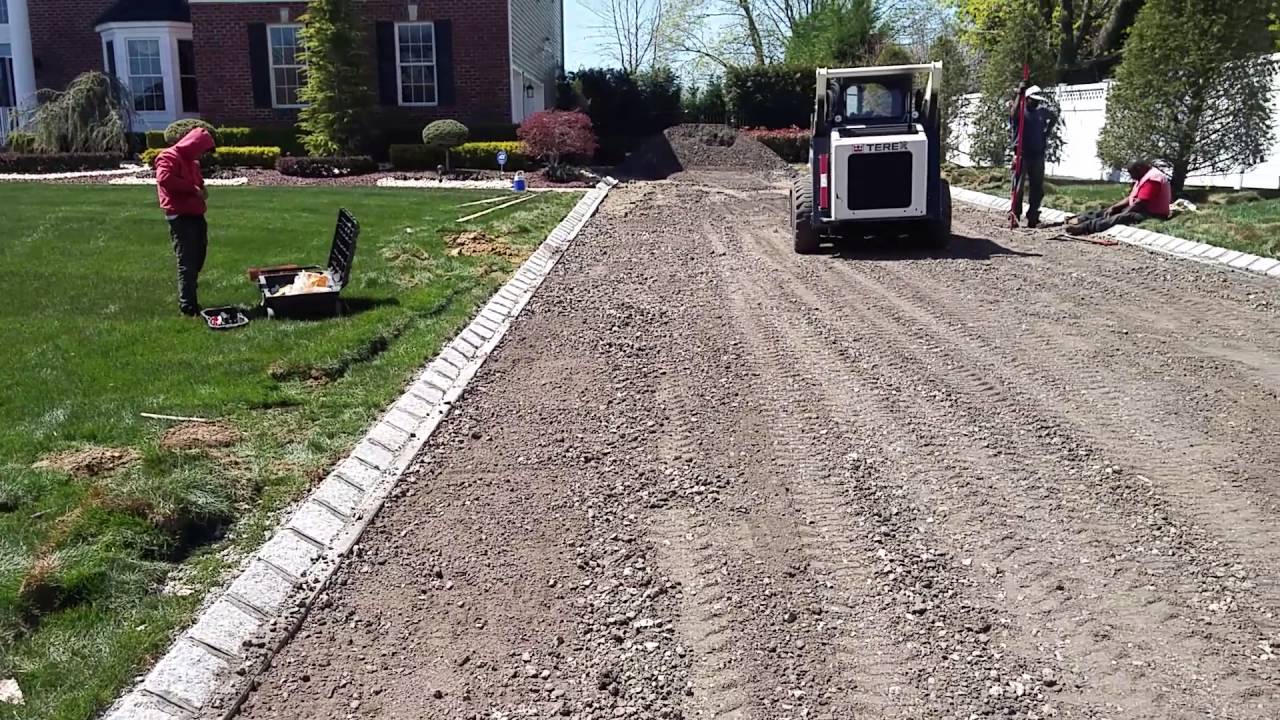
- Brick: Brick edging offers a classic and timeless look that can complement a variety of garden styles. It’s durable, low-maintenance, and can withstand harsh weather conditions. Brick edging is typically installed by laying the bricks side by side or in a staggered pattern, creating a sturdy and visually appealing border.
- Stone: If you prefer a more natural and rustic look, stone edging might be the perfect choice for your garden. Stone edging comes in a variety of shapes, sizes, and colors, allowing you to create a unique and custom design. The irregular edges of the stones add charm and character to your landscape.
- Metal: Metal edging, such as steel or aluminum, offers a sleek and modern aesthetic. It’s durable, flexible, and can be easily shaped to fit the curves and contours of your garden. Metal edging is a popular choice for contemporary gardens or those seeking a clean and minimalist look.
- Plastic: Plastic edging is a budget-friendly option that is easy to install and maintain. It comes in various colors and designs, allowing you to customize the look of your garden. While plastic may not have the same durability as other materials, it is a practical choice for smaller projects or temporary edging solutions.
- Wood: Wood edging provides a natural and warm feel to your garden. It can be easily cut and shaped to fit your desired design and is often used for informal garden styles. However, keep in mind that wood may require regular maintenance, such as sealing or staining, to protect it from moisture and decay.
Consider the overall style of your garden and select the edging material that best complements the existing elements. It’s also essential to take into account the level of maintenance you’re willing to commit to. Some materials may require more upkeep than others, so be sure to choose one that aligns with your lifestyle and time constraints.
Once you’ve decided on the edging material, it’s time to prepare the site for installation. Let’s explore the necessary steps to ensure a seamless and successful edging project.
Preparing the Site
Before you can start installing your chosen landscaping edging, it’s essential to properly prepare the site to ensure a long-lasting and professional-looking result. Follow these steps to get your garden ready:
- Clear the area: Begin by removing any existing plants, rocks, or debris from the area where you plan to install the edging. This will provide a clean and level surface for the edging materials.
- Mark the boundaries: Use stakes and string to mark the boundaries of the area where you want to install the edging. This will serve as a guide and help you visualize the final layout.
- Outline the edging: Depending on the type of edging material you’re using, you may need to outline the shape of the edging with a garden hose or spray paint. This will give you a clear idea of how the edging will flow and fit within your garden design.
- Prepare the soil: If the soil in the installation area is compacted or contains weeds, it’s important to loosen it and remove any unwanted vegetation. Use a garden fork or tiller to break up the soil and remove any weeds, roots, or rocks.
- Level the ground: Use a rake or shovel to level the ground where the edging will be installed. This will ensure an even and stable surface for the edging materials.
- Consider weed control: To prevent weeds from growing through the edging, you may want to lay a weed barrier, such as landscape fabric, before installing the edging. This will help maintain a clean and weed-free appearance.
By following these steps, you will create a solid foundation for your landscaping edging project. Taking the time to properly prepare the site will help the edging materials blend seamlessly into your garden and provide a professional and polished look. Now that the site is ready, let’s move on to the installation process.
Installing the Edging Materials
Now that you have prepared the site, it’s time to dive into the actual installation of your chosen landscaping edging. Follow these steps for a smooth and successful installation:
- Measure and cut: Begin by measuring the length of the area where the edging will be installed. Use a tape measure to ensure accuracy. If necessary, cut the edging materials to the desired length using appropriate tools like a saw or shears.
- Place the edging: Lay the edging materials along the marked boundaries or outlines, ensuring that they align properly and fit snugly against the ground. If you’re using interlocking edging, make sure the pieces connect securely together.
- Adjust as needed: Take the time to adjust the alignment and positioning of the edging materials, making any necessary adjustments to create the desired curves or angles. This is important for achieving a visually appealing and seamless edging installation.
- Check for level: Use a level to ensure that the edging materials are straight and level along their length. This will help create a uniform appearance and prevent any drainage issues.
- Fill in gaps: If there are any gaps or spaces between the edging materials and the ground, fill them in with soil to provide stability and prevent any movement.
It’s important to note that different edging materials may require specific installation techniques. For example, brick or stone edging may require mortar or sand to secure the pieces together, while metal or plastic edging may require stakes for added stability. Always refer to the manufacturer’s instructions for the specific requirements of your chosen edging materials.
Once you have installed the edging materials, it’s time to move on to securing them in place to ensure they stay in position and withstand external forces like foot traffic or weather conditions.
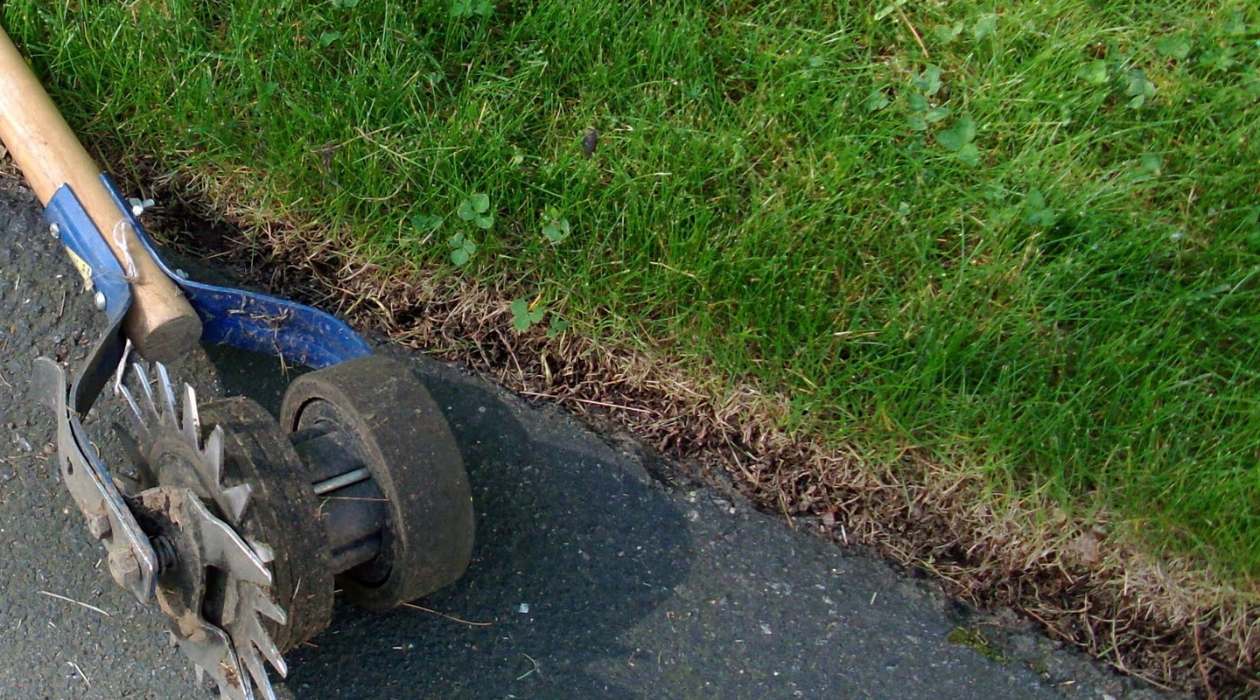
When installing landscaping edging, make sure to properly prepare the area by removing any existing grass or debris. This will ensure a clean and stable base for the edging to be installed.
Securing the Edging
Securing the edging is an important step to ensure the longevity and stability of your landscaping project. Depending on the type of edging material you’ve chosen, there are various methods you can use to secure it in place. Here are some common techniques:
- Brick or Stone: If you’re using brick or stone edging, consider using mortar or sand to secure the pieces together. Gently pour sand or mortar mix into the gaps between the bricks or stones, using a trowel to push it down and ensure a secure bond. Alternatively, you can use a landscape adhesive to hold the pieces together.
- Metal or Plastic: For metal or plastic edging, stakes are commonly used to secure the materials to the ground. Place the stakes at regular intervals along the edging, making sure they penetrate the ground sufficiently to hold the edging in place. Hammer them in until they are secure and flush with the top of the edging.
- Wood: Wood edging can be secured using stakes or rebar driven into the ground alongside the edging. Attach the wood to the stakes or rebar using screws or nails, ensuring a tight and secure fit.
Regardless of the method you choose, it’s important to ensure that the edging is firmly secured and will not shift or move over time. This will prevent any unevenness or damage to the edging materials and maintain the overall integrity of your landscape design.
Now that you have securely installed and secured your landscaping edging, it’s time to add those final touches to give your garden a polished and professional appearance.
Read more: How To Install Roof Drip Edge
Finishing Touches
With the edging materials installed and secured, it’s time to add those finishing touches that will elevate the overall look and feel of your landscaping project. Consider the following ideas to enhance the aesthetics of your garden:
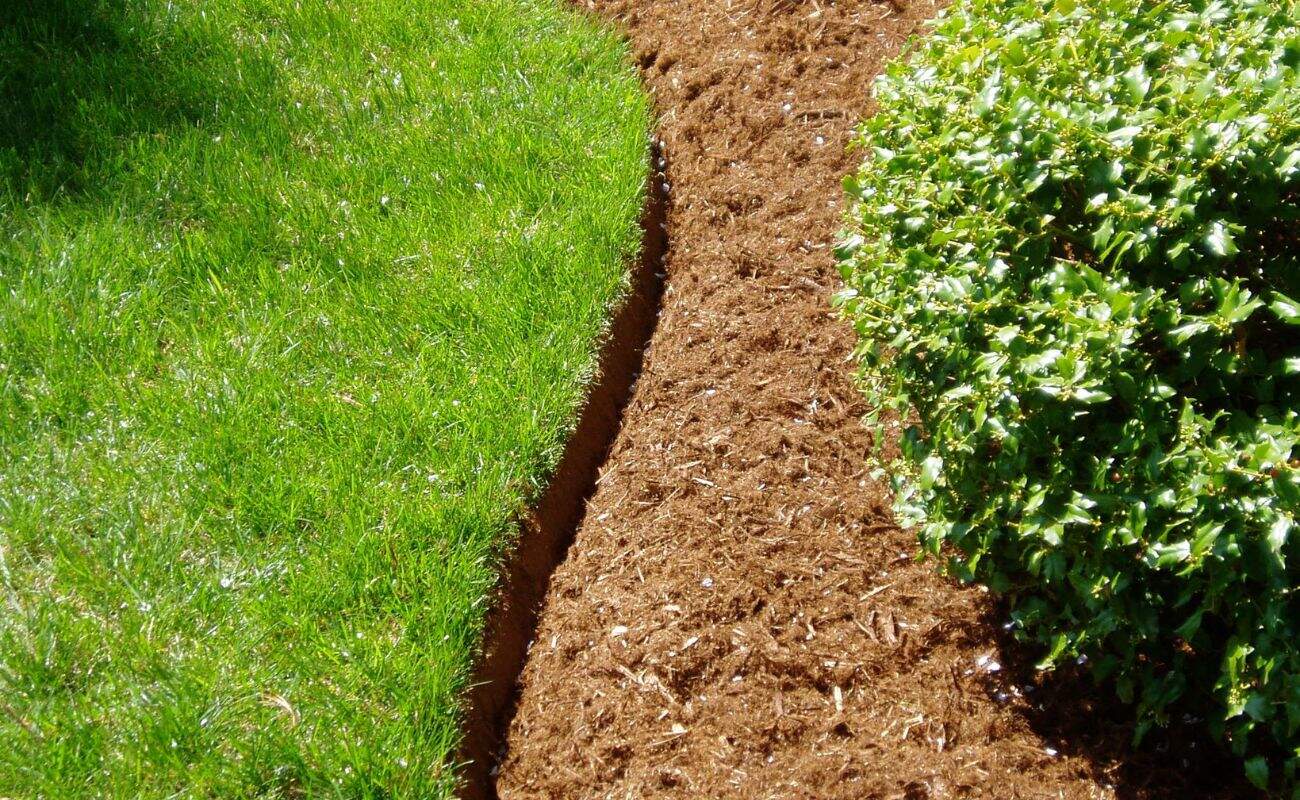
- Add mulch: Spread a layer of mulch along the inside of the edging to create a clean and finished look. Mulch not only adds visual appeal but also helps to retain moisture in the soil and suppress weed growth.
- Plant flowers or shrubs: Use the space between the edging and the main garden area to plant colorful flowers or ornamental shrubs. This will create a charming and vibrant display that complements the edging and adds natural beauty to your landscape design.
- Add decorative stones or pebbles: Consider adding decorative stones or pebbles along the edge of the edging to create a defined border and add texture to your garden. This can be especially effective for modern or minimalist garden designs.
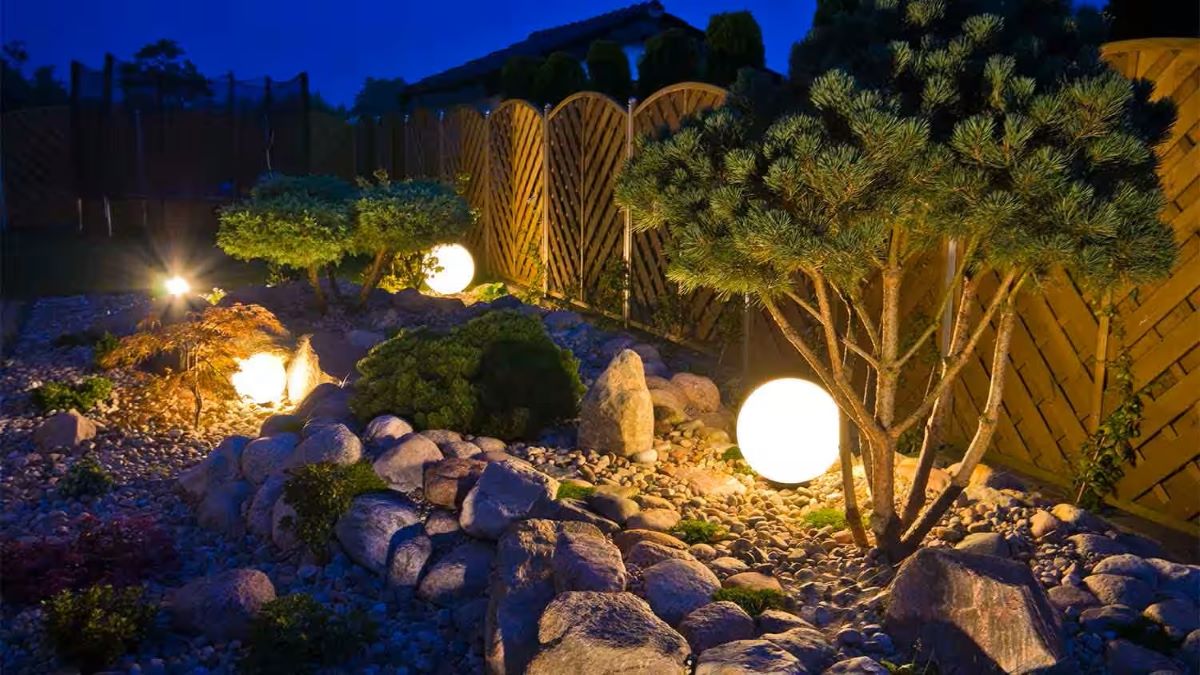
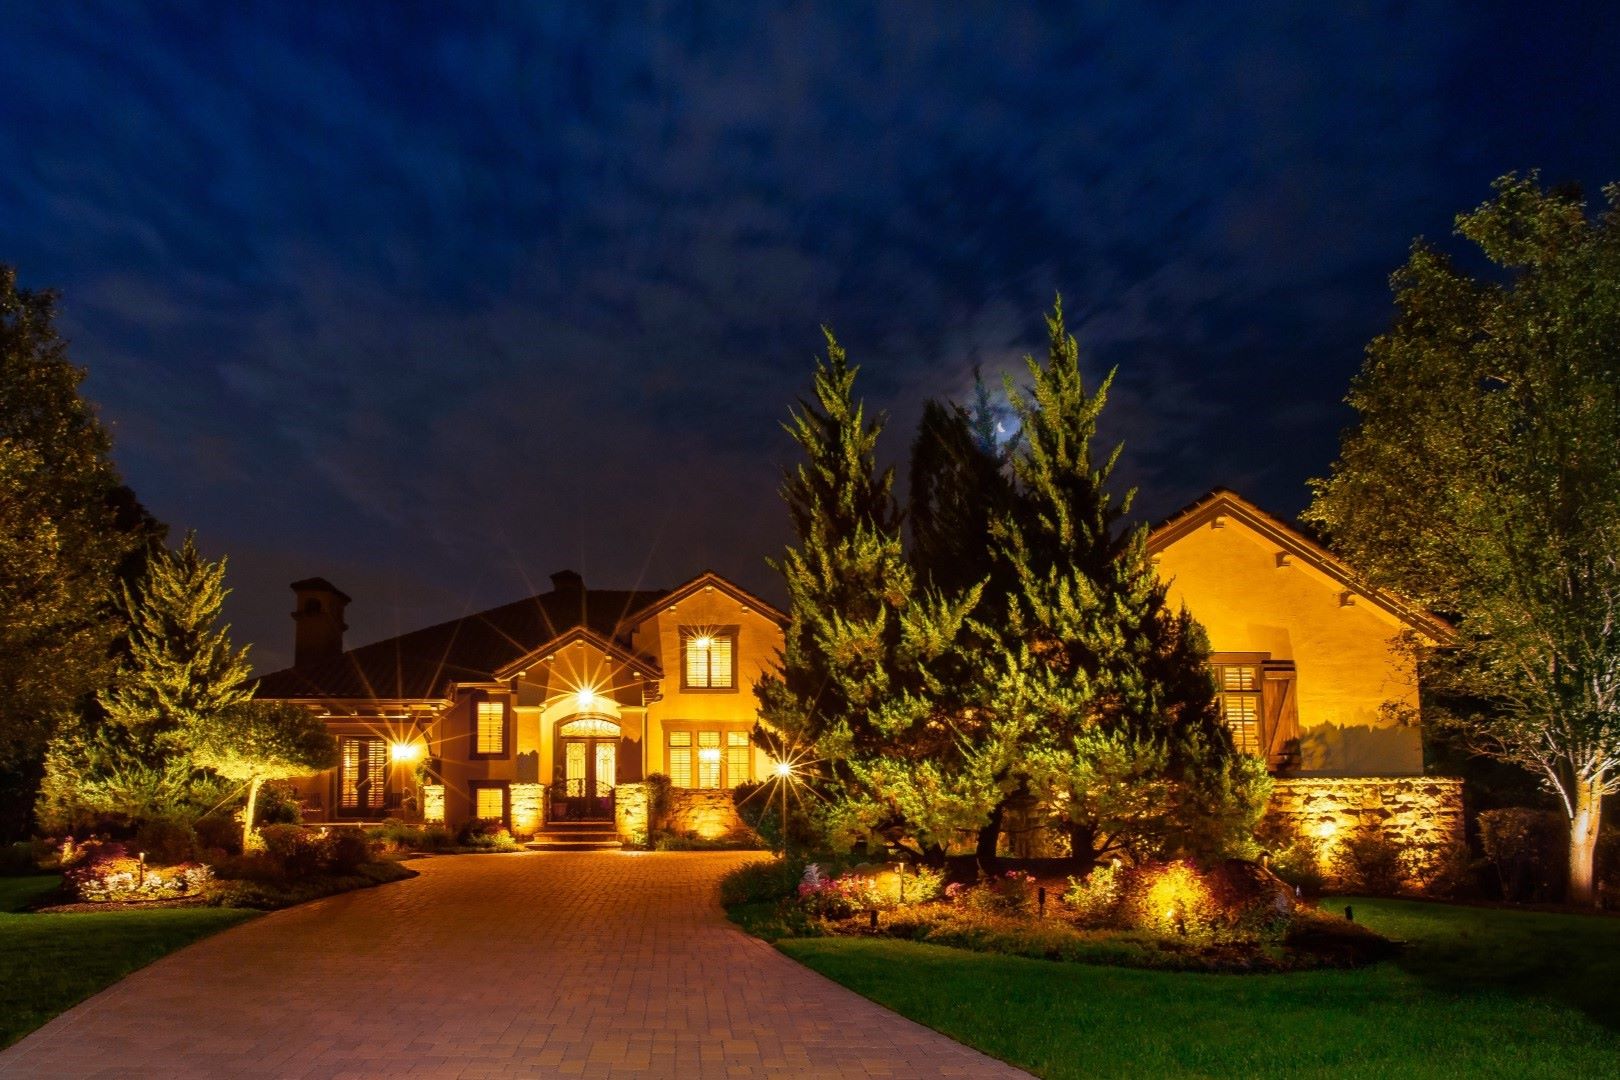
- Install lighting: For an enchanting and functional touch, install low-voltage landscape lighting along the edging. This will not only highlight the edging but also provide an inviting ambiance during the evening hours.
- Regular maintenance: To keep your landscaping edging looking its best, be sure to perform regular maintenance tasks such as trimming any overgrown vegetation, removing weeds, and cleaning any debris or dirt that may accumulate along the edging.
By incorporating these finishing touches, you can create a stunning and well-coordinated garden that showcases your edging and adds beauty to your outdoor space.
Congratulations! You have successfully installed and completed your landscaping edging project. Your garden now has a defined and polished look, adding curb appeal and enhancing the overall aesthetics of your property.
Remember, proper maintenance and regular inspection of the edging will help ensure its longevity and continued visual impact. Enjoy the beauty and functionality of your newly edging garden!
If you have any questions about landscaping edging or need further assistance, don’t hesitate to reach out to a gardening professional or visit your local nursery for expert advice and guidance.
Happy gardening!
Conclusion
Congratulations! You have reached the end of our comprehensive guide on how to install landscaping edging. By following the steps outlined in this article, you have learned how to choose the right edging material for your garden, prepare the site for installation, install and secure the edging materials, and add those final finishing touches.
Landscaping edging not only enhances the visual appeal of your garden but also provides functional benefits such as defining boundaries, retaining mulch, and preventing weed growth. With various options available, including brick, stone, metal, plastic, and wood edging, you can choose the material that best suits your design preferences, budget, and the specific needs of your garden.
From measuring and cutting the edging materials to leveling the ground and securing the edging in place, each step is crucial to achieving a professional-looking and durable result. Take the time to properly prepare the site, ensuring a clean and level surface, and consider adding a weed barrier to prevent any unwanted growth.
With the edging materials securely installed, you can add those finishing touches that will elevate the overall look and feel of your garden. Consider adding mulch, decorative stones, or plants to create a beautiful and cohesive display that complements the edging. Regular maintenance and inspection of the edging will help keep it looking its best and ensure its longevity.
We hope that this guide has provided you with the necessary knowledge and confidence to embark on your landscaping edging project. Remember, gardening is a creative and rewarding endeavor, so don’t be afraid to experiment and personalize your design.
Now, it’s time to put your newfound knowledge into practice and transform your garden into a stunning and well-defined outdoor space. Enjoy the process of creating a beautiful landscape that you can be proud of for years to come!
Happy gardening!
Frequently Asked Questions about How To Install Landscaping Edging
Was this page helpful?
At Storables.com, we guarantee accurate and reliable information. Our content, validated by Expert Board Contributors, is crafted following stringent Editorial Policies. We're committed to providing you with well-researched, expert-backed insights for all your informational needs.


0 thoughts on “How To Install Landscaping Edging”