Home>Gardening & Outdoor>Landscaping Ideas>How To Remove Grass And Put Rocks
Landscaping Ideas
How To Remove Grass And Put Rocks
Modified: August 27, 2024
Learn how to enhance your outdoor space with landscaping ideas. Find out how to remove grass and replace it with rocks for a low-maintenance yard. Discover more tips here!
(Many of the links in this article redirect to a specific reviewed product. Your purchase of these products through affiliate links helps to generate commission for Storables.com, at no extra cost. Learn more)
Introduction
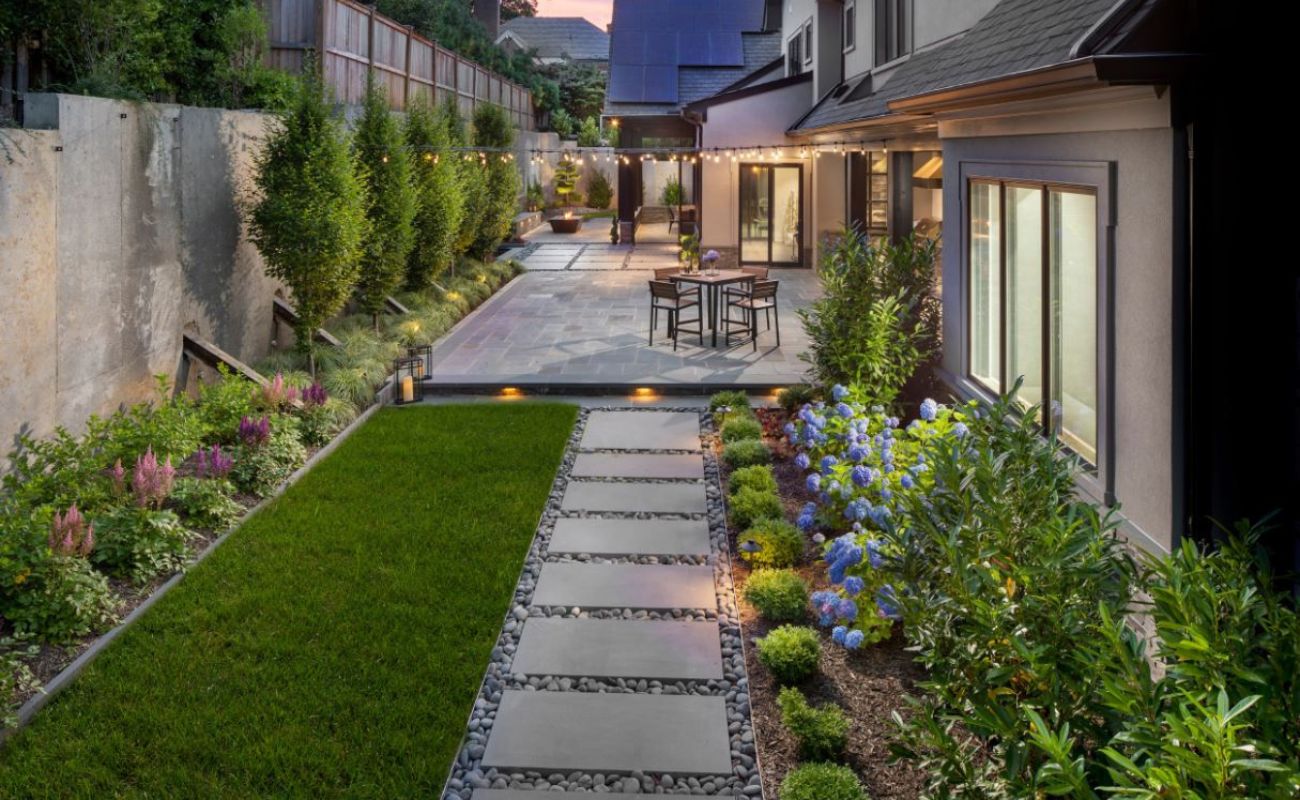
Transforming a grassy area into a stunning rock landscape can greatly enhance the visual appeal of your outdoor space. Whether you're aiming to create a low-maintenance garden or a modern, desert-inspired design, replacing grass with rocks can bring a fresh and distinctive look to your landscape. This comprehensive guide will walk you through the process of removing grass and replacing it with rocks, providing valuable insights and tips for a successful transformation.
Not only does this landscaping project offer aesthetic benefits, but it also reduces water consumption and minimizes the need for regular mowing and maintenance. By following these steps, you can achieve a beautiful and sustainable rock landscape that complements your property's architecture and style.
Let's dive into the materials needed for this project and explore the step-by-step process of removing grass and introducing rocks to create a picturesque and low-maintenance outdoor space.
Key Takeaways:
- Transforming grass into a rock landscape reduces maintenance, conserves water, and enhances outdoor aesthetics. Follow the steps to create a low-maintenance and visually appealing outdoor space.
- By replacing grass with rocks, you can create a unique and enduring outdoor haven. The rock landscape offers charm, sustainability, and a tranquil retreat for relaxation and admiration.
Read more: How To Put Down Landscaping Rocks
Materials Needed
Before embarking on the transformation of your outdoor space, gather the essential materials required for the project. Ensuring that you have the right supplies will streamline the process and contribute to a successful outcome. Here are the key materials you will need:
- Landscape Fabric: This woven material acts as a barrier, preventing weed growth while allowing water and nutrients to penetrate the soil.
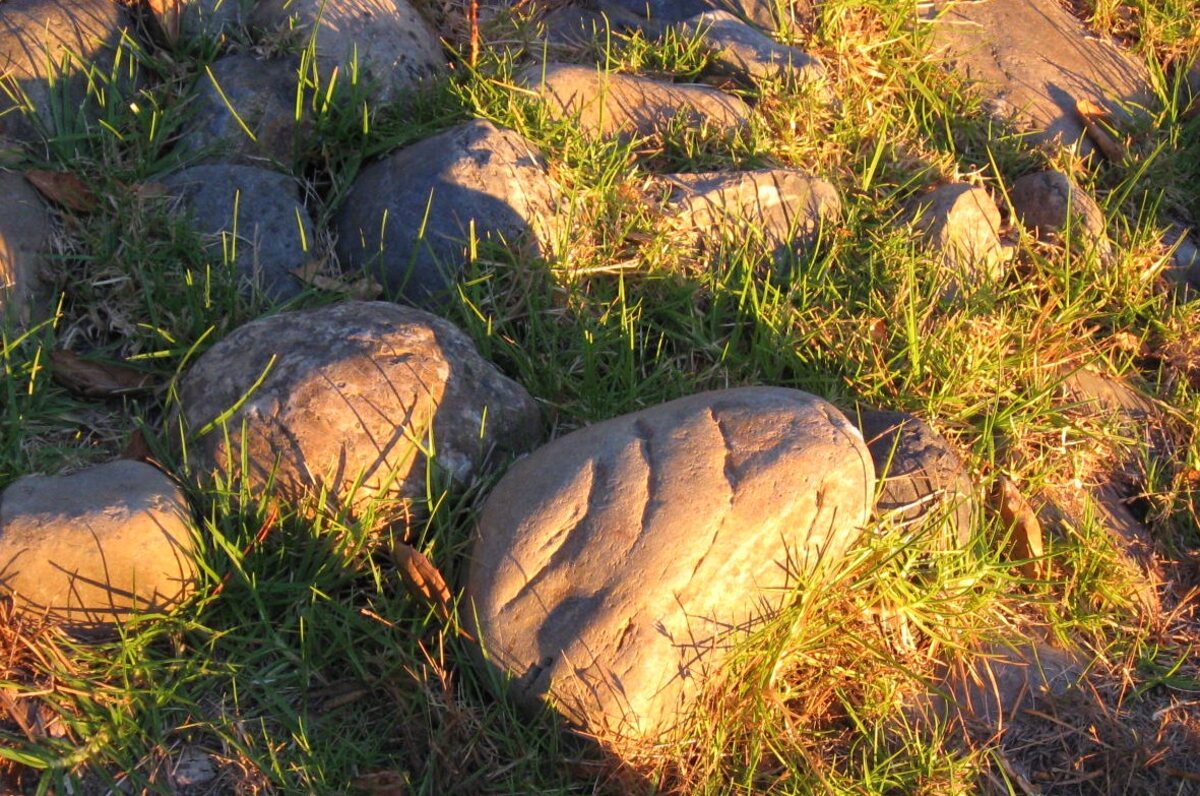
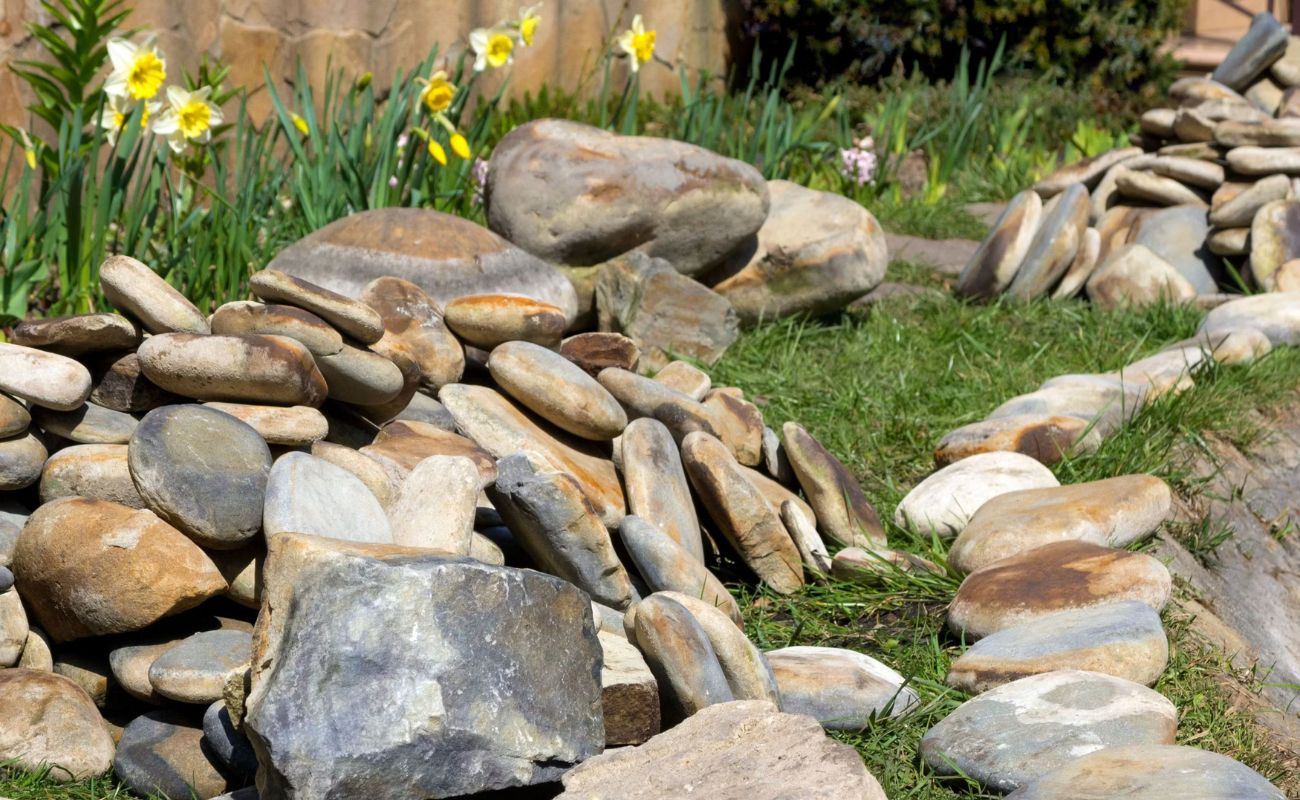
- Landscaping Rocks: Choose from an array of rocks, such as river rocks, pea gravel, or lava rocks, based on your desired aesthetic and the scale of your project.
- Shovel: A sturdy shovel will be essential for removing the existing grass and preparing the area for the landscape fabric and rocks.
- Wheelbarrow: Use a wheelbarrow to transport rocks and other materials, minimizing physical strain and expediting the process.
- Work Gloves: Protect your hands with durable work gloves, especially when handling rocks and landscape fabric.
- Utility Knife: This tool will be useful for cutting landscape fabric to fit the dimensions of your project area.
- Edging Material (Optional): If you desire defined borders for your rock landscape, consider edging materials such as metal or plastic landscape edging.
- Rake: A sturdy rake will aid in leveling the ground and distributing the rocks evenly.
- Watering Can or Hose: Ensure you have a means to water the newly installed rocks and landscape fabric.
By acquiring these materials, you will be well-prepared to commence the process of removing grass and introducing rocks to revitalize your outdoor space. With the necessary supplies at your disposal, you can proceed to the next steps with confidence and efficiency.
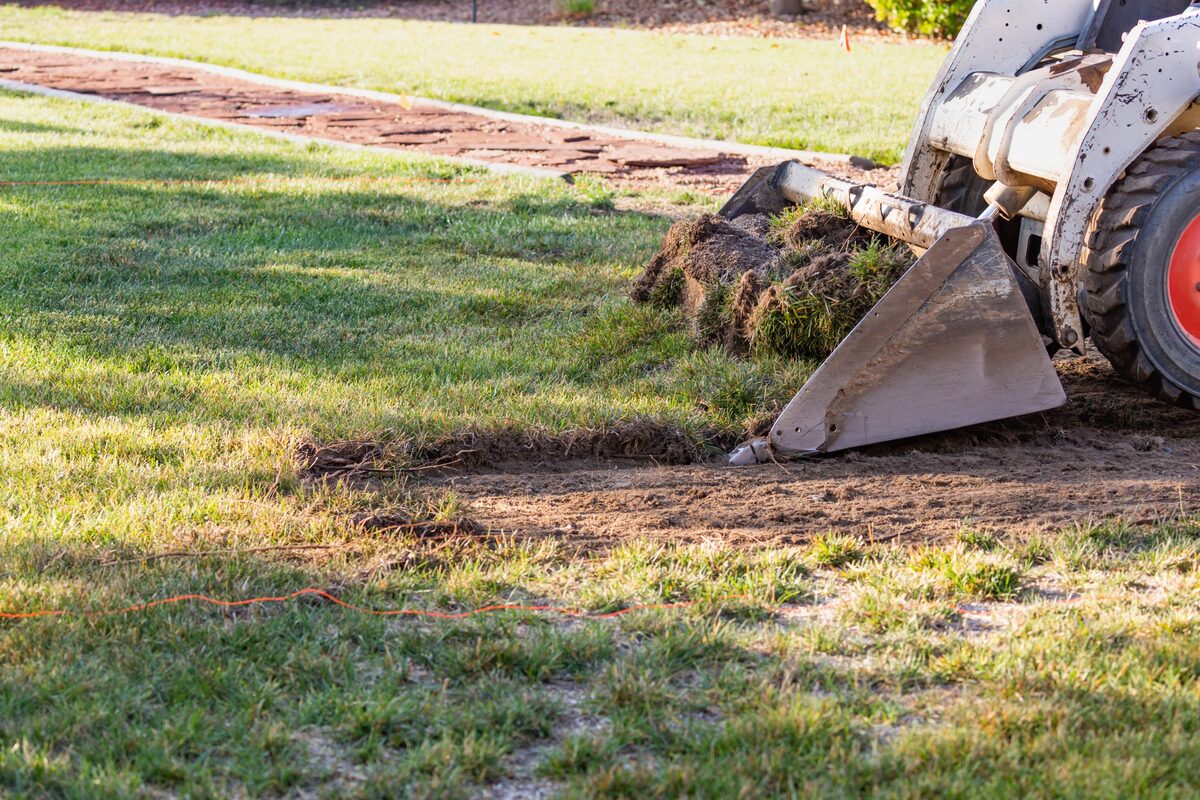
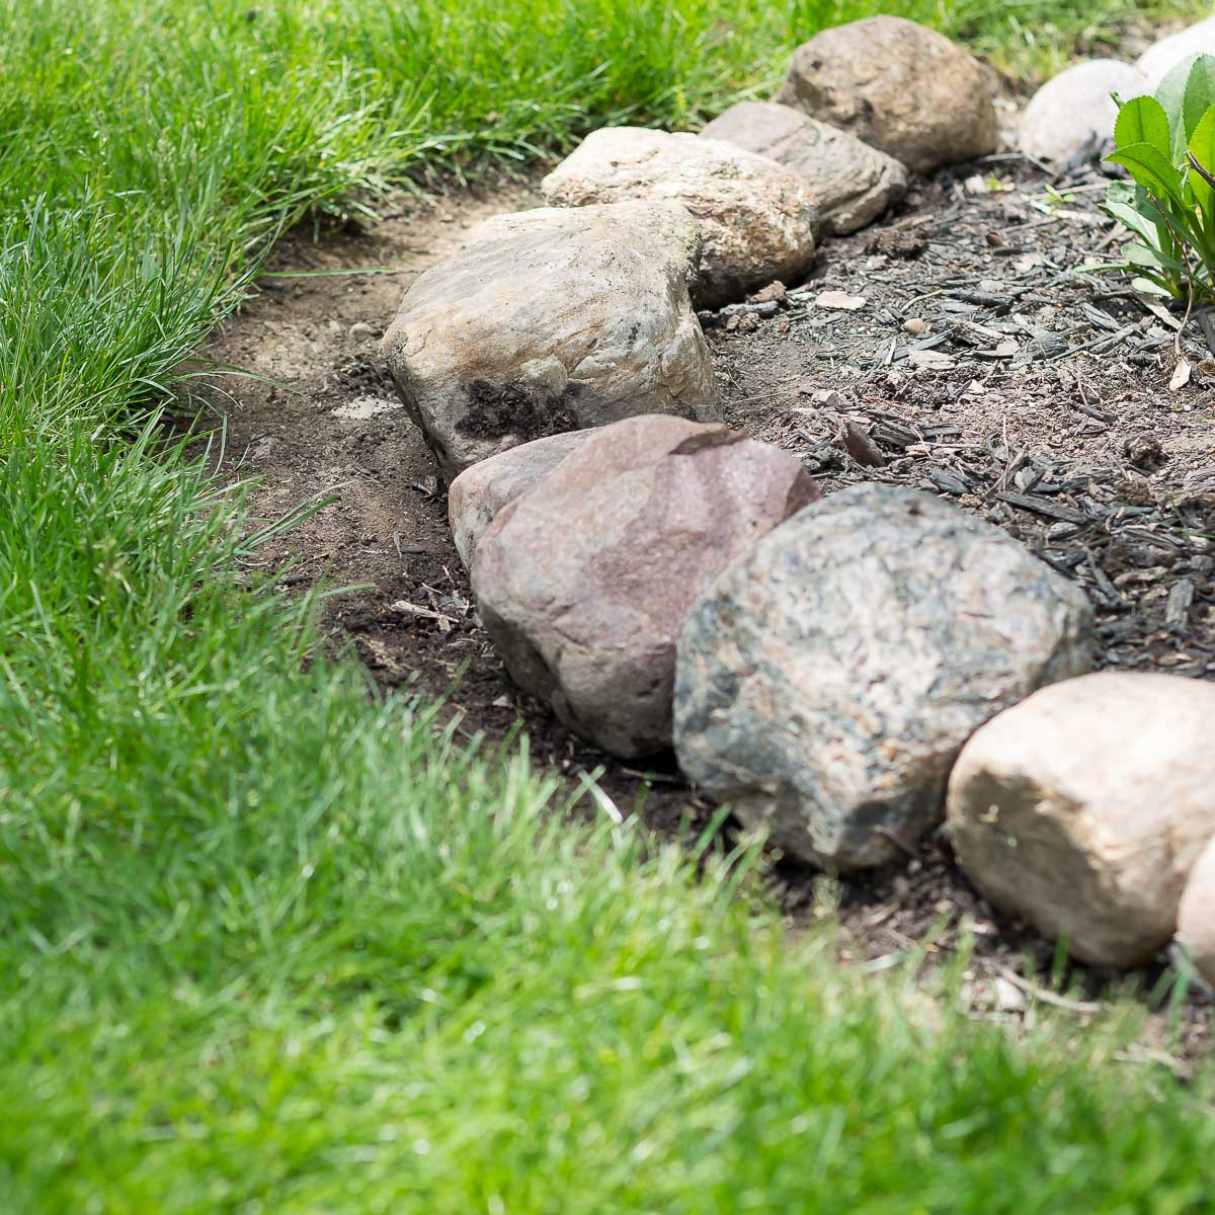
Step 1: Clearing the Area
Before laying the groundwork for your rock landscape, it is essential to clear the designated area of existing grass and vegetation. Follow these steps to prepare the space for the subsequent phases of the transformation:
- Mark the Boundaries: Outline the area where you intend to remove the grass and install the rocks. This will provide a clear visual guide for the upcoming tasks.
- Remove Existing Vegetation: Utilize a shovel to dig up the grass and its roots. Ensure thorough removal to prevent regrowth and maintain a clean slate for the rock installation.
- Dispose of Debris: Gather the extracted grass, roots, and any debris, and dispose of them appropriately. This will create a tidy and unobstructed space for the subsequent steps.
- Level the Ground: Use a rake to level the ground, ensuring a smooth and even surface for the next phase of the project. Address any uneven areas to create a uniform foundation for the landscape fabric and rocks.
By diligently clearing the area and preparing the ground, you set the stage for the seamless transition to the next steps of the landscaping project. With the space cleared and leveled, you are ready to proceed to the pivotal phase of laying landscape fabric to inhibit weed growth and facilitate proper drainage.
Step 2: Laying Landscape Fabric
Once the area is cleared and leveled, the next crucial step in the transformation process involves laying landscape fabric. This durable material serves as a protective barrier, preventing weed growth and promoting efficient water and nutrient penetration. Follow these steps to effectively lay landscape fabric for your rock landscape:
- Measure and Cut: Accurately measure the dimensions of the cleared area and cut the landscape fabric to fit, allowing for some overlap at the edges to ensure comprehensive coverage.
- Position the Fabric: Lay the landscape fabric over the prepared area, ensuring that it extends to the boundaries and overlaps as planned. Smooth out any wrinkles or folds to maintain a flat surface.
- Secure the Edges: Use landscape fabric pins or staples to secure the edges and prevent shifting. This will maintain the integrity of the barrier and provide long-term weed control.
- Make Necessary Cuts: If there are obstacles such as plants or existing features within the area, carefully cut and fit the landscape fabric around them, ensuring complete coverage.
- Inspect for Gaps: Thoroughly inspect the laid landscape fabric to identify any gaps or areas of incomplete coverage. Address and patch any identified gaps to fortify the barrier against weed intrusion.
By meticulously laying landscape fabric, you establish a resilient foundation for your rock landscape, effectively inhibiting weed growth and promoting the optimal environment for the rocks to be introduced. With the landscape fabric in place, you are prepared to embark on the exciting phase of adding rocks to bring your vision to life.
Before removing grass and putting rocks, make sure to use a sod cutter to remove the grass and roots. Then, add a layer of landscaping fabric to prevent weeds from growing through the rocks. Finally, spread a layer of rocks evenly over the area for a low-maintenance landscape.
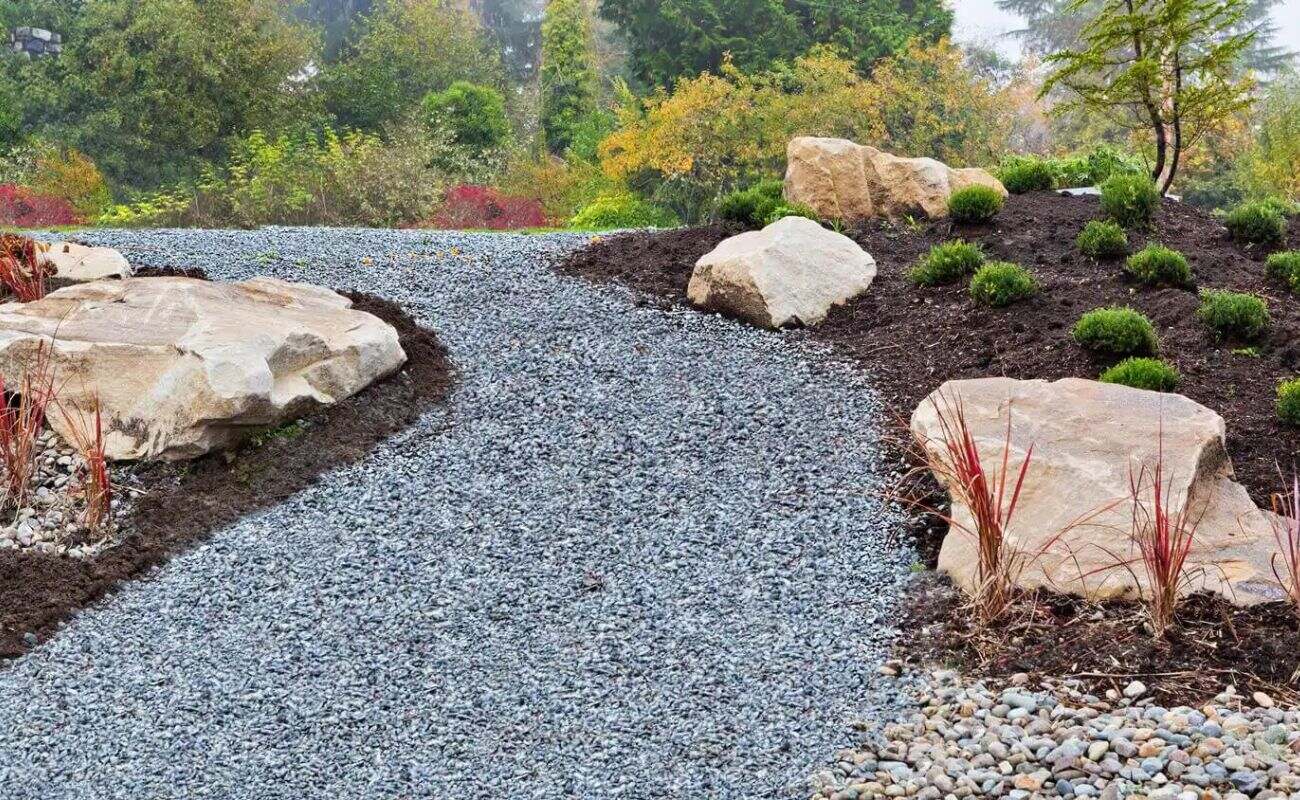
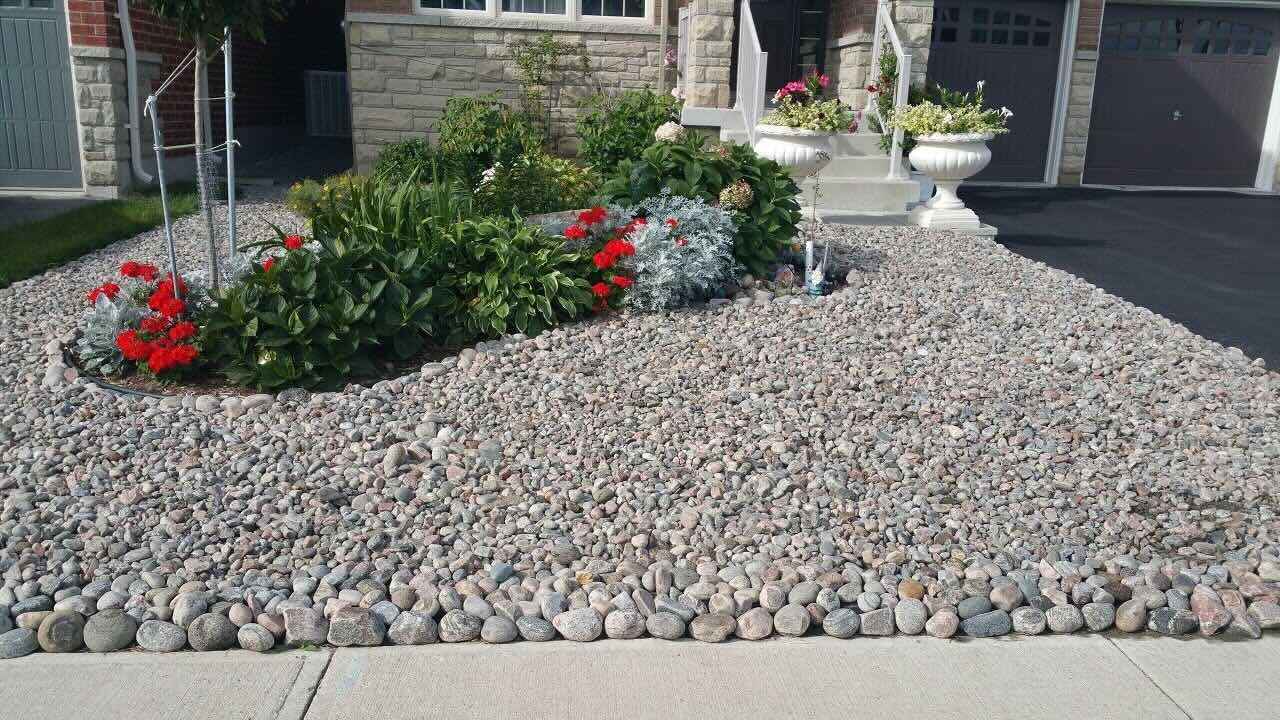
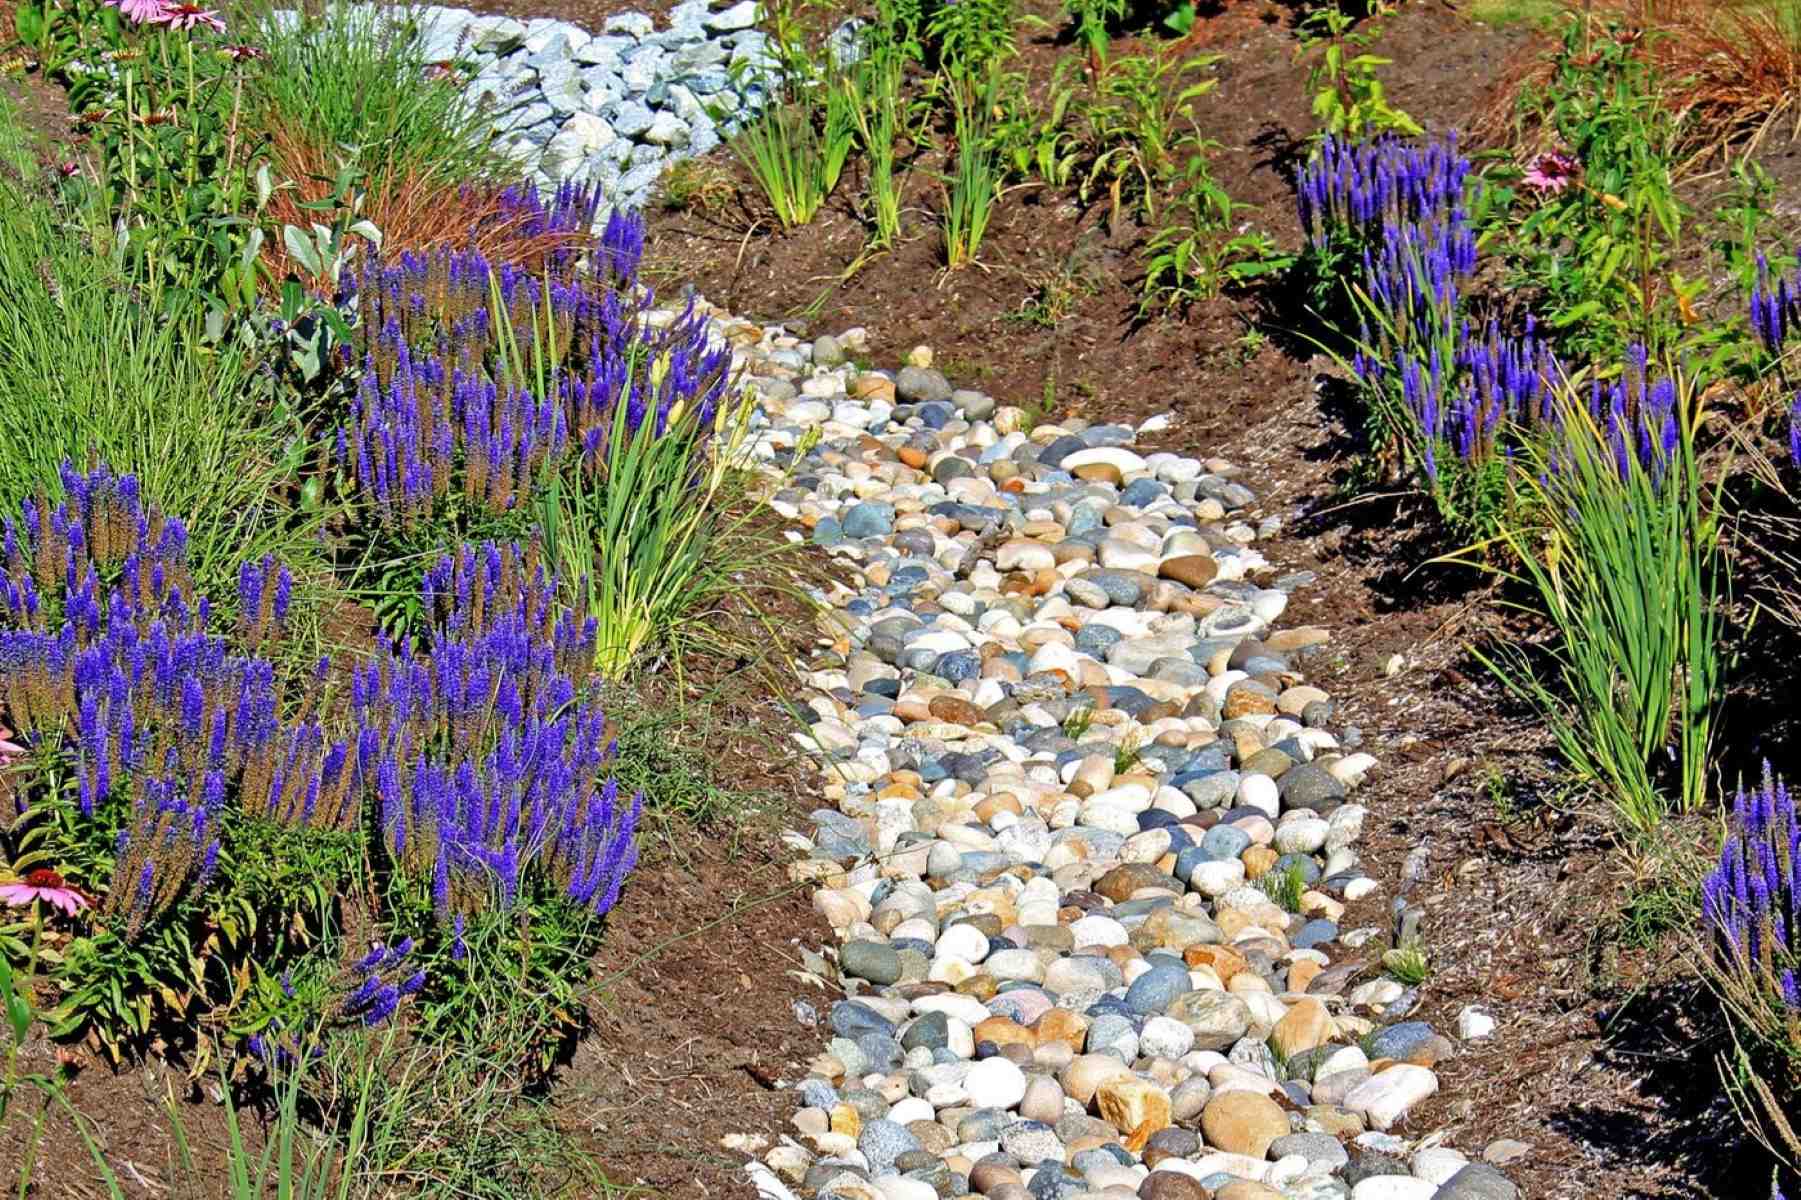
Step 3: Adding Rocks
With the groundwork laid and the landscape fabric in position, it’s time to introduce the focal element of your new landscape: the rocks. This pivotal step will bring texture, visual interest, and a distinct character to your outdoor space. Follow these steps to seamlessly add rocks to your transformed area:
- Select the Right Rocks: Choose the type and size of rocks that align with your desired aesthetic and the scale of your project. Consider options such as river rocks, pea gravel, or larger decorative rocks, ensuring they complement the overall design.
- Distribute Evenly: Begin spreading the rocks evenly over the landscape fabric, starting from one end and working your way across the area. Use a rake to distribute the rocks and achieve a uniform layer, adjusting the density as needed.
- Create Visual Appeal: Experiment with varying rock sizes and colors to create visual interest and depth within the landscape. Incorporate different textures and tones to craft an engaging and dynamic rock arrangement.
- Define Borders (Optional): If you desire defined borders for your rock landscape, consider incorporating edging materials to provide a polished and structured look, enhancing the overall presentation.
- Compact and Settle: Once the rocks are evenly distributed, gently compact them to ensure a secure and stable surface. This will help prevent displacement and maintain the integrity of the rock landscape.
By thoughtfully adding rocks to your landscape, you infuse character and charm into the outdoor space, creating a visually captivating and low-maintenance environment. The carefully selected rocks will define the aesthetic of the area, offering enduring appeal and complementing the surrounding elements of your property.
Now that the rocks are in place, it’s essential to understand the maintenance and care practices necessary to preserve the beauty and functionality of your newly transformed rock landscape.
Read more: How To Remove Rocks From Landscaping
Step 4: Maintenance and Care
After completing the transformation of your outdoor space with rocks, it’s important to implement proper maintenance and care practices to uphold the beauty and functionality of the landscape. By following these guidelines, you can ensure the longevity and visual appeal of your rock landscape:
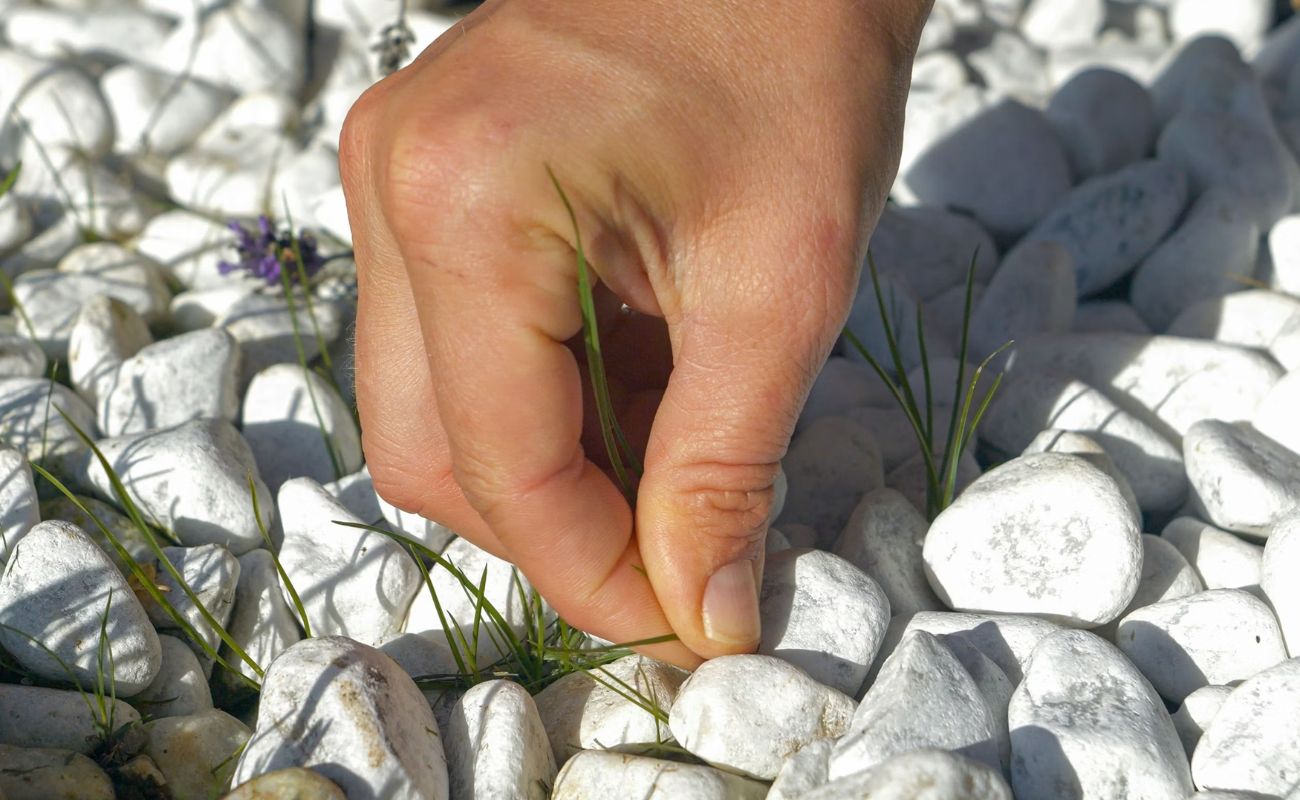
- Weed Control: Regularly inspect the rock landscape for any signs of weed growth. Remove any weeds that may emerge, ensuring that the landscape fabric continues to effectively inhibit their proliferation.
- Surface Cleaning: Periodically rake the rocks to remove debris, leaves, or other organic matter that may accumulate on the surface. This will help maintain the pristine appearance of the rock landscape.
- Watering: Depending on the specific rocks and plants in the vicinity, ensure appropriate watering to sustain the health of any existing vegetation and to prevent the rocks from becoming excessively dusty or dirty.
- Inspect for Settling: Monitor the rock landscape for any signs of uneven settling or displacement. Address any areas that require additional rocks or leveling to maintain a uniform and stable surface.
- Replenish as Needed: Over time, assess the condition of the rocks and replenish the landscape as necessary. This may involve adding new rocks to maintain the desired depth and coverage.
By incorporating these maintenance practices into your routine, you can preserve the allure and functionality of your rock landscape, ensuring that it remains a striking and enduring feature of your outdoor environment. With regular care and attention, your rock landscape will continue to captivate and enhance your outdoor space for years to come.
As you embrace the maintenance and care of your rock landscape, take pride in the transformative journey you’ve embarked upon, and revel in the beauty of your newly created outdoor haven.
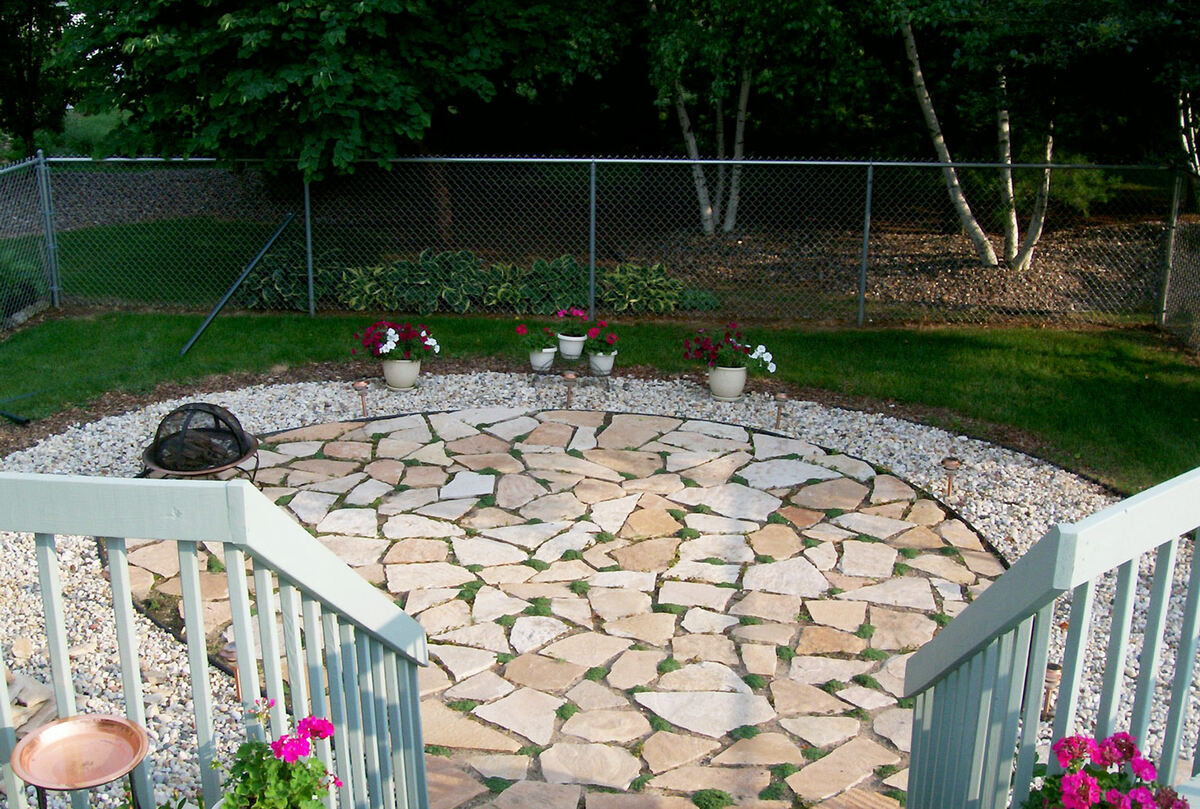
Conclusion
Embarking on the journey to remove grass and replace it with rocks has led to the creation of a captivating and low-maintenance landscape that enhances the visual appeal of your outdoor space. By following the outlined steps and investing care and attention into the transformation process, you’ve successfully crafted a distinctive and enduring feature that complements your property.
The deliberate selection of rocks, coupled with the strategic placement and meticulous care, has resulted in a landscape that exudes charm and character while minimizing the need for regular maintenance. The fusion of texture, color, and functionality within the rock landscape reflects your vision and contributes to the overall ambiance of your outdoor environment.
As you revel in the beauty of your newly transformed space, take pride in the sustainable and practical nature of the rock landscape. The reduction in water consumption, minimized maintenance requirements, and enduring visual appeal stand as testaments to the thoughtful and purposeful approach taken in reimagining your outdoor area.
Embrace the tranquility and allure of your rock landscape, knowing that your efforts have yielded a space that invites relaxation and admiration. Whether it’s a modern, desert-inspired design or a serene garden retreat, the rock landscape stands as a testament to your creativity and commitment to crafting an outdoor sanctuary.
As the seasons unfold and time leaves its gentle mark on the landscape, continue to nurture and appreciate the evolving beauty of your rock-adorned outdoor space. The enduring charm and practicality of the rock landscape will serve as a source of delight and inspiration, enriching your outdoor experience for years to come.
Frequently Asked Questions about How To Remove Grass And Put Rocks
Was this page helpful?
At Storables.com, we guarantee accurate and reliable information. Our content, validated by Expert Board Contributors, is crafted following stringent Editorial Policies. We're committed to providing you with well-researched, expert-backed insights for all your informational needs.

0 thoughts on “How To Remove Grass And Put Rocks”