Home>Gardening & Outdoor>Landscaping Ideas>How To Lay Rocks Over Grass
Landscaping Ideas
How To Lay Rocks Over Grass
Modified: October 19, 2024
Learn effective landscaping ideas with our guide on how to lay rocks over grass. Transform your outdoor space with these simple tips and create a beautiful, low-maintenance landscape.
(Many of the links in this article redirect to a specific reviewed product. Your purchase of these products through affiliate links helps to generate commission for Storables.com, at no extra cost. Learn more)
**
Introduction
**
Are you looking to add a touch of natural charm to your outdoor space? Transforming a grassy area into a stunning rock pathway can breathe new life into your landscape. Whether you want to create a meandering walkway through your garden or a decorative feature in your yard, laying rocks over grass can provide an eye-catching and low-maintenance solution.
In this comprehensive guide, we will explore the step-by-step process of laying rocks over grass to create a visually appealing and functional pathway. By following these simple yet effective techniques, you can elevate the aesthetic appeal of your outdoor environment while minimizing the need for extensive upkeep.
From preparing the area and laying down landscape fabric to arranging and securing the rocks, we will delve into each crucial step to ensure that your rock pathway not only looks impressive but also stands the test of time. Additionally, we will discuss essential tips for maintaining the rock path, allowing you to enjoy its beauty for years to come.
Join us as we embark on this landscaping journey, where the fusion of natural elements and practicality converges to enhance the allure of your outdoor space. Let's dive into the art of laying rocks over grass and unlock the potential of your landscape with this transformative project.
**
Key Takeaways:
- Transform your outdoor space by laying rocks over grass to create a stunning and low-maintenance pathway. Follow simple steps to prepare the area, arrange the rocks, and secure them for a visually captivating result.
- Maintain the allure of your rock pathway with regular cleaning, weed control, and proper drainage. Enhance its charm by incorporating plantings and enjoy a timeless and inviting outdoor environment.
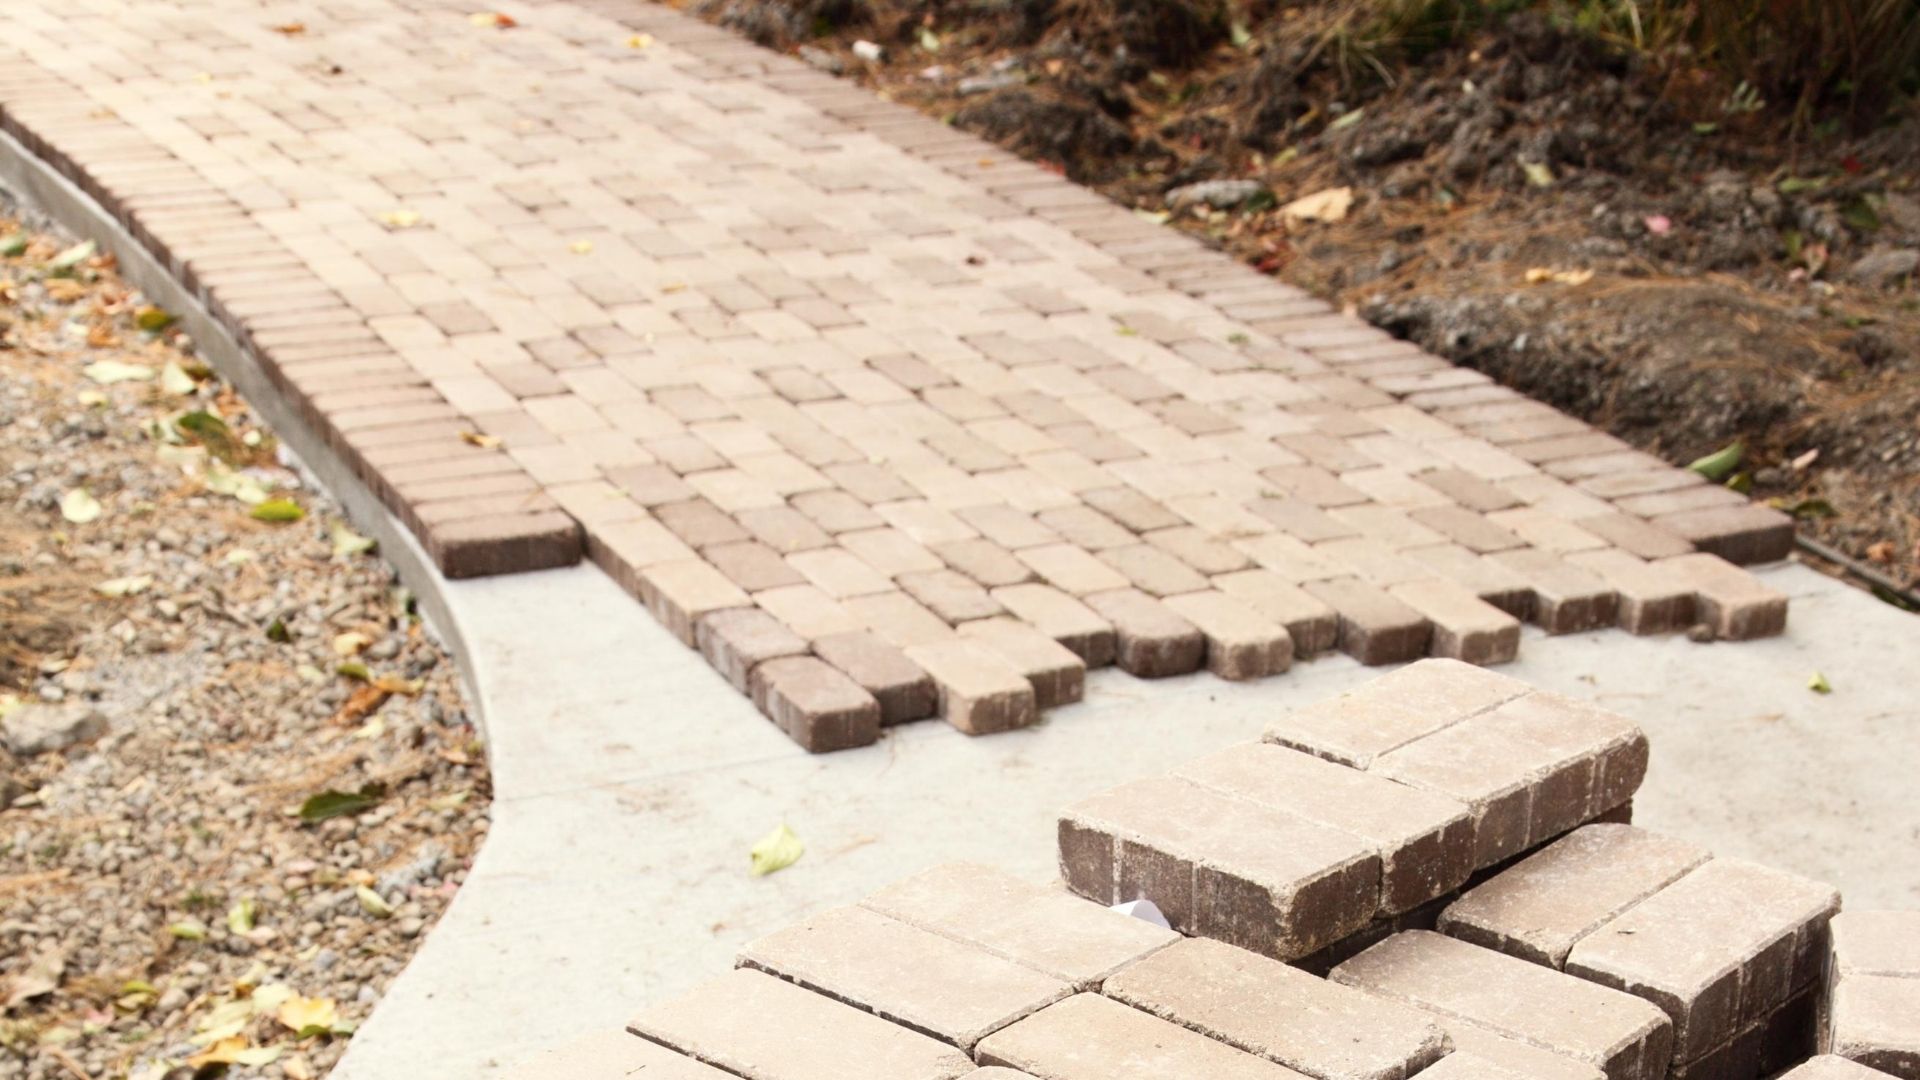
Read more: How To Lay Decking Over Concrete
Step 1: Prepare the Area
**
Before embarking on the process of laying rocks over grass, it is essential to prepare the designated area to ensure a sturdy and visually appealing result. Here are the key steps to prepare the area for the rock pathway:
Assess the Area: Begin by assessing the area where you intend to lay the rocks. Clear any debris, such as fallen branches or stones, and take note of the natural contours of the land. Understanding the topography will help you determine the most suitable layout for the rock pathway.
Mark the Path: Use marking spray or a garden hose to outline the path where the rocks will be placed. This step allows you to visualize the shape and flow of the pathway, ensuring that it complements the surrounding landscape.
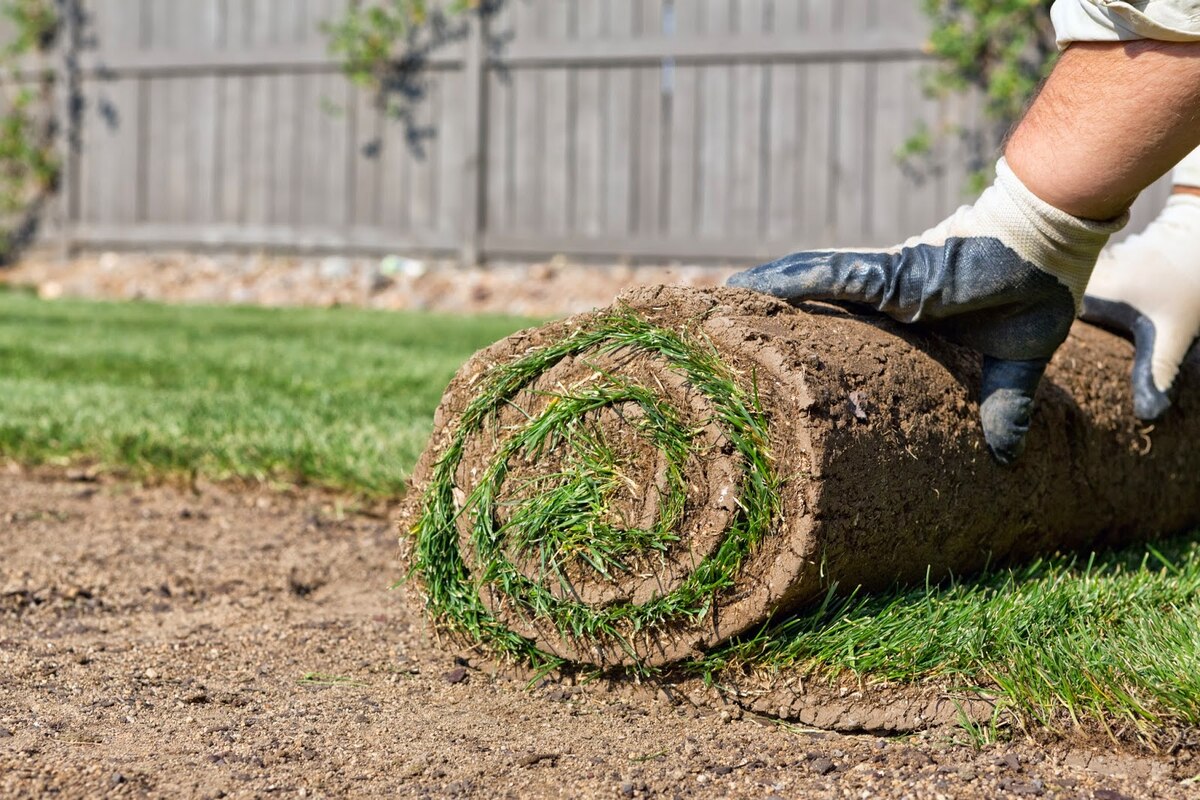
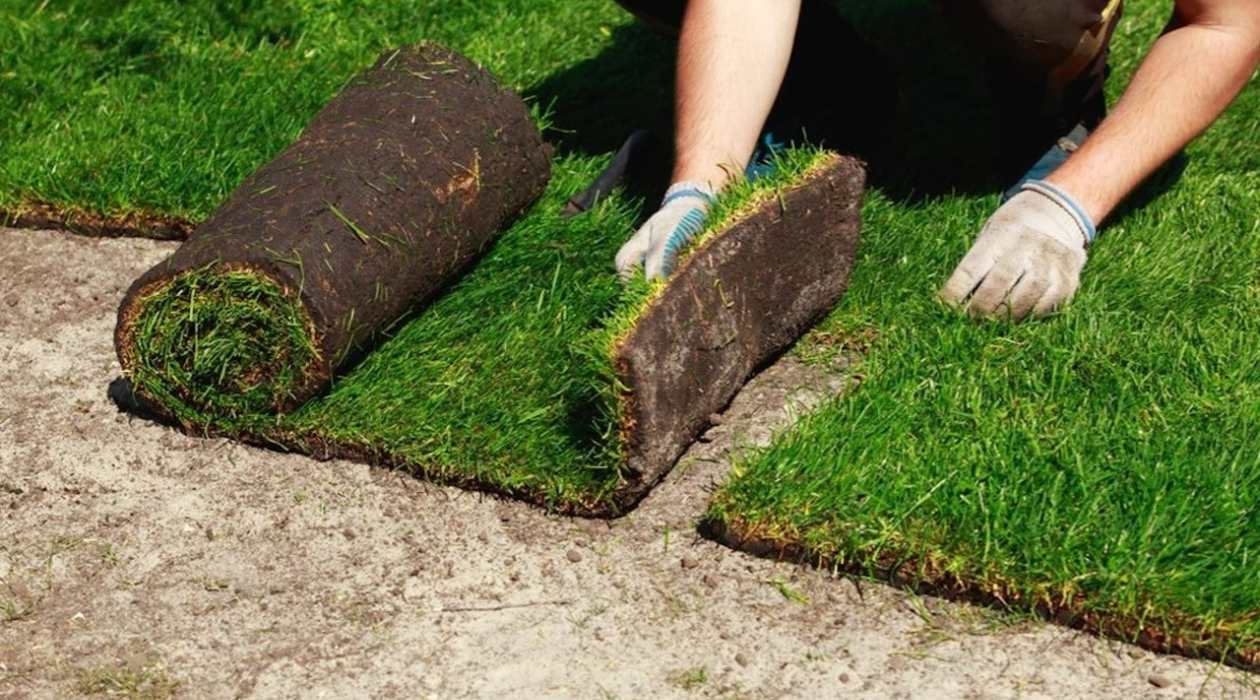
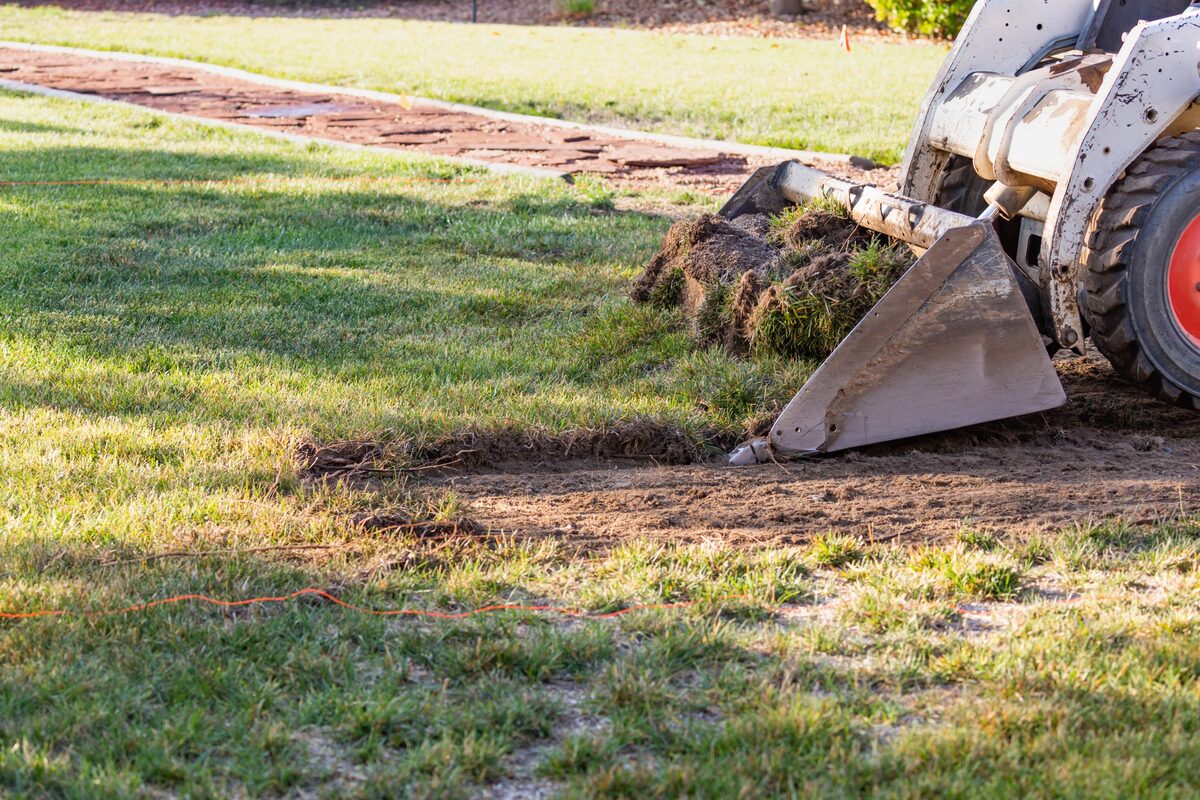
Remove Grass and Weeds: Once the path is marked, remove the existing grass and any weeds within the outlined area. You can use a shovel or a sod cutter to effectively eliminate the vegetation, creating a clean canvas for the rock pathway.
Level the Ground: After clearing the grass and weeds, it is crucial to level the ground to provide a stable foundation for the rocks. Use a rake or a leveling tool to even out the soil, taking care to fill in any low-lying areas and remove excess soil as needed.
Add a Base Layer: To further enhance the stability of the pathway, consider adding a base layer of crushed gravel or sand. This layer will promote proper drainage and prevent the rocks from shifting over time. Spread the gravel or sand evenly across the prepared area and compact it using a tamper to create a solid base.
By meticulously preparing the area for the rock pathway, you can lay a strong foundation for the subsequent steps, ensuring that your rock pathway not only looks visually captivating but also withstands the test of time. With the area meticulously prepared, you are ready to move on to the next crucial step: laying down landscape fabric to facilitate the seamless integration of rocks into the landscape.
**
Step 2: Lay Down Landscape Fabric
**
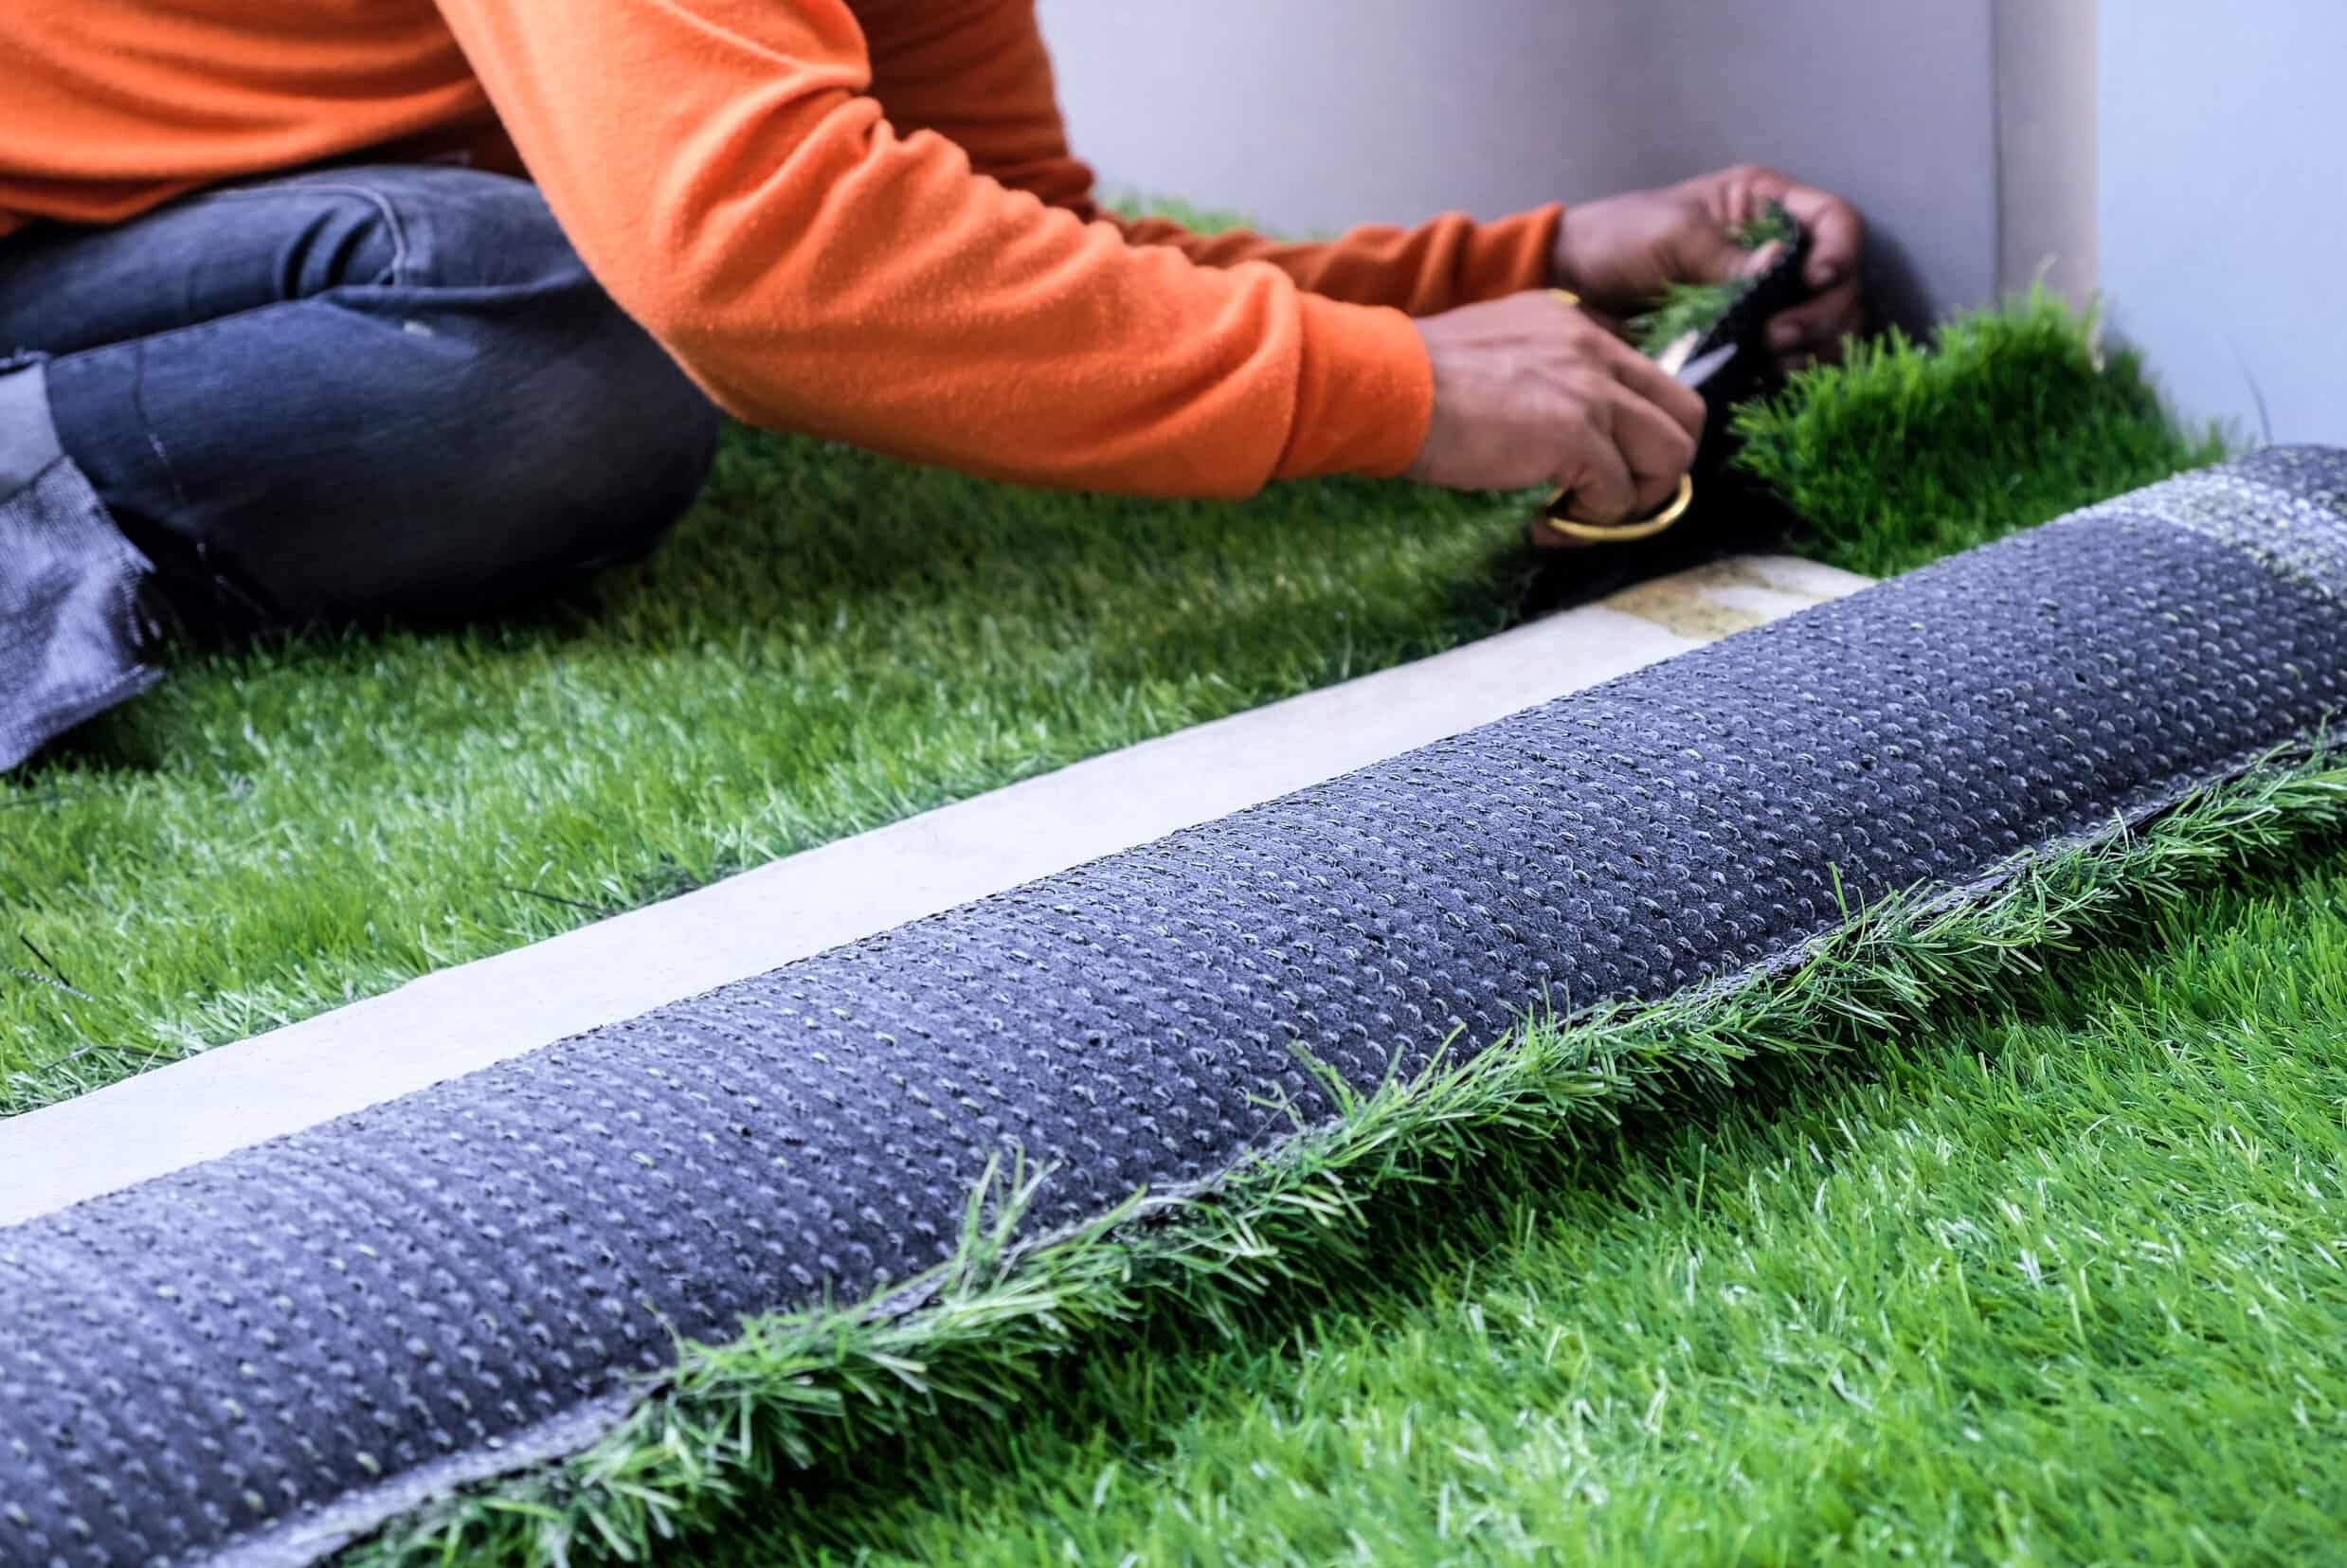
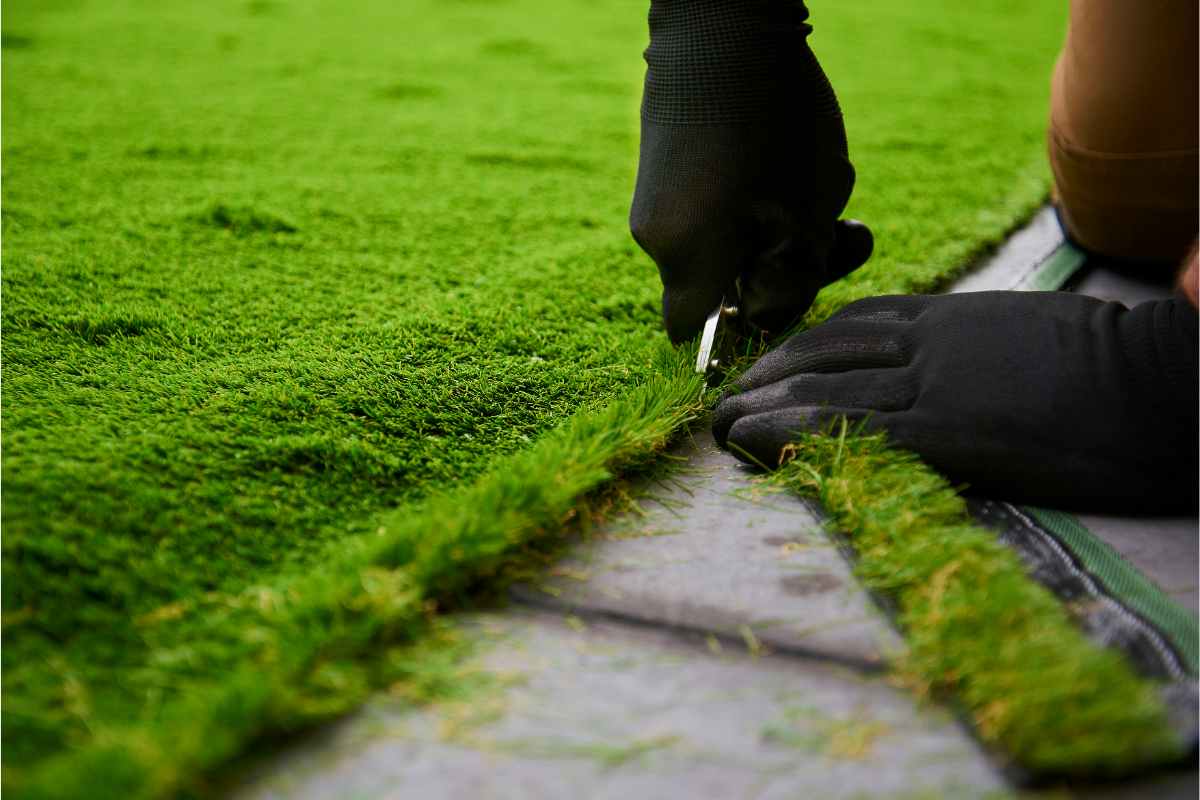
Once the area has been meticulously prepared for the rock pathway, the next vital step is to lay down landscape fabric. This essential material serves as a barrier that inhibits weed growth while allowing for proper drainage, thereby contributing to the longevity and visual appeal of the rock pathway. Here’s how to effectively lay down landscape fabric:
Measure and Cut the Fabric: Begin by measuring the prepared pathway area and cutting the landscape fabric to fit the dimensions. Ensure that the fabric extends slightly beyond the edges of the pathway to provide comprehensive coverage.
Place the Fabric: Carefully position the cut landscape fabric over the prepared pathway area, smoothing out any wrinkles or folds to create a flat surface. Overlapping the edges of the fabric can further bolster its weed-inhibiting properties and prevent soil from seeping through the gaps.
Secure the Fabric: To prevent the landscape fabric from shifting, use landscape fabric pins or staples to secure it to the ground. Place the pins at regular intervals along the edges and seams of the fabric, ensuring that it remains taut and steadfast.
Make Necessary Cuts: If the pathway features curves or intricate patterns, make strategic cuts in the fabric to accommodate the layout while maintaining its continuous coverage. This step allows the fabric to seamlessly conform to the desired pathway design.
Inspect and Adjust: Once the landscape fabric is in place, inspect the entire pathway area to ensure that the fabric is securely anchored and free of any gaps or loose sections. Make any necessary adjustments to guarantee comprehensive coverage and stability.
By laying down landscape fabric, you establish a resilient barrier against weed growth and soil displacement, setting the stage for the seamless integration of rocks into the landscape. This crucial step not only contributes to the visual allure of the rock pathway but also minimizes maintenance efforts, allowing you to revel in its natural splendor without the intrusion of unwanted vegetation.
With the landscape fabric securely in place, you are now prepared to embark on the next phase: arranging the rocks to bring your envisioned pathway to life.
**
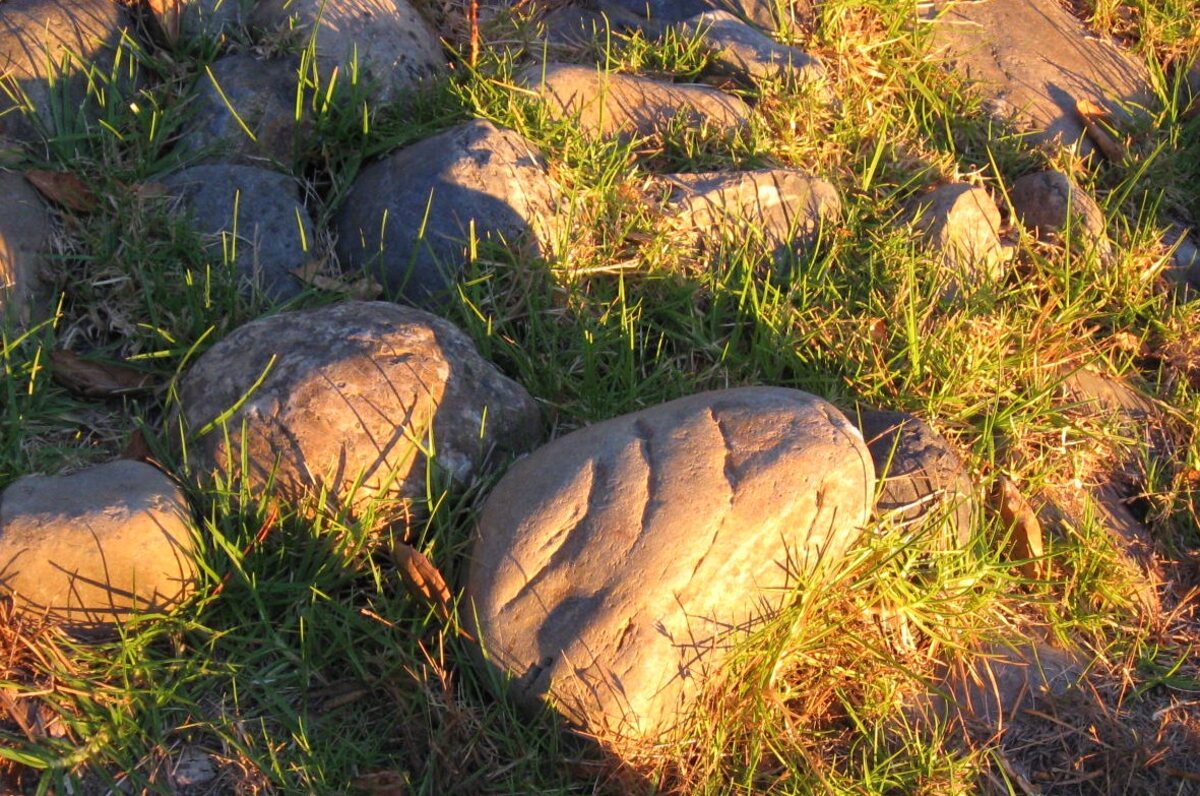
Before laying rocks over grass, it’s important to remove any existing grass and create a level surface. Use a landscape fabric to prevent weed growth and then place the rocks on top. This will help to create a stable and low-maintenance surface.
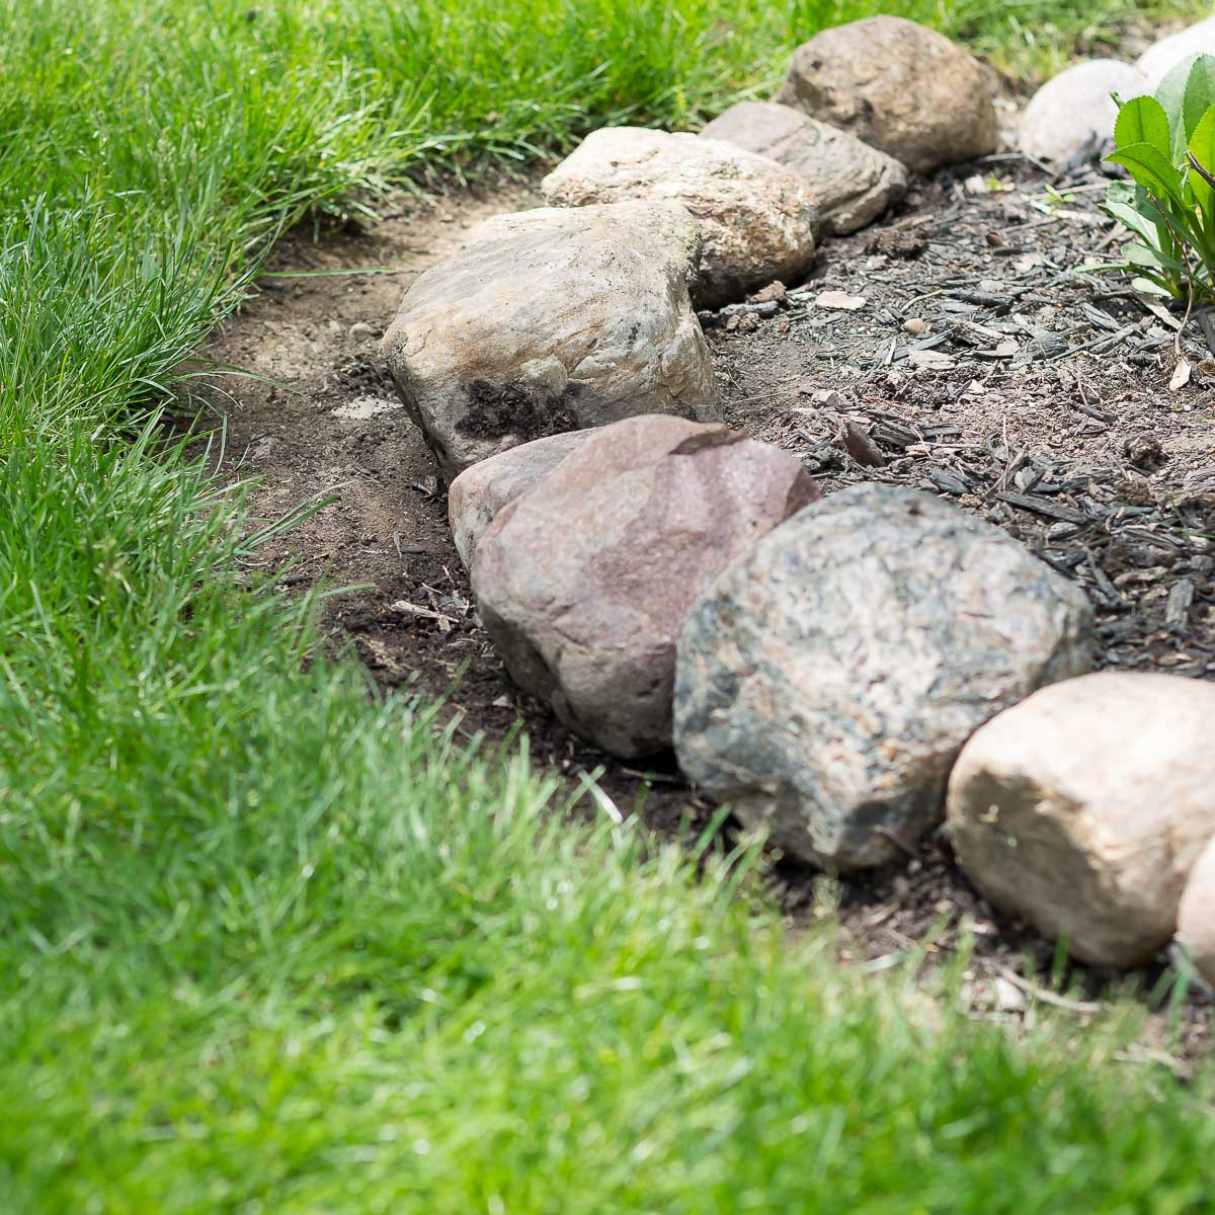
Step 3: Arrange the Rocks
**
As you transition to the pivotal stage of creating your rock pathway, the process of arranging the rocks requires thoughtful consideration and a keen eye for aesthetic appeal. By strategically placing the rocks, you can infuse the pathway with visual interest and natural charm. Here’s how to effectively arrange the rocks:
Select Suitable Rocks: Begin by selecting rocks of varying sizes, shapes, and textures to add visual dimension to the pathway. Opt for natural stones or decorative pavers that complement the surrounding landscape and contribute to the desired ambiance.
Experiment with Layouts: Before settling on a final arrangement, experiment with different layouts by loosely placing the rocks along the pathway. This creative exploration allows you to visualize the interplay of colors and shapes, ensuring that the arrangement harmonizes with the overall aesthetic of your outdoor space.
Create Natural Transitions: To achieve a cohesive and natural look, aim to create smooth transitions between the rocks, avoiding abrupt shifts in elevation or alignment. This approach fosters a seamless flow along the pathway, enhancing both its visual appeal and functionality.
Consider Pathway Width: When arranging the rocks, consider the width of the pathway to ensure that it accommodates comfortable passage. Leave adequate space between the rocks to facilitate easy navigation while maintaining an engaging and balanced composition.
Blend with Surroundings: Integrate the rocks into the surrounding landscape by incorporating them into the existing flora and natural features. This harmonious integration fosters a sense of unity and cohesiveness, elevating the pathway into a captivating focal point within the outdoor environment.
By thoughtfully arranging the rocks, you can imbue the pathway with character and allure, creating a visually captivating feature that seamlessly integrates with the surrounding landscape. This transformative process not only enhances the aesthetic appeal of your outdoor space but also invites exploration and appreciation of its natural charm.
With the rocks thoughtfully arranged, you are now poised to secure them in place, ensuring the durability and longevity of your captivating rock pathway.
**
Step 4: Secure the Rocks
**
As you near the completion of your rock pathway project, securing the rocks in place is essential to ensure their stability and longevity. By anchoring the rocks firmly, you can create a durable and reliable pathway that withstands the test of time. Here’s how to effectively secure the rocks:
Use Landscape Adhesive: Apply a high-quality landscape adhesive to the underside of each rock before placing it on the pathway. This adhesive serves as a bonding agent, firmly affixing the rocks to the ground and preventing them from shifting or becoming dislodged.
Compact the Rocks: After positioning each rock, gently compact it into the underlying surface to promote a secure fit. This step enhances the stability of the pathway and minimizes the risk of uneven surfaces, ensuring a safe and reliable walking experience.
Create Natural Interlocks: Arrange the rocks in a manner that encourages natural interlocking, where the shapes and contours of adjacent rocks complement each other. This interlocking configuration fosters structural integrity and prevents individual rocks from shifting out of place.
Consider Jointing Material: For pathways featuring larger gaps between rocks, consider using jointing material such as polymeric sand or gravel to fill in the spaces. This material enhances the cohesion of the pathway while inhibiting weed growth and preserving the integrity of the rock arrangement.
Inspect and Adjust: Once the rocks are secured in place, thoroughly inspect the pathway to ensure that each rock is firmly anchored and that the overall arrangement aligns with your vision. Make any necessary adjustments to guarantee a cohesive and enduring rock pathway.
By securely anchoring the rocks, you fortify the structure of the pathway, creating a resilient and visually striking feature within your outdoor space. This crucial step not only enhances the durability of the rock pathway but also ensures that it remains a captivating and functional element of your landscape for years to come.
With the rocks firmly secured, you are now ready to revel in the beauty of your completed rock pathway while embracing the essential measures for its ongoing maintenance.
**
Read more: How To Install Turf Over Rocks
Step 5: Maintain the Rock Path
**
Upon completing the installation of your captivating rock pathway, it is crucial to implement effective maintenance practices to preserve its allure and functionality. By incorporating routine care and attention, you can ensure that the pathway remains a stunning focal point in your outdoor environment. Here’s how to maintain the rock path:
Regular Cleaning: Keep the rock pathway clean and free of debris by regularly sweeping away leaves, twigs, and other natural accumulations. This simple practice maintains the pathway’s visual appeal and prevents the buildup of organic matter that could foster weed growth.
Weed Control: Monitor the pathway for any signs of weed growth and promptly remove any unwanted vegetation that may emerge between the rocks. By staying vigilant and addressing weeds early on, you can preserve the pristine appearance of the pathway.
Inspect for Displacement: Periodically inspect the rocks to ensure that they remain securely in place and that the pathway’s overall integrity is maintained. Address any instances of rock displacement or unevenness to uphold the pathway’s stability and safety.
Replenish Jointing Material: If your pathway incorporates jointing material such as polymeric sand or gravel, monitor its condition and replenish it as needed to sustain the cohesion and structural integrity of the rock arrangement.
Address Drainage: Be mindful of the pathway’s drainage to prevent water accumulation, especially in areas with heavy rainfall. Ensure that the pathway facilitates proper water runoff to prevent erosion and maintain the stability of the rocks.
Enhance with Plantings: Consider enhancing the visual appeal of the rock pathway by incorporating complementary plantings along its borders. Select low-maintenance foliage and ornamental plants to accentuate the pathway’s natural charm and create a harmonious blend with the surrounding landscape.
By implementing these maintenance practices, you can safeguard the enduring beauty and functionality of your rock pathway, allowing it to remain a captivating and integral element of your outdoor space. With regular care and attention, your rock pathway will continue to enrich your landscape with its timeless allure and inviting ambiance.
Embrace the art of maintaining your rock pathway, preserving its natural splendor and ensuring that it continues to captivate and inspire within your outdoor environment.
Frequently Asked Questions about How To Lay Rocks Over Grass
Was this page helpful?
At Storables.com, we guarantee accurate and reliable information. Our content, validated by Expert Board Contributors, is crafted following stringent Editorial Policies. We're committed to providing you with well-researched, expert-backed insights for all your informational needs.


0 thoughts on “How To Lay Rocks Over Grass”