Home>Gardening & Outdoor>Landscaping Ideas>How To Lay Concrete Slabs On Grass
Landscaping Ideas
How To Lay Concrete Slabs On Grass
Published: January 25, 2024
Learn how to lay concrete slabs on grass with our expert landscaping ideas. Transform your outdoor space with our step-by-step guide.
(Many of the links in this article redirect to a specific reviewed product. Your purchase of these products through affiliate links helps to generate commission for Storables.com, at no extra cost. Learn more)
Introduction
Welcome to the world of landscaping, where creativity meets practicality to transform outdoor spaces into stunning, functional areas. One popular landscaping project involves laying concrete slabs on grass, offering a durable and visually appealing surface for various activities. Whether you envision a patio for entertaining guests or a pathway to navigate your garden, this endeavor requires careful planning, precise execution, and a touch of artistry.
In this comprehensive guide, we will delve into the step-by-step process of laying concrete slabs on grass, from initial planning to the finishing touches. By following these instructions, you can elevate your outdoor environment and create a seamless integration of concrete and natural elements. Let’s embark on this journey to enhance your outdoor living space with the timeless elegance of concrete slabs.
Key Takeaways:
- Transform your outdoor space by laying concrete slabs on grass, creating a durable and visually appealing surface for patios, pathways, and more. Meticulous planning and preparation are key to success.
- Elevate your outdoor environment with concrete slabs, from marking the area to finishing touches. Precision, creativity, and attention to detail result in a visually stunning and inviting outdoor space.
Read more: How To Lay A Concrete Slab For A Shed
Step 1: Planning and Preparation
Before diving into the physical labor of laying concrete slabs on grass, it’s crucial to start with a well-thought-out plan. Begin by envisioning the purpose of the slabs – whether they will serve as a patio, a pathway, or another functional area. Consider the dimensions, shape, and layout that will best complement your outdoor space, taking into account factors such as foot traffic patterns and existing landscaping features.
Once you have a clear vision of the project, gather the necessary tools and materials. You will need items such as wooden stakes, string, a tape measure, a shovel, a wheelbarrow, gravel, sand, concrete mix, a trowel, and a level. Additionally, consider renting a sod cutter to facilitate the grass removal process, especially for larger areas.
Next, it’s essential to assess the drainage and soil composition of the area where the concrete slabs will be laid. Proper drainage is crucial to prevent water accumulation and ensure the longevity of the slabs. Evaluate the slope of the land and make any necessary adjustments to promote efficient water runoff.
Finally, obtain any required permits or approvals for the project, especially if it involves significant changes to the landscape. Check with local authorities or homeowner associations to ensure compliance with regulations and avoid potential issues down the road.
By meticulously planning and preparing for the task at hand, you set the stage for a successful and visually appealing outcome. With a solid plan in place, you can proceed to the next steps of marking the area and preparing the grass for the concrete slabs.
Step 2: Marking the Area
With the planning phase complete, it’s time to physically outline the area where the concrete slabs will be laid. This step is crucial for ensuring precision and uniformity in the layout, contributing to the overall aesthetic and functionality of the finished project.
Begin by driving wooden stakes into the ground at each corner of the intended slab area. Use a tape measure to verify that the distances between the stakes align with your planned dimensions. Once the perimeter is established, use string to connect the stakes and create a clear visual guide for the slab layout.
During this process, consider factors such as the orientation of the slabs, the spacing between them, and any design considerations for curved or angled edges. Take the time to step back and assess the marked area from different angles, ensuring that it harmonizes with the surrounding landscape and architectural elements.
Marking the area serves as a critical foundation for the subsequent steps of excavating the grass and creating the base for the concrete slabs. The precision and care invested in this phase contribute to the overall quality and visual appeal of the finished project. With the area clearly demarcated, you are ready to proceed to the next stage of preparing the grass for the concrete slabs.
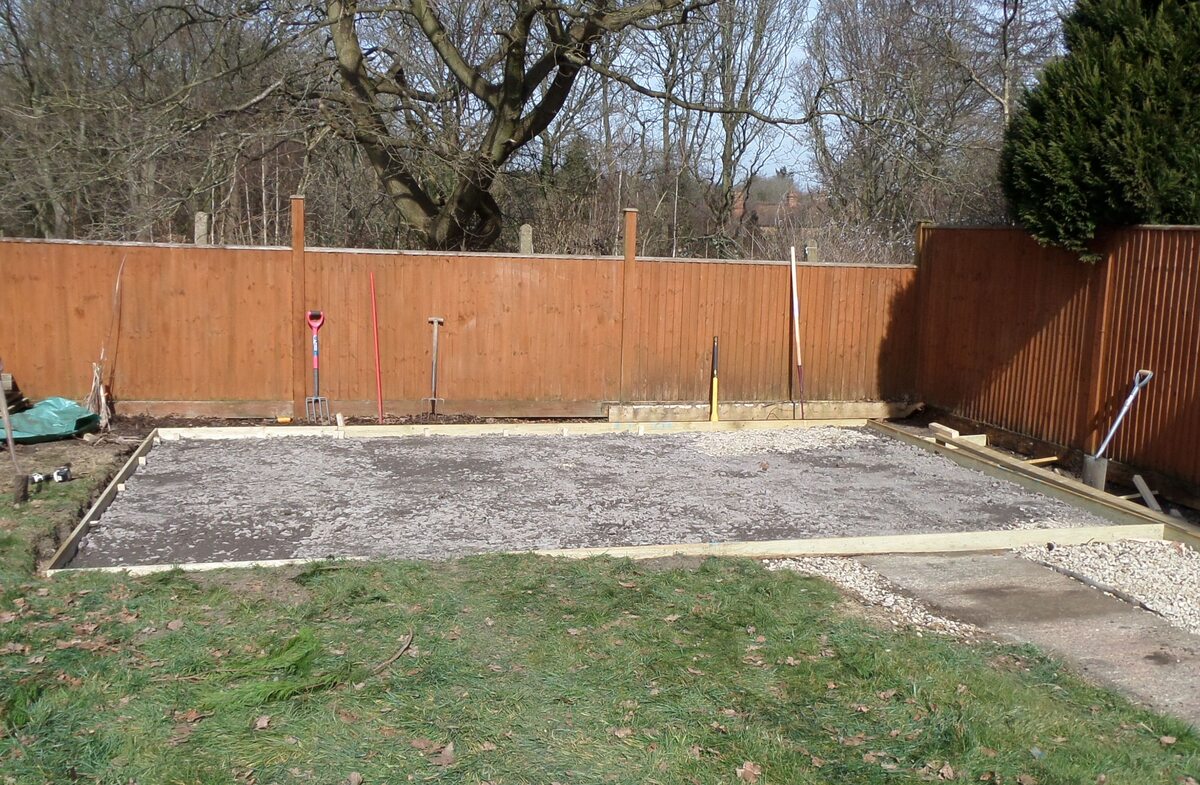
Step 3: Excavating the Grass
As you embark on the journey of laying concrete slabs on grass, the process of excavating the grass marks a pivotal stage in the transformation of your outdoor space. This step involves the removal of the existing grass and topsoil to create a suitable foundation for the concrete slabs.
Before initiating the excavation, it’s essential to consider the depth required for the project. Typically, a depth of 4-6 inches is recommended to accommodate the base materials and the concrete slabs themselves. Use a sod cutter or a sharp spade to cut through the grass and remove the top layer of sod, ensuring a consistent depth across the marked area.
Following the removal of the grass, carefully inspect the exposed soil for any debris, roots, or uneven areas. Smooth out the soil using a rake or a shovel, and make any necessary adjustments to ensure a level surface. This preparatory step sets the stage for the subsequent phase of creating the base for the concrete slabs.
Proper disposal of the excavated grass and soil is an important consideration during this process. Depending on the quantity of material removed, you may need to arrange for its disposal or repurposing, adhering to local waste management guidelines and environmental best practices.
Excavating the grass lays the groundwork for the structural integrity and longevity of the concrete slabs. By meticulously preparing the underlying surface, you pave the way for a durable and visually appealing outdoor environment. With the grass successfully removed, you are now poised to move on to the next step of creating the base for the concrete slabs.
Before laying concrete slabs on grass, make sure to prepare the area by removing any grass, roots, and debris. Then, create a solid base by adding a layer of gravel and compacting it. This will help prevent the concrete from sinking or cracking.
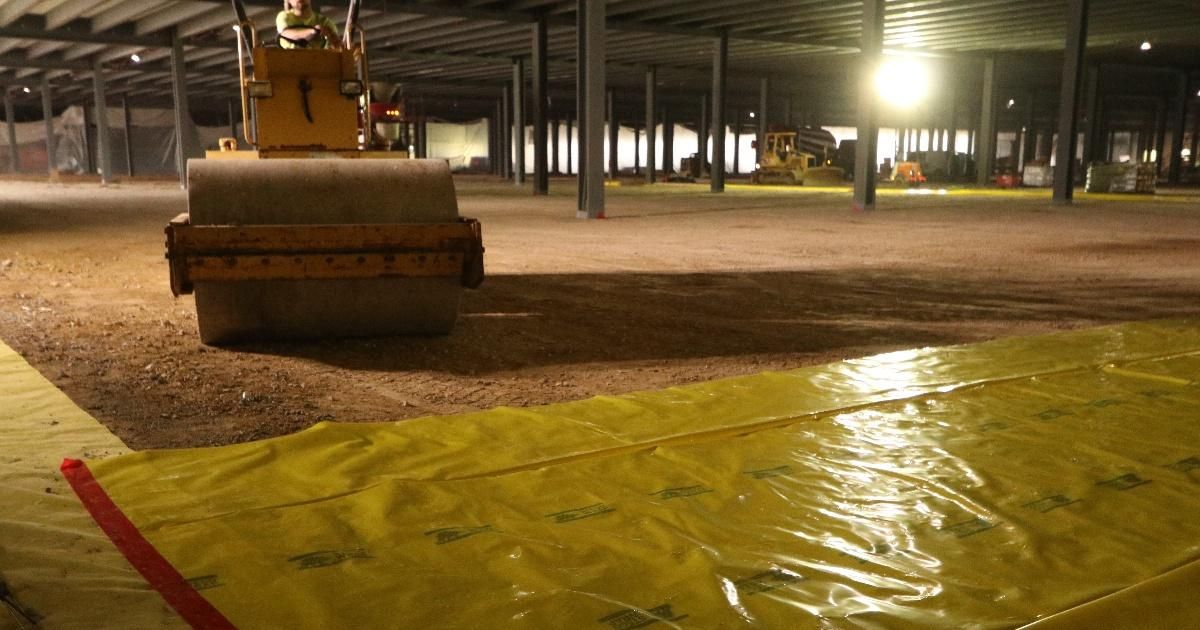
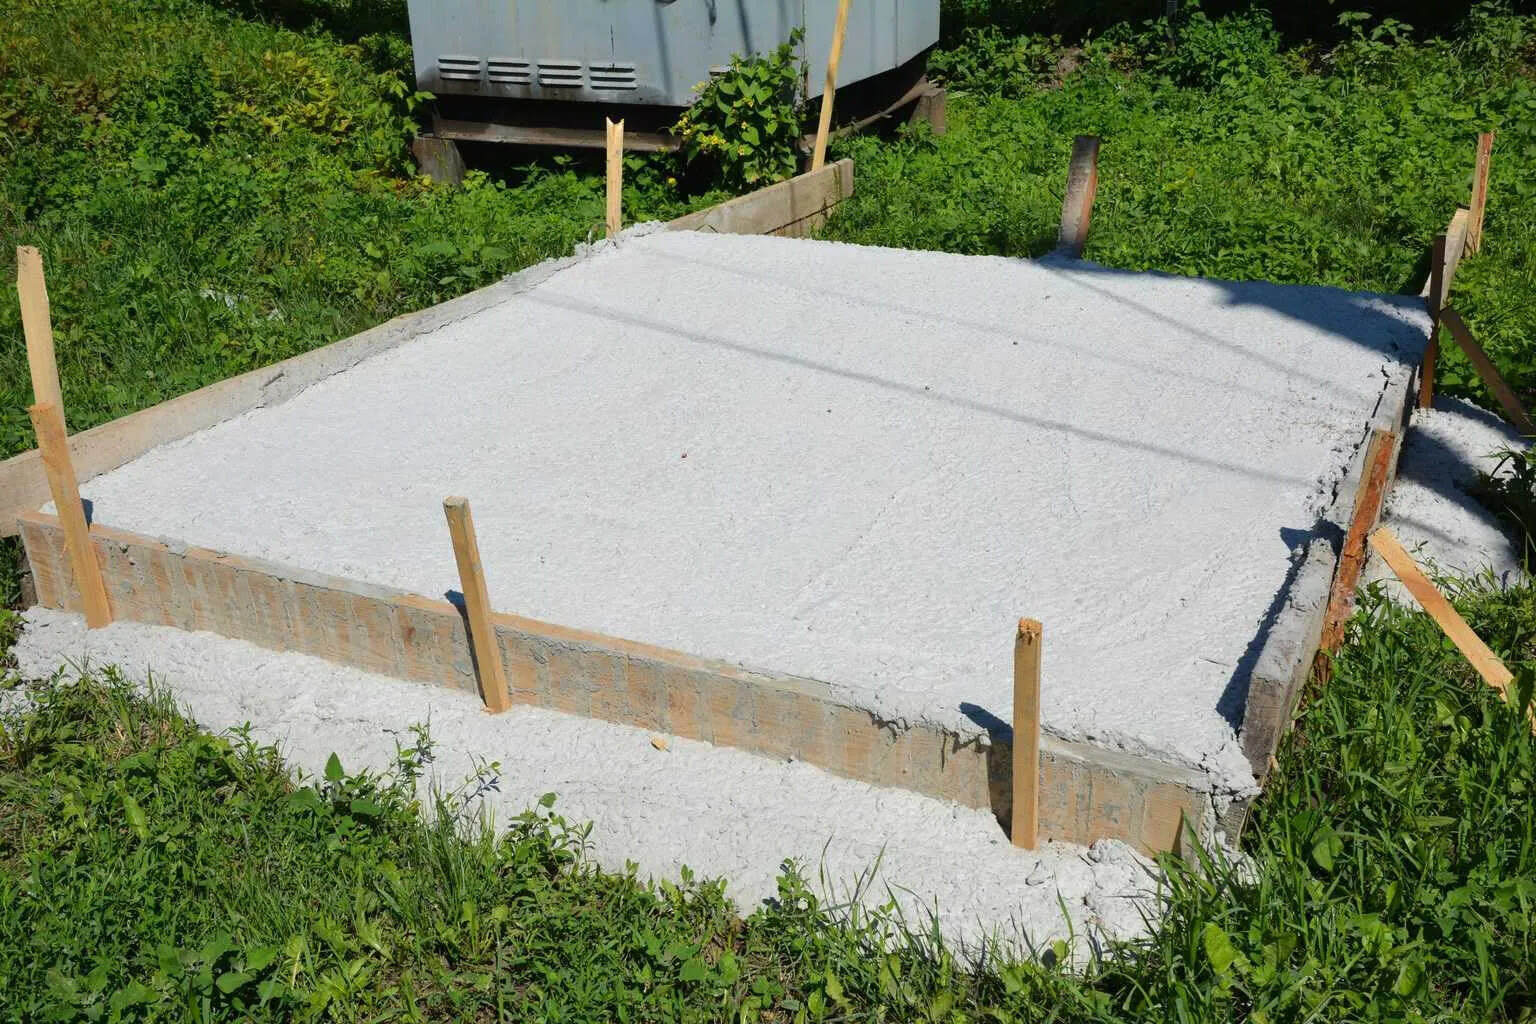
Step 4: Creating the Base
With the grass excavated, the focus now shifts to creating a stable and supportive base for the concrete slabs. This foundational layer plays a critical role in ensuring the durability, evenness, and longevity of the finished surface, making it an essential component of the overall project.
Begin by adding a layer of gravel to the excavated area, spreading it evenly to achieve a consistent depth of approximately 2-3 inches. The gravel serves as a crucial component for drainage and stability, allowing water to permeate through the base and preventing potential issues such as pooling and uneven settling.
Following the gravel layer, apply a 1-2 inch bed of coarse sand on top, using a rake to distribute it evenly across the area. The sand layer further enhances the stability and levelness of the base, providing a smooth surface for the concrete slabs to rest upon. Take care to compact the sand layer using a tamper or a hand compactor, ensuring firmness and uniformity.
As you progress through this phase, periodically check the levelness of the base using a straight board or a level tool. Making adjustments as needed, strive to achieve a uniformly flat and stable foundation that will support the concrete slabs with integrity and precision.
Creating a solid base for the concrete slabs is a critical precursor to the final phase of laying the slabs themselves. The attention and care invested in this foundational layer contribute to the overall quality and longevity of the finished surface, ensuring a visually appealing and enduring addition to your outdoor space.
Read more: How To Lay Patio Slabs On Grass
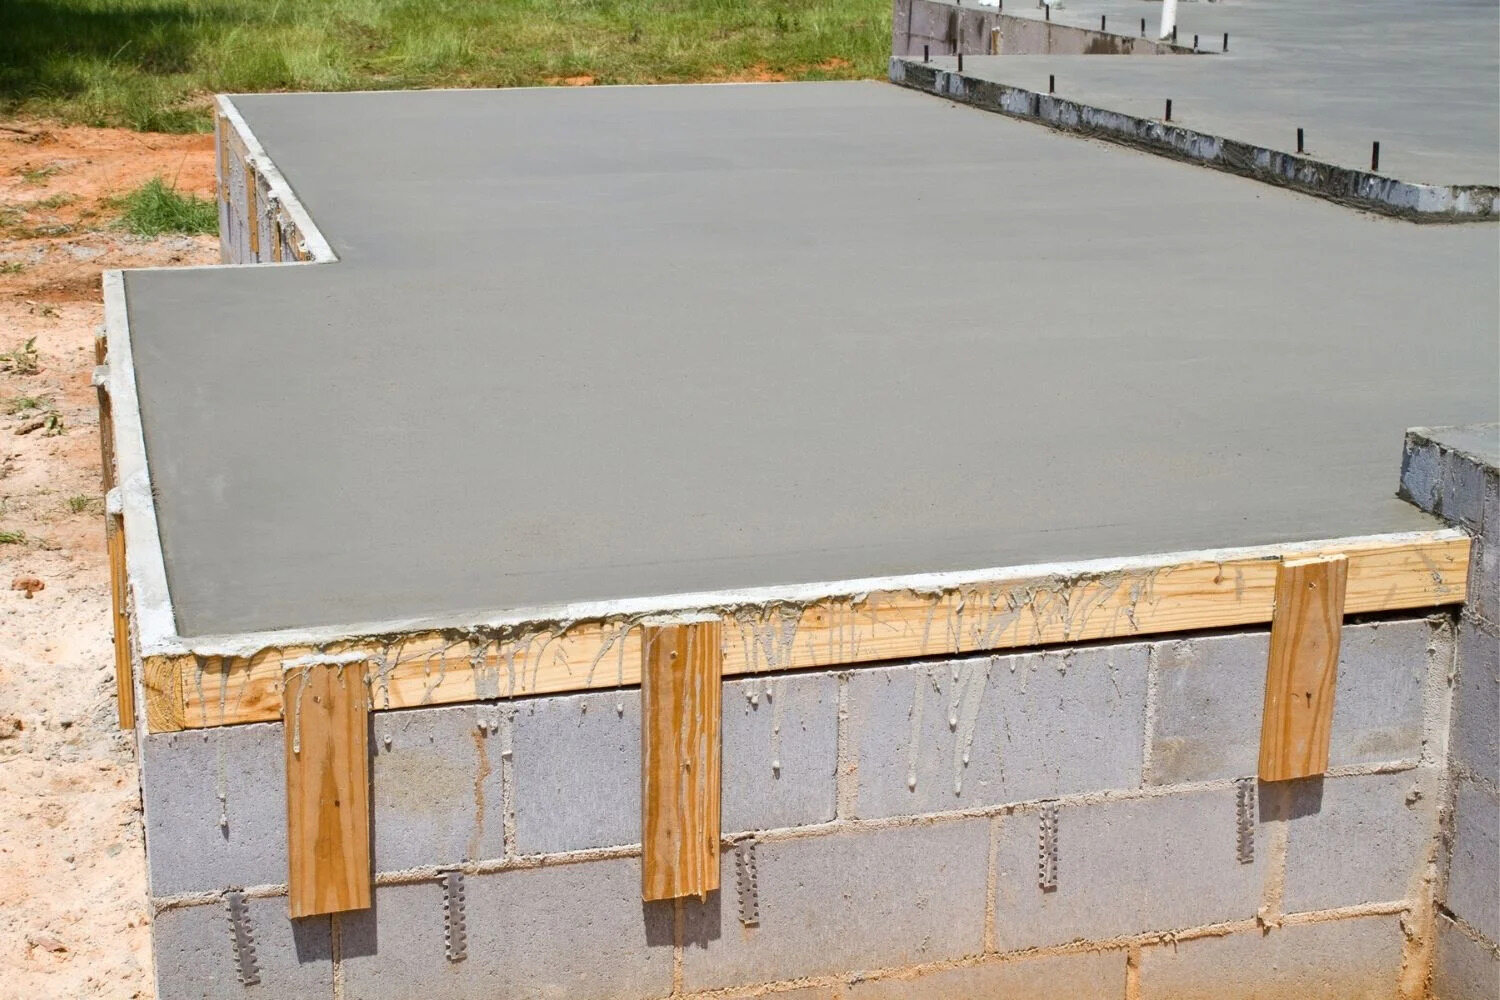
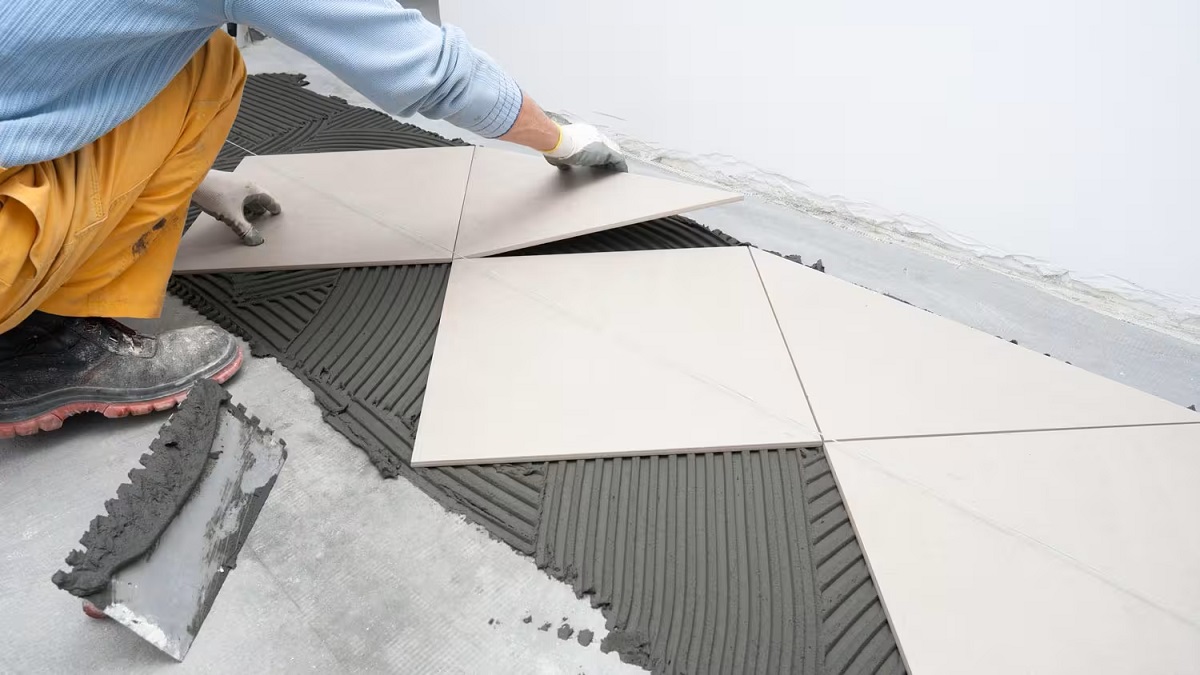
Step 5: Laying the Concrete Slabs
As you approach the culmination of your endeavor to lay concrete slabs on grass, the process of actually placing the slabs onto the prepared surface marks a significant milestone in the project. This step requires precision, patience, and attention to detail to ensure a seamless and visually appealing outcome.
Before laying the concrete slabs, it’s essential to prepare the concrete mix according to the manufacturer’s instructions. This may involve combining the dry mix with water in a wheelbarrow or mixing container to achieve the desired consistency. Take care to follow the recommended guidelines for mixing and handling the concrete, ensuring optimal performance and longevity of the slabs.
With the concrete mix prepared, proceed to carefully place the slabs onto the prepared base, starting from one end and working methodically across the designated area. Use a level to verify the evenness of each slab, making necessary adjustments to ensure a uniform surface. Be mindful of the spacing between the slabs, maintaining consistent gaps to facilitate stability and accommodate any necessary expansion joints.
As you lay each slab, apply gentle pressure to ensure firm contact with the base and the neighboring slabs, promoting stability and cohesion. Take the time to step back and assess the alignment and overall presentation of the slabs, making refinements as needed to achieve a visually pleasing and structurally sound layout.
Upon completing the placement of the concrete slabs, allow adequate time for the concrete to set and cure according to the manufacturer’s recommendations. This crucial phase contributes to the strength and resilience of the slabs, ensuring their ability to withstand the demands of foot traffic, weather elements, and the test of time.
Laying the concrete slabs represents the culmination of meticulous planning and diligent preparation, resulting in a transformative enhancement of your outdoor space. With the slabs securely in place, you are now poised to add the finishing touches that will elevate the visual appeal and functionality of the concrete surface.
Step 6: Finishing Touches
As the concrete slabs are securely in place, the final phase of the project encompasses the application of finishing touches to refine the appearance and functionality of the surface. These details add depth, character, and practicality to the concrete slabs, elevating them from a basic installation to a polished and purposeful outdoor feature.
One essential aspect of the finishing touches involves addressing the edges of the concrete slabs. Depending on the design and layout of the area, you may opt to utilize concrete edging or border materials to define the perimeter and enhance the visual appeal of the surface. This step contributes to a cohesive and professional presentation of the slabs, framing the area with precision and style.
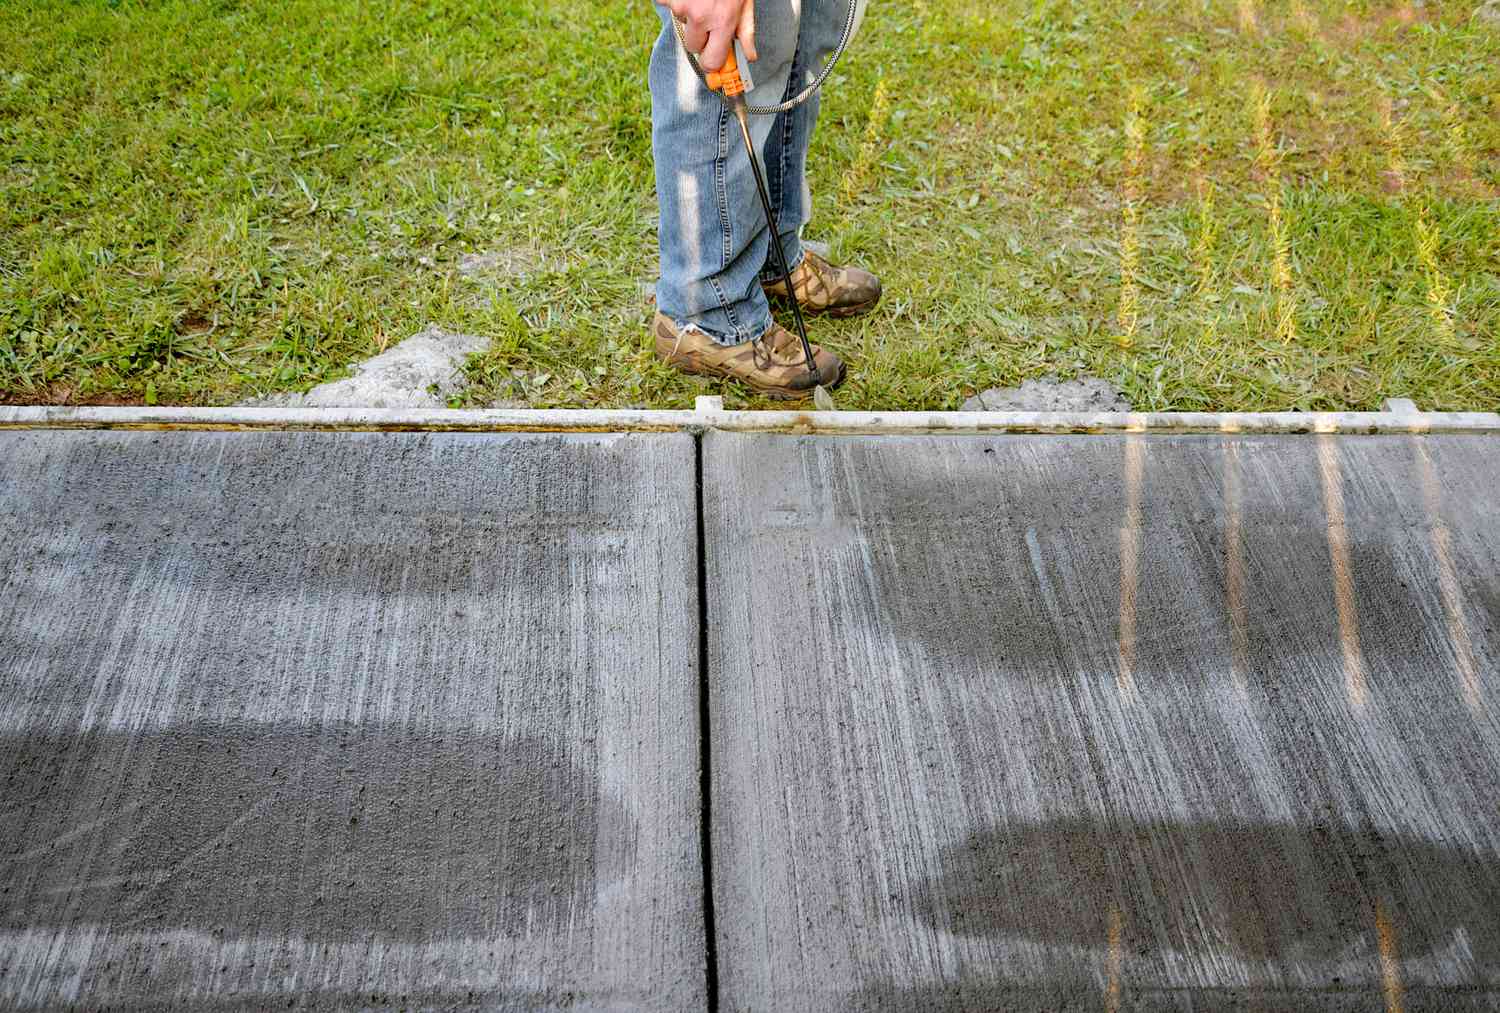
Additionally, consider the application of a sealant to the concrete surface to enhance its durability and resistance to moisture, stains, and weathering. A quality sealant not only safeguards the slabs from environmental factors but also accentuates their color and texture, adding a subtle sheen and depth to the overall aesthetic.
Furthermore, the integration of landscaping elements such as plants, potted greenery, or outdoor furniture can complement the concrete slabs, infusing the space with warmth, texture, and functionality. Strategically placing these elements around the slabs creates an inviting and harmonious outdoor environment, inviting relaxation, socialization, and appreciation of the transformed space.
Finally, take the time to clean the concrete slabs thoroughly, removing any residual debris, footprints, or construction-related markings. This attention to detail ensures a pristine and inviting surface, ready to serve as a backdrop for various outdoor activities and gatherings.
By attending to these finishing touches, you elevate the concrete slabs from a mere construction project to a captivating and purposeful addition to your outdoor space. The amalgamation of precision, creativity, and functionality results in a visually stunning and inviting environment, ready to enrich your outdoor living experience for years to come.
Conclusion
Congratulations on completing the transformative journey of laying concrete slabs on grass, a testament to your dedication to enhancing your outdoor living space. This endeavor embodies the fusion of creativity and practicality, resulting in a visually striking and functional addition to your landscape.
Throughout this comprehensive guide, you have navigated through the intricacies of planning, preparation, and meticulous execution, culminating in the establishment of a durable and visually appealing surface. By embracing the step-by-step process, you have not only elevated the aesthetic appeal of your outdoor environment but also created a versatile space for leisure, entertainment, and relaxation.
As you reflect on the journey from envisioning the project to the completion of the finishing touches, take pride in the craftsmanship and attention to detail that have shaped the outcome. The harmonious integration of concrete slabs with the natural landscape reflects a thoughtful approach to outdoor design, resulting in a seamless blend of form and function.
With the concrete slabs firmly in place, framed by meticulous planning and skilled execution, you have unlocked the potential of your outdoor space, creating a canvas for countless memories and experiences. Whether it’s a tranquil patio for morning coffee, a welcoming pathway for strolls, or a gathering space for social occasions, the concrete slabs stand as a testament to your commitment to enhancing your outdoor lifestyle.
As you bask in the satisfaction of a successful project, take the time to appreciate the transformative impact of the concrete slabs on your outdoor environment. The enduring elegance, functionality, and durability of the surface stand as a testament to your vision and dedication, enriching your outdoor living experience for years to come.
Embrace the possibilities that this rejuvenated outdoor space offers, and relish in the joy of bringing your vision to life through the artistry of landscaping. The journey of laying concrete slabs on grass has not only reshaped your landscape but has also enriched your connection to the natural world, creating a haven of beauty and functionality right outside your door.
Frequently Asked Questions about How To Lay Concrete Slabs On Grass
Was this page helpful?
At Storables.com, we guarantee accurate and reliable information. Our content, validated by Expert Board Contributors, is crafted following stringent Editorial Policies. We're committed to providing you with well-researched, expert-backed insights for all your informational needs.


0 thoughts on “How To Lay Concrete Slabs On Grass”