Home>Gardening & Outdoor>Landscaping Ideas>How To Lay Paving Stones On Grass
Landscaping Ideas
How To Lay Paving Stones On Grass
Modified: February 18, 2024
Learn how to lay paving stones on grass with our expert landscaping ideas. Create a stunning outdoor space with our step-by-step guide.
(Many of the links in this article redirect to a specific reviewed product. Your purchase of these products through affiliate links helps to generate commission for Storables.com, at no extra cost. Learn more)
Introduction
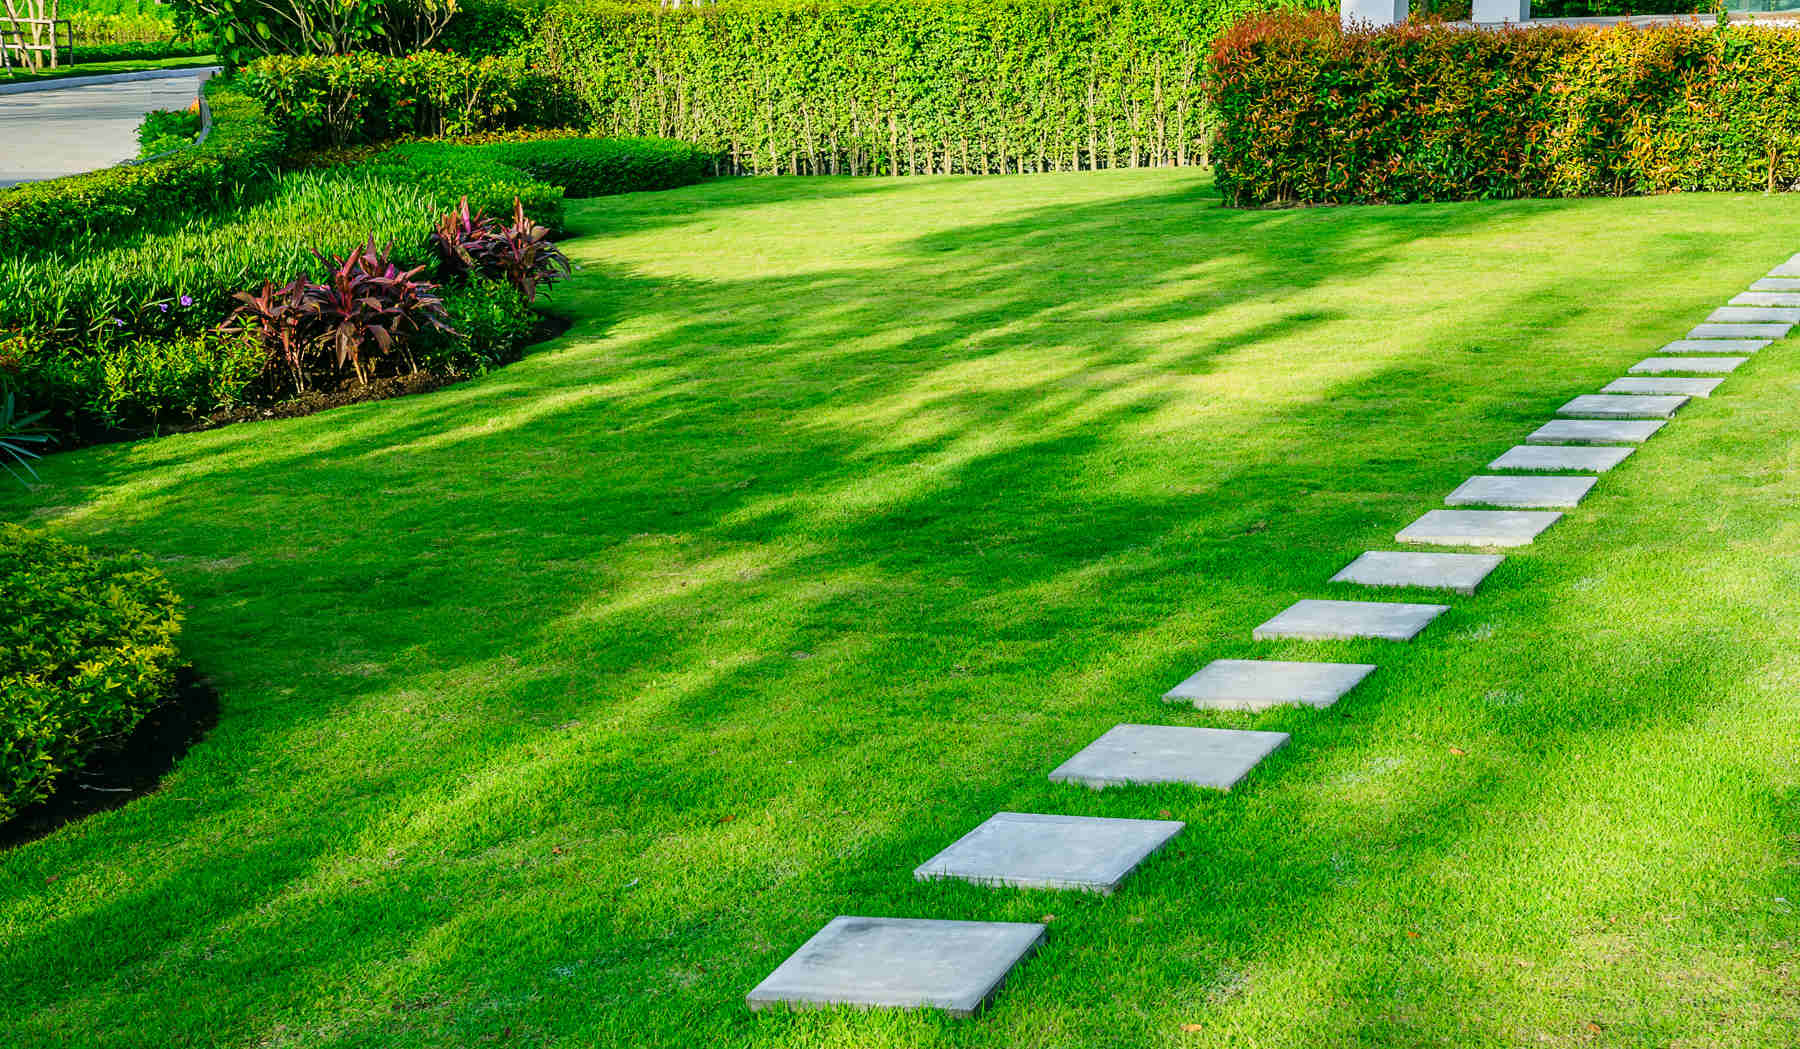
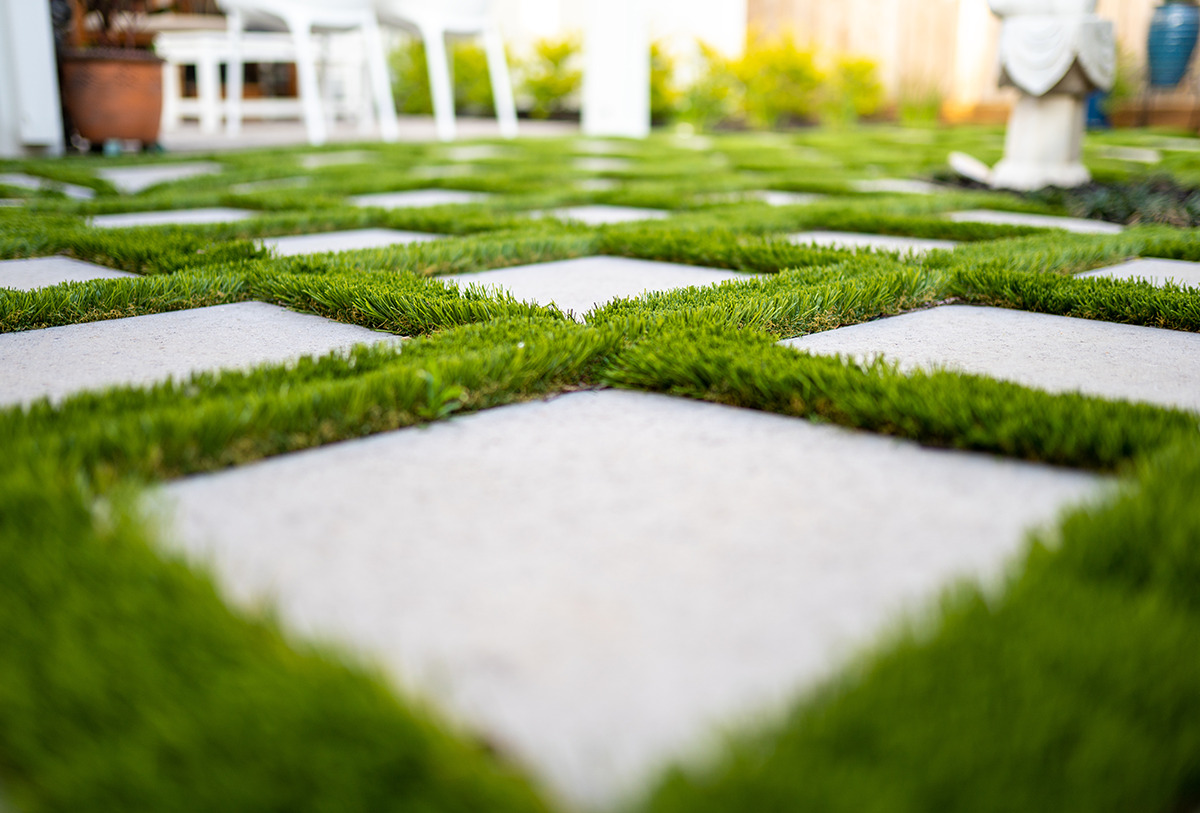
So, you have a lush, green lawn that you adore, but you also dream of adding a charming pathway or patio to enhance your outdoor space. The good news is that you can have both! By learning how to lay paving stones on grass, you can create a beautiful, functional area without sacrificing your beloved grassy haven.
This guide will walk you through the step-by-step process of transforming your grassy area into a stunning paved space. Whether you envision a winding path through your garden or a cozy seating area for outdoor gatherings, laying paving stones on grass is a fantastic way to achieve your landscaping goals.
As we embark on this journey, I'll share valuable tips and insights to ensure your project is a resounding success. From gathering the necessary materials to adding the finishing touches, each step plays a vital role in the creation of your picturesque outdoor oasis. So, grab your gardening gloves and let's get started on this exciting landscaping adventure!
Key Takeaways:
- Transforming grass into a paved pathway or patio creates a beautiful balance between nature and design, enhancing your outdoor space with texture and depth.
- By meticulously preparing, laying, and securing the paving stones, you’ve created a durable and accessible area for outdoor activities, ensuring years of enjoyment and functionality.
Read more: How To Lay Stone Pavers On Grass
Step 1: Gather Materials
Before diving into the transformation of your grassy area, it’s essential to gather all the materials you’ll need for this project. Here’s a comprehensive list to ensure you’re well-prepared:
- Paving Stones: Select high-quality paving stones in the size and style that best complement your outdoor space. These stones will serve as the foundation of your new pathway or patio.
- Edging Stones: These will help define the borders of your paved area and keep the surrounding grass from encroaching onto the newly laid stones.
- Base Material: Choose a suitable base material, such as crushed rock or gravel, to provide stability and proper drainage for your paved surface.
- Landscape Fabric: This fabric will prevent weed growth beneath the paving stones, helping to maintain the integrity of your new pathway or patio.
- Shovel and Rake: These basic tools will be invaluable for preparing the area and ensuring a level surface for the paving stones.
- Plate Compactor: For larger projects, a plate compactor is essential for compacting the base material and ensuring a solid foundation.
- Mallet: A rubber mallet will be used to gently tap the paving stones into place, ensuring a snug fit.
- Sand: Coarse sand is necessary for filling the gaps between the paving stones, providing stability and preventing shifting.
- Protective Gear: Don’t forget to prioritize safety with gloves, safety glasses, and any other protective gear recommended for the specific materials and tools you’ll be using.
By gathering these materials upfront, you’ll set the stage for a smooth and efficient paving project. With everything on hand, you’ll be ready to move seamlessly through each step, bringing your vision of a paved pathway or patio to life.
Step 2: Prepare the Area
Now that you have all the necessary materials at your disposal, it’s time to prepare the area where you’ll be laying the paving stones. This crucial step sets the foundation for a successful and long-lasting paved surface. Follow these essential guidelines to ensure proper preparation:
Mark the Path or Patio Area: Use marking paint or garden stakes and twine to outline the intended path or patio area. This visual guide will help you stay on track as you prepare the ground for the paving stones.
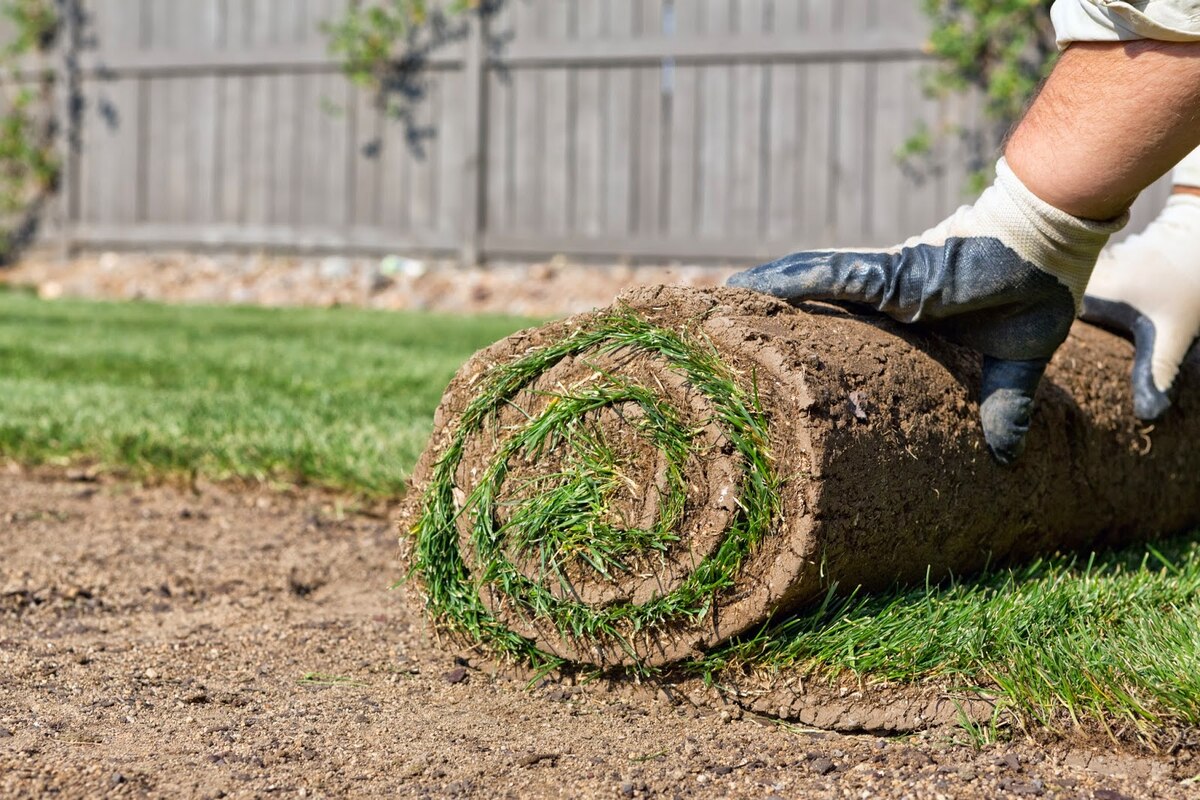
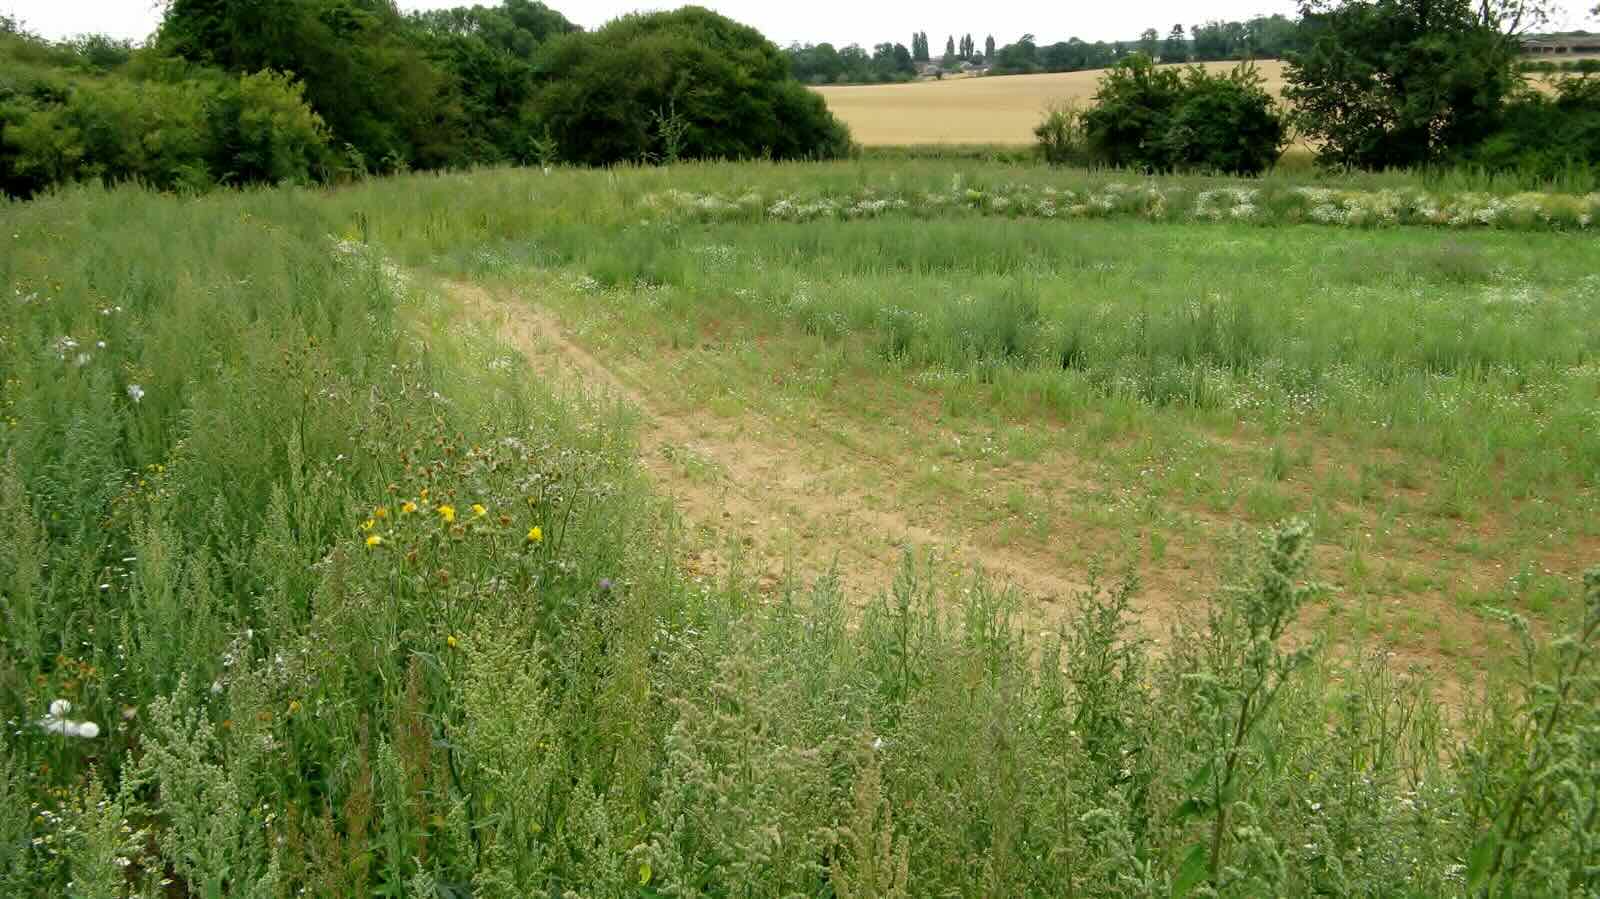
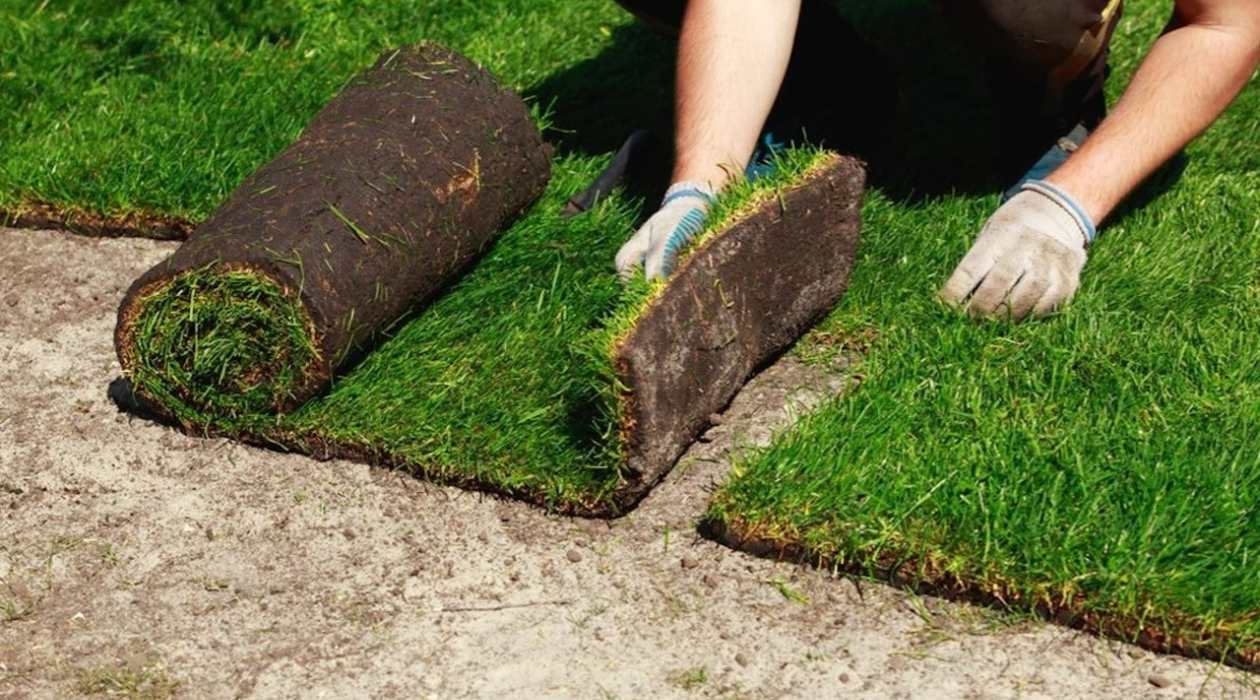
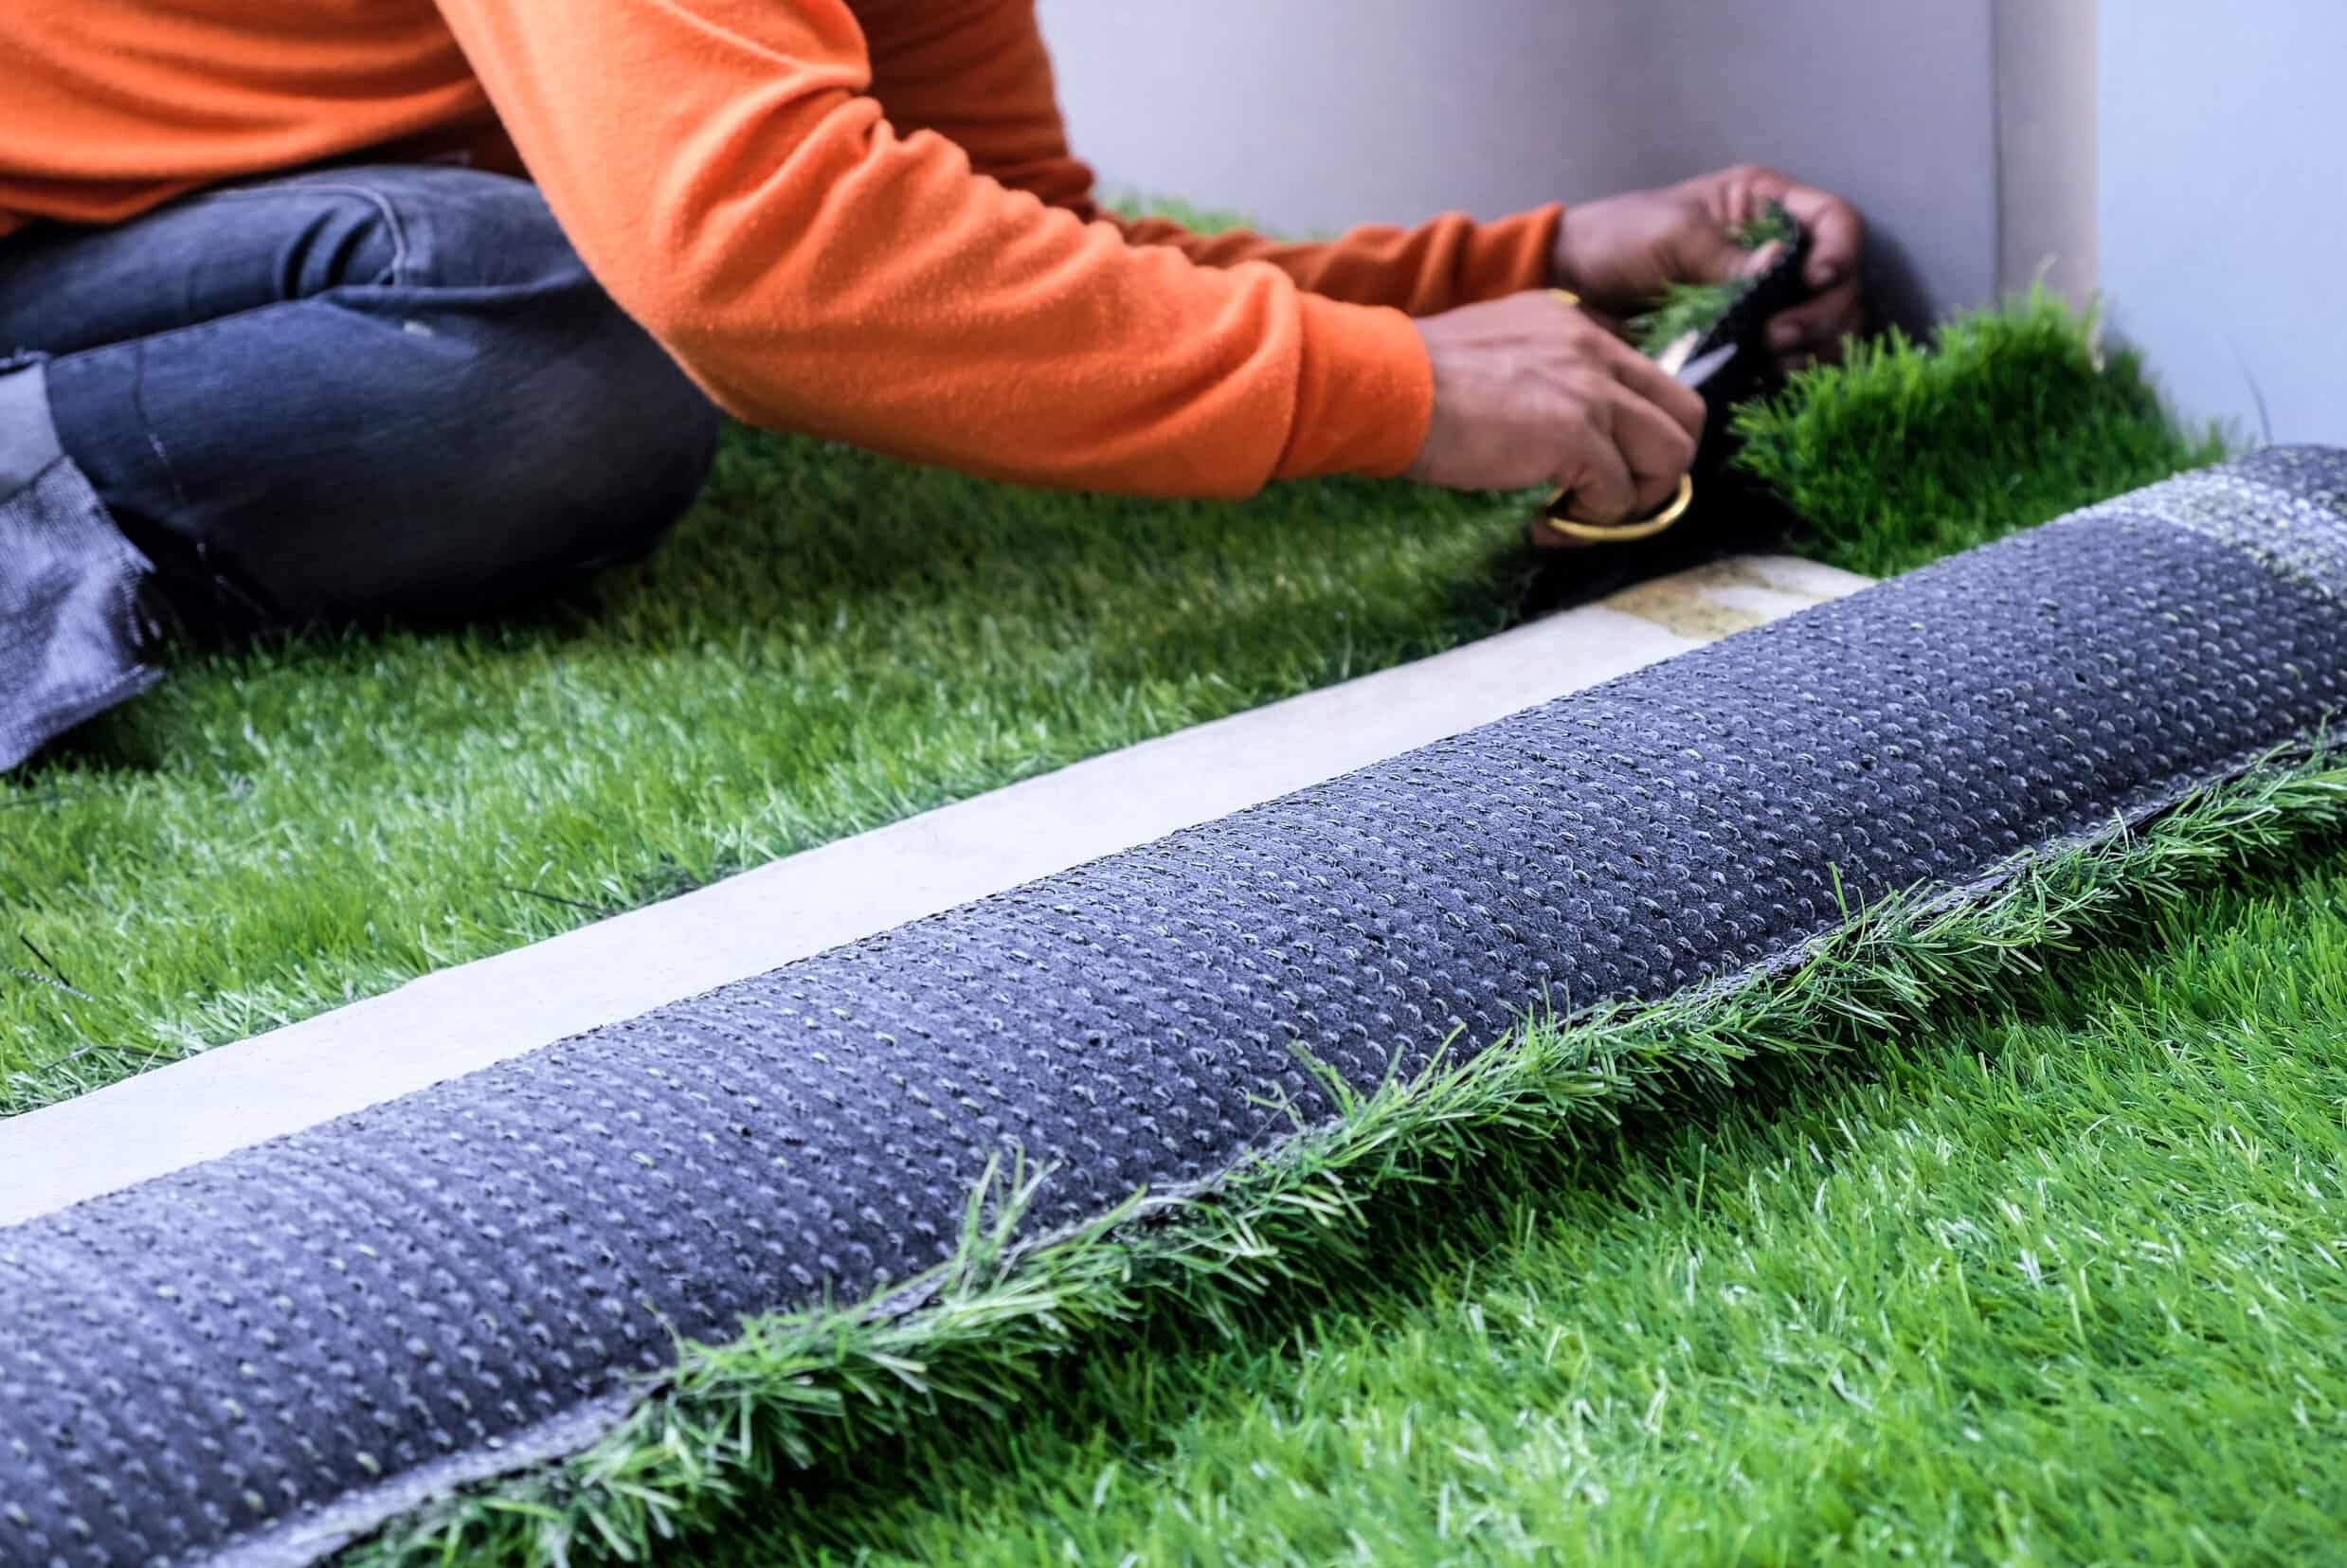
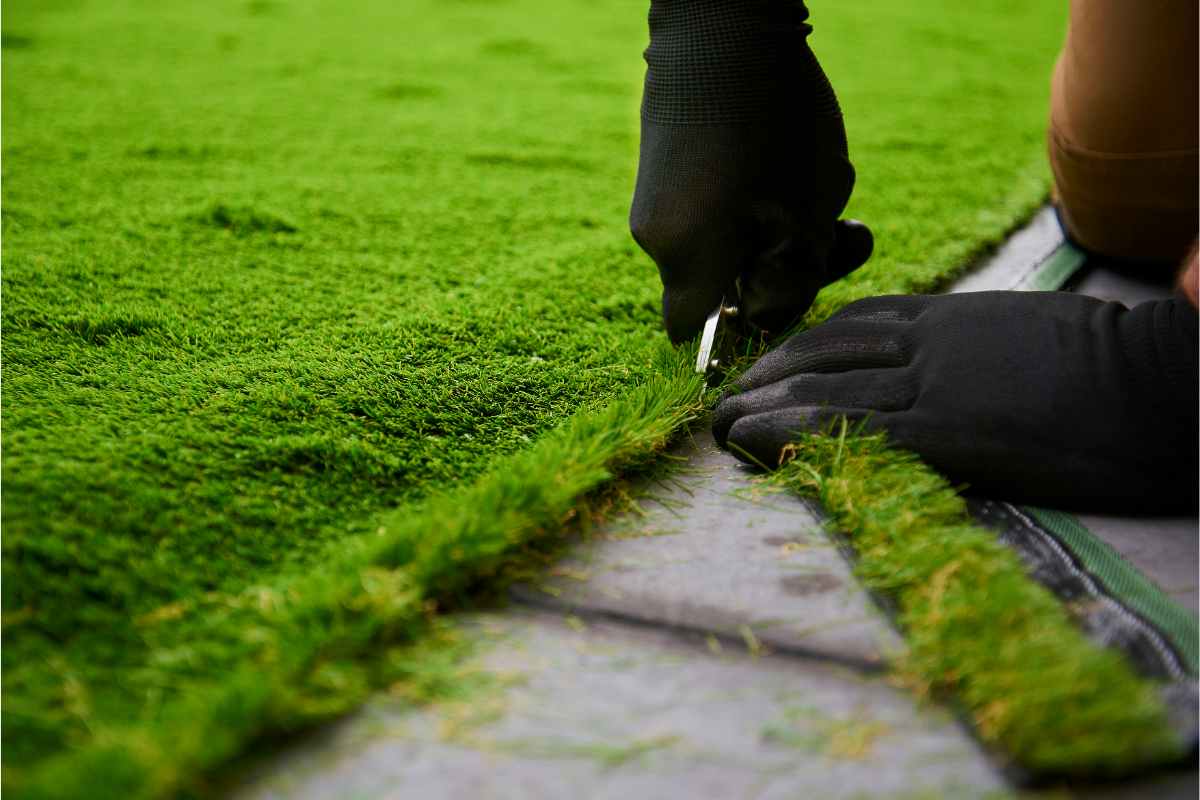
Clear the Area: Remove any existing grass, plants, or debris from the marked area. A shovel or turf cutter can be used to lift the sod and clear the surface, creating a clean canvas for your project. Be sure to dispose of the excavated material responsibly.
Level the Ground: Use a rake and shovel to level the ground, aiming for a smooth and even surface. This step is crucial for achieving a professional-looking result once the paving stones are in place.
Excavate the Soil: Depending on the thickness of your base and paving stones, you’ll need to excavate the soil to the appropriate depth. This depth will accommodate the base material and the height of the paving stones, ensuring that they sit level with the surrounding ground.
Install Edging Stones: Place the edging stones along the borders of the prepared area. These will serve as a barrier, keeping the paving stones in place and preventing the surrounding grass from encroaching onto the paved surface.
Compact the Soil: Use a plate compactor to compact the soil, creating a stable foundation for the base material and paving stones. This step is particularly important for larger projects and areas with softer soil.
By diligently following these preparation steps, you’ll establish a solid and level groundwork for laying the paving stones. This meticulous approach will contribute to the longevity and visual appeal of your new pathway or patio, ensuring that it remains a stunning feature of your outdoor landscape for years to come.
Step 3: Lay the Base
With the area prepared, it’s time to focus on laying the base for your paving stones. The base serves as a critical layer that provides stability, proper drainage, and support for the stones. Follow these steps to ensure a solid foundation for your new pathway or patio:
Apply Landscape Fabric: Before adding the base material, lay down landscape fabric over the excavated area. This fabric will act as a barrier, preventing weed growth and maintaining the integrity of the base.
Add the Base Material: Whether you opt for crushed rock, gravel, or another suitable material, evenly distribute it over the prepared area. Aim for a consistent depth that accommodates the specific requirements of your paving stones and provides ample support.
Compact the Base: Using a plate compactor, firmly compact the base material to create a stable and level surface. This step is crucial for ensuring that the paving stones sit securely and uniformly, reducing the risk of uneven settling over time.
Check for Evenness: After compacting the base, carefully inspect the surface to ensure it is level and free of any dips or bumps. Making adjustments at this stage will contribute to a smoother and more visually appealing finished result.
Consider Drainage: If your paved area is located in a region that experiences heavy rainfall, it’s important to assess the drainage of the base. Ensure that water will flow away from the paved surface, preventing potential pooling or erosion issues.
By meticulously laying the base for your paving stones, you’re establishing a sturdy and reliable foundation that will support the longevity and functionality of your new pathway or patio. This diligent approach sets the stage for the exciting next step of placing the paving stones and bringing your vision to fruition.
Before laying paving stones on grass, make sure to remove the grass and create a level base with sand and gravel. This will prevent the stones from shifting and sinking over time.
Step 4: Place the Paving Stones
With the base in place, it’s time to embark on the exciting phase of laying the paving stones. This step allows you to bring your vision to life, creating a visually captivating pathway or patio. Follow these guidelines to ensure a smooth and visually appealing placement of the paving stones:
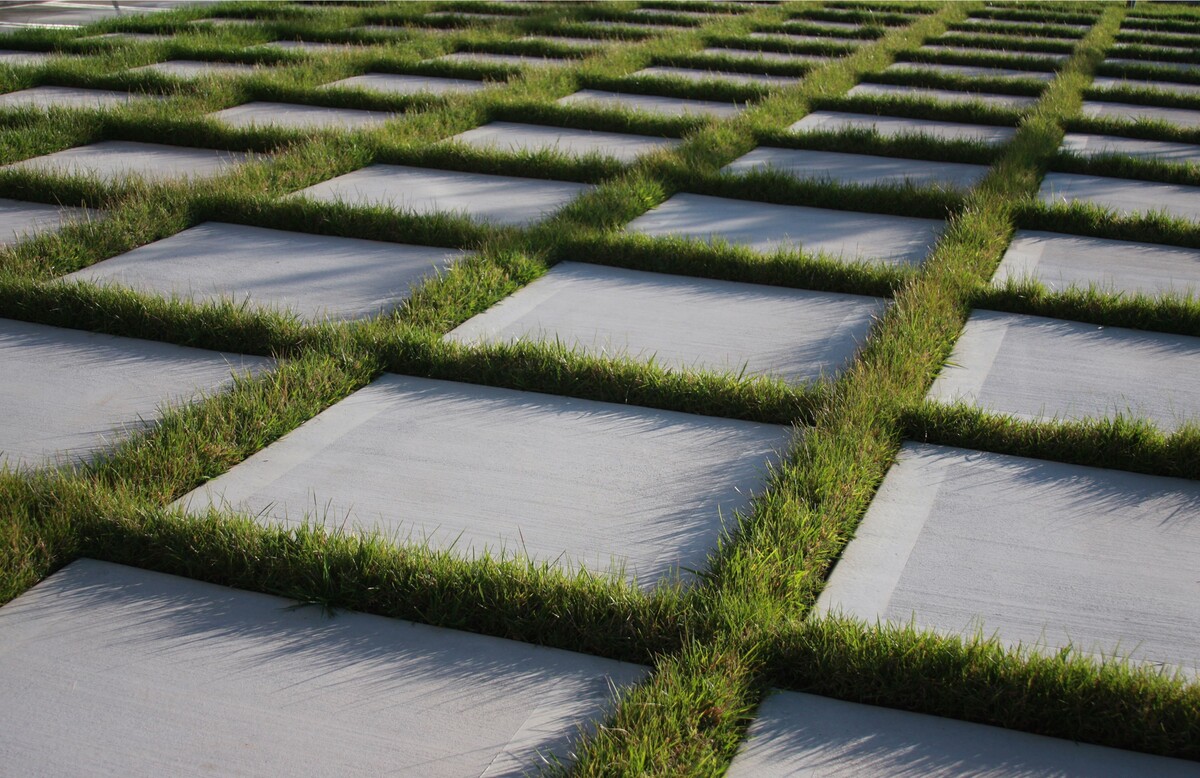
Plan the Layout: Before placing the stones, take the time to plan the layout of your pathway or patio. Consider the design, pattern, and positioning of the stones to achieve the desired aesthetic appeal. You may opt for a traditional grid pattern, a meandering pathway, or a creative arrangement that complements your outdoor space.
Begin Placing the Stones: Carefully set the paving stones onto the prepared base, following your predetermined layout. Take your time to ensure that each stone is positioned securely and uniformly, creating a stable surface for walking or seating areas.
Check for Alignment and Spacing: As you place the stones, regularly assess their alignment and spacing. This attention to detail will contribute to a polished and professional-looking result, minimizing the need for adjustments once the stones are in place.
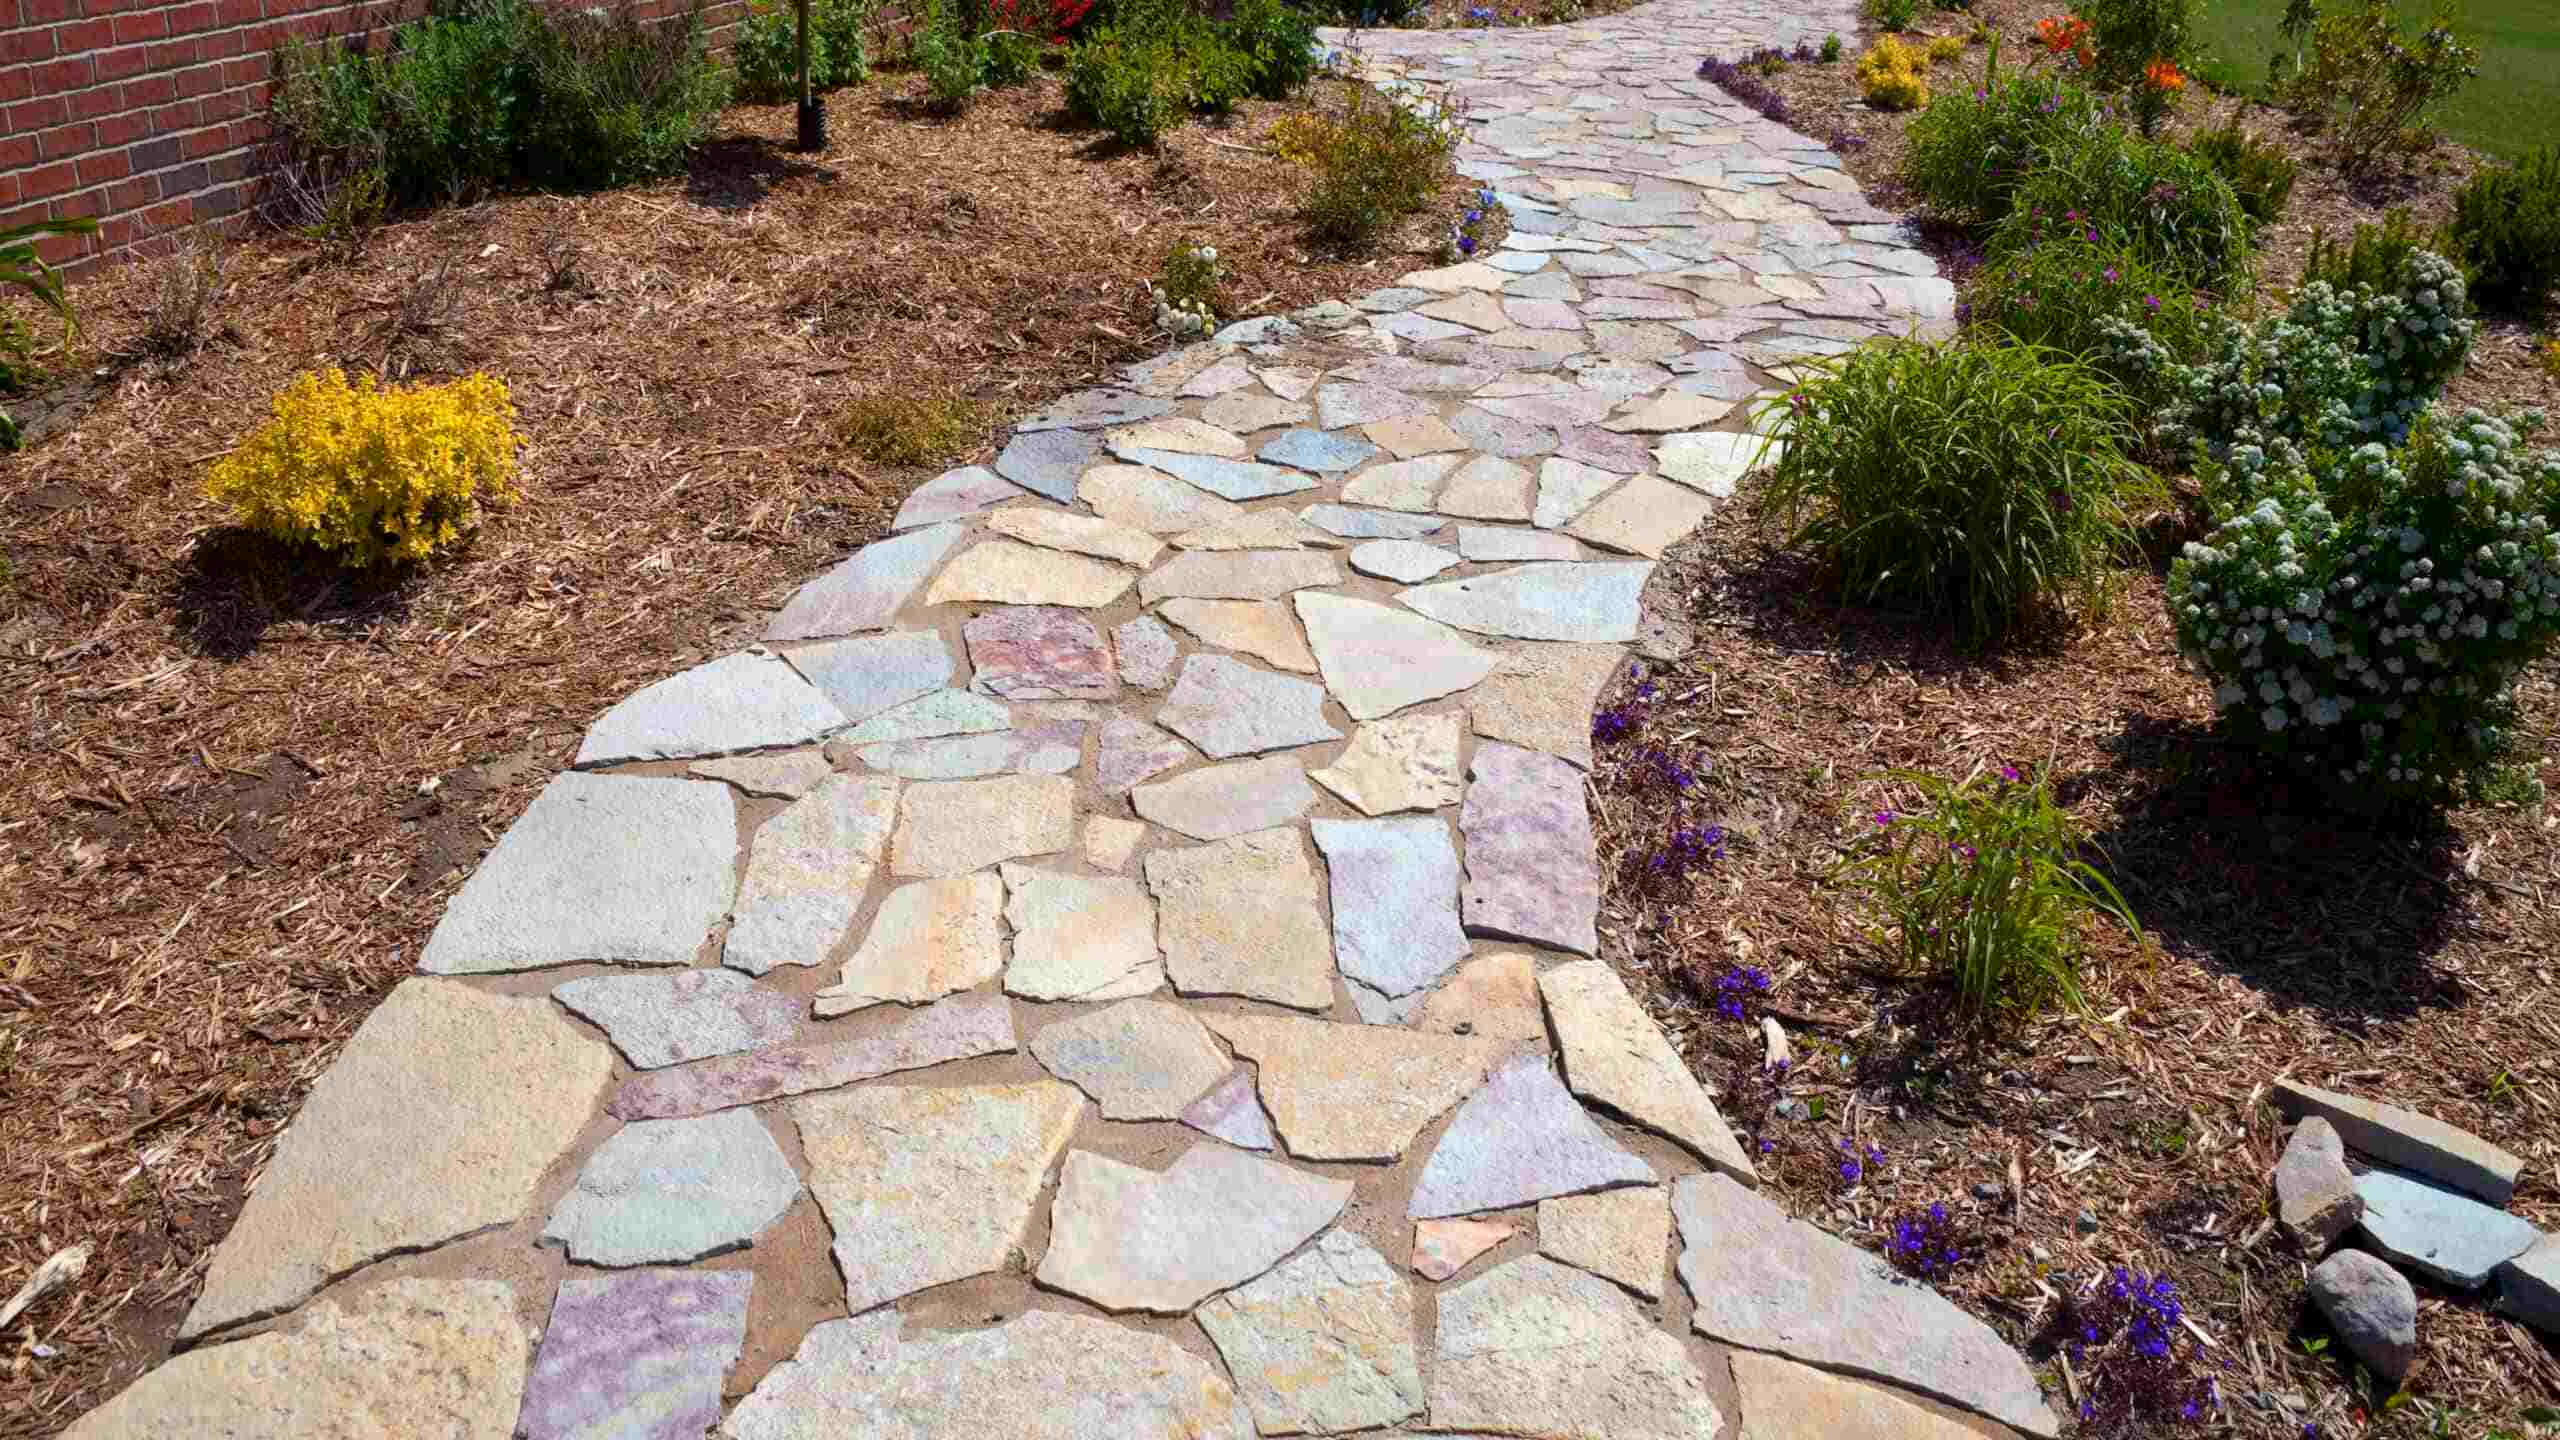
Consider Curved Edges: If your pathway or patio features curved edges, be mindful of the placement of the paving stones to maintain smooth, flowing lines. This may require slight adjustments and creativity to achieve a seamless and visually appealing curve.
Use a Rubber Mallet: For stones that require minor adjustments or leveling, gently tap them into place using a rubber mallet. This tool allows you to make precise modifications without risking damage to the stones.
By methodically placing the paving stones according to your planned layout, you’re actively shaping the visual impact of your new pathway or patio. This hands-on phase allows you to witness your outdoor space transform into a charming and functional area, ready to be enjoyed for years to come.
Read more: How To Lay A Stepping Stone Patio
Step 5: Secure the Stones
Once the paving stones are in place, it’s essential to secure them to ensure a stable and enduring surface. This step involves addressing the spaces between the stones and fortifying their position. Follow these crucial guidelines to effectively secure the paving stones:
Fill the Gaps: Using coarse sand, fill the gaps between the paving stones. This process, known as jointing, provides stability and prevents the stones from shifting over time. Ensure that the sand is evenly distributed and thoroughly fills the spaces between the stones.
Compact the Surface: After filling the gaps with sand, use a plate compactor to gently compact the surface. This action encourages the sand to settle and further stabilizes the paving stones, reducing the risk of movement or displacement.
Revisit Alignment: As you compact the surface, revisit the alignment and positioning of the paving stones. Making any necessary adjustments at this stage will contribute to a cohesive and visually appealing surface.
Consider Polymeric Sand (Optional): For added stability and weed resistance, consider using polymeric sand as an alternative to coarse sand. This specialized sand contains polymers that, when activated by water, create a solid bond, further securing the paving stones.
Address Potential Settling: Anticipate potential settling of the paving stones over time, especially in areas with regular foot traffic. Add additional sand as needed to maintain the integrity of the surface and minimize the impact of settling.
By diligently securing the paving stones, you’re taking proactive measures to ensure the longevity and stability of your newly created pathway or patio. This attention to detail contributes to a resilient and visually appealing surface that will withstand the test of time and enhance your outdoor living space.
Step 6: Finishing Touches
As you near the completion of your paving project, it’s time to add the finishing touches that will elevate the visual appeal and functionality of your pathway or patio. These final steps will contribute to a polished and inviting outdoor space, ready to be enjoyed and admired. Consider the following guidelines for adding the perfect finishing touches:
Trim and Tidy: Trim any excess landscape fabric that may be visible along the edges of the paved area. Tuck and secure the fabric neatly to create a clean and professional finish.
Consider Border Plantings: If your pathway or patio borders a garden or lawn, consider adding border plantings to enhance the visual appeal. Low-maintenance plants or decorative gravel can create a seamless transition between the paved area and the surrounding landscape.
Install Lighting (Optional): For added ambiance and functionality, consider installing low-voltage landscape lighting along the pathway or within the patio area. This feature not only enhances safety during evening hours but also adds a captivating element to your outdoor space.
Apply a Sealant (Optional): Depending on the type of paving stones used, you may opt to apply a sealant to enhance durability and protect the surface from weathering. Be sure to select a sealant appropriate for the specific material of your paving stones.
Regular Maintenance: Establish a routine for regular maintenance, including sweeping the surface, removing debris, and addressing any potential weed growth. This proactive approach will preserve the beauty and functionality of your paved area over time.
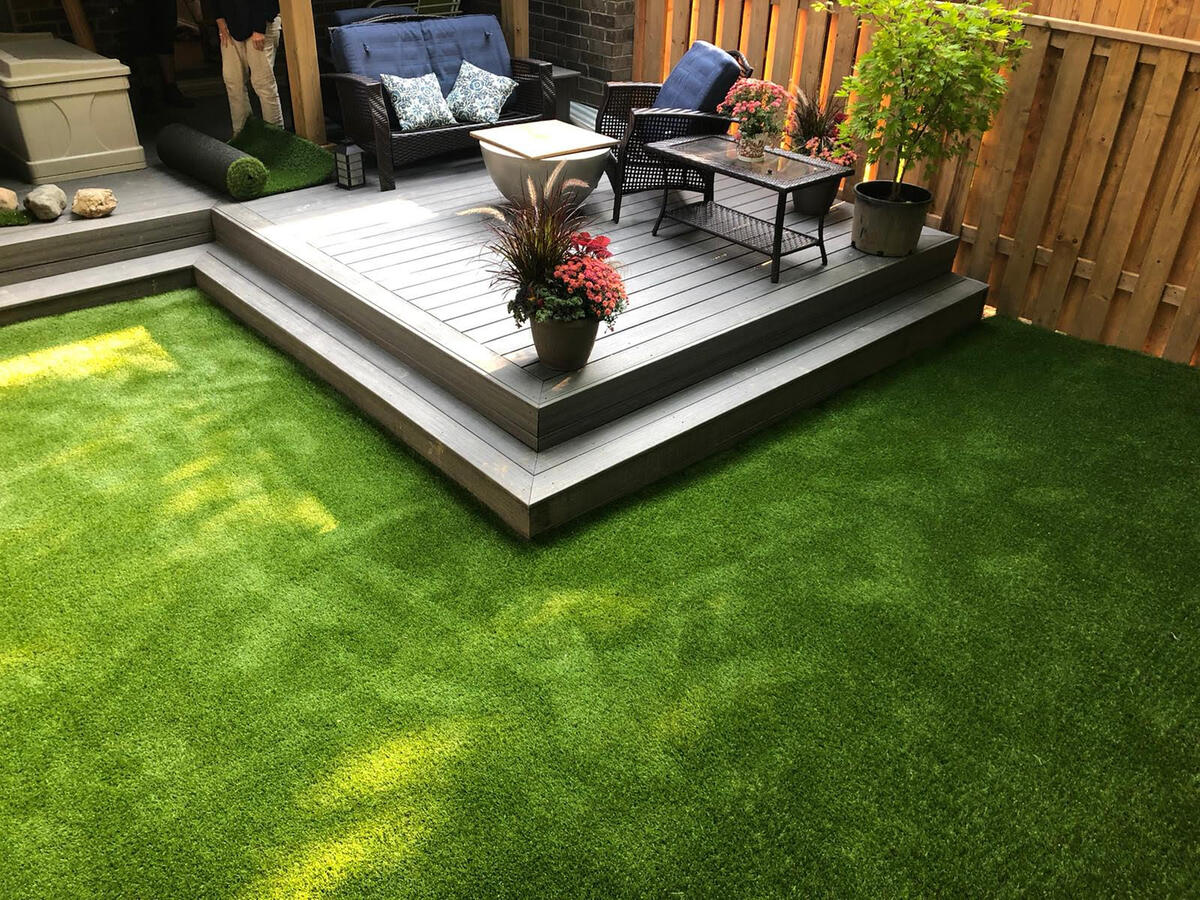
Personalize with Decor (Optional): Add personal touches such as outdoor furniture, decorative accents, or potted plants to infuse your pathway or patio with your unique style and create an inviting outdoor retreat.
By attending to these finishing touches, you’re adding depth and character to your newly paved area, transforming it into a captivating and functional feature of your outdoor landscape. These thoughtful details will not only enhance the visual appeal but also contribute to the overall enjoyment and usability of your outdoor space.
Conclusion
Congratulations on successfully transforming your grassy area into a stunning paved pathway or patio! By following the step-by-step process of laying paving stones on grass, you’ve not only elevated the visual appeal of your outdoor space but also created a functional and inviting area for leisure and enjoyment.
Throughout this journey, you’ve demonstrated patience, creativity, and a keen eye for detail, resulting in a beautifully paved surface that seamlessly integrates with your existing landscape. As you take a moment to admire your handiwork, consider the following key takeaways from this transformative project:
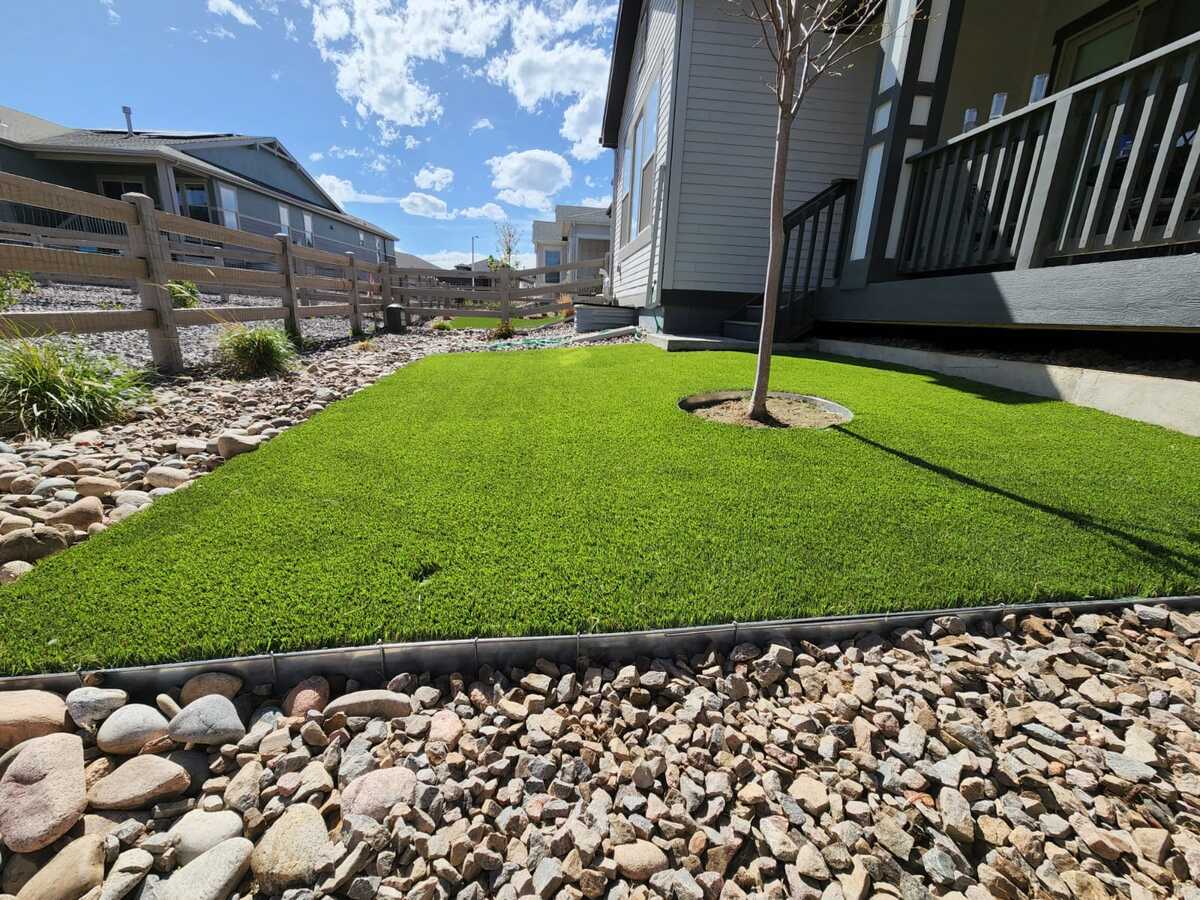
Balance and Harmony: The juxtaposition of lush, green grass and elegant paving stones creates a harmonious balance in your outdoor environment. This blend of natural and man-made elements adds depth and texture to your landscape, enhancing its overall allure.
Functionality and Accessibility: Your newly paved pathway or patio not only enhances the aesthetic appeal of your outdoor space but also provides a practical and accessible area for walking, seating, and outdoor gatherings. It’s a versatile addition that enriches your daily life and outdoor experiences.
Longevity and Durability: By diligently preparing the area, laying a solid base, and securing the paving stones, you’ve established a surface that is built to withstand the test of time. Your attention to detail and proactive measures ensure that your paved area will remain a captivating feature for years to come.
Personalization and Expression: Your outdoor space is an extension of your personal style and preferences. Through the finishing touches and optional enhancements, you’ve personalized the paved area to reflect your unique taste and create an inviting outdoor retreat that resonates with your lifestyle.
As you revel in the satisfaction of a job well done, remember that your paved pathway or patio is a testament to your creativity and dedication to enhancing your outdoor living space. It’s a space where memories will be made, conversations will flow, and moments of tranquility will be savored.
So, whether you’re strolling along the winding pathway or relaxing in the charming patio area, take pride in the transformative impact you’ve made on your outdoor landscape. Your paved creation is a testament to the beauty of harmonizing natural elements with thoughtful design, resulting in an outdoor sanctuary that enriches your daily life.
Now, with your grassy area elegantly paved, the stage is set for countless moments of enjoyment and relaxation in your enhanced outdoor haven.
Frequently Asked Questions about How To Lay Paving Stones On Grass
Was this page helpful?
At Storables.com, we guarantee accurate and reliable information. Our content, validated by Expert Board Contributors, is crafted following stringent Editorial Policies. We're committed to providing you with well-researched, expert-backed insights for all your informational needs.


0 thoughts on “How To Lay Paving Stones On Grass”