Home>Gardening & Outdoor>Outdoor Recreation & Activities>How To Build A Trampoline Fort
Outdoor Recreation & Activities
How To Build A Trampoline Fort
Modified: February 18, 2024
Learn how to create a fun and safe trampoline fort for your outdoor recreation and activities. Get step-by-step instructions and tips for a memorable experience.
(Many of the links in this article redirect to a specific reviewed product. Your purchase of these products through affiliate links helps to generate commission for Storables.com, at no extra cost. Learn more)
Introduction
Welcome to the ultimate guide on how to build a trampoline fort! If you're looking for a thrilling outdoor activity that combines the joy of bouncing on a trampoline with the adventure of building a fort, you've come to the right place. Building a trampoline fort is an exhilarating project that can provide hours of entertainment for kids and adults alike. Imagine bouncing on a trampoline while surrounded by a custom-built fort – it's a unique and exciting way to enjoy the outdoors.
In this comprehensive guide, we'll walk you through the step-by-step process of creating your very own trampoline fort. From gathering the necessary materials to adding fun extras, we'll cover everything you need to know to make your trampoline fort-building experience a resounding success. Whether you're a parent looking to engage your children in an unforgettable outdoor activity or an adventure-seeking individual with a passion for creative projects, building a trampoline fort is sure to ignite your imagination and provide endless enjoyment.
So, grab your tools, unleash your creativity, and get ready to embark on an extraordinary journey of trampoline fort construction. Let's dive into the exciting world of outdoor recreation and discover the magic of building a trampoline fort!
Key Takeaways:
- Building a trampoline fort is an exciting outdoor project that combines bouncing fun with creative construction, providing a magical space for play and imagination.
- By following the steps and adding fun extras, you can create a safe and enchanting trampoline fort that invites endless hours of joy and adventure for family and friends.
Read more: How To Build A Fort With Couch Cushions
Step 1: Gather Materials
Before you begin constructing your trampoline fort, it’s essential to gather all the necessary materials. Here’s a list of items you’ll need to bring your trampoline fort to life:
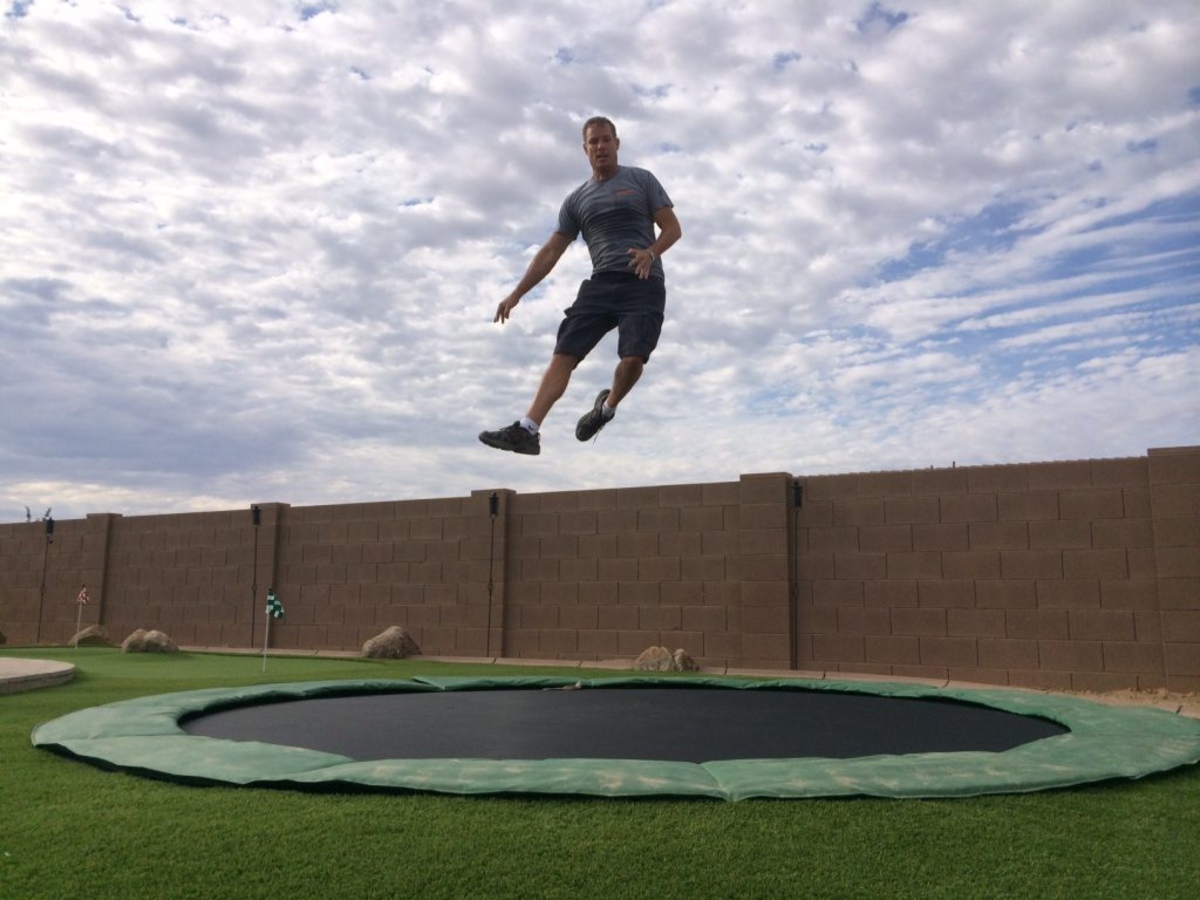
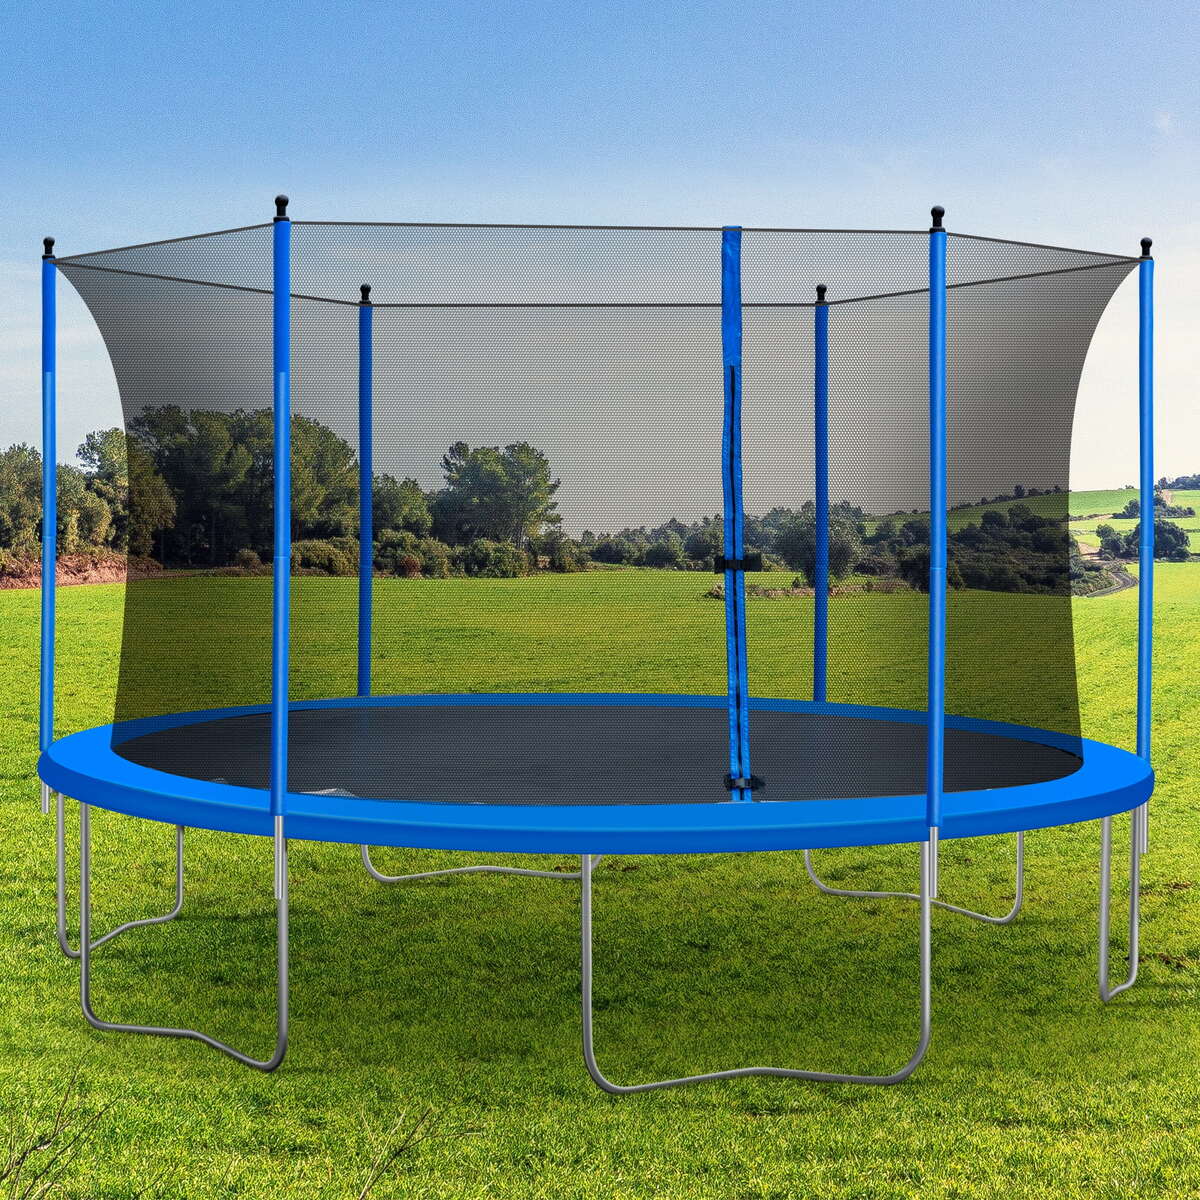
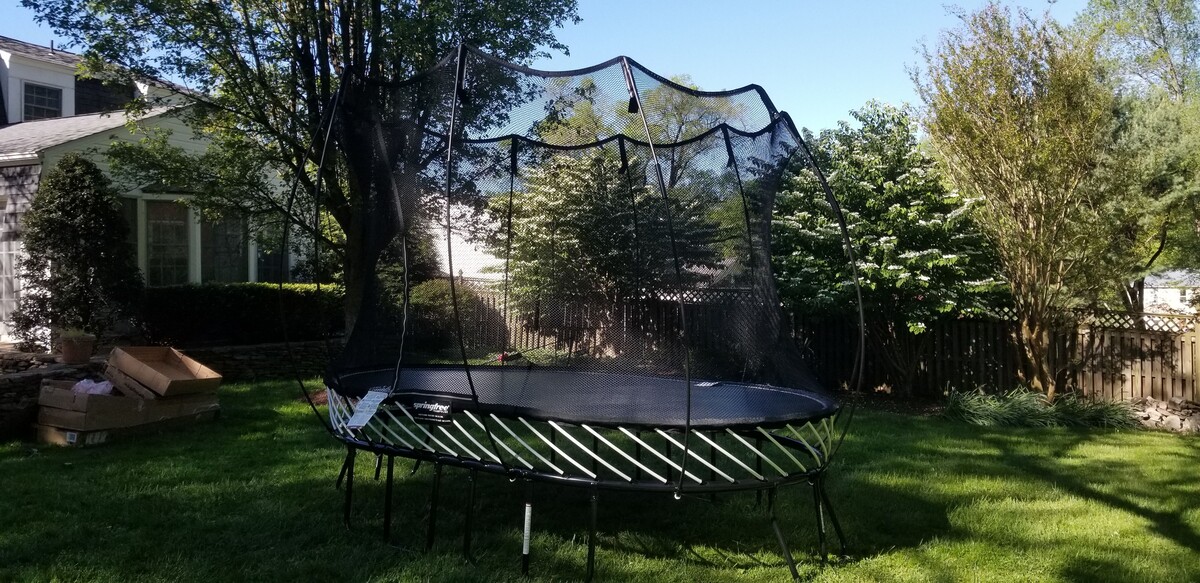
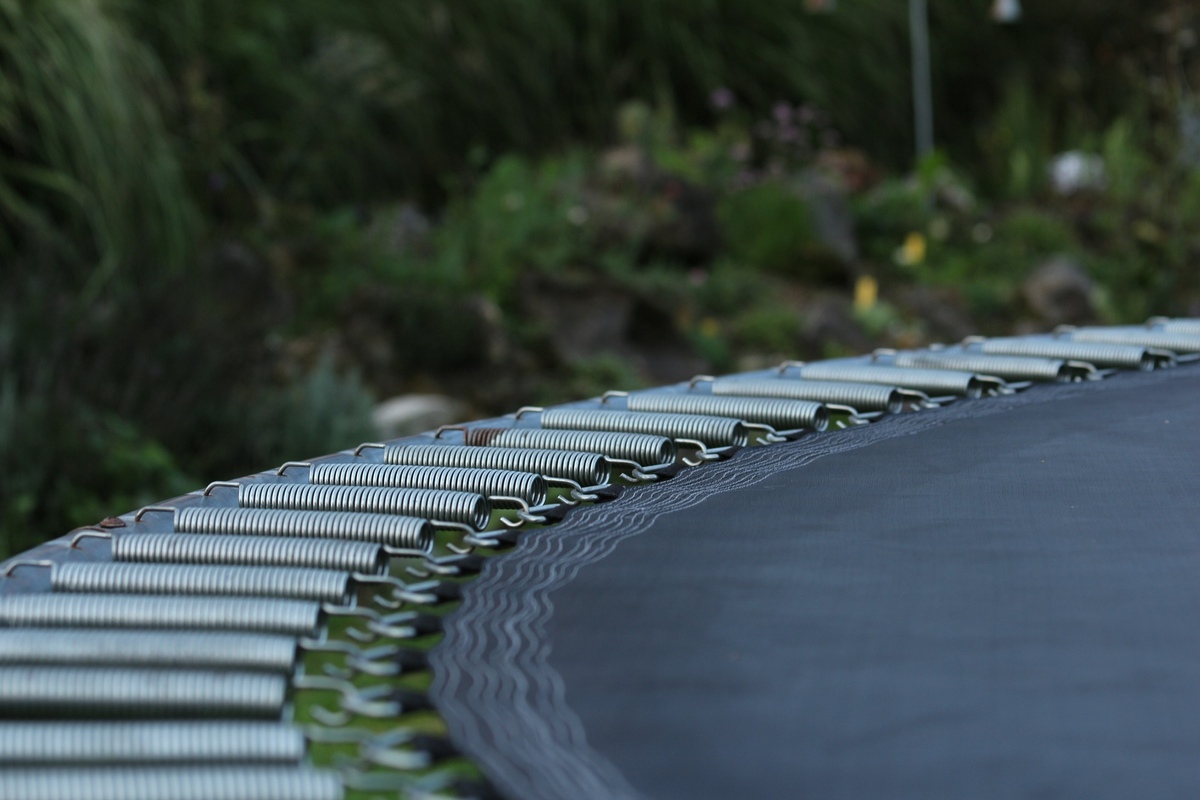
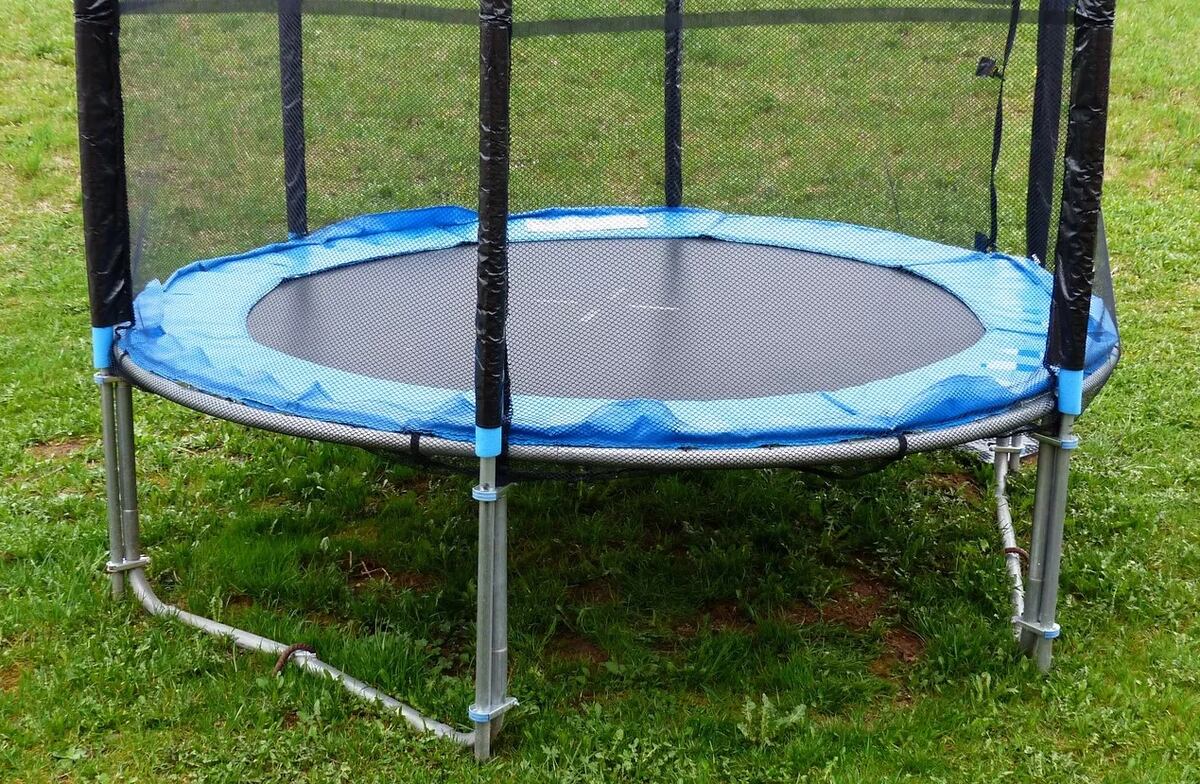
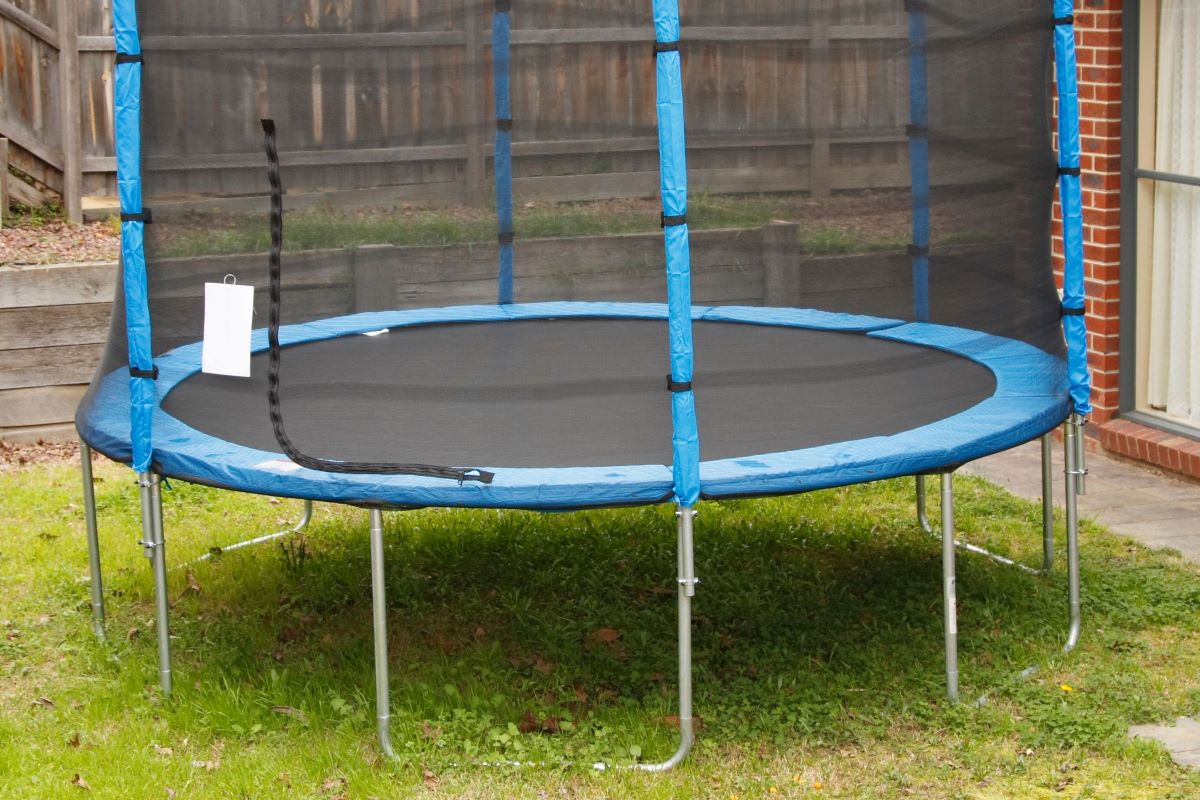
- Trampoline: The foundation of your trampoline fort is, of course, the trampoline itself. Ensure that the trampoline is in good condition and securely positioned in your outdoor space.
- Sheets or Tarps: Large, sturdy sheets or tarps will serve as the walls and roof of your fort. Choose materials that are durable and can withstand outdoor conditions.
- Clips or Clamps: You’ll need clips or clamps to secure the sheets or tarps to the trampoline frame, ensuring that they stay in place while you build the fort.
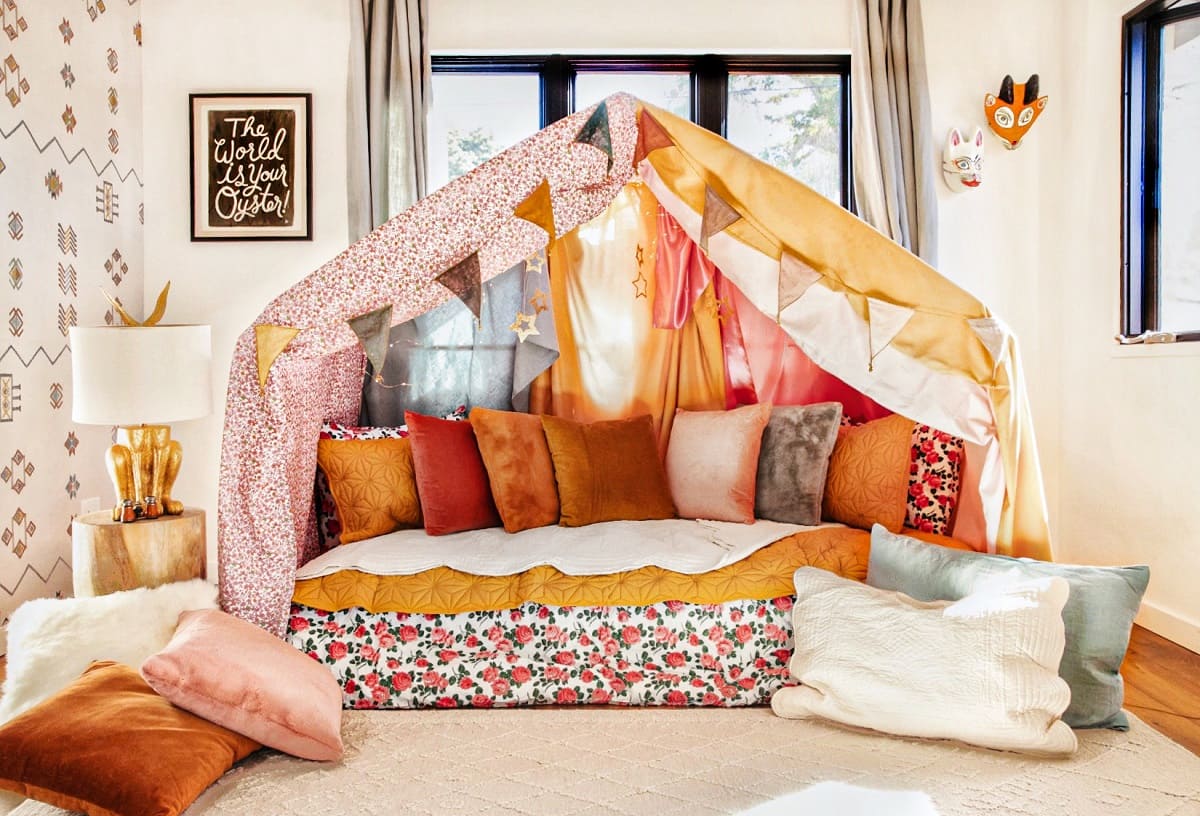
- Cushions and Pillows: Adding cushions and pillows inside the fort will create a cozy and comfortable space for relaxation and play.
- Decorations: Get creative and gather decorations such as fairy lights, banners, or fabric to personalize your trampoline fort and make it uniquely yours.
- Optional Extras: Consider including additional items like a small table, snacks, and games to enhance the fort experience.
Once you’ve assembled all the necessary materials, you’ll be well-prepared to move on to the next step: setting up the trampoline as the foundation for your exciting fort-building endeavor.
Step 2: Set Up the Trampoline
With your materials gathered, it’s time to set up the trampoline as the sturdy base for your fort. Follow these steps to ensure a secure and stable foundation:
- Clear the Surrounding Area: Before positioning the trampoline, clear the surrounding area of any obstacles or debris to create a safe and spacious environment for building the fort.
- Position the Trampoline: Carefully place the trampoline in the desired location, ensuring that it’s on level ground and properly aligned.
- Secure the Trampoline: If your trampoline requires anchoring or additional securing measures, follow the manufacturer’s guidelines to guarantee its stability, especially in windy conditions.
- Attach the Sheets or Tarps: Using the clips or clamps, fasten the sheets or tarps to the trampoline frame, creating the walls and roof of the fort. Ensure that the coverings are taut and securely attached to the trampoline structure.
- Check for Safety: Prioritize safety by inspecting the trampoline for any damage or wear and tear. Ensure that all components, including springs and safety netting if applicable, are in good condition.
Once the trampoline is securely set up and the coverings are in place, you’re ready to move on to the next thrilling phase: constructing the fort structure. By following these steps, you’ll establish a solid and safe foundation for your trampoline fort, setting the stage for an unforgettable outdoor adventure.
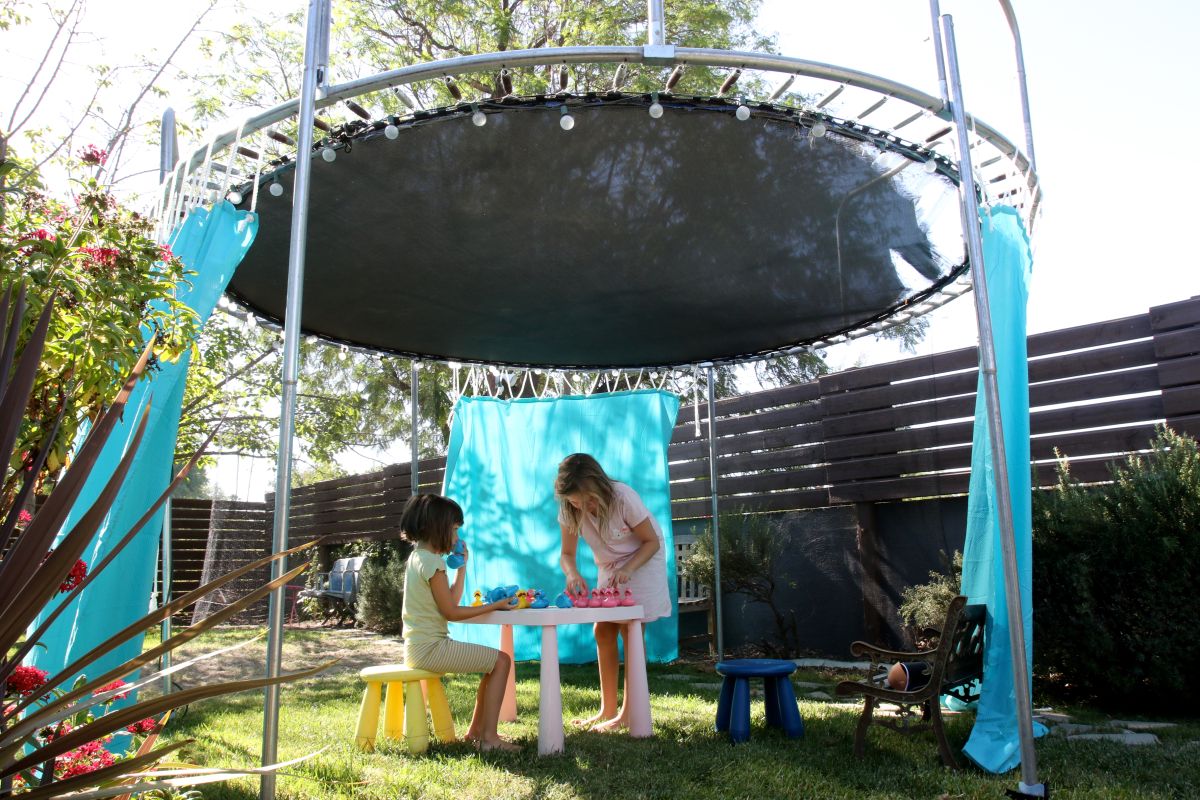
Step 3: Build the Fort Structure
Now that the trampoline is prepared, it’s time to focus on building the structure of your fort. This step involves creating a secure and inviting space that will serve as the centerpiece of your trampoline fort. Follow these guidelines to construct the fort’s framework:
- Stabilize the Walls: Ensure that the sheets or tarps are firmly secured to the trampoline frame, providing stable walls for the fort. Double-check the attachments to guarantee that the coverings are resistant to wind and movement.
- Create an Entrance: Designate an entry point for the fort by leaving a section of the covering unsecured or by creating a flap that can be easily opened and closed. This entrance adds an element of excitement and accessibility to the fort.
- Add Height and Volume: If possible, use additional materials such as PVC pipes or lightweight poles to elevate the fort’s roof, creating a spacious and airy environment inside the trampoline.
- Reinforce the Structure: Assess the fort’s stability and make any necessary adjustments to reinforce the structure. Ensure that the walls and roof are securely in place, providing a safe and durable enclosure for play and relaxation.
- Personalize the Interior: Add cushions, pillows, and any desired decorations to the interior of the fort, transforming it into a cozy and inviting space. Consider incorporating soft lighting or hanging decorations to enhance the ambiance.
By following these steps, you’ll create a robust and welcoming fort structure that forms the heart of your trampoline-based adventure. With the framework in place, you’re one step closer to enjoying the enchanting experience of a trampoline fort. Now, let’s ensure that the fort is securely anchored and ready for action.
When building a trampoline fort, make sure to securely attach the fort structure to the trampoline frame to prevent it from tipping over or collapsing while in use. Use strong and durable materials for the fort to ensure safety.
Step 4: Secure the Fort
After constructing the fort structure, it’s crucial to focus on securing the fort to ensure its stability and safety. By taking the following measures, you’ll fortify the structure and create a reliable and secure environment for endless hours of enjoyment:
- Anchoring the Fort: Utilize heavy objects or sandbags to anchor the bottom edges of the fort’s coverings, preventing them from being lifted by wind or sudden movements. This anchoring will provide additional stability to the fort structure.
- Inspect and Adjust: Regularly inspect the fort’s attachments and connections to the trampoline frame, ensuring that they remain secure and intact. Make any necessary adjustments to maintain the fort’s stability over time.
- Weather Considerations: Be mindful of weather conditions and adjust the fort’s security measures accordingly. In windy or inclement weather, reinforce the fort’s anchoring and consider temporarily disassembling the fort if necessary for safety.
- Child Supervision: When the fort is in use, ensure that children are supervised at all times to prevent any unsafe behavior or rough play that could compromise the fort’s stability.
- Reinforcement Techniques: Explore additional reinforcement options such as bungee cords or extra clips to further secure the fort’s coverings, especially during periods of heightened wind or activity.
By implementing these measures, you’ll establish a secure and reliable fort that can withstand outdoor elements and provide a safe and enjoyable space for trampoline-based adventures. With the fort securely in place, it’s time to add the finishing touches and incorporate fun extras to elevate the fort’s appeal.
Read more: How To Make A Fort In The Living Room
Step 5: Add Fun Extras
With the fort securely anchored, it’s time to infuse it with personality and excitement by incorporating fun extras that will elevate the trampoline fort experience. By integrating these creative elements, you’ll transform the fort into a captivating and inviting space for play and relaxation:
- Decorative Accents: Enhance the fort’s ambiance by adding decorative elements such as fairy lights, colorful banners, or fabric draping. These touches will infuse the fort with charm and create an enchanting atmosphere.
- Cozy Seating: Place cushions, blankets, and pillows inside the fort to create a cozy and comfortable seating area. This will encourage relaxation and provide a welcoming space for reading, chatting, or simply enjoying the surroundings.
- Entertainment Options: Incorporate games, books, or portable speakers to provide entertainment within the fort. These extras will add an element of fun and enjoyment to the fort experience, making it a versatile space for various activities.
- Snack Station: Set up a small table or tray with snacks and refreshments to create a mini snack station inside the fort. This addition will allow for leisurely snacking and add a touch of indulgence to the fort environment.
- Themed Decor: Consider incorporating a theme into the fort’s decorations, such as a pirate hideout, a fairy tale castle, or a space adventure. Themed decor will spark imagination and add an extra layer of excitement to the fort experience.
By adding these fun extras, you’ll elevate the trampoline fort into a captivating and personalized space that beckons with creativity and enjoyment. The combination of decorative accents, comfortable seating, entertainment options, and themed decor will transform the fort into a magical retreat that invites exploration and imaginative play. With the fun extras in place, your trampoline fort is ready to provide endless hours of delight and adventure.
Conclusion
Congratulations on completing the journey of building your very own trampoline fort! By following the steps outlined in this guide, you’ve embarked on a creative and exhilarating outdoor project that has the potential to provide countless hours of joy and adventure. As you admire the fort standing proudly atop the trampoline, you can revel in the satisfaction of creating a unique and captivating space for play, relaxation, and imaginative exploration.
Building a trampoline fort is more than just a construction project – it’s an opportunity to infuse your outdoor space with magic and wonder. The fort serves as a gathering place for laughter, storytelling, and shared experiences, fostering cherished memories that will endure for years to come. Whether it becomes a secret hideaway, a cozy reading nook, or a stage for imaginative role-playing, the trampoline fort is a versatile and enchanting addition to any outdoor setting.
As you enjoy the fort’s charm and versatility, remember to prioritize safety by regularly inspecting the fort’s structure and anchoring, especially in changing weather conditions. By maintaining the fort’s stability and security, you can ensure that it continues to be a safe and reliable space for enjoyment and creativity.
With the addition of fun extras such as decorative accents, cozy seating, entertainment options, and themed decor, your trampoline fort has been transformed into a captivating retreat that invites exploration and imaginative play. It’s a space where imaginations run wild, friendships are strengthened, and unforgettable adventures unfold.
So, gather your family and friends, and embark on a journey of outdoor excitement within the enchanting confines of your trampoline fort. Whether it’s a sunny afternoon, a starry night, or a gentle breeze that beckons you outdoors, the trampoline fort stands ready to provide an extraordinary backdrop for endless moments of joy and togetherness.
Thank you for joining us on this trampoline fort-building adventure. May your fort be a source of boundless delight and cherished memories, and may it inspire a sense of wonder and creativity in all who encounter its magic.
Frequently Asked Questions about How To Build A Trampoline Fort
Was this page helpful?
At Storables.com, we guarantee accurate and reliable information. Our content, validated by Expert Board Contributors, is crafted following stringent Editorial Policies. We're committed to providing you with well-researched, expert-backed insights for all your informational needs.


0 thoughts on “How To Build A Trampoline Fort”