Home>Gardening & Outdoor>Outdoor Recreation & Activities>How To Make Cornhole Bags
Outdoor Recreation & Activities
How To Make Cornhole Bags
Modified: August 17, 2024
Learn how to make cornhole bags for your outdoor recreation and activities. Get step-by-step instructions and tips for creating your own durable and stylish cornhole bags.
(Many of the links in this article redirect to a specific reviewed product. Your purchase of these products through affiliate links helps to generate commission for Storables.com, at no extra cost. Learn more)
Introduction
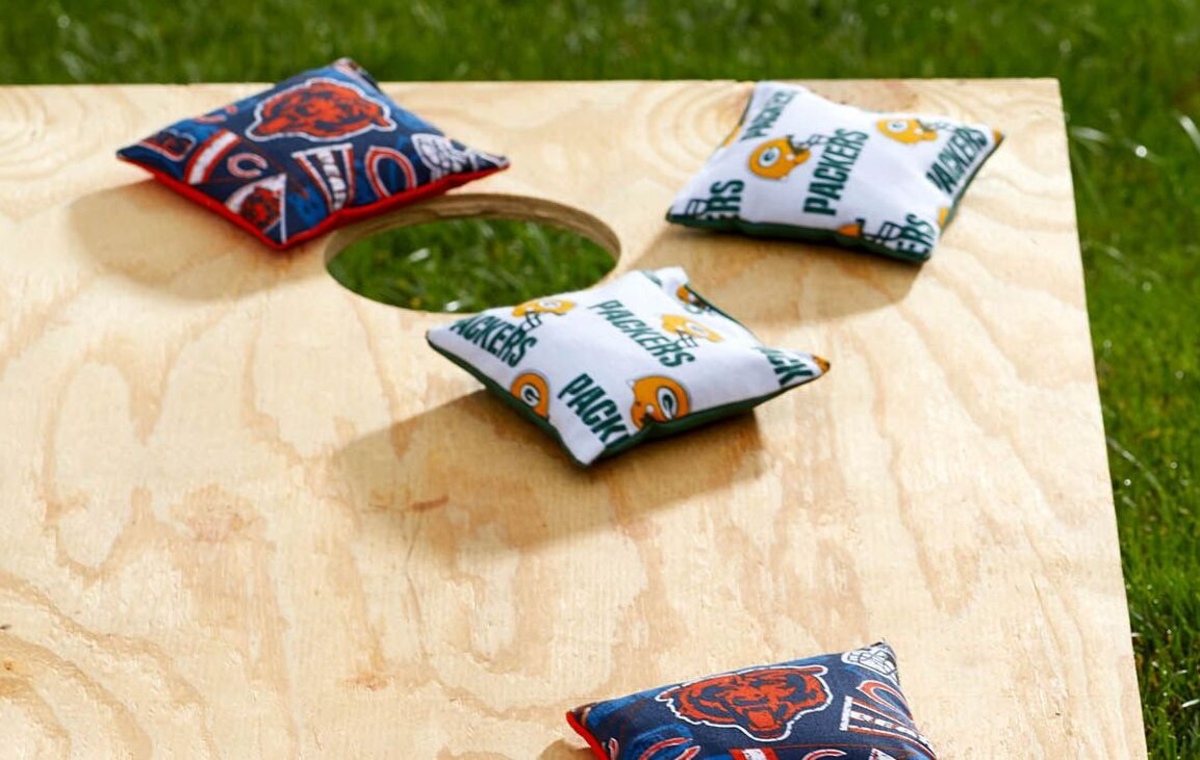
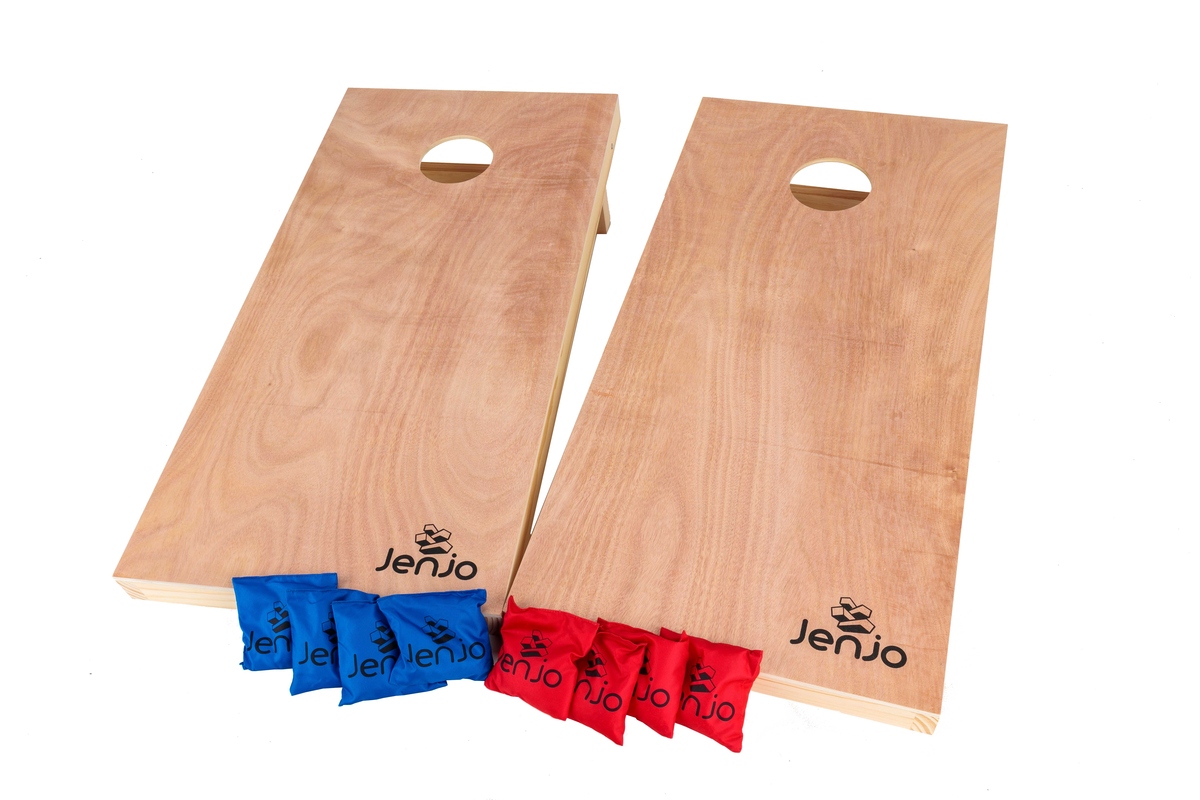
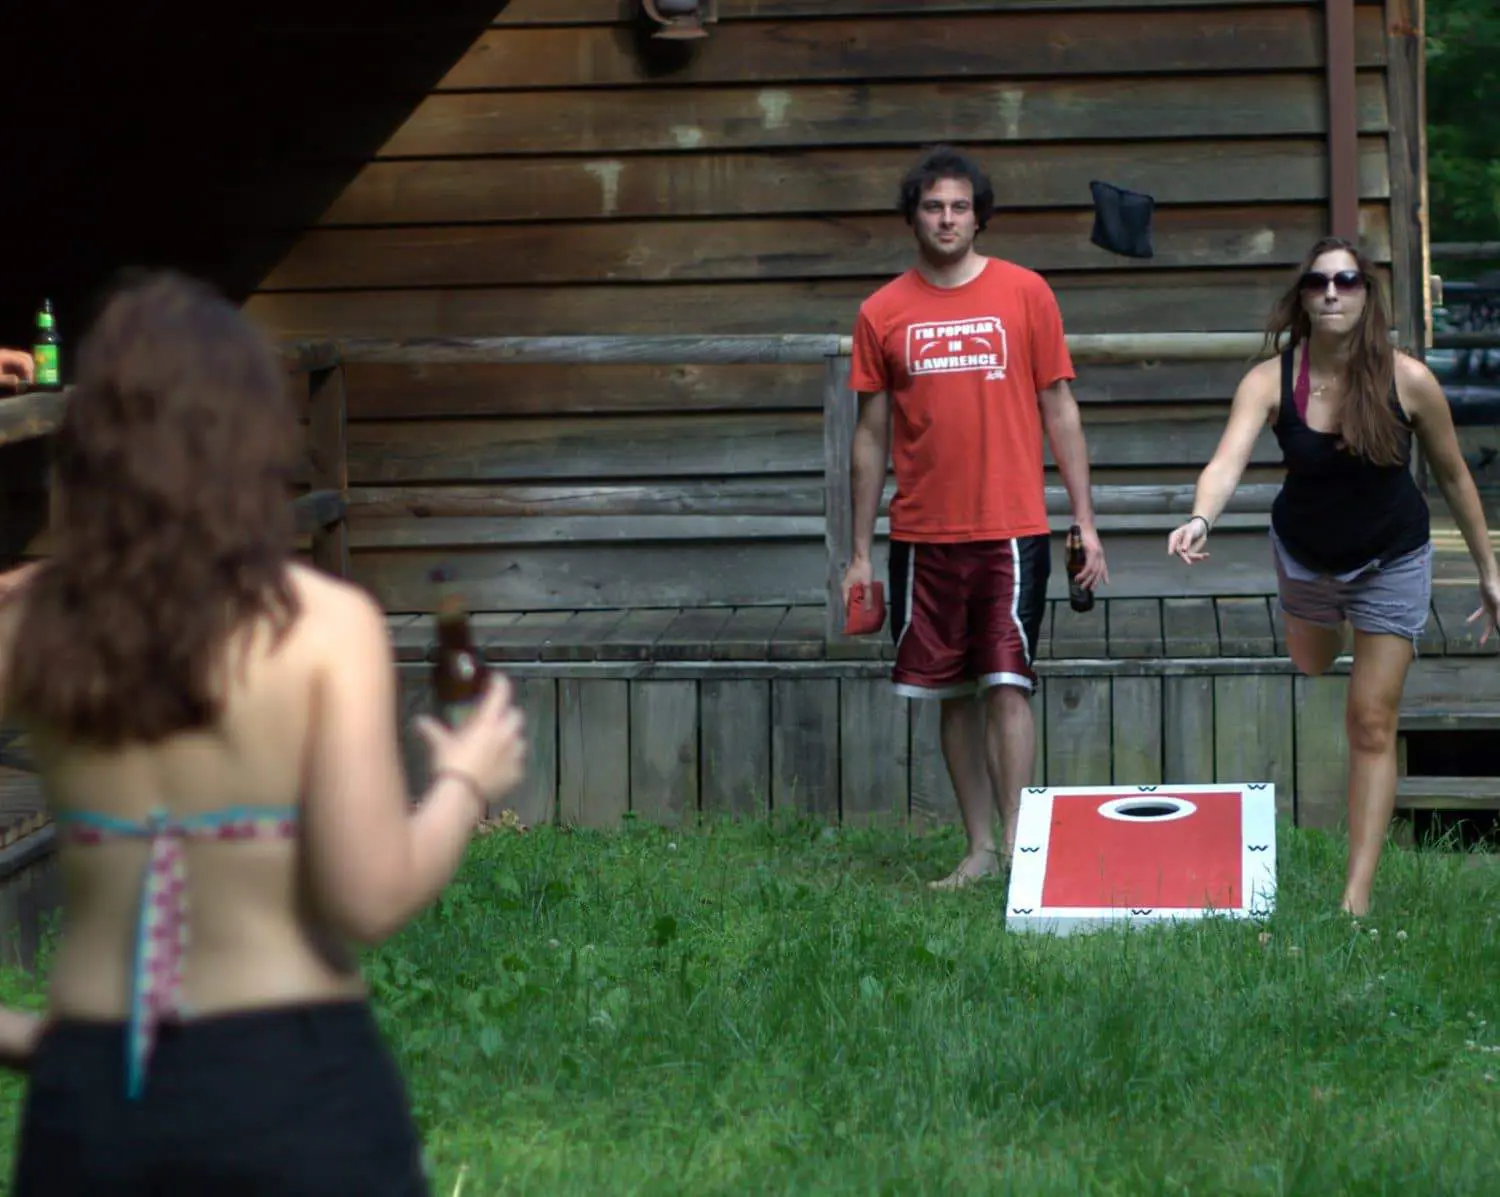
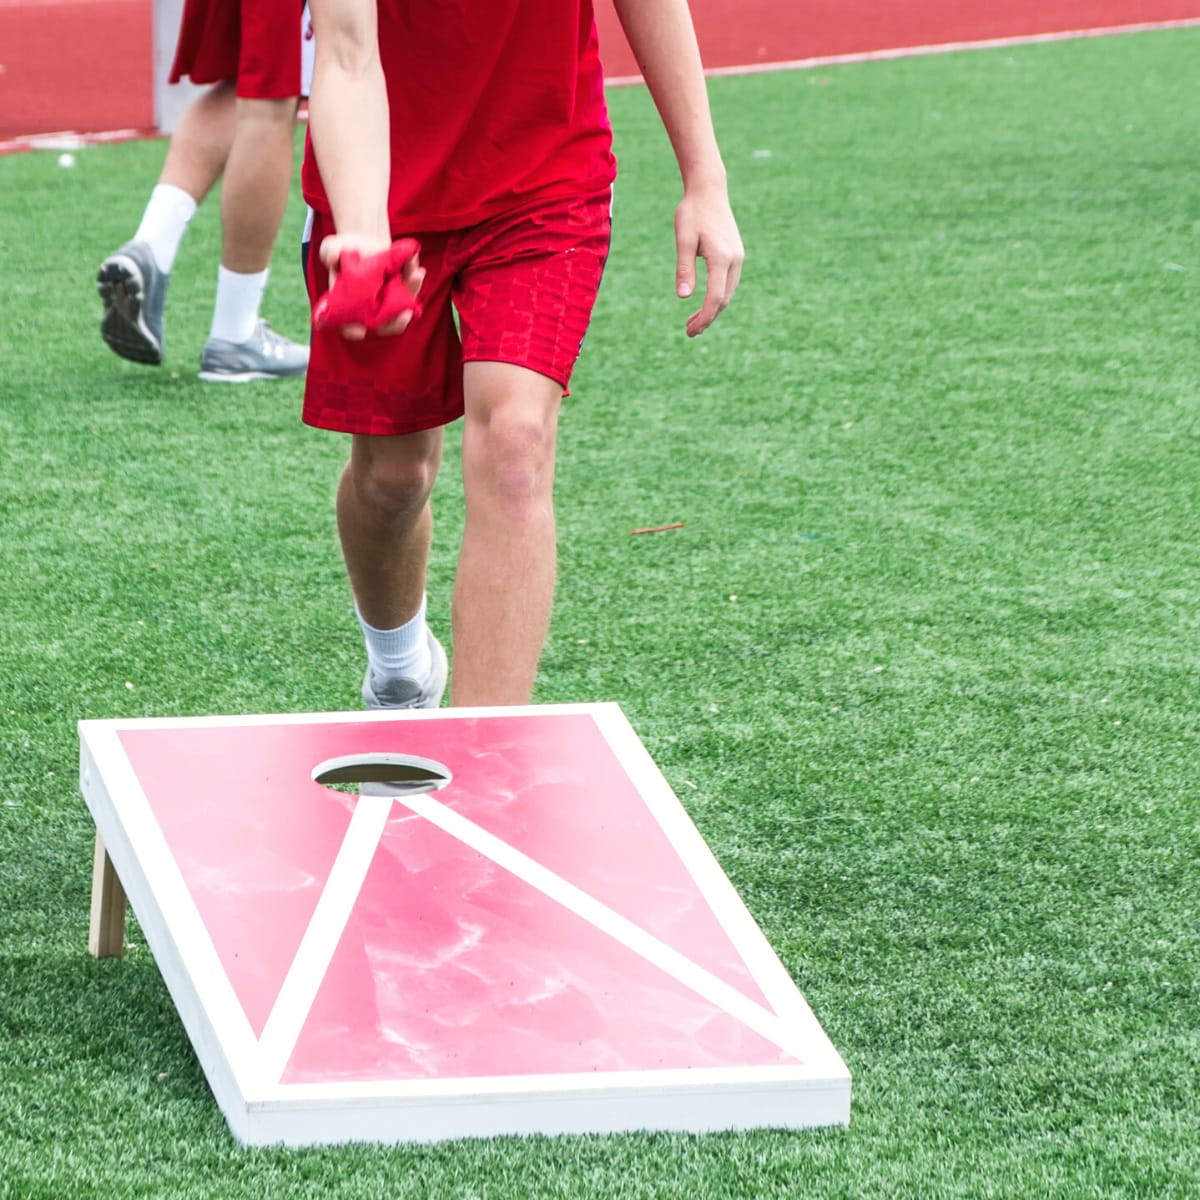
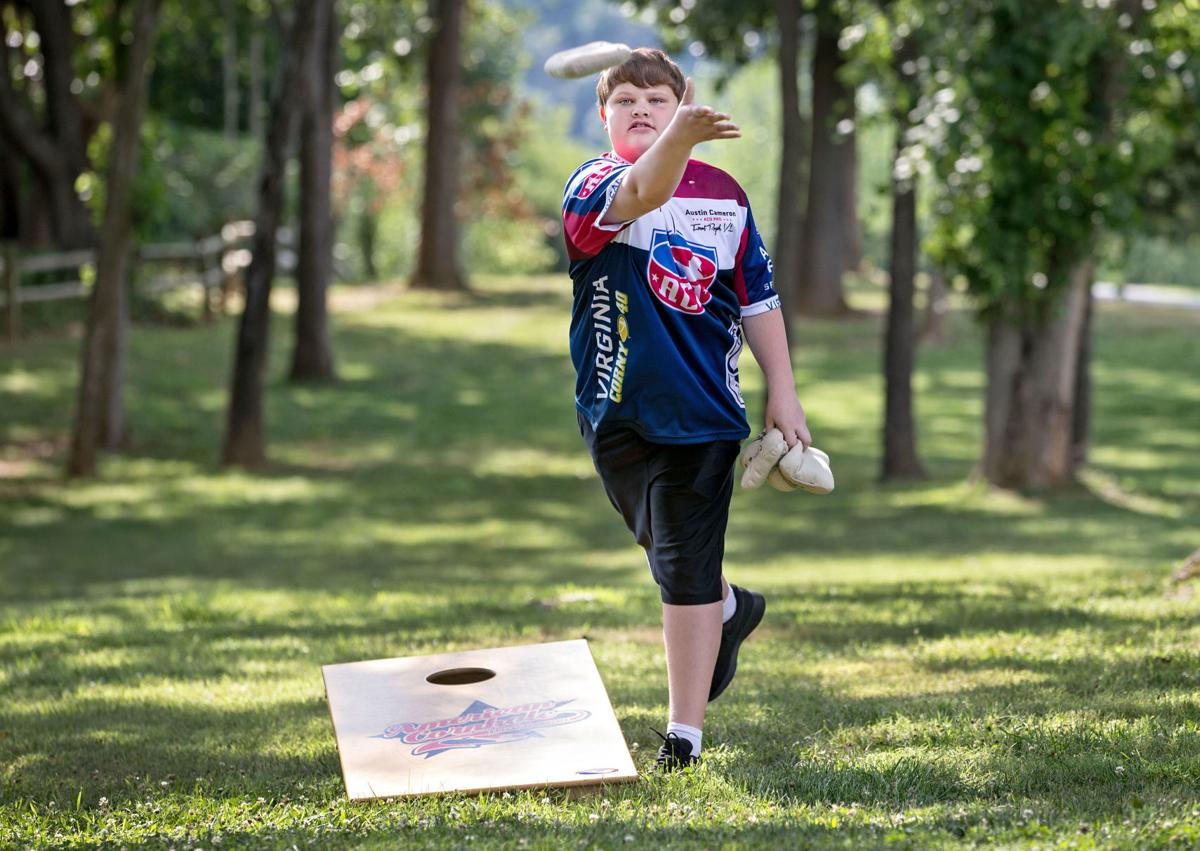
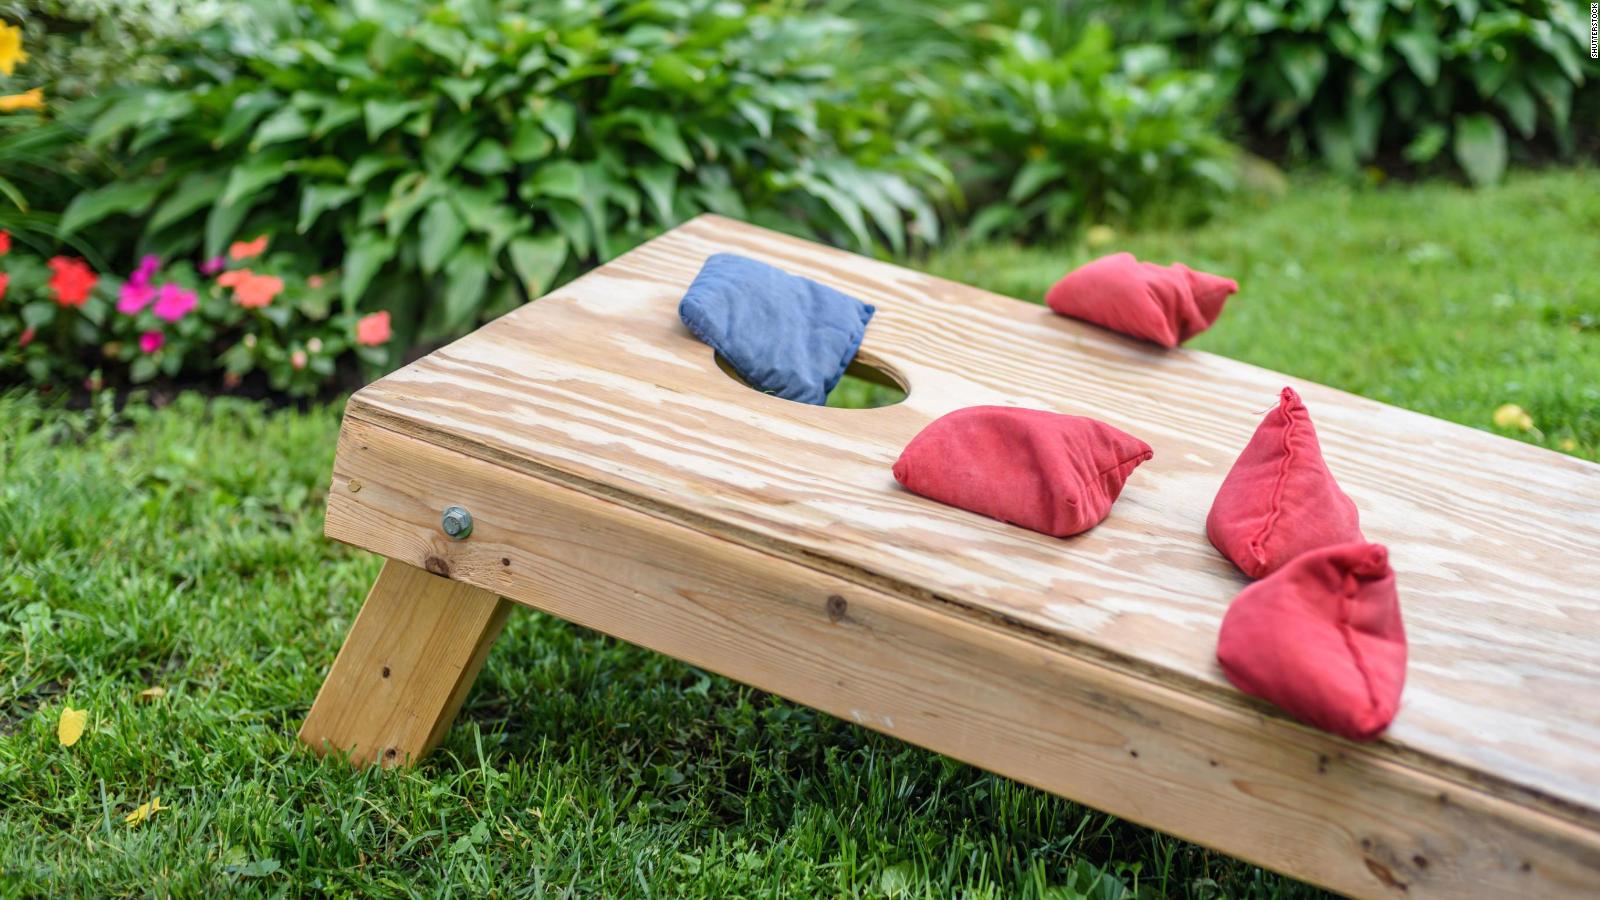
Welcome to the world of cornhole, a classic outdoor game that's perfect for gatherings, tailgating, and backyard fun. Whether you're a seasoned player or new to the game, one essential element of cornhole is the bags. While you can easily purchase cornhole bags, there's something special about crafting your own. Not only does it allow you to customize the bags to your preferences, but it also adds a personal touch to your cornhole set.
In this guide, we'll walk you through the process of making your own cornhole bags. From selecting the materials to sewing and filling the bags, we'll cover each step in detail. By the end of this tutorial, you'll have a set of high-quality, homemade cornhole bags that are perfect for countless games to come.
So, gather your materials, set up a cozy crafting space, and let's dive into the world of DIY cornhole bags. Whether you're making them for yourself or as a thoughtful gift for a fellow cornhole enthusiast, this project is sure to bring joy and a sense of accomplishment. Let's get started!
Key Takeaways:
- Crafting your own cornhole bags allows for personalization, creativity, and a sense of accomplishment, enhancing the joy of the game and outdoor gatherings.
- Making cornhole bags is a fun and rewarding DIY project that adds a unique touch to the game, bringing laughter and camaraderie to every match.
Read more: How Heavy Is A Cornhole Bag?
Materials Needed
Before diving into the crafting process, it’s essential to gather all the materials required to make your cornhole bags. Here’s a list of what you’ll need:
- Durable fabric: Look for a sturdy fabric such as duck canvas or upholstery fabric. You’ll need two different colors, with each color yielding four bags.
- Thread: Choose a high-quality, durable thread that complements the fabric colors.
- Corn or synthetic filler: Traditional cornhole bags are filled with corn feed, but synthetic fillers like plastic pellets are also popular.
- Measuring tools: A ruler or measuring tape is essential for ensuring precise dimensions for the bags.
- Cutting tools: Sharp fabric scissors or a rotary cutter will make cutting the fabric a breeze.
- Sewing machine: While you can hand-sew the bags, a sewing machine will streamline the process and provide sturdy seams.
- Funnel: A funnel makes it easier to fill the bags with corn or synthetic filler without creating a mess.
- Iron and ironing board: These are useful for pressing the fabric, ensuring crisp edges and professional-looking bags.
- Optional: Fabric markers or patches for personalizing the bags with unique designs or monograms.
Once you’ve gathered these materials, you’re well-equipped to embark on the exciting journey of creating your own set of cornhole bags. With everything in place, you’re ready to move on to the next step: cutting the fabric.
Cutting the Fabric
Now that you have all the necessary materials assembled, it’s time to start crafting your cornhole bags. The first step is cutting the fabric to the appropriate size for the bags. Here’s a detailed guide to help you through this process:
- Prepare the Fabric: Lay out your chosen fabric on a clean, flat surface. If it’s wrinkled, use an iron to smooth out any creases for easier cutting and sewing.
- Measure and Mark: Using a ruler or measuring tape, mark and measure out squares that are 7 inches by 7 inches. You’ll need a total of eight squares for each set of cornhole bags, with four squares in each fabric color.
- Cut the Fabric: Carefully cut along the marked lines to create the individual fabric squares. Precision is key here, as accurately sized squares will ensure uniform and professional-looking bags.
- Pair the Fabric: Once you have the squares cut out, pair them up with one square of each color to create sets of two. Each set will consist of two squares of the same size but in different colors.
With the fabric squares cut and paired, you’re one step closer to completing your homemade cornhole bags. The next phase involves sewing the bags, where you’ll bring these fabric pieces together to form the sturdy and colorful pouches that define the game of cornhole. Let’s move on to the exciting world of sewing and assembling the bags!
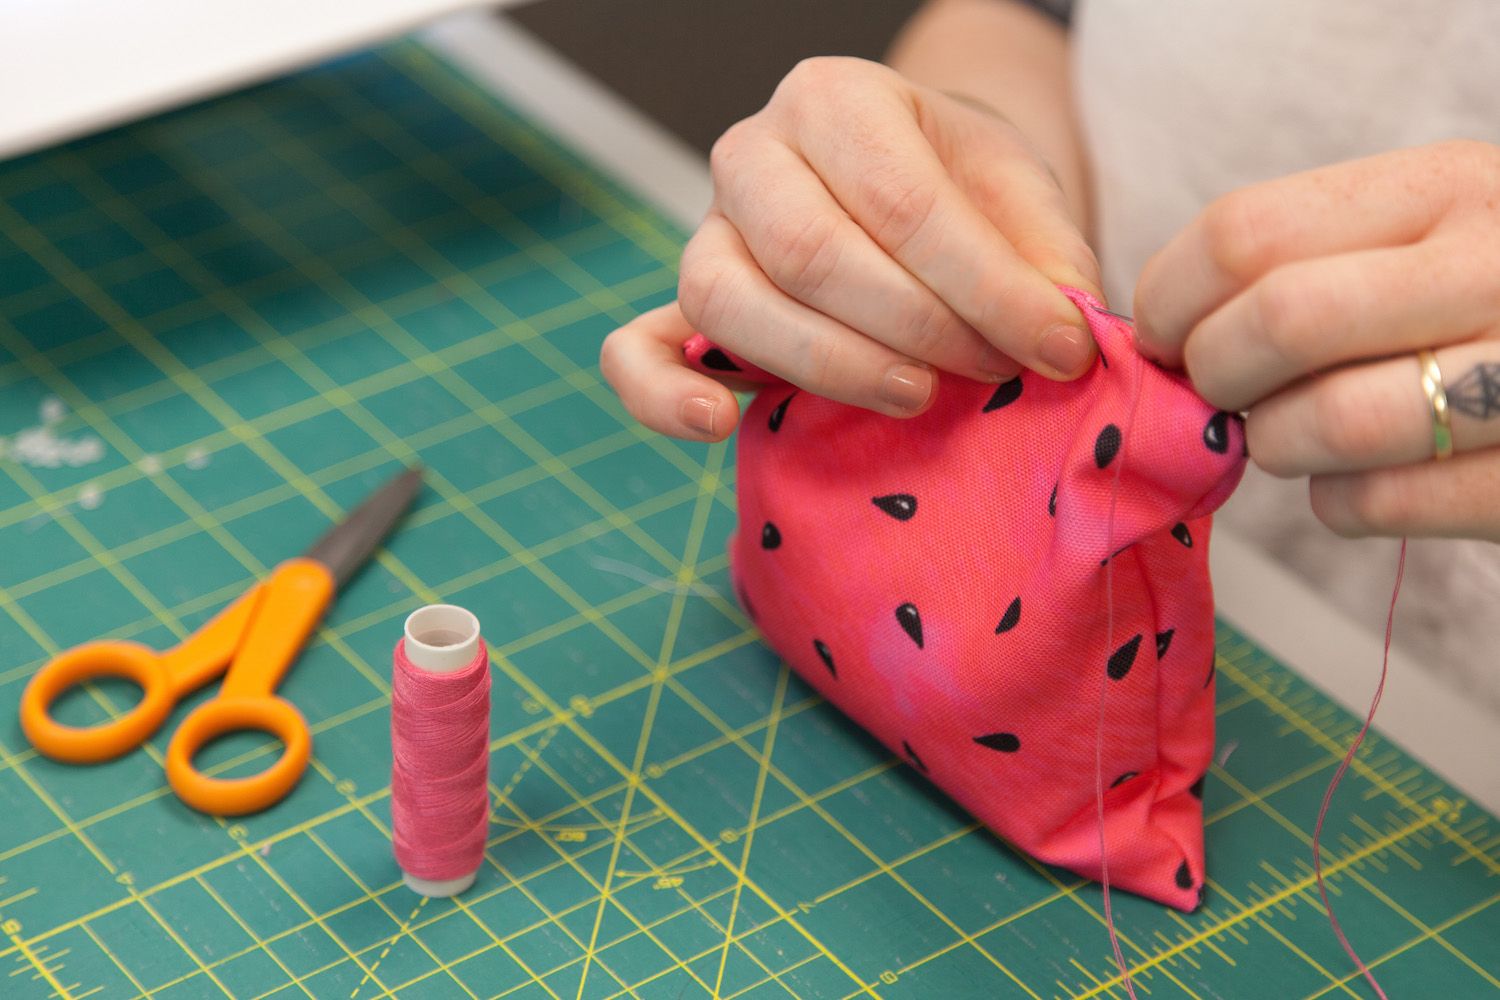
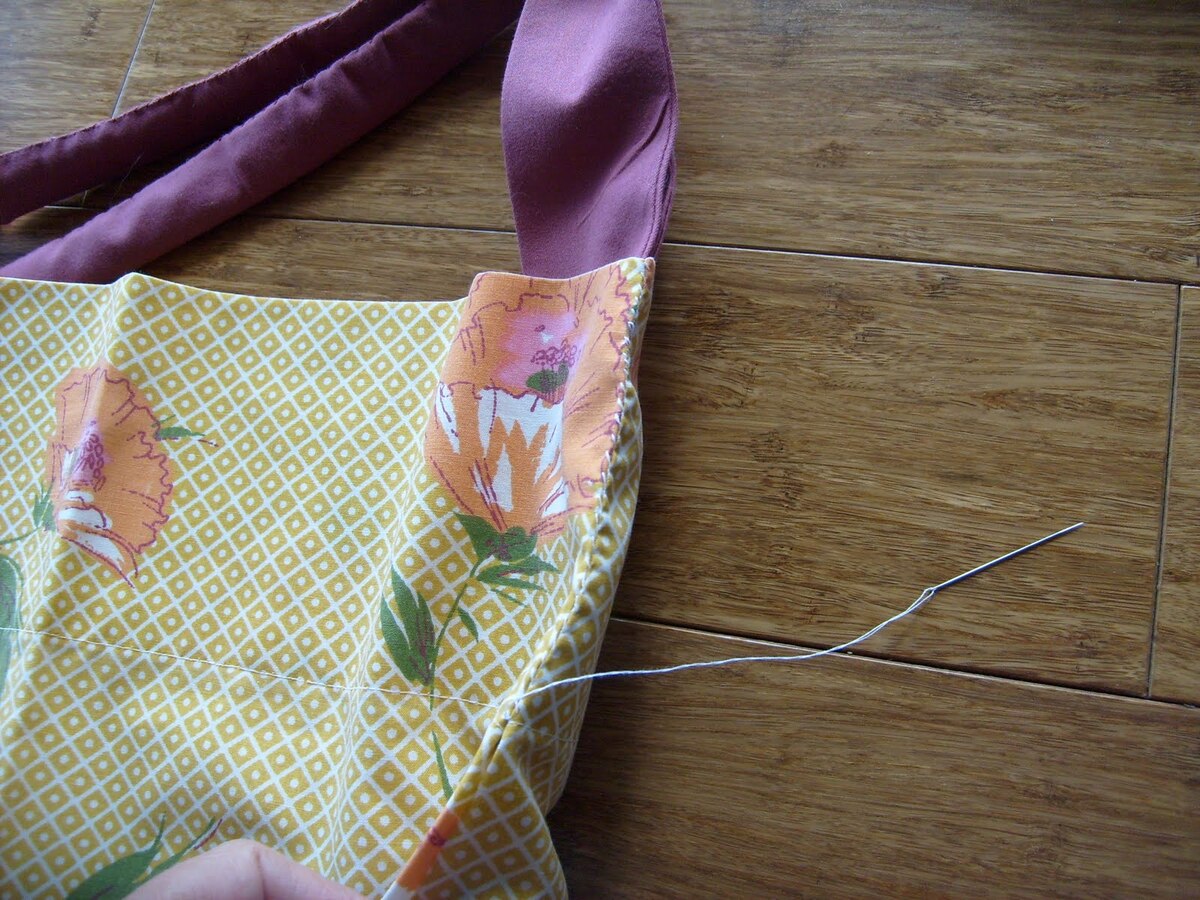
Sewing the Bags
Now that you have your fabric squares cut and paired, it’s time to transform them into the iconic cornhole bags through the art of sewing. Whether you’re a seasoned seamster or new to the world of stitching, creating these bags is a rewarding and enjoyable process. Here’s a step-by-step guide to sewing the bags:
- Place and Pin: Take one pair of fabric squares and place them together, ensuring that the outer sides of the fabric are facing each other. Pin the edges together to secure them in place for sewing.
- Sew the Edges: Using a sewing machine or a needle and thread, sew three sides of the fabric squares together, leaving one side open. A 1/2-inch seam allowance is ideal for sturdy and durable bags.
- Trim Excess Fabric: Trim the excess fabric at the corners to reduce bulk and create crisp, clean edges once the bags are turned right side out.
- Turn the Bags: Carefully turn the sewn bags right side out, gently pushing out the corners to create a neat and uniform shape.
- Repeat the Process: Repeat this sewing process for the remaining pairs of fabric squares until you have a total of four colorful and well-constructed cornhole bags.
With the bags sewn and turned right side out, you’re now ready to move on to the next step: filling the bags. This stage brings the bags to life as they are filled with the essential weight and heft that make them perfect for tossing and playing. Let’s explore the process of filling the bags and adding the finishing touches to complete your homemade cornhole set!
When making cornhole bags, use durable fabric like duck cloth or canvas for the outer shell, and fill them with 15-16 ounces of whole kernel corn. Sew the bags with a strong thread and double stitch the seams for extra durability.
Filling the Bags
With the sewn bags ready for the next phase, it’s time to add the filling that will give them the perfect weight and feel for a game of cornhole. Whether you prefer the traditional corn-filled bags or opt for a synthetic filler, this step is crucial in creating bags that are both functional and enjoyable to play with. Here’s a guide to filling the bags:
- Prepare the Filler: If you’re using traditional corn feed, ensure that it’s clean and free of debris. For synthetic fillers, such as plastic pellets, measure out the appropriate amount for each bag.
- Fill the Bags: Using a funnel, carefully fill each sewn bag with the chosen filler material. Fill the bags to a level that provides a satisfying weight without being overly heavy, allowing for comfortable tossing and gameplay.
- Distribute the Filler: Once filled, distribute and evenly spread the filler within each bag to ensure consistent weight and density throughout.
- Seal the Opening: With the bags filled to your desired level, carefully fold the raw edges of the open side inward and sew it closed using a sturdy stitch. This will secure the filler inside and give the bags a polished appearance.
After filling and sealing the bags, you’ve successfully reached the final stage of the crafting process: adding the finishing touches. This step allows you to refine the appearance and durability of the bags, ensuring that they are not only functional but also visually appealing. Let’s explore the last phase of creating your very own cornhole bags!
Read more: How To Wash Cornhole Bags
Finishing Touches
As you near the completion of your homemade cornhole bags, it’s time to add the finishing touches that will elevate their appearance and durability. These final steps will ensure that your bags are not only game-ready but also visually appealing and built to withstand countless rounds of play. Here’s how to add the finishing touches to your cornhole bags:
- Reinforce the Seams: To enhance the durability of the bags, reinforce the seams by sewing over them once more. This extra stitching provides added strength, especially at the points where the bags will endure the most stress during gameplay.
- Press the Bags: Use an iron to press the completed bags, ensuring that the seams are flat and well-defined. This step adds a professional touch to your handmade bags and enhances their overall appearance.
- Personalize the Bags (Optional): If you’d like to add a personal touch to your cornhole bags, consider incorporating unique designs, monograms, or fabric patches. This customization not only adds a creative flair but also makes the bags easily distinguishable during games.
- Inspect and Test: Before declaring your bags game-ready, take a moment to inspect each one for any loose threads or imperfections. Additionally, give them a test toss to ensure that they have the perfect weight and feel for an enjoyable gameplay experience.
With these finishing touches in place, your homemade cornhole bags are now ready to join your cornhole set, bringing fun and excitement to gatherings and outdoor activities. Whether you’re crafting them for personal use or as a thoughtful gift for friends and family, these bags are a testament to your creativity and dedication to the game of cornhole.
Congratulations on completing this DIY journey, and may your new cornhole bags bring joy and memorable moments to your outdoor adventures for years to come!
Conclusion
Congratulations on successfully creating your own set of cornhole bags! Through the process of selecting materials, cutting fabric, sewing, filling, and adding the finishing touches, you’ve embarked on a rewarding journey that combines creativity with practical skill. These handmade bags are not only essential components of the beloved game of cornhole but also a testament to your craftsmanship and dedication to outdoor recreation.
As you prepare to put your new cornhole bags to use, whether at backyard gatherings, tailgating events, or leisurely outdoor afternoons, take a moment to appreciate the effort and care that went into their creation. Your personalized bags are a reflection of your unique style and passion for the game, setting them apart from store-bought alternatives.
Furthermore, the process of making cornhole bags offers a wonderful opportunity for creativity and personalization. Whether you chose distinctive fabric patterns, added custom designs, or experimented with different fillers, each decision contributed to the individuality of your handmade bags. This personal touch adds an extra layer of enjoyment to the game, making each round of cornhole even more special.
By embracing the art of crafting cornhole bags, you’ve not only expanded your outdoor recreation repertoire but also gained a deeper appreciation for the game itself. The satisfaction of creating something with your own hands and witnessing its transformation into a functional and cherished component of a beloved pastime is truly invaluable.
As you embark on future cornhole matches with your handmade bags, may they bring laughter, camaraderie, and endless fun to every game. Whether you’re tossing them across the lawn or aiming for that satisfying “swish” through the cornhole board, these bags are a testament to your creativity and love for outdoor activities.
Thank you for joining us on this DIY journey, and we hope that your new cornhole bags become cherished companions in your outdoor adventures for years to come. Here’s to countless rounds of friendly competition, shared laughter, and the joy of crafting something truly special.
Frequently Asked Questions about How To Make Cornhole Bags
Was this page helpful?
At Storables.com, we guarantee accurate and reliable information. Our content, validated by Expert Board Contributors, is crafted following stringent Editorial Policies. We're committed to providing you with well-researched, expert-backed insights for all your informational needs.

0 thoughts on “How To Make Cornhole Bags”