Home>Gardening & Outdoor>Outdoor Recreation & Activities>How To Make Cornhole Lights
Outdoor Recreation & Activities
How To Make Cornhole Lights
Modified: August 17, 2024
Learn how to enhance your outdoor recreation and activities with DIY cornhole lights. Illuminate your cornhole boards for nighttime fun and entertainment. Step-by-step guide included!
(Many of the links in this article redirect to a specific reviewed product. Your purchase of these products through affiliate links helps to generate commission for Storables.com, at no extra cost. Learn more)
Introduction
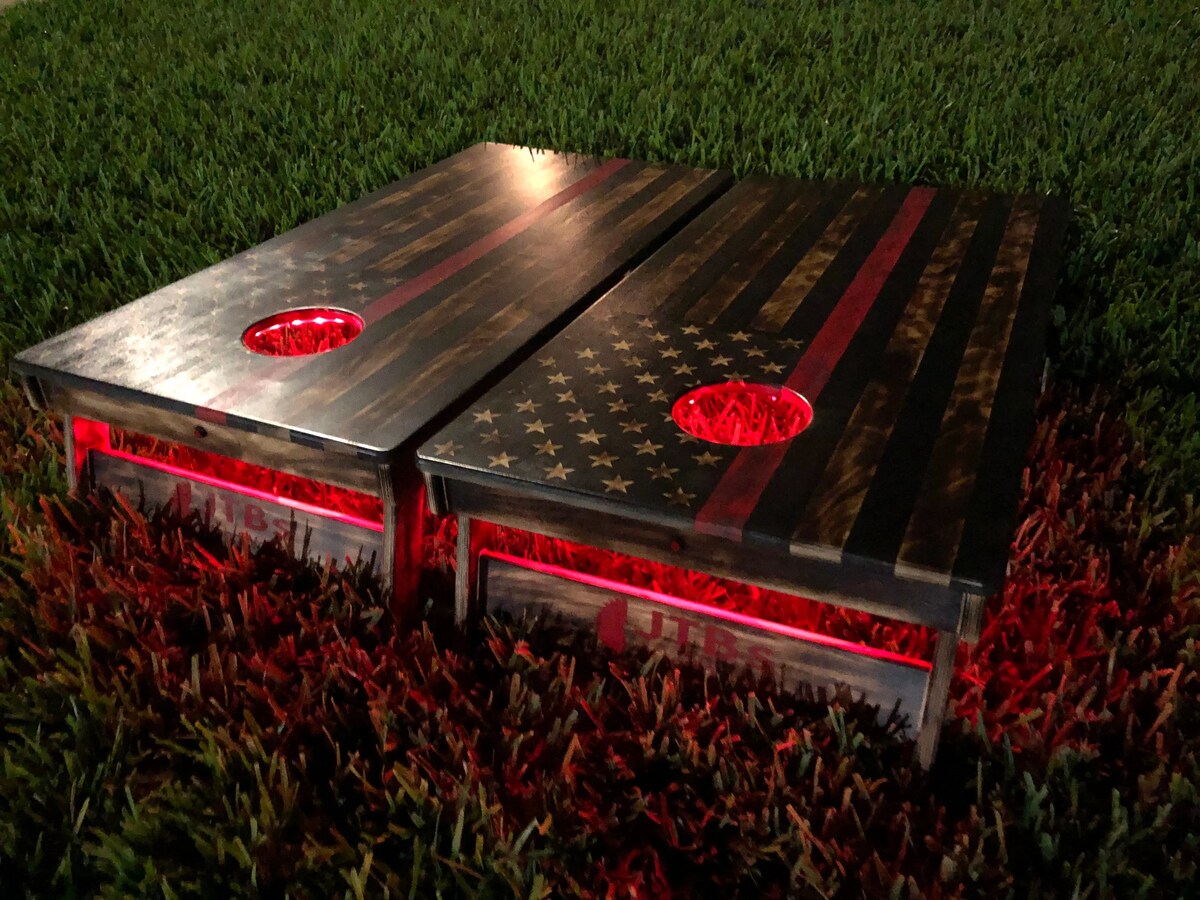
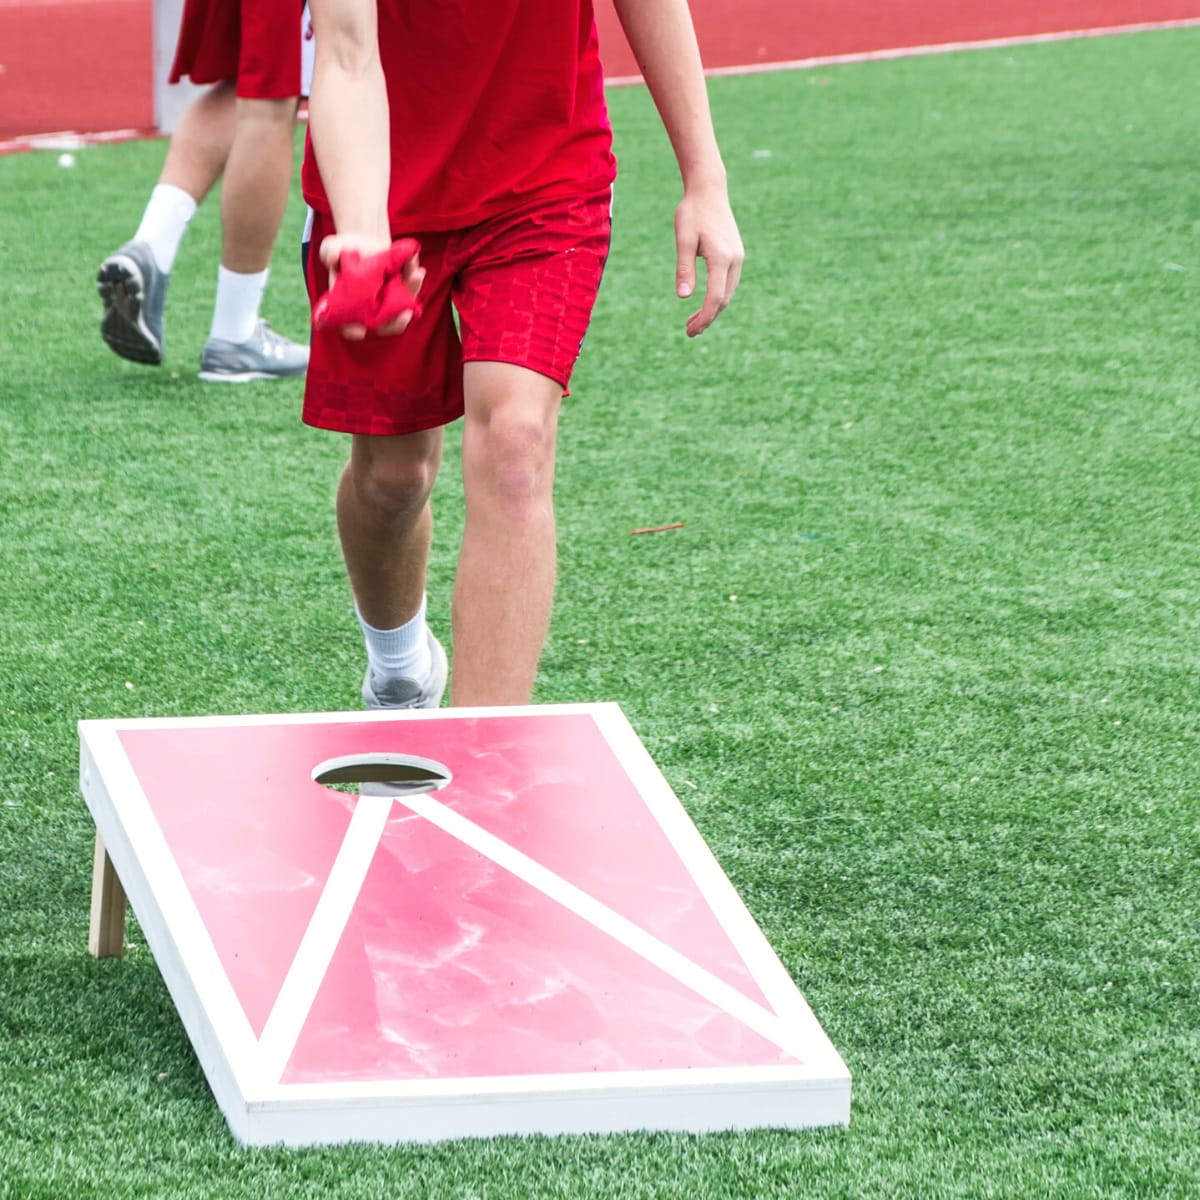
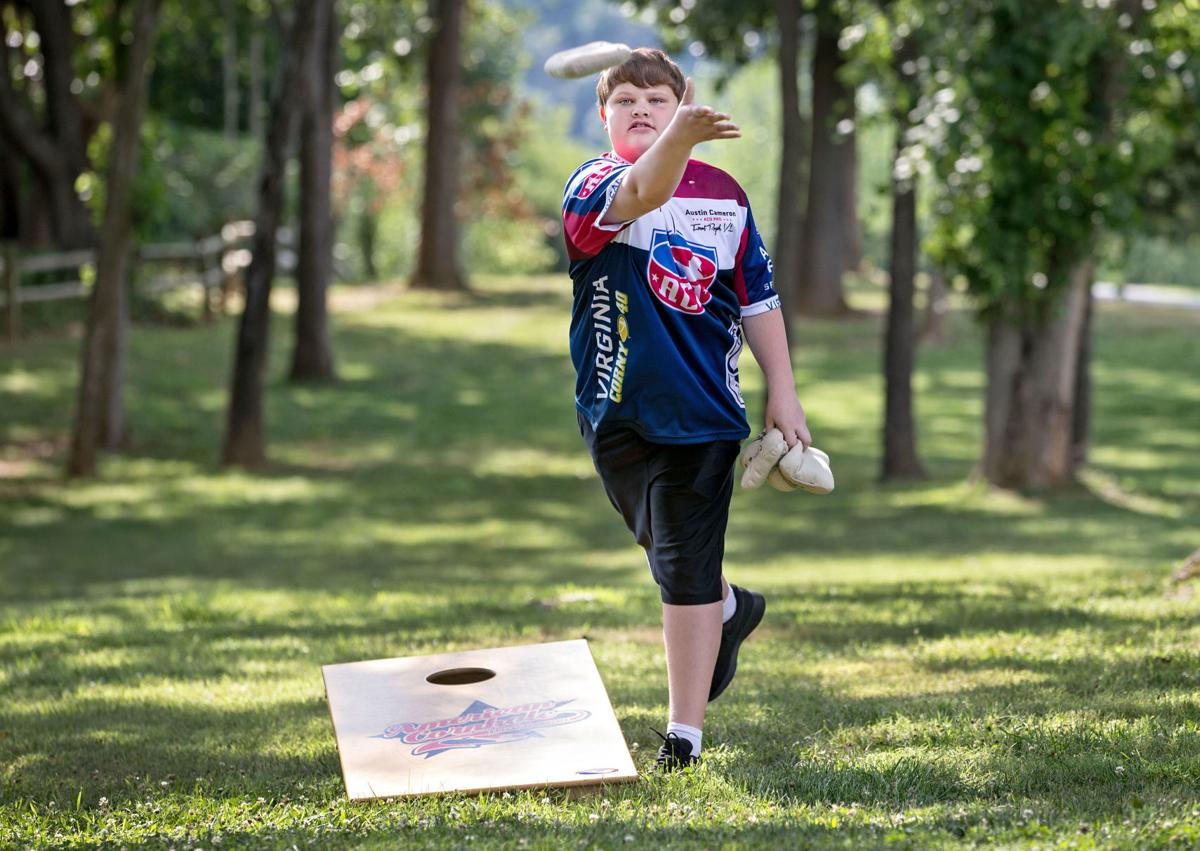
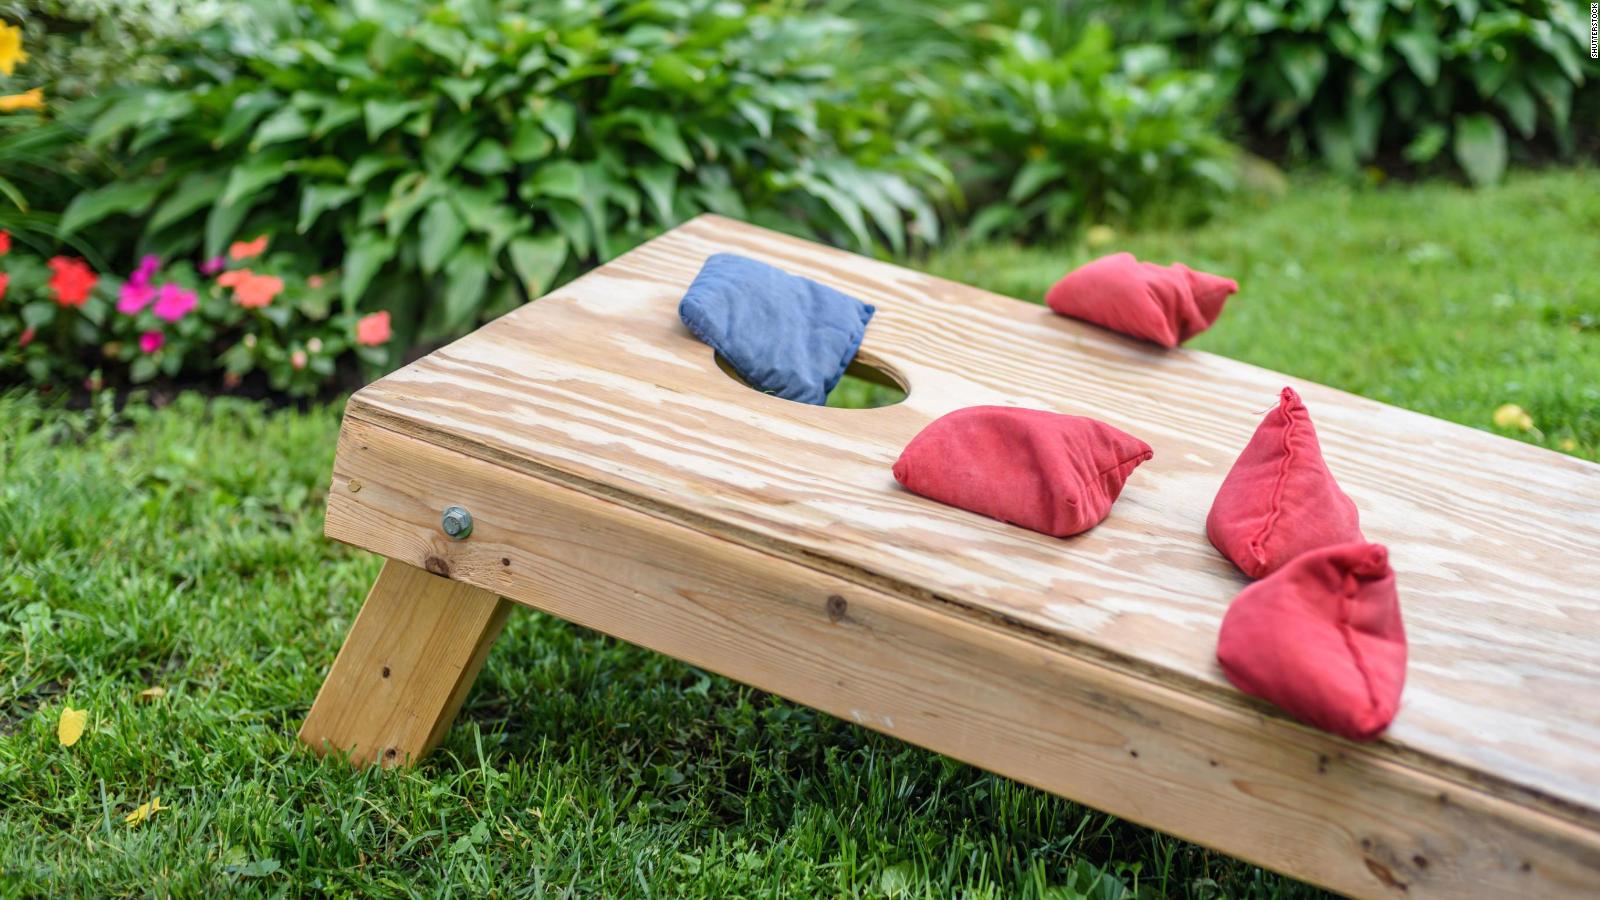
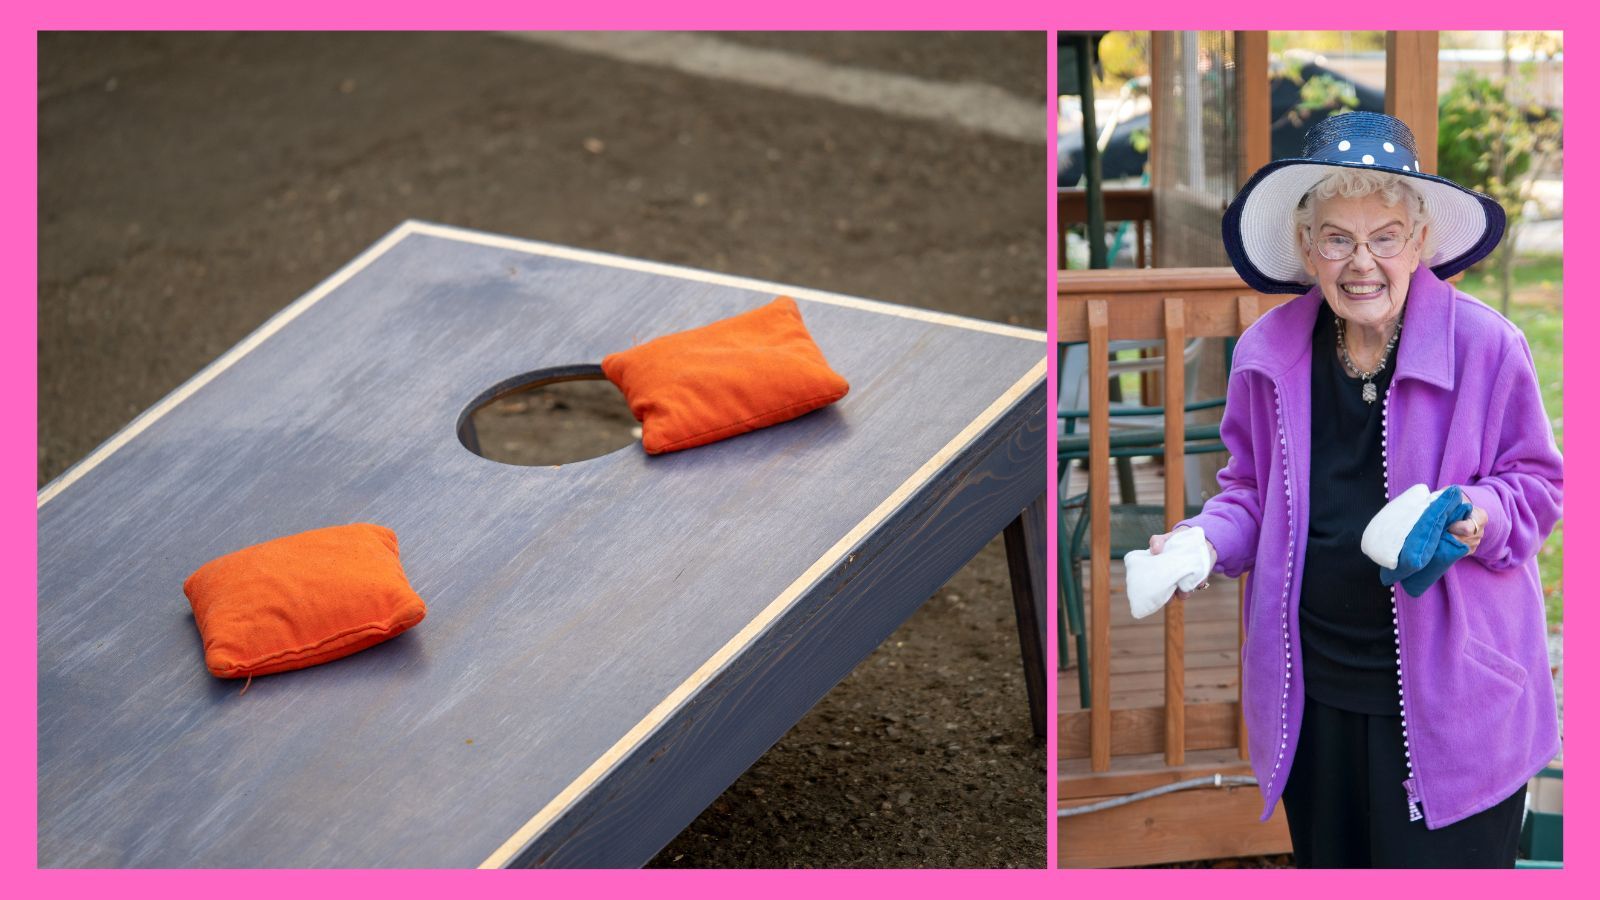
Are you a fan of cornhole, the classic backyard game that brings friends and family together for hours of fun? Imagine taking your cornhole game to the next level by adding a touch of creativity and excitement. One way to achieve this is by installing dazzling lights on your cornhole boards. Whether you're playing during the day or into the evening, these lights will not only illuminate your game but also add a festive ambiance to your outdoor gatherings.
In this guide, we'll walk you through the process of adding lights to your cornhole boards, creating a custom set that will stand out at any event. With a few simple materials and a bit of DIY spirit, you can transform your cornhole boards into a captivating spectacle that will draw everyone in for a game or two.
So, gather your tools and let's brighten up your cornhole game!
Key Takeaways:
- Elevate your cornhole game by adding dazzling lights for a captivating and festive ambiance, perfect for day or night play. Gather your tools and transform your boards into illuminated marvels!
- With a bit of DIY spirit, you can easily install lights on your cornhole boards to create a visually striking and dynamic gaming experience. Embrace the illuminated ambiance and get ready for unforgettable outdoor fun!
Read more: How To Make Cornhole Bags
Materials Needed
Before diving into the process of adding lights to your cornhole boards, it’s crucial to gather all the necessary materials. Here’s a list of what you’ll need:
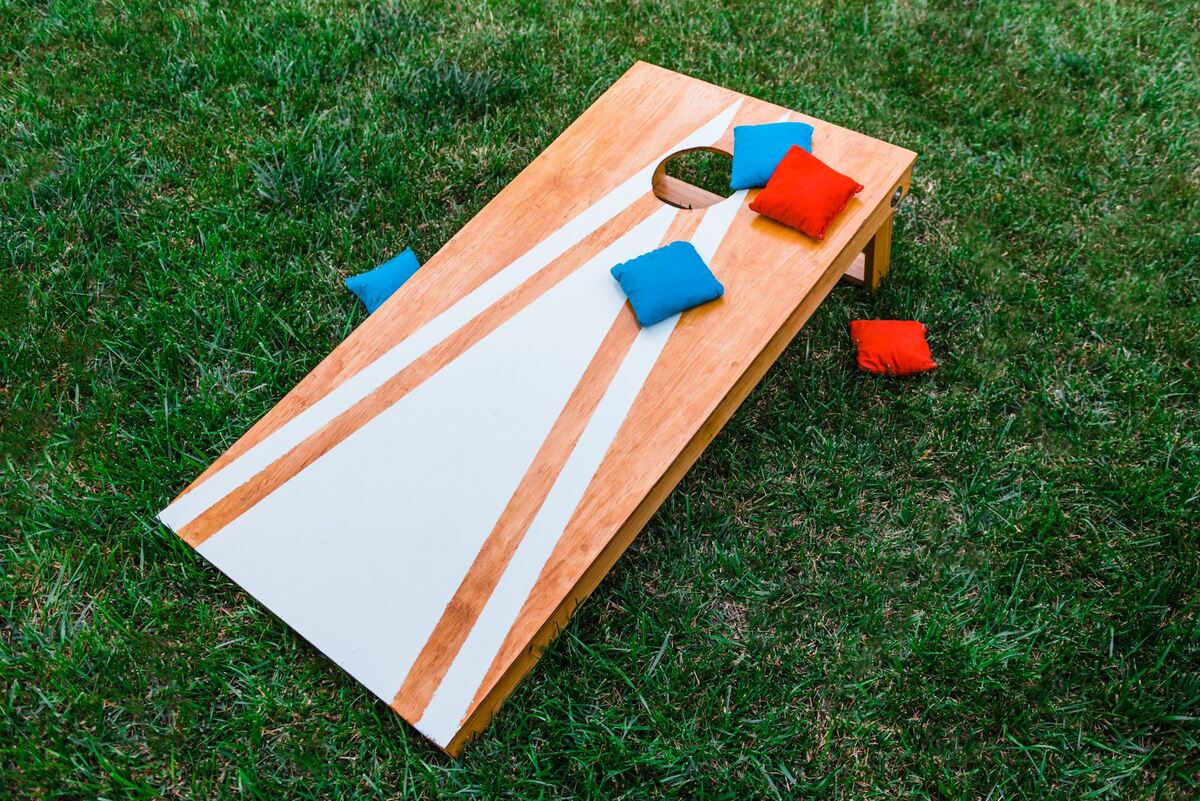
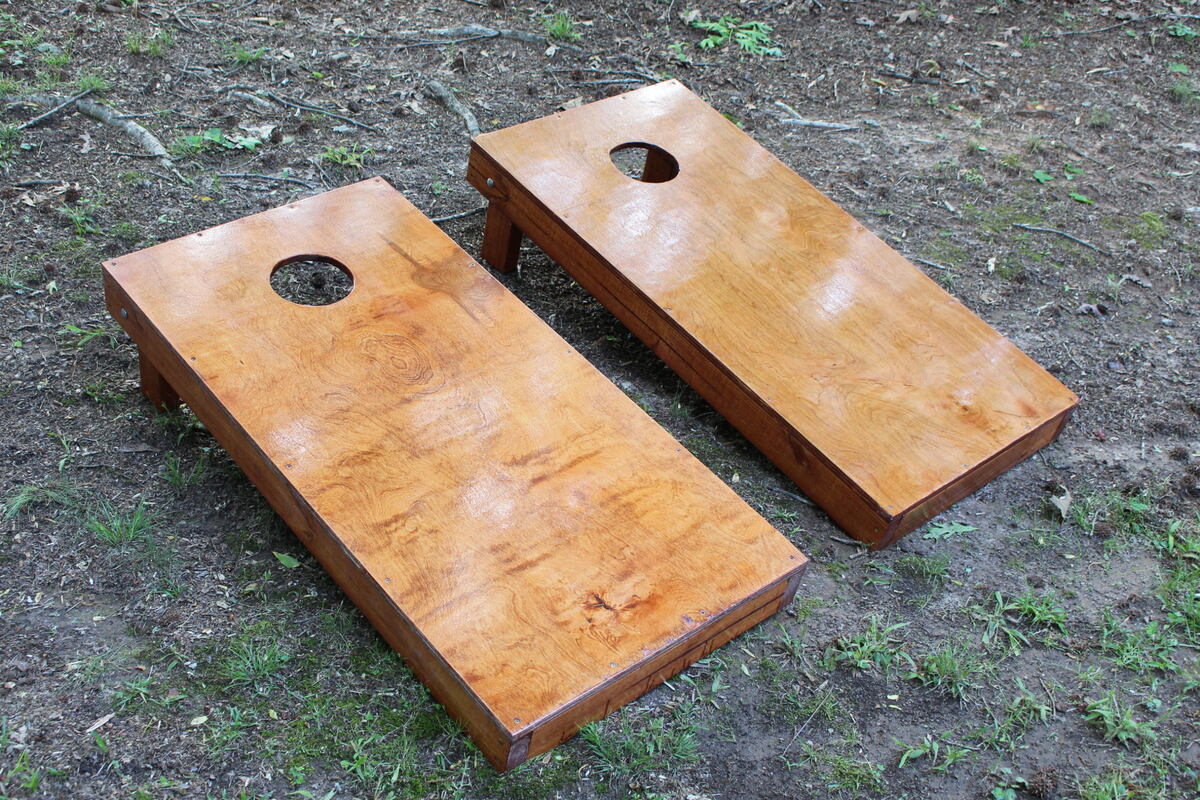
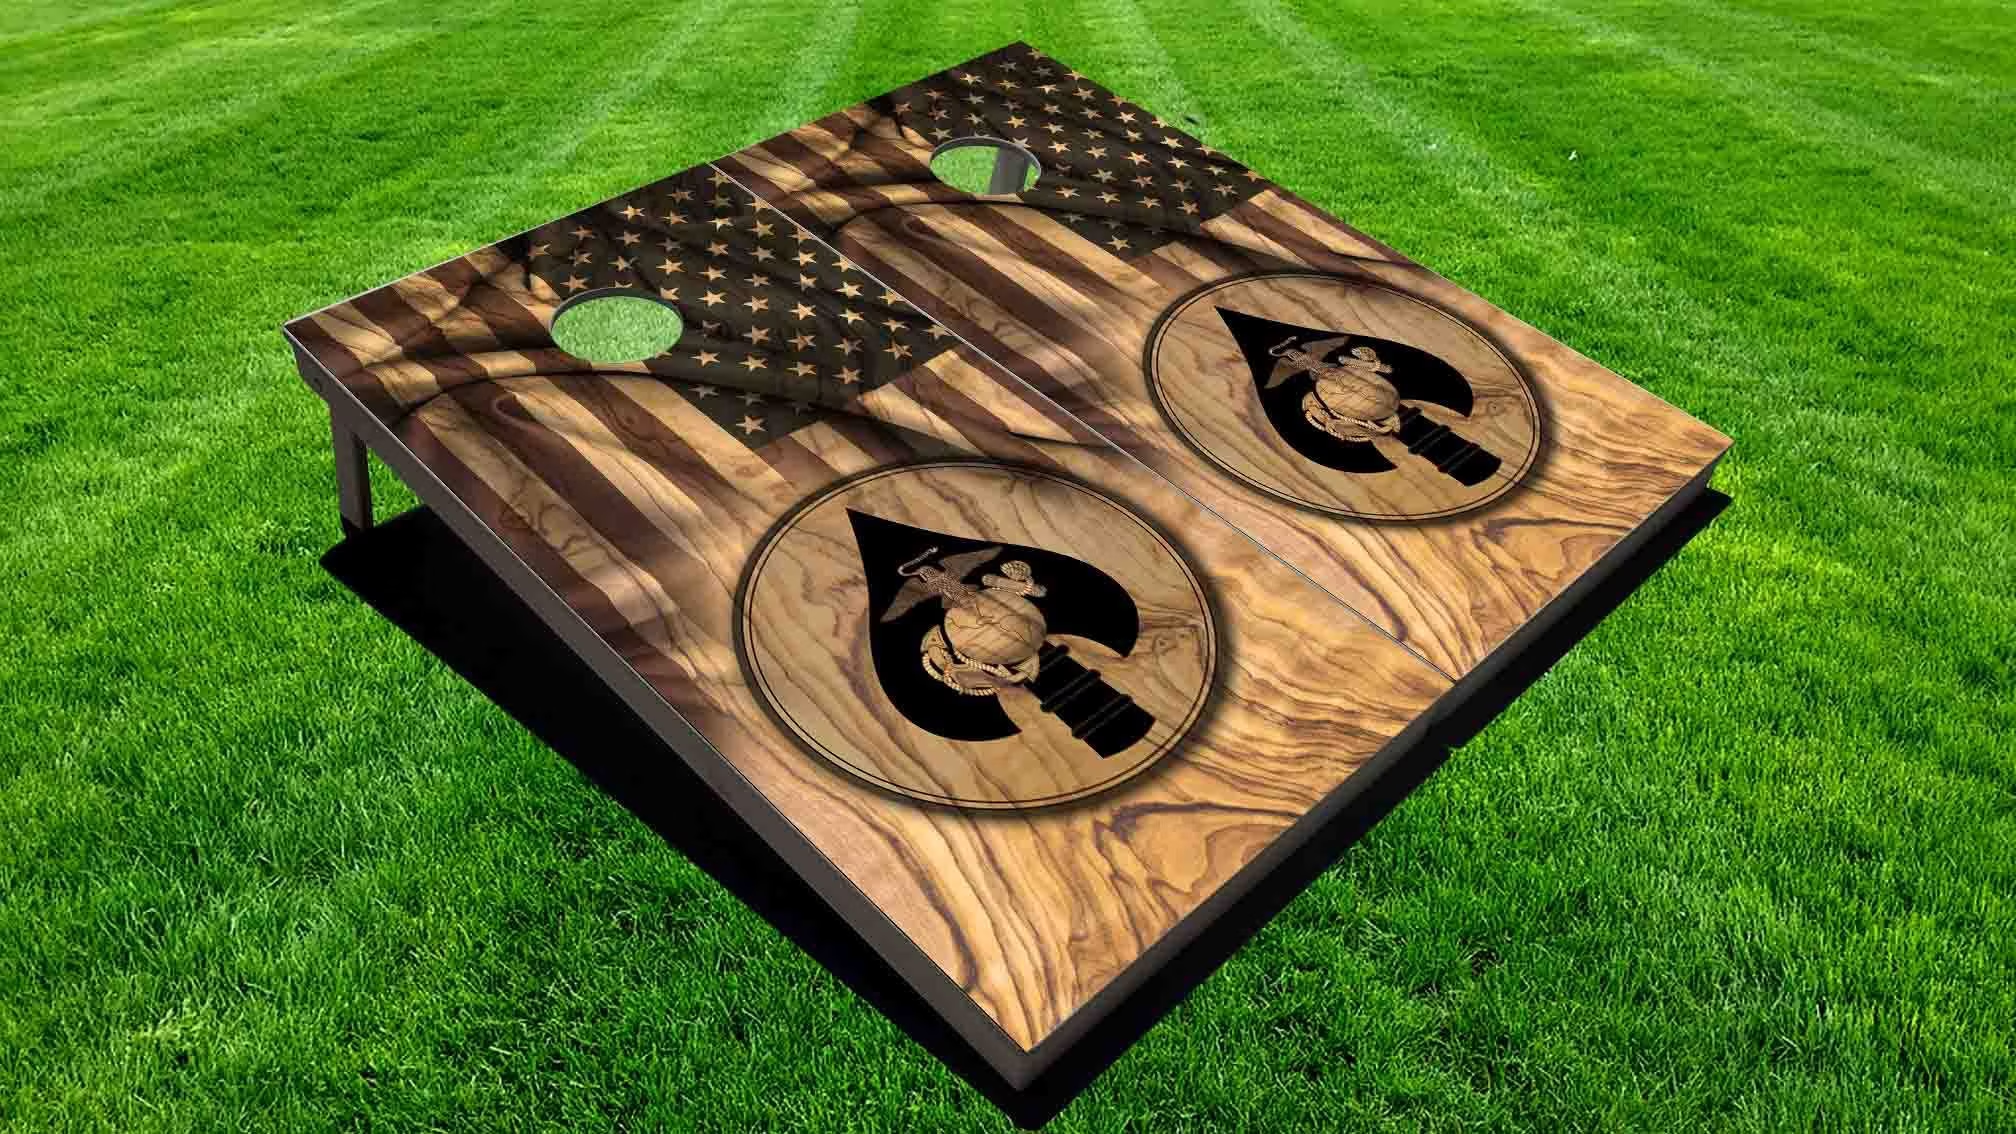
- Cornhole boards
- LED strip lights or cornhole ring lights
- Batteries or a power source
- Drill and drill bits
- Electrical tape
- Wire cutters/strippers
- Adhesive or mounting brackets
- Measuring tape
- Marker or pencil
- Sandpaper
- Clear sealant (optional)
Once you have all these materials ready, you’re all set to begin the exciting process of enhancing your cornhole boards with captivating lights.
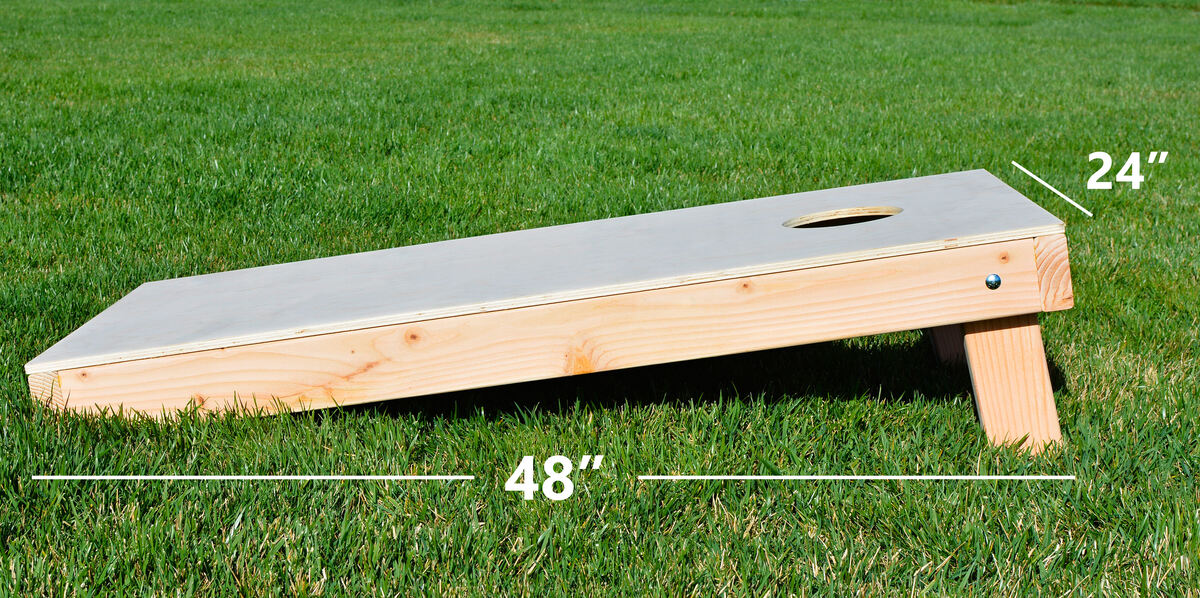
Step 1: Preparing the Cornhole Boards
Before you can add lights to your cornhole boards, it’s essential to prepare the boards to ensure a smooth and successful installation. Follow these steps to get your boards ready:
- Clean the Surface: Start by thoroughly cleaning the surface of the cornhole boards. Remove any dirt, dust, or debris to ensure that the lights will adhere properly.
- Smooth the Surface: Use sandpaper to smooth out any rough areas on the boards. This will provide a better surface for mounting the lights and ensure a professional-looking finish.
- Mark the Placement: Decide where you want the lights to be positioned on the boards. Using a measuring tape and a marker or pencil, mark the locations where you will drill the holes for the lights.
- Optional: Seal the Boards: If desired, apply a clear sealant to the boards to protect them from the elements. This step is especially important if you plan to leave the boards outdoors for extended periods.
Once you’ve completed these steps, your cornhole boards will be primed and ready for the next phase of the project: drilling holes for the lights.
Step 2: Drilling Holes for the Lights
Now that your cornhole boards are prepped, it’s time to drill the holes for the lights. This step requires precision and careful planning to ensure that the lights are positioned correctly and securely. Follow these guidelines for a successful drilling process:
- Choose the Right Drill Bit: Select a drill bit that matches the diameter of the lights you’re using. This will ensure a snug fit for the lights and prevent any potential movement or instability.
- Mark the Drill Points: Refer to the markings you made during the preparation phase to indicate where the holes should be drilled. Double-check the placements to ensure accuracy.
- Secure the Boards: Use clamps or other secure methods to hold the boards in place while drilling. This will prevent any unnecessary movement and help maintain the integrity of the drilling process.
- Drill Carefully: With the appropriate drill bit in place, carefully drill through the marked points on the boards. Take your time to maintain control and avoid splintering or damaging the boards.
- Clean Up: Once the holes are drilled, use a cloth or brush to remove any wood shavings or debris from the boards. This will ensure a clean surface for installing the lights.
With the holes drilled, you’re one step closer to bringing your cornhole boards to life with vibrant lights. The next phase will involve installing the lights and bringing your vision to fruition.
When making cornhole lights, use waterproof LED light strips and attach them to the underside of the board for a bright and durable lighting solution.
Step 3: Installing the Lights
With the holes drilled, it’s time to bring your cornhole boards to life by installing the lights. This step will add a captivating and dynamic element to your game, making it stand out during both daytime and evening play. Follow these steps to seamlessly install the lights:
- Prepare the Lights: If you’re using LED strip lights, carefully unroll them and ensure they are free from any tangles or kinks. For cornhole ring lights, inspect them to confirm that they are in optimal condition for installation.
- Insert the Lights: Gently insert the lights into the drilled holes, ensuring a secure and flush fit. Take your time to avoid any unnecessary strain on the lights or the boards.
- Secure the Lights: Depending on the type of lights you’re using, employ the appropriate method to secure them in place. This may involve using adhesive for LED strip lights or mounting brackets for ring lights.
- Connect the Power Source: If your lights require batteries, insert them into the designated compartments. For lights that rely on a power source, follow the manufacturer’s instructions for safe and proper connection.
- Test the Lights: Before finalizing the installation, test the lights to ensure they are functioning as expected. This will allow you to address any potential issues before proceeding to the next phase.
By following these steps, you’ll successfully integrate the lights into your cornhole boards, elevating them from standard game equipment to eye-catching, illuminated marvels. The next step will involve securing the wires to complete the installation process.
Read more: How To Make A Cornhole Board
Step 4: Securing the Wires
After installing the lights, it’s essential to secure the wires to ensure safety, functionality, and a tidy appearance. Proper wire management will prevent tripping hazards and potential damage to the lights, enhancing the overall durability of your enhanced cornhole boards. Follow these steps to secure the wires effectively:
- Organize the Wires: Arrange the wires neatly along the underside of the cornhole boards, keeping them as taut and unobtrusive as possible.
- Use Electrical Tape: Secure the wires in place using electrical tape at strategic intervals. This will prevent them from shifting or becoming entangled during gameplay or transport.
- Conceal Excess Wiring: If there is excess wiring, carefully bundle it together and secure it with additional electrical tape. Tucking any surplus wiring away will minimize the risk of damage and maintain a clean aesthetic.
- Ensure Accessibility: While securing the wires, ensure that the power source remains easily accessible for future maintenance or replacement.
By meticulously securing the wires, you’ll create a seamless and professional finish, allowing the lights to shine brightly without any distractions or hazards. With the wires in place, the final step will involve testing the lights to confirm their flawless operation.
Step 5: Testing the Lights
Before showcasing your newly enhanced cornhole boards to friends and family, it’s crucial to conduct a thorough test of the installed lights. This step will ensure that everything is functioning as intended, providing a captivating and reliable illumination for your future games. Follow these guidelines to conduct a comprehensive test:
- Power On the Lights: Activate the lights using the designated power source, whether it’s batteries or a connected power supply.
- Inspect the Illumination: Evaluate the brightness and uniformity of the lights to ensure that they evenly illuminate the playing surface. This will guarantee optimal visibility during gameplay.
- Check for Any Issues: Walk around the boards and inspect the lights from various angles to identify any potential issues such as flickering, dim spots, or loose connections.
- Test in Dim Lighting: If possible, conduct a test in dim lighting conditions to simulate evening gameplay and confirm the visual impact of the lights.
- Address Any Concerns: If you encounter any issues during the test, promptly address them by repositioning the lights, securing connections, or replacing any faulty components.
By diligently testing the lights, you’ll ensure that your enhanced cornhole boards are ready to dazzle and delight players and spectators alike. With the successful completion of this step, you can confidently debut your illuminated cornhole boards at your next outdoor gathering, setting the stage for unforgettable gaming experiences.
Conclusion
Congratulations! You’ve successfully transformed your standard cornhole boards into captivating, illuminated marvels that are sure to elevate your outdoor gaming experiences. By following the steps outlined in this guide and infusing your DIY spirit, you’ve added a dynamic and visually striking element to your beloved game.
With the installation of lights, your cornhole boards are now ready to shine during daytime gatherings and stand out as the centerpiece of evening entertainment. Whether it’s a casual game with friends or a competitive tournament, the vibrant glow emanating from your boards will undoubtedly draw in players and spectators, creating an atmosphere of excitement and camaraderie.
As you prepare to showcase your enhanced cornhole boards, take a moment to appreciate the creativity and effort you’ve invested in this project. Your dedication to enhancing the gaming experience demonstrates a commitment to infusing joy and innovation into everyday activities.
Remember, the addition of lights to your cornhole boards not only enhances their visual appeal but also opens up new opportunities for outdoor fun, even after the sun sets. Embrace the unique ambiance created by the illuminated boards and relish the memorable moments they will inspire.
So, gather your friends, set up your newly enhanced cornhole boards, and get ready for hours of laughter, friendly competition, and illuminated excitement. Your DIY masterpiece is primed to become the highlight of your outdoor gatherings, leaving a lasting impression on all who experience the magic of illuminated cornhole.
Now, go forth and let the games begin!
Frequently Asked Questions about How To Make Cornhole Lights
Was this page helpful?
At Storables.com, we guarantee accurate and reliable information. Our content, validated by Expert Board Contributors, is crafted following stringent Editorial Policies. We're committed to providing you with well-researched, expert-backed insights for all your informational needs.
0 thoughts on “How To Make Cornhole Lights”