Home>Gardening & Outdoor>Outdoor Recreation & Activities>How To Sink A Trampoline Into The Ground

Outdoor Recreation & Activities
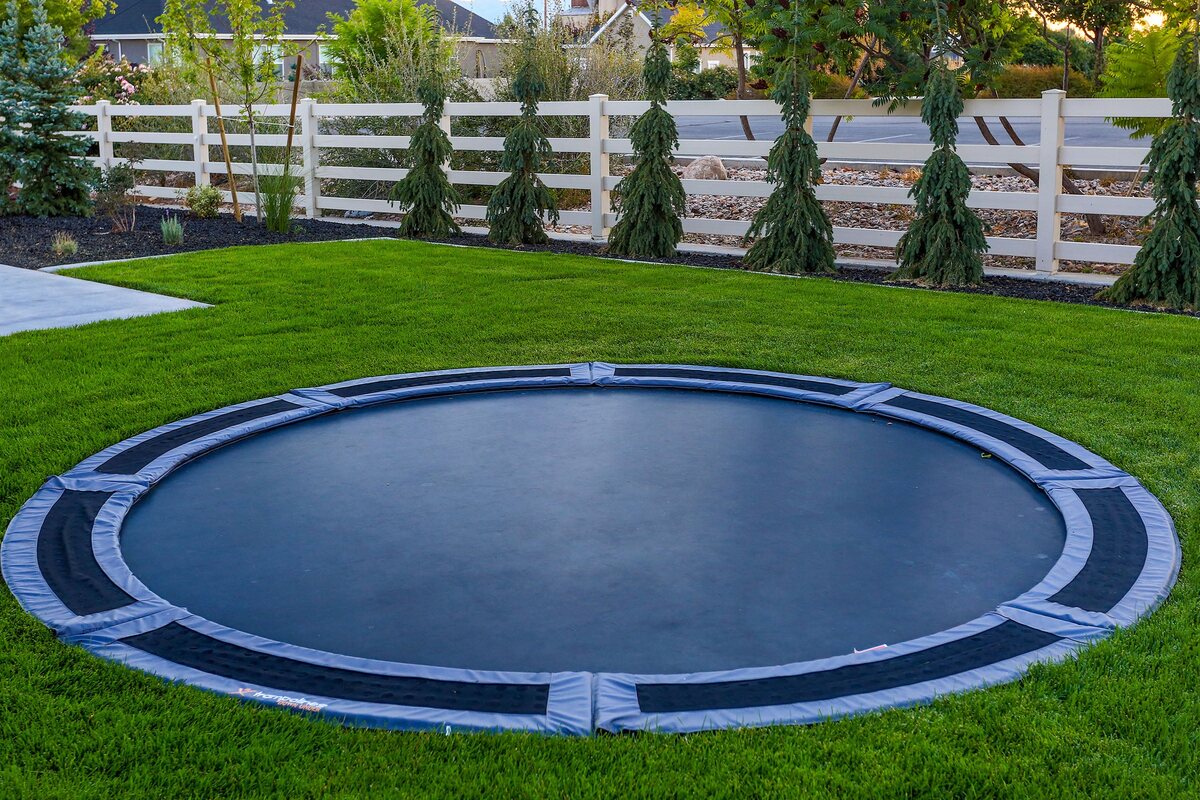
How To Sink A Trampoline Into The Ground
Modified: August 22, 2024
Learn how to safely and effectively sink a trampoline into the ground for a seamless outdoor recreational experience. Discover expert tips and techniques for this popular activity.
(Many of the links in this article redirect to a specific reviewed product. Your purchase of these products through affiliate links helps to generate commission for Storables.com, at no extra cost. Learn more)
Introduction
So, you've decided to take your backyard to the next level by sinking a trampoline into the ground. Congratulations! This exciting project will not only enhance the aesthetics of your outdoor space but also provide a safer and more enjoyable bouncing experience for your family and friends. Whether you're a seasoned DIY enthusiast or a first-time trampoline owner, sinking a trampoline into the ground is a fantastic way to create a seamless and visually appealing recreational area.
In this comprehensive guide, we'll walk you through the step-by-step process of sinking a trampoline into the ground. From choosing the perfect location to securing the trampoline in its new home, you'll gain valuable insights and practical tips to ensure a successful and rewarding project. So, roll up your sleeves, grab your tools, and let's dive into the exciting world of ground-level trampolines!
Key Takeaways:
- Sinking a trampoline into the ground enhances backyard aesthetics, prioritizes safety, and creates a space for family enjoyment and educational opportunities. It’s a rewarding project that transforms your outdoor space into a captivating recreational haven.
- By carefully choosing the location, preparing the ground, and securing the trampoline, you can create a safe and visually stunning sunken trampoline oasis for endless enjoyment and relaxation. It’s a project that fosters family bonding and outdoor fun.
Read more: How To Make An In Ground Trampoline
Step 1: Choose the Right Location
Before you start digging, it's crucial to carefully select the ideal location for your sunken trampoline. Consider the following factors to ensure a perfect fit:
- Level Ground: Look for a spot in your yard that offers relatively level ground. This will simplify the installation process and minimize the need for extensive ground preparation.
- Sunlight Exposure: Choose an area that receives a good amount of sunlight throughout the day. Adequate sunlight not only promotes a pleasant outdoor atmosphere but also helps prevent moisture buildup around the trampoline.
- Clearance: Ensure there is sufficient overhead clearance to accommodate the trampoline. Check for any low-hanging branches, power lines, or other obstructions that could interfere with the trampoline's use.
- Accessibility: Consider the accessibility of the location. You'll want a spot that is easily accessible from your home and other outdoor amenities, making it convenient for both users and spectators.
- Landscaping: Take into account the surrounding landscape and any nearby features such as trees, shrubs, or garden beds. Choose a location that complements the overall design of your yard and allows for unobstructed views.
By carefully evaluating these factors, you can identify the perfect spot to sink your trampoline into the ground. Once you've chosen the right location, you're ready to move on to the next step and prepare the ground for the installation process.
Step 2: Prepare the Ground
With the ideal location selected, it’s time to prepare the ground for sinking your trampoline. This crucial step sets the foundation for a safe and secure installation. Follow these essential guidelines to get the ground ready:
- Clear the Area: Begin by clearing the designated area of any debris, rocks, or obstructions. A clean and level surface will facilitate the subsequent steps and ensure a smooth installation process.
- Measure and Mark: Use measuring tape and marking tools to outline the precise area where the trampoline will be installed. Double-check the measurements to ensure accuracy and alignment with the trampoline’s dimensions.
- Consider Drainage: Assess the ground’s drainage capabilities to prevent water accumulation around the trampoline. If necessary, make provisions for proper drainage to safeguard the trampoline and enhance its longevity.
- Layer of Gravel: Adding a layer of gravel to the bottom of the excavated area can aid in drainage and provide a stable base for the trampoline. This additional step can contribute to the overall durability and performance of the sunken trampoline.
- Level the Surface: Use a leveling tool to ensure the ground is flat and even. This step is crucial for creating a stable and safe foundation for the trampoline, minimizing the risk of uneven settling or movement over time.
By diligently preparing the ground according to these guidelines, you’ll establish an optimal environment for the successful installation of your sunken trampoline. With the groundwork completed, you’re now ready to move on to the exciting phase of digging the hole for the trampoline.
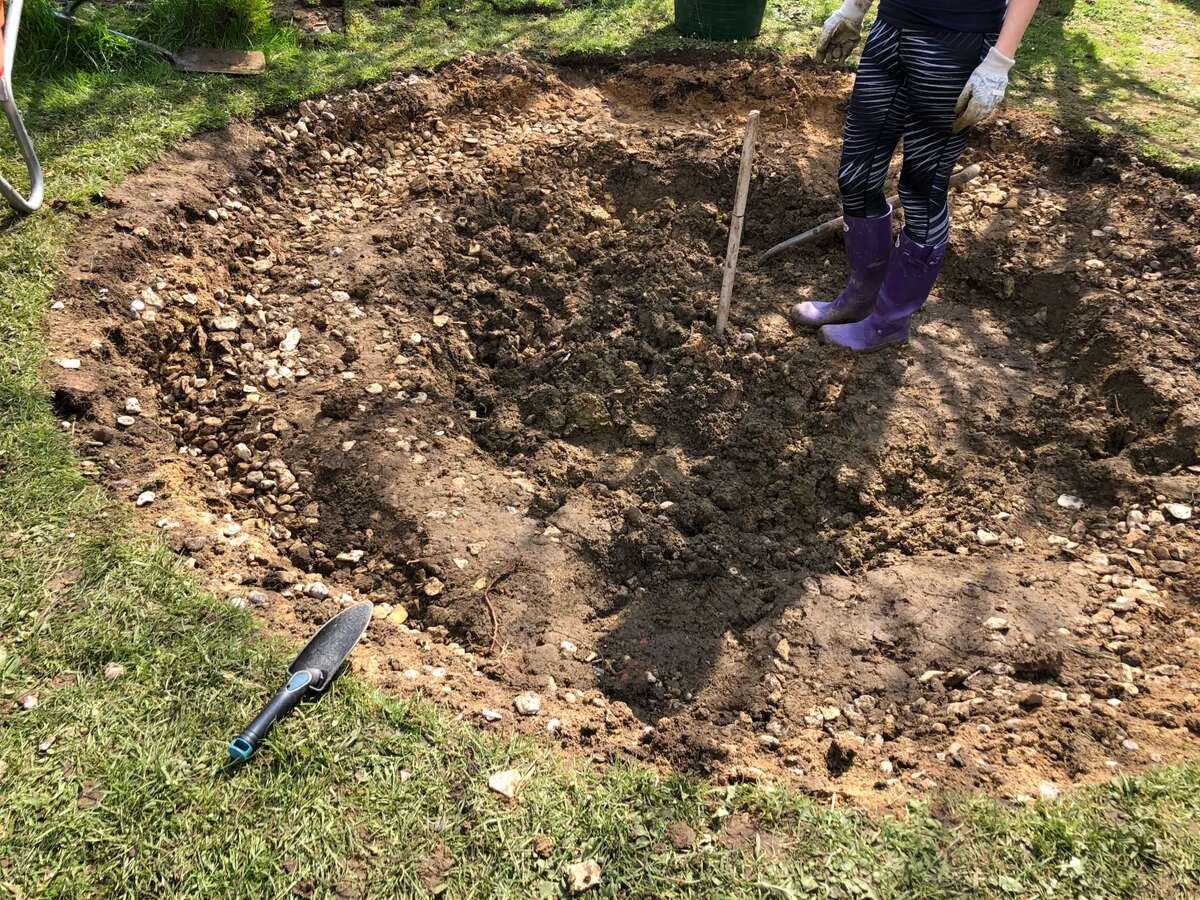
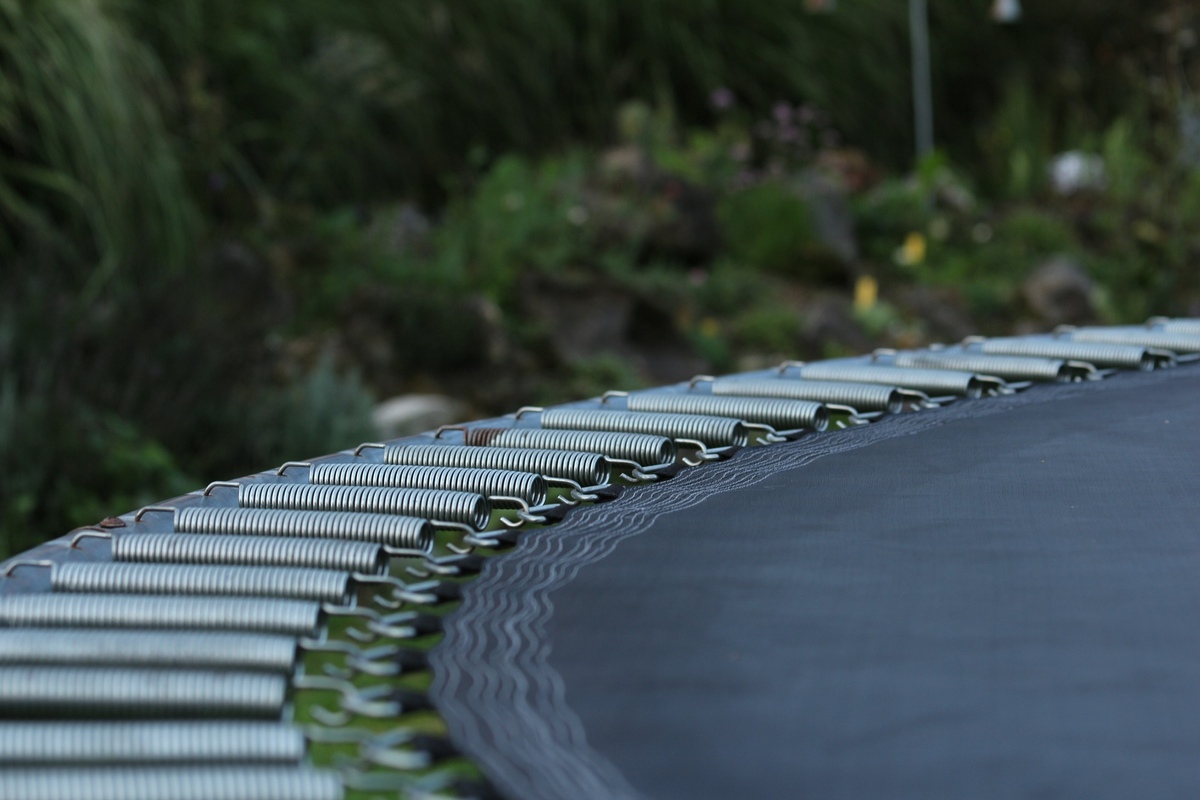
Step 3: Dig the Hole
Now comes the physically demanding yet gratifying task of digging the hole for your sunken trampoline. This step requires careful planning and precision to ensure the proper fit and stability of the trampoline. Follow these steps to dig the hole effectively:
- Use the Right Tools: Equip yourself with the necessary tools for excavation, such as a shovel, spade, and digging fork. These tools will enable you to efficiently break ground and remove soil as you create the designated hole.
- Follow the Guidelines: Refer to the trampoline manufacturer’s guidelines for the recommended depth and diameter of the hole. Adhering to these specifications is crucial for a seamless fit and optimal performance of the sunken trampoline.
- Excavate Carefully: Begin digging the hole while periodically checking the depth and dimensions. Take your time to ensure uniform depth and a level base, maintaining the accuracy needed for a secure trampoline installation.
- Dispose of Excavated Soil: As you dig, designate an area for the excavated soil. Consider repurposing the soil in other areas of your yard or garden, or arrange for its proper disposal in accordance with local regulations.
- Inspect the Hole: Once the hole is excavated to the required specifications, carefully inspect the dimensions and overall condition of the hole. Address any uneven areas or debris to create a smooth and even surface for the trampoline.
By diligently following these steps and exercising patience during the digging process, you’ll lay the groundwork for a successful installation. With the hole prepared, you’re now ready to move forward and install the trampoline in its new home.
Before sinking a trampoline into the ground, make sure to check for any underground utilities or obstacles. Dig a hole slightly larger than the trampoline, level the ground, and secure the trampoline frame to the ground for safety.
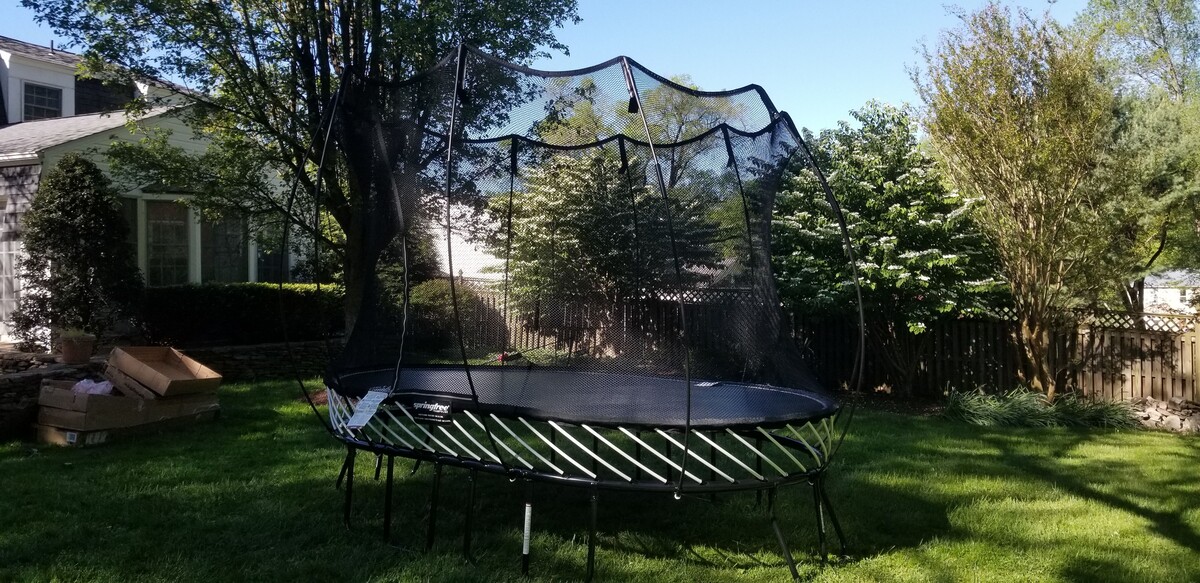
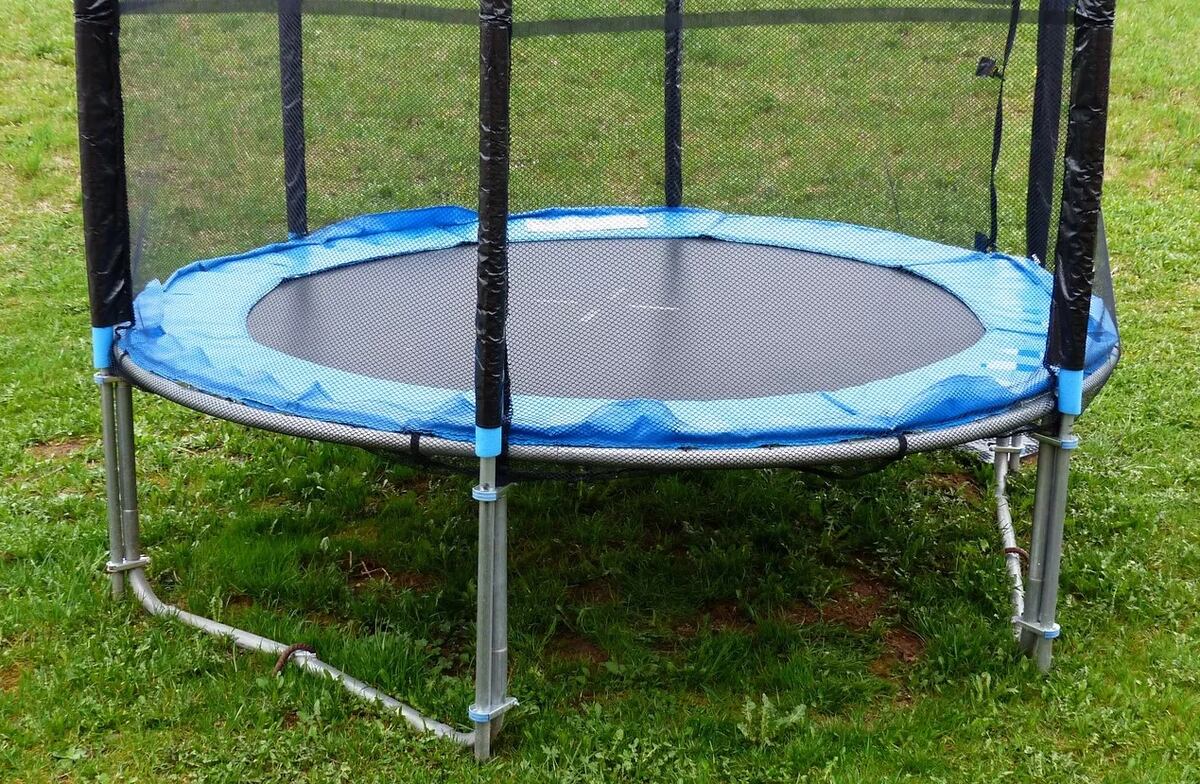
Step 4: Install the Trampoline
With the hole meticulously dug and prepared, it’s time to embark on the exciting phase of installing the trampoline in its sunken home. This step requires precision and attention to detail to ensure a seamless and secure fit. Follow these essential guidelines to install the trampoline:
- Enlist Assistance: Enlist the help of family members or friends to assist with the trampoline installation. This collaborative effort can simplify the process and enhance safety during the maneuvering and positioning of the trampoline.
- Lower the Trampoline: Carefully lower the trampoline into the prepared hole, ensuring that it rests evenly and securely on the leveled surface. Exercise caution and use slow, controlled movements to avoid any potential damage to the trampoline or the surrounding area.
- Verify Alignment: Verify that the trampoline is aligned properly within the hole, maintaining uniform clearance around its perimeter. This step is essential for ensuring a snug fit and optimal functionality of the sunken trampoline.
- Level the Trampoline: Use a leveling tool to confirm that the trampoline is positioned evenly and horizontally within the hole. Adjust the trampoline’s placement as needed to achieve a perfectly level orientation, promoting safety and stability.
- Secure the Trampoline: Once the trampoline is positioned and leveled, proceed to secure it in place according to the manufacturer’s recommendations. This may involve anchoring the trampoline or implementing additional measures to prevent shifting or movement.
By meticulously following these installation guidelines and exercising care throughout the process, you’ll successfully integrate the trampoline into its sunken location. With the trampoline securely in place, you’re now prepared to proceed to the final step of securing the trampoline for safe and enjoyable use.
Read more: How To Level Ground For A Trampoline
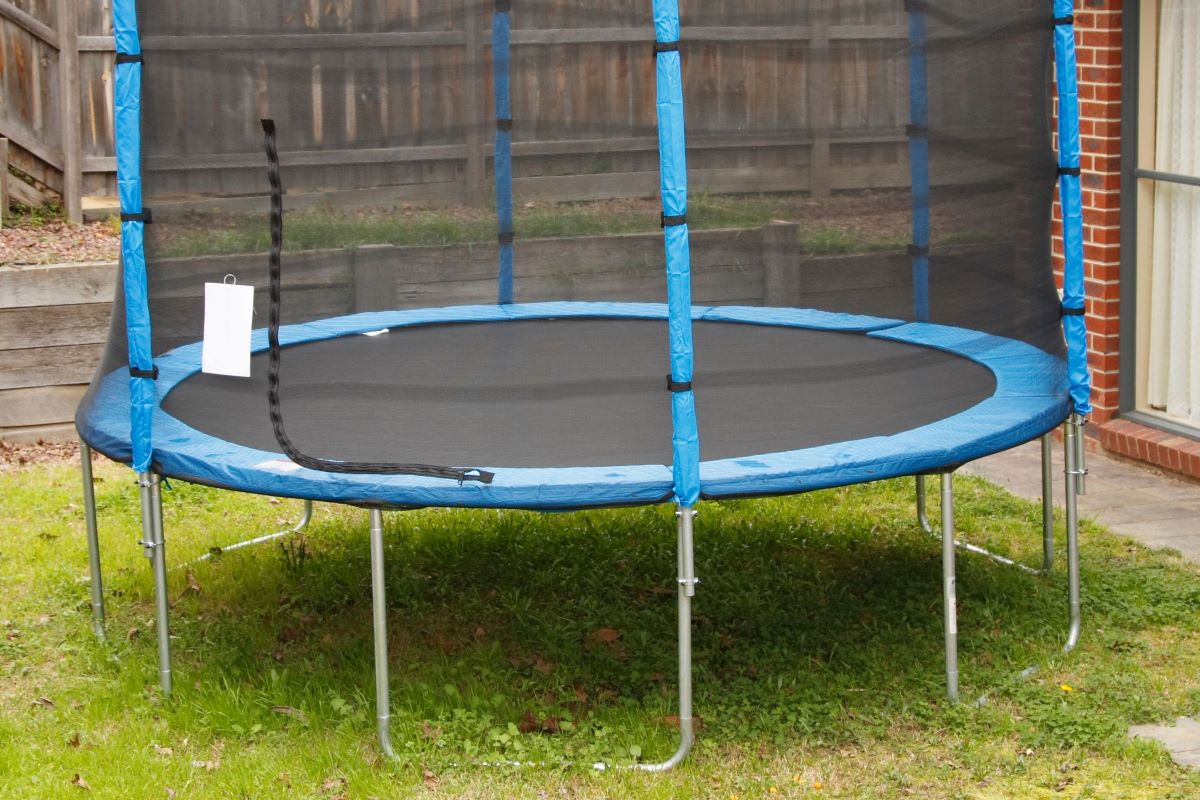
Step 5: Secure the Trampoline
Securing the trampoline in its sunken position is a critical final step in the installation process, ensuring the safety and stability of the recreational structure. Follow these essential guidelines to secure the trampoline effectively:
- Anchoring Mechanisms: Depending on the trampoline model and manufacturer’s recommendations, utilize appropriate anchoring mechanisms to secure the trampoline in its sunken location. This may involve ground anchors, securing straps, or other specialized methods designed to prevent movement.
- Inspect and Adjust: Thoroughly inspect the trampoline’s positioning and anchoring, ensuring that all components are securely fastened and aligned according to the manufacturer’s specifications. Make any necessary adjustments to achieve optimal stability.
- Test for Stability: Conduct a comprehensive stability test by applying gentle pressure to various parts of the trampoline. Verify that the trampoline remains firmly in place and does not exhibit any significant movement or shifting. Address any instability promptly to ensure user safety.
- Implement Safety Measures: In addition to securing the trampoline, consider implementing supplementary safety measures such as protective padding, safety nets, or perimeter fencing to enhance the overall safety of the sunken trampoline area.
- Educate Users: Educate all users, especially children, about safe trampoline usage practices and guidelines. Emphasize the importance of adhering to safety protocols and using the trampoline responsibly to minimize the risk of accidents or injuries.
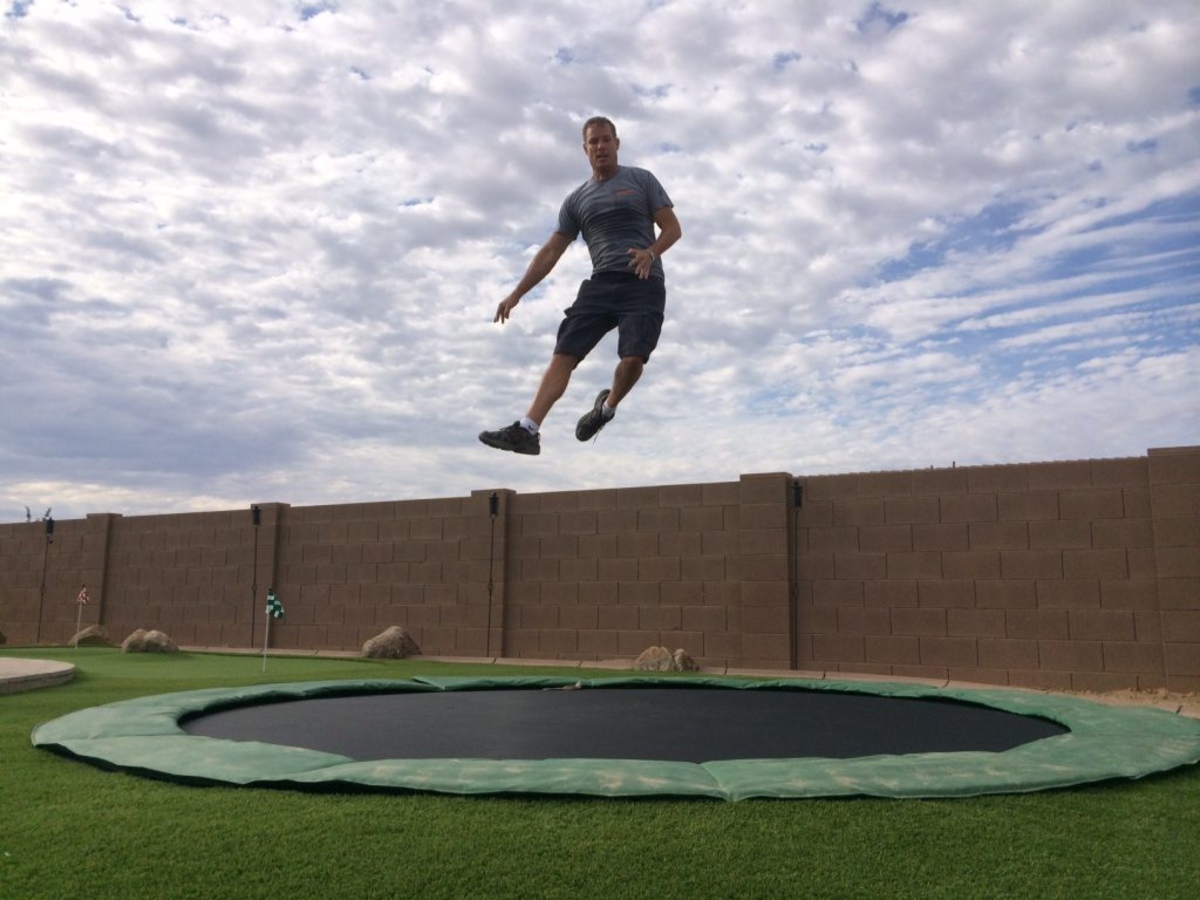
By meticulously following these guidelines and prioritizing the safety and stability of the sunken trampoline, you’ll create a secure and enjoyable recreational space for your family and guests. With the trampoline expertly secured, you can now celebrate the successful completion of the installation process and look forward to countless hours of bouncing fun in your sunken trampoline oasis.
Conclusion
Congratulations on successfully sinking a trampoline into the ground and creating a captivating recreational space in your backyard! By following the comprehensive steps outlined in this guide, you’ve embarked on a rewarding journey that combines practicality, safety, and enjoyment. As you reflect on the completion of this project, consider the following key takeaways:
- Enhanced Aesthetics: Sinking a trampoline into the ground not only elevates the visual appeal of your outdoor space but also integrates seamlessly with the natural landscape, creating a harmonious and inviting environment.
- Safety and Stability: Through meticulous preparation, precise installation, and effective securing measures, you’ve prioritized the safety and stability of the sunken trampoline, fostering a secure and enjoyable recreational area for users of all ages.
- Family Enjoyment: Your sunken trampoline serves as a focal point for family fun and outdoor gatherings, offering a space for laughter, exercise, and memorable moments that strengthen bonds and create lasting memories.
- Educational Opportunities: By involving family members in the installation process and emphasizing safe trampoline usage, you’ve provided valuable educational opportunities that promote responsibility, teamwork, and physical activity.
- Continuous Maintenance: As you enjoy the benefits of your sunken trampoline, remember to prioritize regular maintenance, periodic inspections, and adherence to safety guidelines to uphold the trampoline’s longevity and performance.
As you bask in the success of this project, take pride in the transformation of your backyard into a captivating recreational haven. Whether it’s a sunny afternoon of energetic bouncing or a starlit evening of stargazing from the comfort of the trampoline, your sunken oasis promises endless opportunities for enjoyment and relaxation.
So, as you gaze upon the sunken trampoline nestled in your backyard, envision the countless moments of joy and connection it will facilitate. Your commitment to creating a safe, inviting, and visually stunning recreational space exemplifies your dedication to enhancing the outdoor experience for yourself and those you hold dear.
With the trampoline expertly integrated into the ground, you’ve not only transformed your backyard but also set the stage for an abundance of unforgettable experiences. Embrace the laughter, embrace the fun, and embrace the boundless possibilities that await in your sunken trampoline oasis!
Frequently Asked Questions about How To Sink A Trampoline Into The Ground
Was this page helpful?
At Storables.com, we guarantee accurate and reliable information. Our content, validated by Expert Board Contributors, is crafted following stringent Editorial Policies. We're committed to providing you with well-researched, expert-backed insights for all your informational needs.


0 thoughts on “How To Sink A Trampoline Into The Ground”