
Articles
How To Replace Floor Tile
Modified: October 20, 2024
Learn the step-by-step process of replacing floor tiles with our informative articles. Master the art of tile replacement and enhance the appearance of your floor.
(Many of the links in this article redirect to a specific reviewed product. Your purchase of these products through affiliate links helps to generate commission for Storables.com, at no extra cost. Learn more)
Introduction
Welcome to our comprehensive guide on how to replace floor tile. Whether you’re looking to update your home’s aesthetic or simply need to fix a damaged tile, this step-by-step tutorial will walk you through the entire process. By following these instructions, you’ll be able to replace floor tiles efficiently and effectively, giving your space a fresh and renewed look.
Replacing floor tile may seem like a daunting task, but with the right tools and a little patience, it can be a manageable DIY project. Not only will you save money on professional installation, but you’ll also gain the satisfaction of completing the job yourself.
Before we dive into the step-by-step instructions, let’s go over the tools and materials you’ll need for this project.
Key Takeaways:
- Replacing floor tiles is a manageable DIY project that can save money and provide satisfaction. Proper preparation, attention to detail, and patience are essential for achieving a professional-looking result.
- Choosing the right tiles, applying adhesive or mortar, and grouting the joints are crucial steps in the tile replacement process. Attention to detail and careful finishing touches ensure a polished and durable flooring surface.
Read more: How To Replace Bathroom Tile Floor
Tools and Materials Needed
Before you begin replacing floor tile, make sure you have the following tools and materials on hand:
Tools:
- Chisel
- Hammer
- Tile Nippers
- Grout Rake
- Notched Trowel
- Tile Spacers
- Rubber Mallet
- Tile Cutter or Wet Saw
- Mixing Paddle
- Bucket
- Measuring Tape
- Level
- Sponge
- Clean Cloth
- Grout Float
- Grout Sealer
- Safety Glasses
- Gloves
- Dust Mask
Materials:
- New Floor Tiles
- Thinset Mortar or Tile Adhesive
- Grout
- Tile Sealer
- Tile Spacers
- Thinset Additive (if required)
- Grout Additive (if required)
- Waterproofing Membrane (if needed)
Having these tools and materials readily available will ensure a smooth and efficient tile replacement process. Now, let’s move on to preparing the work area before removing the old floor tile.
Preparing the Work Area
Before you begin the process of replacing floor tile, it’s important to properly prepare the work area. Follow these steps to ensure a clean and organized workspace:
- Clear the area: Start by removing all furniture, rugs, and any other items from the room. This will give you ample space to work and prevent any obstructions.
- Ensure proper ventilation: Open windows or use fans to ensure good airflow in the room. This will help with the drying process of adhesives and grout.
- Protect other surfaces: Use drop cloths or tarps to cover any adjacent surfaces, such as countertops or cabinets, to protect them from dust, debris, and potential damage.
- Turn off utilities: If you’re working in a bathroom or kitchen, turn off the water supply and disconnect any electrical sources in the immediate area to ensure safety.
- Remove the baseboards: If your tile is installed up to the baseboard, carefully remove the baseboard using a pry bar or putty knife. Set the baseboard aside for reinstallation later.
- Inspect the subfloor: Take a close look at the subfloor to ensure it’s in good condition. If you notice any signs of damage or decay, it’s important to address those issues before proceeding with the tile replacement.
By properly preparing the work area, you’ll create a clean and safe environment for the tile replacement process. Once the work area is ready, you can move on to the next step: removing the old floor tile.
Removing the Old Floor Tile
Now that the work area is prepared, it’s time to start removing the old floor tile. Follow these steps to safely and efficiently remove the tiles:
- Put on protective gear: Before you begin, don’t forget to put on safety glasses, gloves, and a dust mask to protect yourself from flying debris and dust.
- Start with a corner tile: Begin by locating a corner tile or an edge tile that you can easily pry up. Insert a chisel at a slight angle between the tile and the floor, and tap it gently with a hammer to loosen it.
- Work in small sections: Once you’ve successfully removed the first tile, continue working in small sections. Use the chisel and hammer to break up the tiles by tapping at the center of each tile and along the edges.
- Remove the tile pieces: Use a chisel or tile nippers to remove any remaining tile pieces and to scrape away any adhesive or mortar left on the subfloor. Be careful not to damage the subfloor in the process.
- Proceed with caution: As you remove the tiles, remember to work systematically and with caution. Take your time to avoid any unnecessary damage to the subfloor or surrounding tiles.
- Dispose of the debris: Once you’ve removed all the old tiles, carefully collect and dispose of the debris. You can use a dustpan and broom or a vacuum cleaner to clean up the area.
Removing the old floor tile requires patience and attention to detail. By following these steps, you’ll be able to safely clear the area and make way for the installation of new tiles. Now, let’s move on to preparing the subfloor in the next section.
Preparing the Subfloor
After removing the old floor tile, it’s essential to prepare the subfloor before installing the new tiles. Proper preparation ensures a smooth and durable surface for the tile installation. Follow these steps to prepare the subfloor:
- Clean the subfloor: Sweep or vacuum the subfloor to remove any dust, debris, or loose particles. Ensure that the surface is clean and free from any obstructions.
- Inspect for damage: Examine the subfloor for any signs of damage, such as water stains, rot, or unevenness. If you encounter any issues, you may need to repair or replace the subfloor before continuing.
- Level the subfloor: If the subfloor has uneven sections, use a leveling compound to create a flat surface. Follow the manufacturer’s instructions for mixing and applying the compound, and allow it to dry completely before proceeding.
- Apply a waterproofing membrane (if necessary): In areas prone to moisture, such as bathrooms or kitchens, consider applying a waterproofing membrane to protect the subfloor. Follow the manufacturer’s instructions for proper installation.
- Fill in any gaps or cracks: Use a patching compound to fill in any gaps, cracks, or low spots in the subfloor. Smooth the compound with a trowel and allow it to dry fully before moving on to the next step.
- Check for squeaks: Walk around the subfloor and listen for any squeaky or loose sections. If you hear any noises, secure the subfloor by screwing it to the floor joists. This will prevent any future movement.
By taking the time to properly prepare the subfloor, you’ll ensure a stable and durable foundation for your new floor tiles. Once the subfloor is ready, you can proceed to the next step: choosing and measuring the new tiles.
Choosing and Measuring New Tile
Choosing the right tile for your floor is an important step in the tile replacement process. Not only do you want a tile that complements your space aesthetically, but you also want to ensure that it’s suitable for your specific needs. Here’s a step-by-step guide to choosing and measuring the new tile:
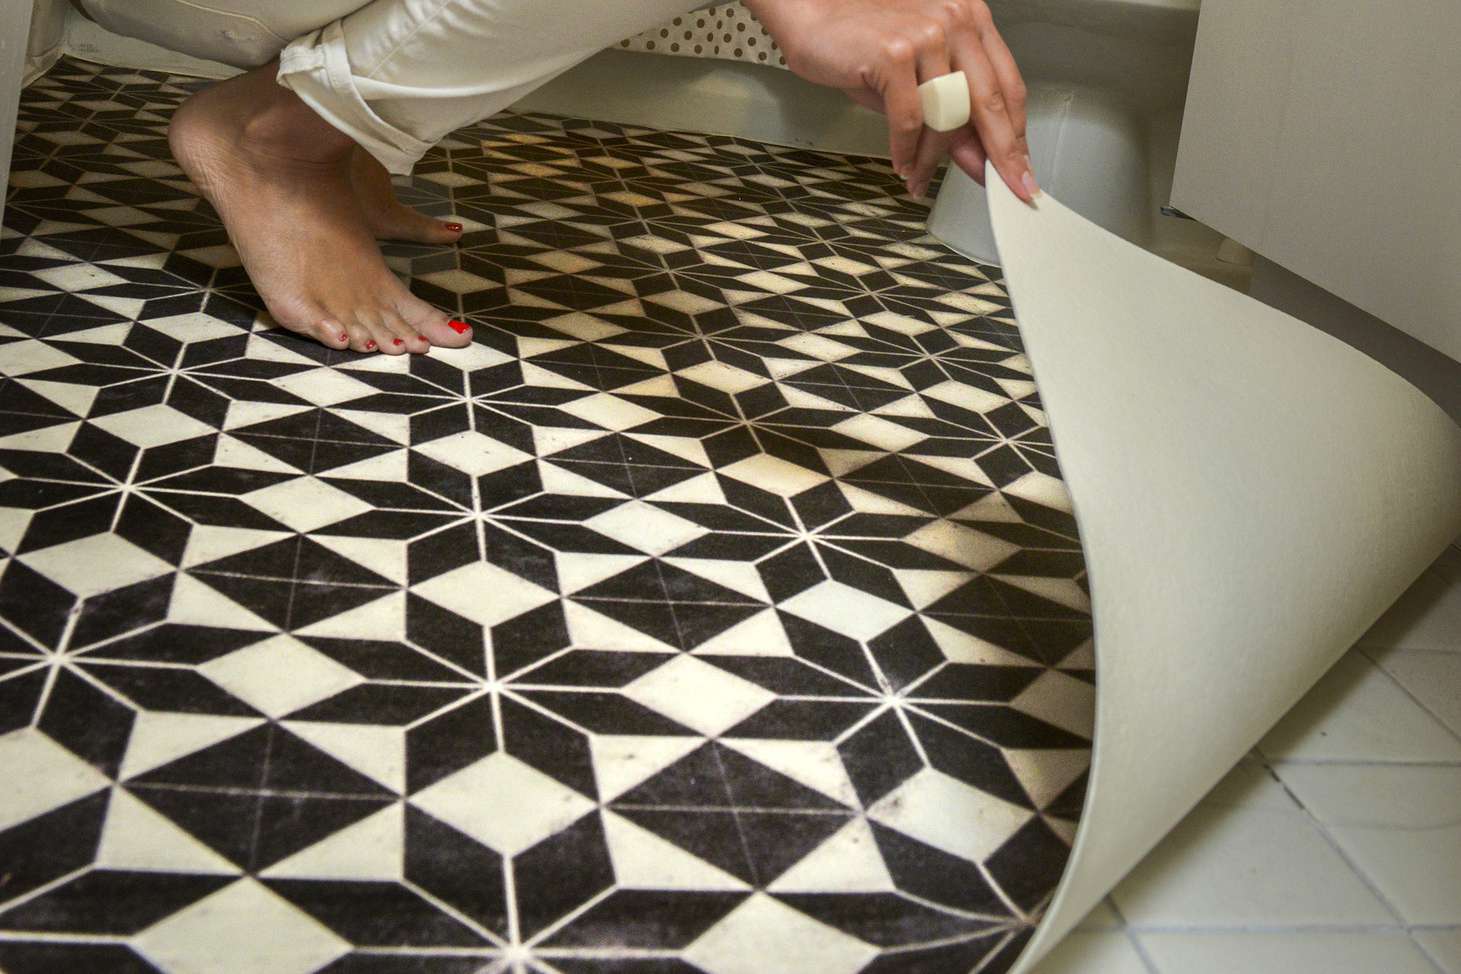
- Determine the tile type: Decide on the type of tile you want to use. Common options include ceramic, porcelain, natural stone, or vinyl. Consider the durability, maintenance requirements, and overall look of each tile type.
- Consider the style and design: Choose a tile that aligns with your desired aesthetic. Consider the color, pattern, and texture of the tile, keeping in mind the existing décor and theme of your space.
- Assess the size: Measure the area where the new tiles will be installed to determine the tile size you need. It’s important to consider both the length and width of the space to ensure proper coverage. Keep in mind that larger tiles can create a spacious and modern look, while smaller tiles may work well in smaller spaces or intricate patterns.
- Calculate the quantity: Once you have determined the desired tile size, calculate the quantity of tiles you will need. Take into account any cuts or waste in the installation process. It is always recommended to purchase some extra tiles as spares in case of future repairs or replacements.
- Explore different options: Visit tile showrooms or browse online to explore different tile options. Consider the quality, price, and availability of each tile. Take samples home to see how they look in your space and under various lighting conditions.
- Consult professionals if needed: If you’re unsure about the tile selection or need assistance in measuring, consult with a tile specialist or contractor who can provide guidance and expertise.
Choosing the right tile and accurately measuring the space are crucial steps to ensure a successful tile replacement. Once you have chosen and measured the new tiles, you’re ready to move on to the next step: applying the adhesive or mortar.
Applying Adhesive or Mortar
Now that you have chosen the right tiles and measured the space, it’s time to apply the adhesive or mortar to secure the tiles in place. The type of adhesive or mortar you use will depend on the tile material and the surface you’re working on. Follow these steps to apply the adhesive or mortar:
- Prepare the adhesive or mortar: Follow the manufacturer’s instructions to properly mix the adhesive or mortar. Use a bucket and a mixing paddle to ensure a consistent and smooth mixture.
- Apply thinset mortar: If you’re working with ceramic, porcelain, or natural stone tiles, use a notched trowel to spread thinset mortar onto the subfloor. Begin in a small section and work your way across the floor, ensuring an even and adequate coverage of mortar.
- Apply tile adhesive: If you’re working with vinyl tiles, use a trowel or a notched trowel to apply tile adhesive onto the subfloor. Like with thinset mortar, start in a small section and work your way across the floor, maintaining a consistent application.
- Work in small batches: It’s important to work in small sections to prevent the adhesive or mortar from drying too quickly. This will allow you enough time to lay the tiles and make any adjustments necessary.
- Use tile spacers: Place tile spacers between each tile to ensure even spacing and uniformity. These spacers will create consistent grout lines and help prevent the tiles from shifting during the installation process.
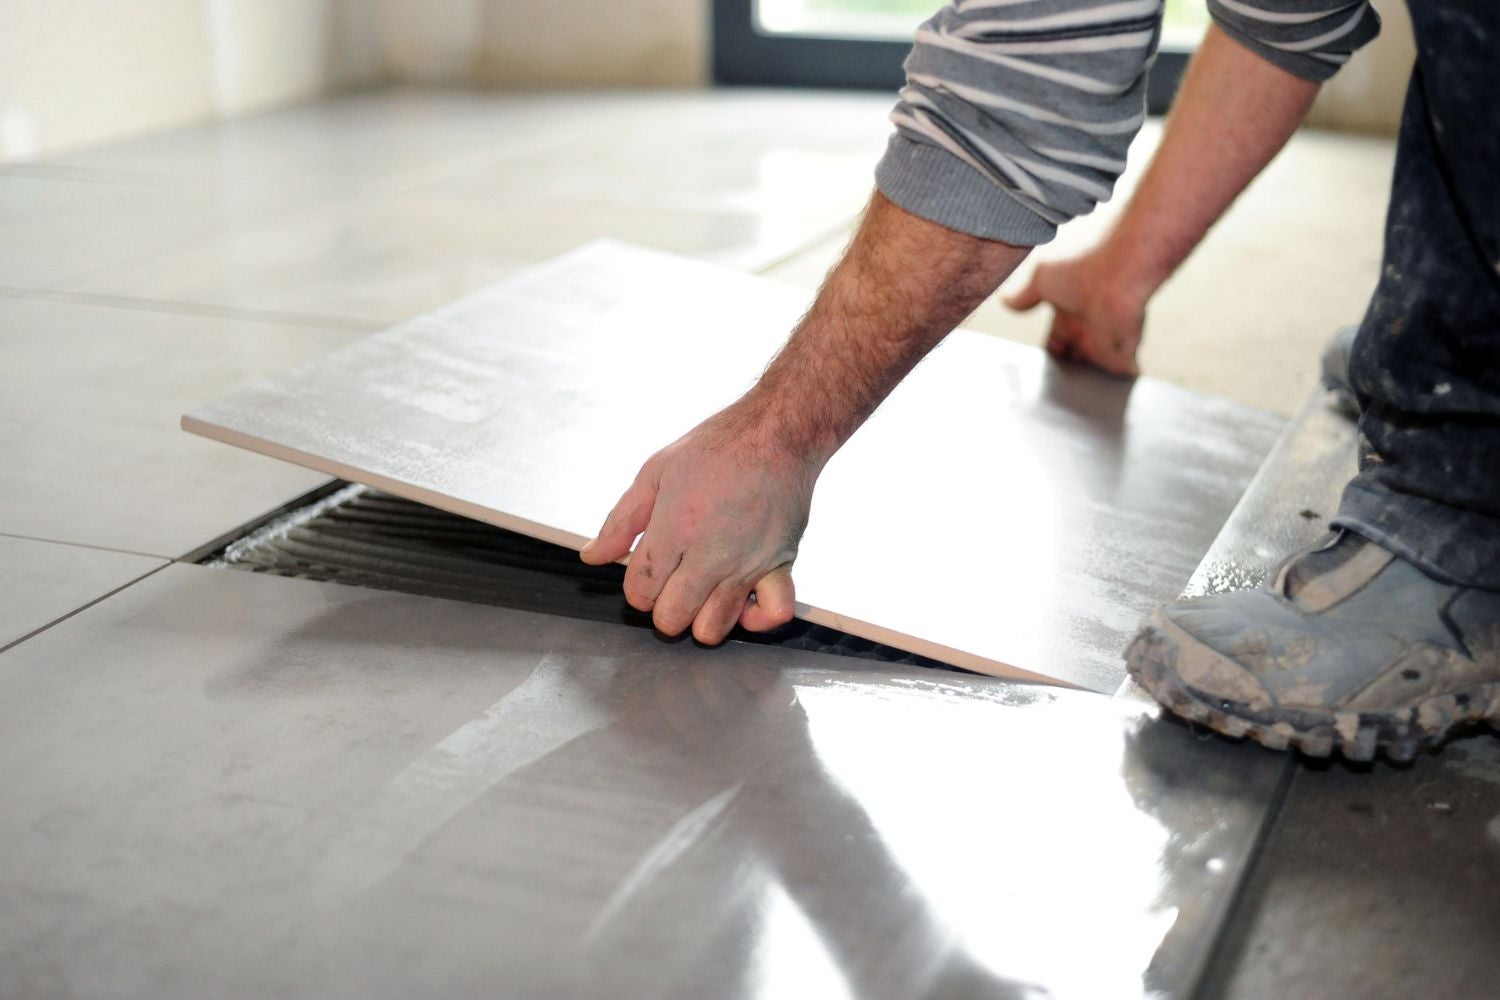
- Press the tiles into place: Carefully press each tile into the adhesive or mortar, using a slight twisting motion to create a secure bond. Ensure that each tile is level and flush with the surrounding tiles.
- Check for alignment: Periodically check for alignment as you work, using a level or straight edge. This will help maintain a straight and even installation.
By following these steps, you’ll be able to successfully apply the adhesive or mortar and secure the tiles in place. Once the tiles are installed, it’s time to move on to the next step: grouting the tile joints.
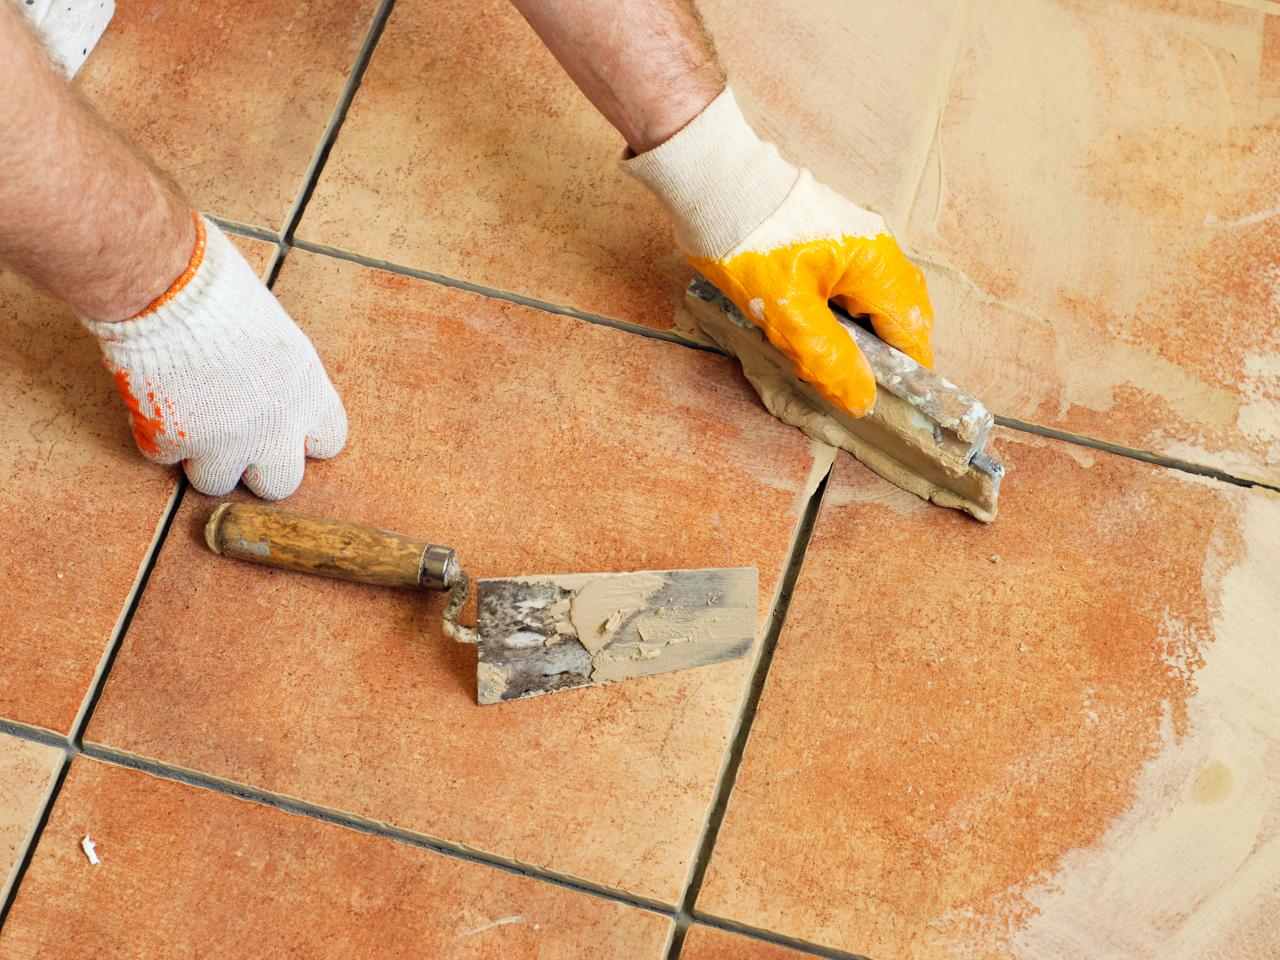
When replacing floor tiles, be sure to remove all the old adhesive and grout to ensure a smooth, even surface for the new tiles. Use a chisel and hammer to carefully chip away at the old material, taking care not to damage the subfloor.
Read more: How To Replace A Shower Tile
Installing the New Floor Tile
With the adhesive or mortar applied, it’s time to install the new floor tiles. This step-by-step guide will help you achieve a professional-looking installation:
- Begin at a reference point: Start laying the tiles from a reference point, such as the center of the room or a prominent feature. This will ensure a balanced and visually appealing layout.
- Place the first tile: Position the first tile in the adhesive or mortar, using the tile spacers to maintain the desired grout lines. Press the tile firmly into place, ensuring it is level and properly aligned.
- Continue with the remaining tiles: Place the subsequent tiles next to each other, aligning the edges and using the tile spacers to maintain consistent spacing. Work in small sections, periodically checking for levelness and alignment.
- Make necessary cuts: When reaching the edges or obstacles, measure and mark the tiles that need to be cut. Use a tile cutter or wet saw to make precise cuts, ensuring a proper fit.
- Adjust as needed: If you encounter any uneven tiles or gaps, adjust them by gently tapping with a rubber mallet or using a pry bar to lift and add or remove adhesive or mortar as necessary.
- Clean excess adhesive or mortar: As you work, be sure to clean off any excess adhesive or mortar from the surface of the tiles and grout lines. A damp sponge or cloth can be used while being careful not to disturb the freshly laid tiles.
- Allow the tiles to set: Follow the manufacturer’s instructions for the recommended drying time of the adhesive or mortar. It’s important to avoid walking on or disturbing the tiles during this period to prevent any shifting.
By meticulously installing the new floor tiles, you’ll achieve a visually appealing and durable flooring surface. Once the tiles have set, it’s time to move on to the next step: grouting the tile joints.
Grouting the Tile Joints
Grouting the tile joints is a crucial step in the tile replacement process as it not only adds a finishing touch but also helps to secure the tiles and prevent water and dirt from seeping between them. Follow these steps to successfully grout the tile joints:
- Choose the right grout: Select a grout color that complements the tiles and matches your desired aesthetic. Grout is available in various colors, so take the time to find the one that best suits your project.
- Mix the grout: Follow the manufacturer’s instructions to properly mix the grout. Use a bucket and a mixing paddle to achieve a smooth and consistent consistency.
- Apply the grout: Use a grout float to spread the grout diagonally across the tiles, working it into the joints. Hold the float at a 45-degree angle and apply firm pressure to ensure proper coverage. Go over the surface multiple times to pack the joints fully.
- Remove excess grout: After applying the grout, let it set for a few minutes, then use a damp sponge or cloth to gently wipe away the excess grout from the surface of the tiles. Rinse the sponge or cloth frequently to ensure a clean finish.
- Sponge and buff: Once the grout starts to dry and haze forms on the tile surface, use a clean sponge or cloth to lightly sponge the tiles, removing any remaining grout residue. Avoid applying too much pressure to prevent dislodging the grout from the joints.
- Cure the grout: Follow the manufacturer’s instructions for the recommended curing time of the grout. This typically involves keeping the area clean and avoiding heavy foot traffic during the curing process.
- Seal the grout (optional): If desired or recommended by the grout manufacturer, apply a grout sealer to protect the grout from staining and moisture damage. Follow the instructions on the sealer bottle and allow sufficient drying time before using the area.
By carefully grouting the tile joints, you’ll complete the tile replacement process and achieve a polished and professional-looking result. Once the grout is fully cured and sealed (if applicable), it’s time for the final step: cleaning and finishing touches.
Cleaning and Finishing Touches
Once the grout has fully cured and any sealer has dried, it’s time to clean the tiles and add the finishing touches to complete the tile replacement project. Follow these steps to ensure a clean and polished final result:
- Remove grout haze: If there is any remaining grout haze on the tiles, use a clean, dry cloth or sponge to gently buff the surface and remove it. Be careful not to disturb the grout lines.
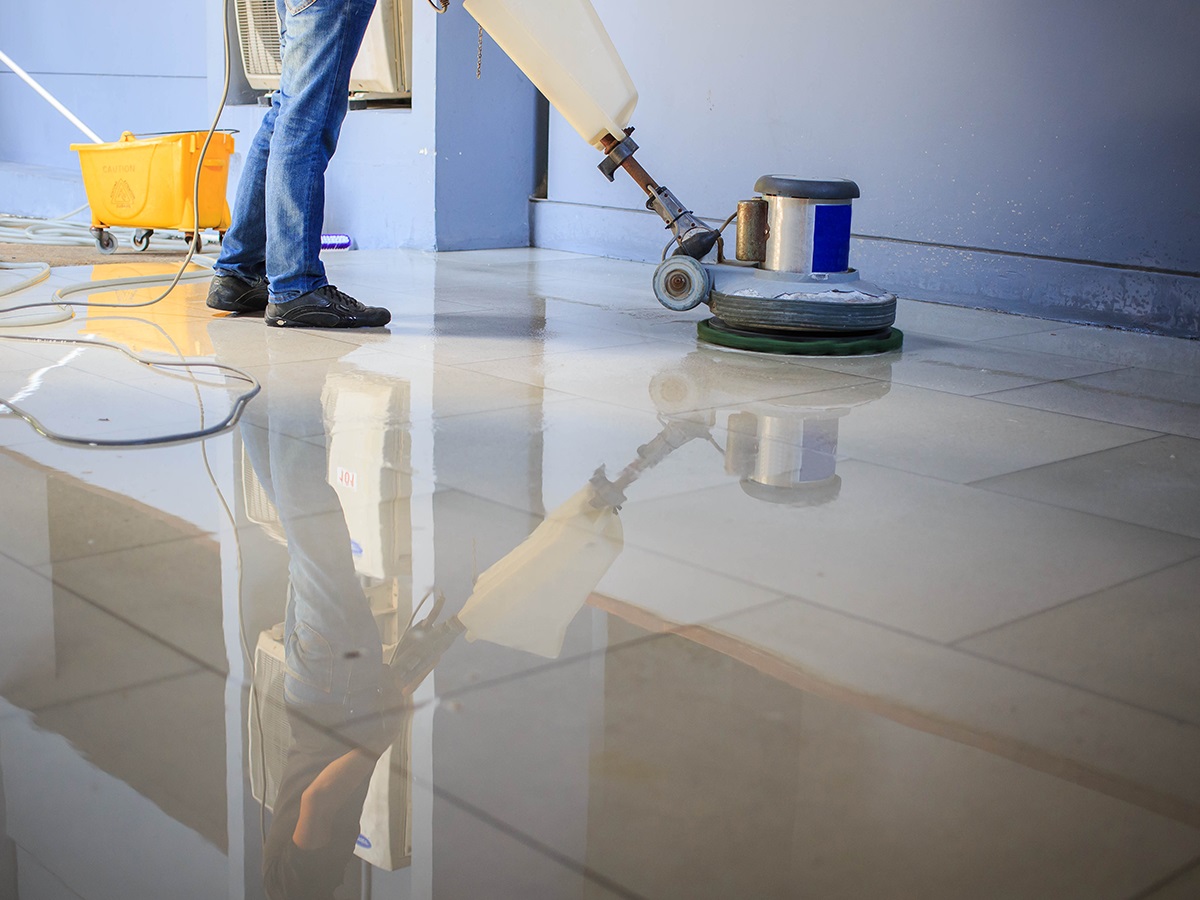
- Clean the tiles: Use a mild tile cleaner or a mixture of warm water and vinegar to thoroughly clean the tiles. Scrub gently with a sponge or cloth, paying attention to any stubborn stains or residue. Rinse the tiles with clean water and dry them with a clean cloth.
- Reinstall baseboards: If you removed the baseboards during the tile replacement process, now is the time to reinstall them. Use a nail gun or adhesive to secure them in place, making sure they are leveled and aligned.
- Inspect for any touch-ups: Take a close look at the newly installed tiles and grout lines to check for any imperfections or areas that may need touch-ups. Use a grout pen or touch-up paint to fix any small blemishes or color discrepancies.
- Apply a tile sealer (optional): If your tiles require sealing, follow the manufacturer’s instructions to apply a tile sealer. This will help protect the tiles from stains, scratches, and other damage, ensuring their longevity and appearance.
- Enjoy your new floor: Once all the finishing touches are done, step back and admire your newly replaced floor tiles. Take pleasure in the fact that you have successfully completed a DIY project that has transformed the aesthetics and functionality of your space.
By completing these final cleaning and finishing touches, your tile replacement project will be complete. Sit back, relax, and enjoy your refreshed and beautiful new floor. Congratulations!
Conclusion
Congratulations on successfully replacing your floor tile! By following the step-by-step guide outlined in this article, you were able to transform your space with new, fresh tiles. Not only did you save money by taking on this DIY project, but you also gained the satisfaction of completing it yourself.
From preparing the work area and removing the old floor tile to applying adhesive or mortar, installing the new tiles, grouting the joints, and finishing with a thorough cleaning, you have learned the essential techniques to replace floor tile effectively.
Remember, when undertaking a project like this, it’s crucial to have the necessary tools and materials on hand, carefully prepare the work area, and take the time to measure and choose the right tiles. Patience and attention to detail throughout the process will ensure a professional-looking result.
As you enjoy your newly installed floor tiles, be sure to properly maintain them by cleaning regularly and following any manufacturer recommendations. This will help prolong their lifespan and keep them looking their best for years to come.
Whether you embarked on this project to update the look of your space or to fix a damaged floor, replacing floor tile can make a significant impact on the overall aesthetics and functionality of a room. By taking the time to do it right, you have achieved a beautiful and durable flooring surface that will enhance your home’s value and your enjoyment of the space.
Thank you for following our comprehensive guide on how to replace floor tile. We hope you found this article informative and helpful. Should you have any further questions or need assistance with future DIY projects, don’t hesitate to seek professional advice or consult additional resources. Happy tiling!
Frequently Asked Questions about How To Replace Floor Tile
Was this page helpful?
At Storables.com, we guarantee accurate and reliable information. Our content, validated by Expert Board Contributors, is crafted following stringent Editorial Policies. We're committed to providing you with well-researched, expert-backed insights for all your informational needs.


0 thoughts on “How To Replace Floor Tile”