Articles
How To Fill Holes In Concrete Floor
Modified: October 18, 2024
Learn the step-by-step process of filling holes in a concrete floor with our informative articles. Improve the durability and appearance of your flooring today!
(Many of the links in this article redirect to a specific reviewed product. Your purchase of these products through affiliate links helps to generate commission for Storables.com, at no extra cost. Learn more)
Introduction
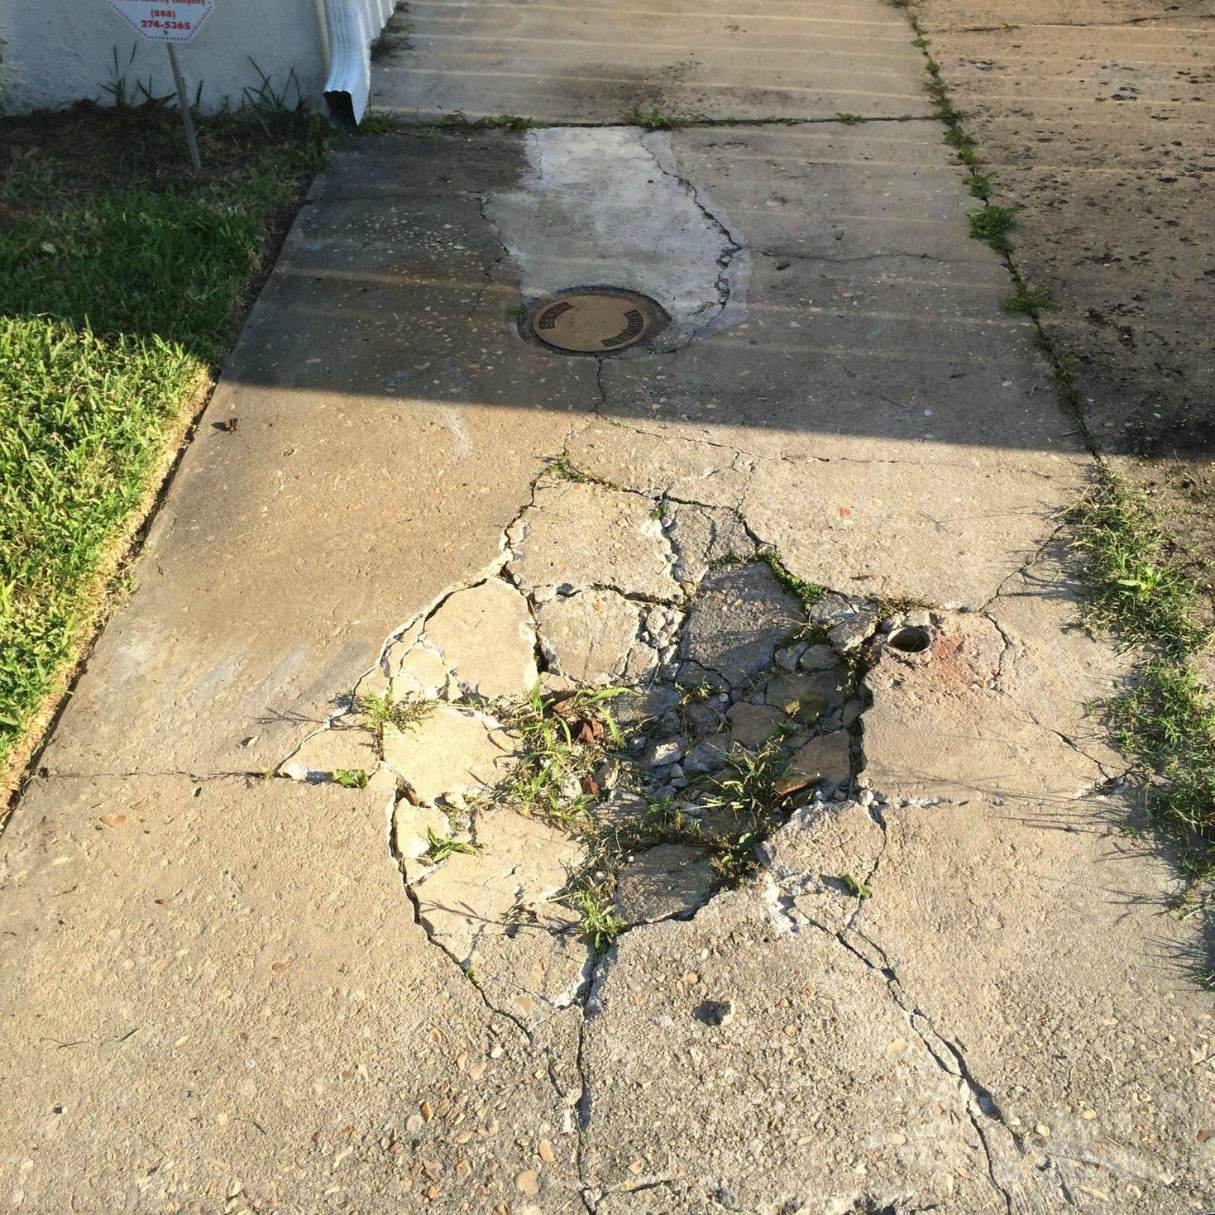
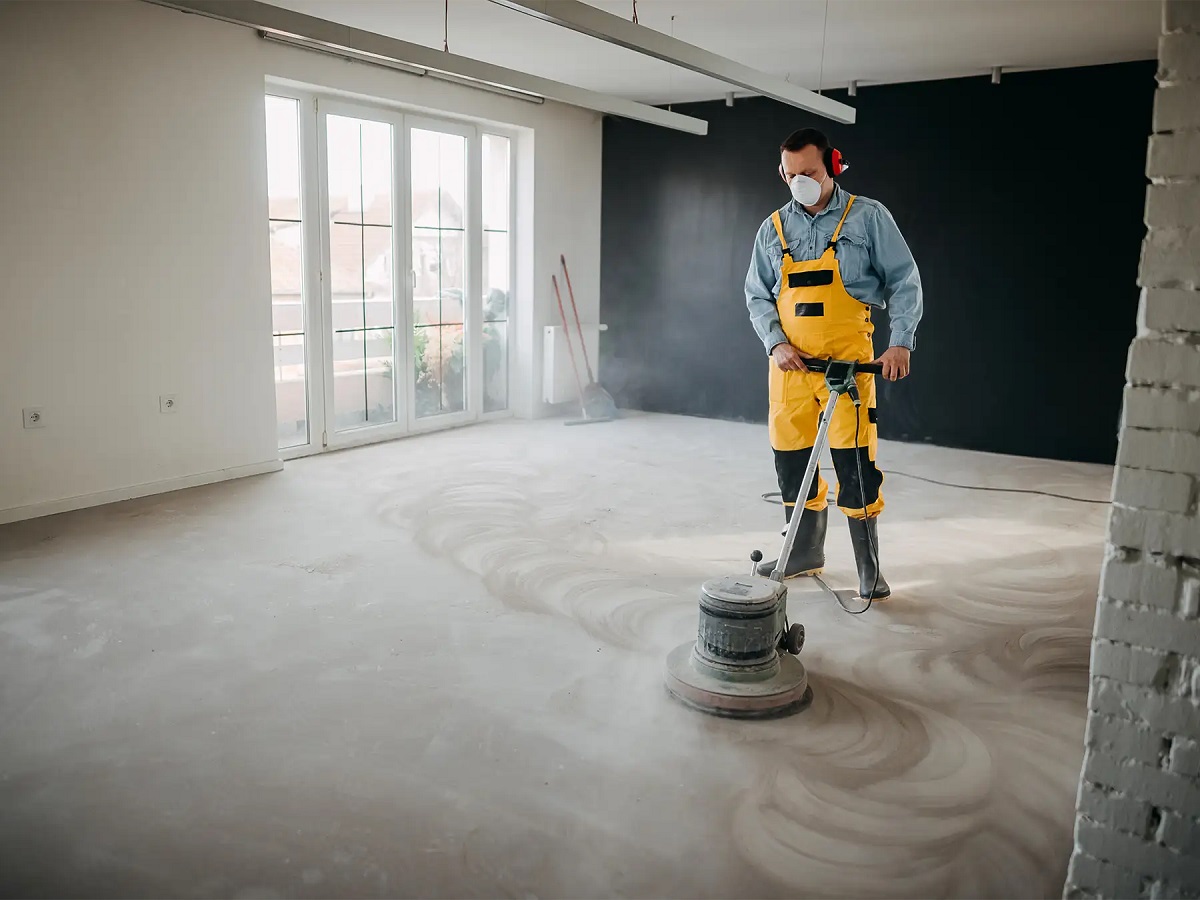
When it comes to maintaining the integrity and appearance of your concrete floor, small holes and cracks can be a real eyesore. Not only do they detract from the overall aesthetics of the space, but they can also pose a tripping hazard and lead to further damage if left unattended. Fortunately, filling holes in a concrete floor is a relatively simple DIY task that can be accomplished with a few tools and materials.
In this article, we will guide you through the process of filling holes in a concrete floor, ensuring that you achieve a smooth and seamless finish. From preparing the surface to applying the concrete patching compound, we will walk you through each step, providing helpful tips and techniques along the way.
So grab your tools and roll up your sleeves, because by the end of this article, you’ll have all the knowledge you need to tackle those unsightly holes in your concrete floor.
Key Takeaways:
- Easily restore the integrity and aesthetics of your concrete floor by following simple DIY steps to fill holes. Prioritize safety, proper preparation, and quality materials for a seamless and durable repair.
- Achieve a professional-looking repair by smoothing, leveling, and allowing the patch to cure fully. Add finishing touches like sanding and sealing for a polished and long-lasting concrete floor.
Read more: How To Fill Hole In Driveway
Tools and Materials Needed
Before you begin filling the holes in your concrete floor, gather the following tools and materials:
- Protective gear: Safety goggles, gloves, and a dust mask
- Cleaning supplies: Broom or vacuum, mild detergent, and a scrub brush
- Hole preparation tools: Chisel, hammer, and a wire brush
- Concrete patching compound: Choose a high-quality compound suitable for your specific application
- Trowel or putty knife: Used for applying and smoothing the patching compound
- Water: To mix with the patching compound
- Sandpaper or sanding block: For sanding and smoothing the dried patch
- Concrete sealer: Optional, but recommended for added protection and longevity
These tools and materials are readily available at most hardware stores or home improvement centers. Investing in quality materials and tools will ensure a more successful and durable repair.
Remember to always wear protective gear, such as safety goggles, gloves, and a dust mask, to protect yourself from any potential hazards while performing the task.
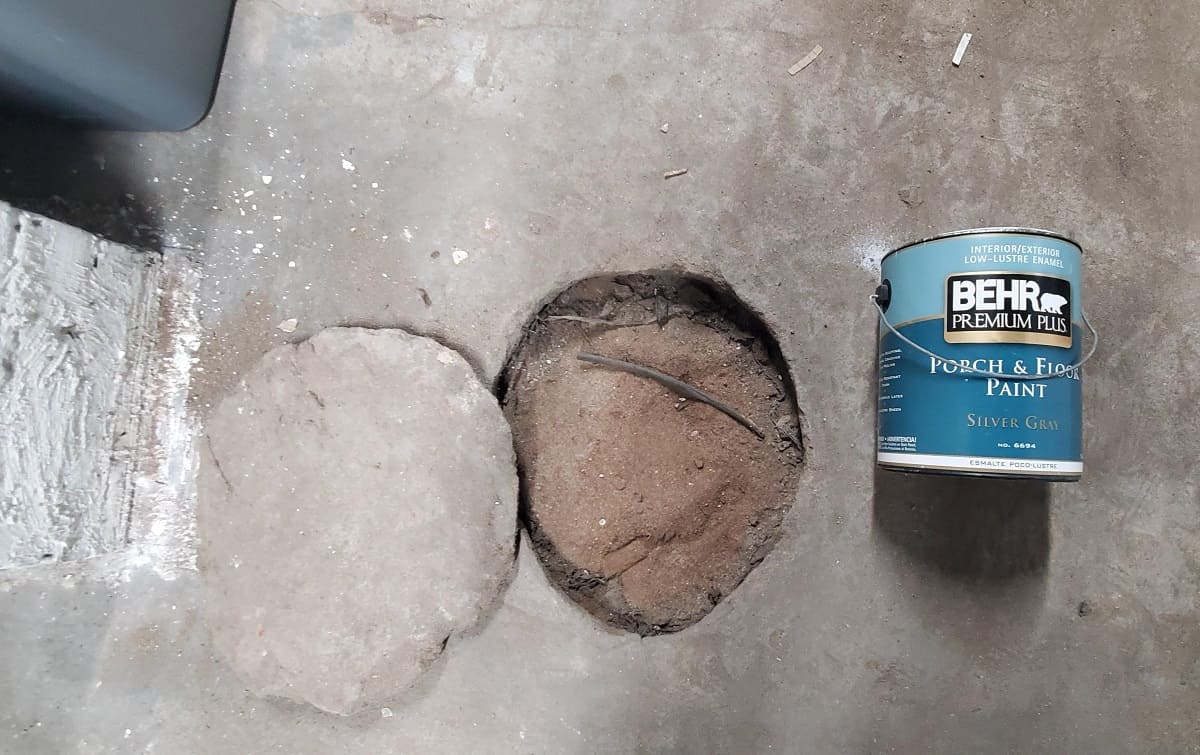
Step 1: Prepare the Surface
The first step in filling holes in a concrete floor is to prepare the surface. This involves removing any loose debris, dirt, or previous patching material that may interfere with the adhesion of the new patch.
Start by thoroughly cleaning the area around the hole. Use a broom or a vacuum cleaner to remove any loose dirt, dust, or debris. If the hole is located in a high-traffic area and has accumulated grease or oil, you may need to use a mild detergent and a scrub brush to remove any stubborn stains.
Once the surface is clean, you’ll need to prep the hole itself. This is done by chiseling away any loose or damaged edges around the hole. Take a chisel and a hammer, and carefully chip away any loose concrete or crumbling edges. Be careful not to enlarge the hole further.
After chiseling, use a wire brush to remove any remaining loose debris from the hole. This will ensure proper adhesion of the patching compound. Once the hole and its surrounding area are clean and free of loose materials, you’re ready to move on to the next step.
Preparing the surface is a crucial step in the repair process. By removing loose debris and creating a clean and stable foundation, you will help ensure the longevity and effectiveness of the patching compound.
Step 2: Clean the Hole
Once the surface is prepared, the next step in filling holes in a concrete floor is to clean the hole itself. This is an important step to ensure proper adhesion of the patching compound and a long-lasting repair.
Start by using a vacuum cleaner or a brush to remove any loose debris or dust from the hole. This will allow the patching compound to adhere properly to the surface without any obstructions.
Next, take a damp cloth or sponge and moisten the inside of the hole. This step is necessary to prevent the concrete from absorbing the moisture from the patching compound too quickly, which can lead to cracking and a weak bond. Ensure that the hole is damp, but not saturated.
After moistening the hole, mix a small amount of mild detergent with water in a bucket. Take a clean brush and scrub the inside of the hole with the soapy water mixture. This will help remove any remaining dirt, dust, or grease that may hinder the bond between the patching compound and the existing concrete.
Once you’ve cleaned the hole, rinse it thoroughly with clean water to remove any soap residue. Use a sponge or a cloth to wipe away any excess water. It’s important to ensure that the hole is clean, free from debris, and ready for the next step of the repair process.
By cleaning the hole properly, you’re creating an optimal surface for the patching compound to adhere to. This will result in a stronger and more durable repair.
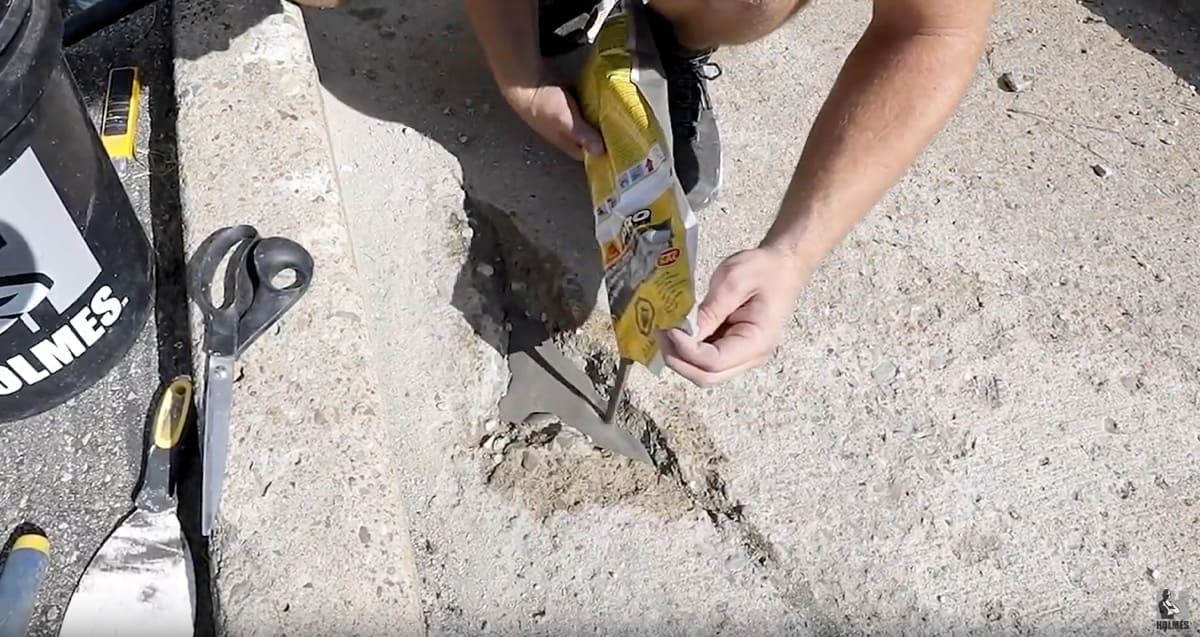
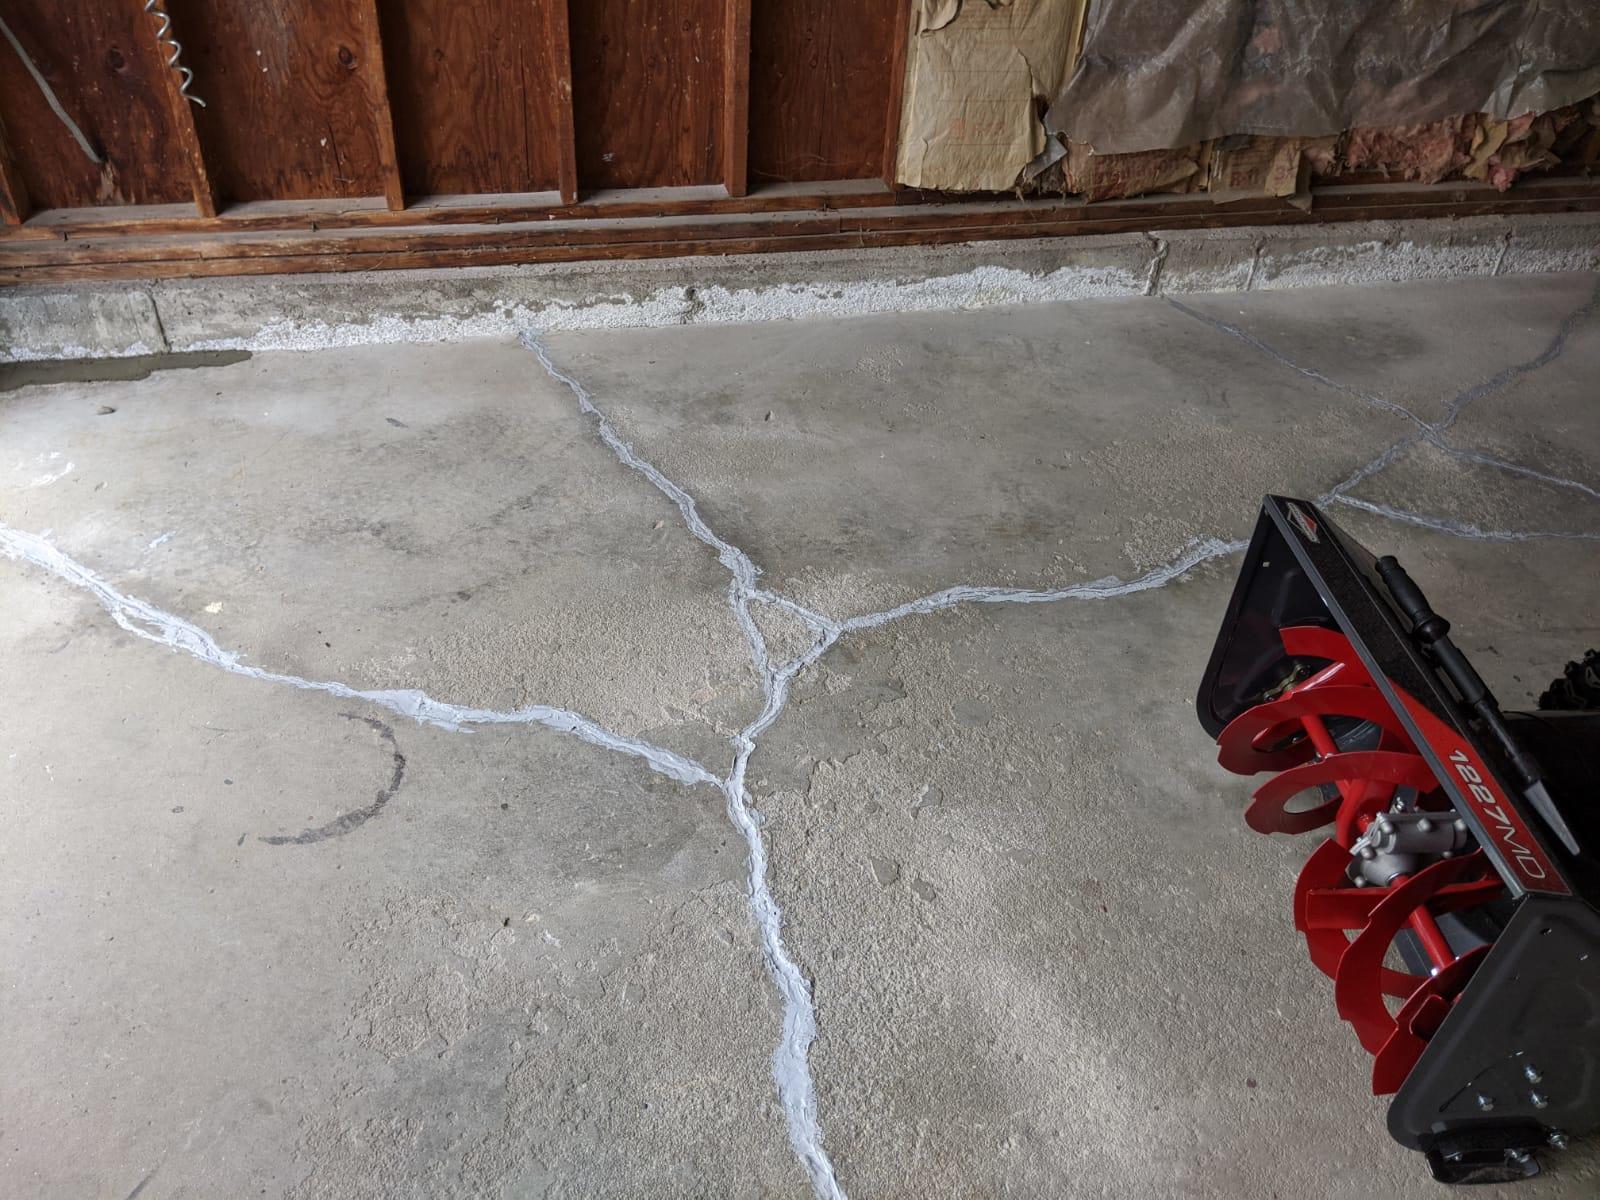
Step 3: Fill the Hole with Concrete Patching Compound
Now that the surface is prepared and the hole is clean, it’s time to fill the hole with concrete patching compound. This compound is specially formulated to bond with the existing concrete and provide a seamless repair.
Before you start applying the patching compound, read the manufacturer’s instructions carefully to ensure proper mixing and application. Some patching compounds may require adding water, while others come ready to use straight from the container.
Use a trowel or a putty knife to apply the patching compound into the hole. Begin by adding a small amount of the compound and pressing it firmly into the hole. Make sure to fill the hole completely, slightly overfilling it to allow for shrinkage during the drying process.
Smooth the patching compound with the trowel or putty knife, ensuring that it is level with the surrounding floor. Use a back-and-forth motion to create a smooth and even surface. You may need to add more compound to achieve the desired level and fill any remaining voids.
It’s important to work quickly during this step, as some patching compounds have a limited working time before they start to harden. Refer to the manufacturer’s instructions for the recommended working time.
Once the hole is filled and the patching compound is applied, clean any excess compound from the surrounding area using a damp cloth or sponge. This will help create a neater and more professional-looking repair.
Remember to work in small sections if you have multiple holes to fill, as the patching compound can dry quickly.
By filling the hole with concrete patching compound and ensuring it is level with the surrounding floor, you’re one step closer to achieving a seamless and visually appealing repair.
Use a concrete patching compound to fill small holes in a concrete floor. Clean the area thoroughly, apply the compound, and smooth it out with a trowel. Allow it to dry completely before walking on it.
Read more: How To Fill Hole In Cabinet
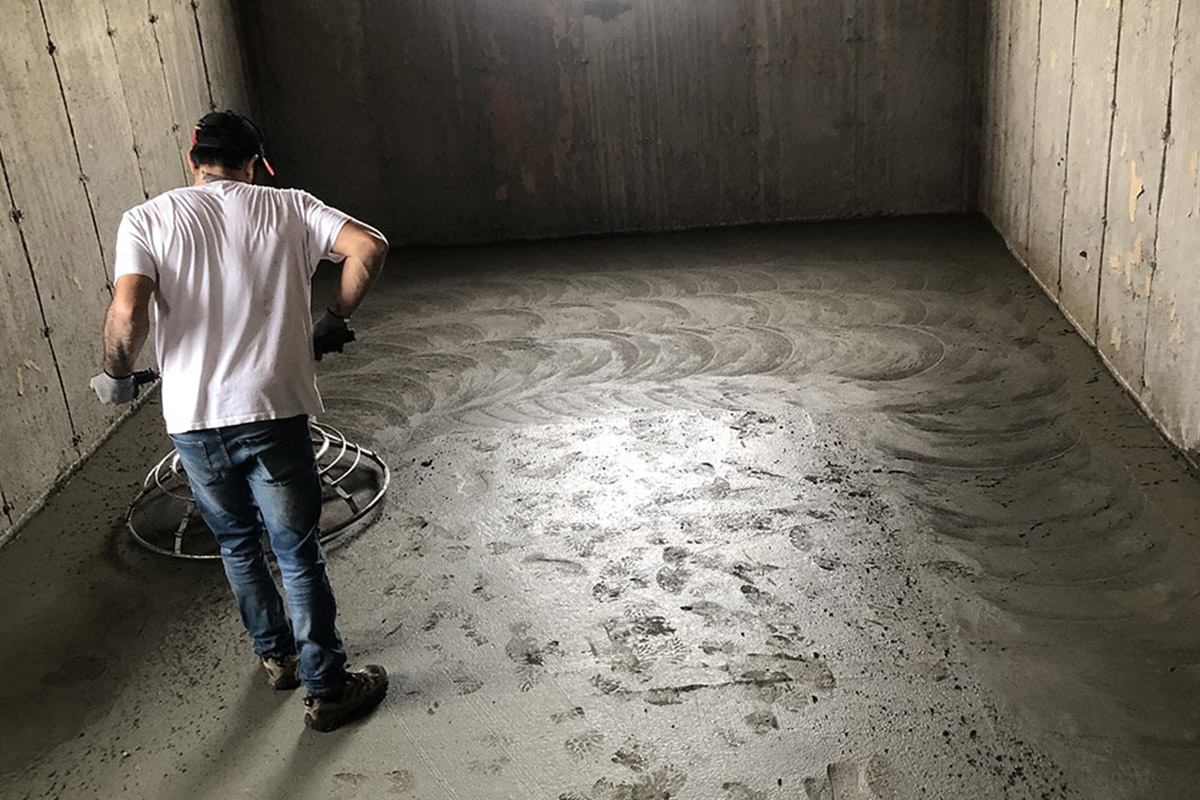
Step 4: Smooth and Level the Patch
After filling the hole with concrete patching compound, the next step is to smooth and level the patch to create a seamless finish. This will ensure that the repaired area blends in seamlessly with the surrounding floor.
Start by using a trowel or a putty knife to smooth out any uneven areas on the patch. Use a gentle sweeping motion to level the surface, applying even pressure to achieve a uniform appearance. Pay close attention to the edges of the patch, as they should seamlessly blend with the existing concrete.
If necessary, add more patching compound to fill any remaining voids or low spots in the patch. Smooth and level the added compound as you did before, ensuring a consistent and level surface.
Take a step back and assess the patch from different angles to ensure it is level and visually appealing. If you notice any imperfections or unevenness, use the trowel or putty knife to make adjustments until you achieve the desired result.
Once you are satisfied with the smoothing and leveling process, allow the patch to dry according to the manufacturer’s instructions. This is typically around 24 hours, but it may vary depending on the specific patching compound used and the ambient temperature.
During the drying process, it’s important to protect the patched area from foot traffic or any other potential disturbances. Placing a caution sign or using barriers can prevent accidental damage to the freshly patched area.
By properly smoothing and leveling the patch, you’ll achieve a seamless finish that blends in seamlessly with the surrounding concrete floor.
Step 5: Allow the Patch to Cure
Once you have smoothed and leveled the patch, it’s crucial to allow it to cure properly. Curing is the process by which the patching compound hardens and gains strength, ensuring a durable and long-lasting repair.
Before allowing the patch to cure, check the manufacturer’s instructions for the recommended curing time. This can vary depending on the type of patching compound used and the environmental conditions.
During the curing process, it’s essential to protect the patched area from any disturbance or heavy loads. Avoid walking or placing objects on the patch until it has fully cured.
Keep in mind that curing time can range from a few hours to several days. It’s important to be patient and allow the patch sufficient time to cure before subjecting it to normal foot traffic or any significant stress.
While the patch is curing, it’s also crucial to monitor the surrounding humidity and temperature levels. Extreme temperature fluctuations or excessive moisture can affect the curing process and compromise the quality of the repair.
Once the patch has fully cured, it can be inspected to ensure it has hardened properly. Gently tap the surface with a tool, such as a screwdriver or a small mallet. If it feels firm and does not give under pressure, the patch should be adequately cured and ready for the final finishing touches.
Remember, allowing the patching compound to cure thoroughly is vital for a successful and durable repair. By following the recommended curing time and protecting the patched area, you’ll ensure a strong and resilient concrete floor.
Step 6: Finishing Touches
Now that the patch has fully cured, it’s time to add the finishing touches to complete the repair and achieve a polished look for your concrete floor.
Start by using sandpaper or a sanding block to smooth any rough edges or imperfections on the patched area. Carefully sand the surface of the patch until it matches the smoothness of the surrounding floor. This step will ensure a seamless transition between the patch and the existing concrete.
After sanding, clean the repaired area to remove any dust or debris. Use a broom or a vacuum to sweep away any loose particles, and wipe the surface with a damp cloth or mop. Ensure that the patched area is clean and free of any residue before proceeding.
If desired, you can apply a concrete sealer to the patched area to enhance its durability and protect it from future damage. A concrete sealer will help resist stains, moisture, and daily wear and tear. Follow the manufacturer’s instructions for proper application and drying time of the sealer.
Finally, step back and admire your handiwork. The patched hole should now be virtually indistinguishable from the rest of the concrete floor, seamlessly blending in with its surroundings. Take the time to appreciate your efforts in restoring the appearance and functionality of your concrete floor.
Keep in mind that regular maintenance is key to preserving the repaired area and the overall condition of your concrete floor. Clean up spills promptly, avoid dragging heavy objects across the floor, and keep it free from debris and dirt. With proper care, your repaired concrete floor will remain in excellent condition for years to come.
By adding these finishing touches, you can ensure that your repaired concrete floor looks its best and withstands daily wear and tear.
Conclusion
Repairing and filling holes in a concrete floor doesn’t have to be a daunting task. With the right tools, materials, and knowledge, you can restore the integrity and beauty of your floor with relative ease.
By following the steps outlined in this guide, you can successfully fill the holes in your concrete floor and achieve a seamless and professional-looking repair. From preparing the surface to applying the concrete patching compound, each step plays a crucial role in creating a durable and long-lasting result.
Remember to prioritize safety by wearing protective gear and taking necessary precautions throughout the process. Cleaning the hole and properly applying the patching compound ensure a strong bond and a smooth finish. Allowing the patch to cure fully and adding finishing touches, such as sanding and sealing, contribute to the overall durability and aesthetics of the repaired area.
With regular maintenance and care, your filled concrete floor will stand the test of time and maintain its functionality and appearance. Promptly address any new holes or cracks that may arise to prevent further damage and ensure the ongoing beauty of your floor.
Now that you have the knowledge and confidence to tackle those unsightly holes in your concrete floor, grab your tools and give your floor a much-needed facelift. Enjoy the satisfaction of a job well done and revel in the seamless and polished look of your repaired concrete floor.
Frequently Asked Questions about How To Fill Holes In Concrete Floor
Was this page helpful?
At Storables.com, we guarantee accurate and reliable information. Our content, validated by Expert Board Contributors, is crafted following stringent Editorial Policies. We're committed to providing you with well-researched, expert-backed insights for all your informational needs.


0 thoughts on “How To Fill Holes In Concrete Floor”