Home>Furniture & Design>Outdoor Furniture>How To Paint An Outdoor Shed
Outdoor Furniture
How To Paint An Outdoor Shed
Modified: January 19, 2024
Learn how to paint your outdoor shed with our expert tips and techniques. Transform your outdoor furniture with our furniture and design ideas.
(Many of the links in this article redirect to a specific reviewed product. Your purchase of these products through affiliate links helps to generate commission for Storables.com, at no extra cost. Learn more)
Introduction
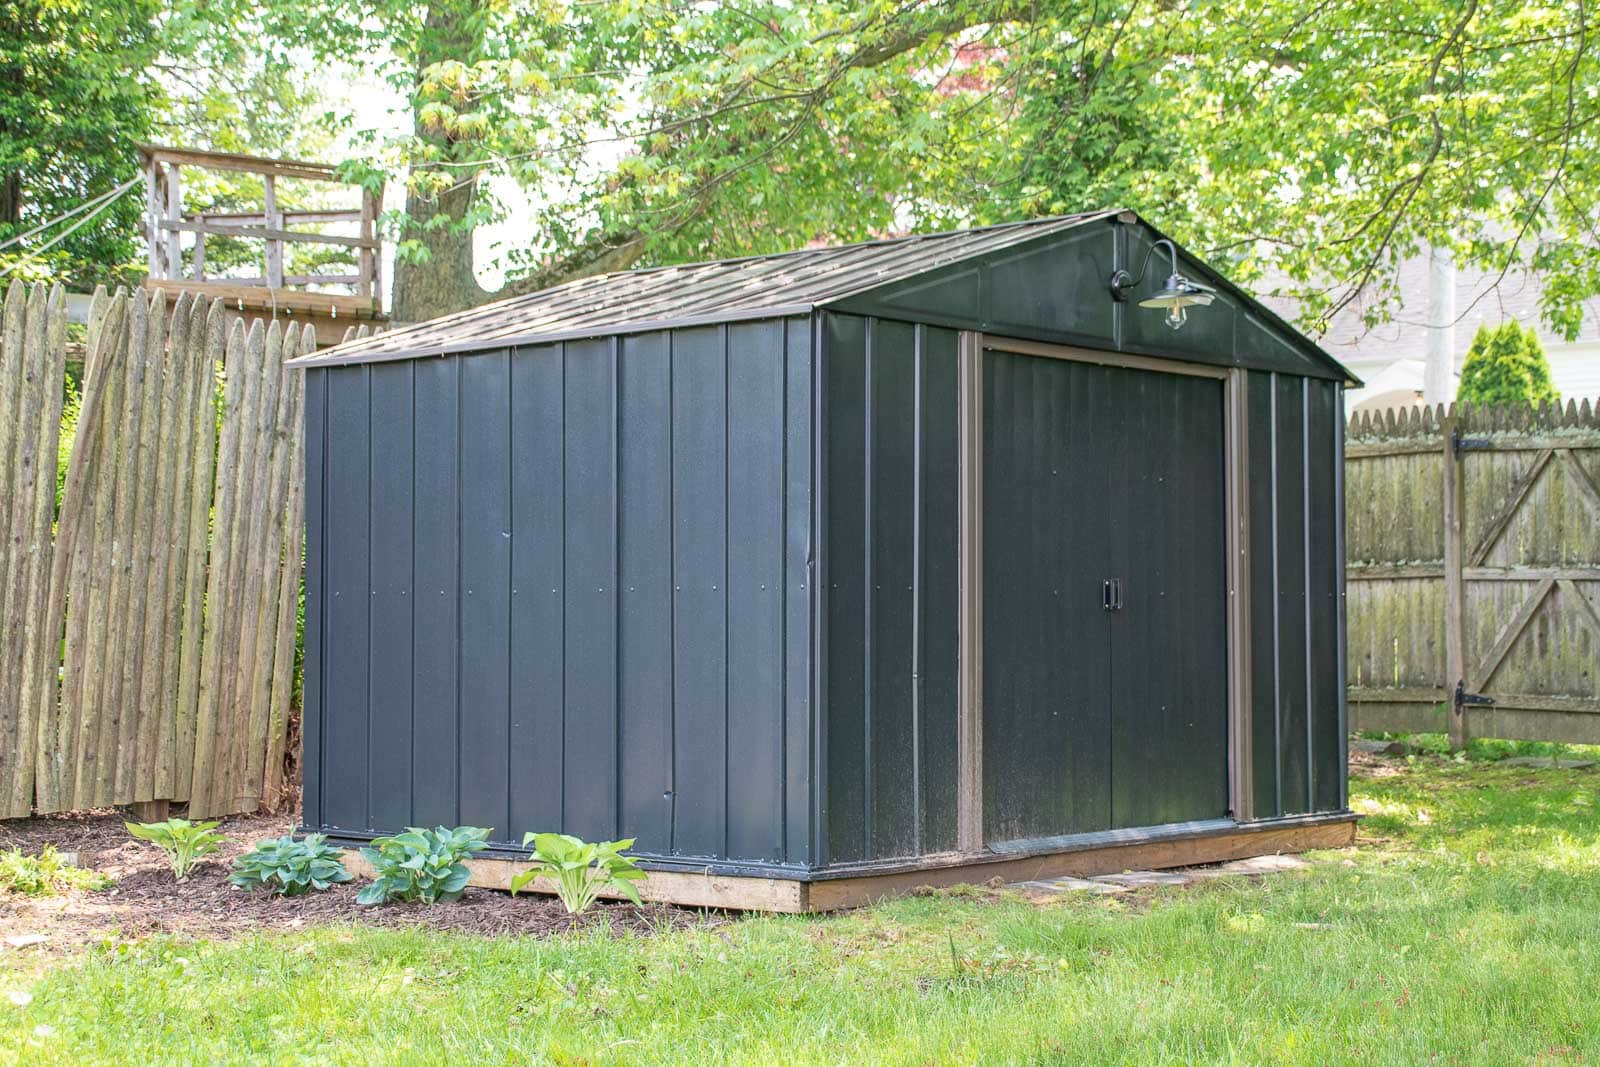
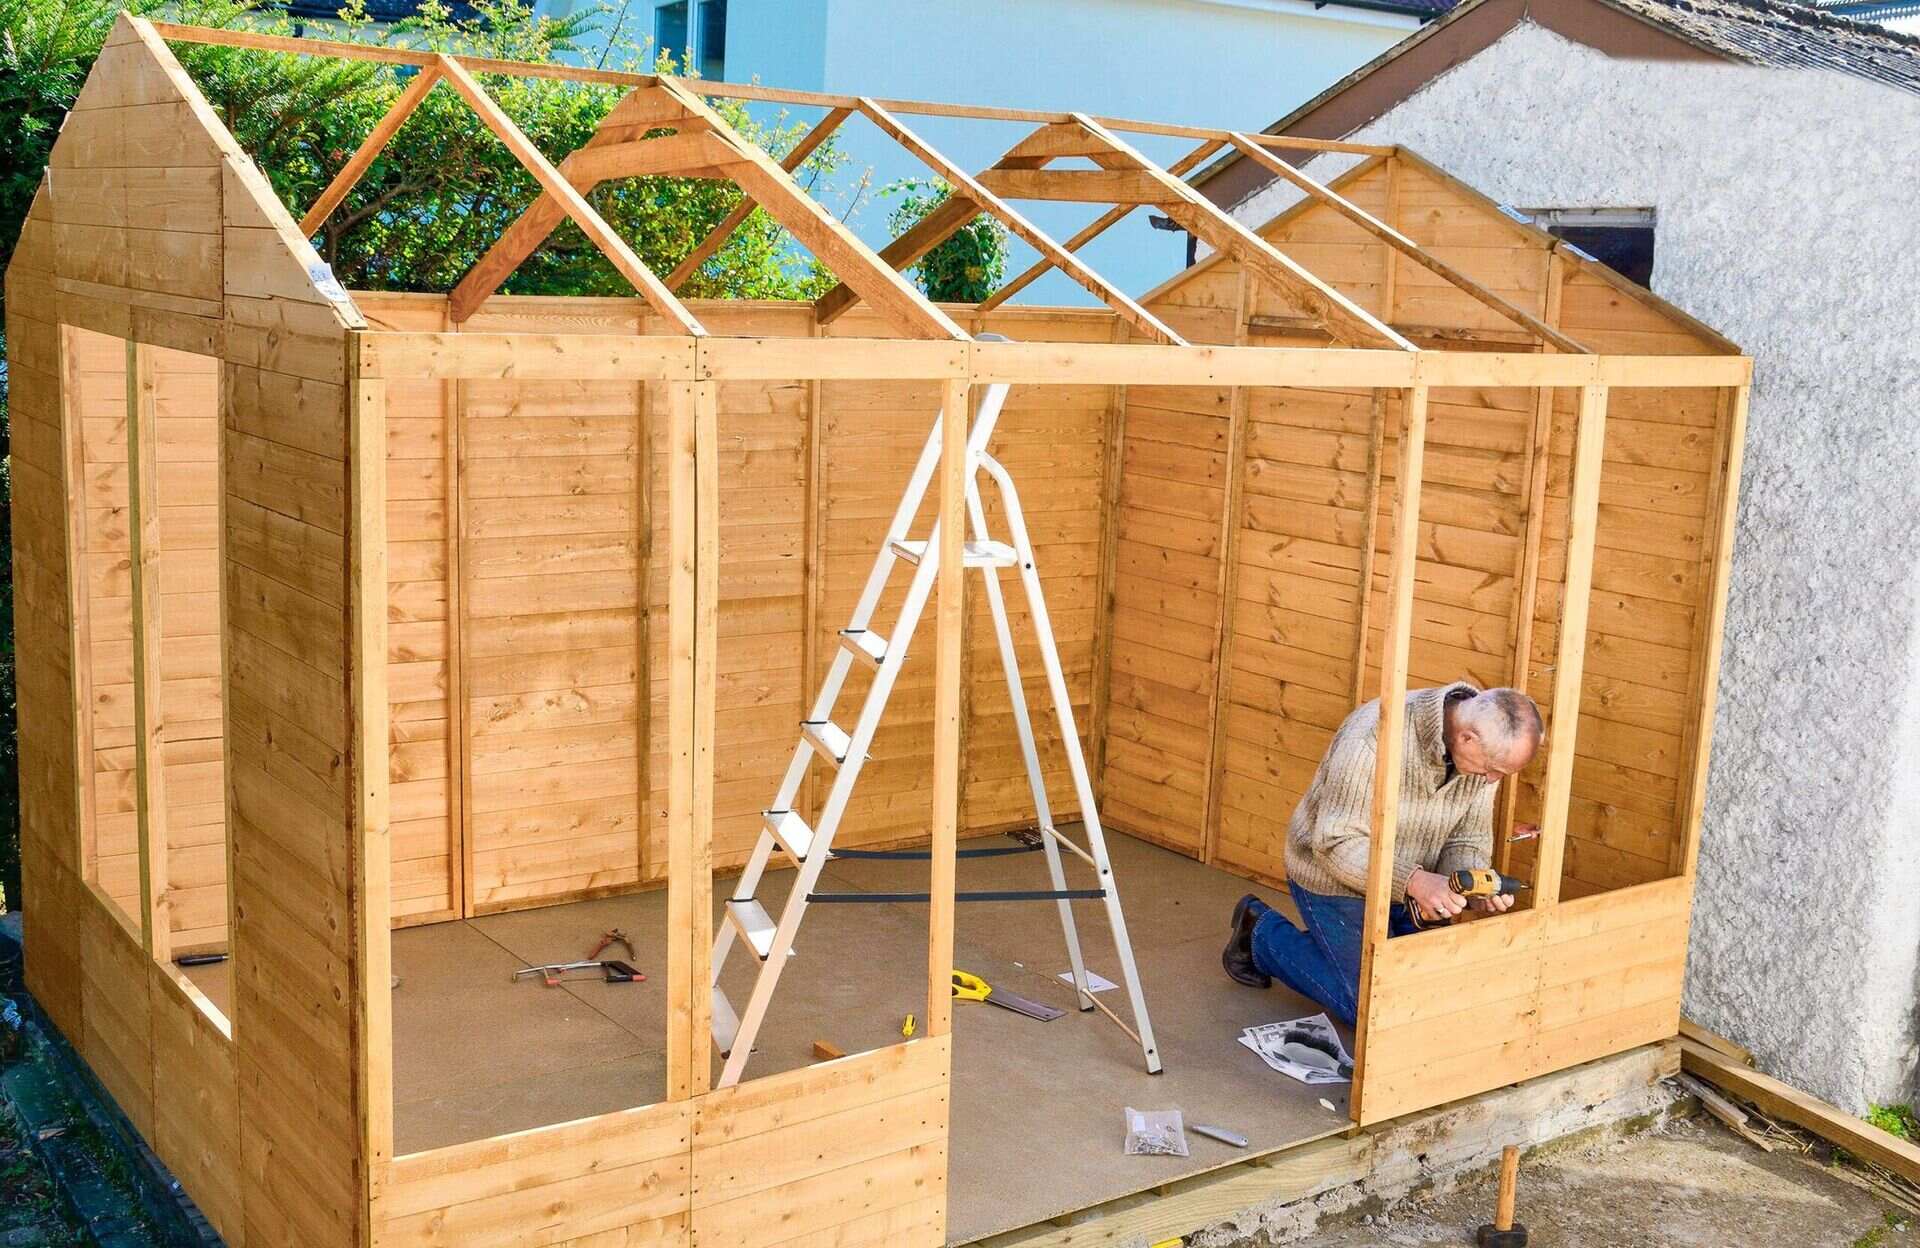
Welcome to the world of outdoor furniture and design! When it comes to enhancing the aesthetics and longevity of your outdoor shed, a fresh coat of paint can work wonders. Whether you're aiming to revitalize a weathered shed or simply add a personal touch, painting an outdoor shed is a rewarding and relatively straightforward project. In this comprehensive guide, we'll delve into the essential steps and considerations for painting your outdoor shed, from selecting the right paint to adding those final finishing touches.
As we embark on this journey, envision the transformation that awaits your outdoor space. The process of painting your shed not only rejuvenates its appearance but also serves as a creative outlet, allowing you to express your unique style and preferences. From selecting the perfect color to mastering the application technique, every aspect of this endeavor contributes to the overall charm and allure of your outdoor sanctuary.
So, let's roll up our sleeves, gather our supplies, and embark on this fulfilling project that will breathe new life into your outdoor shed. Get ready to unleash your creativity and elevate the visual appeal of your outdoor space through the art of painting. Whether you're a seasoned DIY enthusiast or a novice seeking to explore the realm of outdoor design, this guide is tailored to equip you with the knowledge and inspiration needed to paint your outdoor shed with confidence and finesse. Let's dive in and discover the transformative power of a fresh coat of paint!
Key Takeaways:
- Choose high-quality, outdoor-specific paint with UV resistance and waterproof properties to protect your shed from the elements and maintain long-lasting vibrancy.
- Prepare the shed by cleaning, inspecting for damage, repairing, and priming the surface to ensure optimal paint adhesion and a flawless, long-lasting finish.
Read more: How To Paint A Tin Shed
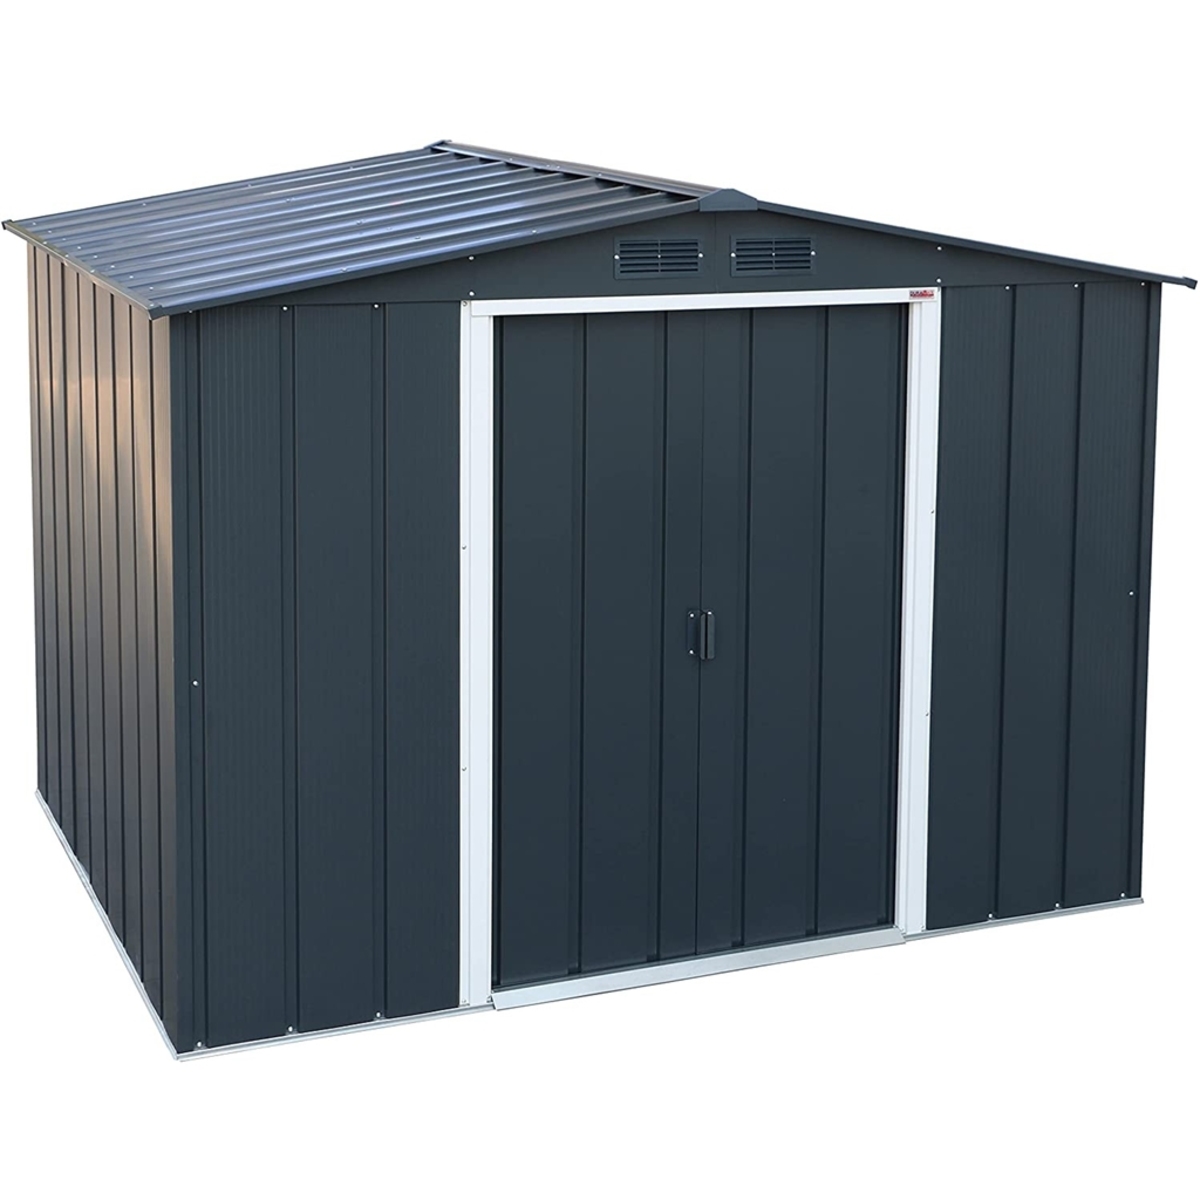
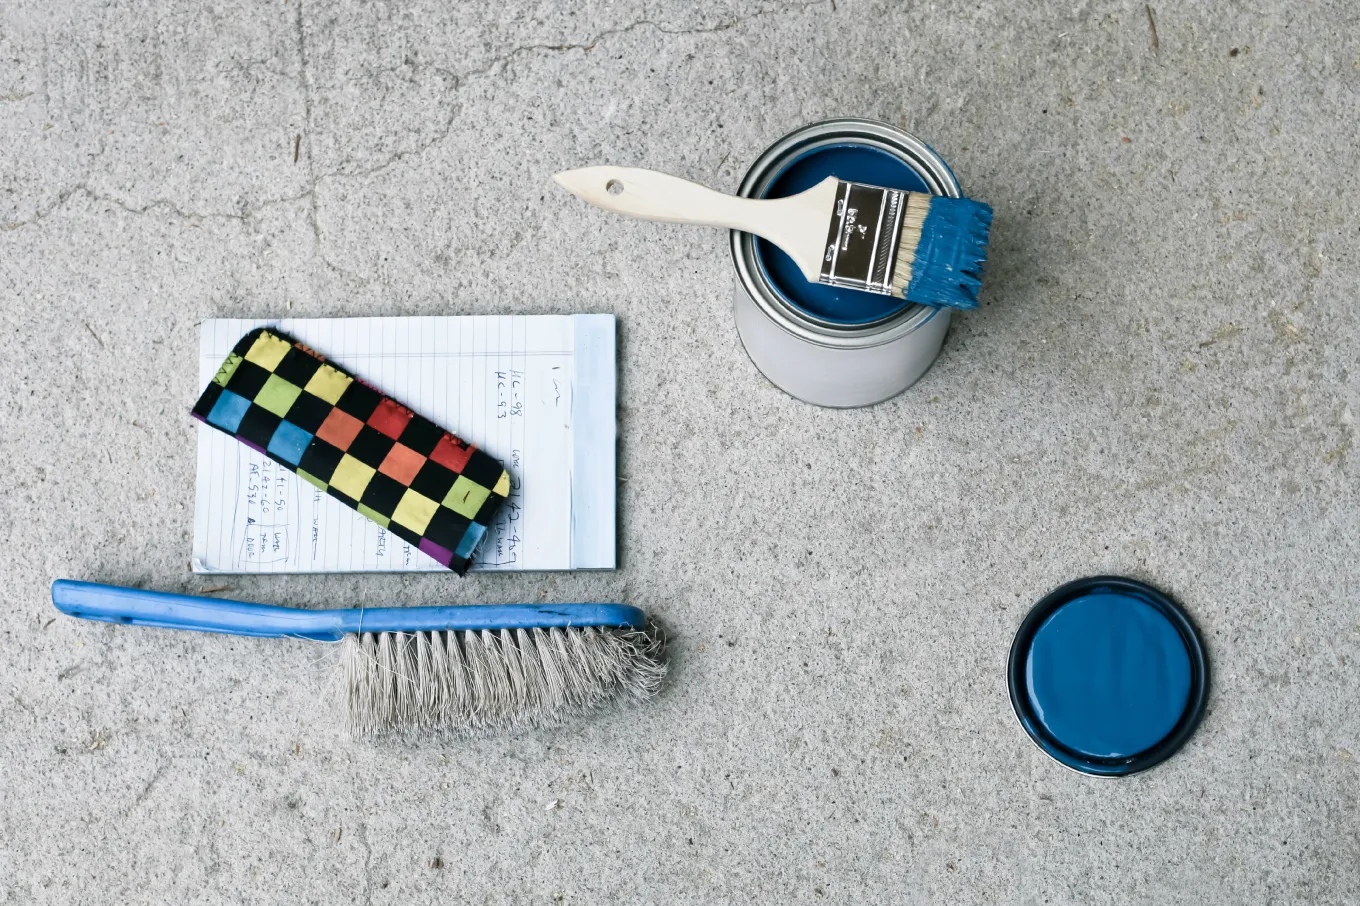
Choosing the Right Paint
Before embarking on the painting journey, it’s crucial to select the right type of paint that will withstand the outdoor elements and complement the overall aesthetic of your property. When choosing paint for your outdoor shed, consider the following factors:
- Outdoor-Specific Paint: Opt for high-quality exterior paint specifically designed for outdoor use. This type of paint is formulated to resist fading, cracking, and peeling, ensuring long-lasting vibrancy and protection against the elements.
- UV Resistance: Look for paint that offers UV resistance to shield your shed from the sun’s potent rays. UV-resistant paint helps maintain the color intensity and prevents premature weathering.
- Waterproof Properties: Given the shed’s exposure to rain and humidity, choose a paint that provides excellent waterproofing to safeguard the wood or metal surface from moisture damage.
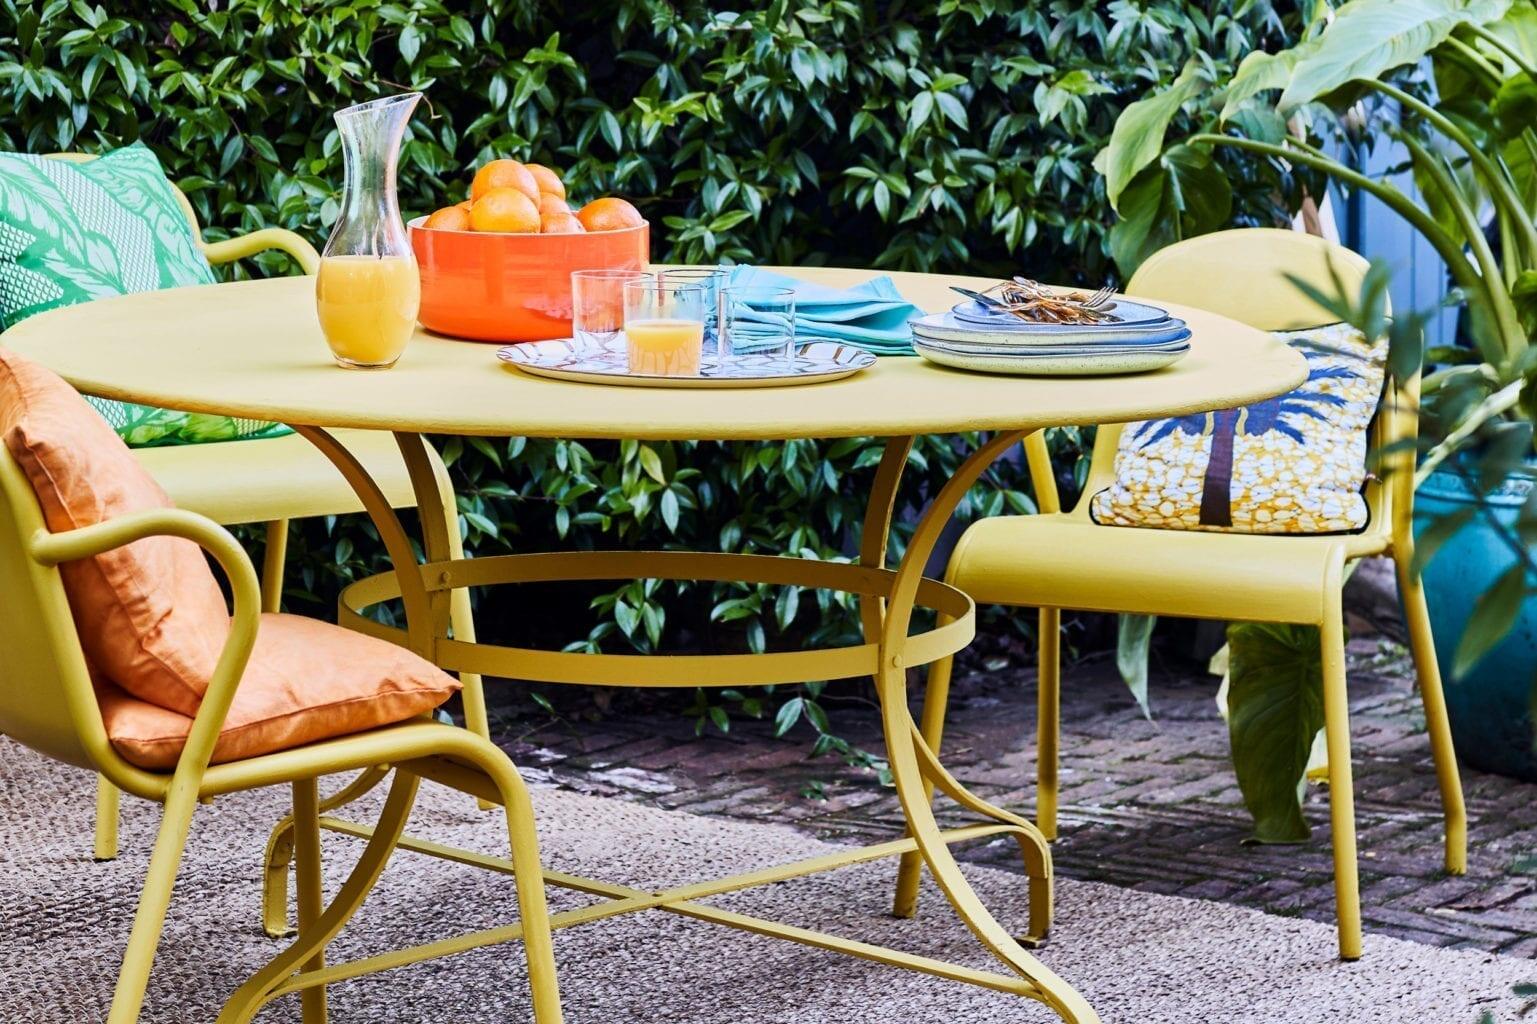
- Color Selection: Explore a wide range of colors and finishes to find the perfect match for your outdoor aesthetic. Whether you prefer earthy tones that blend harmoniously with nature or bold, statement-making hues, the color selection process is an opportunity to infuse your personal style into the outdoor space.
- Durability and Longevity: Prioritize paints known for their durability and long-term performance. A high-quality, weather-resistant paint will maintain its allure and protective properties for years to come, minimizing the need for frequent touch-ups.
Additionally, consider the material of your shed when selecting paint. Different materials, such as wood, metal, or vinyl, may require specific types of paint and primers for optimal adhesion and resilience.
By carefully evaluating these factors and consulting with paint professionals if needed, you can confidently choose a paint that not only enhances the visual appeal of your outdoor shed but also fortifies it against the rigors of outdoor exposure. The right paint sets the foundation for a stunning and enduring transformation, ensuring that your outdoor shed remains a captivating focal point within your property.
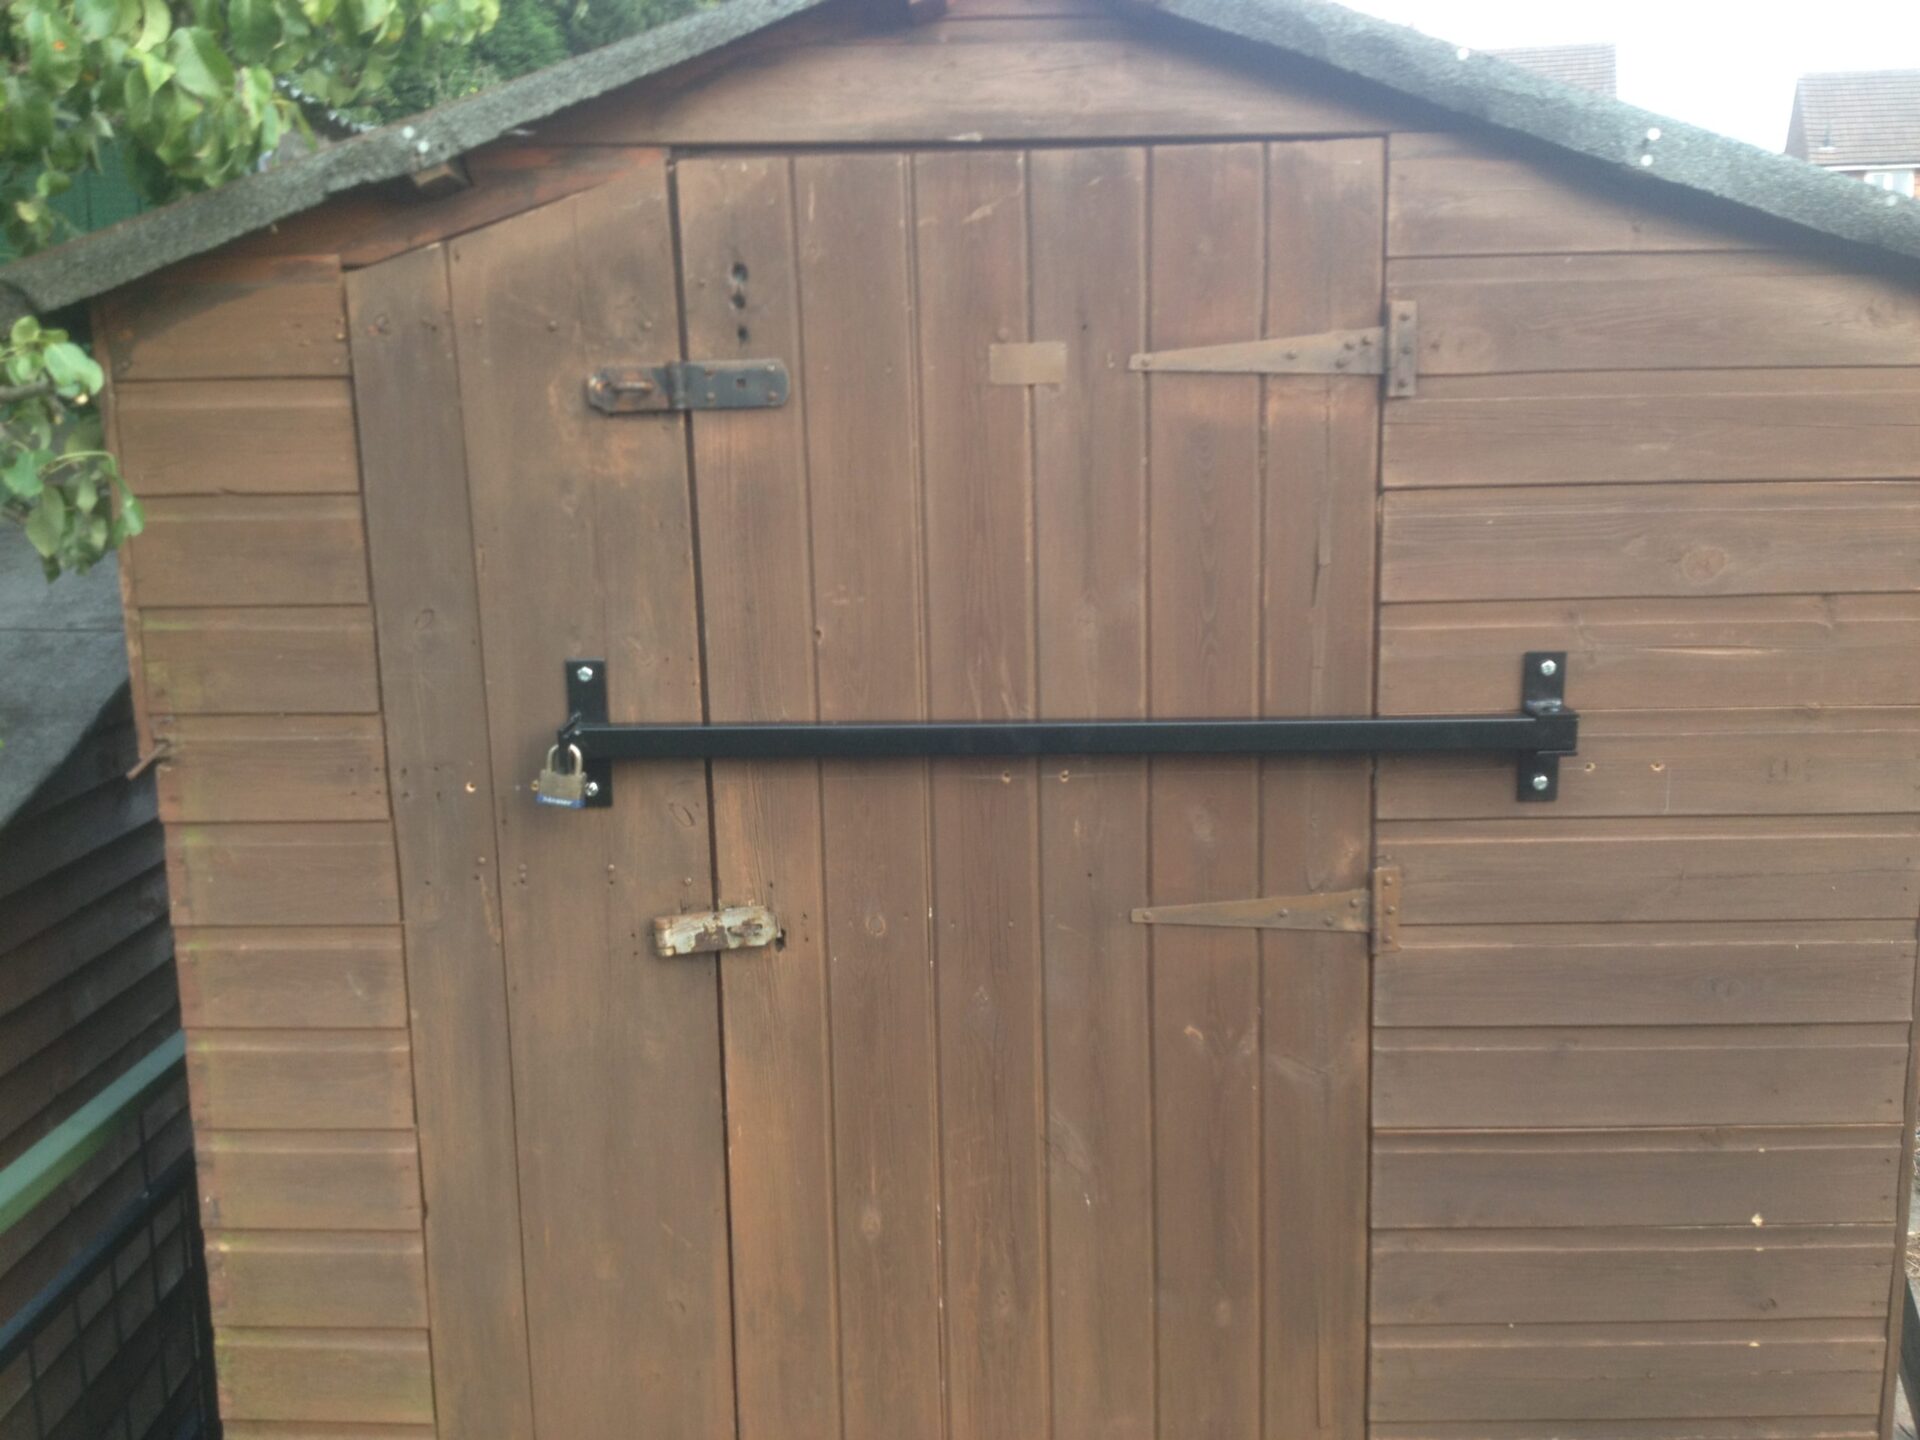
Preparing the Shed
Before diving into the painting process, it’s essential to prepare the shed’s surface to ensure optimal paint adhesion and a flawless, long-lasting finish. Proper preparation sets the stage for a professional-quality outcome and maximizes the paint’s effectiveness in protecting the shed from the elements. Here are the key steps to prepare your shed for painting:
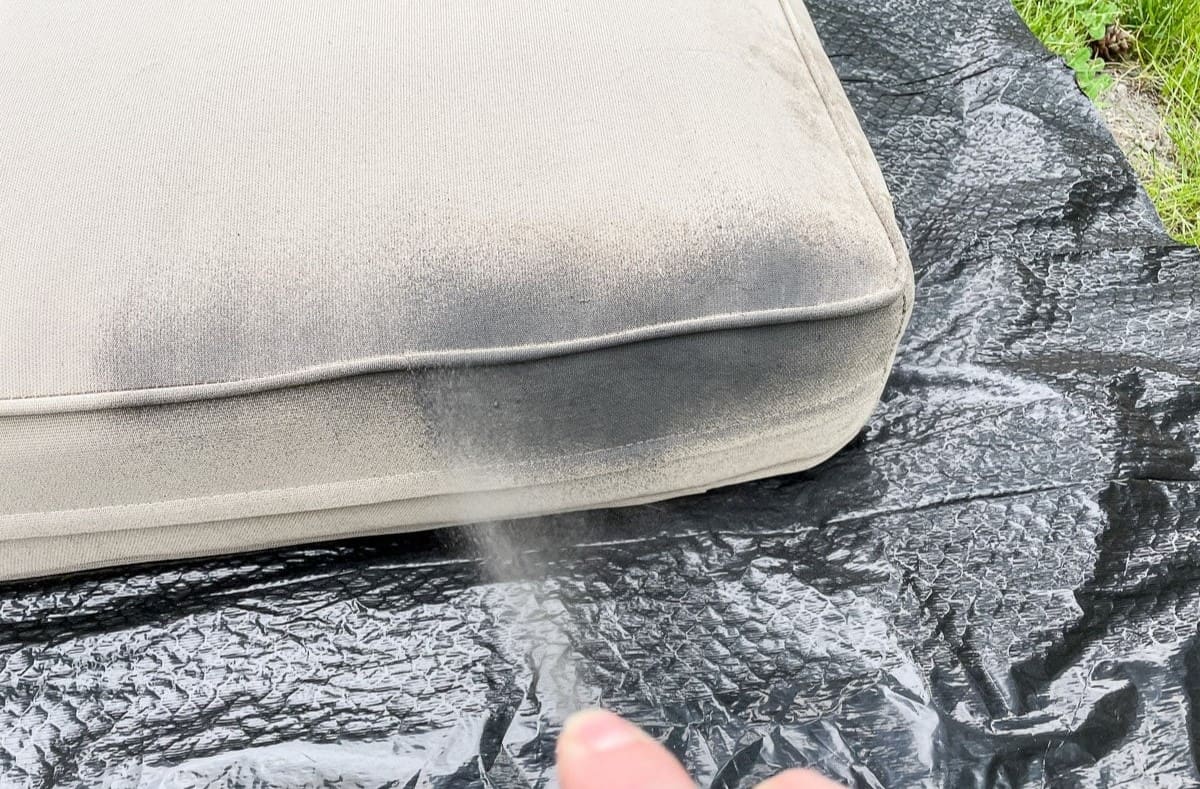
- Clean the Surface: Begin by thoroughly cleaning the shed’s exterior surface to remove dirt, grime, and any existing mildew or mold. Use a gentle detergent, a scrub brush, and water to wash the surface, and consider using a pressure washer for larger sheds or heavily soiled areas. Allow the surface to dry completely before proceeding.
- Inspect for Damage: Carefully inspect the shed for any signs of damage, such as cracks, rot, or rust. Address any structural issues or deterioration before proceeding with the painting process to ensure a solid and resilient foundation for the new paint.
- Repair and Replace: Repair any damaged or deteriorated areas, such as wood rot or metal corrosion, using appropriate fillers, sealants, or replacement materials. Smooth out uneven surfaces and ensure that the shed is structurally sound before moving forward.
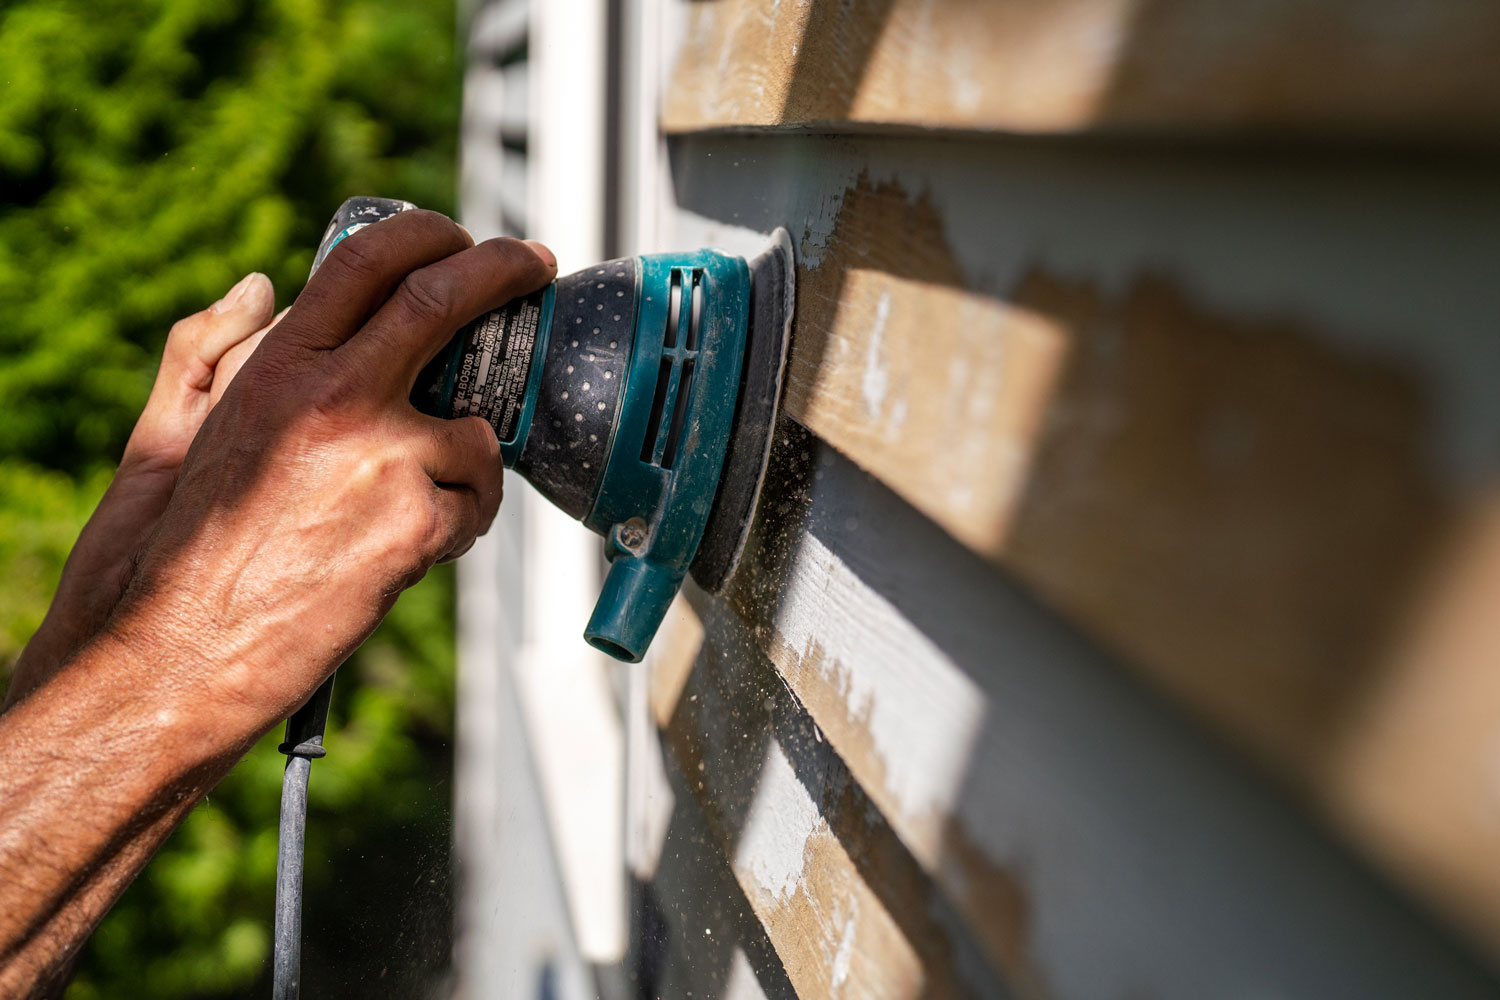
- Sand the Surface: For wooden sheds, sand the entire surface to create a smooth and uniform texture, removing any existing paint, rough patches, or imperfections. This step promotes better paint adhesion and a professional finish.
- Protect Surrounding Areas: If there are adjacent structures, plants, or other elements near the shed, take measures to protect them from paint splatter or overspray. Use drop cloths, plastic sheeting, or painter’s tape to shield surrounding areas from unintentional paint application.
By meticulously preparing the shed’s surface, you lay the groundwork for a successful and visually stunning paint application. This preparatory phase not only ensures the paint’s adherence and longevity but also allows you to address any underlying issues that could compromise the shed’s structural integrity. With a clean, well-prepared surface, you’re ready to move on to the next crucial step in the painting process: priming the shed for the transformative coat of paint that awaits.
Priming the Surface
Priming the surface of your outdoor shed is a vital preparatory step that significantly contributes to the longevity and overall quality of the paint job. A high-quality primer serves as a foundation for the paint, enhancing adhesion, promoting even color distribution, and providing an additional layer of protection for the shed’s exterior. Here’s how to effectively prime the surface of your shed:
- Choose the Right Primer: Select a primer specifically formulated for outdoor use and compatible with the type of paint you’ll be applying. Ensure that the primer is designed to adhere to the shed’s material, whether it’s wood, metal, or another substrate.
- Apply Evenly: Using a paintbrush, roller, or sprayer, apply the primer evenly across the shed’s surface. Pay attention to any intricate details, such as trim, corners, and edges, to ensure thorough coverage.
- Allow Ample Drying Time: Follow the manufacturer’s recommendations regarding drying time, ensuring that the primer cures completely before proceeding to apply the paint. Adequate drying time allows the primer to create a strong bond with the surface, maximizing the effectiveness of the subsequent paint layers.
- Inspect for Uniformity: After the primer has dried, inspect the surface for uniform coverage and smoothness. Address any missed spots or uneven areas to guarantee a flawless base for the paint application.
- Enhance Adhesion and Durability: The primer acts as a protective barrier, preventing the underlying material from absorbing moisture and providing an enhanced surface for the paint to adhere to. This step is particularly crucial for wooden sheds, as it seals the wood and minimizes the risk of moisture-related issues.
By diligently priming the shed’s surface, you establish an optimal canvas for the paint, ensuring that the final color adheres uniformly, resists peeling and flaking, and maintains its vibrancy over time. The primer serves as a crucial intermediary layer that enhances the overall resilience and visual appeal of the painted surface, setting the stage for a professional-quality finish that will stand the test of time.
Before painting an outdoor shed, make sure to clean and sand the surface to remove any dirt or old paint. Use a high-quality exterior paint and apply it in thin, even coats for a smooth and long-lasting finish.
Applying the Paint
As you approach the exciting phase of applying paint to your outdoor shed, meticulous attention to detail and technique will yield a stunning and enduring result. The application process not only imparts color and character to the shed but also serves as a protective shield against the elements. Here’s how to expertly apply paint to your outdoor shed:
- Choose the Right Tools: Select high-quality paintbrushes, rollers, or sprayers suitable for the size and texture of your shed. Quality tools contribute to a smoother application and a professional finish.
- Stir and Strain the Paint: Thoroughly stir the paint to achieve a consistent color and texture. If using a sprayer, strain the paint to remove any impurities that could affect the application.
- Begin with Trim and Edges: Start by carefully painting the trim, corners, and edges of the shed using a precise and steady hand. This meticulous approach sets the foundation for the broader paint application.
- Apply Even Coats: Whether using a brush, roller, or sprayer, strive for even and consistent coats of paint across the shed’s surface. Avoid overloading the brush or roller to prevent drips and uneven coverage.
- Work in Sections: Divide the shed into manageable sections to ensure thorough and uniform paint application. This approach minimizes the risk of drying lines and allows for seamless blending of paint between sections.
- Follow Proper Technique: If using a brush, apply paint with smooth, overlapping strokes, following the natural lines of the shed. For rollers and sprayers, maintain a consistent and controlled motion to achieve a uniform finish.
- Allow for Drying Time: Respect the recommended drying time between coats, ensuring that each layer cures fully before applying subsequent coats. Adequate drying time is essential for the paint to bond effectively and maintain its integrity.
Throughout the painting process, maintain a keen eye for detail and precision, striving for a flawless and consistent application. By investing care and patience into the painting technique, you’ll achieve a visually captivating and resilient finish that elevates the aesthetic appeal of your outdoor shed while safeguarding it from environmental wear and tear.
Read more: How To Paint A Shed Exterior
Adding Finishing Touches
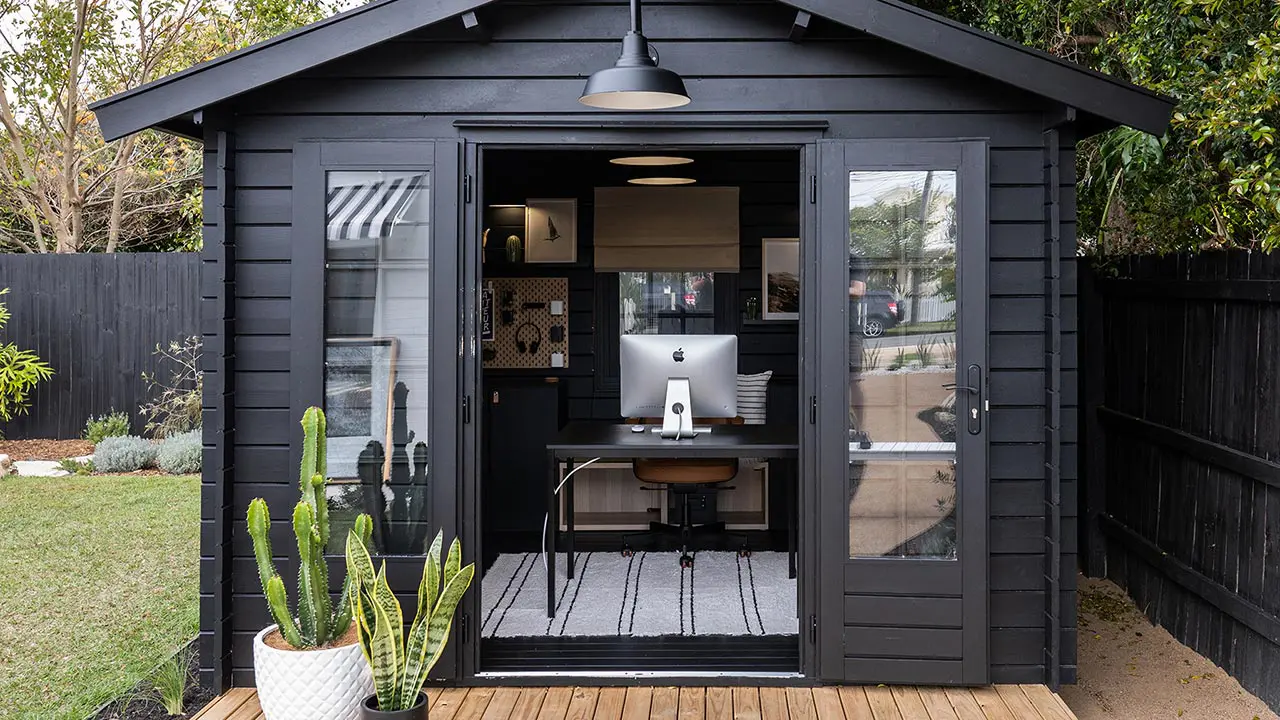
As the paint dries to reveal the vibrant transformation of your outdoor shed, the addition of finishing touches further enhances its visual allure and cohesiveness with the surrounding environment. These final details elevate the overall aesthetic impact and contribute to the shed’s integration into your outdoor space. Here are the key finishing touches to consider:
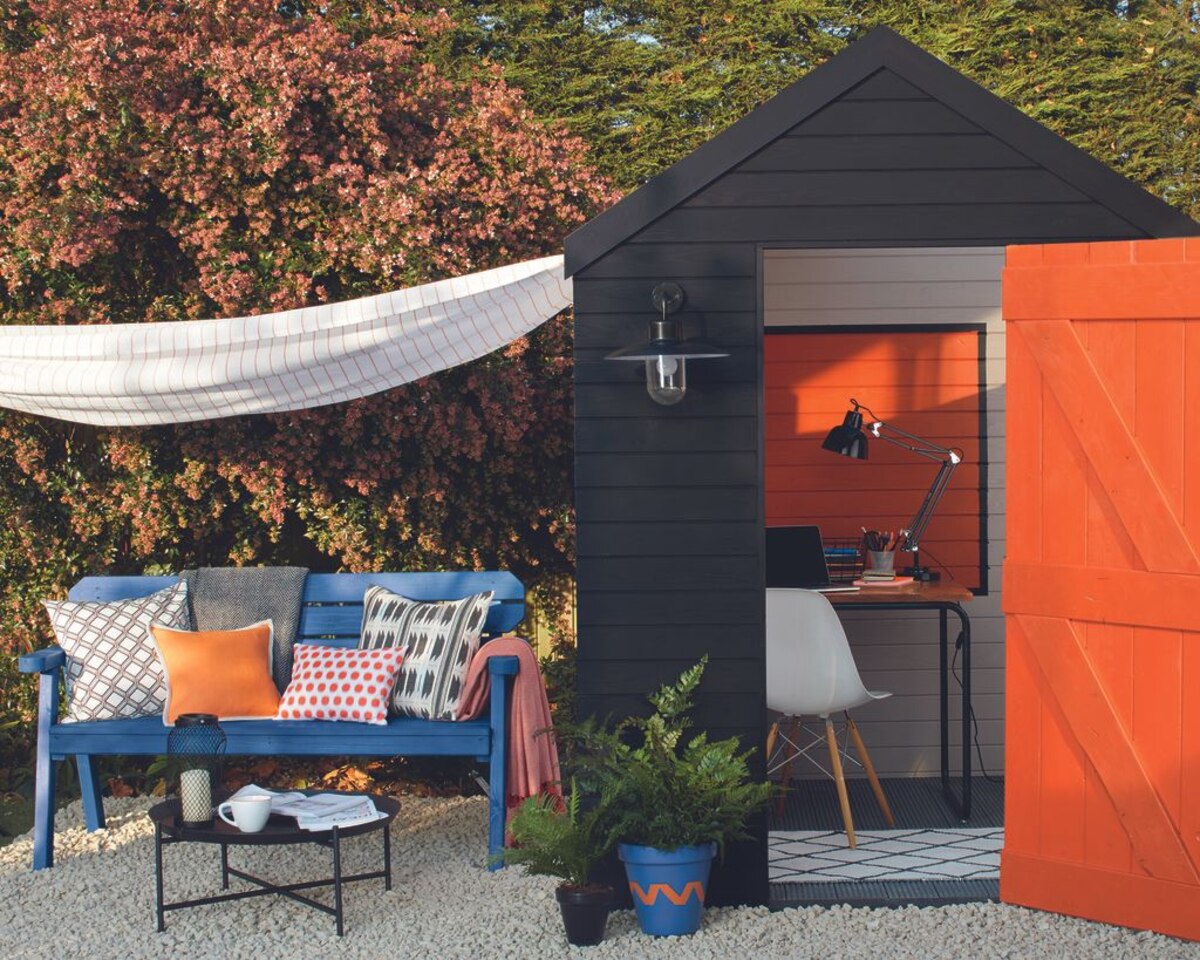
- Accentuate with Trim Colors: Consider using a complementary or contrasting color for the trim, doors, and other architectural details of the shed. This subtle distinction adds depth and visual interest, accentuating the shed’s unique features.
- Apply Protective Coatings: For added durability and weather resistance, consider applying a clear protective coat over the painted surface. This additional layer shields the paint from UV exposure, moisture, and general wear, prolonging its vibrancy and integrity.
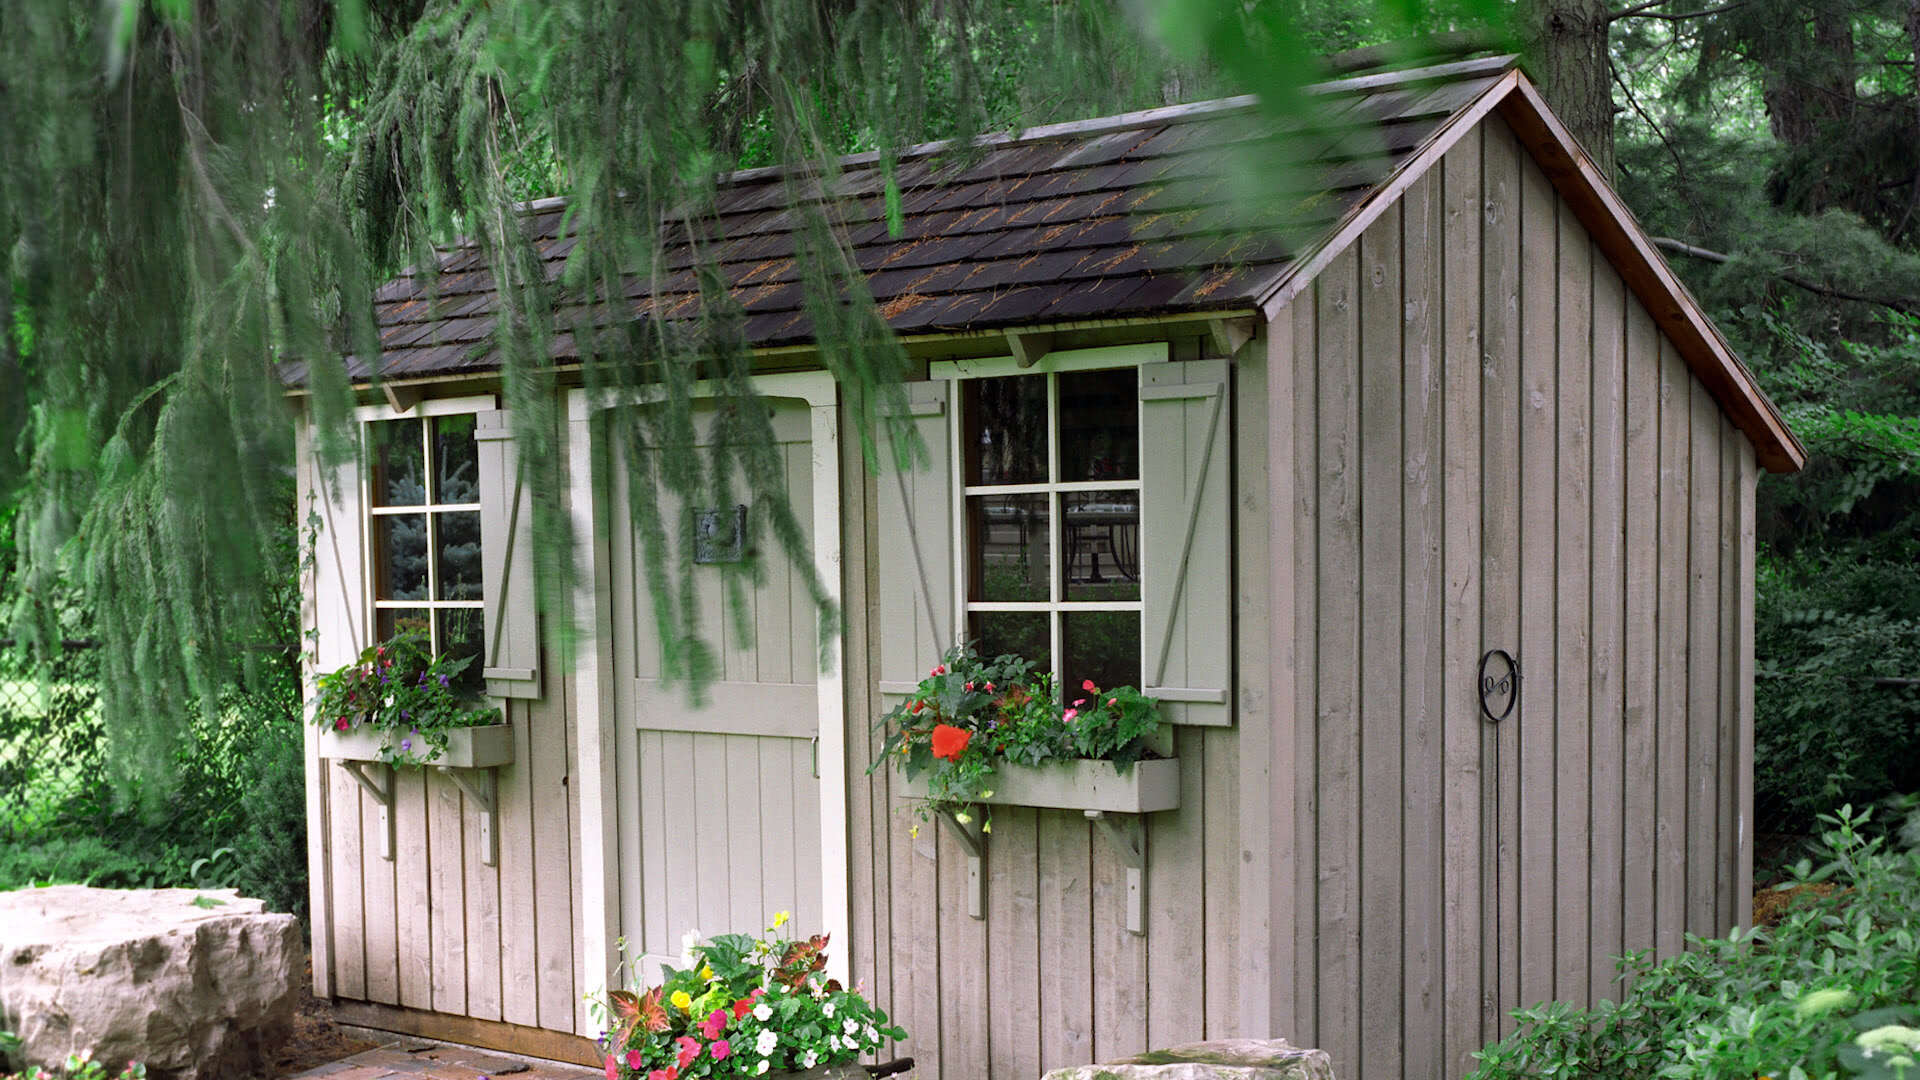
- Embellish with Decorative Elements: Personalize the shed with decorative elements such as window boxes, shutters, or architectural embellishments that harmonize with the freshly painted exterior. These details infuse charm and character, transforming the shed into a captivating focal point within your outdoor landscape.
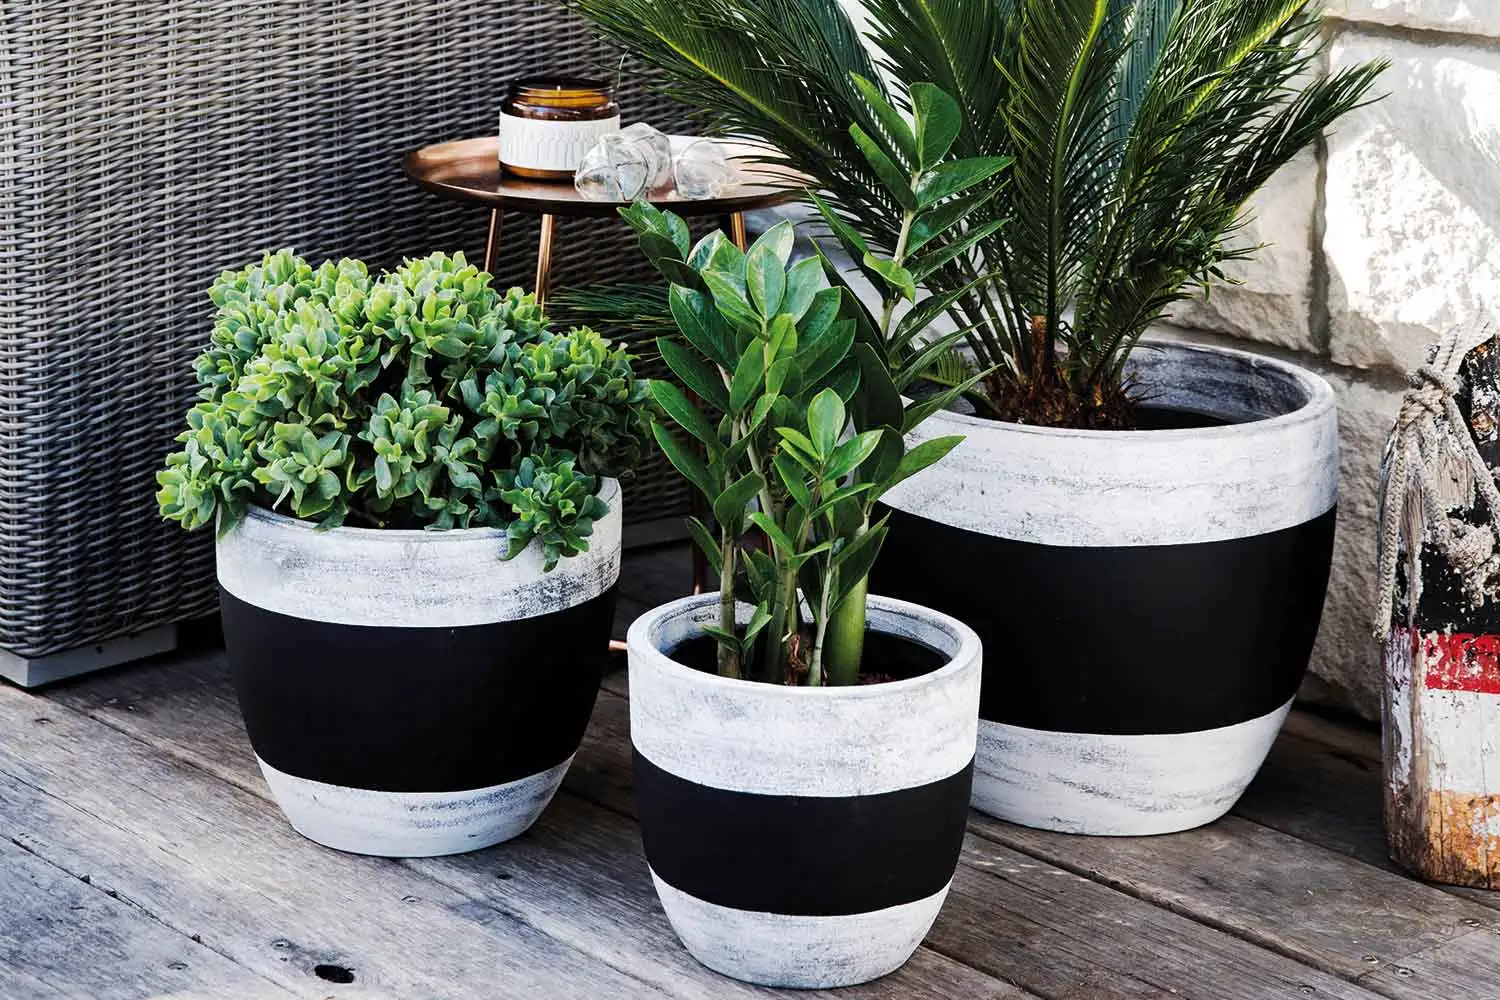
- Landscaping Integration: Integrate landscaping elements around the shed, such as flower beds, potted plants, or pathway accents, to create a harmonious and inviting outdoor environment. Thoughtfully placed greenery and floral displays complement the shed’s new aesthetic, fostering a cohesive and visually appealing outdoor space.
- Lighting Enhancements: Consider installing outdoor lighting fixtures near the shed to illuminate its beauty during the evening hours. Strategic lighting not only showcases the shed’s newly painted facade but also contributes to the overall ambiance and functionality of the outdoor area.
By attending to these finishing touches, you elevate the impact of the freshly painted shed, infusing it with character, durability, and seamless integration into the outdoor landscape. These thoughtful details transform the shed from a functional structure into a captivating and harmonious element within your outdoor design, enriching the visual appeal and ambiance of your property.
Conclusion
Congratulations on embarking on the transformative journey of painting your outdoor shed! Through careful consideration of paint selection, meticulous surface preparation, expert application, and thoughtful finishing touches, you’ve not only revitalized the shed’s appearance but also imbued it with enduring charm and resilience. As you stand back to admire the freshly painted shed, take pride in the accomplishment and the visual impact it brings to your outdoor space.
By choosing the right paint designed for outdoor durability, you’ve ensured that your shed will stand the test of time, resisting the elements and maintaining its vibrancy. The thorough preparation of the shed’s surface, including cleaning, repairing, and priming, has established a solid foundation for the paint, promoting adhesion and long-term integrity.
As you applied the paint with precision and care, layer by layer, you’ve not only added color and character to the shed but also fortified it against the rigors of outdoor exposure. The finishing touches, from trim accents to protective coatings and landscaping integration, have elevated the shed into a captivating and harmonious element within your outdoor design.
Beyond the tangible results, the process of painting your outdoor shed has been a creative endeavor, allowing you to express your personal style and enhance the ambiance of your outdoor sanctuary. The satisfaction of witnessing the shed’s transformation reflects the power of design and the impact of thoughtful, hands-on projects within your living space.
As you enjoy the enhanced visual appeal and durability of your freshly painted shed, take pride in the craftsmanship and attention to detail that have shaped this project. The shed now stands as a testament to your dedication to outdoor design and your ability to infuse everyday structures with beauty and functionality.
May your newly painted outdoor shed continue to inspire and delight, enriching your outdoor experience and serving as a testament to the transformative power of creativity and design within your living environment.
Frequently Asked Questions about How To Paint An Outdoor Shed
Was this page helpful?
At Storables.com, we guarantee accurate and reliable information. Our content, validated by Expert Board Contributors, is crafted following stringent Editorial Policies. We're committed to providing you with well-researched, expert-backed insights for all your informational needs.


0 thoughts on “How To Paint An Outdoor Shed”