Home>Gardening & Outdoor>Outdoor Structures>How To Paint A Metal Shed
Outdoor Structures
How To Paint A Metal Shed
Modified: October 19, 2024
Learn how to paint a metal shed and protect it from the elements. Find expert tips for outdoor structures to keep them looking great for years to come.
(Many of the links in this article redirect to a specific reviewed product. Your purchase of these products through affiliate links helps to generate commission for Storables.com, at no extra cost. Learn more)
Introduction
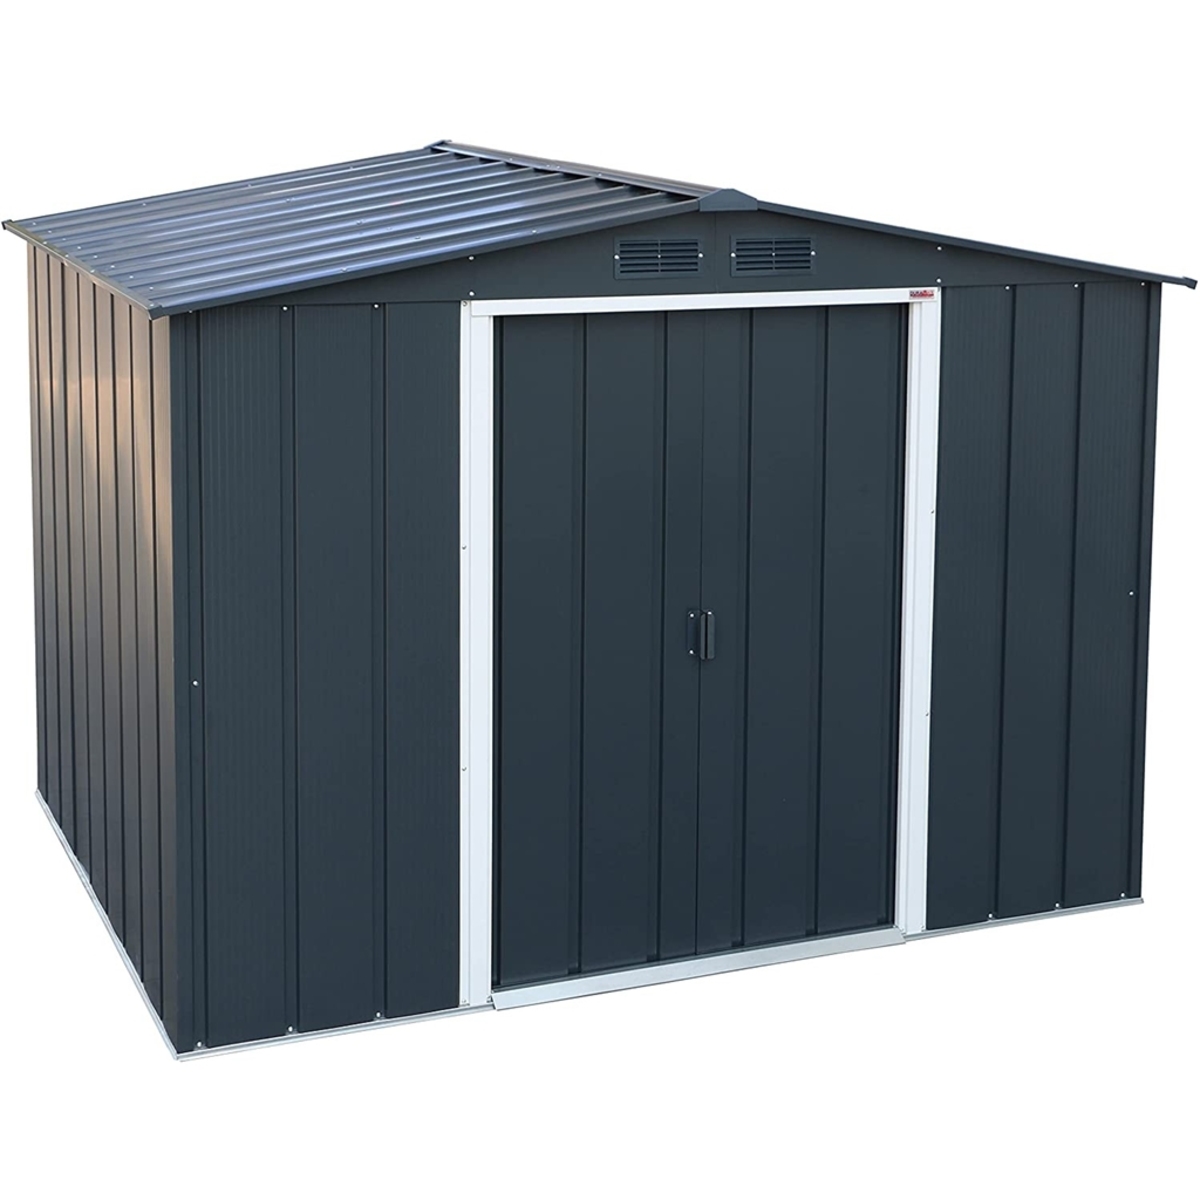
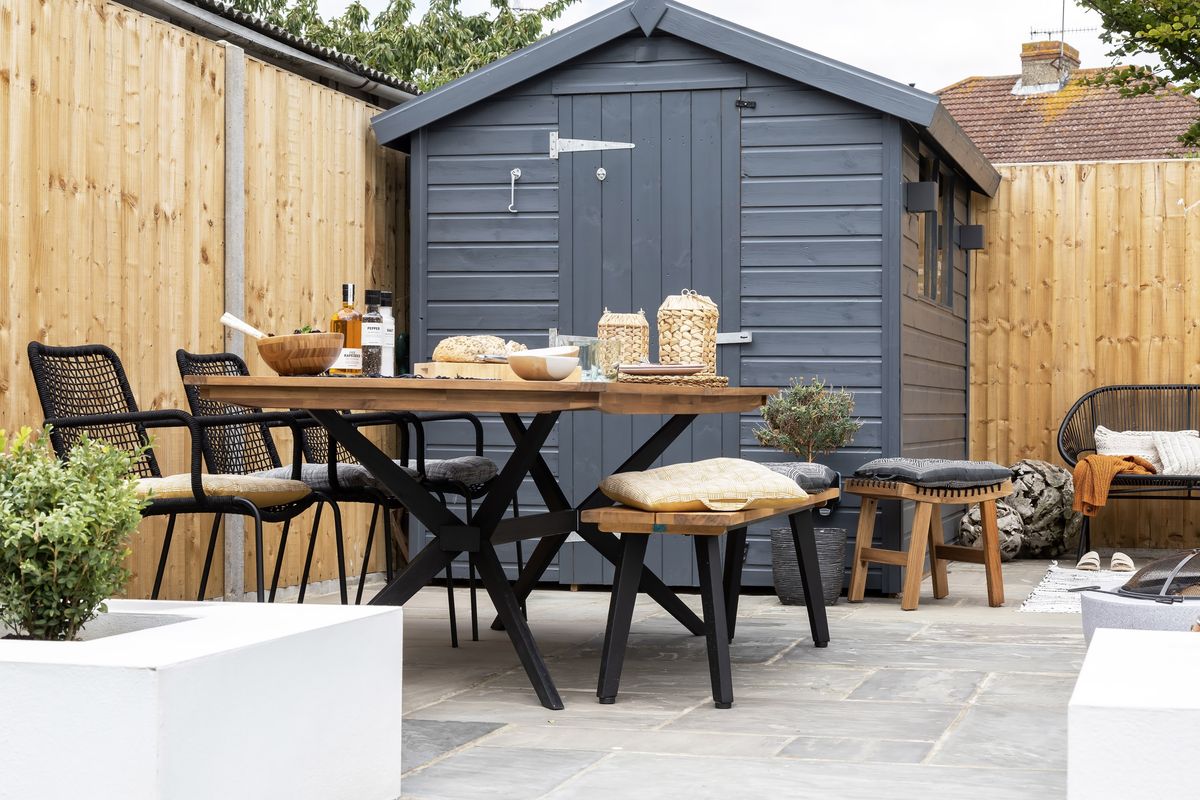
Welcome to the world of outdoor structures! Metal sheds are a popular choice for homeowners and garden enthusiasts, offering durability, low maintenance, and ample storage space. However, to keep your metal shed looking its best and protected from the elements, a fresh coat of paint can work wonders. Whether you want to match your shed to your home’s exterior or add a pop of color to your backyard, painting a metal shed is a rewarding and relatively simple DIY project.
In this guide, we’ll walk you through the step-by-step process of painting a metal shed, from gathering the necessary materials and tools to applying the finishing touches. By the end, you’ll have the knowledge and confidence to revitalize your metal shed and enhance the overall aesthetic of your outdoor space.
Key Takeaways:
- Revitalize your metal shed with a fresh coat of paint to enhance its appearance and protect it from the elements, adding charm and personality to your outdoor space.
- By taking on the DIY project of painting your metal shed, you not only boost its durability but also gain new skills and confidence in home improvement, creating a sense of accomplishment and ownership.
Read more: How To Install A Metal Shed
Materials and Tools Needed
Before embarking on your metal shed painting project, it’s essential to gather the right materials and tools. Here’s a comprehensive list to ensure you’re well-prepared:
Materials:
- Exterior metal paint
- Primer designed for metal surfaces
- Mineral spirits or paint thinner
- Sandpaper (medium and fine grit)
- Rust converter or rust-inhibiting primer (if the shed has rust)
- Painter's tape
- Drop cloths or plastic sheeting
- Mild detergent or trisodium phosphate (TSP) cleaner
- Clean rags or towels
- Bucket for cleaning
- Waterproof sealant (optional)
- Wire brush or sanding block
- Paintbrushes (various sizes for different areas of the shed)
- Paint sprayer or roller (optional, but helpful for larger sheds)
- Safety goggles
- Work gloves
- Respirator mask (especially if using a paint sprayer)
- Ladder or step stool
- Scrub brush
- Putty knife (for scraping off old paint or caulking)
- Extension cord (if using power tools)
Tools:
Having these materials and tools at your disposal will streamline the painting process and ensure a professional-looking finish. Now that you’re equipped with everything you need, let’s move on to preparing the shed for its makeover.
Preparing the Shed
Proper preparation is the key to a successful metal shed painting project. Before diving into the painting process, it’s crucial to thoroughly prepare the shed’s surface to ensure optimal paint adhesion and a long-lasting finish. Here’s a step-by-step guide to preparing the shed:
Read more: How To Waterproof A Metal Shed
1. Clear the Surrounding Area:
Start by removing any items stored inside or around the shed. This includes garden tools, equipment, and any other belongings that could obstruct your work area. Clearing the space will allow for easy access to all sides of the shed and prevent accidental paint splatter on nearby items.
2. Clean the Surface:
Using a mild detergent or trisodium phosphate (TSP) cleaner, scrub the entire exterior of the shed to remove dirt, grime, and any existing flaking paint. Rinse thoroughly with water and allow the surface to dry completely before proceeding. A clean surface is essential for proper paint adhesion.
3. Remove Rust and Flaking Paint:
If your shed exhibits signs of rust or peeling paint, it’s crucial to address these issues before painting. Use a wire brush, sanding block, or power sander to remove any rust and loose or flaking paint. For stubborn rust, consider using a rust converter or rust-inhibiting primer to neutralize the rust and prevent further corrosion.
4. Check for Caulking and Sealant:
Inspect the shed for any areas where caulking or sealant may be deteriorating. Use a putty knife to remove old caulking, and reapply new sealant to ensure that the shed is properly sealed against moisture and weather elements. This step is especially important for metal sheds, as it helps prevent water infiltration and rust formation.
Read more: How To Insulate A Metal Shed
5. Protect Windows and Fixtures:
If your shed has windows, door hardware, or other fixtures, use painter’s tape and plastic sheeting to cover and protect these areas from accidental paint splatter. This extra precaution will save you time and effort in cleaning up later.
By diligently preparing the shed, you’ll create a clean, smooth, and well-primed canvas for the paint, setting the stage for a professional-looking finish. With the shed prepped and ready, it’s time to move on to the next crucial step: priming the metal.
Priming the Metal
Priming the metal surface is a critical step in the painting process, especially when dealing with outdoor structures like metal sheds. The primer acts as a foundation, promoting paint adhesion and providing an additional layer of protection against rust and corrosion. Here’s a detailed guide on how to prime the metal surface of your shed:
1. Choose the Right Primer:
Opt for a high-quality primer specifically designed for metal surfaces. Look for a product that offers rust-inhibiting properties and excellent adhesion. If your shed has existing rust, consider using a rust converter or rust-inhibiting primer to halt corrosion and create a stable base for the paint.
2. Prepare the Primer:
Thoroughly stir the primer to ensure a consistent texture and proper activation of any rust-inhibiting agents. If thinning is required, follow the manufacturer’s recommendations for the appropriate solvent, typically mineral spirits or paint thinner.
Read more: How To Keep A Metal Shed Cool
3. Apply the Primer:
Using a high-quality paintbrush or a paint sprayer, apply an even coat of primer to the entire metal surface of the shed. Work systematically, starting from the top and moving downwards to ensure complete coverage. Pay special attention to areas prone to rust, such as joints, seams, and corners.
4. Allow for Proper Drying Time:
Follow the manufacturer’s instructions regarding the drying time for the primer. Typically, it’s recommended to allow the primer to dry for at least 24 hours before proceeding with the paint application. Ensure that the shed is placed in a well-ventilated area to aid the drying process.
5. Inspect for Uniform Coverage:
After the primer has dried, inspect the shed’s surface to ensure that the primer has been applied uniformly and that there are no bare spots or uneven areas. Address any inconsistencies by applying an additional coat of primer as needed.
Priming the metal surface of your shed sets the stage for a smooth and durable paint finish. The primer not only enhances paint adhesion but also provides an added layer of protection against environmental elements. With the metal surface primed and ready, it’s time to move on to the exciting phase of applying the paint.
Applying the Paint
Now comes the exciting part of the metal shed painting process: applying the paint. This step allows you to infuse your personal style and creativity into your outdoor space, whether you prefer a classic neutral tone or a vibrant splash of color. Follow these guidelines to achieve a professional and long-lasting paint finish on your metal shed:
Read more: How To Paint A Metal Lamp
1. Select High-Quality Exterior Metal Paint:
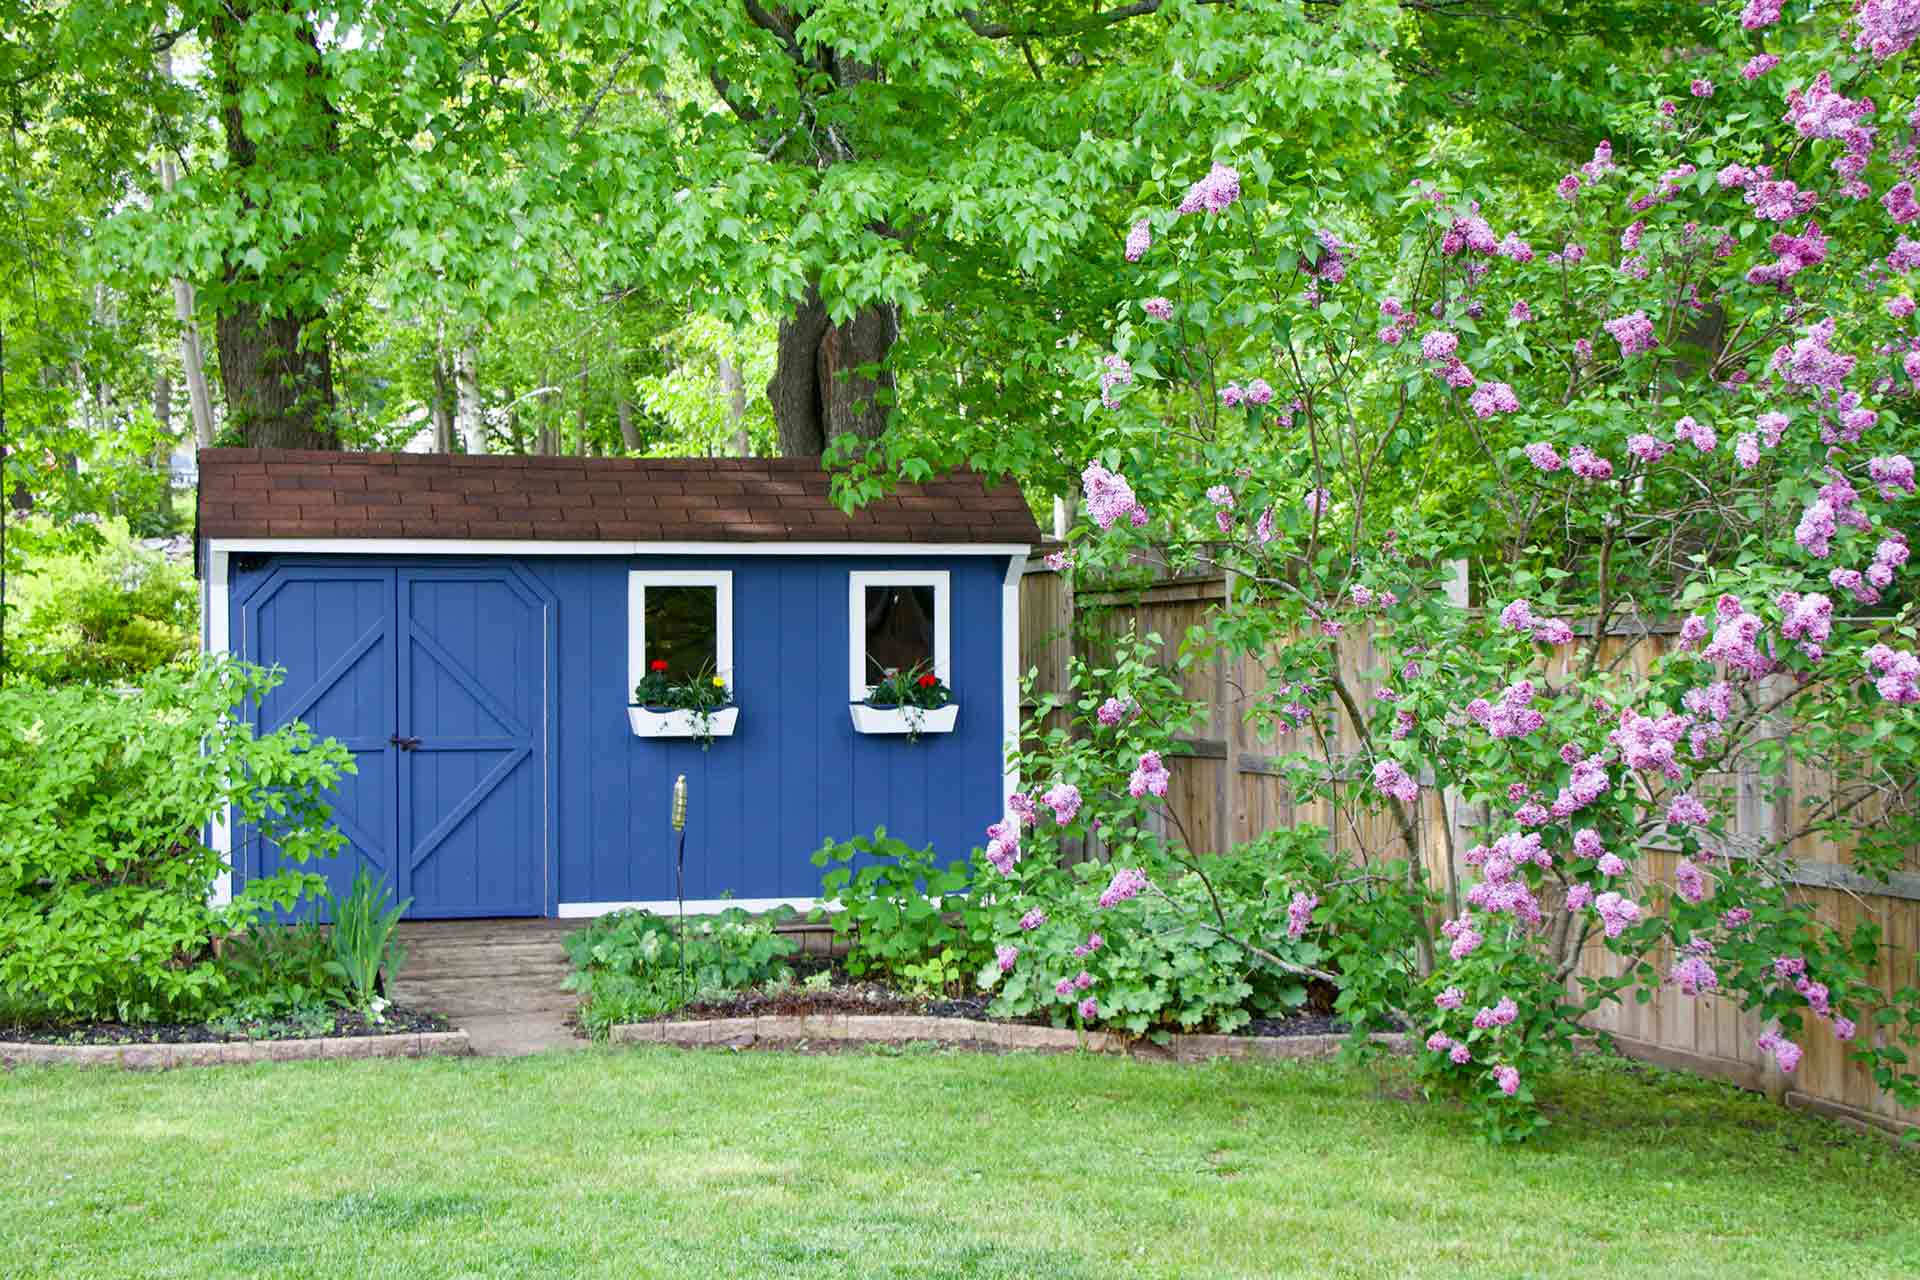
Choose a premium exterior metal paint designed to withstand the elements and provide long-term protection. Look for a paint that offers UV resistance, weatherproofing, and durability. Consider opting for a paint color that complements your home’s exterior or adds visual interest to your outdoor landscape.
2. Prepare the Paint:
Thoroughly stir the paint to achieve a consistent texture and ensure that any pigments or additives are well mixed. If you’re using multiple cans of paint, it’s advisable to mix them together to maintain color uniformity across the shed’s surface.
3. Apply the Paint Methodically:
Using a high-quality paintbrush, paint roller, or paint sprayer, start applying the paint to the metal shed’s surface. Work in manageable sections, moving from one side to the other in smooth, overlapping strokes. Take care to maintain a wet edge to avoid visible brush or roller marks.
4. Achieve Even Coverage:
Ensure that the paint is applied evenly and consistently across the entire surface of the shed. Pay attention to corners, seams, and intricate details, using a smaller brush or roller for precision. Multiple thin coats are preferable to a single thick coat, as they promote better adhesion and a smoother finish.
Read more: How To Paint Metal Cabinet
5. Allow for Proper Drying Time:
After applying the first coat of paint, allow it to dry according to the manufacturer’s recommendations. Typically, a second coat of paint is necessary to achieve full coverage and optimal durability. Apply the second coat in the same methodical manner, ensuring that the shed’s surface is fully and evenly coated.
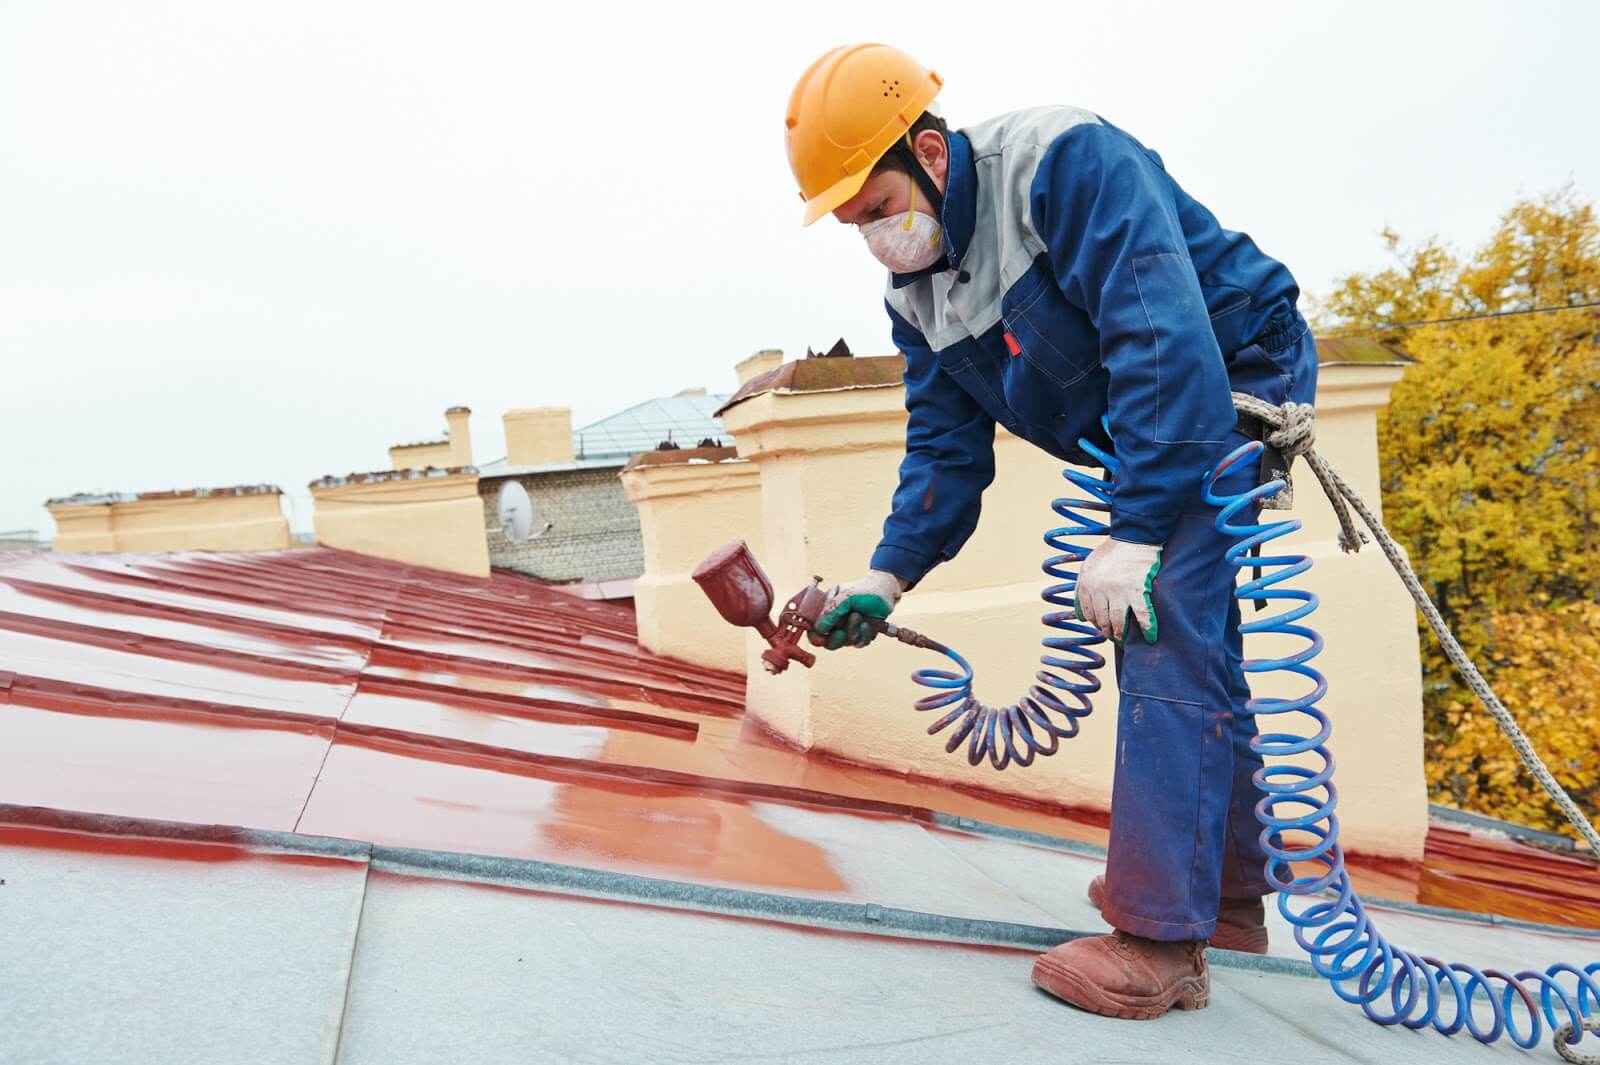
6. Consider Using a Paint Sprayer:
If you’re painting a larger metal shed, a paint sprayer can expedite the process and provide a more uniform finish. Follow the manufacturer’s instructions for the paint sprayer and take necessary precautions to protect surrounding areas from overspray.
By following these steps and taking your time with the painting process, you can achieve a professional-looking and durable finish that enhances the appearance and longevity of your metal shed. Once the paint has been applied, it’s time to add the finishing touches to complete the transformation.
Finishing Touches
As you near the completion of your metal shed painting project, attending to the finishing touches will elevate the overall result and ensure a polished and cohesive appearance. These final steps will enhance the durability and visual appeal of the painted surface, leaving you with a stunning and well-protected metal shed. Here’s how to add the finishing touches:
1. Seal and Protect:
Consider applying a clear waterproof sealant over the freshly painted surface to provide an additional layer of protection against moisture, UV rays, and general wear and tear. This step is particularly beneficial in areas prone to heavy rainfall or intense sun exposure, safeguarding the paint and extending its lifespan.
Read more: How Long Will A Metal Shed Last
2. Inspect for Imperfections:
After the paint has fully dried, inspect the shed’s surface for any imperfections, such as drips, runs, or missed spots. Touch up these areas with a small brush or roller, ensuring that the entire surface maintains a consistent and flawless finish. Attention to detail during this phase will result in a professional-looking outcome.
3. Reinstall Fixtures and Hardware:
If you removed any windows, door hardware, or other fixtures before painting, now is the time to reinstall them. Ensure that all components are securely reattached and functioning properly. This step adds the final touches to your shed’s rejuvenated appearance.
4. Clean Up the Surrounding Area:
As the painting process concludes, take the time to clean up the surrounding area and remove any protective coverings, tape, or debris. Return any items that were temporarily relocated and restore the surrounding space to its original order. This final act completes the transformation and allows you to fully appreciate the renewed beauty of your metal shed.
5. Maintain and Enjoy:
With the painting project successfully completed, make a commitment to regular maintenance to preserve the shed’s appearance and protective coating. Periodically inspect the shed for signs of wear, touch up any areas of concern, and clean the surface as needed. Take pride in your revitalized metal shed and enjoy the enhanced curb appeal it brings to your outdoor space.
By attending to these finishing touches, you’ll ensure that your metal shed not only looks fantastic but also remains well-protected against the elements for years to come. With the project now concluded, take a moment to admire your handiwork and revel in the transformation you’ve achieved.
Read more: How To Make A Floor For A Metal Shed
Conclusion
Congratulations on successfully completing the transformation of your metal shed through the power of paint! By embarking on this DIY project, you’ve not only revitalized the appearance of your outdoor space but also bolstered the shed’s durability and resistance to environmental elements. As you reflect on the journey from preparation to finishing touches, take pride in the following key takeaways:
Enhanced Aesthetics:
Your metal shed now boasts a fresh and vibrant appearance, whether you’ve chosen a classic neutral tone to harmonize with your home’s exterior or a bold color to make a statement in your backyard. The painted surface serves as a visual focal point, adding charm and personality to your outdoor environment.
Extended Protection:
Through meticulous preparation, priming, and painting, you’ve fortified the metal shed against rust, corrosion, and weather-related deterioration. The application of high-quality exterior paint and optional sealant provides a shield that safeguards the shed’s structural integrity and preserves its appeal for years to come.
DIY Accomplishment:
Undertaking the painting project has not only enhanced your outdoor space but also empowered you with new skills and confidence in tackling DIY endeavors. The hands-on experience and attention to detail throughout the process have contributed to a sense of achievement and ownership over the transformation of your metal shed.
Ongoing Maintenance:
As you admire the newly painted metal shed, remember that regular maintenance is key to preserving its beauty and protective coating. Periodically inspect the shed, address any imperfections promptly, and maintain a cleaning regimen to uphold its appearance and resilience over time.
By infusing your outdoor space with renewed vitality and charm, your freshly painted metal shed stands as a testament to your creativity, dedication, and commitment to enhancing your living environment. Whether it’s a storage solution, a gardening retreat, or a versatile workspace, your metal shed now embodies both functionality and visual appeal, enriching your everyday experiences in the great outdoors.
As you revel in the successful completion of this project, take a moment to appreciate the positive impact it has made on your home and lifestyle. Your revitalized metal shed stands as a testament to the transformative power of paint and the rewarding nature of hands-on home improvement endeavors.
Frequently Asked Questions about How To Paint A Metal Shed
Was this page helpful?
At Storables.com, we guarantee accurate and reliable information. Our content, validated by Expert Board Contributors, is crafted following stringent Editorial Policies. We're committed to providing you with well-researched, expert-backed insights for all your informational needs.

0 thoughts on “How To Paint A Metal Shed”