Home>Gardening & Outdoor>Outdoor Structures>How To Attach An Awning To A House
Outdoor Structures
How To Attach An Awning To A House
Modified: February 18, 2024
Learn how to properly attach an awning to your house and enhance your outdoor space with our step-by-step guide. Discover the best practices for installing outdoor structures.
(Many of the links in this article redirect to a specific reviewed product. Your purchase of these products through affiliate links helps to generate commission for Storables.com, at no extra cost. Learn more)
Introduction
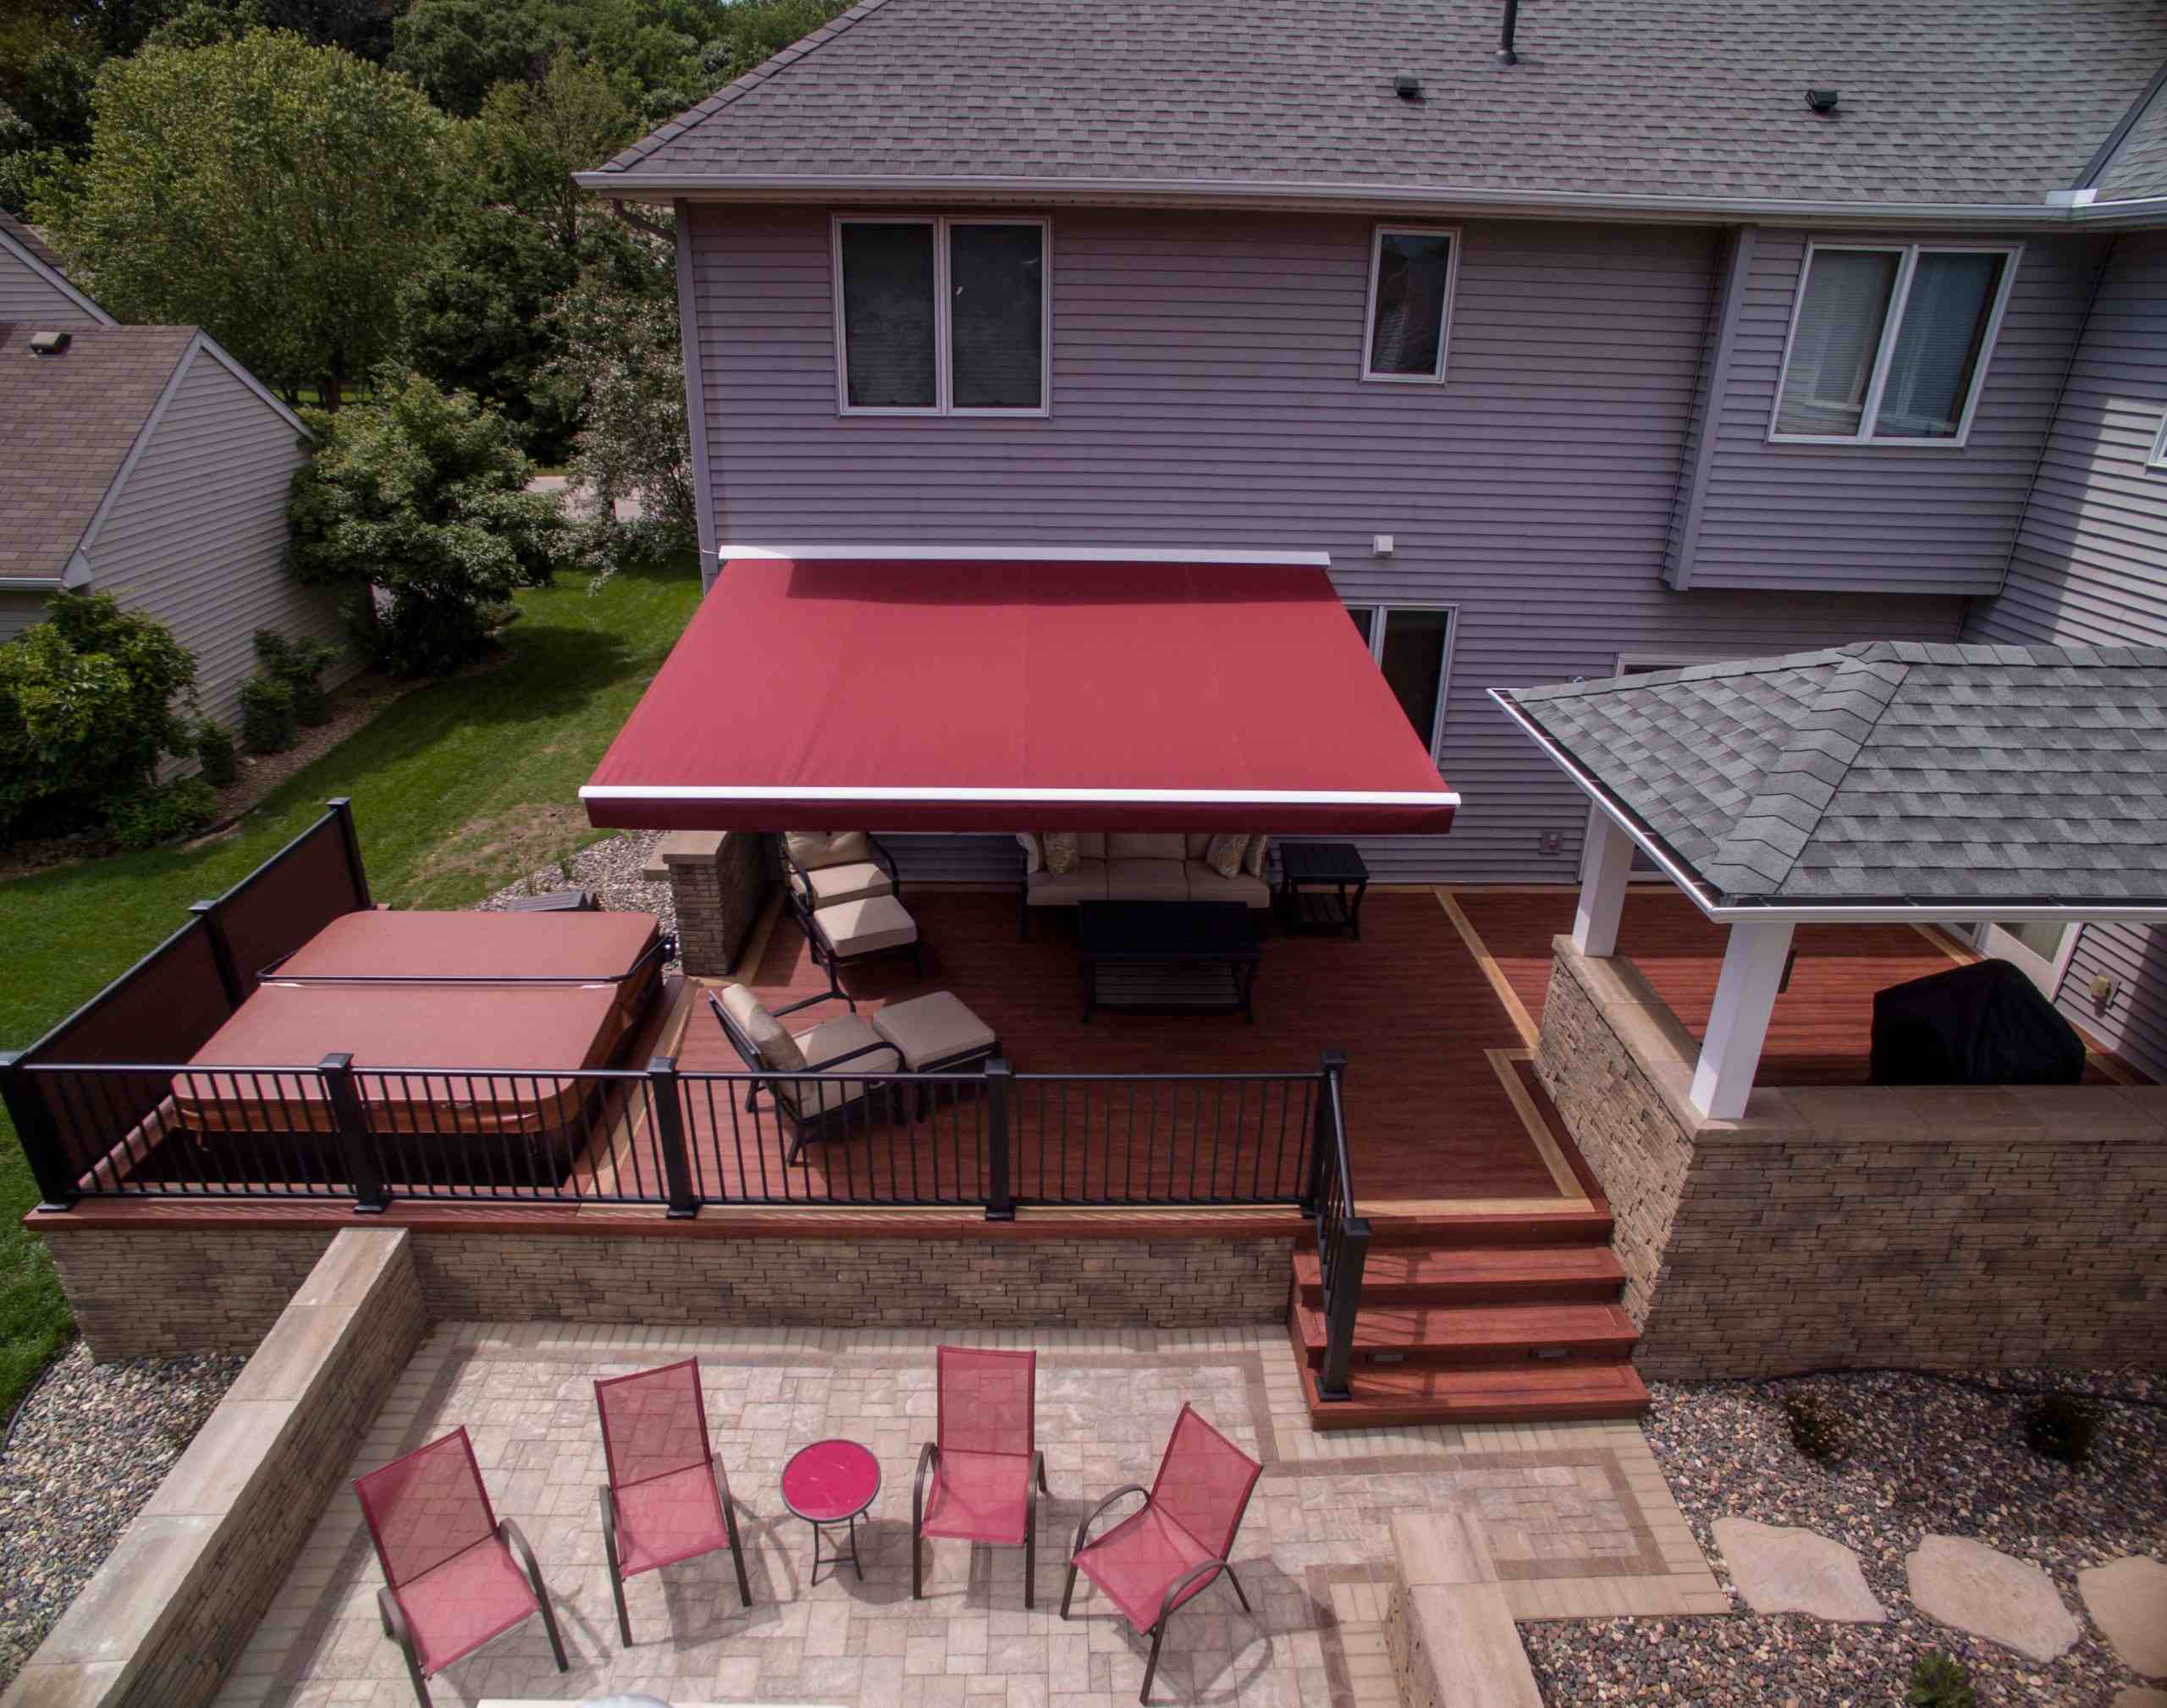
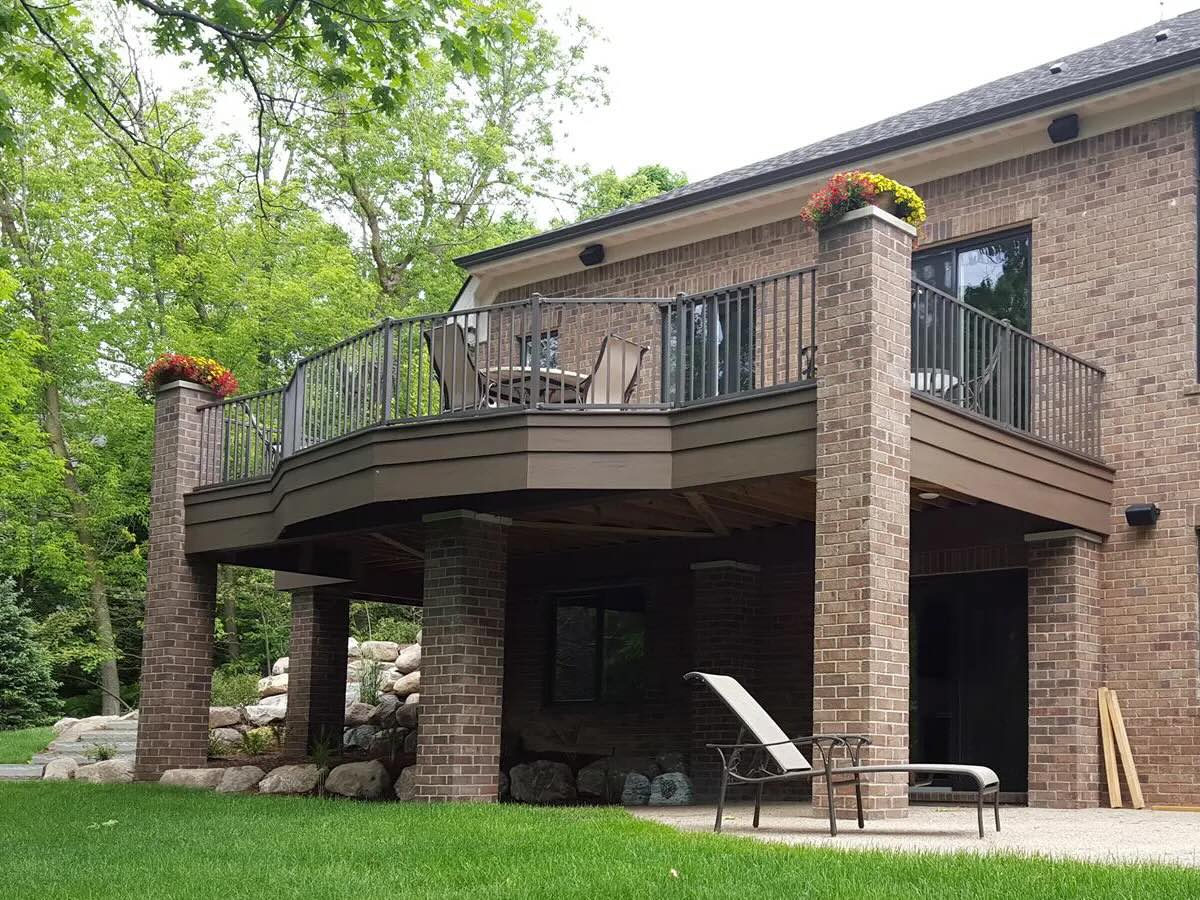
Adding an awning to your house can significantly enhance the aesthetic appeal and functionality of your outdoor space. Whether you want to create a shaded area for relaxation or protect your windows and doors from the elements, attaching an awning to your house is a practical and rewarding home improvement project. By following the proper steps and using the right materials, you can ensure a seamless and secure installation that will stand the test of time.
In this comprehensive guide, we will walk you through the process of attaching an awning to your house, from gathering the necessary materials to securing the awning in place. Whether you are a seasoned DIY enthusiast or a novice homeowner eager to take on a new project, this step-by-step guide will equip you with the knowledge and confidence to successfully install an awning that complements your home and meets your specific needs.
So, roll up your sleeves and get ready to embark on this fulfilling journey of enhancing your outdoor living space. With the right guidance and a can-do attitude, you'll soon be enjoying the benefits of a well-installed awning that adds both charm and functionality to your home. Let's dive into the details and make your awning installation a resounding success!
Key Takeaways:
- Enhance Your Outdoor Space
By following the steps in this guide, you can easily attach an awning to your house, creating a shaded retreat and expanding your living space for relaxation and entertainment. - Enjoy the Benefits
Once installed, your awning will provide shade, protect your home, and extend your living space, enhancing the aesthetics of your house and creating a functional outdoor oasis for memorable moments with family and friends.
Read more: How To Attach An Awning To A Camper
Step 1: Gather the Necessary Materials
Before you begin the process of attaching an awning to your house, it’s essential to gather all the required materials and tools. Having everything on hand will streamline the installation process and ensure that you can proceed without unnecessary delays. Here’s a comprehensive list of the materials and tools you’ll need:
- Awning Kit: Purchase a high-quality awning kit that includes all the essential components, such as the awning fabric, frame, mounting brackets, and hardware. Ensure that the kit is suitable for the size and type of awning you intend to install.
- Measuring Tape: A reliable measuring tape is crucial for accurately determining the dimensions of the installation area and ensuring that the awning is positioned correctly.
- Drill and Drill Bits: A power drill and a selection of drill bits will be necessary for creating pilot holes and securing the mounting brackets to the house.
- Screwdriver Set: A set of screwdrivers, including both flathead and Phillips head varieties, will be needed for fastening screws and other hardware during the installation process.
- Ladder: Depending on the height of the installation area, a sturdy ladder will be required to access the mounting location safely.
- Safety Gear: It’s crucial to prioritize safety during the installation process. Ensure that you have appropriate safety gear, such as gloves, safety goggles, and a dust mask, to protect yourself while working.
- Level: A spirit level or a laser level will help you ensure that the awning is installed perfectly horizontally, preventing any potential issues with water runoff and structural integrity.
- Pencil and Marking Tools: Marking the precise locations for drilling and mounting is essential. Have a pencil and other marking tools readily available.
By gathering these materials and tools before you begin, you’ll set the stage for a smooth and efficient awning installation process. With everything at your fingertips, you’ll be well-prepared to move on to the next steps and bring your vision of a beautifully awning-adorned house to life.
Step 2: Choose the Right Location
Selecting the ideal location for your awning is a crucial decision that can significantly impact its functionality and visual appeal. Before you proceed with the installation, take the time to carefully assess and choose the most suitable location for your awning. Here are key factors to consider when determining the optimal placement:
- Sun and Shade: Evaluate the sun’s trajectory throughout the day to identify areas where the awning can provide optimal shade. Consider the time of day you’re most likely to use the outdoor space to ensure that the awning effectively shields the area from direct sunlight.
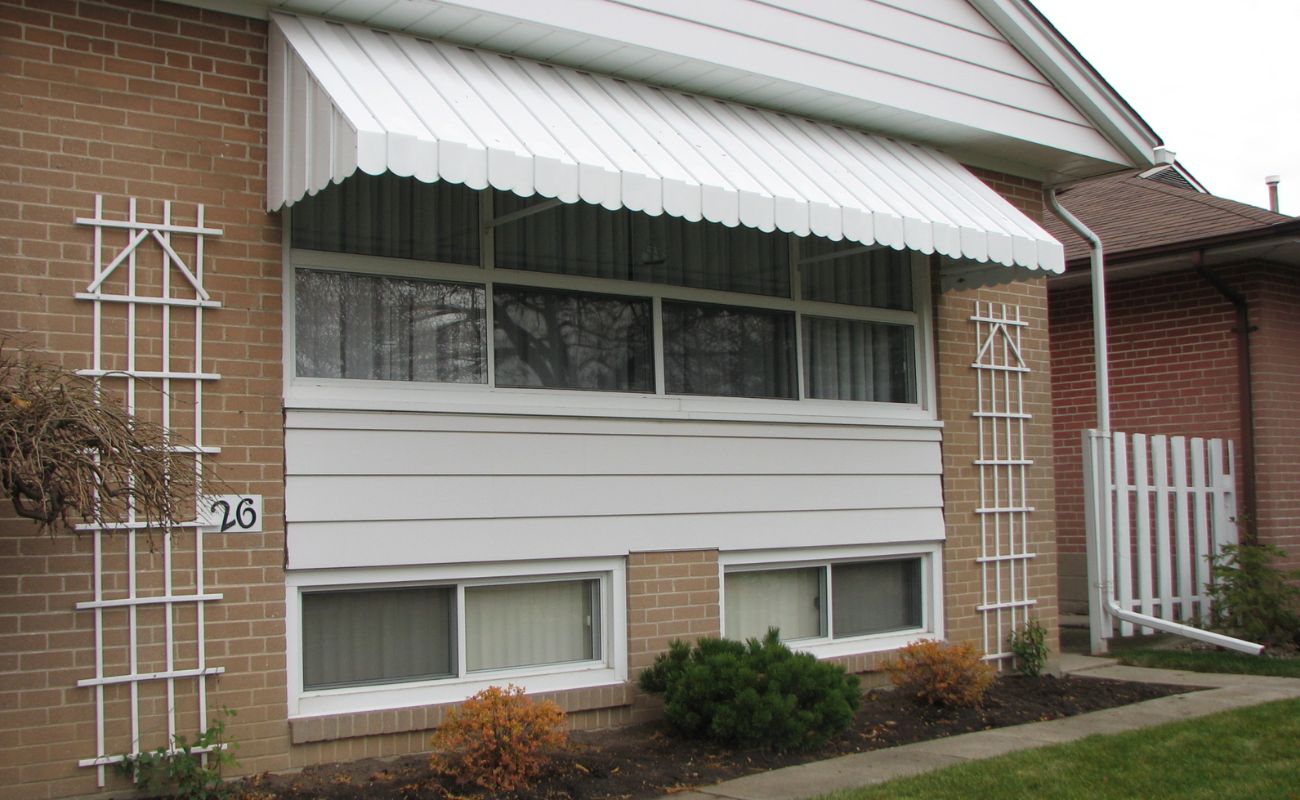
- Proximity to Doors and Windows: If your primary goal is to protect doors and windows from the elements, position the awning to provide adequate coverage while complementing the architectural features of your house.
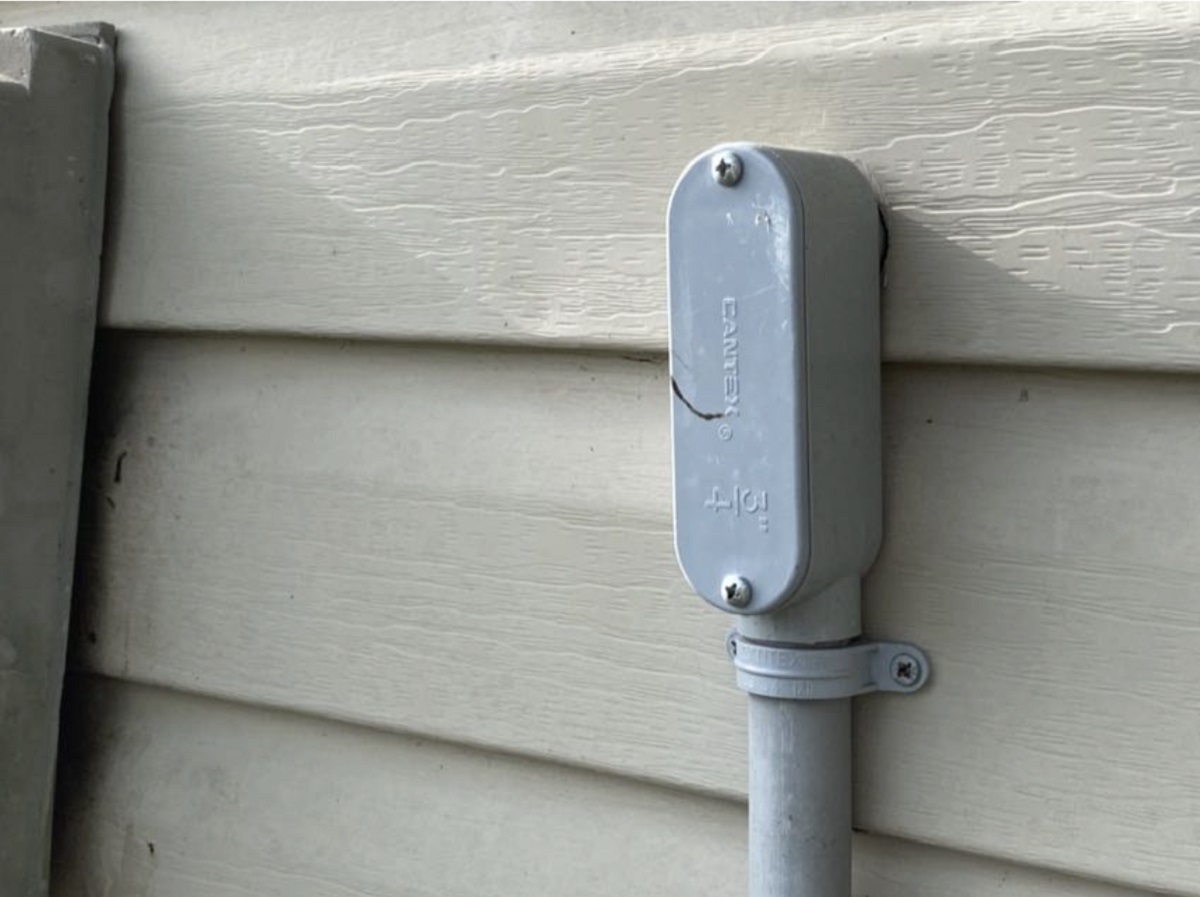
- Structural Considerations: Assess the structural integrity of the chosen installation area. Ensure that the house can support the weight of the awning and that there are no obstructions such as utility lines or vents that could impede the installation process.
- Aesthetic Appeal: Consider how the awning will visually integrate with the exterior of your house. Choose a location that enhances the overall aesthetic appeal of your home and complements its architectural style.
- Accessibility: Select a location that allows for easy access to the outdoor space while maintaining a seamless transition between indoor and outdoor areas.
By carefully considering these factors, you can make an informed decision about the best location for your awning. Once you’ve identified the optimal placement, you’ll be ready to move on to the next steps and prepare the chosen area for the installation process.
Step 3: Prepare the House
Before installing the awning, it’s essential to prepare the house to ensure a secure and durable attachment. Proper preparation will not only facilitate the installation process but also contribute to the long-term stability of the awning. Here are the key steps to prepare your house for awning installation:
- Inspect the Mounting Surface: Thoroughly examine the area where the awning will be attached. Ensure that the surface is structurally sound and capable of supporting the weight of the awning. If the mounting surface is made of wood, check for signs of rot or damage that may compromise the installation.
- Clean the Installation Area: Remove any debris, dirt, or obstructions from the mounting surface. A clean and smooth surface is essential for achieving a secure and flush attachment of the awning.
- Mark the Mounting Locations: Use a pencil or marking tool to indicate the precise locations for drilling pilot holes and securing the mounting brackets. Ensure that the markings align with the predetermined position for the awning.
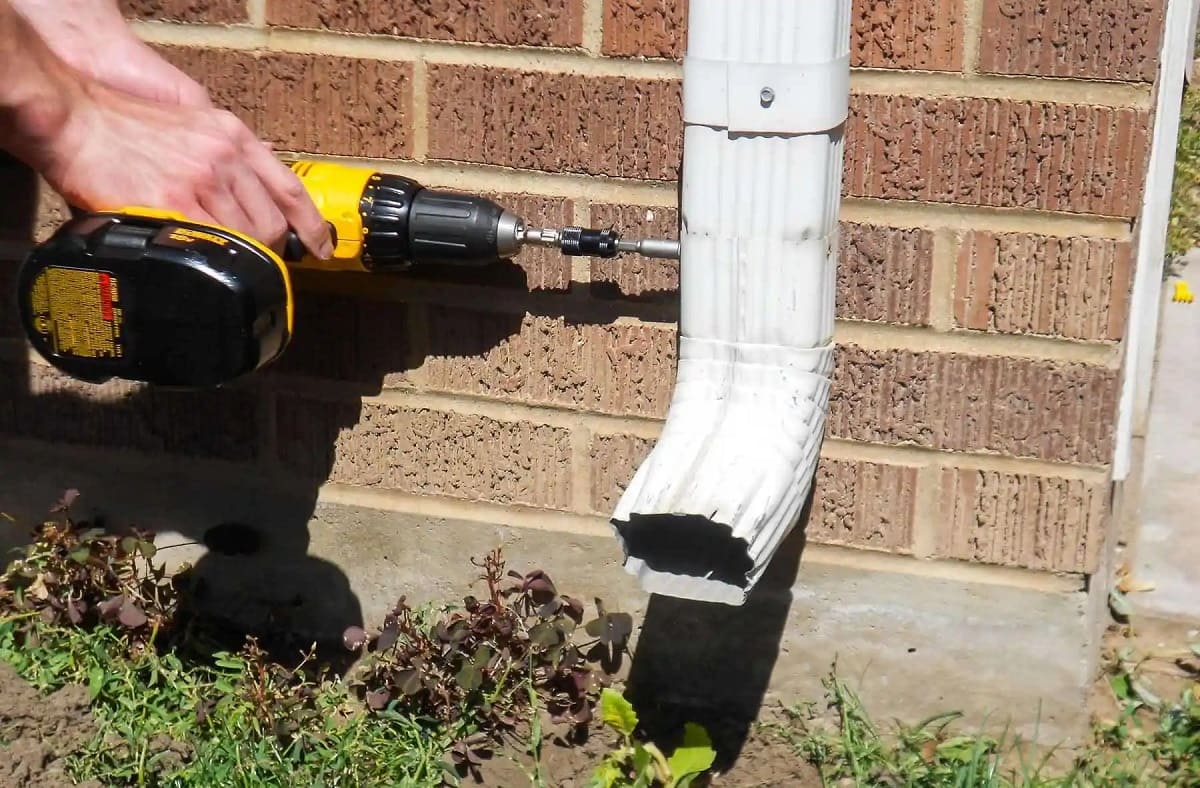
- Drill Pilot Holes: With the aid of a drill and the appropriate drill bit, carefully create pilot holes at the marked locations. Pilot holes are essential for facilitating the insertion of screws and ensuring a precise and secure attachment.
- Apply Sealant (If Necessary): Depending on the type of mounting surface and the awning kit’s specifications, consider applying a suitable sealant to the drilled pilot holes. This additional step can help prevent water infiltration and enhance the longevity of the installation.
By diligently preparing the house for awning installation, you’ll create a solid foundation for securely attaching the awning. Taking the time to inspect, clean, mark, and prepare the mounting surface will contribute to the overall success and durability of the installation. With the house adequately prepared, you’re now ready to proceed to the next crucial phase: installing the awning itself.
When attaching an awning to a house, make sure to use the proper tools and hardware for the specific type of siding or material on your house. It’s important to follow the manufacturer’s instructions carefully to ensure a secure and safe installation.
Step 4: Install the Awning
With the house prepared and the location chosen, it’s time to embark on the exciting phase of installing the awning. This step involves assembling the awning components and securely affixing them to the house. Follow these essential steps to ensure a successful and professional installation:
- Assemble the Awning Frame: If your awning kit requires assembly, carefully follow the manufacturer’s instructions to put together the frame components. Ensure that all parts are securely connected and aligned according to the designated configuration.
- Position the Awning: With the assistance of a friend or family member, carefully lift the assembled awning and position it at the chosen installation area. Take precise measurements and ensure that the awning is centered and aligned as desired.
- Secure the Mounting Brackets: Using the appropriate screws and a drill, fasten the mounting brackets to the house at the predetermined locations. Ensure that the brackets are securely attached and level to provide a stable foundation for the awning.
- Attach the Awning to the Brackets: With the help of a ladder and additional support if needed, carefully lift the awning and align it with the mounted brackets. Securely fasten the awning to the brackets according to the manufacturer’s specifications, ensuring a snug and stable connection.
- Double-Check Alignment and Stability: Once the awning is attached, verify that it is level and properly aligned. Test its stability by gently applying pressure to different areas. Confirm that the awning is securely anchored and does not exhibit any wobbling or shifting.
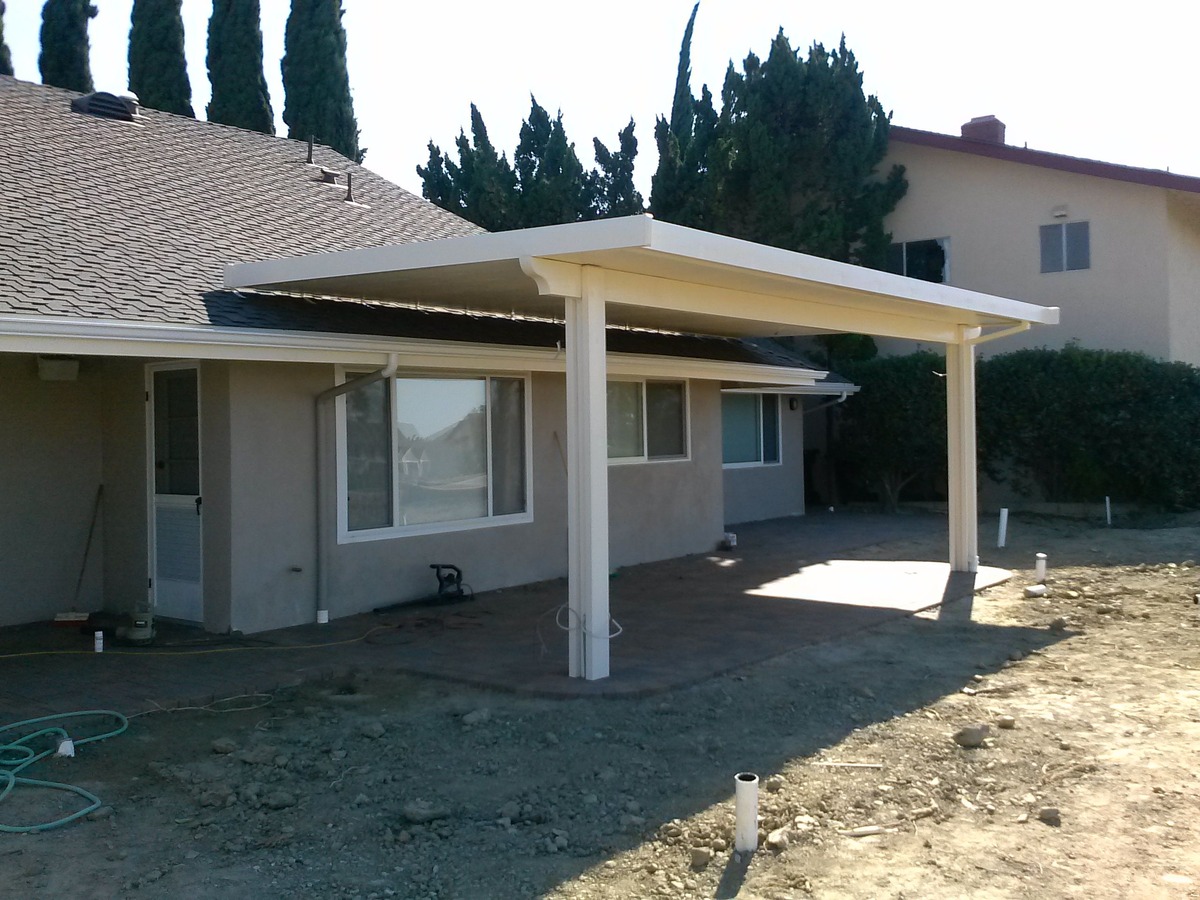
By meticulously following these steps, you’ll successfully install the awning, creating a welcoming and functional outdoor space that complements your home. With the awning securely in place, you’re now ready to proceed to the final essential step: securing the awning to the house to ensure its long-term reliability and performance.
Read more: How To Remove An Awning From A House
Step 5: Secure the Awning to the House
Securing the awning to the house is the crucial final step in the installation process. Properly anchoring the awning ensures its stability, longevity, and resistance to external forces such as wind and rain. Follow these essential guidelines to secure the awning to the house effectively:
- Tighten and Adjust Fasteners: Carefully inspect all fasteners, screws, and bolts that connect the awning to the mounting brackets. Use a screwdriver or appropriate tools to ensure that all fasteners are tightened to the manufacturer’s specifications.
- Apply Sealant (If Recommended): Depending on the awning kit’s instructions and the type of mounting surface, consider applying a suitable sealant around the perimeter of the awning brackets. This additional step can help prevent water infiltration and enhance the awning’s weather resistance.
- Test the Awning’s Stability: Gently test the stability of the awning by applying light pressure to different areas. Verify that the awning remains securely anchored and does not exhibit any movement or shifting when subjected to external forces.
- Inspect for Proper Alignment: Double-check the alignment of the awning to ensure that it is level and aesthetically aligned with the house’s exterior. Make any necessary adjustments to guarantee a visually pleasing and structurally sound installation.
- Verify Clearance and Functionality: Confirm that the awning operates smoothly and does not interfere with doors, windows, or other architectural elements. Ensure that the awning provides the intended shade and protection while maintaining proper clearance and functionality.
By meticulously securing the awning to the house and conducting thorough inspections, you’ll complete the installation process with confidence, knowing that your awning is firmly anchored and ready to enhance your outdoor living experience. With the awning securely attached and fully functional, you can now step back, admire your handiwork, and revel in the transformed outdoor space that seamlessly integrates with your home.
Conclusion
Congratulations! By following the comprehensive steps outlined in this guide, you have successfully attached an awning to your house, transforming your outdoor space into a functional and inviting area for relaxation and entertainment. The careful consideration of the installation location, meticulous preparation of the house, and precise execution of the installation process have culminated in the creation of a valuable addition to your home.
With the awning securely in place, you can now look forward to enjoying a range of benefits, including:
- Shaded Outdoor Retreat: Experience the pleasure of a shaded outdoor retreat where you can unwind, host gatherings, or simply savor the beauty of your surroundings without being exposed to the harsh sun.
- Enhanced Home Aesthetics: Admire the enhanced visual appeal of your house, as the newly installed awning seamlessly integrates with the architectural elements, adding charm and character to your home’s exterior.
- Protection from the Elements: Benefit from protection against inclement weather, as the awning shields your doors, windows, and outdoor living areas from rain, snow, and other environmental factors.
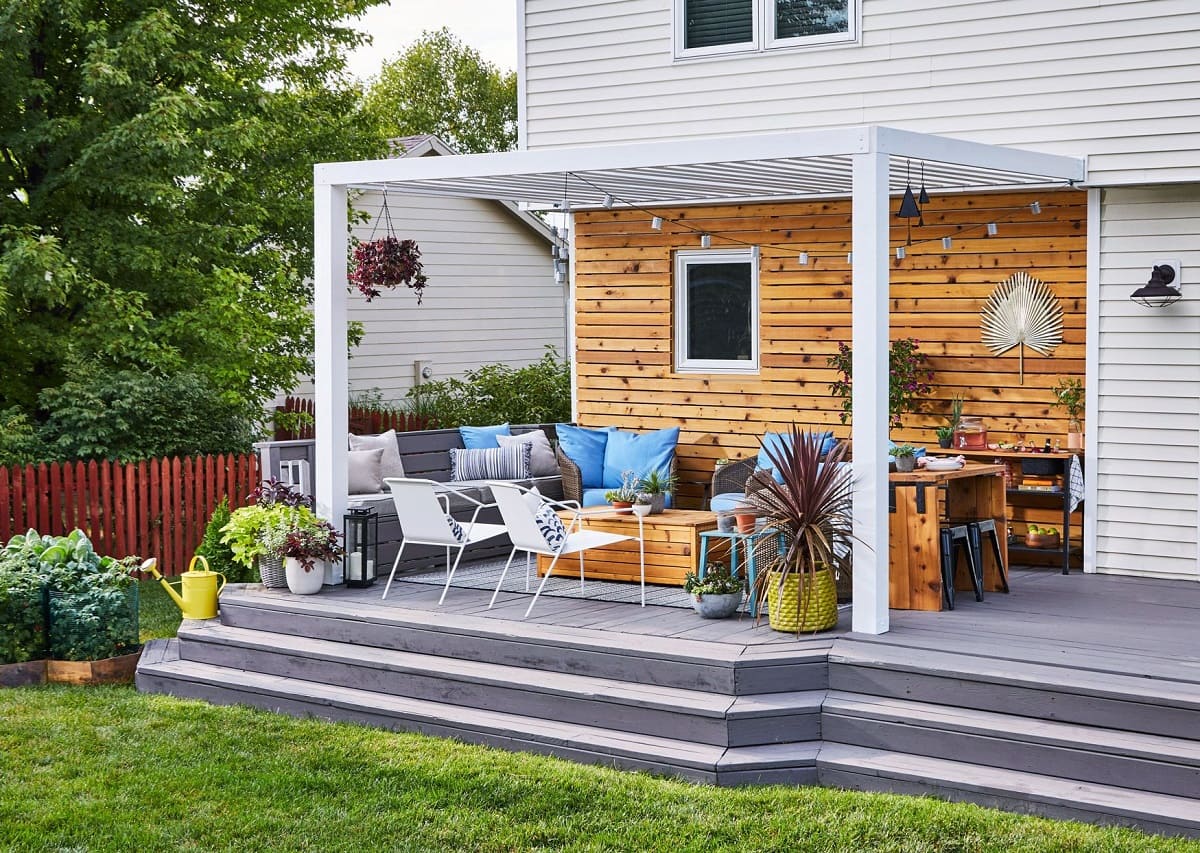
- Extended Living Space: Expand your living space by creating an outdoor area that can be utilized for various activities, from al fresco dining to enjoying quiet moments surrounded by nature.
As you bask in the satisfaction of a successful awning installation, take a moment to appreciate the craftsmanship and attention to detail that have contributed to this valuable home improvement project. Whether you embarked on this endeavor as a DIY enthusiast or sought professional assistance, the result is a testament to your commitment to enhancing your living environment.
Now that your house is adorned with a beautifully installed awning, it’s time to make the most of your newly enhanced outdoor space. Invite your family and friends to share in the enjoyment of your transformed backyard oasis, and relish the countless memorable moments that await in this inviting and functional extension of your home.
With the right guidance and a touch of creativity, you’ve successfully attached an awning to your house, elevating both its practicality and visual appeal. Embrace the newfound versatility and comfort of your outdoor space, and revel in the satisfaction of a job well done!
Frequently Asked Questions about How To Attach An Awning To A House
Was this page helpful?
At Storables.com, we guarantee accurate and reliable information. Our content, validated by Expert Board Contributors, is crafted following stringent Editorial Policies. We're committed to providing you with well-researched, expert-backed insights for all your informational needs.


0 thoughts on “How To Attach An Awning To A House”