Articles
How To Repair A Fence Post
Modified: August 27, 2024
Looking for articles on how to repair a fence post? Get expert tips and step-by-step guides to fix your fence post quickly and efficiently.
(Many of the links in this article redirect to a specific reviewed product. Your purchase of these products through affiliate links helps to generate commission for Storables.com, at no extra cost. Learn more)
Introduction
Repairing a fence post is a common task that many homeowners or property owners may face at some point. Whether due to rot, physical damage, or wear and tear over time, a damaged fence post can compromise the stability and security of the entire fence. However, with the right tools and techniques, repairing a fence post can be a manageable DIY project.
In this guide, we will walk you through the step-by-step process of repairing a fence post. From assessing the damage to reattaching the fence panels, we will cover all the necessary tasks to ensure a successful and long-lasting repair.
Before getting started, it’s important to gather the necessary tools and materials for the repair. You will need a shovel, post hole digger, replacement post, concrete mix, gravel, level, drill, screws, and any other items specific to your fence type. Once you have everything ready, let’s dive into the process of assessing the damage.
Key Takeaways:
- Repairing a fence post involves assessing the damage, digging out the post, replacing it, securing the new post, reattaching the fence panels, and conducting regular maintenance to ensure long-lasting stability and functionality.
- By following the step-by-step process and taking care of final touches and maintenance, homeowners can successfully restore their fence’s integrity and prolong its life with a manageable DIY project.
Read more: How To Set Fence Post On Concrete
Assessing the Damage
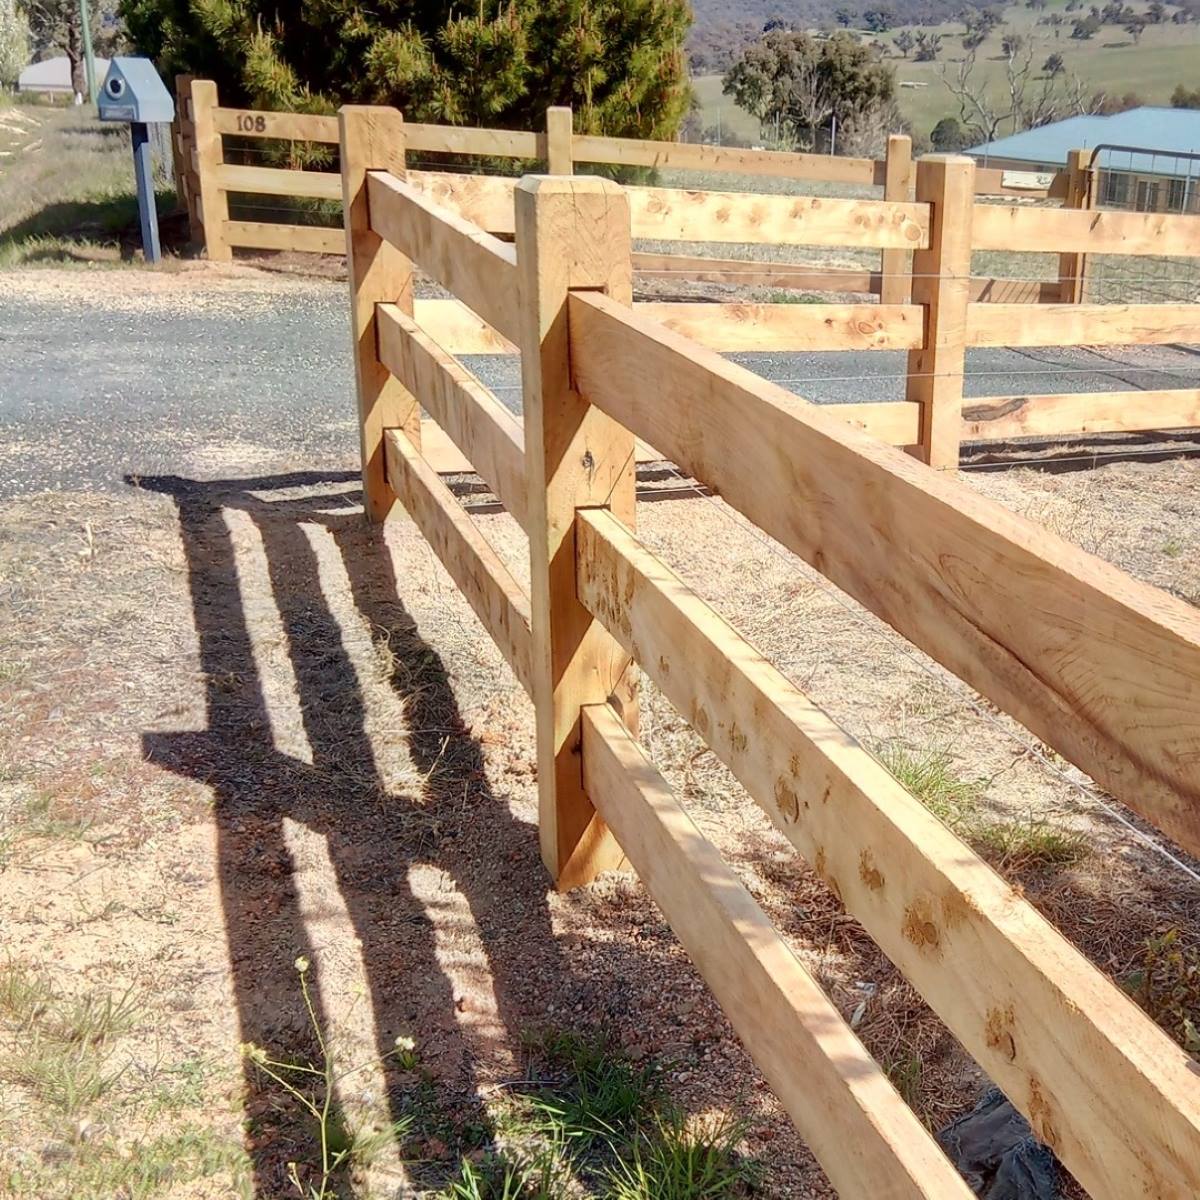
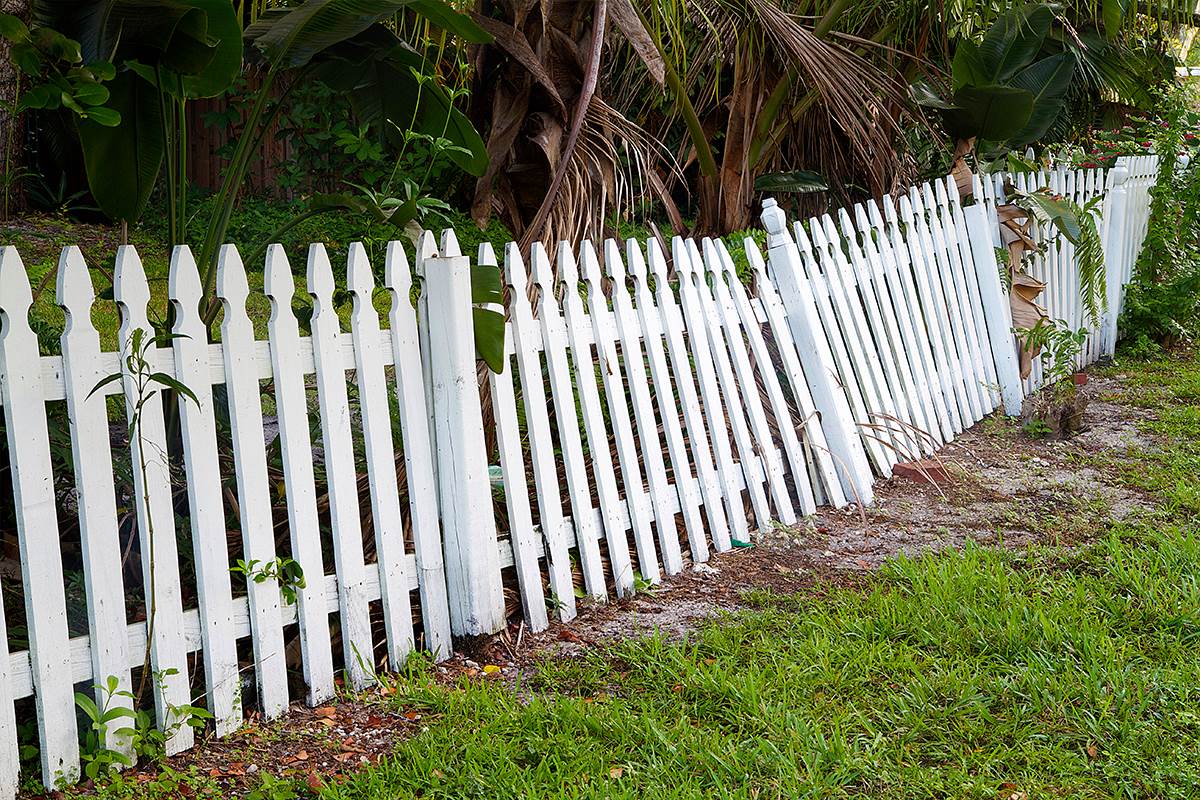
The first step in repairing a fence post is to assess the extent of the damage. Take a close look at the post and surrounding area to determine the cause of the problem. Common issues include rot, insect damage, or physical damage from impact or weather conditions.
If the post is rotted, you will notice soft and crumbling wood. In this case, the entire post may need to be replaced. Insect damage can also weaken the post, so look out for signs of infestation such as holes, sawdust, or small insects near the post.
In the case of physical damage, such as a crack or break in the post, you may be able to fix it without replacing the entire post. However, if the damage is severe or affects the structural integrity of the post, replacement may be necessary.
Additionally, check the stability of the fence panels connected to the damaged post. If the panels are loose or leaning, it may indicate that the damage has affected the overall stability of the fence. Consider whether additional repairs or reinforcements are needed to ensure a sturdy fence.
Once you have assessed the damage and determined the best course of action, you can move on to digging out the post.
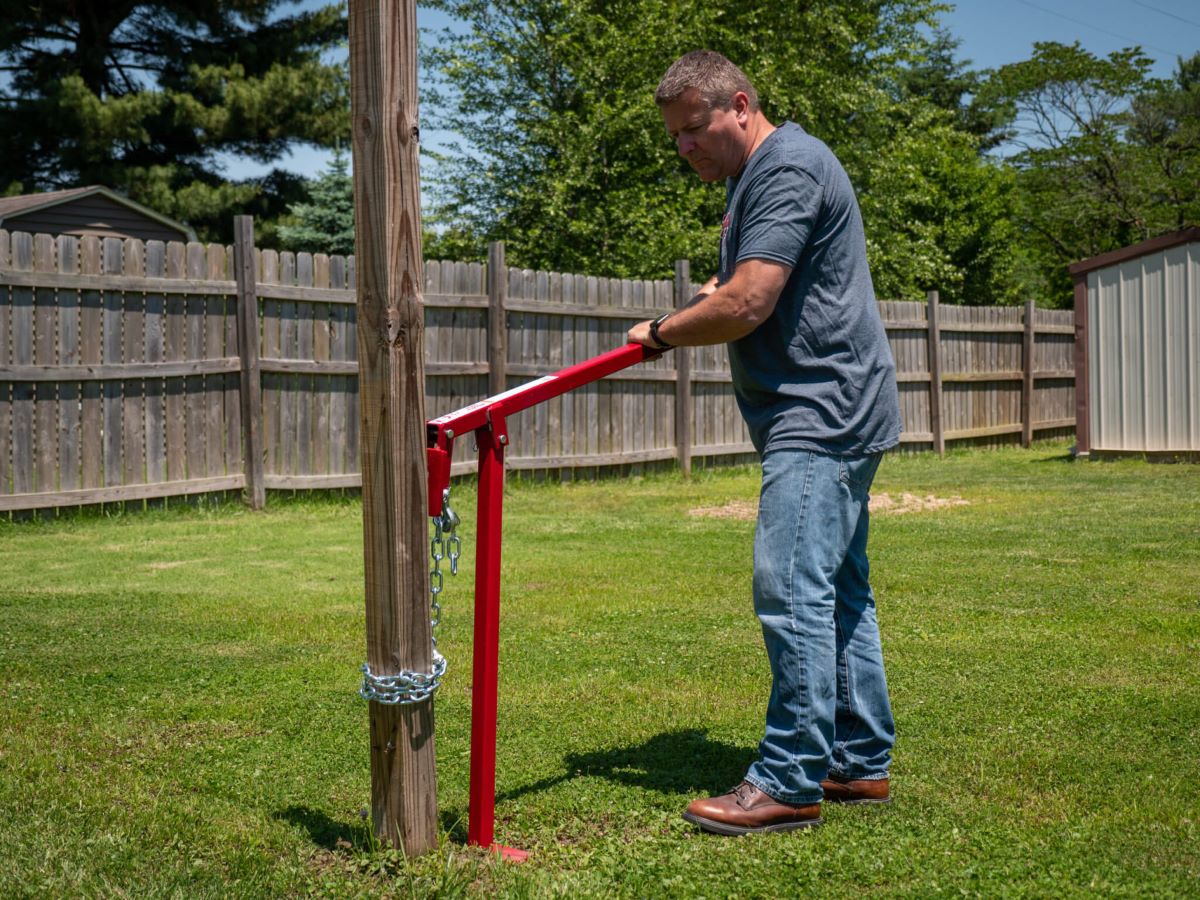
Digging Out the Post
To repair a fence post, you will need to dig out the damaged post from the ground. This can be a physically demanding task, so make sure you are prepared with the right tools and take necessary safety precautions.
Start by removing any fence panels or attachments that are connected to the damaged post. This will make the digging process easier and prevent any damage to the panels. Use a screwdriver or drill to remove screws or nails holding the panels in place.
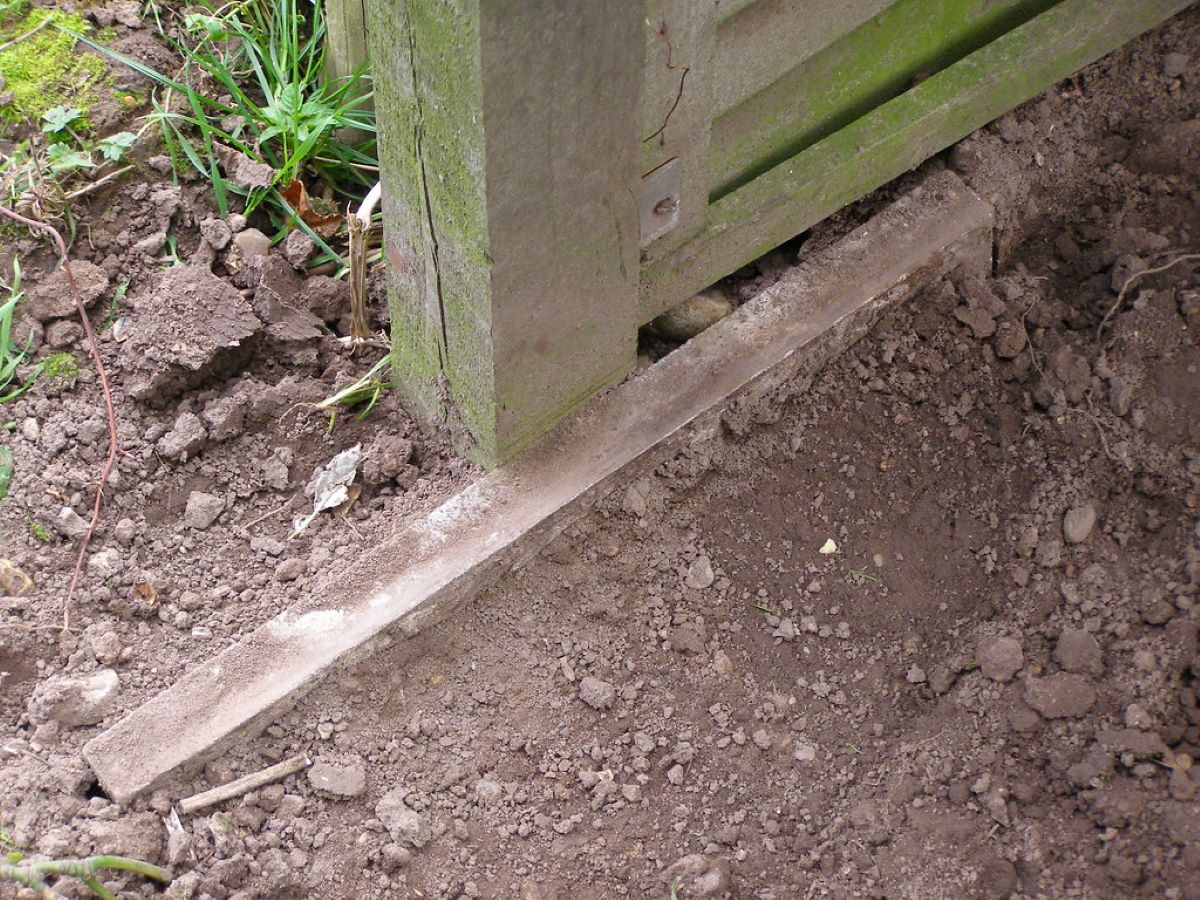
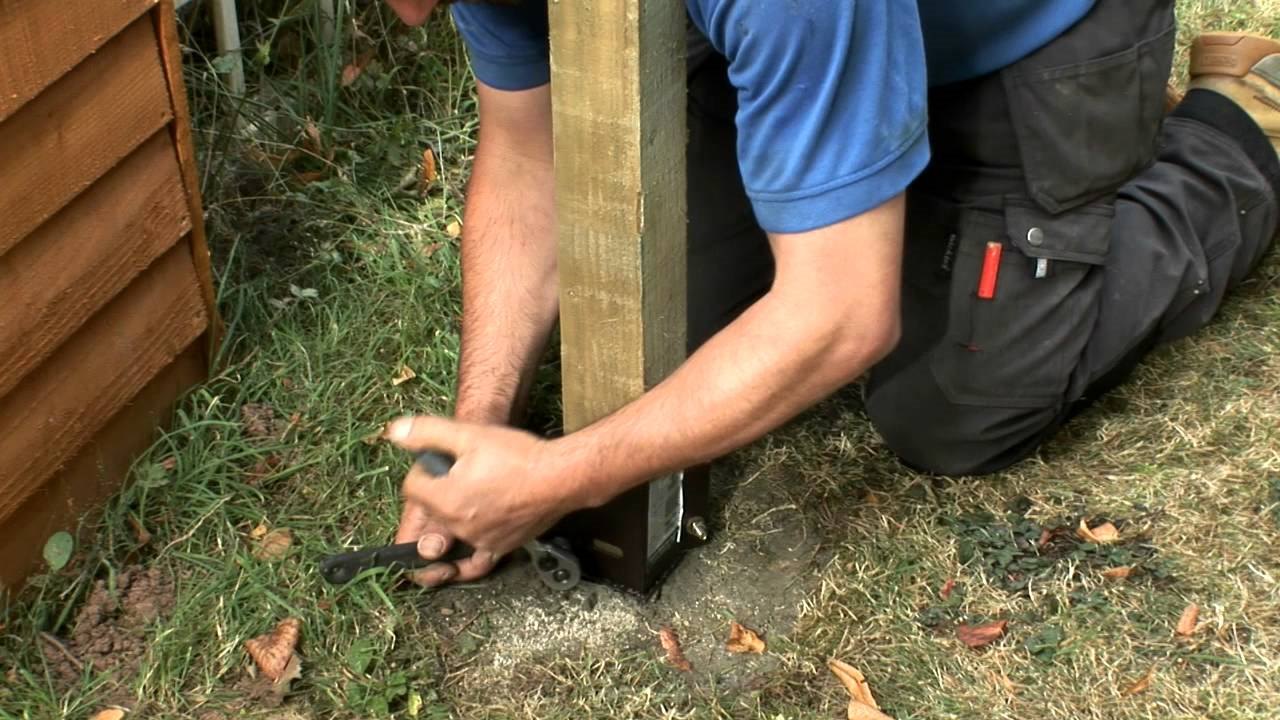
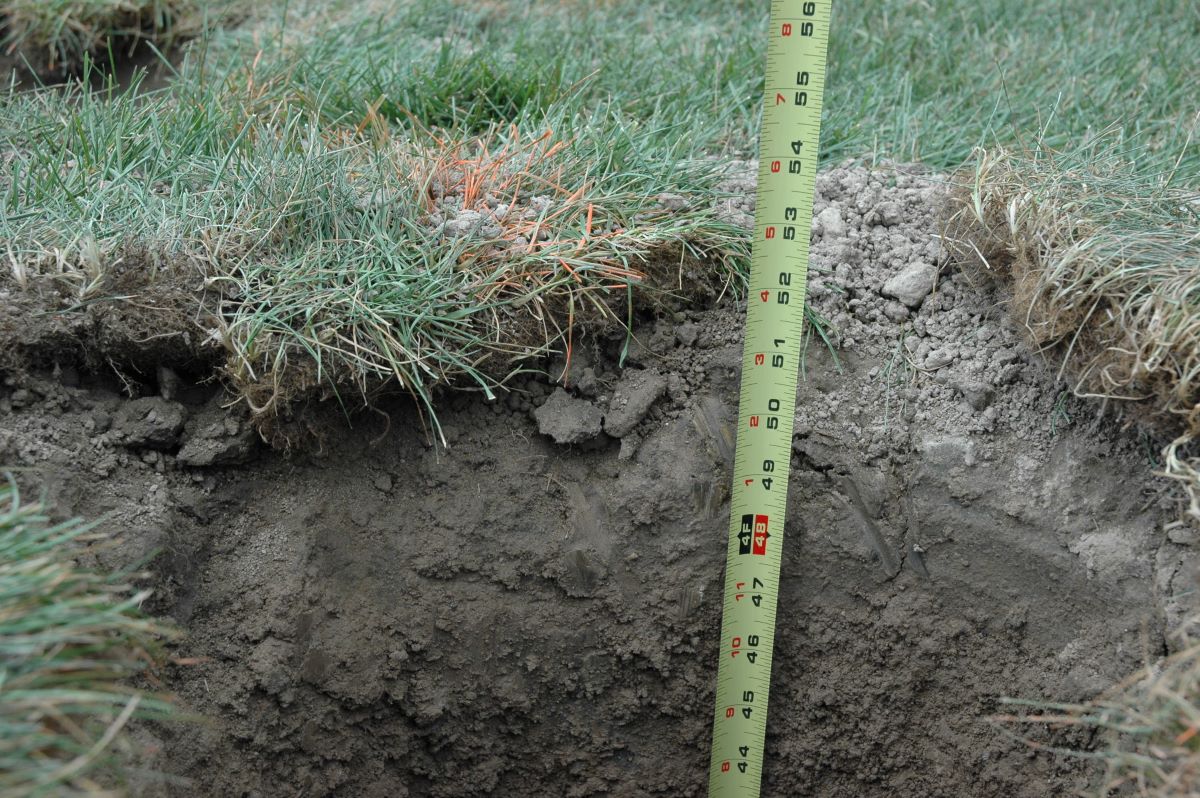
Next, use a shovel or post hole digger to dig around the base of the post. Dig approximately two feet deep to ensure that you reach below the frost line, which will help prevent future damage from freezing temperatures. Clear away any dirt or debris as you dig.
If the post is set in concrete, you may encounter a concrete footer at the bottom. Use caution when digging around the footer to avoid damaging it. You can use a chisel or pry bar to loosen the concrete and remove it from the hole.
Once you have dug out the post and cleared the hole, remove any remaining debris and make sure the hole is clean and level. This will provide a solid foundation for the new post.
With the old post removed, you can now move on to replacing it with a new one.
Replacing the Post
Now that you have successfully dug out the damaged post, it’s time to replace it with a new one. Here are the steps to follow when replacing the fence post:
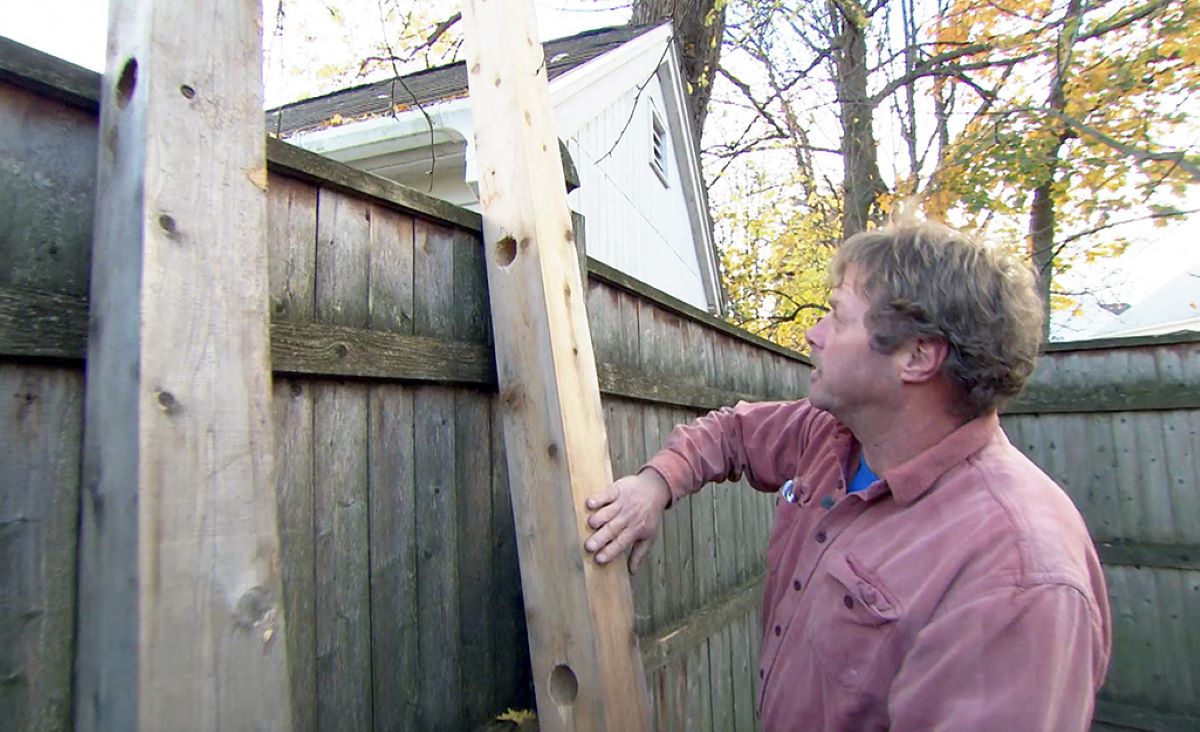
- Measure and cut the new post: Take measurements of the old post to ensure that the new one is the same height. Use a saw or a reciprocating saw to cut the new post to the appropriate length.
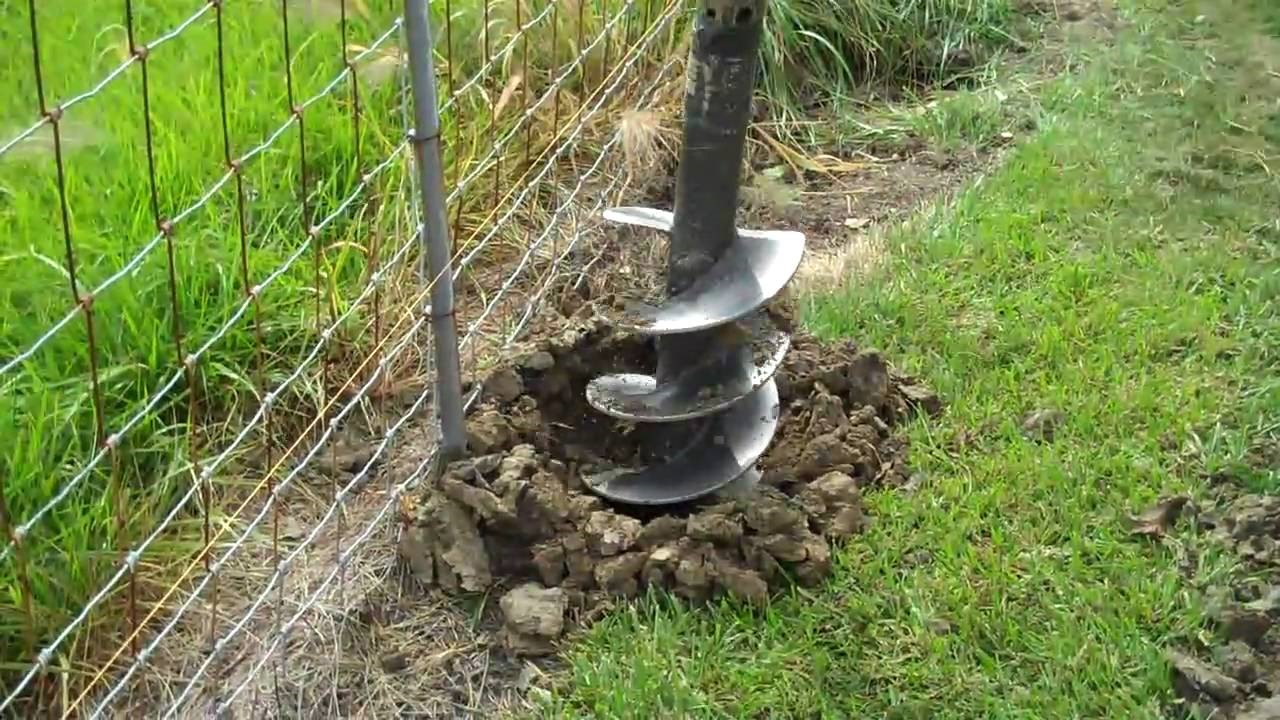
- Prepare the hole: Before inserting the new post, make sure the hole is free of debris and is properly leveled. If necessary, add gravel or crushed stone at the bottom of the hole for improved drainage.
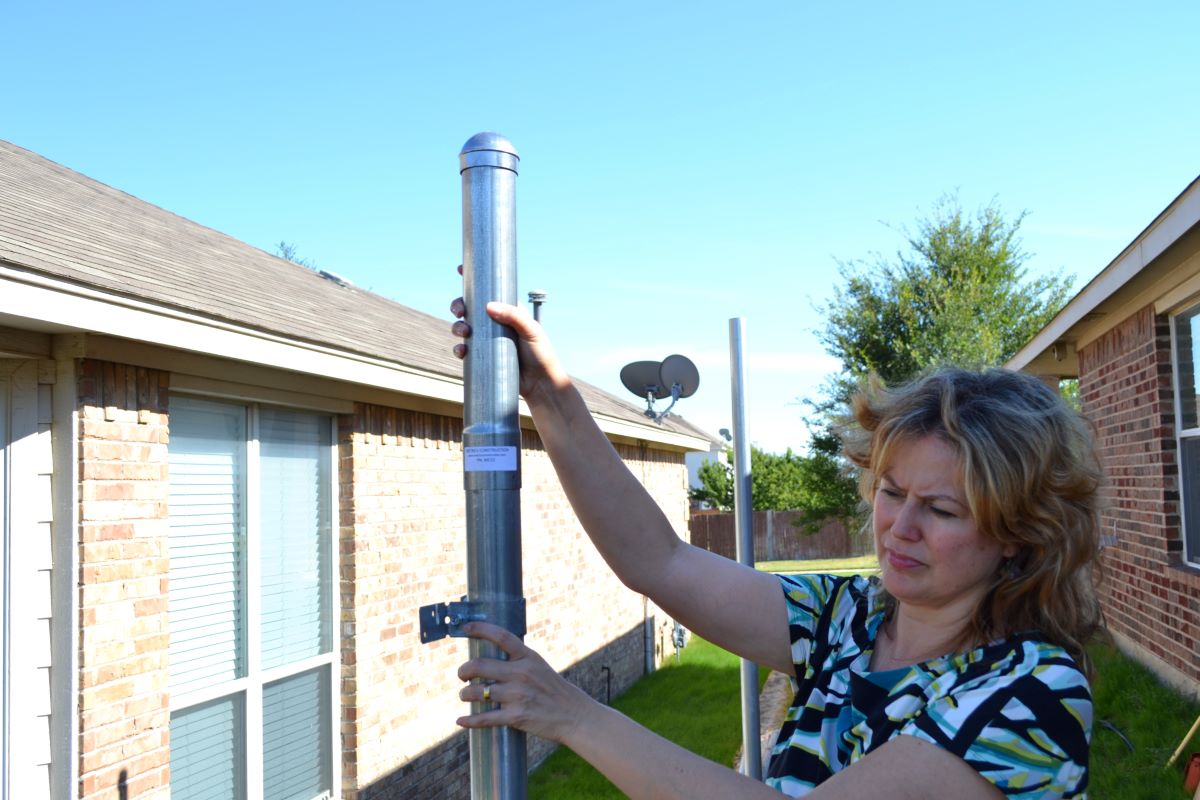
- Set the new post: Carefully place the new post into the hole and ensure that it is upright and level. You can use a level or a plumb bob to check its alignment.
- Secure the post: Fill the hole with a fast-setting concrete mix, following the manufacturer’s instructions. Make sure the concrete is evenly spread around the post and completely fills the hole. Use a level to double-check the post’s vertical alignment before the concrete sets.
- Allow the concrete to cure: It is essential to allow the concrete to cure fully before proceeding with the next steps. This typically takes 24-48 hours, depending on the specific product and weather conditions.
Remember to wear protective gloves and goggles when handling the concrete mix. Follow all safety instructions provided by the manufacturer.
Once the new post is securely set, you can move on to reattaching the fence panels.
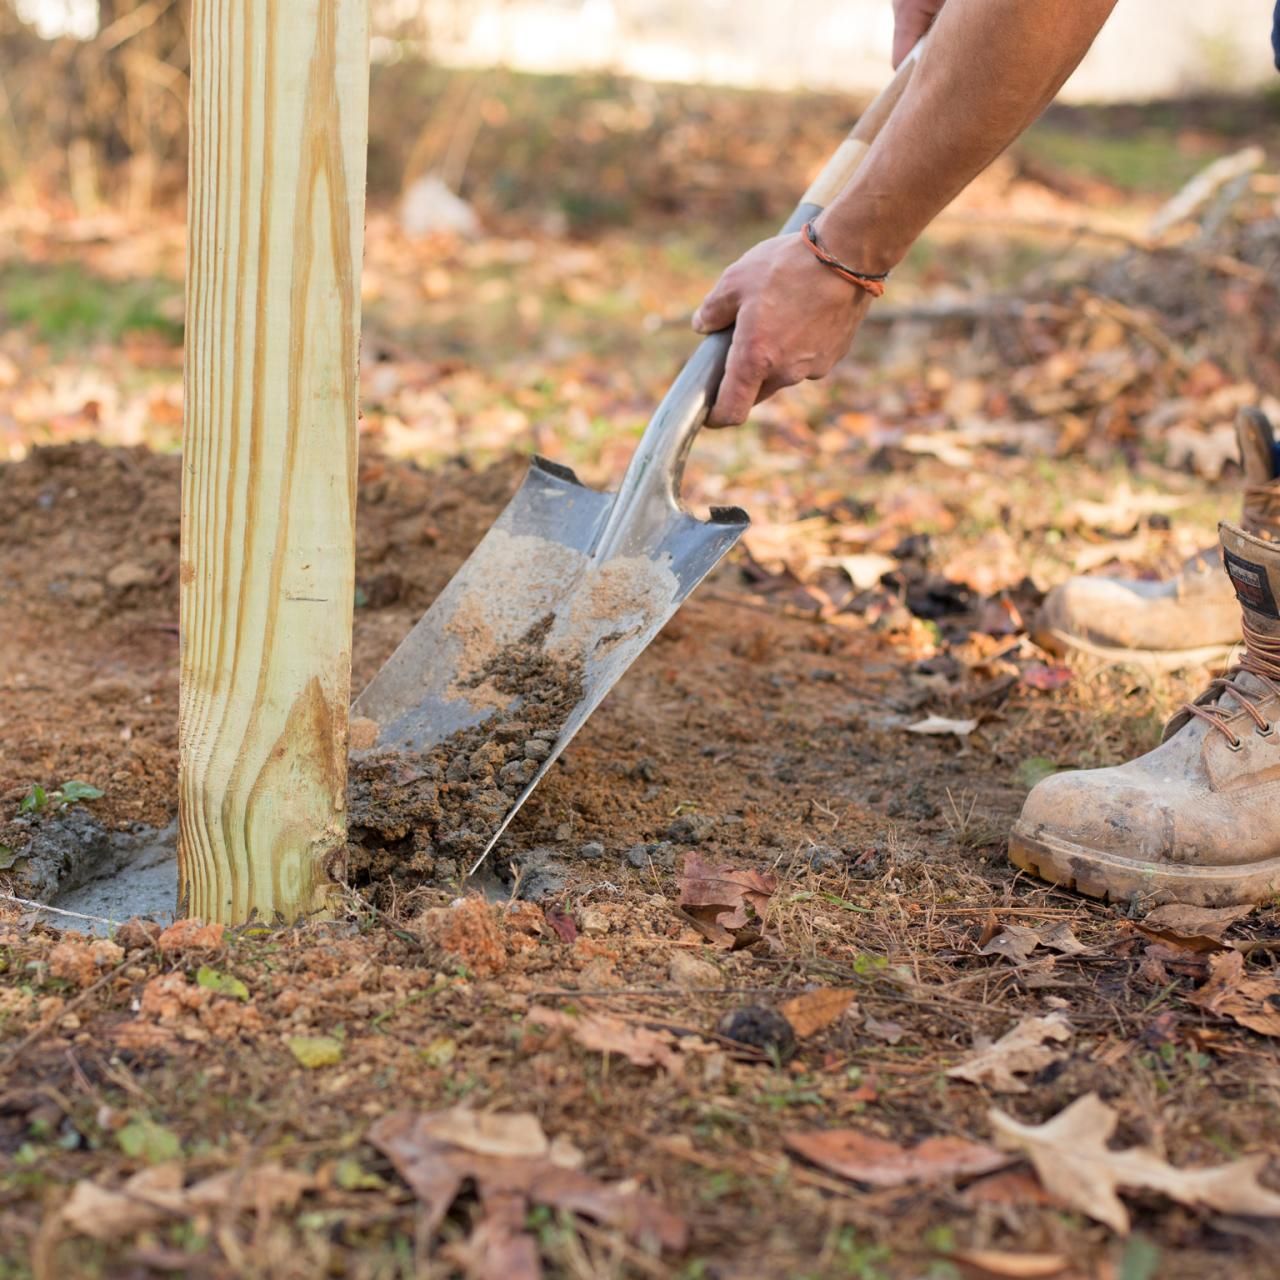
When repairing a fence post, make sure to dig a new hole next to the damaged post, insert a new post, and secure it with concrete for stability.
Securing the New Post
After replacing the fence post, it’s important to ensure that it is securely held in place. Here are the steps to follow when securing the new post:
- Check the alignment: Use a level to verify that the new post is perfectly vertical and aligned with the surrounding fence panels. Make any necessary adjustments before proceeding.
- Attach support braces: To provide additional stability, you can attach support braces to the new post. These can be metal brackets or wooden braces that are secured to the post and the adjacent fence panels. Use screws or nails to fasten them securely, ensuring that they are flush with the post and panels.
- Allow for expansion and contraction: If your fence is made of wood, it is important to allow for expansion and contraction due to temperature and humidity changes. Leave a small gap between the new post and the fence panels to accommodate this movement. This will help prevent future damage or warping.
- Reinforce with concrete: If desired, you can reinforce the new post by pouring additional concrete around its base. This can provide extra strength and stability, especially in areas with high winds or unstable soil. Use a trowel to shape the concrete and ensure it is level with the ground.
- Inspect for stability: After securing the new post, check the overall stability of the fence. Shake the panels gently to ensure that they are firmly attached and that there is no wobbling or movement. Make any necessary adjustments or additional reinforcements if needed.
By following these steps, you can ensure that the new post is securely held in place and will provide long-lasting support for your fence.
With the post securely in place, it’s time to reattach the fence panels.
Read more: How To Keep Fence Posts From Rotting
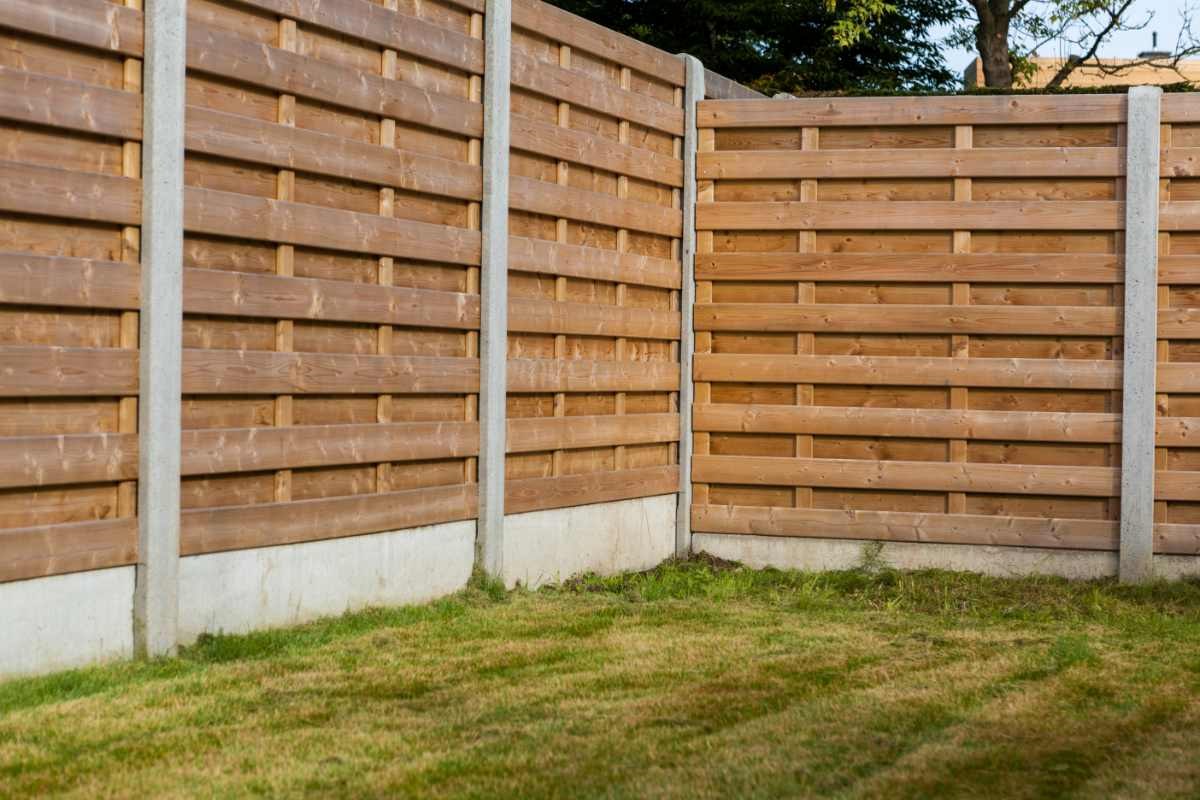
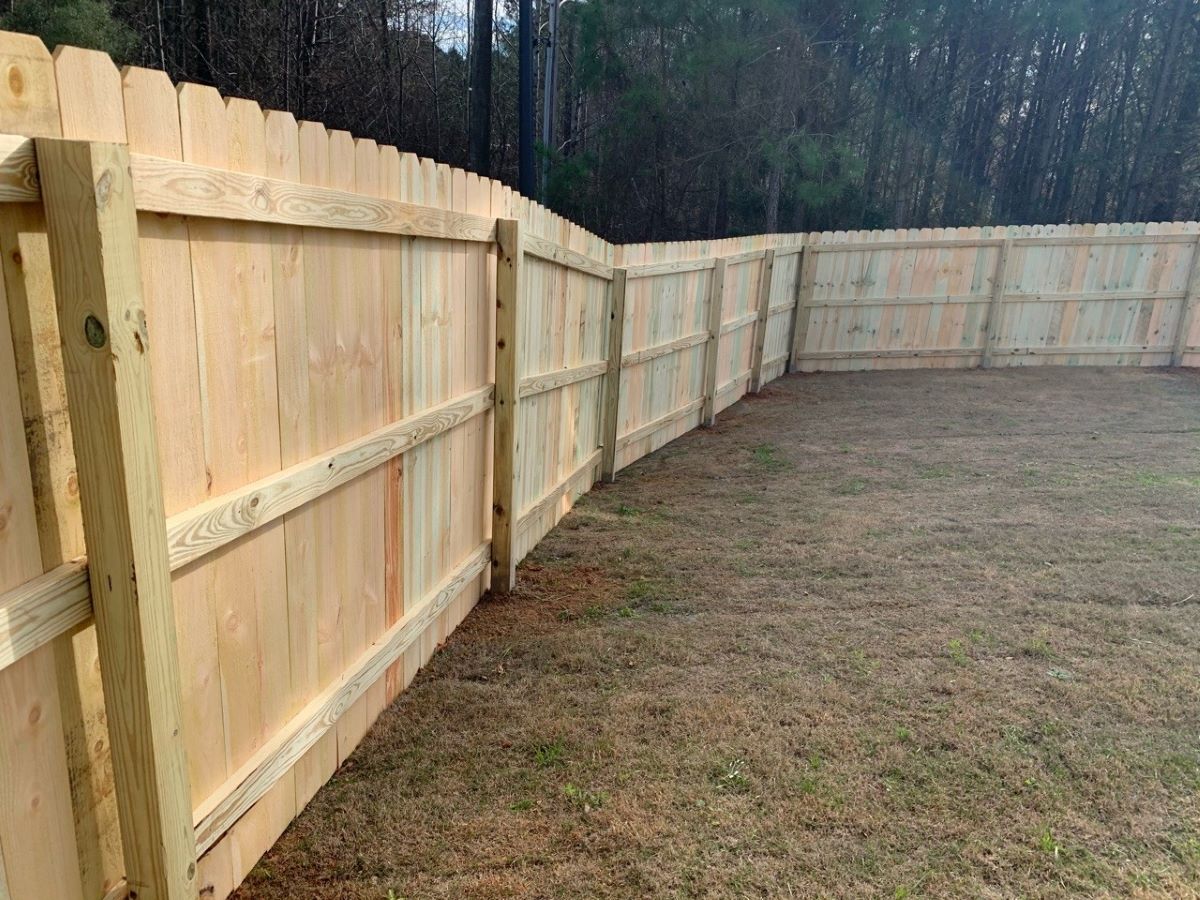
Reattaching the Fence Panels
With the new post securely in place, it’s time to reattach the fence panels. Here’s how you can do it:
- Gather the necessary materials: Depending on the type of fence panels you have, you may need screws, nails, or brackets to reattach them. Ensure you have the appropriate tools and fasteners.
- Position the panels: Take each fence panel and position it against the new post and the adjacent panels. Make sure the panels are aligned properly and level with each other. Use a level to double-check their positioning.
- Attach the panels: Depending on the type of fasteners you are using, follow these steps:
- If using screws, pre-drill holes in the fence panels and then attach them to the post and adjacent panels using screws. Make sure the screws are securely fastened and the panels are tightly attached.
- If using nails, use a hammer to drive the nails through the panels and into the post and adjacent panels. Space the nails evenly and ensure they are firmly in place.
- If using brackets, secure the brackets to the new post and the adjacent panels using screws or nails. Slide the fence panels into the brackets and ensure they are snugly held in place.
- Check for stability: Once all the panels are attached, give them a gentle shake to ensure they are securely in place. Make any necessary adjustments or additional fastenings to ensure the panels are stable and aligned properly.
Once the fence panels are reattached, take a step back and inspect the fence for overall appearance and stability. If any additional adjustments or touch-ups are needed, address them before considering the repair complete.
Now that your fence is repaired and the panels are securely attached, it’s time for the final touches and maintenance.
Final Touches and Maintenance
With the fence repair complete, there are a few final touches and maintenance tasks to ensure the longevity and optimal condition of your fence:
- Trim vegetation: Trim any vegetation or overhanging branches near the fence line. This will prevent them from causing damage or putting excessive weight on the fence.
- Apply a protective coating: Depending on the material of your fence, consider applying a protective coating or sealant to help prevent rot, decay, or damage from UV rays. Follow the manufacturer’s instructions for application.
- Perform regular inspections: Regularly inspect your fence for any signs of damage, such as loose screws, cracks, or rot. Address any issues promptly to minimize further damage or costly repairs.
- Maintain the surrounding area: Keep the area around the fence clean and free from debris, which can promote rot or attract pests. Regularly remove leaves, dirt, and other debris from the bottom of the fence.
- Consider preventative measures: If your fence is prone to rot, consider installing a gravel or concrete barrier at the base of the posts to keep them away from excessive moisture. Applying a wood preservative or using rot-resistant materials can also help prevent future damage.
- Monitor and repair as needed: Keep an eye on the condition of your fence over time. If you notice any signs of damage or wear, address them promptly to maintain the integrity and aesthetics of the fence.
By following these final touches and conducting regular maintenance, you can prolong the life of your fence and ensure it stays in optimal condition for years to come.
Repairing a fence post may seem like a daunting task, but with the right approach and the necessary tools, it is a manageable DIY project. By assessing the damage, digging out the post, replacing it, securing the new post, reattaching the fence panels, and taking care of the final touches and maintenance, you can restore the stability and functionality of your fence.
Remember to consider safety precautions and follow any manufacturer instructions for the tools and materials you use. If you encounter any difficulties or have concerns about the repair process, it is always a good idea to consult with a professional for guidance.
Now that you've mastered repairing a fence post, why not tackle more projects around your yard? Dive into our collection of outdoor projects for fun and creative ways to enhance your space. If you're keen on crafting with wood, our guide to woodworking offers inspiring ideas that are perfect for any skill level. And for those unexpected fixes around the house, our comprehensive home repair advice ensures you're prepared for anything. Get your tools ready – more DIY adventures await!
Frequently Asked Questions about How To Repair A Fence Post
Was this page helpful?
At Storables.com, we guarantee accurate and reliable information. Our content, validated by Expert Board Contributors, is crafted following stringent Editorial Policies. We're committed to providing you with well-researched, expert-backed insights for all your informational needs.


0 thoughts on “How To Repair A Fence Post”