Home>Gardening & Outdoor>Outdoor Structures>How To Put A Metal Roof On A Pergola
Outdoor Structures
How To Put A Metal Roof On A Pergola
Published: January 18, 2024
Learn how to install a metal roof on your pergola for durable outdoor protection. Get expert tips and step-by-step instructions for outdoor structures.
(Many of the links in this article redirect to a specific reviewed product. Your purchase of these products through affiliate links helps to generate commission for Storables.com, at no extra cost. Learn more)
Introduction
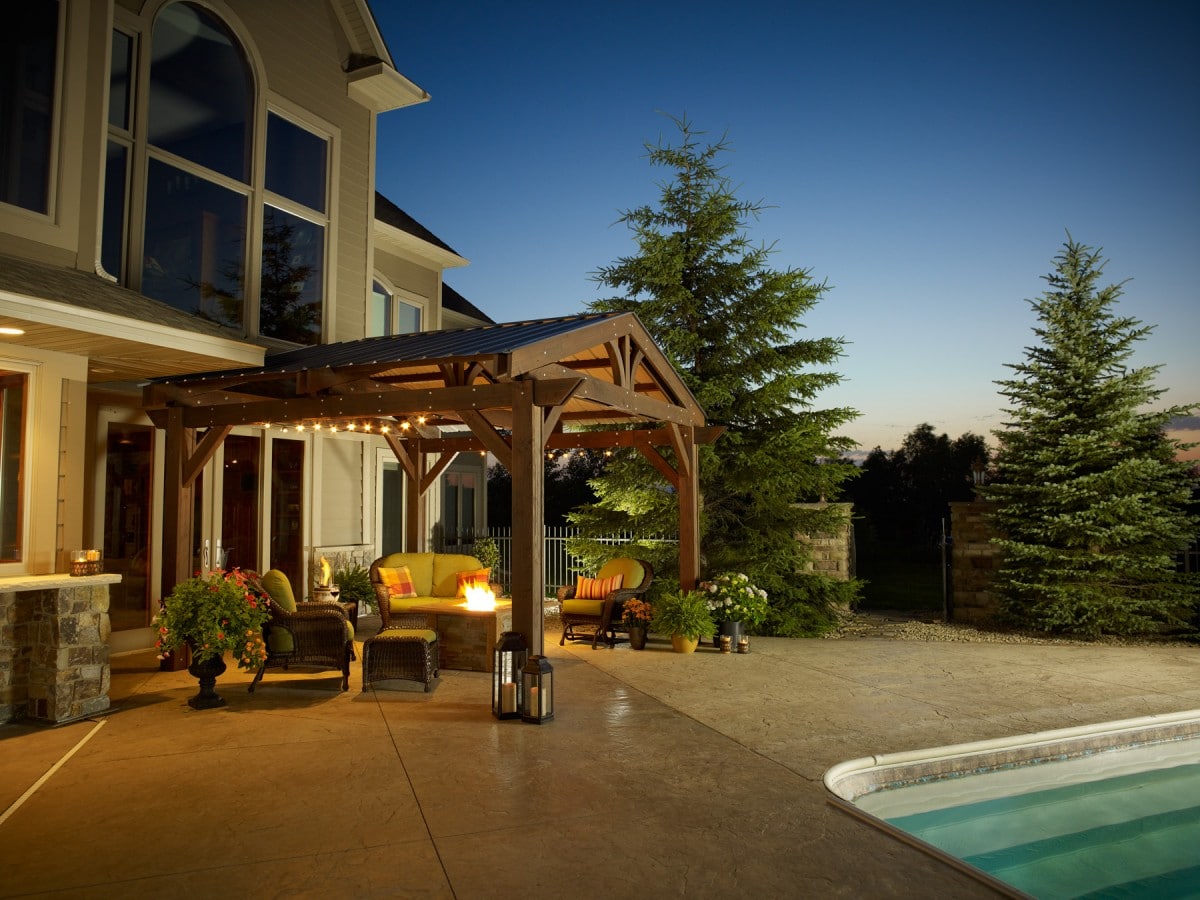
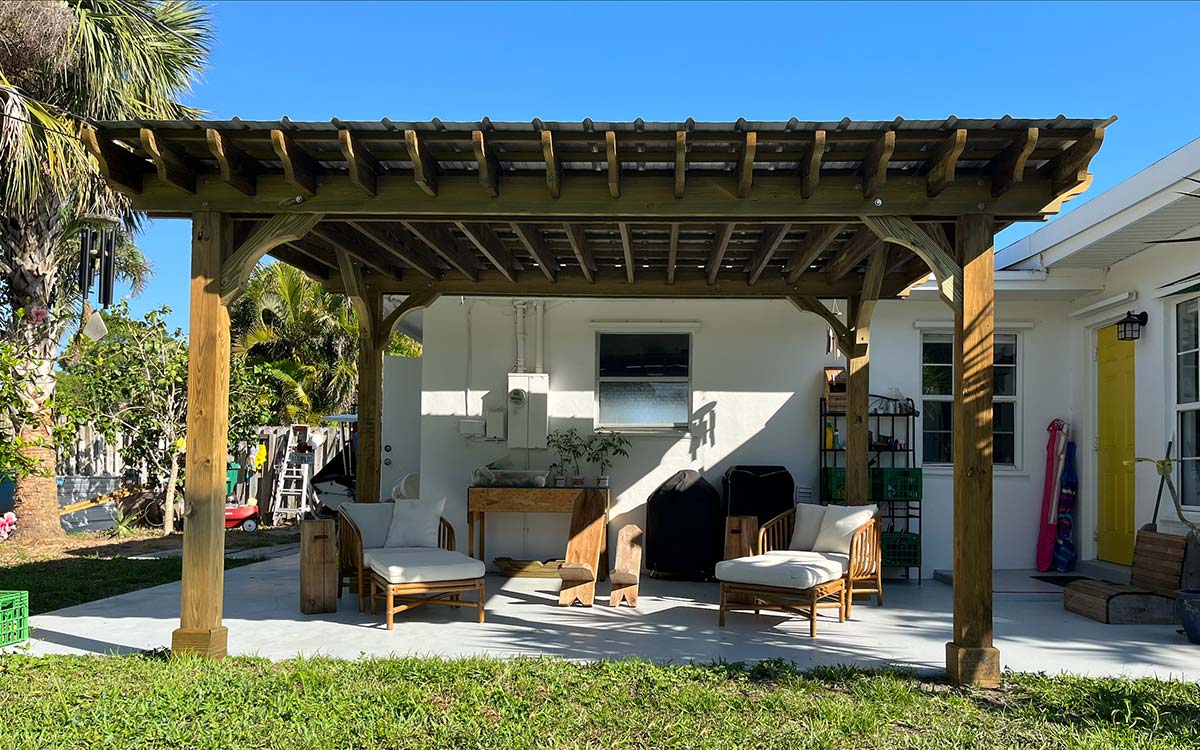
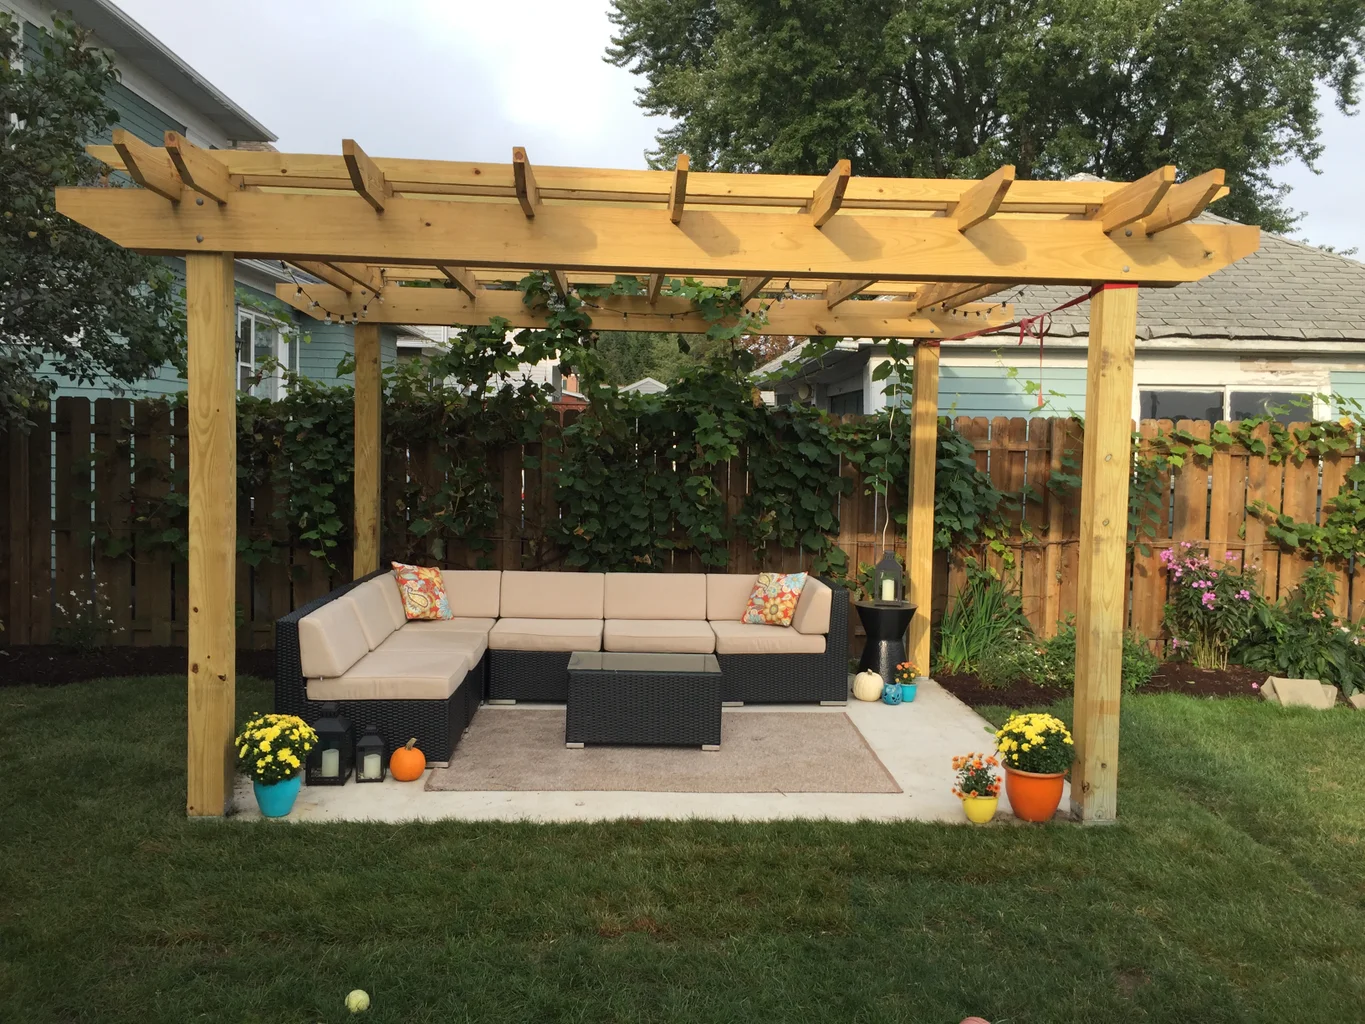
Welcome to the world of outdoor living, where the beauty of nature meets the comfort of modern design. A pergola is a versatile and stylish addition to any outdoor space, providing a shaded retreat for relaxation and entertainment. While pergolas are often adorned with climbing plants or fabric canopies, adding a metal roof can elevate both the aesthetic and functionality of this outdoor structure.
In this guide, we will walk you through the process of installing a metal roof on your pergola, transforming it into a durable and weather-resistant haven. Whether you envision hosting delightful gatherings under the shimmering protection of a metal-clad pergola or simply seeking a low-maintenance roofing solution, this step-by-step tutorial will equip you with the knowledge and confidence to bring your vision to life.
From gathering the necessary materials and tools to measuring, cutting, and securing the metal roofing panels, we will cover every essential aspect of the installation process. Additionally, we will explore the finishing touches and inspection procedures to ensure that your metal roof is not only visually stunning but also structurally sound.
By the end of this guide, you will have the expertise to enhance your pergola with a sleek and resilient metal roof, creating an inviting outdoor space that withstands the elements while exuding timeless charm. So, let's embark on this enriching journey and unlock the potential of your pergola with the art of metal roof installation.
Key Takeaways:
- Transform your pergola into a durable and stylish haven by following a step-by-step guide to installing a metal roof. Elevate your outdoor space with a sleek and resilient roofing solution that withstands the elements.
- By infusing your pergola with a weather-resistant metal roof, you create an inviting outdoor sanctuary that harmonizes enduring strength with captivating elegance. Celebrate the art of blending functionality with timeless charm.
Read more: How To Put A Roof On A Pergola
Step 1: Gather the necessary materials and tools
Before diving into the installation process, it’s crucial to assemble all the essential materials and tools. This ensures a smooth and efficient workflow, allowing you to focus on the art of crafting your metal-clad pergola without interruptions.
Materials:
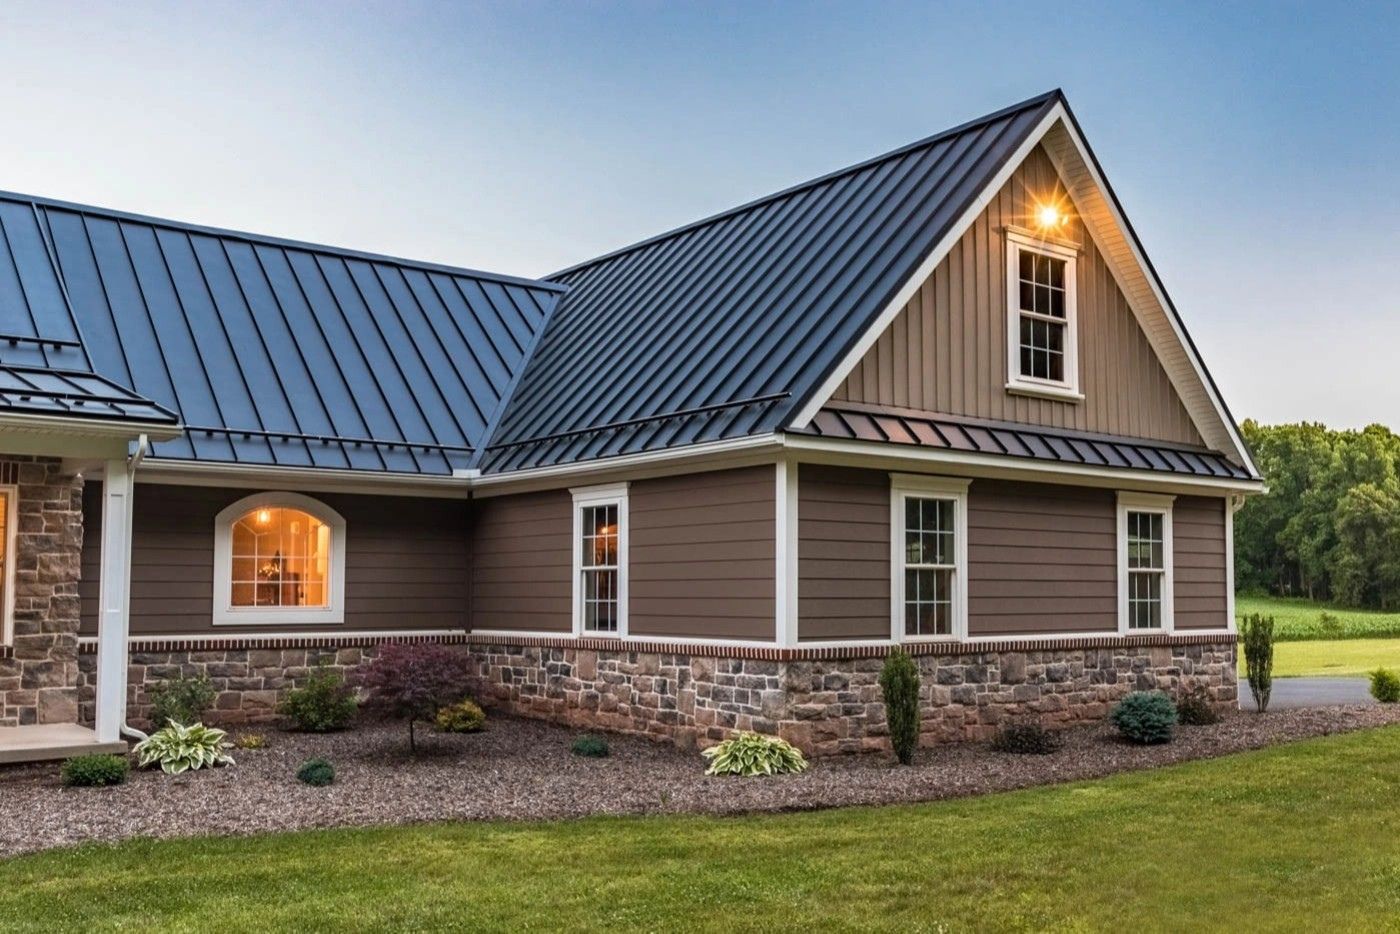
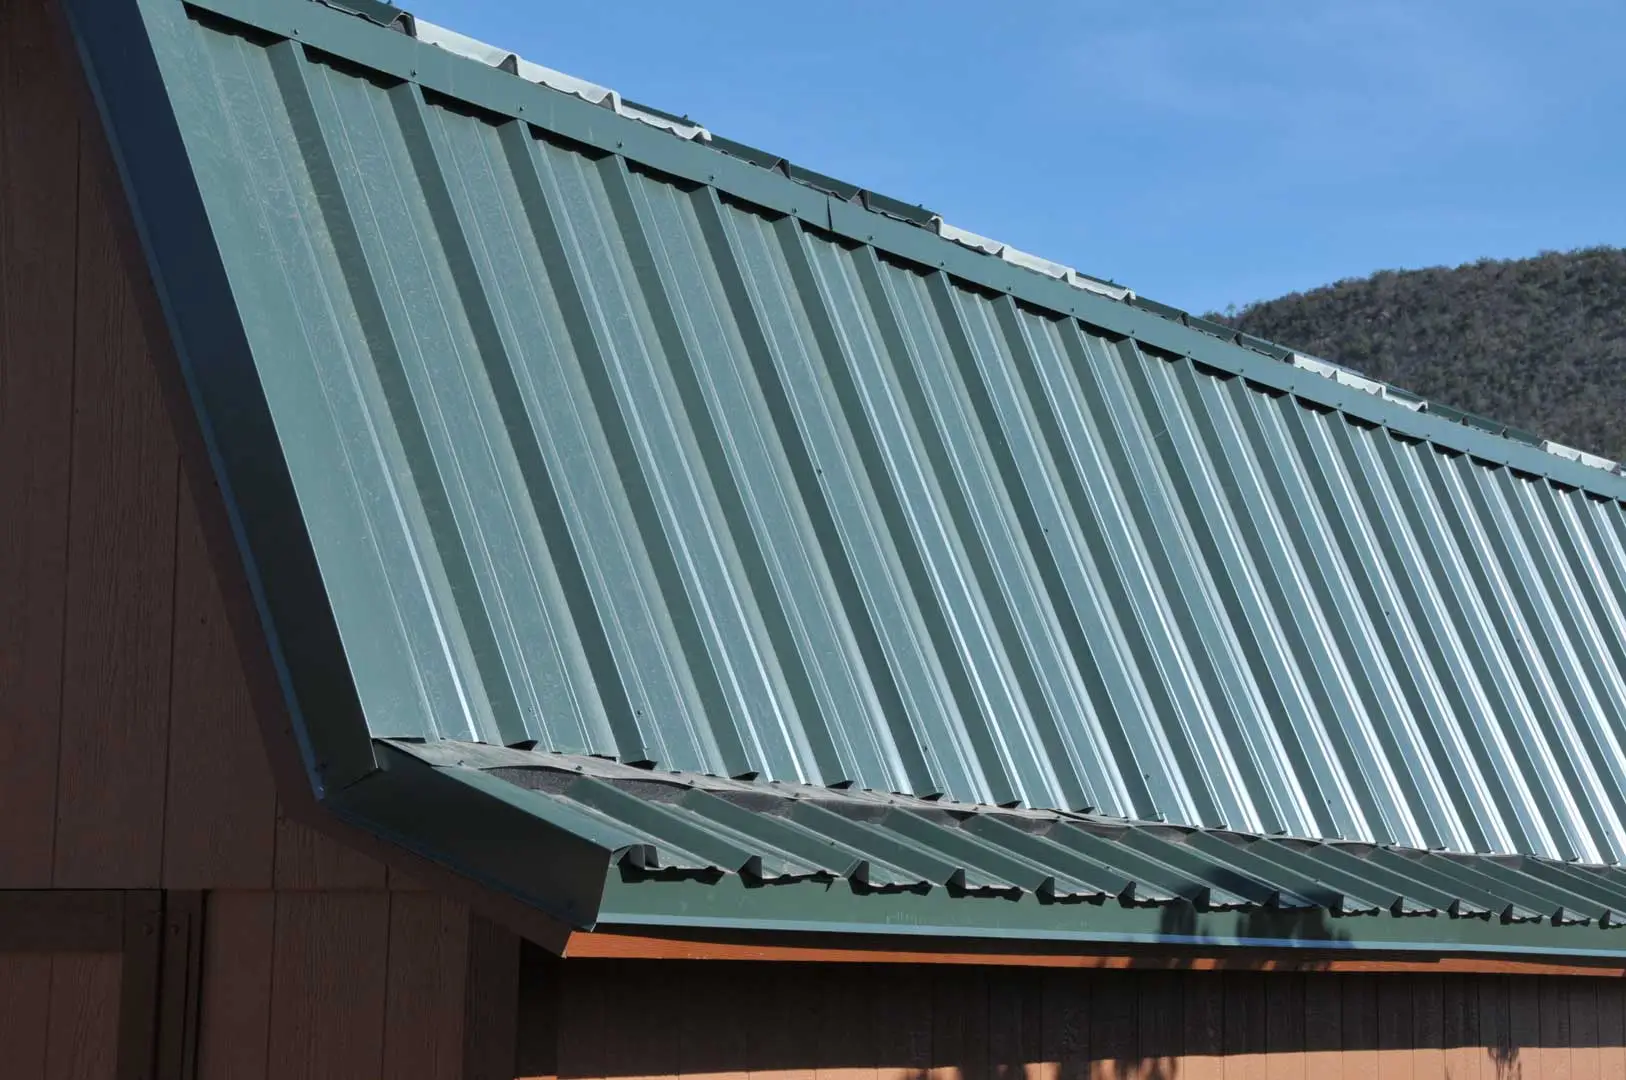
- Metal roofing panels: Choose high-quality panels that complement the style and dimensions of your pergola. Opt for durable materials such as galvanized steel or aluminum to ensure longevity and weather resistance.
- Roofing screws: Select corrosion-resistant screws designed for metal roofing applications. These screws should feature weatherproof washers to prevent leaks and maintain a secure attachment.
- Roofing underlayment: Consider adding a protective underlayment to shield your pergola from moisture and enhance insulation. Options include synthetic underlayment or traditional felt paper.
- Sealant: Invest in a high-quality sealant to reinforce the connections between roofing panels and prevent water infiltration. Silicone-based sealants are recommended for their durability and flexibility.
- Trim and flashing: Acquire trim pieces and flashing to provide a polished and weather-resistant finish for the edges and joints of the metal roofing.
- Support beams and fasteners: If your pergola requires additional structural support to accommodate the weight of the metal roof, gather the necessary beams and fasteners for reinforcement.
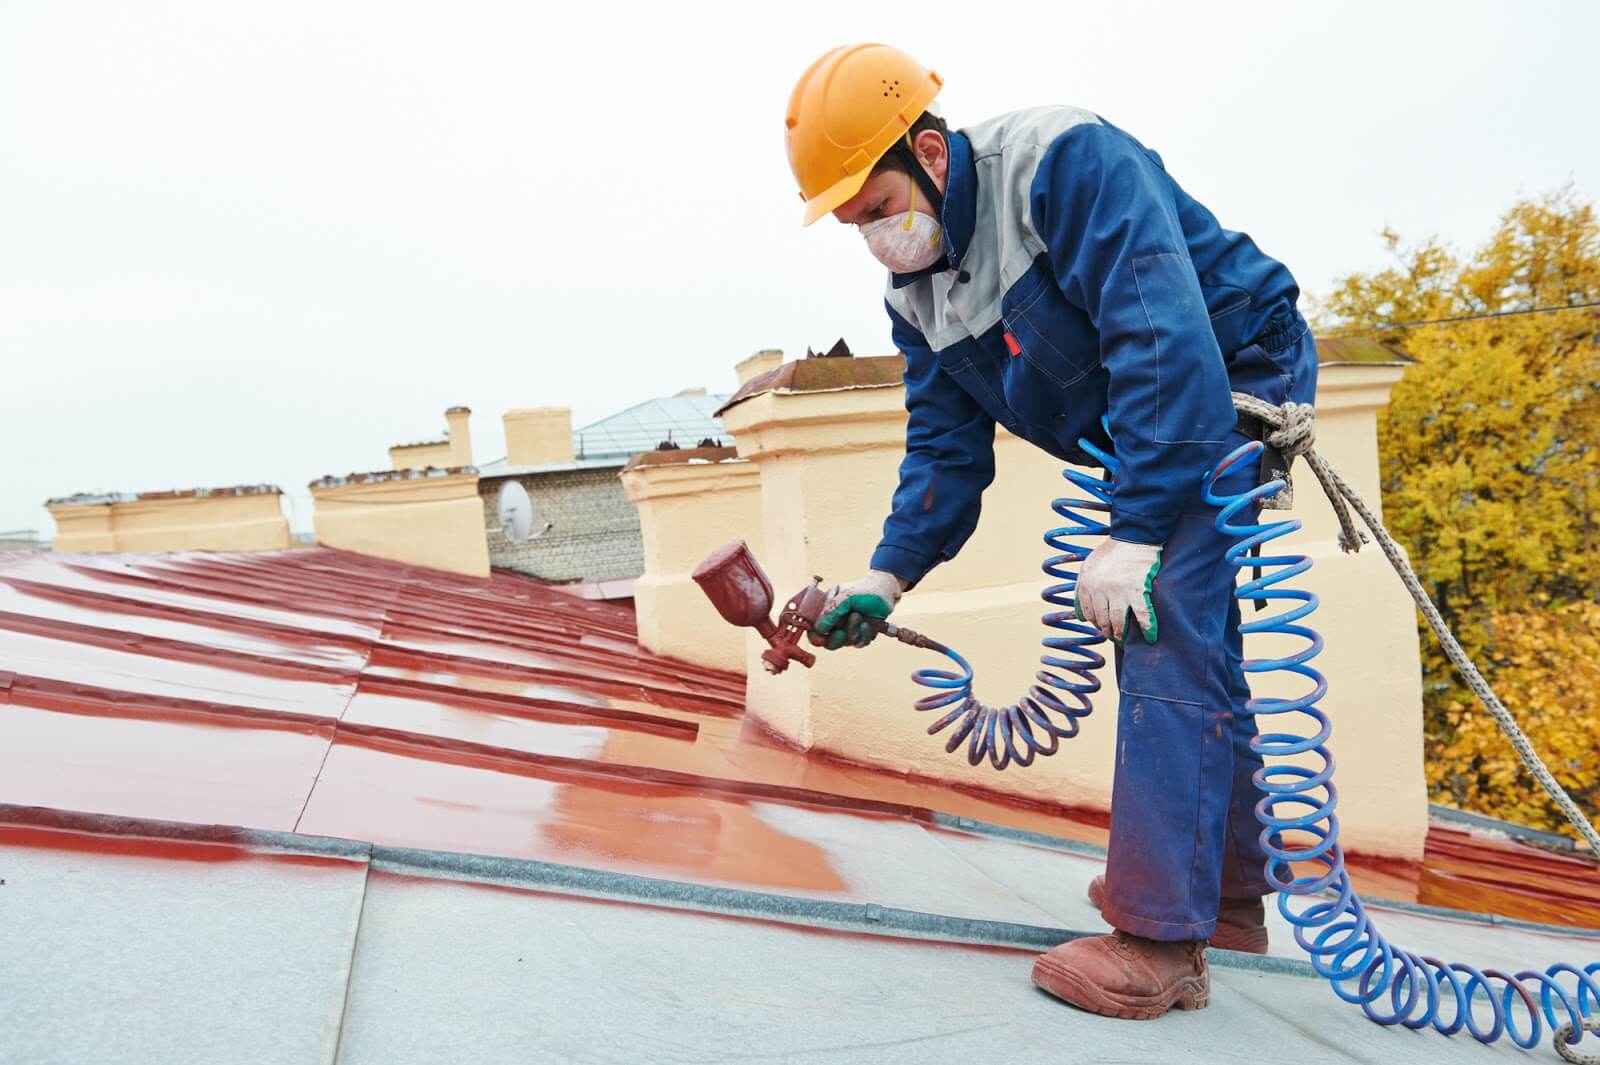
- Paint or coating (optional): If you wish to customize the color or enhance the protection of your metal roofing, consider obtaining paint or specialized coatings designed for metal surfaces.
Tools:
- Tape measure: A reliable tape measure is essential for accurate dimensions and precise cuts during the installation process.
- Marker or chalk: Use a marker or chalk to mark cutting lines and reference points on the metal roofing panels.
- Safety gear: Prioritize safety by wearing gloves, safety glasses, and appropriate footwear to protect yourself during the installation.
- Power drill and screw gun: Equip yourself with a power drill and screw gun to efficiently drive screws into the metal roofing panels and secure them in place.
- Circular saw or metal shears: Depending on the type of metal roofing panels, a circular saw or metal shears may be necessary for precise and clean cuts.
- Roofing hammer or nail gun: A roofing hammer or nail gun is vital for securing trim, flashing, and underlayment with precision and strength.
- Ladder or scaffolding: Ensure safe access to the pergola by having a sturdy ladder or scaffolding at your disposal for elevated work.
By gathering these materials and tools, you are laying the groundwork for a successful metal roof installation on your pergola. With everything in place, you are ready to embark on the next phase of this transformative project.
Step 2: Measure and cut the metal roofing panels
With the necessary materials and tools at your fingertips, it’s time to embark on the meticulous process of measuring and cutting the metal roofing panels. This step is crucial in ensuring that the panels fit seamlessly onto your pergola, creating a visually appealing and structurally sound roofing system.
1. Measure the dimensions: Begin by measuring the dimensions of the pergola’s roof surface where the metal panels will be installed. Use a tape measure to accurately record the length and width, taking into account any overhang or desired coverage beyond the actual roof area.
2. Mark the cutting lines: Transfer the measurements onto the metal roofing panels, marking the cutting lines with a marker or chalk. Double-check the dimensions to avoid errors before proceeding with the cutting process.
3. Choose the cutting tool: Depending on the type of metal roofing panels and your personal preference, select a suitable cutting tool. A circular saw equipped with a metal-cutting blade is ideal for straight cuts, while metal shears provide precision and maneuverability for intricate or curved cuts.
4. Execute the cuts: Carefully cut along the marked lines, ensuring a smooth and accurate process. Take your time to maintain control over the cutting tool, producing clean edges that facilitate a seamless fit when the panels are installed.
5. Verify the panel fit: Once the panels are cut to the appropriate dimensions, verify their fit on the pergola’s roof surface. Make any necessary adjustments or additional cuts to achieve a precise and tailored fit, accounting for any architectural features or obstructions.
6. Consider safety precautions: Prioritize safety throughout the cutting process by wearing protective gloves and eyewear. Metal roofing panels can have sharp edges, so exercise caution to prevent injuries during handling and cutting.
By meticulously measuring and cutting the metal roofing panels, you are setting the stage for a seamless and visually striking installation. The precision and attention to detail invested in this step will yield a refined and custom-tailored roofing solution for your pergola, showcasing your dedication to craftsmanship and quality.
Read more: How To Put On A Metal Roof On A Shed
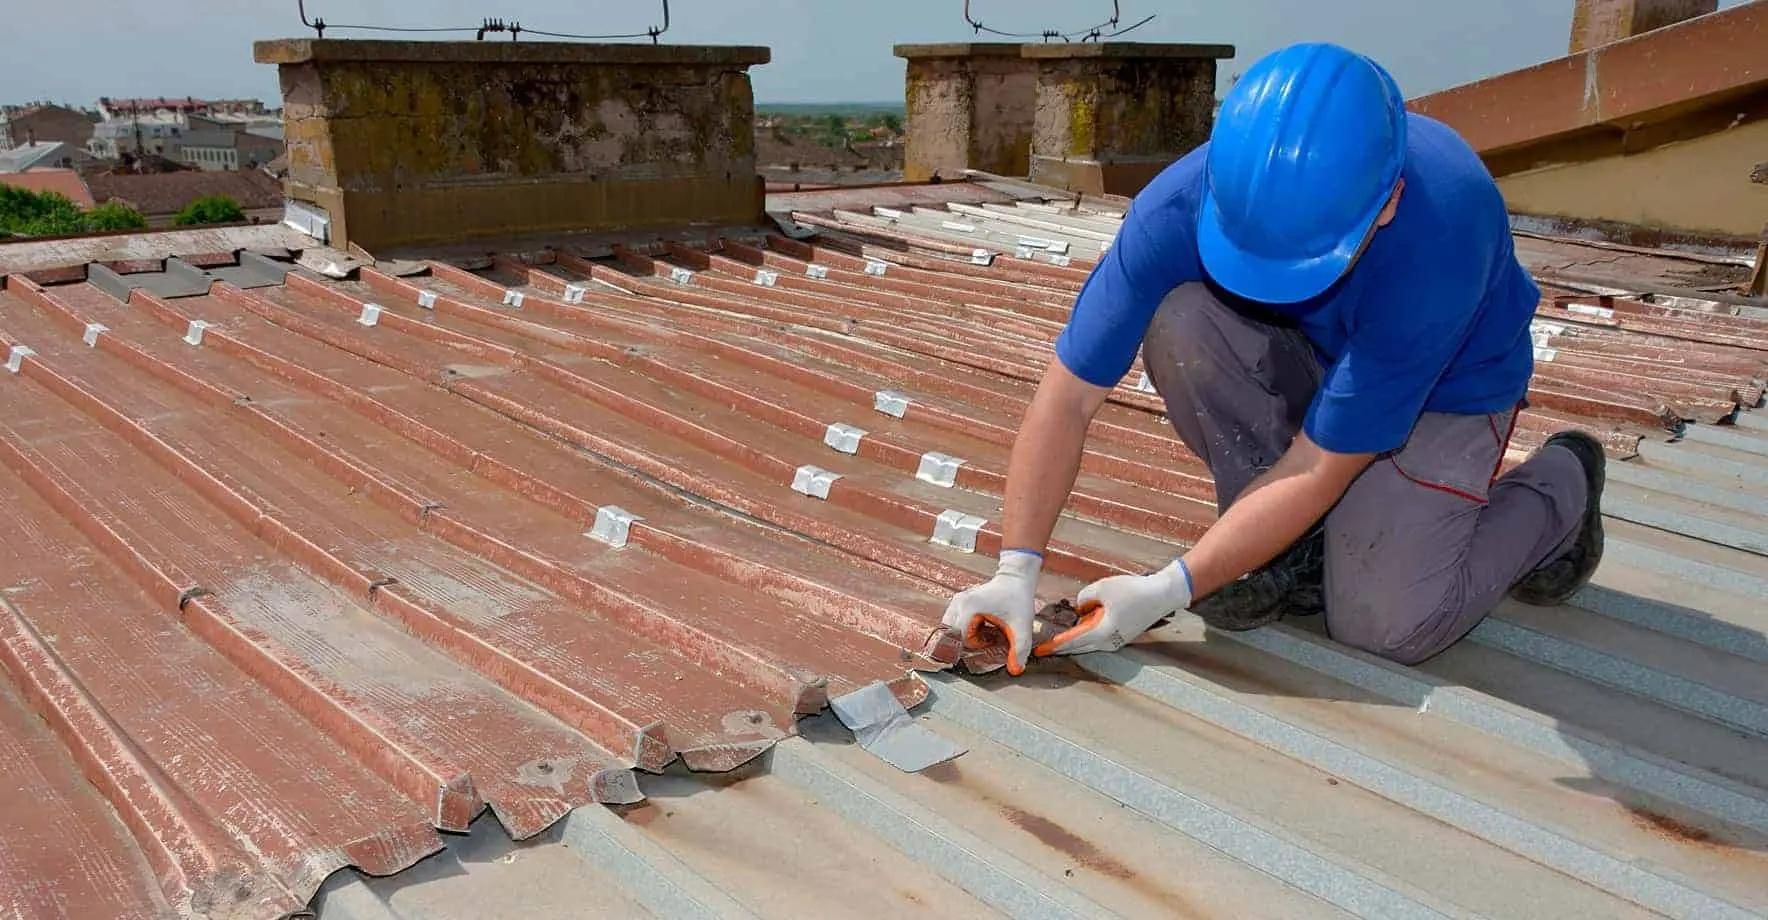
Step 3: Install the roofing panels
With the metal roofing panels precisely cut to fit your pergola, it’s time to embark on the exciting phase of installing these sleek and resilient components. This step will bring your vision to life, transforming your outdoor space into a sheltered oasis that seamlessly blends durability with elegance.
1. Begin at one end: Start the installation process at one end of the pergola’s roof, positioning the first metal roofing panel with precision. Ensure that the panel aligns with the edge and any overhang considerations, maintaining a consistent and aesthetically pleasing layout.
2. Secure the first panel: Use roofing screws and a power drill to secure the first panel in place, driving the screws through the designated mounting points while maintaining a uniform spacing pattern. Be mindful of the manufacturer’s recommendations regarding screw placement and quantity for optimal structural integrity.
3. Align subsequent panels: As you progress along the roof surface, align each subsequent metal roofing panel with the preceding one, creating a seamless and watertight connection. Pay close attention to the overlap and interlocking mechanisms specific to your chosen panel design, ensuring a snug and cohesive assembly.
4. Address penetrations and openings: If your pergola’s roof features penetrations such as vents or skylights, or if there are openings for future installations, take care to integrate the metal roofing panels around these elements. Maintain a watertight seal and a visually harmonious integration to uphold the overall integrity of the roof.
5. Utilize underlayment and sealant: Depending on your preference and the specific requirements of the installation, consider applying roofing underlayment beneath the metal panels to enhance moisture protection and insulation. Additionally, utilize a high-quality sealant to reinforce the connections and safeguard against water infiltration at the panel joints and fastener points.
6. Maintain consistent alignment: Throughout the installation process, prioritize consistent alignment and spacing between the metal roofing panels. This attention to detail will not only enhance the visual appeal of the roof but also contribute to its structural resilience and weatherproofing capabilities.
By methodically installing the metal roofing panels, you are infusing your pergola with a refined and enduring roofing solution. The precision and care invested in this phase will yield a visually captivating and robust shelter, inviting you to savor the outdoor experience in an environment that seamlessly harmonizes with nature.
Step 4: Secure the roofing panels in place
With the metal roofing panels elegantly adorning your pergola, it’s time to shift your focus to the vital task of securing these elements in place. This crucial step ensures that your metal-clad pergola not only exudes timeless charm but also stands resilient against the elements, embodying a fusion of beauty and durability.
1. Reinforce with roofing screws: Utilize corrosion-resistant roofing screws specifically designed for metal applications to firmly secure the roofing panels to the underlying structure. Follow the manufacturer’s guidelines regarding the recommended screw type, length, and spacing to uphold the structural integrity of the installation.
2. Emphasize fastener placement: Pay close attention to the strategic placement of the roofing screws, ensuring that they penetrate the panels at designated intervals and locations. Consistent and precise fastener placement is essential for maintaining a uniform and secure attachment, minimizing the risk of potential vulnerabilities.
3. Incorporate flashing and trim: Integrate flashing and trim components to provide a polished and weather-resistant finish for the edges and joints of the metal roofing panels. These elements not only enhance the aesthetic appeal of the installation but also contribute to its resilience against moisture and environmental exposure.
4. Verify the integrity of fastenings: After securing the roofing panels in place, meticulously inspect the fastenings to ensure that each screw is snugly and securely anchored. This comprehensive verification process mitigates the risk of loose fastenings, safeguarding the structural stability and weatherproofing of the metal roof.
5. Address potential points of vulnerability: Identify any areas of the roofing installation that may be susceptible to water infiltration or environmental stress. Apply additional sealant or targeted reinforcements as needed to fortify these potential points of vulnerability, fortifying the overall resilience of the metal-clad pergola.
6. Prioritize meticulous craftsmanship: Approach the task of securing the roofing panels with a commitment to meticulous craftsmanship, ensuring that each fastener is expertly placed and every joint is fortified with precision. This dedication to detail will yield a metal roof installation that not only captivates with its allure but also instills confidence with its structural integrity.
By securing the roofing panels with meticulous care and attention, you are elevating your pergola into a haven that seamlessly merges enduring strength with captivating elegance. This transformative process culminates in a metal-clad pergola that beckons you to savor the outdoor experience in a shelter that embodies both artistry and resilience.
When putting a metal roof on a pergola, make sure to use the correct type of metal roofing material that is suitable for outdoor use and can withstand the elements. Additionally, ensure that the roof is properly secured to the pergola structure to prevent any potential damage from wind or other weather conditions.
Step 5: Finish the installation and inspection
As the installation of the metal roofing panels nears completion, it’s time to shift your focus to the final touches and the critical phase of thorough inspection. This pivotal step ensures that your metal-clad pergola not only exudes timeless charm but also stands resilient against the elements, embodying a fusion of beauty and durability.
1. Apply finishing touches: Once the roofing panels are securely in place, attend to the finishing touches that elevate the visual appeal and weather resistance of the installation. Integrate trim pieces and flashing to provide a polished and seamless transition between the roofing panels and the surrounding structure, enhancing both the aesthetic and protective aspects of the metal roof.
2. Inspect for visual cohesion: Conduct a comprehensive visual inspection of the entire metal roof installation, ensuring that the panels are aligned with precision, the fasteners are uniformly placed, and the trim and flashing components seamlessly integrate with the roofing system. This meticulous assessment guarantees a visually cohesive and captivating result.
3. Verify structural integrity: Prioritize the verification of the structural integrity of the metal-clad pergola, confirming that the roofing panels are securely fastened, the underlayment, if utilized, is effectively in place, and the overall construction exhibits robustness and stability. This scrutiny bolsters confidence in the longevity and reliability of the installation.
4. Address potential areas of improvement: Identify any areas that may benefit from additional attention or enhancements, such as reinforcing specific connections, optimizing the placement of trim elements, or refining the overall presentation of the metal roof. Implement targeted improvements to elevate the quality and resilience of the installation.
5. Weatherproofing and sealant application: Prioritize the application of weatherproofing measures, such as sealant application at critical junctures and potential points of vulnerability, to fortify the metal roof against moisture infiltration and environmental exposure. This proactive approach enhances the long-term durability and weather resistance of the installation.
6. Celebrate the transformation: Embrace the culmination of the installation process as a testament to your dedication to craftsmanship and quality. Celebrate the transformation of your pergola into a sheltered sanctuary that harmonizes enduring strength with captivating elegance, inviting you to revel in the enchanting fusion of artistry and resilience.
By attending to the finishing touches and conducting a thorough inspection, you are ensuring that your metal-clad pergola embodies not only visual allure but also unwavering durability and weather resistance. This holistic approach culminates in an outdoor space that beckons you to savor the outdoor experience in a shelter that seamlessly harmonizes with nature, offering both sanctuary and sophistication.
Conclusion
Congratulations on embarking on the enriching journey of enhancing your pergola with a stunning and resilient metal roof. Through the meticulous process of gathering materials, measuring, cutting, installing, and securing the roofing panels, you have elevated your outdoor space into a sheltered oasis that seamlessly blends enduring strength with captivating elegance.
By infusing your pergola with a sleek and weather-resistant metal roof, you have not only crafted a visually striking and durable shelter but also created an inviting outdoor haven that beckons you to savor the natural beauty of your surroundings. The fusion of artistry and resilience embodied in your metal-clad pergola invites delightful gatherings, tranquil moments of relaxation, and a seamless connection with the outdoors.
As you revel in the transformative impact of your metal roof installation, take pride in the craftsmanship and dedication that have shaped your outdoor space into a sanctuary that harmonizes with nature. Embrace the enchanting allure of your pergola, now adorned with a timeless and enduring roofing solution, and celebrate the art of blending functionality with elegance.
Whether you envision hosting delightful gatherings under the shimmering protection of your metal-clad pergola or simply seek a low-maintenance roofing solution, your outdoor space now stands as a testament to your commitment to quality and aesthetics. The fusion of artistry and resilience embodied in your metal-clad pergola invites delightful gatherings, tranquil moments of relaxation, and a seamless connection with the outdoors.
As you savor the immersive outdoor experience offered by your metal-clad pergola, may the enduring allure and weather-resistant design inspire a deep appreciation for the harmonious blend of nature and modern craftsmanship. Your pergola, now adorned with a sleek and resilient metal roof, stands as a testament to the transformative power of thoughtful design and the art of enhancing outdoor spaces.
With your pergola enriched by the art of metal roof installation, may every moment spent in its sheltered embrace be a celebration of timeless elegance and enduring strength, inviting you to savor the beauty of outdoor living in a space that reflects your dedication to craftsmanship and quality.
Frequently Asked Questions about How To Put A Metal Roof On A Pergola
Was this page helpful?
At Storables.com, we guarantee accurate and reliable information. Our content, validated by Expert Board Contributors, is crafted following stringent Editorial Policies. We're committed to providing you with well-researched, expert-backed insights for all your informational needs.

0 thoughts on “How To Put A Metal Roof On A Pergola”