Home>Gardening & Outdoor>Outdoor Structures>How To Build A Shed Kit
Outdoor Structures
How To Build A Shed Kit
Modified: January 21, 2024
Learn how to easily assemble an outdoor shed kit with our comprehensive guide. Create a durable and functional outdoor structure with step-by-step instructions.
(Many of the links in this article redirect to a specific reviewed product. Your purchase of these products through affiliate links helps to generate commission for Storables.com, at no extra cost. Learn more)
Introduction
Are you looking to expand your outdoor storage space or create a cozy retreat in your backyard? Building a shed kit might be the perfect solution. Whether you're a seasoned DIY enthusiast or a novice looking to embark on your first construction project, assembling a shed kit can be a rewarding and practical endeavor. In this comprehensive guide, we'll explore the step-by-step process of building a shed kit, from selecting the right kit for your needs to adding the finishing touches. By the end of this journey, you'll be equipped with the knowledge and confidence to tackle this project with ease.
Building a shed kit is not only a practical addition to your property but also a fulfilling experience that allows you to unleash your creativity and craftsmanship. From organizing your gardening tools to creating a serene workspace, a shed can serve a multitude of purposes. Moreover, with the wide variety of shed kits available on the market, you can choose a style and size that complements your outdoor space and meets your specific requirements.
In the following sections, we'll delve into the essential considerations for selecting the right shed kit, preparing the site for construction, assembling the kit with precision, and adding those final flourishes that transform a simple structure into a functional and aesthetically pleasing addition to your property. Let's embark on this journey of construction, creativity, and transformation as we explore the art of building a shed kit.
Key Takeaways:
- Building a shed kit is a fun and rewarding way to expand your outdoor space. From choosing the right kit to adding finishing touches, it’s a creative journey that enhances your property.
- By carefully selecting a shed kit and following step-by-step assembly, you can create a functional and personalized outdoor structure. It’s a fulfilling project that adds value to your property and reflects your creativity.
Read more: How Build A Shed
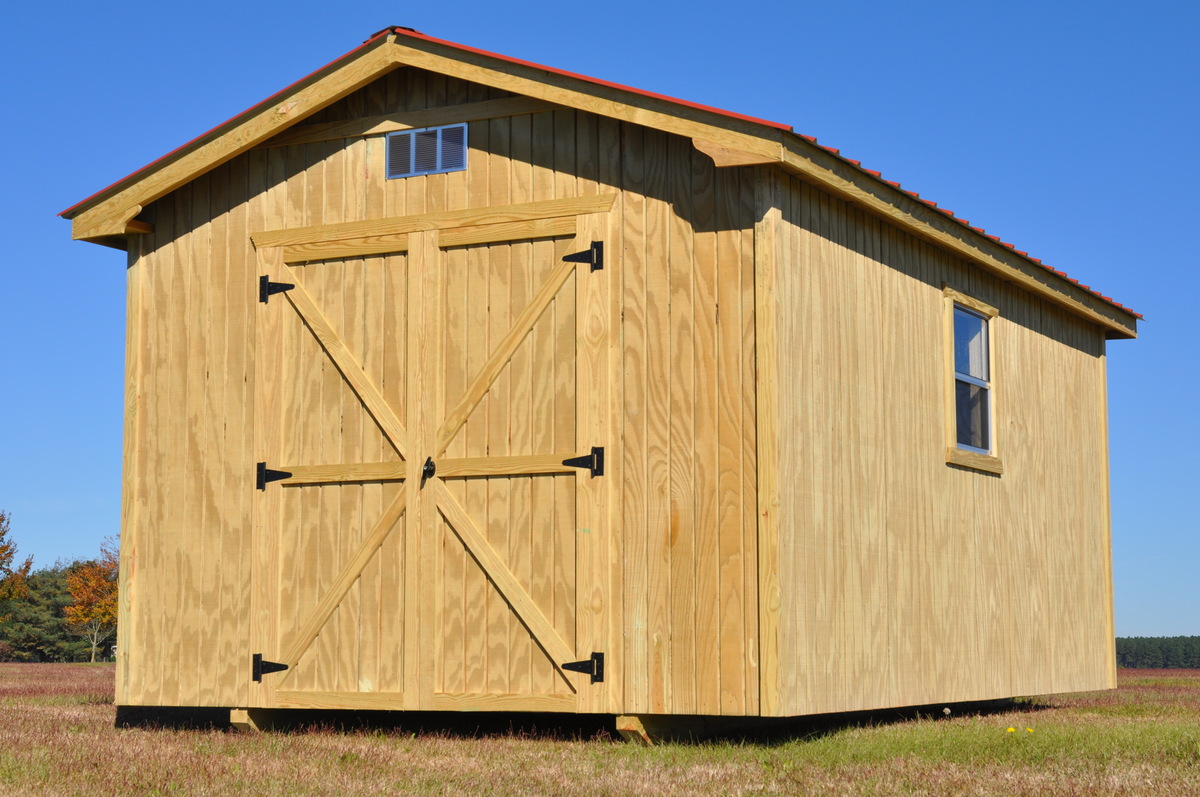
Choosing the Right Shed Kit
Before embarking on your shed-building journey, it’s crucial to select a shed kit that aligns with your needs, preferences, and the layout of your outdoor space. With a myriad of options available, it’s essential to consider the following factors to ensure that you choose the right shed kit:
- Size and Purpose: Determine the primary purpose of your shed, whether it’s for storing gardening tools, housing outdoor equipment, or creating a workshop. Assess the space available in your yard to select an appropriate size that accommodates your needs without overwhelming the area.
- Materials: Shed kits are available in various materials, including wood, metal, and resin. Each material offers distinct advantages in terms of durability, maintenance, and aesthetic appeal. Consider the climate of your region and the level of maintenance you’re willing to undertake when choosing the material for your shed kit.
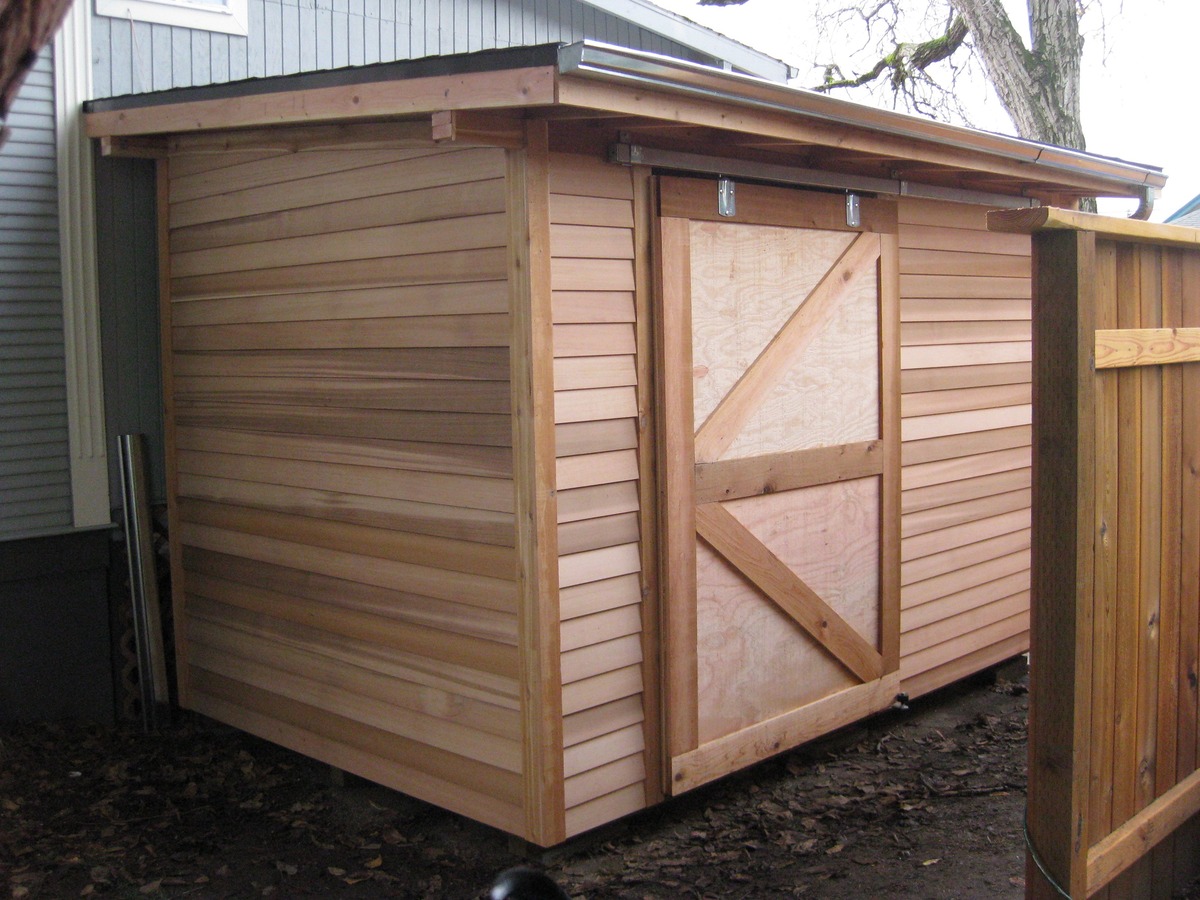
- Style and Design: From traditional barn-style sheds to modern, sleek designs, shed kits come in a range of styles to complement different architectural aesthetics. Select a design that harmonizes with the existing structures in your outdoor space and reflects your personal taste.
- Customization Options: Some shed kits offer customization options such as additional windows, shelving, and ventilation. Evaluate the customization features available with each kit to ensure that it can be tailored to meet your specific requirements.
- Assembly Difficulty: Consider your level of expertise and the tools you have at your disposal. Some shed kits are designed for easy assembly and require minimal construction skills, while others may involve more complex building processes.
Once you’ve carefully assessed these factors, you’ll be equipped to make an informed decision when choosing the right shed kit for your project. Remember that the ideal shed kit not only complements the aesthetics of your outdoor space but also fulfills its functional purpose seamlessly. With the perfect shed kit selected, you’re ready to move on to the next phase of the construction process: preparing the site for your new shed.
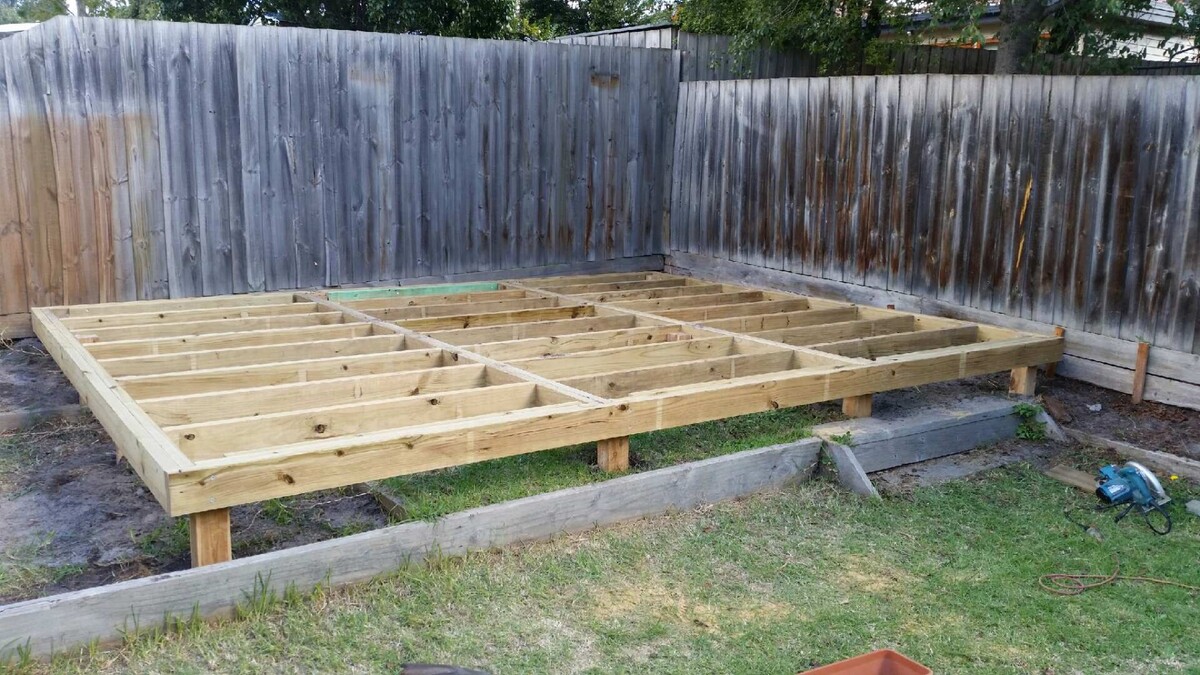
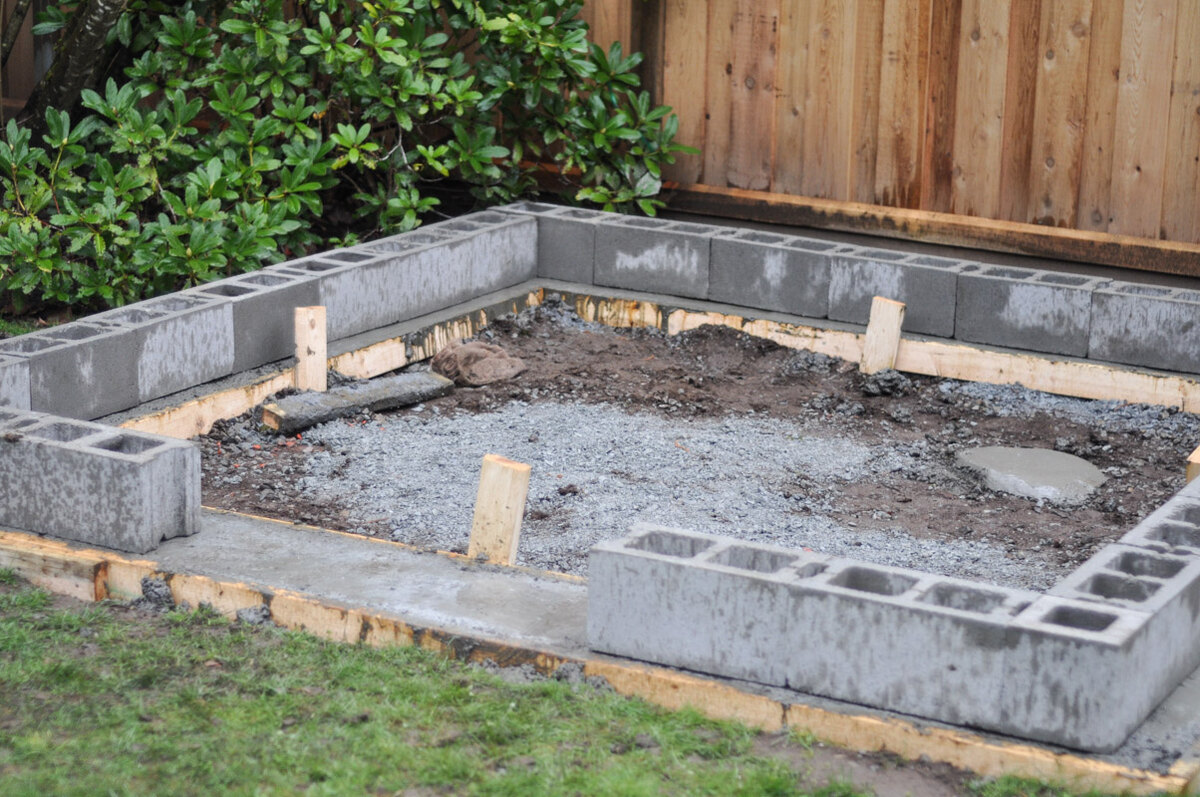
Preparing the Site
Before you start assembling your shed kit, it’s essential to prepare the site meticulously to ensure a stable and durable foundation for your new outdoor structure. Follow these steps to prepare the site effectively:
- Clearing the Area: Begin by clearing the designated area of any debris, vegetation, or obstacles. Ensure that the ground is level and free from any obstructions that could impede the assembly process or compromise the stability of the shed.
- Marking the Perimeter: Use stakes and string to outline the perimeter of the shed’s foundation. This will provide a clear visual guide for the placement of the shed kit and help maintain the correct dimensions during the construction process.
- Leveling the Ground: If the site is not already level, use a shovel and a leveling tool to create a flat and even surface. A level foundation is crucial for the stability and structural integrity of the shed.
- Installing a Foundation: Depending on the type of shed kit and the local building codes, you may need to install a foundation. Options include concrete slabs, pavers, or pressure-treated wood frames. Follow the manufacturer’s recommendations and local regulations when determining the appropriate foundation for your shed kit.
- Checking for Drainage: Assess the site’s drainage to ensure that water does not accumulate around the shed. Proper drainage is essential for preserving the integrity of the shed and preventing moisture-related issues.
By meticulously preparing the site, you’ll create a solid and stable foundation for your shed kit, setting the stage for a seamless assembly process. Once the site is prepared, you’re ready to embark on the exciting phase of assembling your shed kit and witnessing your outdoor structure take shape.
When building a shed kit, make sure to carefully read the instructions and lay out all the parts before starting. This will help you stay organized and avoid any mistakes during the assembly process.
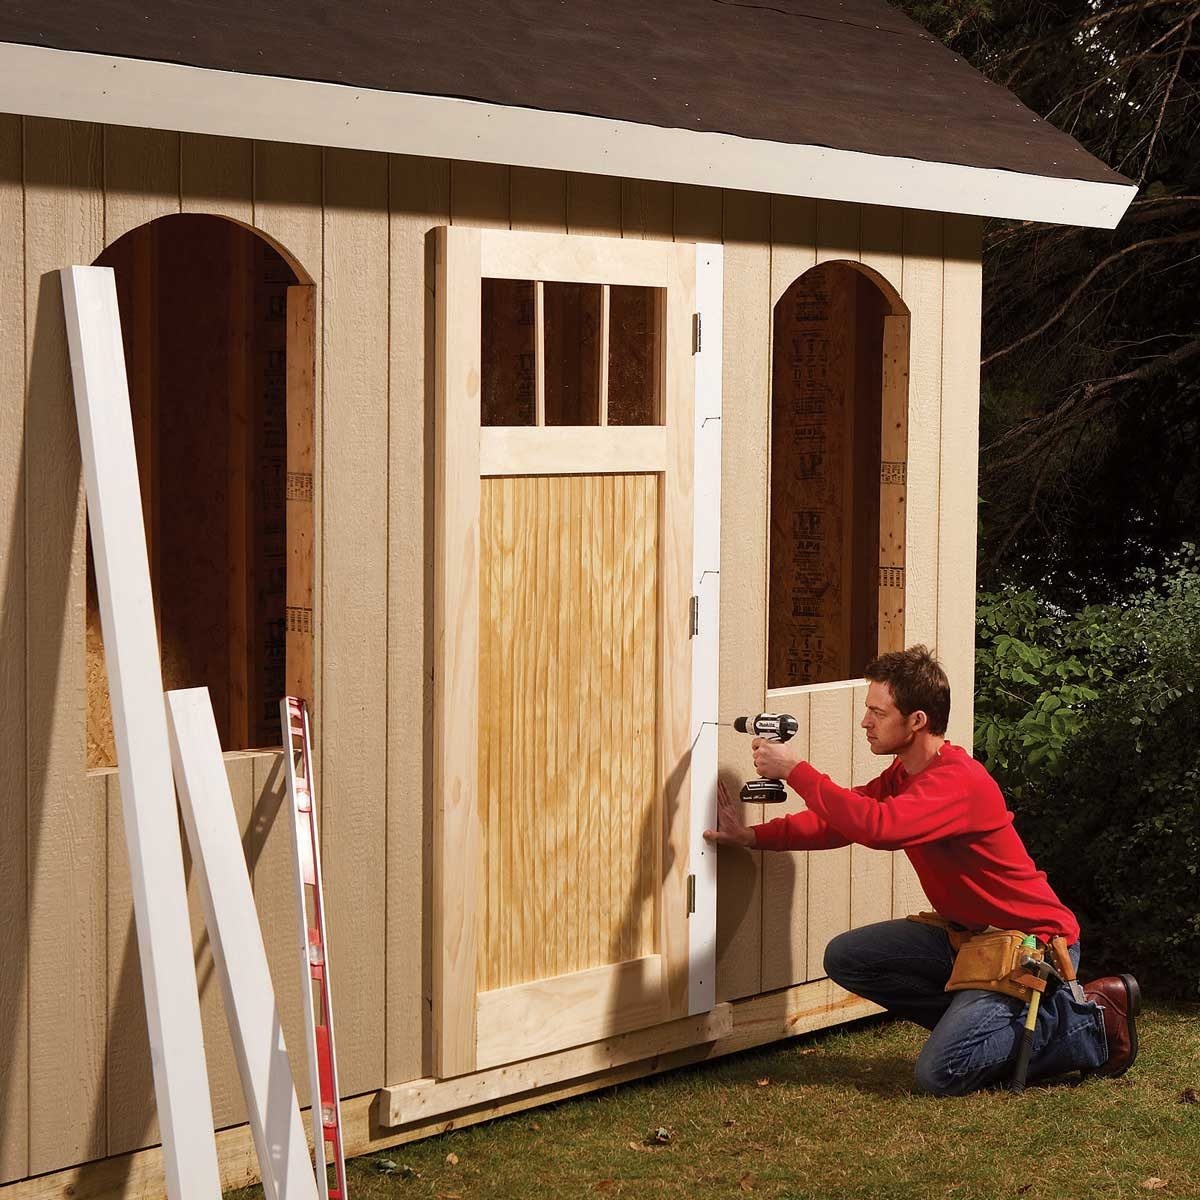
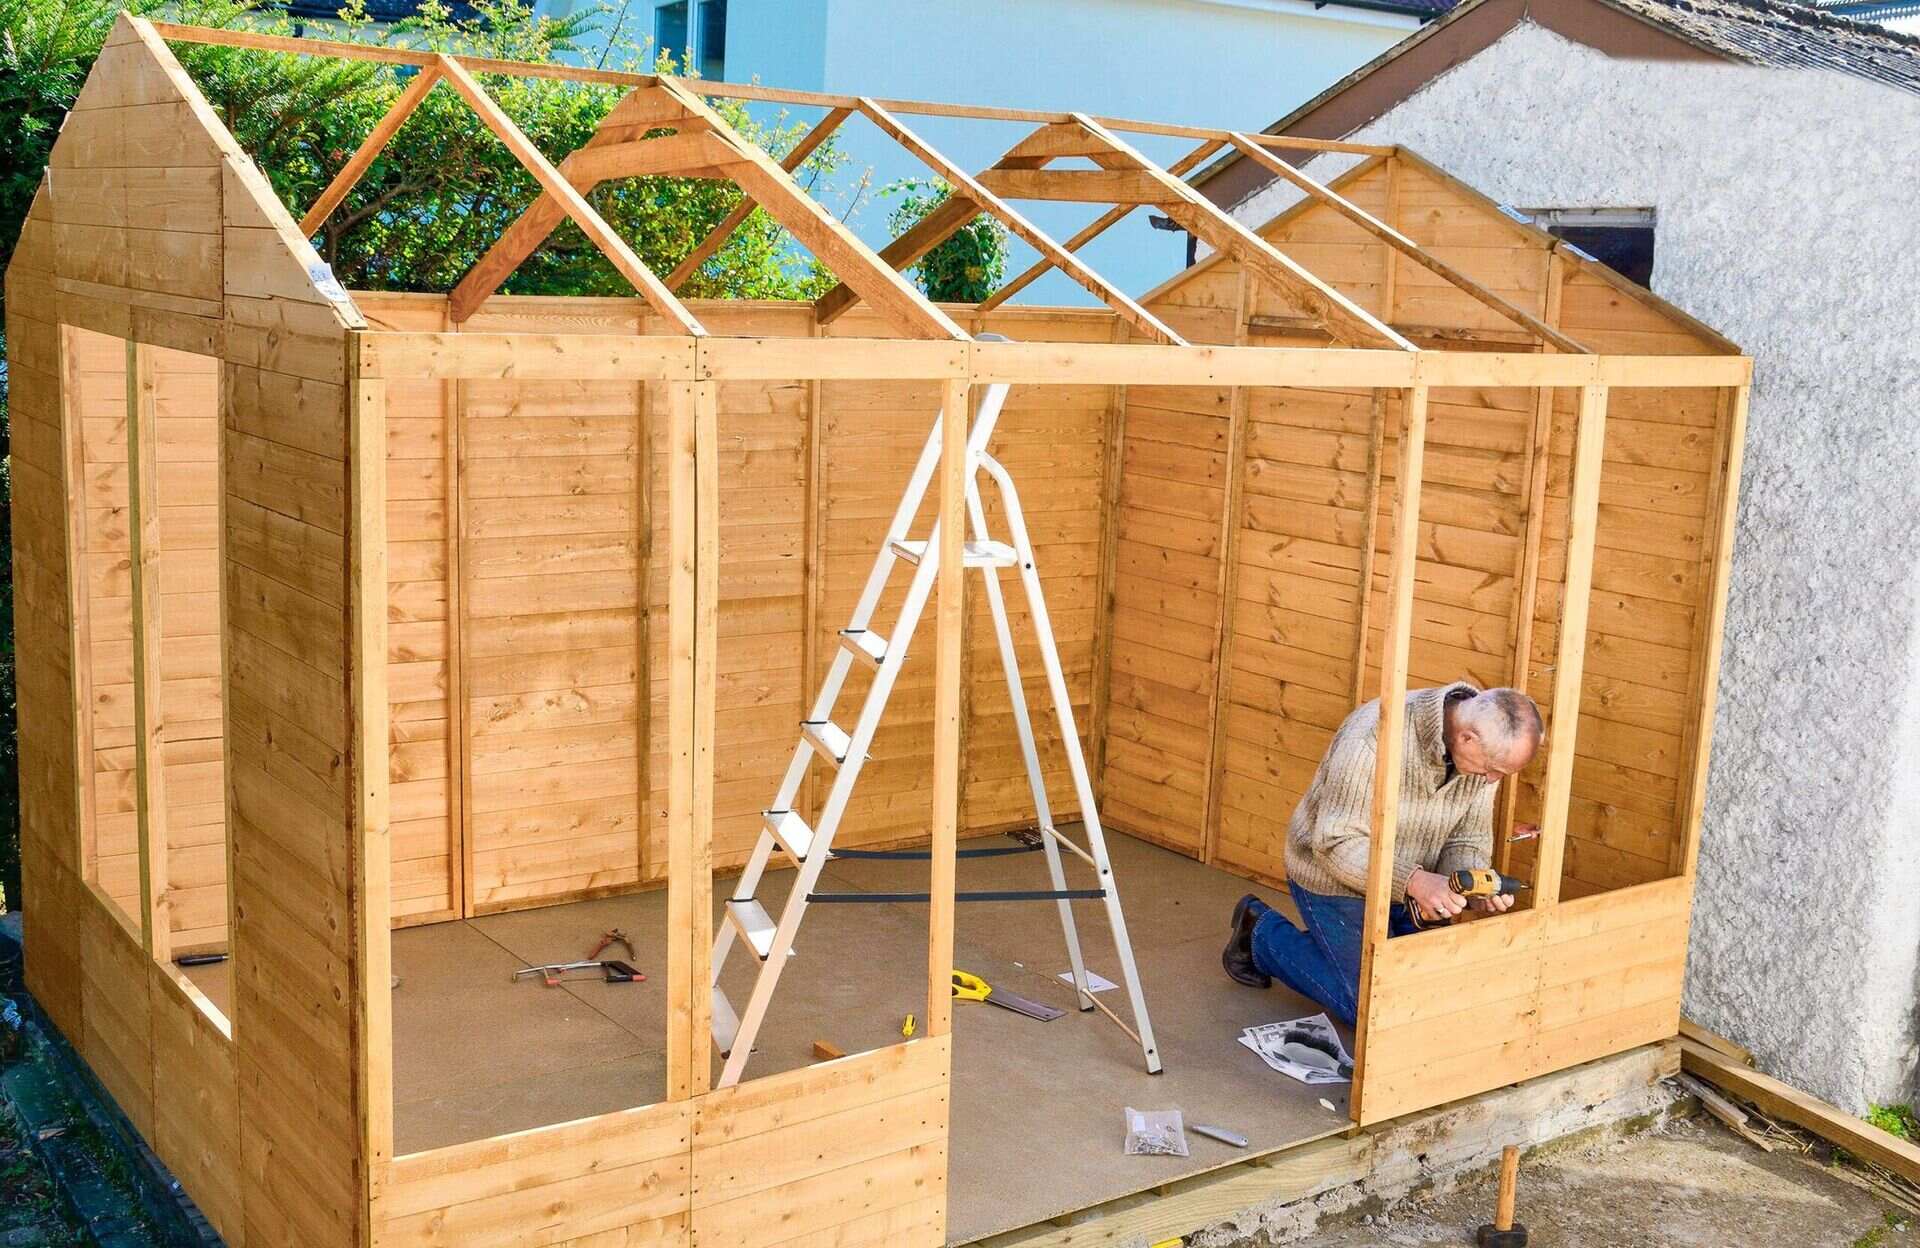
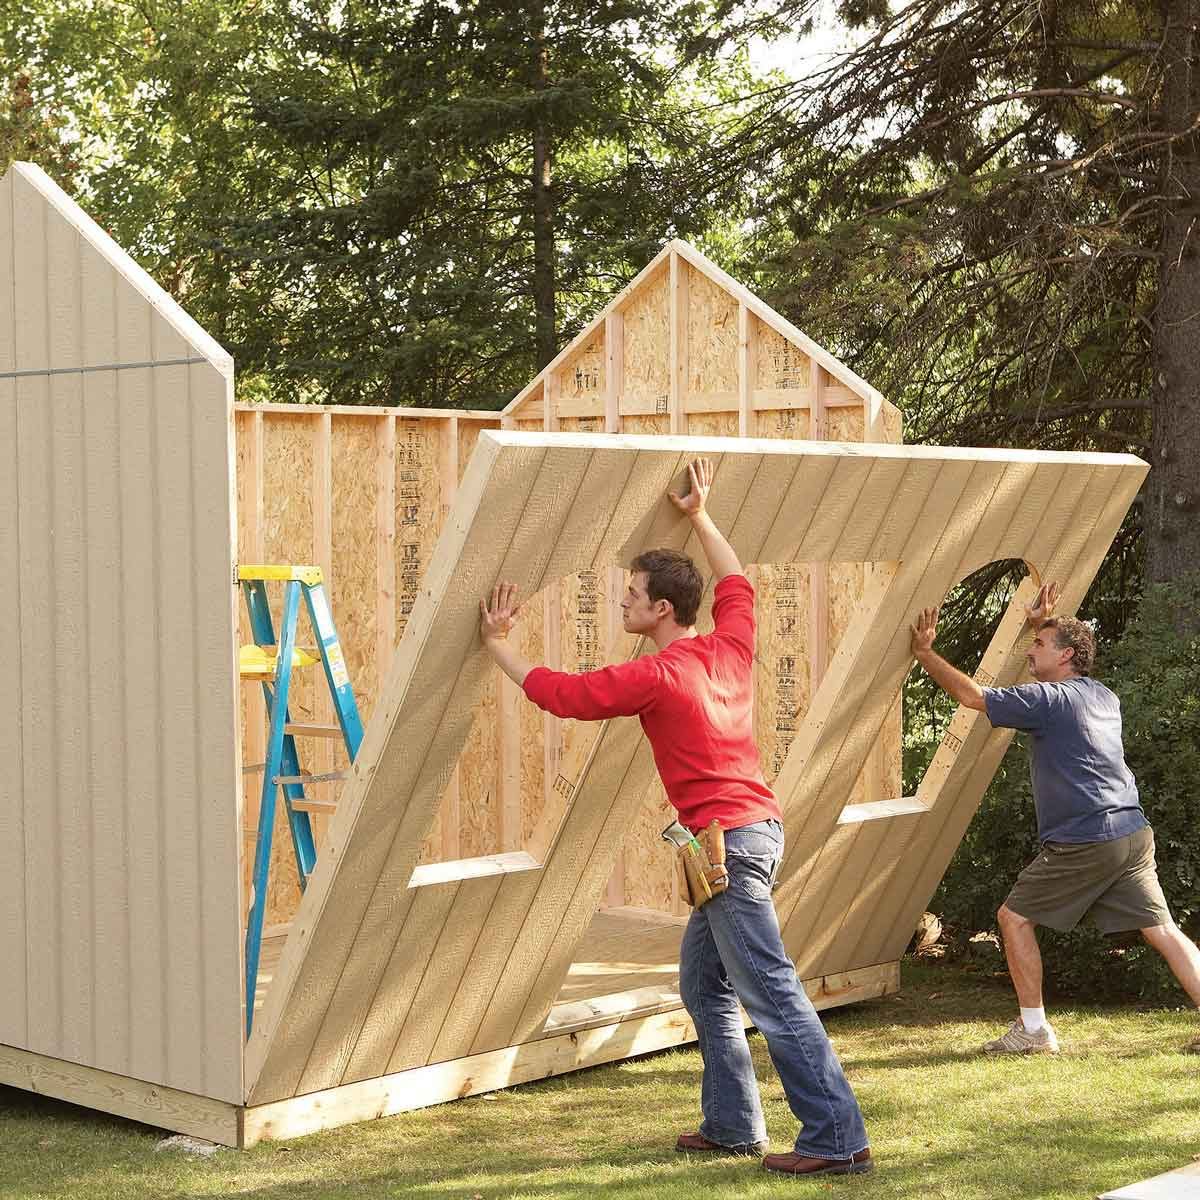
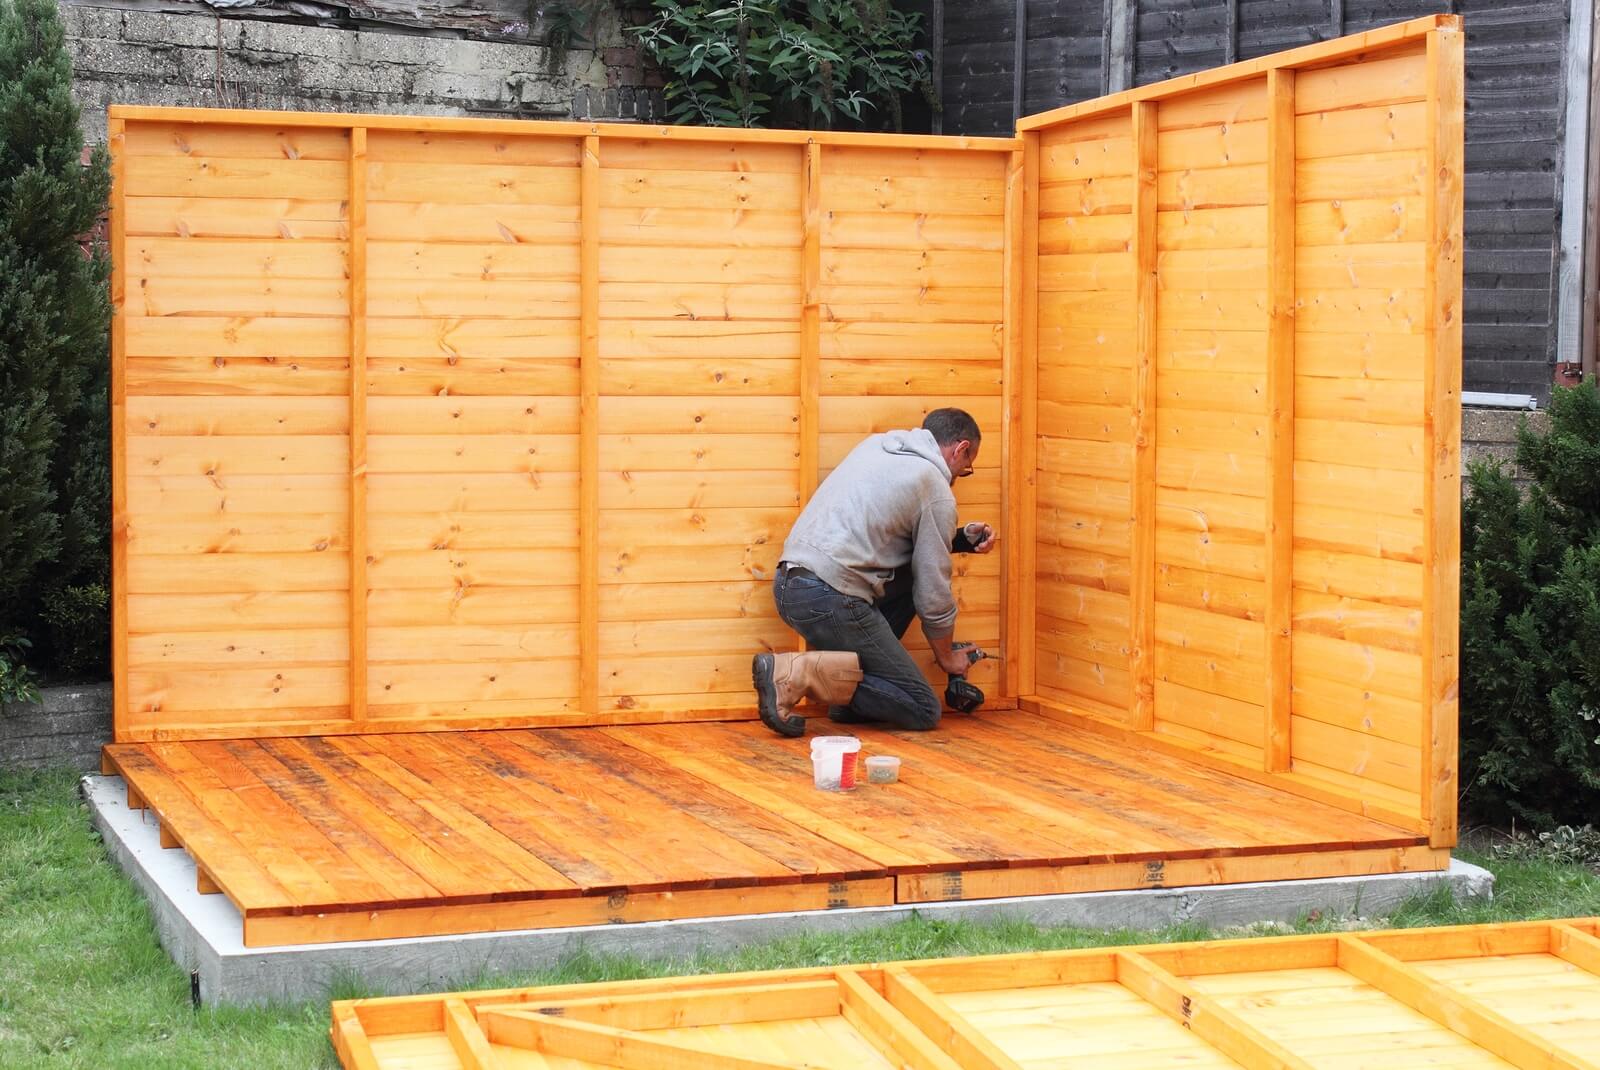
Assembling the Shed Kit
With the site prepared and the shed kit selected, it’s time to embark on the exhilarating process of assembling your new outdoor structure. Follow these step-by-step guidelines to ensure a smooth and efficient assembly:
- Organize the Components: Unpack the shed kit and organize the components systematically. Familiarize yourself with the parts and refer to the manufacturer’s instructions to understand the assembly process.
- Follow the Instructions: Carefully follow the detailed instructions provided by the manufacturer. Ensure that you have all the necessary tools and equipment readily available before commencing the assembly.
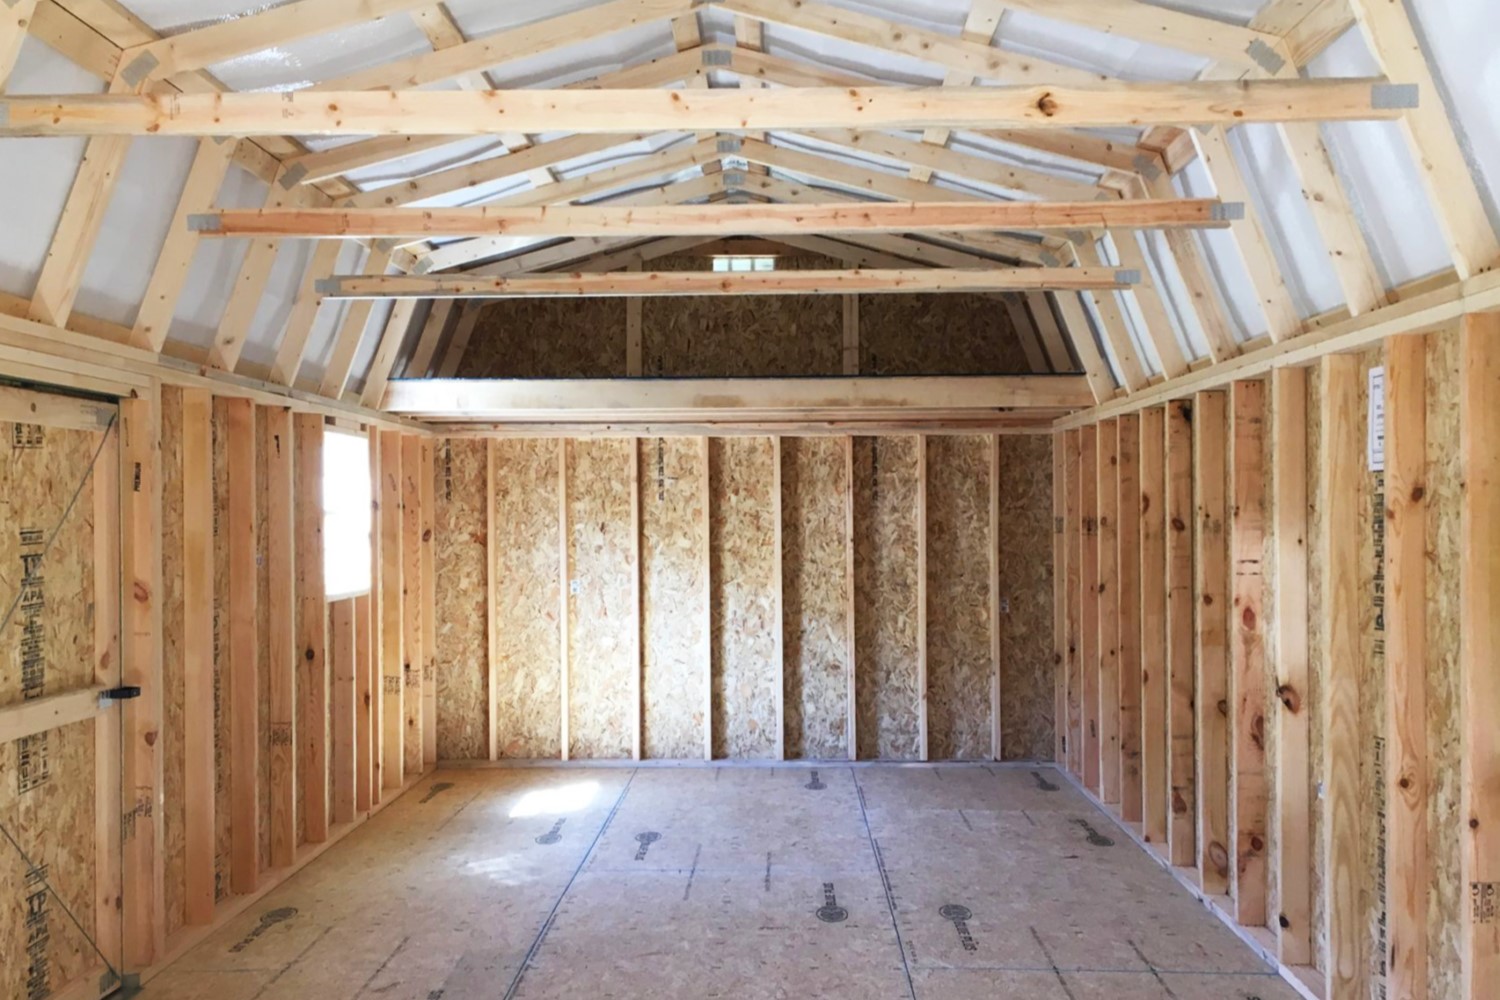
- Construct the Frame: Begin by constructing the frame of the shed according to the provided guidelines. Pay close attention to the alignment and leveling of the frame to establish a solid foundation for the remaining assembly.
- Assemble the Walls and Roof: Proceed to assemble the walls and roof of the shed, following the sequential instructions provided. Enlist the assistance of a friend or family member to facilitate the safe and efficient installation of these larger components.
- Install Doors and Windows: If your shed kit includes doors and windows, carefully install these components according to the manufacturer’s specifications. Ensure that they are securely fitted and properly sealed to prevent any potential issues with weather and security.
- Secure Fixtures and Accessories: Once the main structure is assembled, proceed to secure any fixtures, shelving, or accessories included in the shed kit. This is the stage where you can personalize the interior of your shed to suit your specific storage and organizational needs.
Throughout the assembly process, prioritize precision and attention to detail to ensure that each component is securely installed. By following the manufacturer’s instructions diligently and maintaining a methodical approach, you’ll witness your shed kit transform into a fully functional and visually appealing outdoor structure. As the assembly nears completion, you’re ready to add those finishing touches that elevate the aesthetic charm and practicality of your new shed.
Adding Finishing Touches
As the assembly of your shed kit nears completion, it’s time to add the finishing touches that will enhance both the functionality and visual appeal of your new outdoor structure. Consider the following steps to elevate the overall aesthetic and ensure that your shed is equipped to meet your specific needs:
- Applying Protective Coatings: If your shed kit is constructed from wood, consider applying a protective sealant or paint to safeguard the exterior from the elements. This not only enhances the shed’s durability but also allows you to personalize its appearance with your preferred color scheme.
- Implementing Interior Organization: Install shelving, hooks, and storage solutions to optimize the interior space of your shed. This will enable you to efficiently organize your tools, equipment, and other items, maximizing the functionality of the structure.
- Enhancing Security: Consider adding a sturdy lock and possibly a security system to safeguard valuable items stored within the shed. This provides peace of mind and ensures that your belongings are secure at all times.
- Landscaping and Integration: Integrate the shed seamlessly into your outdoor space by incorporating landscaping elements around its perimeter. This could include planting shrubs, creating a pathway, or adding decorative features that complement the shed’s design.
- Personalizing the Exterior: Add personal touches such as decorative accents, hanging plants, or exterior lighting to infuse character into the shed and create an inviting atmosphere in your outdoor area.
By implementing these finishing touches, you’ll transform your shed kit into a fully realized and functional addition to your property. Whether it’s a stylish storage solution, a workshop retreat, or a tranquil garden hideaway, your shed will reflect your personal style and cater to your practical needs. With the finishing touches in place, take a moment to admire your handiwork and revel in the satisfaction of bringing your shed kit to life.
Read more: How To Build A Shed
Conclusion
Congratulations on completing the journey of building your shed kit! From the initial selection of the perfect kit to the meticulous preparation of the site, the exhilarating assembly process, and the addition of those final flourishes, you’ve embarked on a fulfilling and transformative endeavor. As you stand back and admire your newly constructed outdoor structure, it’s evident that your shed is more than just a functional addition to your property—it’s a testament to your creativity, craftsmanship, and dedication to enhancing your outdoor space.
Building a shed kit is not merely a construction project; it’s an opportunity to personalize your outdoor environment and create a space that resonates with your lifestyle and preferences. Whether you’ve transformed your shed into a workshop, a storage haven, a gardening retreat, or a multifunctional oasis, it now stands as a versatile and valuable asset that enriches your property.
As you enjoy the fruits of your labor, take pride in the fact that you’ve not only built a shed but also cultivated a space where functionality meets aesthetics, and practicality harmonizes with creativity. Your shed kit is a reflection of your vision and a testament to your ability to bring that vision to fruition.
As you continue to utilize and appreciate your new shed, remember that it’s a versatile canvas waiting for your personal touch. Whether you decide to add a coat of paint, introduce new organizational solutions, or incorporate decorative elements, your shed will continue to evolve alongside your needs and preferences.
Thank you for joining us on this journey of construction, creativity, and transformation. We hope that this guide has equipped you with the knowledge, inspiration, and confidence to embark on your shed-building project with enthusiasm and success. Embrace the endless possibilities that your shed kit offers and revel in the satisfaction of creating a space that enhances your outdoor lifestyle.
Frequently Asked Questions about How To Build A Shed Kit
Was this page helpful?
At Storables.com, we guarantee accurate and reliable information. Our content, validated by Expert Board Contributors, is crafted following stringent Editorial Policies. We're committed to providing you with well-researched, expert-backed insights for all your informational needs.


0 thoughts on “How To Build A Shed Kit”