Home>Home Appliances>Cleaning Appliances>How To Fix A Kirby Vacuum Cleaner
Cleaning Appliances
How To Fix A Kirby Vacuum Cleaner
Modified: August 23, 2024
Learn how to fix your Kirby vacuum cleaner with our expert cleaning appliances tips. Keep your vacuum running smoothly with our step-by-step guide.
(Many of the links in this article redirect to a specific reviewed product. Your purchase of these products through affiliate links helps to generate commission for Storables.com, at no extra cost. Learn more)
Introduction
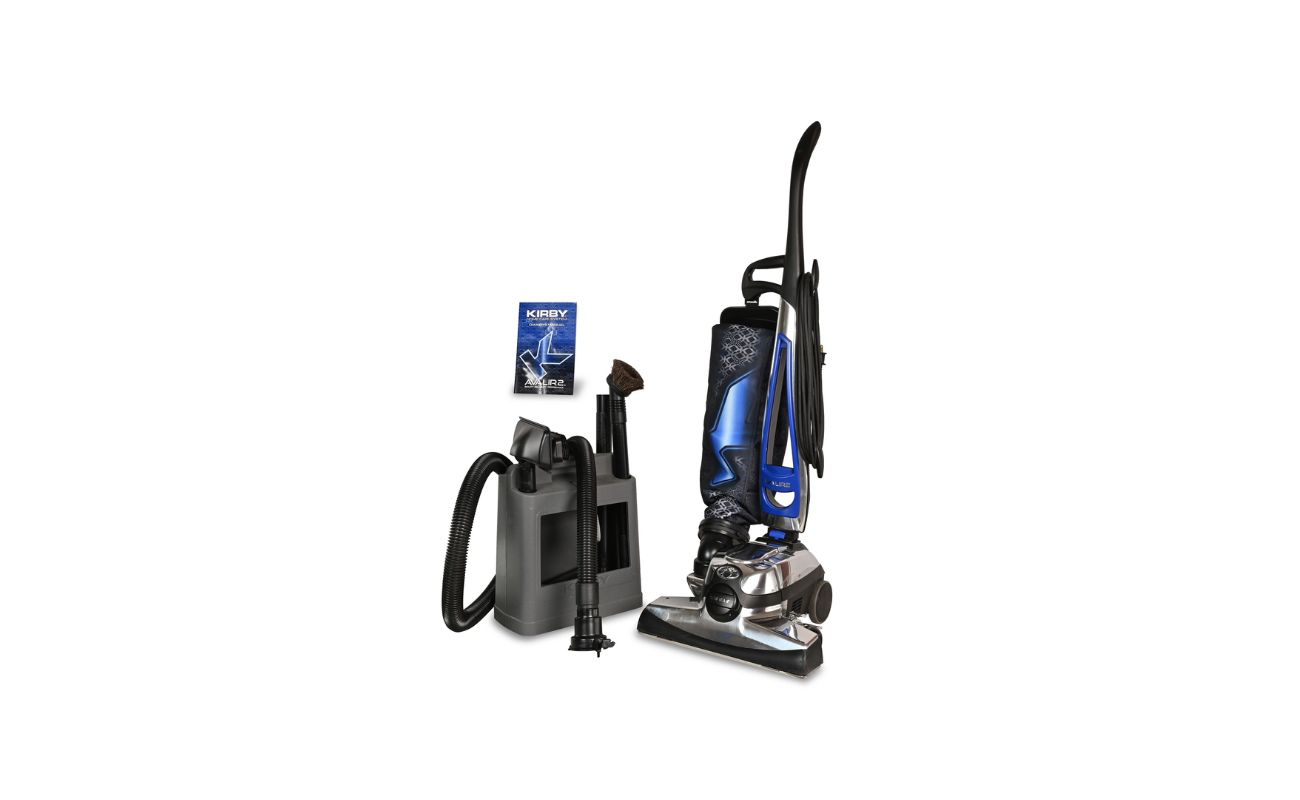
Owning a Kirby vacuum cleaner is a testament to your commitment to a clean and healthy living environment. These powerful and durable machines are designed to provide years of reliable service. However, like any appliance, Kirby vacuum cleaners may encounter issues over time. Whether it's a loss of suction, a malfunctioning brush roll, or a mysterious noise emanating from the motor, knowing how to troubleshoot and fix these problems can save you time and money.
In this comprehensive guide, we'll explore the common issues that Kirby vacuum cleaners may experience and provide step-by-step instructions on how to address them. By following these simple yet effective repair techniques, you can prolong the life of your beloved Kirby vacuum cleaner and keep your home spotless with ease.
So, if you've noticed a drop in performance or encountered a pesky problem with your Kirby vacuum cleaner, fear not! With a few basic tools, a bit of know-how, and the willingness to get your hands dirty, you can restore your vacuum cleaner to its former glory. Let's dive in and learn how to fix a Kirby vacuum cleaner like a pro.
Key Takeaways:
- Keep your Kirby vacuum cleaner in top condition by regularly cleaning the brush roll, clearing clogs, and replacing worn-out belts. This proactive approach ensures optimal performance and extends the appliance’s lifespan.
- Troubleshoot power supply issues, inspect the motor, and reassemble the vacuum cleaner carefully to maintain its reliability. With the right tools and techniques, you can address common issues and keep your home spotless.
Read more: How To Change Belt On Kirby Vacuum Cleaner
Common Issues with Kirby Vacuum Cleaners
Kirby vacuum cleaners are renowned for their robust build quality and exceptional cleaning performance. However, even these reliable machines can experience common issues that may hinder their effectiveness. Understanding these issues is the first step towards resolving them effectively.
- Loss of Suction: Over time, a Kirby vacuum cleaner may experience a decrease in suction power, leading to inefficient cleaning. This can be caused by clogged filters, a full bag, or blockages in the hose or attachments.
- Brush Roll Malfunction: The brush roll, responsible for agitating and lifting dirt from carpets, can become clogged with hair, debris, or tangled fibers, leading to reduced cleaning efficiency.
- Strange Noises: Unusual noises emanating from the vacuum cleaner can be indicative of issues with the motor, belt, or internal components. Identifying the source of the noise is crucial for effective troubleshooting.
- Belt Wear and Tear: The belt that drives the brush roll can wear out over time, leading to poor brush roll performance or even complete stoppage.
- Motor Problems: Issues with the motor, such as overheating, unusual odors, or loss of power, can significantly impact the vacuum cleaner’s performance.
Recognizing these common issues and their underlying causes is essential for diagnosing and fixing problems with your Kirby vacuum cleaner. By addressing these issues promptly, you can ensure that your vacuum cleaner continues to deliver exceptional cleaning results for years to come.
Tools and Materials Needed
Before embarking on the journey to fix your Kirby vacuum cleaner, it’s essential to gather the necessary tools and materials. Having the right equipment at your disposal will streamline the repair process and ensure that you can address the issues effectively.
Here’s a list of tools and materials you may need:
- Screwdriver Set: A set of Phillips and flathead screwdrivers will be essential for accessing and disassembling various components of the vacuum cleaner.
- Scissors or Wire Cutters: These tools will come in handy for removing tangled hair, fibers, or debris from the brush roll and other components.
- Needle-Nose Pliers: Pliers can assist in extracting debris, unclogging hoses, and manipulating small components during the repair process.
- New Belt: If your vacuum cleaner’s belt shows signs of wear or damage, having a replacement belt on hand will allow you to address this issue promptly.
- Clean Cloth or Brush: A clean cloth or brush can be used to wipe down components, remove dust, and ensure that the vacuum cleaner is clean and well-maintained.
- Replacement Filters (if necessary): If your vacuum cleaner’s filters are dirty or clogged, having replacement filters available will help restore its suction power.
- Clearing Tools: Long, flexible tools or attachments designed for clearing clogs in hoses and attachments will be invaluable for addressing blockages.
By ensuring that you have these tools and materials on hand, you’ll be well-prepared to tackle a range of common issues that may arise with your Kirby vacuum cleaner. With a proactive approach and the right resources, you can confidently proceed with the troubleshooting and repair process, bringing your vacuum cleaner back to optimal working condition.
Step 1: Checking the Power
Before delving into the internal components of your Kirby vacuum cleaner, it’s crucial to start with the most basic yet often overlooked troubleshooting step: checking the power supply and related components. A lack of power can manifest as a complete failure to turn on or issues with the vacuum cleaner’s performance. Here’s how to proceed:
- Inspect the Power Cord: Begin by examining the power cord for any visible damage, fraying, or exposed wires. If you notice any issues, it’s essential to replace the power cord to ensure safe and reliable operation.
- Check the Outlet: Plug the vacuum cleaner into a different power outlet to rule out the possibility of a faulty outlet. Sometimes, the issue may stem from the power source rather than the vacuum cleaner itself.
- Reset the Circuit Breaker: If the vacuum cleaner has suddenly stopped working, it may have tripped a circuit breaker. Locate the circuit breaker in your home’s electrical panel and reset it to see if this resolves the power issue.
- Test with Another Appliance: To verify the integrity of the power supply, test the outlet with another appliance to ensure that it is functioning correctly. This will help determine if the problem lies with the vacuum cleaner or the electrical supply.
By systematically checking the power supply and related components, you can eliminate potential external factors that may be affecting your Kirby vacuum cleaner’s performance. Addressing power-related issues is the first step towards ensuring that your vacuum cleaner receives the electricity it needs to operate effectively.
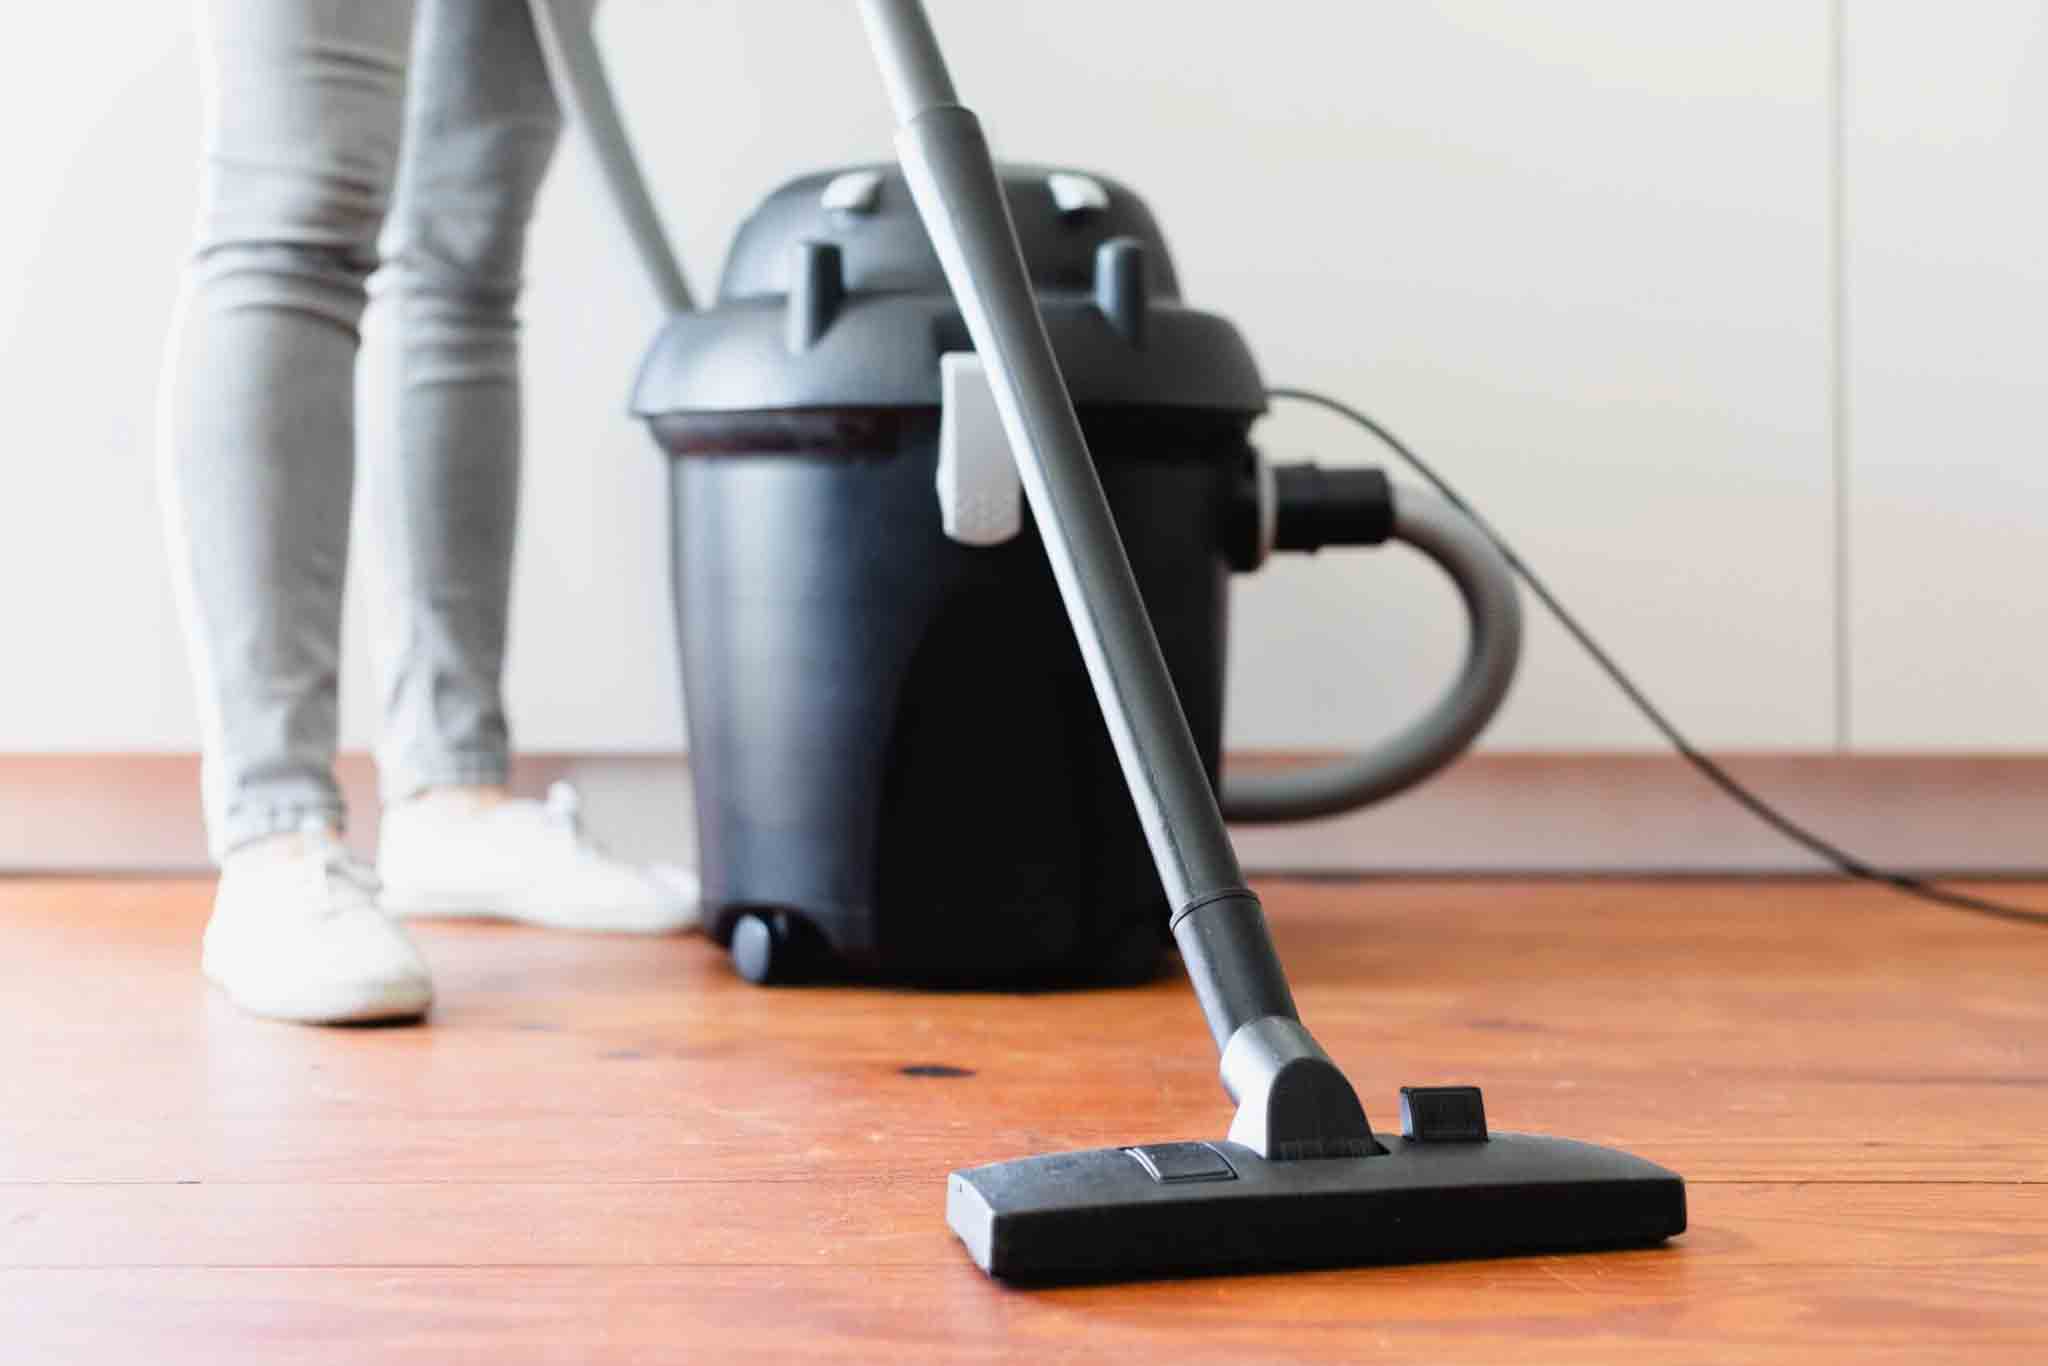
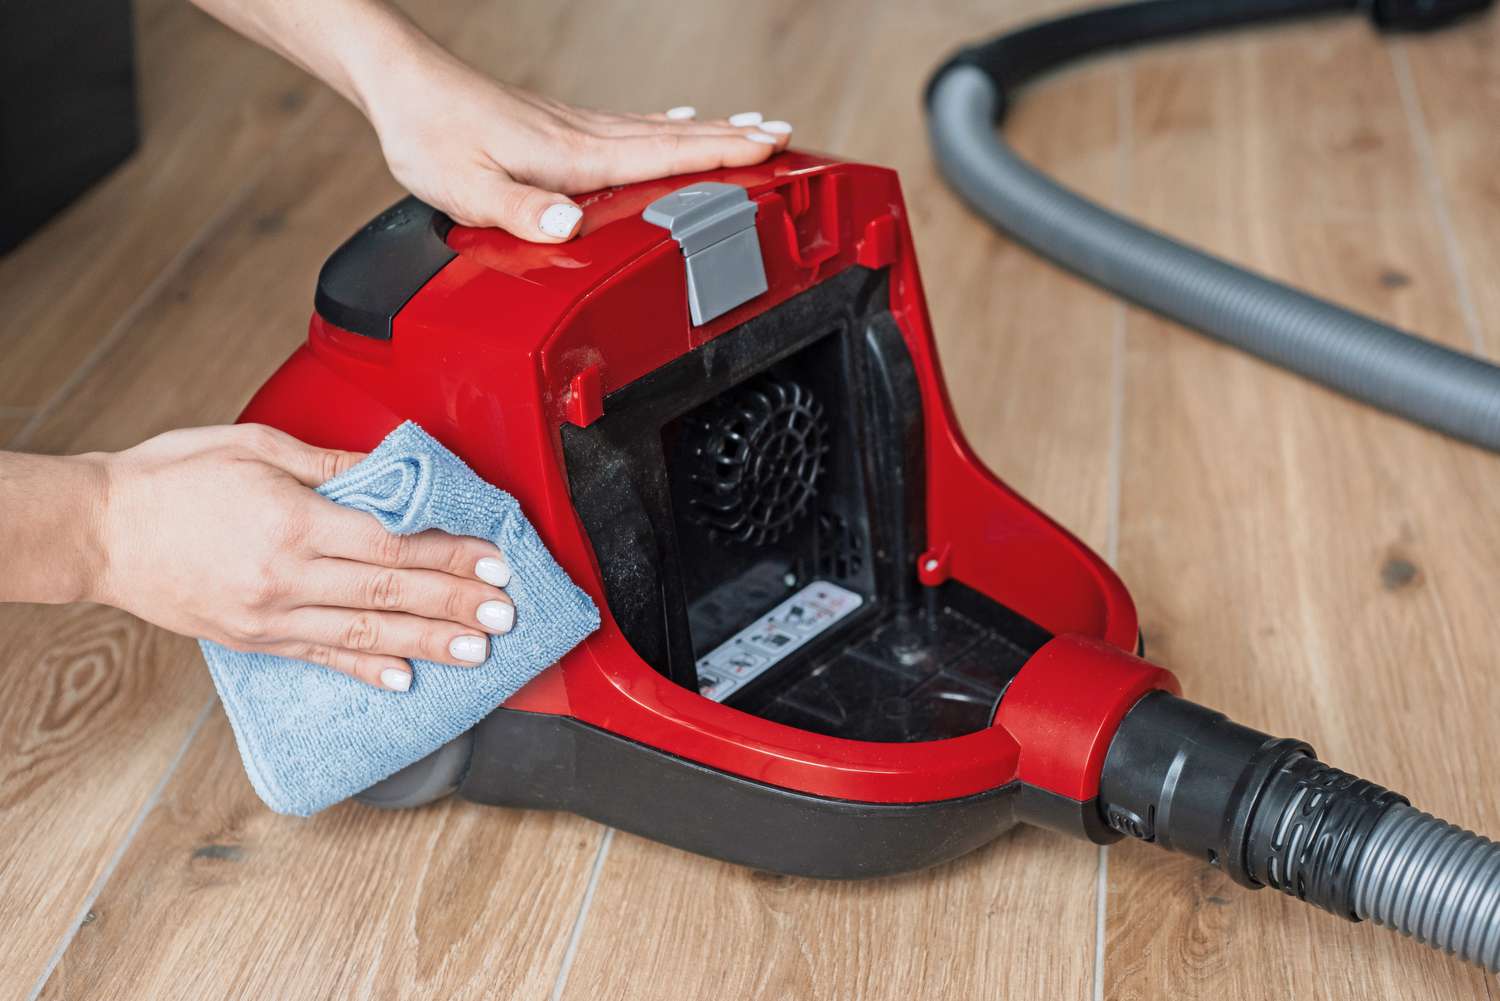
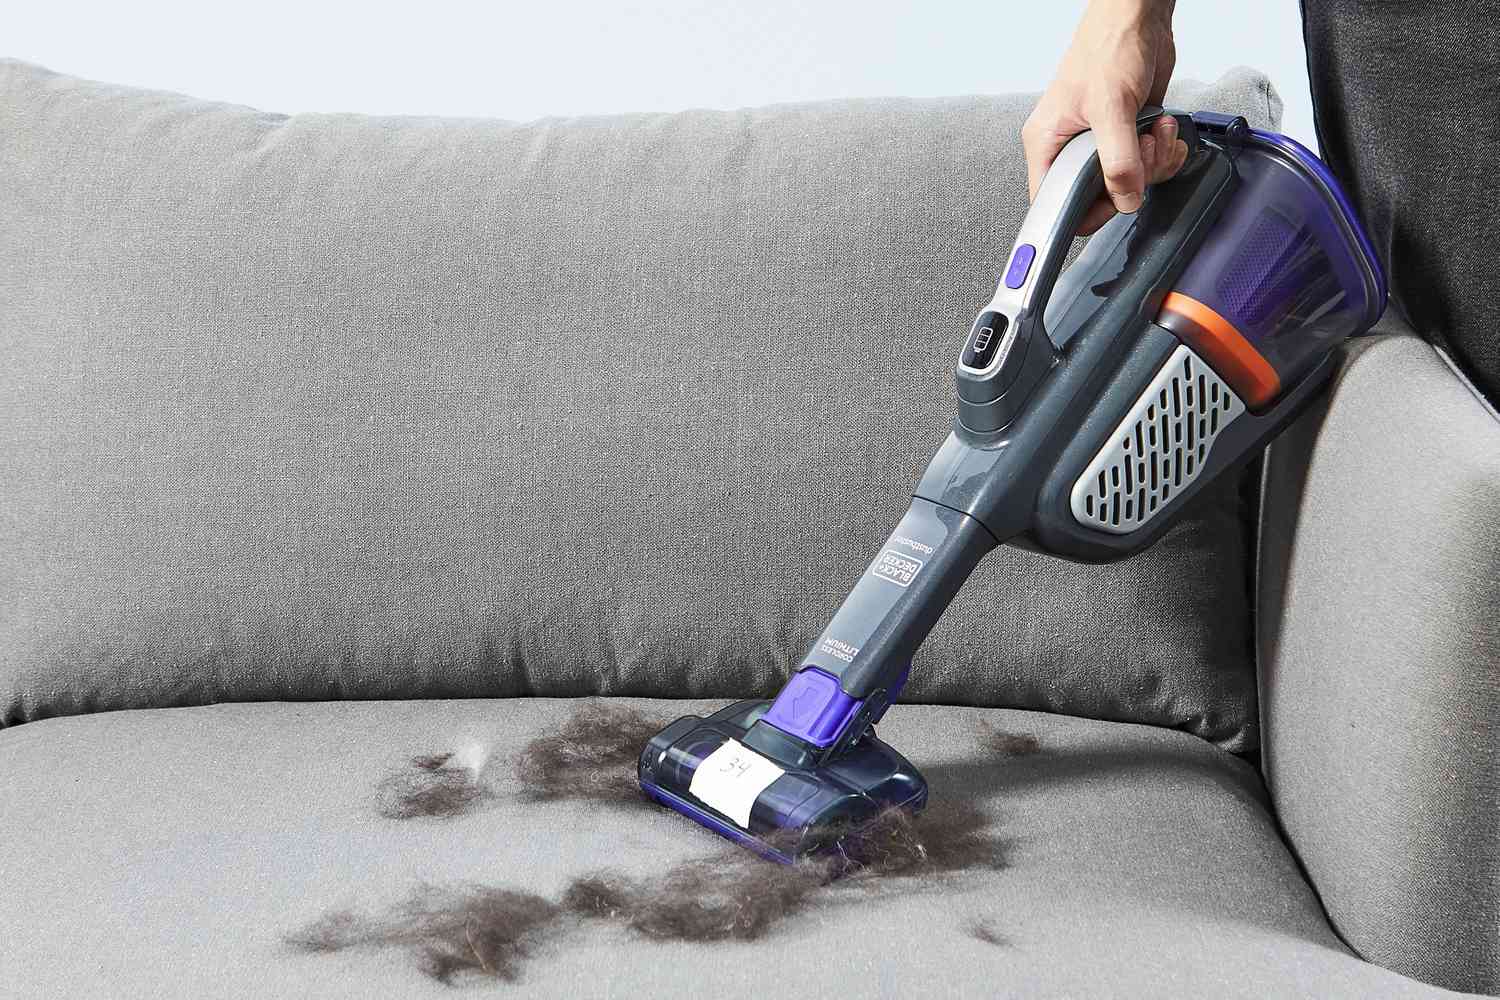
Step 2: Cleaning the Brush Roll
The brush roll is a critical component of your Kirby vacuum cleaner, responsible for agitating and lifting dirt and debris from carpets and rugs. Over time, the brush roll can become clogged with hair, fibers, and other debris, leading to reduced cleaning efficiency and potential damage to the vacuum cleaner’s motor. Here’s how to effectively clean the brush roll:
- Access the Brush Roll: Depending on your Kirby model, you may need to remove a cover or access panel to reach the brush roll. Refer to your vacuum cleaner’s manual for specific instructions on accessing the brush roll.
- Remove Debris: Using scissors or wire cutters, carefully cut and remove any tangled hair, fibers, or debris that have wrapped around the brush roll. Exercise caution to avoid damaging the bristles or the brush roll itself.
- Clean the Housing: While the brush roll is accessible, take the opportunity to clean the surrounding housing and remove any accumulated dirt or debris. A clean brush roll housing ensures optimal performance and longevity.
- Inspect and Lubricate Bearings (if applicable): If your Kirby vacuum cleaner’s brush roll has bearings, inspect them for signs of wear and apply a small amount of lubricant if necessary to ensure smooth rotation.
- Reassemble the Brush Roll: Once the brush roll and its housing are clean and free of debris, carefully reassemble the components according to the manufacturer’s instructions, ensuring a secure and proper fit.
By regularly cleaning the brush roll and ensuring that it remains free of obstructions, you can maintain your Kirby vacuum cleaner’s cleaning performance and prevent unnecessary wear and tear on the motor and other components. This simple maintenance task can significantly extend the lifespan of your vacuum cleaner and contribute to consistently excellent cleaning results.
Regularly clean and replace the vacuum bag to maintain suction power and prevent clogs. Check and clean the brush roll and belt for any obstructions or damage. Regular maintenance will keep your Kirby vacuum cleaner running smoothly.
Read also: 15 Amazing Kirby Vacuum Cleaner For 2025
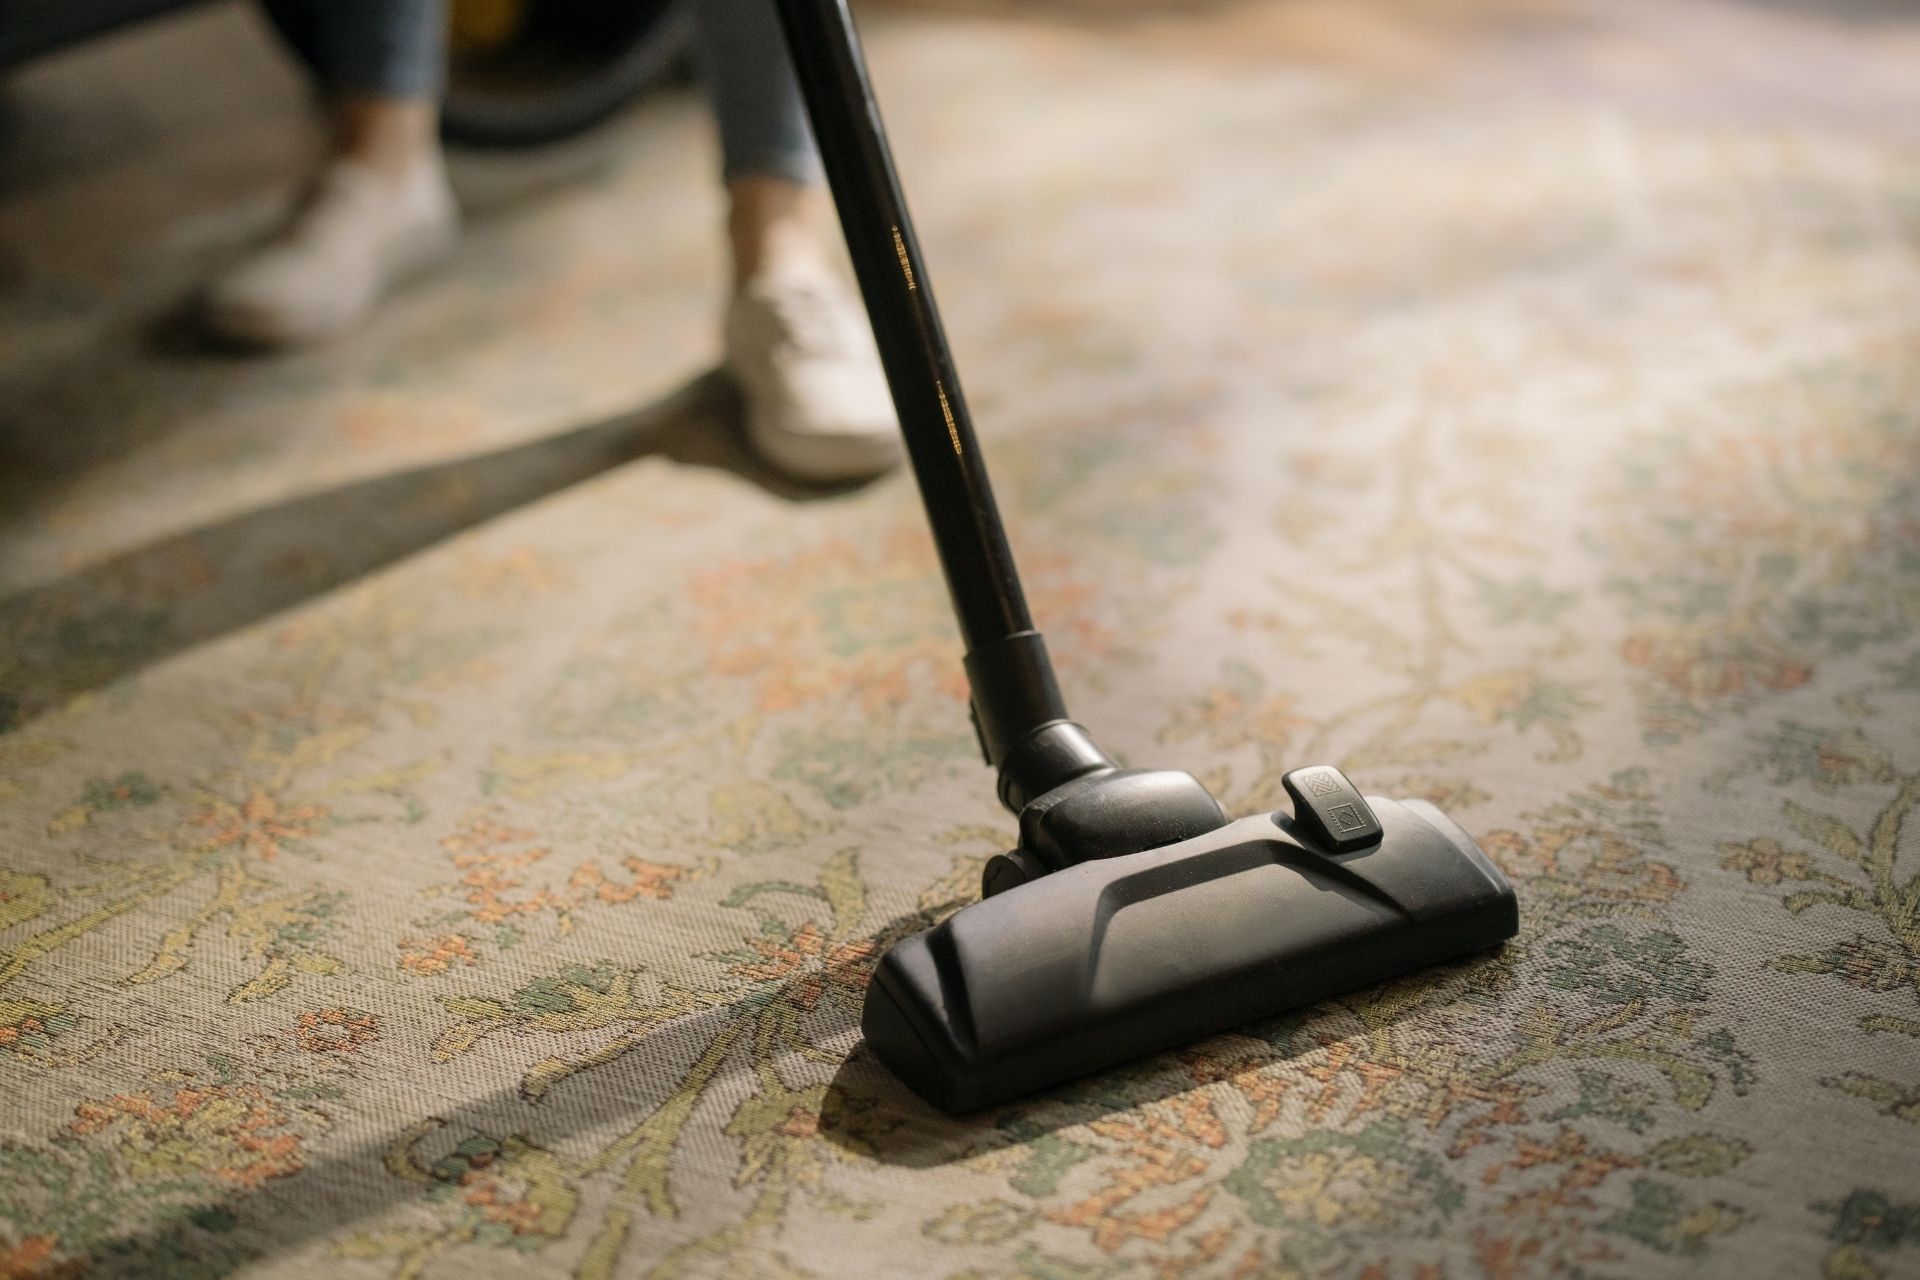
Step 3: Clearing Clogs
Clogs in the hoses, attachments, and internal pathways of your Kirby vacuum cleaner can impede airflow, leading to a loss of suction and reduced cleaning effectiveness. Clearing these clogs is essential for restoring your vacuum cleaner’s optimal performance. Here’s how to effectively clear clogs from your Kirby vacuum cleaner:
- Inspect Hoses and Attachments: Begin by visually inspecting the hoses, wand, and attachments for any visible blockages or obstructions. Detach these components from the vacuum cleaner for a thorough examination.
- Utilize Clearing Tools: If clogs are detected, use long, flexible clearing tools or attachments specifically designed for dislodging and removing debris from hoses and attachments. Gently feed the clearing tool through the affected areas to dislodge and extract the clogs.
- Check Internal Pathways: For more stubborn clogs, it may be necessary to access the vacuum cleaner’s internal pathways. Refer to your vacuum cleaner’s manual for guidance on accessing and clearing internal clogs safely.
- Clear the Brush Roll Path: Ensure that the path around the brush roll is free of obstructions, as clogs in this area can hinder the brush roll’s effectiveness and lead to reduced cleaning performance.
- Test the Suction: After clearing the clogs, test the vacuum cleaner’s suction power to ensure that airflow is restored. If necessary, repeat the clearing process until the suction is fully optimized.
By diligently clearing clogs from your Kirby vacuum cleaner’s hoses, attachments, and internal pathways, you can eliminate barriers to optimal airflow and suction. This proactive maintenance step will help your vacuum cleaner operate at peak efficiency, ensuring thorough and effective cleaning throughout your home.
Step 4: Replacing the Belt
The belt in your Kirby vacuum cleaner plays a crucial role in driving the brush roll, allowing it to effectively agitate and lift dirt from carpets and rugs. Over time, the belt may wear out, leading to reduced brush roll performance or complete stoppage. Replacing the belt is a relatively simple yet essential maintenance task that can restore your vacuum cleaner’s cleaning effectiveness. Here’s a step-by-step guide to replacing the belt in your Kirby vacuum cleaner:
- Prepare the Vacuum Cleaner: Before beginning the belt replacement process, ensure that the vacuum cleaner is unplugged from the power source and that the brush roll housing is accessible.
- Remove the Brush Roll Housing: Depending on your Kirby model, you may need to remove a cover or access panel to access the brush roll and its belt. Refer to your vacuum cleaner’s manual for specific instructions on accessing the brush roll housing.
- Remove the Old Belt: Carefully remove the old belt from the brush roll and motor shaft, taking note of its orientation for proper placement of the new belt.
- Install the New Belt: Place the new belt onto the motor shaft and position it onto the brush roll, ensuring that it is properly aligned and seated in the designated grooves or slots.
- Rotate the Brush Roll: Rotate the brush roll by hand to ensure that the new belt is properly engaged and moves freely without any obstructions or misalignments.
- Reassemble the Brush Roll Housing: Once the new belt is in place and verified to be properly installed, reassemble the brush roll housing according to the manufacturer’s instructions, ensuring a secure and precise fit.
By replacing the belt in your Kirby vacuum cleaner when signs of wear or damage are evident, you can maintain the brush roll’s optimal performance and ensure effective cleaning results. This proactive maintenance step contributes to the longevity and reliability of your vacuum cleaner, allowing it to continue delivering exceptional cleaning performance throughout your home.
Step 5: Checking the Motor
The motor is the powerhouse of your Kirby vacuum cleaner, driving the suction and brush roll functions essential for effective cleaning. Issues with the motor can manifest as reduced power, unusual noises, or overheating, impacting the overall performance of the vacuum cleaner. Here’s how to conduct a thorough check of the motor to ensure its proper functioning:
- Inspect for Debris and Obstructions: Begin by visually inspecting the area surrounding the motor for any accumulated debris, dust, or obstructions. Clearing this area will prevent airflow restrictions and potential motor overheating.
- Listen for Unusual Noises: Turn on the vacuum cleaner and listen for any abnormal or excessive noises emanating from the motor. Unusual sounds such as grinding, screeching, or rattling may indicate internal motor issues that require attention.
- Check for Overheating: After running the vacuum cleaner for a few minutes, carefully feel the motor housing. If it feels excessively hot to the touch, this may indicate motor overheating, which can be caused by clogs, a worn belt, or internal motor issues.
- Verify Power Output: Use a multimeter to measure the power output from the motor, ensuring that it is within the specified range for your Kirby vacuum cleaner model. Deviations from the expected power output may indicate motor issues.
- Consult a Professional: If you encounter persistent motor issues or are unsure about conducting in-depth motor diagnostics, it’s advisable to seek assistance from a qualified technician or Kirby service center for professional evaluation and repairs.
By regularly checking the motor and addressing any issues promptly, you can ensure that your Kirby vacuum cleaner continues to deliver robust suction power and reliable performance. Proactive motor maintenance contributes to the longevity of your vacuum cleaner, allowing you to maintain a clean and healthy home environment with confidence.
Step 6: Reassembling the Vacuum Cleaner
After conducting maintenance or repairs on your Kirby vacuum cleaner, proper reassembly is crucial to ensure that the machine operates safely and effectively. Here’s a step-by-step guide to reassembling your vacuum cleaner after completing maintenance tasks or addressing specific issues:
- Refer to the Manual: Consult your vacuum cleaner’s manual for detailed reassembly instructions specific to your model. Following the manufacturer’s guidelines is essential for a precise and secure reassembly process.
- Securely Attach Components: Carefully reattach any detached components, such as the brush roll housing, hoses, attachments, and access panels, ensuring that they are securely fastened and aligned according to the manufacturer’s specifications.
- Check for Loose Fasteners: Inspect the vacuum cleaner for any loose screws, bolts, or fasteners that may have been removed during the maintenance process. Tighten any fasteners to ensure that all components are securely in place.
- Verify Proper Alignment: Ensure that all components are aligned correctly and that there are no obstructions or interferences that could impede the vacuum cleaner’s operation.
- Test the Vacuum Cleaner: Plug in the vacuum cleaner and conduct a brief test run to verify that all components are functioning as intended. Listen for any unusual noises and ensure that the suction and brush roll operate smoothly.
- Perform a Final Inspection: Conduct a final visual inspection of the vacuum cleaner to confirm that all components are reassembled correctly and that there are no loose parts or potential safety hazards.
By meticulously reassembling your Kirby vacuum cleaner following maintenance or repair activities, you can ensure that the machine operates reliably and safely. Proper reassembly is a critical final step in the maintenance process, allowing you to enjoy consistent and effective cleaning performance from your vacuum cleaner.
Read also: 10 Best Kirby Vacuum Cleaner Bags For 2025
Conclusion
Congratulations! By following the comprehensive guide on fixing a Kirby vacuum cleaner, you’ve taken proactive steps to address common issues and maintain the optimal performance of your beloved cleaning appliance. Armed with the knowledge and techniques outlined in this guide, you can confidently troubleshoot and resolve issues, ensuring that your Kirby vacuum cleaner continues to deliver exceptional cleaning results for years to come.
Remember, regular maintenance, thorough cleaning, and prompt troubleshooting are essential practices for preserving the longevity and effectiveness of your vacuum cleaner. By addressing issues such as loss of suction, brush roll malfunctions, clogs, belt wear, and motor problems, you’re actively contributing to the reliable operation of your Kirby vacuum cleaner.
Additionally, having the right tools and materials at your disposal, coupled with a proactive approach to maintenance, empowers you to keep your vacuum cleaner in top condition. Whether it’s clearing clogs, replacing the belt, or conducting motor diagnostics, your dedication to maintaining your Kirby vacuum cleaner will pay off in the form of consistently outstanding cleaning performance.
Lastly, if you encounter complex issues or are unsure about certain repairs, don’t hesitate to seek professional assistance from authorized Kirby service centers or qualified technicians. They can provide expert guidance and solutions to ensure that your vacuum cleaner receives the care it deserves.
With your newly acquired knowledge and hands-on experience, you’re well-equipped to tackle any challenges that may arise with your Kirby vacuum cleaner, ultimately enhancing the cleanliness and comfort of your home environment. Here’s to a sparkling clean home and a well-maintained Kirby vacuum cleaner!
Frequently Asked Questions about How To Fix A Kirby Vacuum Cleaner
Was this page helpful?
At Storables.com, we guarantee accurate and reliable information. Our content, validated by Expert Board Contributors, is crafted following stringent Editorial Policies. We're committed to providing you with well-researched, expert-backed insights for all your informational needs.
0 thoughts on “How To Fix A Kirby Vacuum Cleaner”