Home>Home Appliances>Cleaning Appliances>How To Fix A Loud Vacuum Cleaner
Cleaning Appliances
How To Fix A Loud Vacuum Cleaner
Modified: January 4, 2024
Learn how to silence your noisy vacuum cleaner with our expert cleaning appliances tips. Fix the loud vacuum and enjoy a quieter cleaning experience.
(Many of the links in this article redirect to a specific reviewed product. Your purchase of these products through affiliate links helps to generate commission for Storables.com, at no extra cost. Learn more)
Introduction
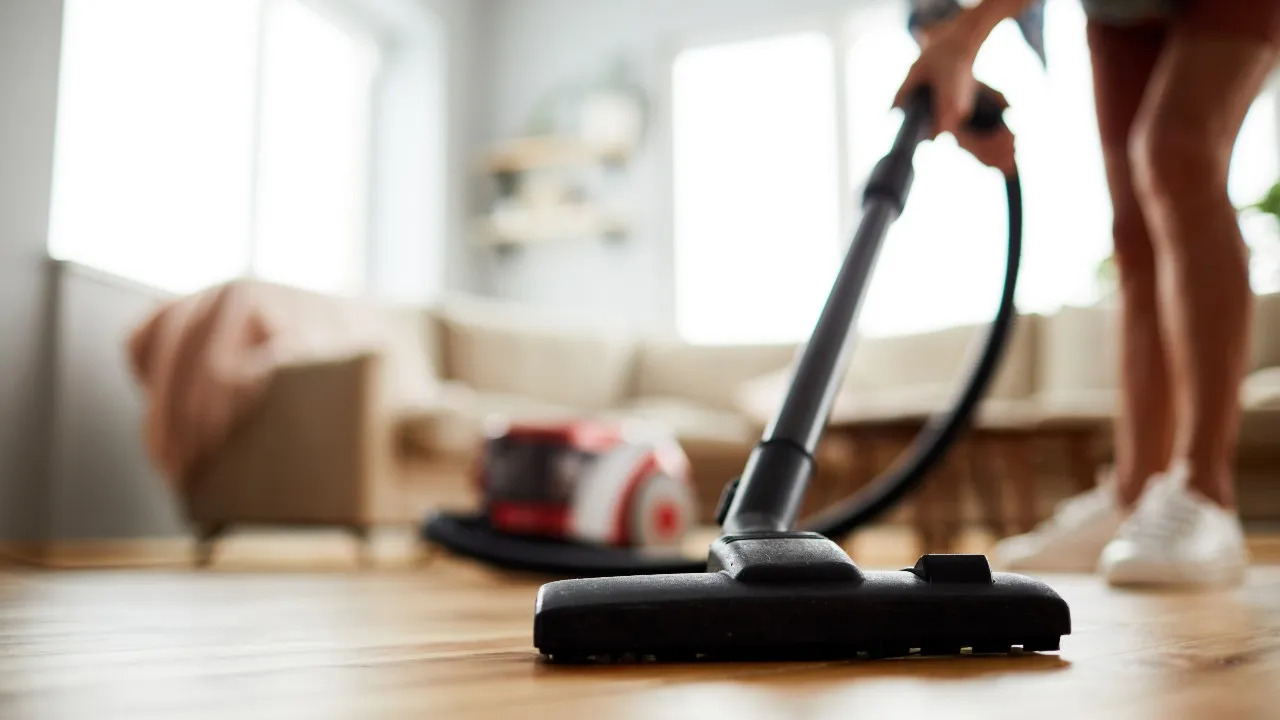
Are you tired of your vacuum cleaner making more noise than a jet engine? A loud vacuum cleaner can be a real nuisance, disrupting the peace and quiet of your home while also indicating potential issues with your cleaning appliance. Fortunately, there are several simple yet effective solutions to address this noisy dilemma and restore your vacuum cleaner to its whisper-quiet state.
In this comprehensive guide, we'll explore the various steps you can take to troubleshoot and resolve the loud operation of your vacuum cleaner. From checking for loose parts to inspecting the filter, brush roll, and vacuum bag, we'll cover all the essential maintenance tasks to help you silence your vacuum and ensure it operates smoothly and efficiently.
So, if the cacophony of your vacuum cleaner has been driving you up the wall, fear not! By following the tips and techniques outlined in this article, you'll soon be able to bid farewell to the racket and enjoy a peaceful cleaning experience once again. Let's dive into the troubleshooting process and get your vacuum cleaner back to its serene, whisper-quiet self.
Key Takeaways:
- Regularly maintaining and cleaning your vacuum cleaner’s filter, brush roll, and vacuum bag can reduce noise levels and ensure a quieter, more efficient cleaning experience.
- Checking for loose parts, lubricating moving components, and inspecting the hose and attachments are essential steps to address excessive noise and restore your vacuum cleaner to its whisper-quiet state.
Read more: How To Fix A Kirby Vacuum Cleaner
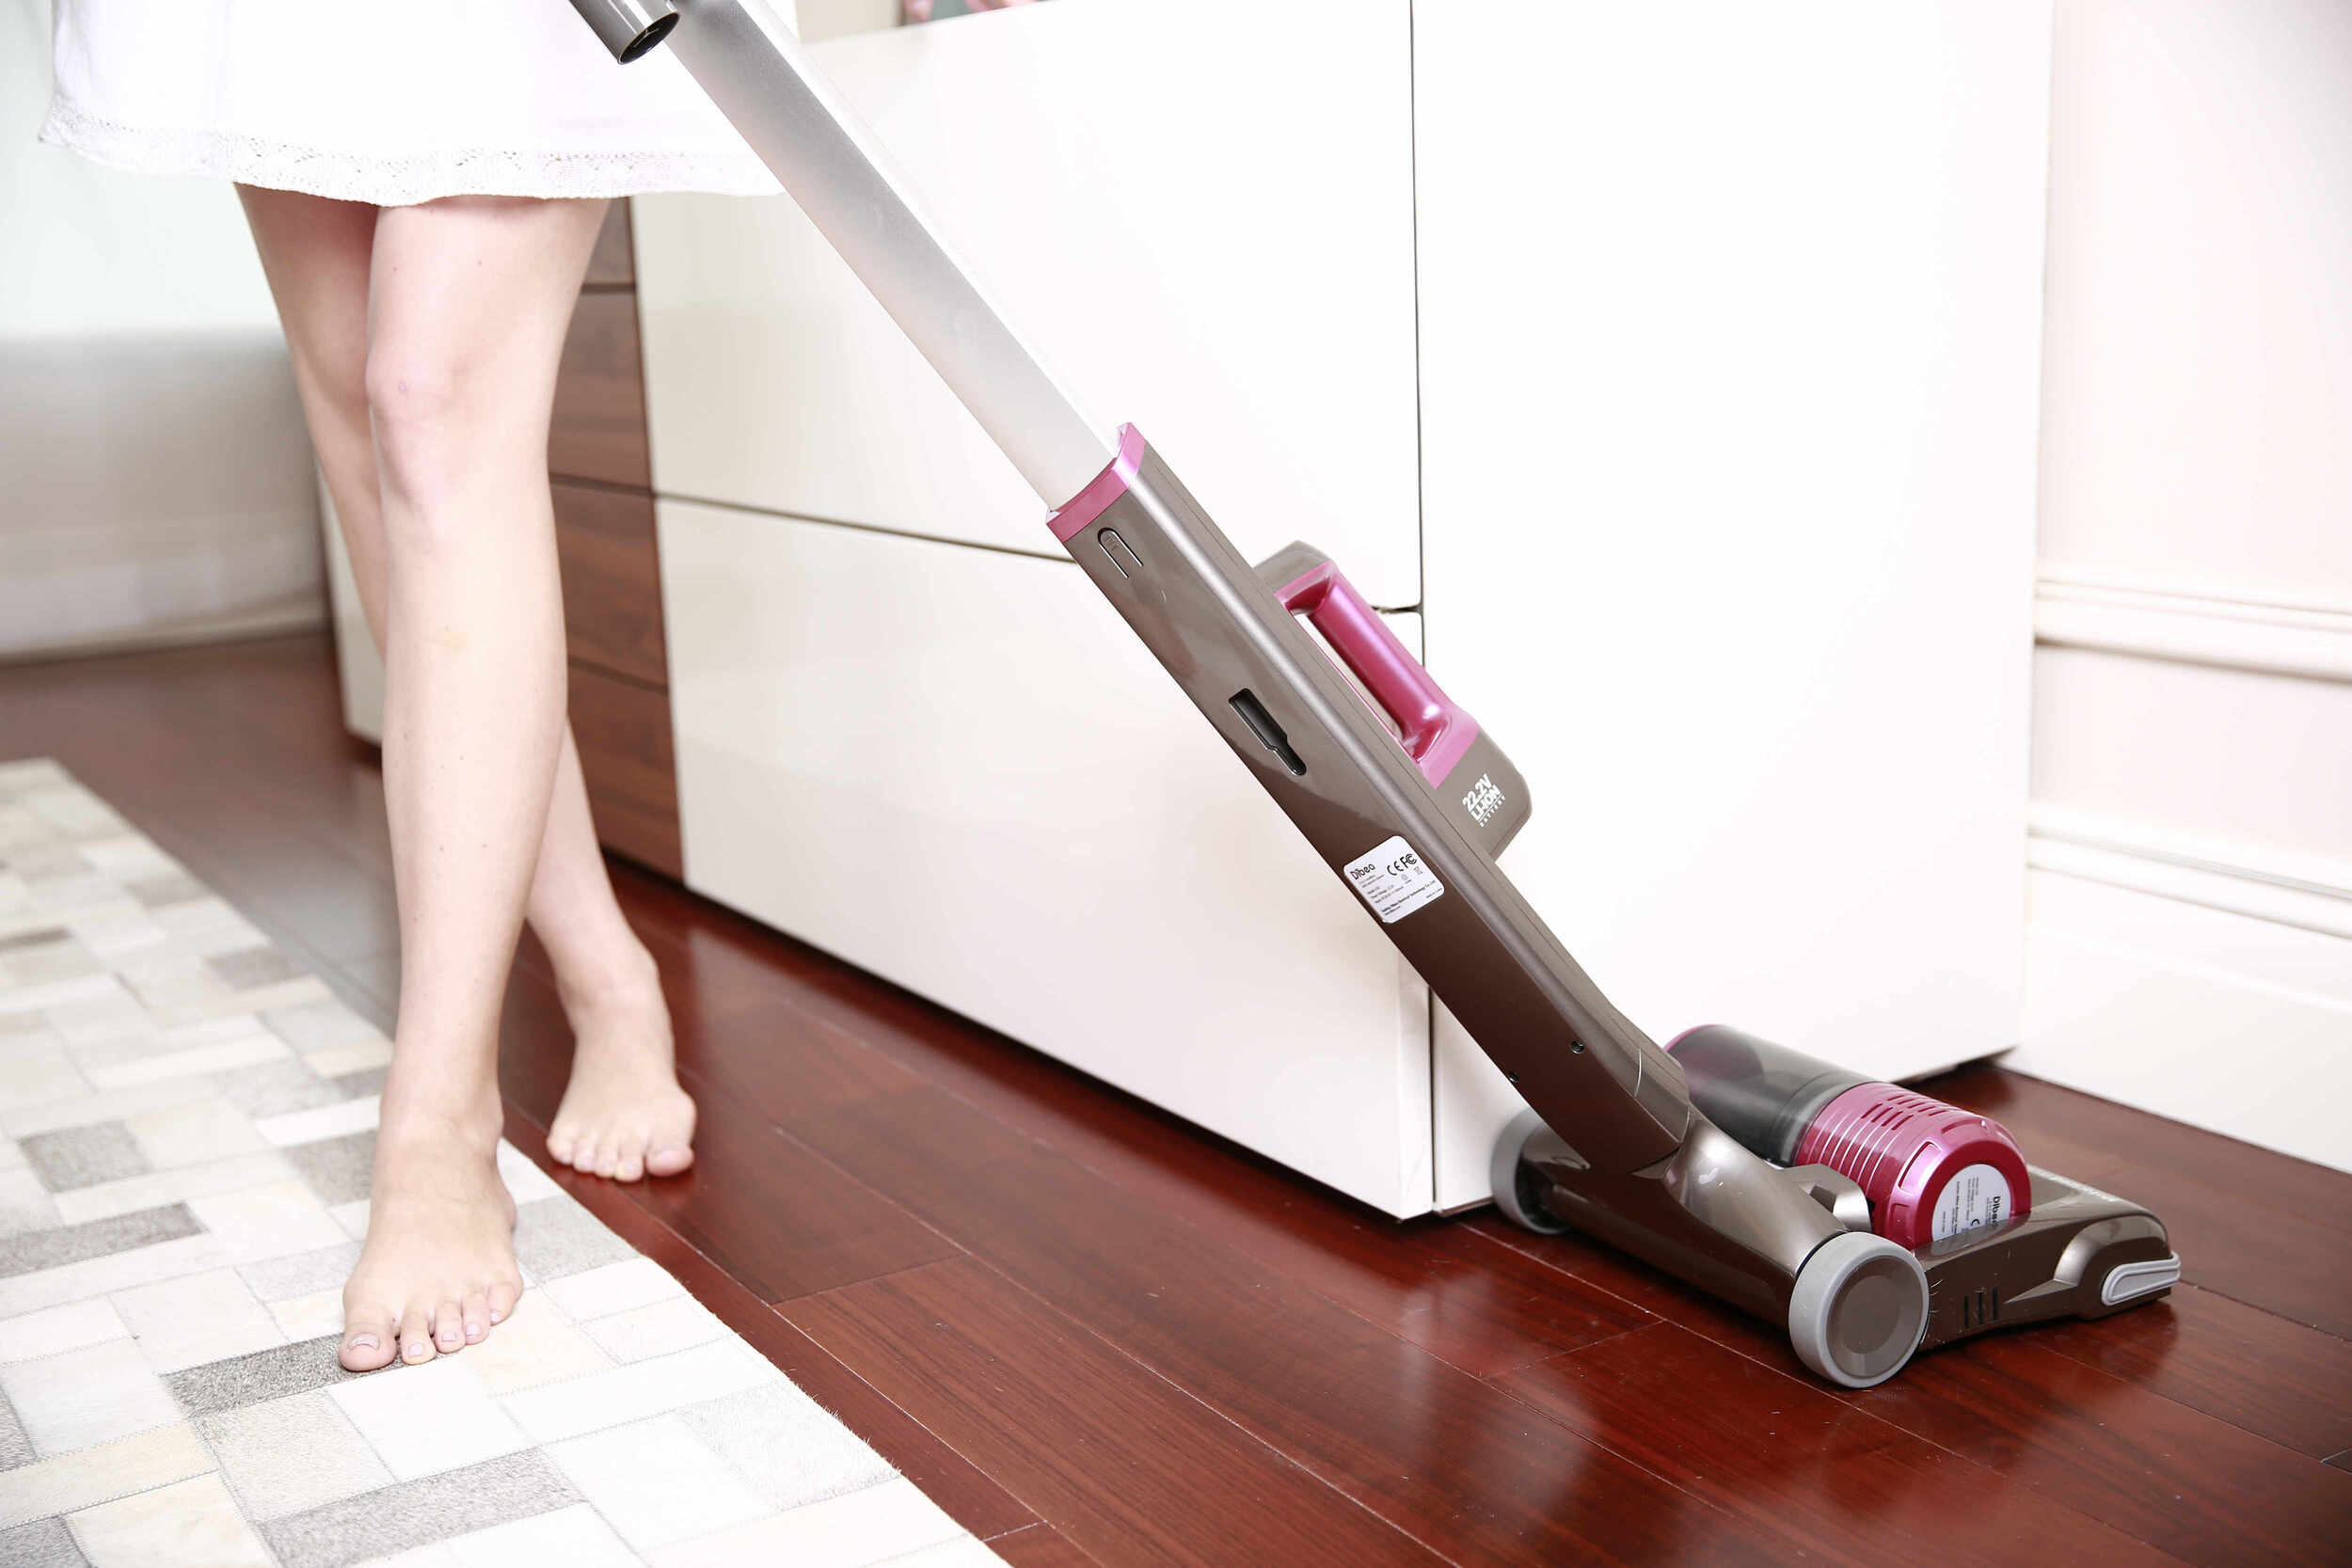
Check for Loose Parts
When your vacuum cleaner starts emitting a loud and unsettling racket, the first step is to check for any loose or damaged parts. Begin by inspecting the vacuum’s exterior for visible signs of damage, such as cracks or dents, which could be contributing to the excessive noise. Additionally, carefully examine the vacuum’s components, including the handle, base, and attachments, to ensure that they are securely fastened and free from any loose or rattling parts.
Next, focus on the vacuum’s brush roll and beater bar, as these components are prone to accumulating debris and becoming dislodged over time. Gently turn the vacuum over and inspect the brush roll for any tangled hair, string, or foreign objects that may be causing it to produce a loud, clattering noise during operation. If you notice any obstructions, carefully remove them using scissors or a pair of tweezers, taking care not to damage the bristles or the brush roll itself.
Furthermore, check the vacuum’s wheels and ensure that they are securely attached and free from any obstructions. Loose or damaged wheels can cause the vacuum to produce excessive noise and vibrations, particularly when maneuvering across different floor surfaces. By thoroughly examining the vacuum for loose or damaged parts, you can identify and address the source of the noise, restoring your appliance to its quiet and efficient performance.
By conducting a thorough inspection and addressing any loose or damaged parts, you can effectively mitigate the excessive noise produced by your vacuum cleaner, allowing for a quieter and more pleasant cleaning experience.
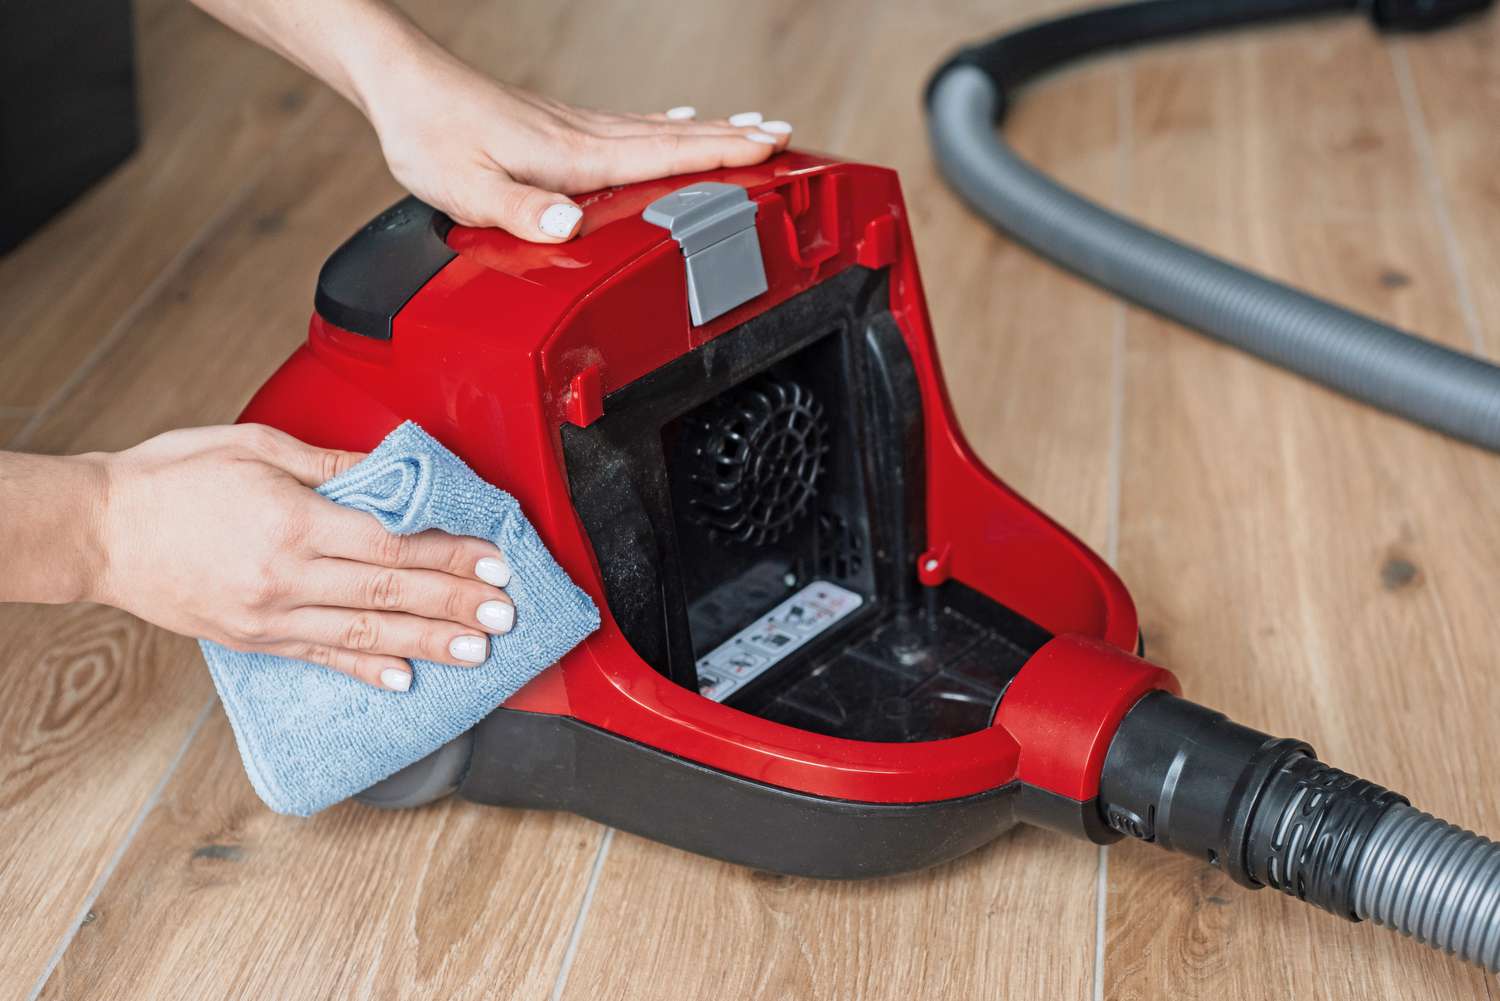
Clean or Replace the Filter
One of the most common reasons for a vacuum cleaner to emit a loud and disruptive noise is a clogged or dirty filter. Over time, the filter in your vacuum can become clogged with dust, dirt, and debris, impeding the airflow and causing the motor to work harder, resulting in increased noise levels. To address this issue, it is essential to regularly clean or replace the filter, ensuring optimal performance and a quieter operation.
Begin by consulting your vacuum cleaner’s manual to locate the filter and understand the manufacturer’s recommendations for maintenance and replacement. In many cases, the filter can be easily accessed by removing a cover or compartment on the vacuum cleaner. Once you have located the filter, carefully remove it from the appliance and assess its condition.
If the filter is washable, gently rinse it under running water to remove the accumulated dirt and debris. Allow the filter to air dry completely before reinserting it into the vacuum cleaner. For non-washable filters, consider using a soft brush or a handheld vacuum to remove the debris, ensuring that the filter is thoroughly clean and free from any obstructions that could hinder airflow.
If the filter shows signs of wear and tear, such as tears or damage to the filter material, it may be time to replace it with a new one. Many vacuum cleaner manufacturers offer replacement filters designed specifically for their models, ensuring a proper fit and optimal filtration performance. By replacing a worn-out filter, you can effectively restore your vacuum cleaner’s suction power and reduce the noise caused by airflow restrictions.
Regular maintenance of the filter is crucial for preserving your vacuum cleaner’s performance and minimizing noise levels. By keeping the filter clean and replacing it as needed, you can enjoy a quieter and more efficient cleaning experience, free from the disruptive noise associated with a clogged or worn-out filter.
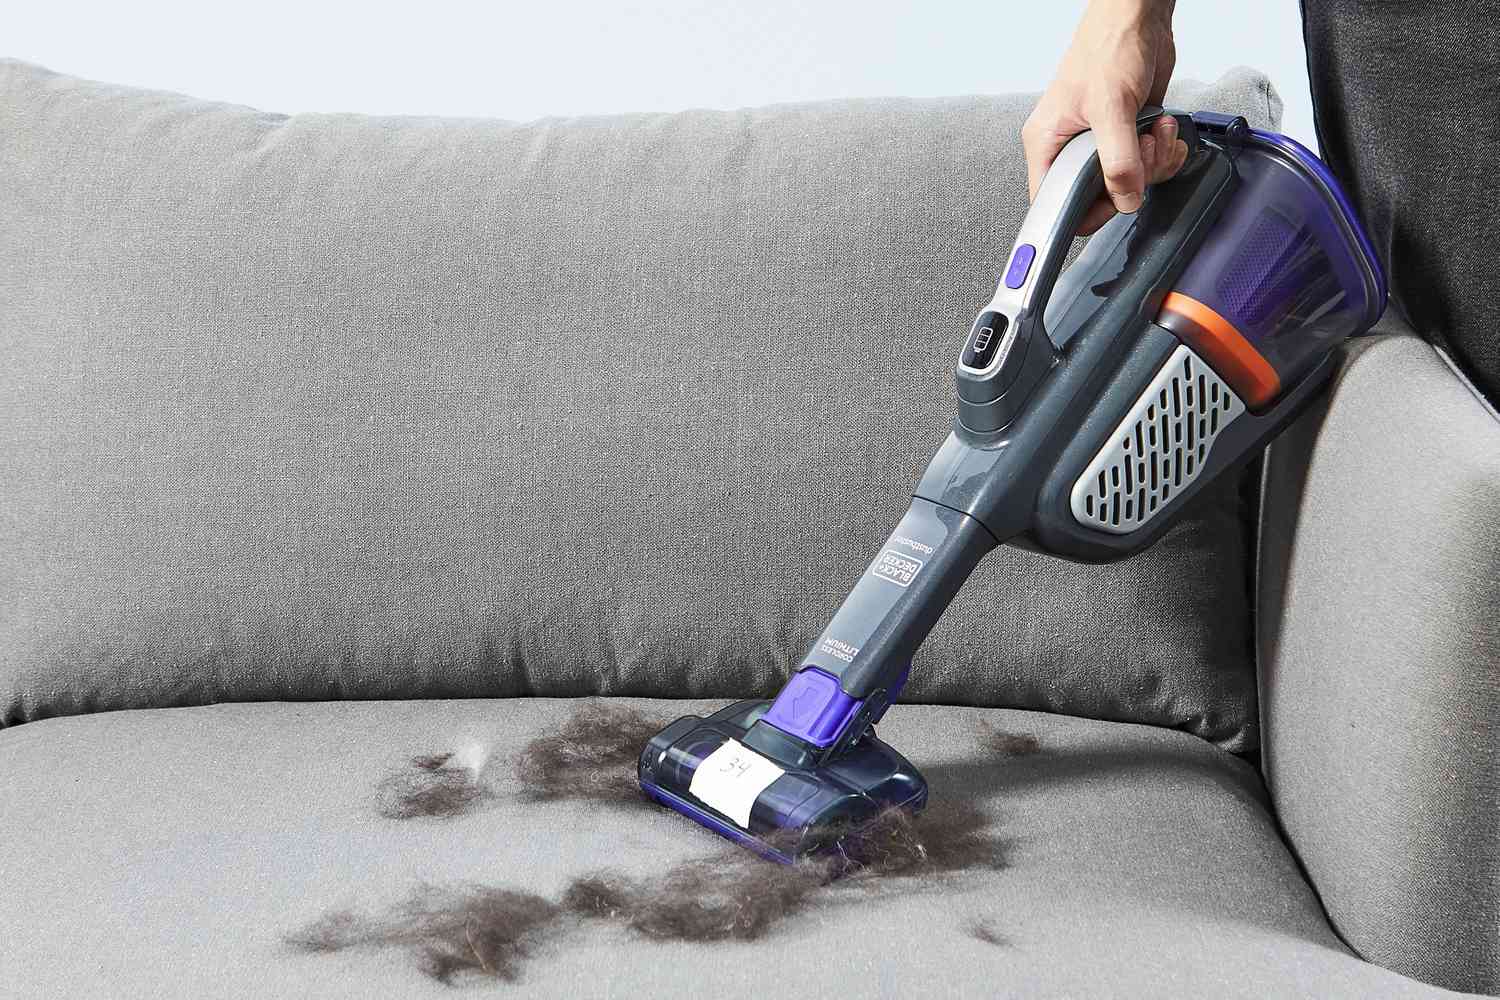
Inspect the Brush Roll
The brush roll, also known as the beater bar, plays a crucial role in agitating and loosening dirt and debris from carpets and upholstery during vacuuming. However, over time, the brush roll can become clogged with hair, thread, and other debris, leading to excessive noise and reduced cleaning efficiency. To address this issue and restore your vacuum cleaner’s quiet operation, it is essential to inspect and maintain the brush roll regularly.
Start by turning off the vacuum cleaner and unplugging it from the power source to ensure safety during the inspection and maintenance process. Carefully flip the vacuum over to access the brush roll, which is typically located on the underside of the appliance. Examine the brush roll for any tangled hair, string, or debris that may be obstructing its rotation and causing excessive noise during operation.
If you notice a buildup of hair and debris on the brush roll, carefully use scissors or a seam ripper to cut and remove the tangled strands, taking care not to damage the bristles or the brush roll itself. Additionally, consider using a pair of tweezers to extract any stubborn debris that may be lodged between the bristles, ensuring that the brush roll is free from obstructions that could contribute to the loud noise.
After clearing the brush roll of any debris, take the opportunity to inspect the condition of the bristles. Over time, the bristles may become worn or damaged, impacting the brush roll’s effectiveness and contributing to increased noise levels during vacuuming. If you notice signs of wear or damage, consider replacing the brush roll with a new one to restore optimal cleaning performance and reduce noise.
Regularly inspecting and maintaining the brush roll is essential for preserving your vacuum cleaner’s efficiency and quiet operation. By keeping the brush roll free from debris and ensuring that the bristles are in good condition, you can enjoy a quieter and more effective cleaning experience, with the assurance that your vacuum cleaner is operating at its best.
Check for clogs in the hose and brush roll, clean or replace the filter, and make sure the belt is not worn out. These are common causes of a loud vacuum cleaner.
Check the Vacuum Bag
The vacuum bag plays a critical role in capturing and containing dirt, dust, and debris during the cleaning process. However, a full or clogged vacuum bag can significantly impact the performance of your vacuum cleaner, leading to increased noise levels and reduced suction power. To address this issue and restore your vacuum cleaner to its quiet and efficient operation, it is essential to regularly check and maintain the vacuum bag.
Start by consulting your vacuum cleaner’s manual to locate the bag compartment and understand the recommended frequency for checking and replacing the bag. In many cases, the bag compartment can be easily accessed by removing a cover or panel on the vacuum cleaner. Once you have located the bag, carefully remove it from the appliance and assess its contents.
If the vacuum bag is full or nearly full, it is crucial to replace it with a new one to ensure optimal suction power and reduce noise levels. Many vacuum cleaner manufacturers offer replacement bags designed specifically for their models, featuring high-quality filtration materials to effectively capture and contain dirt and debris while minimizing noise during operation.
In addition to replacing the vacuum bag, it is important to inspect the bag compartment for any accumulated debris or obstructions that may be impacting airflow and contributing to increased noise. Use a flashlight to illuminate the compartment and carefully remove any debris using a soft brush or a handheld vacuum, ensuring that the compartment is clean and free from any impediments that could hinder the vacuum’s performance.
Regularly checking and replacing the vacuum bag is essential for maintaining your vacuum cleaner’s suction power and reducing noise levels. By ensuring that the bag is clean and free from obstructions, you can enjoy a quieter and more effective cleaning experience, with the confidence that your vacuum cleaner is operating at its best.
Read more: How To Fix My Bissell Vacuum Cleaner
Lubricate the Vacuum
Proper lubrication is essential for maintaining the smooth and quiet operation of your vacuum cleaner’s moving parts, such as the bearings and rotating components. Over time, these parts can become dry and worn, leading to increased friction, heat, and noise during operation. By regularly lubricating the necessary components, you can reduce the noise produced by your vacuum cleaner and ensure that it operates smoothly and efficiently.
Start by consulting your vacuum cleaner’s manual to identify the specific components that require lubrication and the recommended lubricants to use. In many cases, the bearings and moving parts may be accessible by removing covers or panels on the vacuum cleaner, allowing for easy maintenance and lubrication.
Using the appropriate lubricant as recommended by the manufacturer, carefully apply a small amount to the designated areas, ensuring that the lubricant reaches the necessary components to reduce friction and noise. Be mindful not to over-lubricate, as excess lubricant can attract dust and debris, potentially impacting the performance of the vacuum cleaner.
In addition to lubricating the designated components, consider inspecting the vacuum cleaner’s moving parts for signs of wear or damage, such as worn bearings or misaligned components. Addressing these issues promptly can help prevent excessive noise and ensure the continued smooth operation of your vacuum cleaner.
By incorporating regular lubrication into your vacuum cleaner maintenance routine, you can effectively minimize noise levels and prolong the lifespan of the appliance’s moving parts. A well-lubricated vacuum cleaner not only operates quietly but also delivers reliable performance, making your cleaning tasks more efficient and enjoyable.
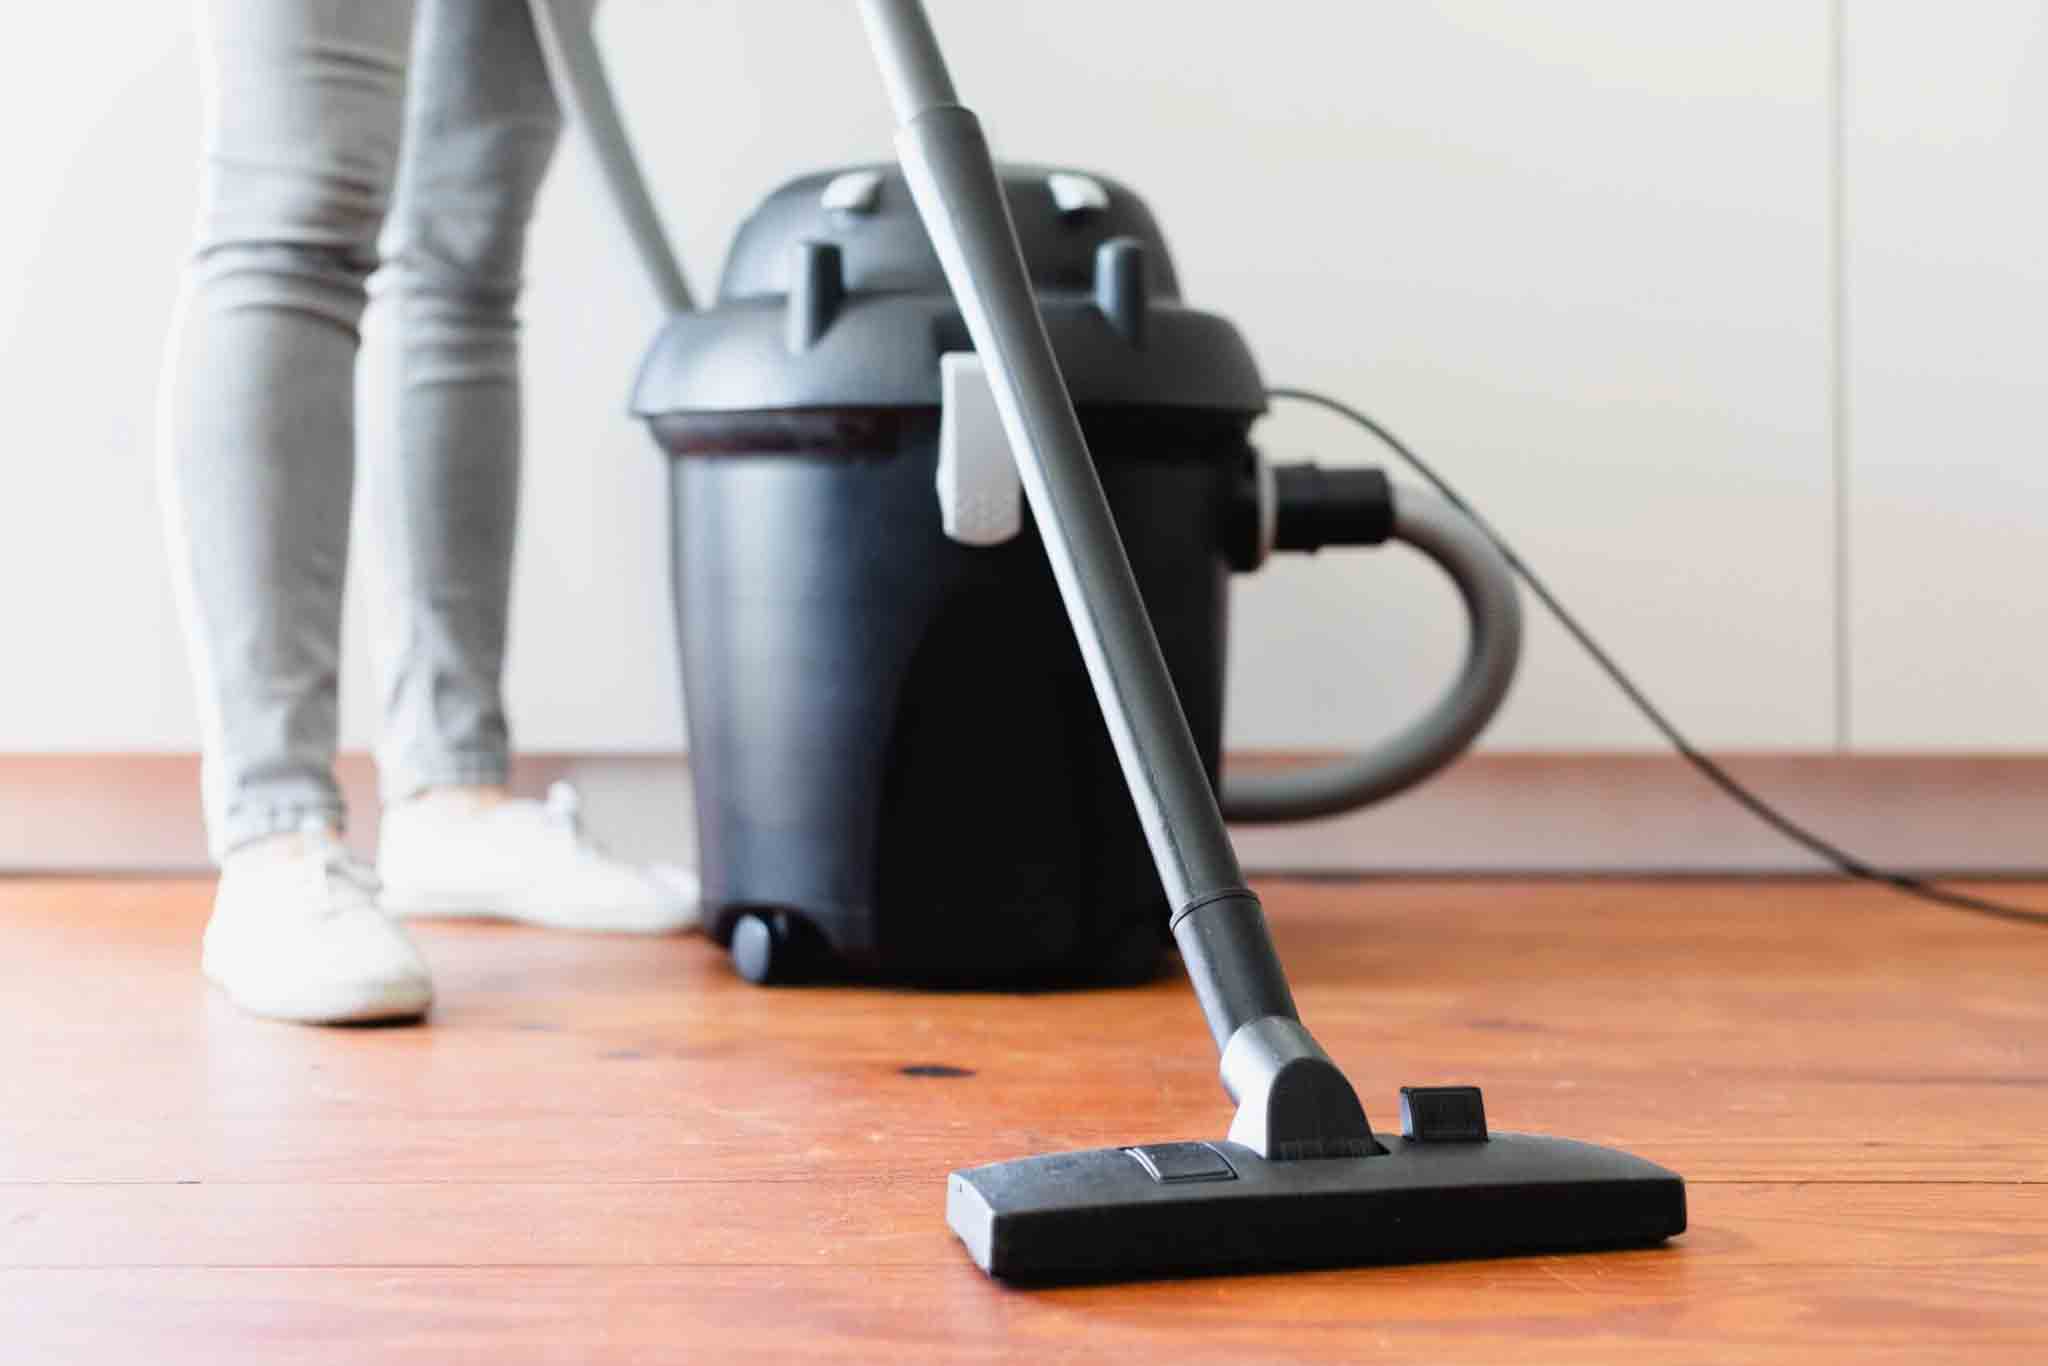
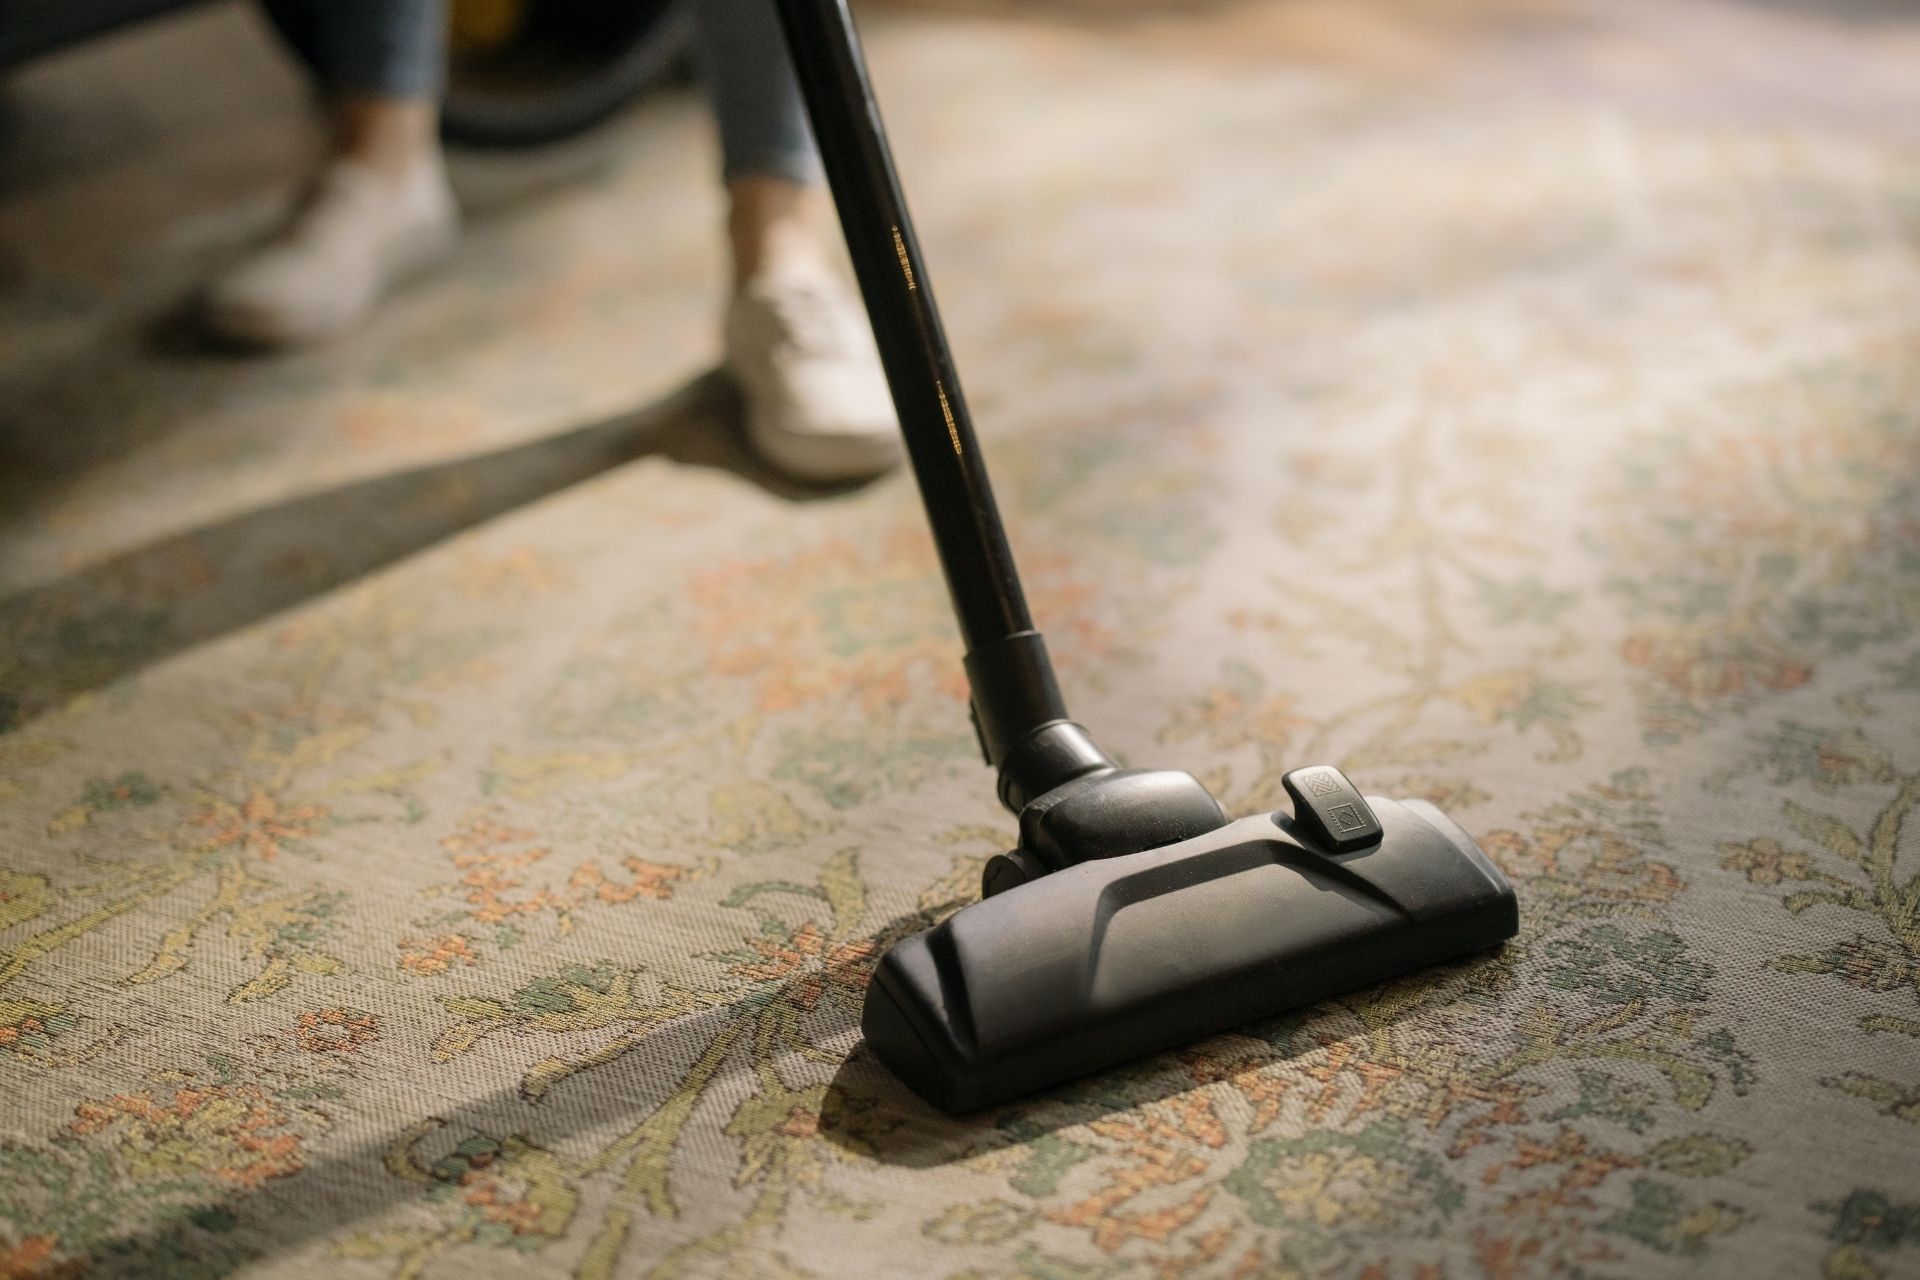
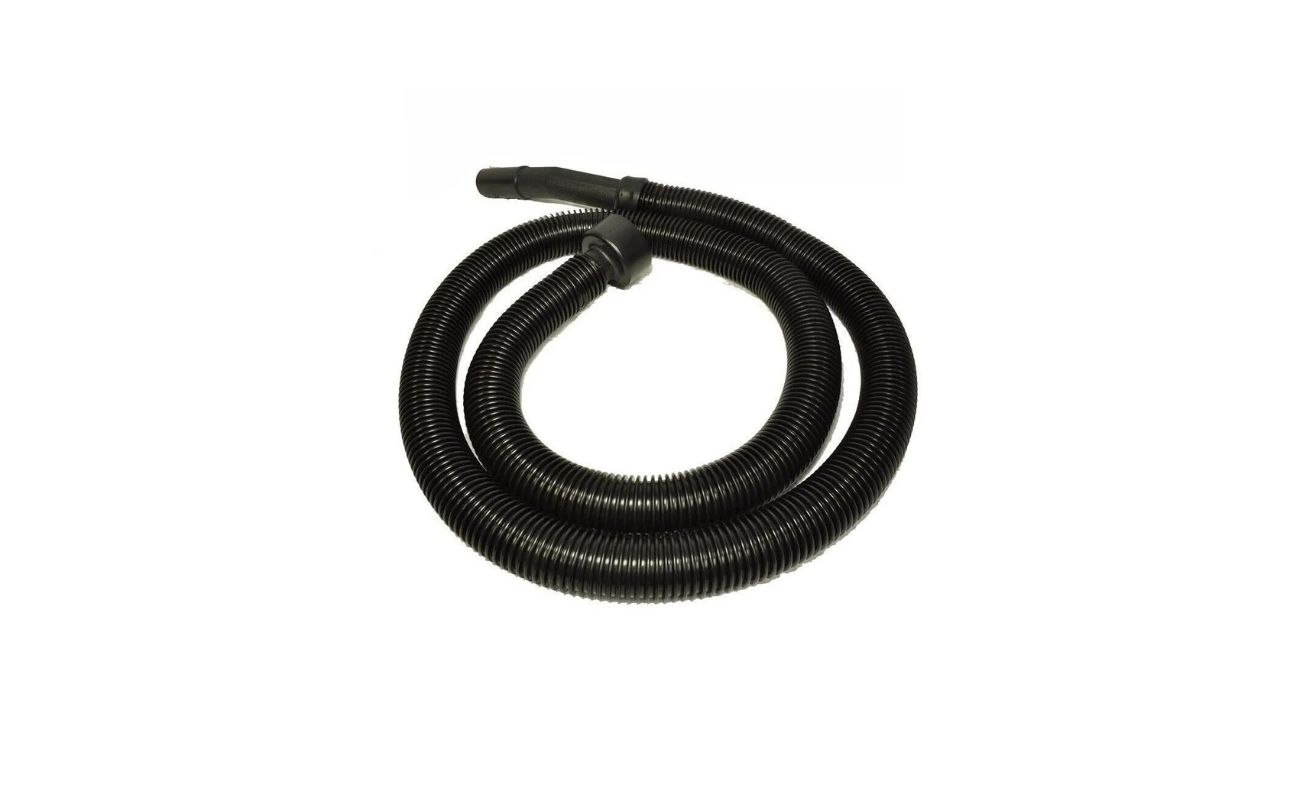
Check the Hose and Attachments
When your vacuum cleaner is emitting excessive noise, it’s essential to inspect the hose and attachments for any potential issues that may be contributing to the racket. The hose and attachments play a crucial role in the vacuuming process, and any obstructions or damage can impede airflow, leading to increased noise levels and reduced performance. By conducting a thorough inspection and maintenance of these components, you can address the source of the noise and restore your vacuum cleaner to its quiet and efficient operation.
Begin by examining the vacuum cleaner’s hose for any kinks, bends, or blockages that may be hindering airflow and causing noise during operation. Carefully straighten out any kinks or bends in the hose, ensuring that it is free from obstructions that could impact suction power and contribute to the noise. Additionally, use a flashlight to inspect the interior of the hose for any lodged debris, and carefully remove any obstructions using a soft brush or a handheld vacuum.
Next, focus on the vacuum’s attachments, such as the crevice tool, upholstery brush, and extension wands. Inspect each attachment for signs of damage or blockages, ensuring that they are clean and free from any debris that could impact their performance. Additionally, check the attachment connections to the hose and the vacuum cleaner, ensuring that they are securely fastened and free from any loose or rattling parts that could contribute to the noise.
If your vacuum cleaner is equipped with a powered brush attachment, such as a motorized floor brush, inspect the brush for any tangled hair, string, or debris that may be obstructing its rotation and causing excessive noise. Carefully remove any obstructions, ensuring that the brush can operate smoothly and quietly during use.
By thoroughly inspecting and maintaining the hose and attachments, you can effectively address potential sources of noise and ensure that your vacuum cleaner operates quietly and efficiently. A well-maintained hose and attachments not only contribute to reduced noise levels but also enhance the overall performance and effectiveness of your vacuum cleaner, making cleaning a more pleasant and productive experience.
Conclusion
Addressing a loud vacuum cleaner is essential not only for restoring peace and quiet in your home but also for ensuring the optimal performance and longevity of your cleaning appliance. By following the troubleshooting steps outlined in this guide, you can effectively identify and resolve the sources of excessive noise, allowing your vacuum cleaner to operate quietly and efficiently once again.
From checking for loose parts and inspecting the brush roll to cleaning or replacing the filter and checking the vacuum bag, each maintenance task plays a crucial role in minimizing noise levels and preserving your vacuum cleaner’s performance. Additionally, lubricating the necessary components and inspecting the hose and attachments contribute to a quieter and more effective cleaning experience.
Regular maintenance and care for your vacuum cleaner not only reduce noise but also ensure that the appliance continues to deliver reliable performance, effectively capturing dirt and debris while maintaining optimal suction power. By incorporating these maintenance tasks into your cleaning routine, you can enjoy a quieter and more efficient vacuuming experience, free from the disruptive noise associated with neglected maintenance.
Remember, a well-maintained vacuum cleaner not only operates quietly but also contributes to a cleaner and healthier home environment. By addressing the sources of excessive noise and maintaining your vacuum cleaner, you can enjoy the benefits of a pristine, peaceful home while extending the lifespan of your valuable cleaning appliance.
So, the next time your vacuum cleaner starts making a racket, don’t despair. With the knowledge and techniques provided in this guide, you can confidently troubleshoot and resolve the noise issues, restoring your vacuum cleaner to its serene, whisper-quiet operation and ensuring a more enjoyable cleaning experience for years to come.
Frequently Asked Questions about How To Fix A Loud Vacuum Cleaner
Was this page helpful?
At Storables.com, we guarantee accurate and reliable information. Our content, validated by Expert Board Contributors, is crafted following stringent Editorial Policies. We're committed to providing you with well-researched, expert-backed insights for all your informational needs.
0 thoughts on “How To Fix A Loud Vacuum Cleaner”