
Articles
How To Seal A Wood Floor
Modified: October 21, 2024
Learn how to seal a wood floor with our informative articles. Find step-by-step guides and expert tips to protect and enhance your wooden surfaces.
(Many of the links in this article redirect to a specific reviewed product. Your purchase of these products through affiliate links helps to generate commission for Storables.com, at no extra cost. Learn more)
Introduction
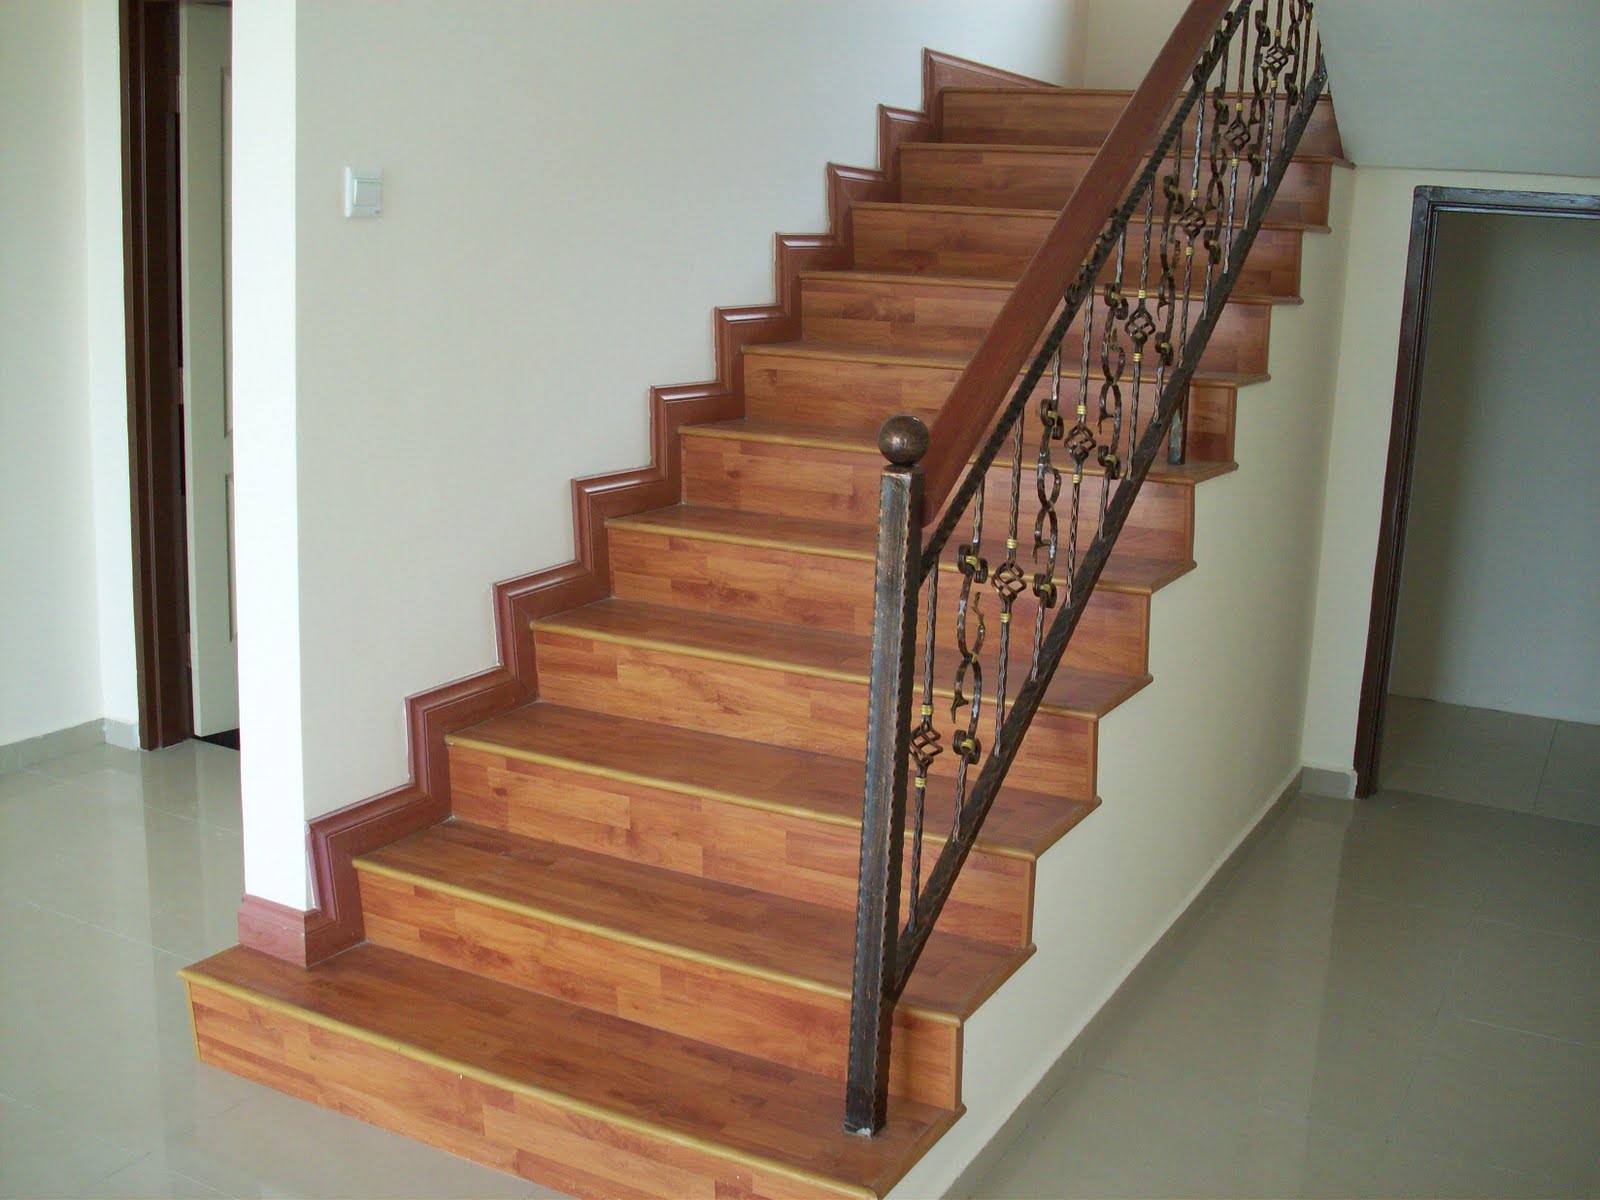
Sealing a wood floor is a vital step in maintaining its beauty and protecting it from moisture, stains, and daily wear and tear. Whether you’ve recently installed a new wood floor or you’re looking to refresh an existing one, proper sealing is essential to prolonging its lifespan and keeping it looking as good as new.
A properly sealed wood floor not only enhances its appearance but also provides a protective barrier against spills, scratches, and other potential damages. Additionally, sealing the wood floor helps to prevent the growth of mold and mildew, making it a healthier environment for you and your family.
In this article, we will guide you through the process of sealing a wood floor, from preparing the surface to applying the sealant and ongoing care. Whether you’re a seasoned DIY enthusiast or a beginner, with the right materials and techniques, you’ll be able to achieve professional-looking results.
Before we dive into the step-by-step process, it’s important to note that different types of wood flooring require different sealing techniques and products. It’s always best to consult the manufacturer’s instructions or seek professional advice to ensure you’re using the correct sealant for your specific wood floor.
Now, let’s get started on sealing your wood floor and protecting its natural beauty for years to come.
Key Takeaways:
- Properly preparing, choosing the right sealant, and applying it in thin, even coats are crucial for sealing a wood floor effectively and ensuring long-lasting protection.
- Regular cleaning, immediate cleanups of spills, and protective measures such as using mats and furniture pads are essential for maintaining the beauty and longevity of a sealed wood floor.
Read more: How To Seal A Shed Floor
Preparing the Wood Floor
Before you begin the process of sealing your wood floor, it’s crucial to properly prepare the surface. Taking the time to prepare the wood floor will ensure better adhesion of the sealant and a more even finish. Here are the steps to follow:
- Clean the floor: Start by sweeping or vacuuming the wood floor to remove any loose dirt, dust, or debris. Use a soft-bristle brush attachment or a microfiber mop to avoid scratching the surface. If there are any stubborn stains or sticky residue, you can use a mild wood floor cleaner and a soft cloth to gently scrub the area.
- Remove furniture and rugs: Clear the room of any furniture, rugs, or other objects on the floor. This will allow you to have unrestricted access to the entire surface and avoid any accidental damage during the sealing process.
- Check for moisture: It’s important to ensure that the wood floor is completely dry before sealing. Check for signs of moisture or water damage, such as dark spots or warping. If you notice any issues, address them before proceeding with the sealing process.
- Test the sealant: Before applying the sealant to the entire floor, it’s recommended to test it in a small, inconspicuous area. This will allow you to assess the color and finish of the sealant and make any adjustments if necessary.
By properly preparing the wood floor, you’ll ensure that the sealant adheres well and provides long-lasting protection. Take the time to thoroughly clean the floor, remove any obstacles, and check for any moisture issues before proceeding to the next steps.
Choosing the Right Sealant
Choosing the right sealant is crucial to ensure the longevity and effectiveness of your wood floor sealing project. There are various types of sealants available, each with its own advantages and considerations. Here are some factors to consider when selecting the right sealant for your wood floor:
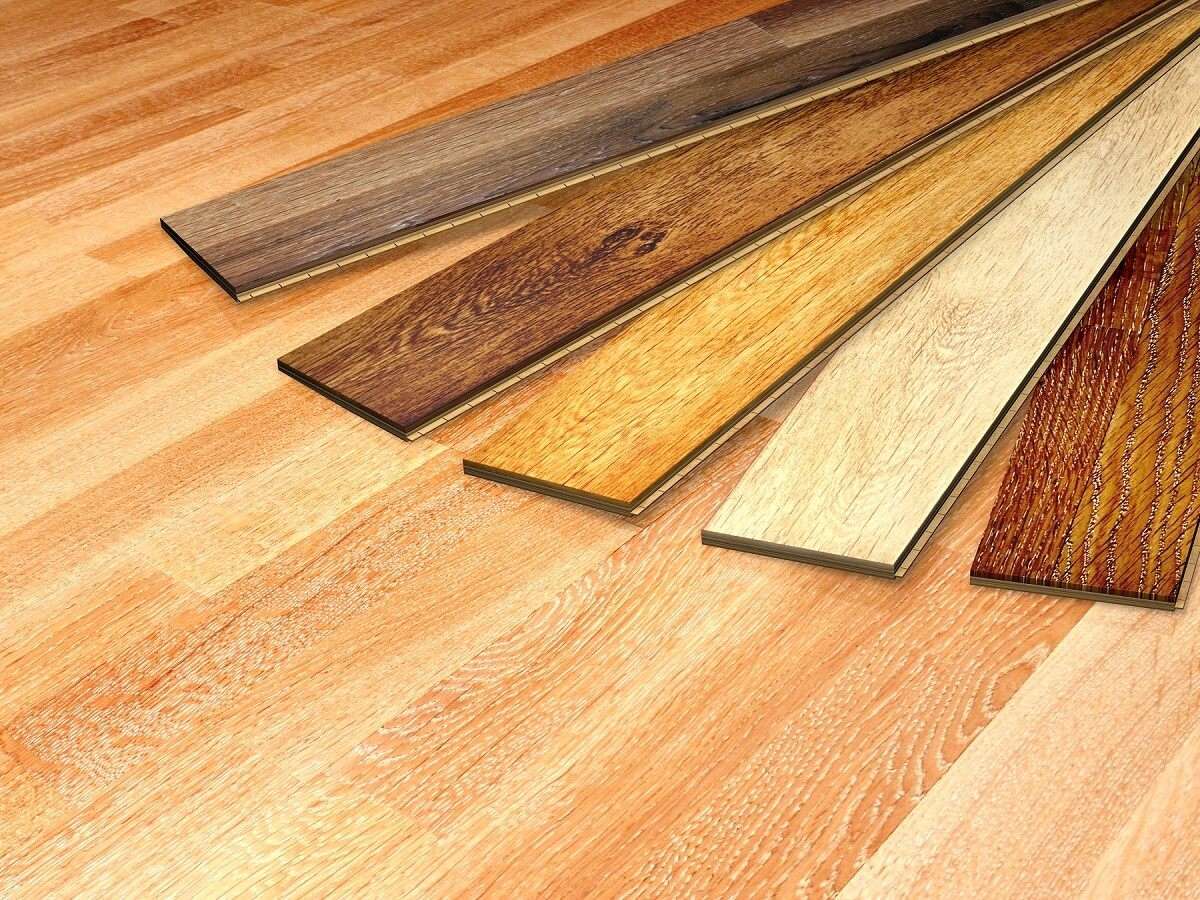
- Type of wood: Different types of wood require different types of sealants. Some sealants are specifically formulated for hardwood floors, while others are designed for softwood or engineered wood. Make sure to choose a sealant that is compatible with the type of wood flooring you have.
- Finish desired: Sealants come in a variety of finishes, including matte, satin, semi-gloss, and high-gloss. Consider the desired look you want to achieve for your wood floor and choose a sealant that will enhance its natural beauty while providing the level of sheen you prefer.
- Water vs. oil-based sealant: Sealants can be water-based or oil-based. Water-based sealants are typically low in odor, dry faster, and have a lower VOC (Volatile Organic Compounds) content. Oil-based sealants, on the other hand, provide a richer and deeper finish, but they may take longer to dry and can emit stronger fumes during application.
- Durability and protection: Look for a sealant that offers durability and provides adequate protection against stains, scratches, and moisture. Consider whether the sealant is resistant to UV rays and if it offers protection against daily wear and tear.
- Application method: Depending on your preference and skill level, you can choose between different application methods such as brush-on, spray-on, or wipe-on sealants. Select a sealant that aligns with your comfort level and the specific requirements of your wood floor.
It’s important to read the manufacturer’s instructions and product labels carefully before making a decision. Consider consulting with professionals or experienced contractors who can provide guidance based on their expertise and knowledge of wood floor sealants.
By selecting the right sealant for your wood floor, you’ll ensure that it receives the best possible protection and maintains its beauty for years to come.
Gathering the Necessary Materials
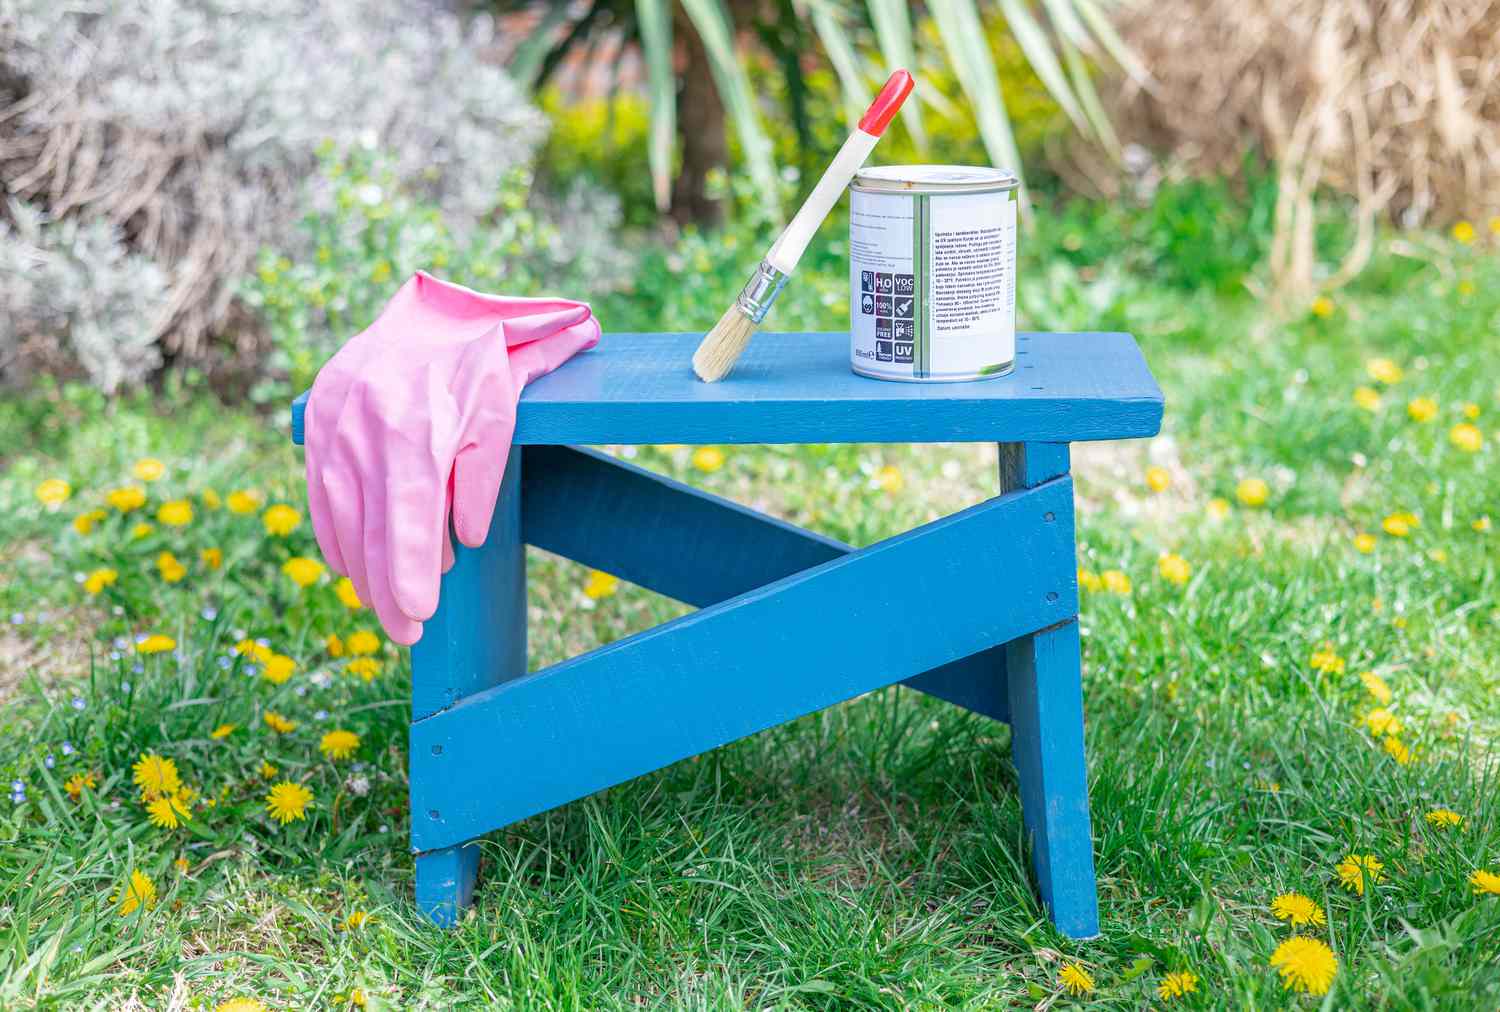
Before you start the process of sealing your wood floor, it’s essential to gather all the necessary materials. Having everything ready beforehand will save you time and ensure a smooth and efficient sealing process. Here are the materials you’ll need:
- Sealant: Based on the type of sealant you’ve chosen, make sure you have an adequate amount to cover the entire floor surface. Check the label or manufacturer’s instructions for the recommended coverage area.
- Applicator: Choose the appropriate applicator for the type of sealant you’re using. This can include a brush, roller, or pad applicator. Ensure that the applicator is clean and in good condition to achieve even coverage.
- Protective gear: Sealing a wood floor can involve working with chemicals and fumes, so it’s important to prioritize your safety. Wear protective gear, such as gloves, safety goggles, and a mask, to protect your skin, eyes, and respiratory system.
- Tarp or drop cloths: Use tarps or drop cloths to cover any adjacent surfaces, furniture, or objects you want to protect from potential spills or drips during the sealing process.
- Sanding equipment (if necessary): If your wood floor requires sanding before sealing, gather the appropriate sanding equipment, including a floor sander, sandpaper with different grits, and a vacuum to clean up the dust afterward.
- Cleaners and cleaning tools: In addition to the sealant, prepare any cleaning products recommended for prepping the wood floor. This may include mild wood floor cleaners, sponges, soft cloths, and a bucket of water.
- Painter’s tape: Use painter’s tape to protect baseboards, trim, or any fixtures near the floor that you don’t want to accidentally touch with the sealant. Apply the tape carefully to ensure clean and precise lines.
Having all the necessary materials ready before you begin the sealing process will help you work efficiently and ensure that you have everything you need at hand. It’s always better to be prepared and organized to achieve the best results for your wood floor sealing project.
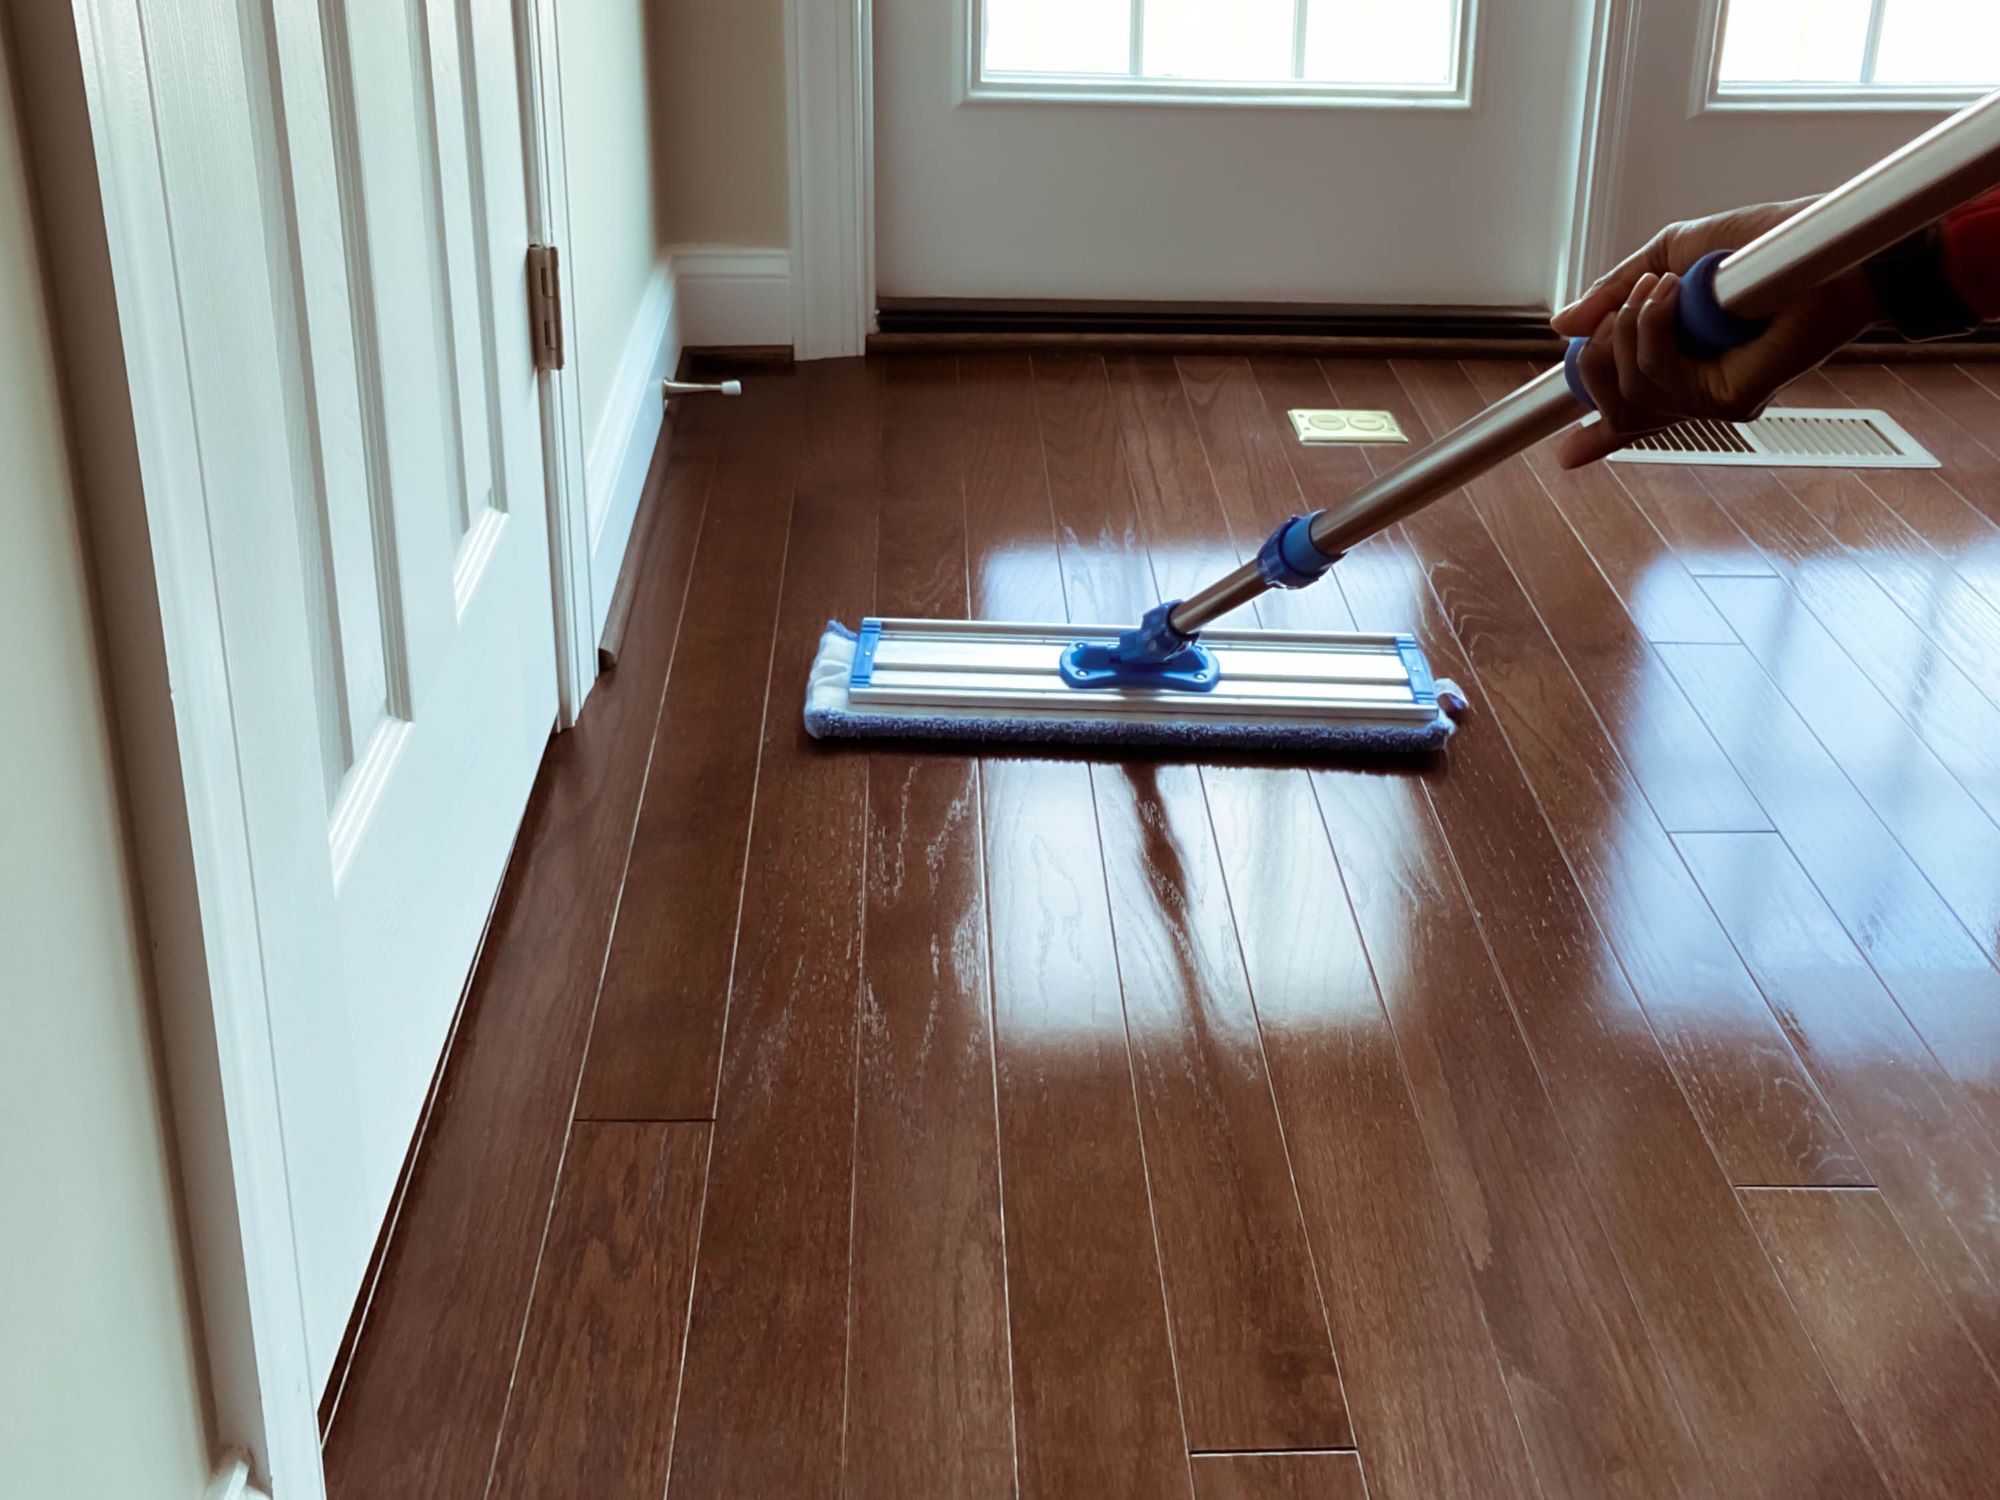
Cleaning the Floor
Cleaning the wood floor thoroughly is an essential step before sealing. Proper cleaning removes dirt, grime, and any residues that may interfere with the adhesion of the sealant. Follow these steps to effectively clean your wood floor:
- Sweep or vacuum: Start by removing loose dirt, dust, and debris using a broom or a vacuum cleaner with a soft-bristle attachment. Pay special attention to corners, edges, and hard-to-reach areas.
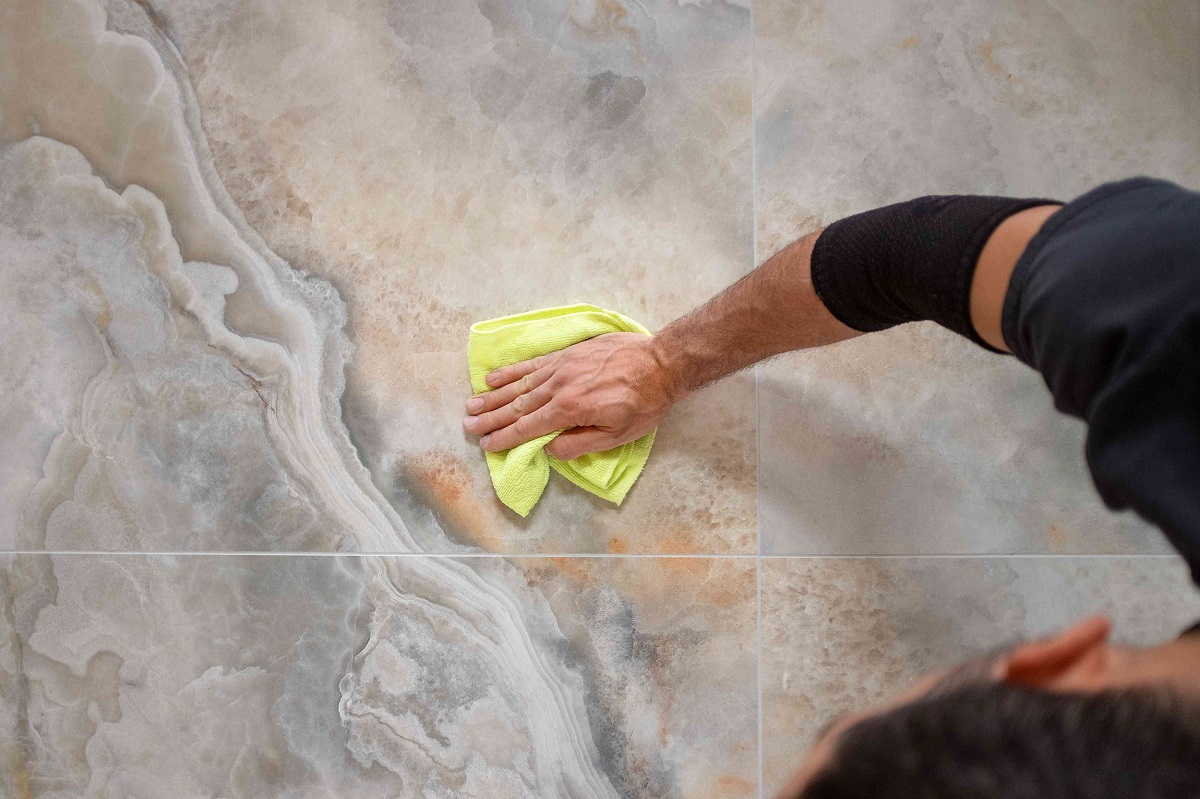
- Mop with a mild cleaner: Dilute a mild wood floor cleaner according to the manufacturer’s instructions in a bucket of warm water. Avoid using harsh chemicals or abrasive cleaners that can damage the wood surface. Dip a mop or a soft cloth into the cleaning solution, wring out any excess liquid, and mop the floor, working in small sections. Be careful not to oversaturate the wood.
- Spot clean stubborn stains: If there are any stubborn stains or spills, you can use a slightly dampened soft cloth or sponge to gently scrub the affected area. Avoid using excessive water, as it can penetrate the wood and cause damage.
- Dry the floor: After cleaning, ensure the wood floor is completely dry before proceeding to the next steps. Use a clean, dry mop or towels to remove any excess moisture. Leaving the floor wet can interfere with the adhesion and effectiveness of the sealant.
It’s important to note that different types of wood flooring have different care requirements. Consult the manufacturer’s guidelines for specific recommendations on cleaning products and techniques suitable for your wood floor.
A clean and dry wood floor provides a smooth and receptive surface for the sealant, ensuring optimal adhesion and long-lasting protection. Take your time to clean the floor thoroughly before moving on to the next steps in the sealing process.
Read more: How To Seal Floor Grout
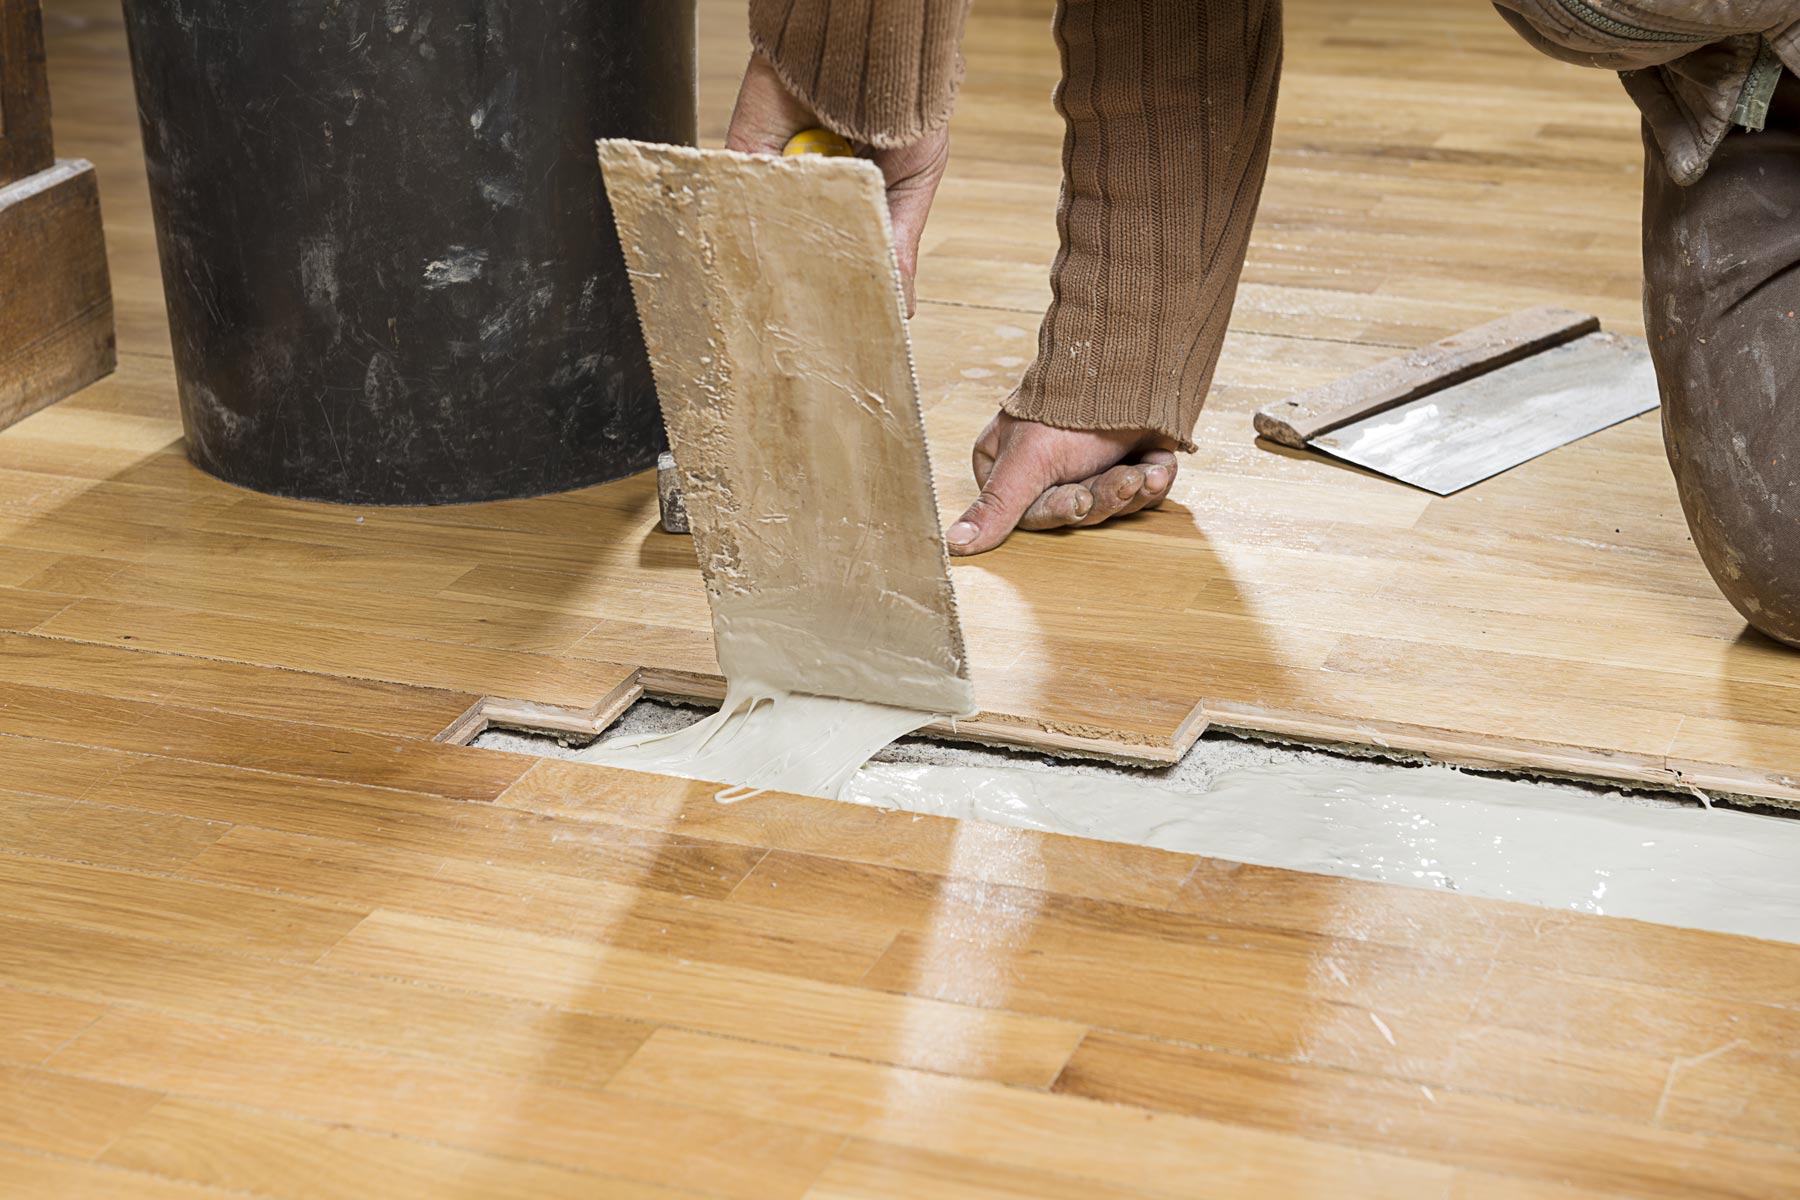
Repairing any Damaged Areas
Before applying the sealant, it’s important to inspect the wood floor for any damaged areas and address them accordingly. Repairing these areas will ensure a smooth and even surface for the sealant. Follow these steps to repair damaged areas on your wood floor:
- Identify the damaged areas: Carefully inspect the wood floor for scratches, dents, gouges, or any other imperfections. Pay attention to high traffic areas, where wear and tear are more likely to occur.
- Fill in scratches and small gouges: For minor scratches or small gouges, you can use wood filler to fill in the damaged area. Choose a wood filler that matches the color of your wood floor. Apply the filler according to the manufacturer’s instructions, using a putty knife or a scraper to level the surface. Allow the filler to dry completely before moving on to the next step.
- Sand the repaired areas: Once the wood filler is dry, smooth out the surface by lightly sanding the repaired areas. Use fine-grit sandpaper and sand in the direction of the wood grain. This will help blend the repaired areas with the rest of the floor and create a seamless finish.
- Remove dust: After sanding, use a vacuum cleaner or a soft brush to remove any dust or debris from the surface of the repaired areas. Ensure that the floor is clean and free of any residue before proceeding to the next steps.
Repairing damaged areas on your wood floor will not only improve its appearance but also ensure that the sealant adheres evenly and provides adequate protection. Remember to follow the manufacturer’s instructions for the specific wood filler product you’re using and take your time to achieve a seamless repair.
Once you’ve repaired any damaged areas and the floor is clean and dust-free, you’re ready to move on to the next steps in the wood floor sealing process.
When sealing a wood floor, make sure to clean and sand the surface thoroughly before applying the sealant. Use a high-quality wood sealant and apply it in thin, even coats for best results.
Sanding the Floor (if necessary)
Sanding the wood floor is an optional step in the sealing process, but it can be beneficial if the floor has noticeable imperfections, unevenness, or existing sealant that needs to be removed. Sanding helps create a smooth and uniform surface for the new sealant. If you’ve identified the need to sand your wood floor, follow these steps:
- Assess the condition of the floor: Determine if sanding is necessary by inspecting the wood floor for deep scratches, stains, rough patches, or unevenness. Sanding can also remove any existing layer of sealant or finish that may be peeling or damaged.
- Choose the appropriate sandpaper grit: Select the right grit of sandpaper based on the condition of your wood floor. Start with a coarser grit (around 60-80) if you need to remove scratches, stains, or old sealant. Use a finer grit (around 120-150) for smoothing and preparing the surface before applying the new sealant.
- Prepare the sanding equipment: If you’re sanding a large area, it’s recommended to use a floor sander or rotary sander with attached sandpaper. Make sure to familiarize yourself with the instructions and safety precautions provided by the manufacturer. If you’re sanding a small area or corners, you can use a handheld sanding block or sandpaper wrapped around a sanding pad.
- Sand the floor: Start sanding in a corner or an inconspicuous area to get a feel for the equipment and the sanding process. Keep the sandpaper moving in the direction of the wood grain for even sanding. Avoid applying excessive pressure, as it can damage the wood. Work methodically and gradually cover the entire floor, overlapping each pass to ensure smooth and uniform results.
- Remove dust: After sanding, use a vacuum cleaner, a soft brush, or a tack cloth to remove the sanding dust from the floor. Cleaning the surface thoroughly is crucial before moving on to the next steps to ensure the sealant adheres properly.
It’s important to note that sanding can be a time-consuming and labor-intensive process. If you’re unsure or uncomfortable with sanding your wood floor yourself, it’s recommended to seek professional assistance to ensure the best results.
If you’ve decided to sand your wood floor and have completed the necessary steps, you can now proceed to the next stage of sealing: applying the sealant.
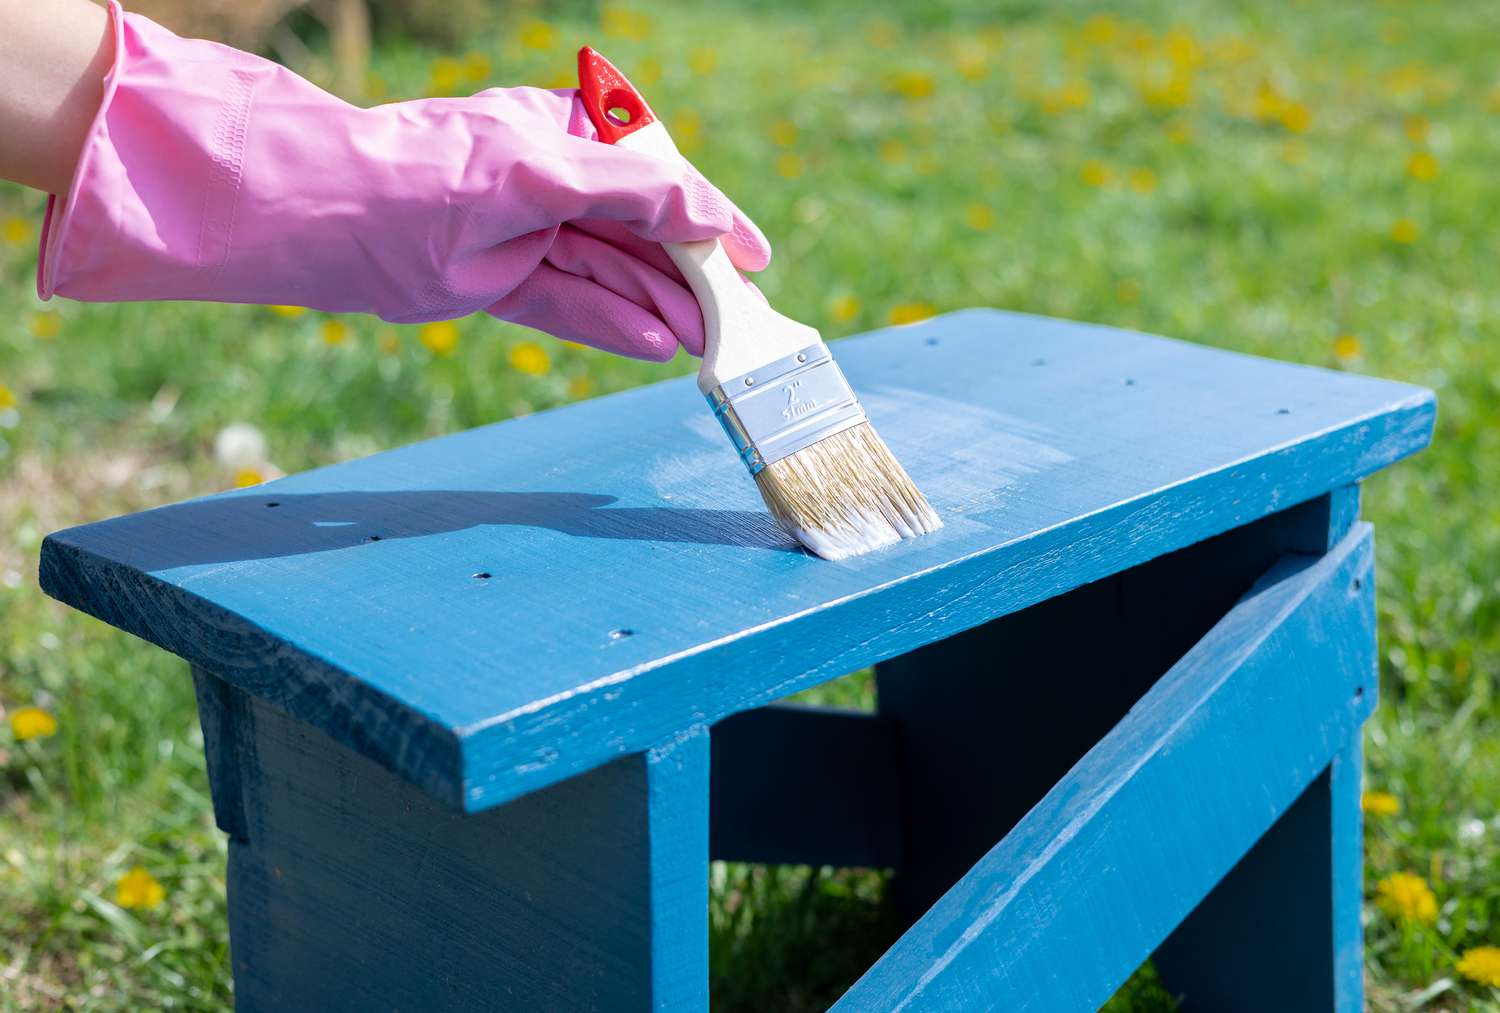
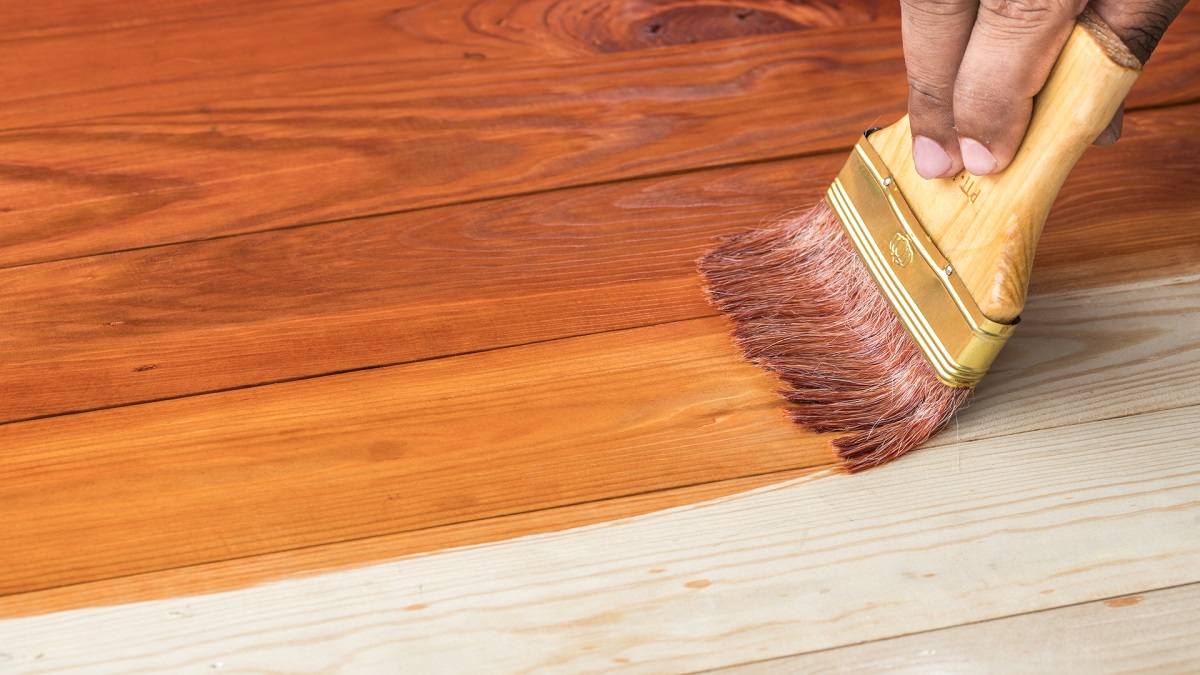
Applying the Sealant
Applying the sealant is a critical step in the wood floor sealing process. The sealant acts as a protective layer, enhancing the appearance of the wood and safeguarding it against stains, moisture, and daily wear. To ensure a successful sealant application, follow these steps:
- Prepare the sealant: Read the manufacturer’s instructions carefully and prepare the sealant according to the recommended guidelines. Some sealants may require stirring or shaking before use, while others may need to be diluted with a specified ratio of water or solvent.
- Start in a corner: Begin applying the sealant in a corner of the room that is furthest from the exit. This will prevent you from walking over the freshly applied sealant as you work your way towards the exit.
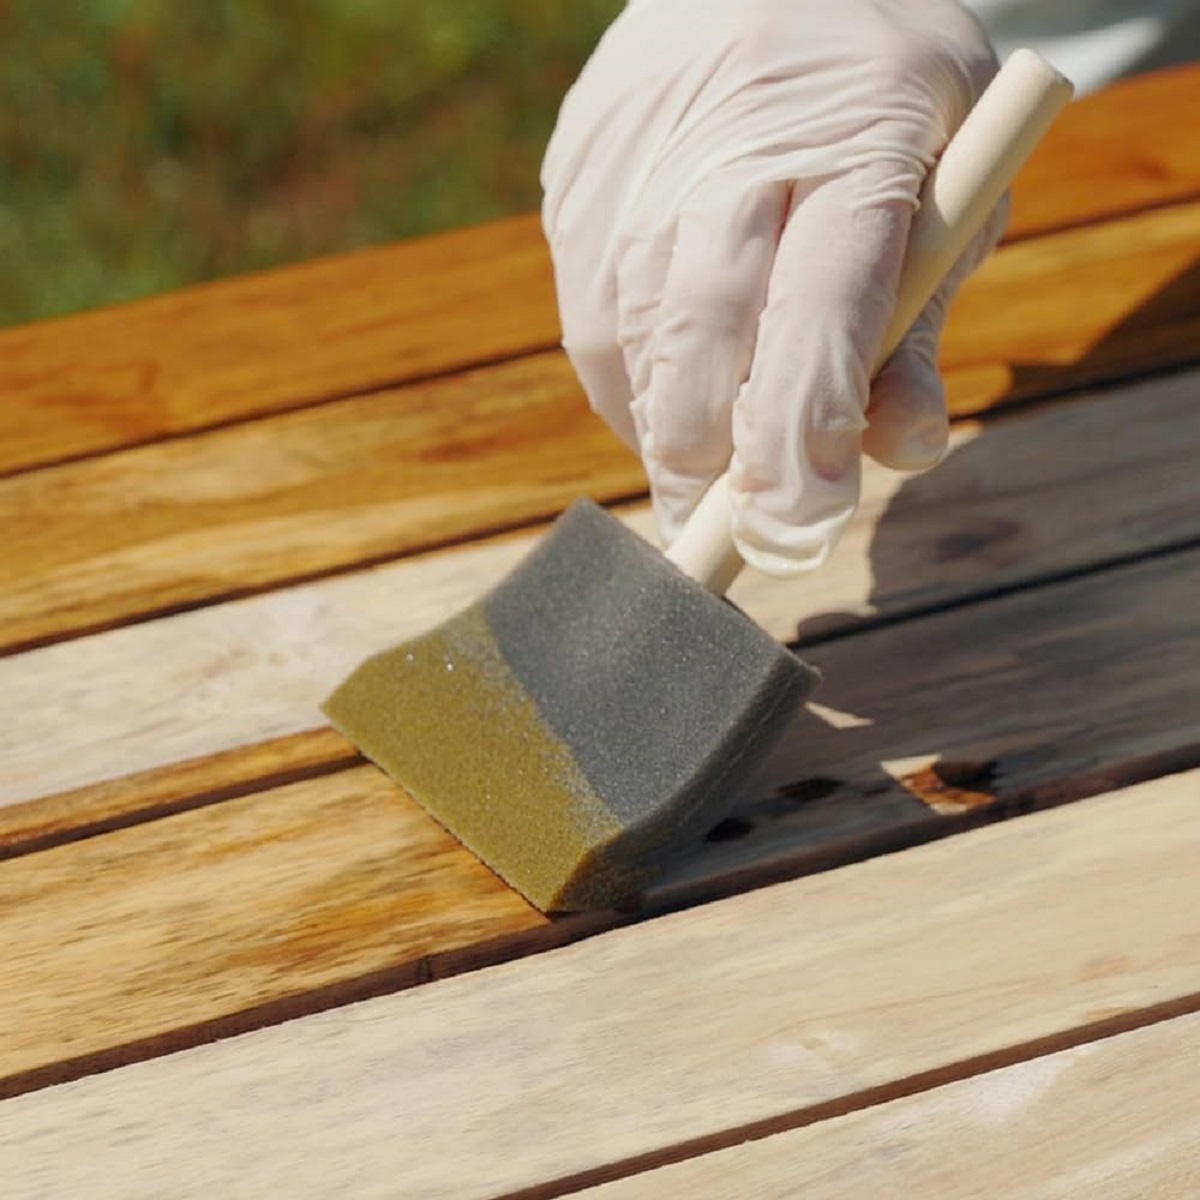
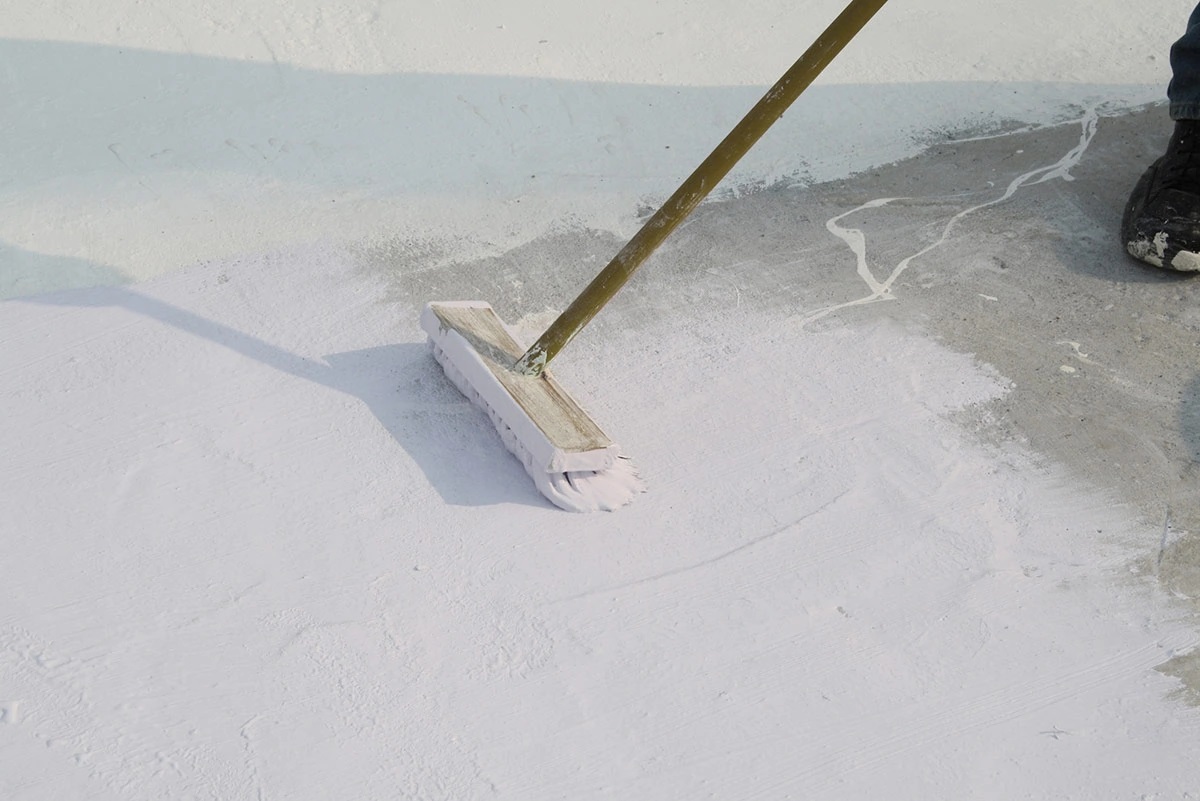
- Choose the right applicator: Select an applicator that suits the type of sealant you’re using and the size of the area being sealed. A brush or roller is commonly used for larger areas, while a pad applicator or cloth may be more suitable for smaller sections or tight spaces.
- Apply the sealant in thin, even coats: Dip the applicator into the sealant and remove any excess before applying it to the wood floor. Work in small sections, applying the sealant in thin, even coats, moving in the direction of the wood grain. Avoid applying too much pressure, as it can lead to uneven distribution or streaks.
- Overlap each stroke: To ensure consistent coverage, overlap each stroke slightly with the previous one. This will help create a seamless and uniform appearance.
- Maintain a wet edge: As you work, be mindful of maintaining a wet edge. This means applying the sealant to one area and immediately blending it into the adjacent section. This technique prevents visible lines or uneven drying between sections.
- Take breaks between coats: If the manufacturer recommends applying multiple coats, allow each coat to dry fully before applying the next one. Follow the recommended drying time provided by the manufacturer to achieve the best results.
Remember to work efficiently and avoid interruptions while applying the sealant to prevent the formation of visible edges or dried marks. If necessary, have a clear plan to pause your application at a natural break point.
By following these steps, you’ll be able to apply the sealant effectively, ensuring optimal protection and enhancement of your wood floor’s natural beauty.
Letting the Sealant Dry
After applying the sealant to your wood floor, it’s crucial to allow sufficient drying time. Proper drying ensures that the sealant cures and forms a strong protective layer. Follow these guidelines for letting the sealant dry effectively:
- Read the manufacturer’s instructions: Different sealants have varying drying times. Read the instructions provided by the manufacturer to understand the recommended drying time for the specific sealant you’re using.
- Avoid foot traffic: To prevent any accidental damage or premature scuffing of the freshly applied sealant, avoid walking on the sealed area during the drying process. Place warning signs or barricades to ensure that others are aware and avoid stepping on the sealed surface as well.
- Ensure proper ventilation: Adequate ventilation is essential for the drying process. Open windows or use fans to promote airflow, which helps in speeding up the drying time and reducing the chances of a sticky or uneven finish.
- Control temperature and humidity levels: Maintain a moderate room temperature and control humidity levels during the drying process. Extreme temperatures and high humidity can prolong the drying time and affect the overall quality of the sealant’s performance.
- Allow ample drying time: The drying time can vary depending on factors such as the type of sealant, number of coats applied, room temperature, humidity levels, and ventilation. It’s recommended to wait at least 24-48 hours, or as specified by the manufacturer, before allowing foot traffic or replacing furniture and rugs on the sealed area.
Patience is key when it comes to allowing the sealant to dry fully. Rushing the drying process can compromise the quality and effectiveness of the sealant, leading to possible issues in the future.
During the drying period, resist the temptation to check the sealant’s progress or touch the surface. Allow it ample time to cure, ensuring that it undergoes the necessary chemical reactions to create a robust protective barrier.
By following these guidelines and giving the sealant sufficient time to dry, you’ll ensure a durable and long-lasting finish for your wood floor.
Read more: How To Seal Garage Floor
Applying Additional Coats (if desired)
Applying multiple coats of sealant to your wood floor can provide enhanced durability and protection. It’s important to note that not all sealants require or recommend additional coats, so check the manufacturer’s instructions before proceeding. If desired or recommended, follow these steps to apply additional coats:
- Allow the first coat to dry: Before applying the second coat, ensure that the first coat of sealant has fully dried. Refer to the manufacturer’s instructions for the recommended drying time. It’s essential to follow the recommended drying time to ensure proper adhesion and a seamless finish.
- Lightly sand the surface (optional): If you decide to apply additional coats, you may want to lightly sand the surface between coats. Use fine-grit sandpaper and sand lightly in the direction of the wood grain. This step helps to smooth out any imperfections, remove any raised fibers, and ensure proper adhesion between the coats.
- Clean the surface: After sanding (if applicable), clean the surface to remove any dust or debris. Use a soft cloth, vacuum, or a tack cloth to ensure the surface is clean and free of any particles that could interfere with the next coat of sealant.
- Apply subsequent coats: Follow the same steps mentioned earlier for applying the initial coat. Use a clean applicator, dip it into the sealant, and apply thin and even coats. Maintain a wet edge and overlap each stroke for consistent coverage. Allow each subsequent coat to dry fully before proceeding to the next one.
- Assess the desired finish: After applying the recommended number of coats, assess the appearance and finish of the sealed wood floor. If you’re satisfied with the look and level of protection, you can proceed to the final step. However, if you desire additional coats for a higher gloss or added protection, repeat the process until you achieve the desired result.
It’s important to note that applying multiple coats can impact the final appearance and the drying time. Be sure to read and follow the manufacturer’s instructions for each coat to achieve the best results.
By applying additional coats, you can further enhance the appearance and longevity of your sealed wood floor, creating a durable and high-quality finish.
Caring for the Sealed Wood Floor
Caring for your sealed wood floor properly is essential to maintain its beauty and protect it from damage. By following these maintenance tips, you can ensure the longevity of the sealant and keep your wood floor looking its best:
- Regular cleaning: Dust and sweep your wood floor regularly to remove dirt, dust, and debris. Use a soft-bristle broom or a microfiber mop to avoid scratching. You can also use a vacuum with a brush attachment to clean hard-to-reach areas. Avoid using excessive water or wet mopping, as it can damage the sealant.
- Immediate cleanups: Promptly clean up any spills, especially liquids that can stain the wood. Use a soft cloth or paper towel to blot the spill, then clean the area with a damp cloth and a mild wood floor cleaner if necessary. Avoid using harsh chemicals or abrasive cleaners that can strip the sealant.
- Protective measures: Place mats or rugs at entryways and high-traffic areas to capture dirt and prevent it from scratching or dulling the wood floor. Make sure these mats or rugs have a non-slip backing to prevent accidents. Use furniture pads under the legs of chairs, tables, and other furniture to prevent scratches and dents.
- Avoid excessive moisture: Wood floors are sensitive to moisture, so avoid wet mopping or excessive water on the surface. Wipe up spills immediately and use a damp (not wet) cloth for cleaning. Use a humidifier in dry environments to prevent the wood from drying out and potentially cracking.
- Protect from direct sunlight: Prolonged exposure to direct sunlight can cause your wood floor to fade and age prematurely. Use curtains, blinds, or UV-blocking window films to shield the floor from harmful UV rays. Rearrange furniture periodically to prevent uneven fading in areas that receive constant sunlight.
- Periodic recoating: Over time, the sealant on your wood floor may wear down. As a general guideline, consider recoating your wood floor every few years or as recommended by the manufacturer. Recoating helps revitalize the appearance and reinforce the protective barrier.
By implementing these care and maintenance practices, you can extend the life of your sealed wood floor and ensure that it remains an attractive focal point in your home.
Remember, always refer to the manufacturer’s guidelines for specific care and maintenance recommendations for your particular type of sealed wood floor.
Frequently Asked Questions about How To Seal A Wood Floor
Was this page helpful?
At Storables.com, we guarantee accurate and reliable information. Our content, validated by Expert Board Contributors, is crafted following stringent Editorial Policies. We're committed to providing you with well-researched, expert-backed insights for all your informational needs.


0 thoughts on “How To Seal A Wood Floor”