
Articles
How To Sand A Wood Floor
Modified: October 18, 2024
Learn the step-by-step process of sanding a wood floor with our comprehensive articles. Discover expert tips and tricks to achieve a flawless finish.
(Many of the links in this article redirect to a specific reviewed product. Your purchase of these products through affiliate links helps to generate commission for Storables.com, at no extra cost. Learn more)
Introduction
Welcome to the world of woodworking! If you have a wooden floor that has seen better days and is in need of a fresh look, sanding it down can help restore its beauty and charm. Sanding a wood floor is a process that involves gently and systematically removing the top layer of wood to reveal a smooth and even surface. This not only helps to remove scratches, dents, and imperfections but also prepares the floor for refinishing or staining.
In this article, we will guide you through the step-by-step process of sanding a wood floor. We will discuss the tools and materials you will need, as well as the techniques and tips to achieve the best results. So let’s dive in and get started on transforming your dull, worn-out floor into a stunning centerpiece for your living space!
Key Takeaways:
- Transform your worn-out wood floor into a stunning centerpiece by following the step-by-step guide to sanding and refinishing. Achieve a smooth, polished surface and revitalize your living space with a revitalized aesthetic.
- Master the art of sanding and refinishing your wood floor to perfection. From filling gaps to applying a wood finish, create a visually appealing and durable surface that enhances the natural beauty of the wood.
Read more: How To Sand Wood Stairs
Tools and Materials Needed
Before you begin sanding your wood floor, it’s important to gather all the necessary tools and materials. Having everything on hand will make the process smoother and more efficient. Here is a list of the essential items you will need:
- Sanding machine or floor sander
- Dust mask or respirator
- Protective eyewear
- Ear protection
- Sanding belts or sandpaper (coarse, medium, and fine grits)
- Handheld sander
- Sanding discs
- Edge sander
- Corner sander
- Vacuum cleaner or broom
- Painter’s tape or plastic sheeting
- Wood filler
- Putty knife or scraper
- Sanding screens
- Tack cloth
- Wood stain or finish
- Brush or applicator
- Clean cloth or mop
Make sure to choose sandpaper and sanding belts that are specifically designed for floor sanding. They should be durable and able to withstand the pressure and friction of the sanding process. Additionally, consider the size and power of the sanding machine to ensure it is suitable for the size of your wood floor.
Remember to prioritize safety by wearing a dust mask or respirator, protective eyewear, and ear protection. Sanding a floor can produce a significant amount of dust and noise, so taking these precautions will help protect your health.
Gather all the tools and materials in one place, near the area you plan to start sanding. This will save you time and effort as you move through the process.
Preparing the Area
Before you begin sanding your wood floor, it’s important to prepare the area to ensure a smooth and hassle-free process. Follow these steps:
- Clean the floor: Start by thoroughly cleaning the floor. Remove any furniture, rugs, or other items from the area. Using a vacuum cleaner or broom, remove all dust, dirt, and debris from the surface. Pay special attention to corners and edges where dirt tends to accumulate.
- Protect the surrounding areas: To prevent dust from spreading to other rooms, use painter’s tape to cover doorways or openings. Alternatively, you can hang plastic sheeting to create a barrier. This will help contain the dust and minimize cleanup later on.
- Inspect for loose boards or protruding nails: Carefully inspect the floor for any loose boards or protruding nails. These should be fixed or hammered back into place before sanding. Failure to address these issues may cause damage to the sanding equipment and result in an uneven surface.
- Check for unevenness: Use a level to check for any uneven spots on the floor. If you notice any high or low spots, you may need to address them before sanding. High spots can be sanded down while low spots may require filling with wood filler.
- Close off vents and outlets: To prevent dust from entering your HVAC system, close off any vents and cover electrical outlets with plastic sheeting or tape. This will protect your home from the dust generated during the sanding process.
By taking the time to properly prepare the area, you will create a cleaner workspace and minimize potential issues during the sanding process. This will help you achieve the best results and ensure a smoother overall experience.
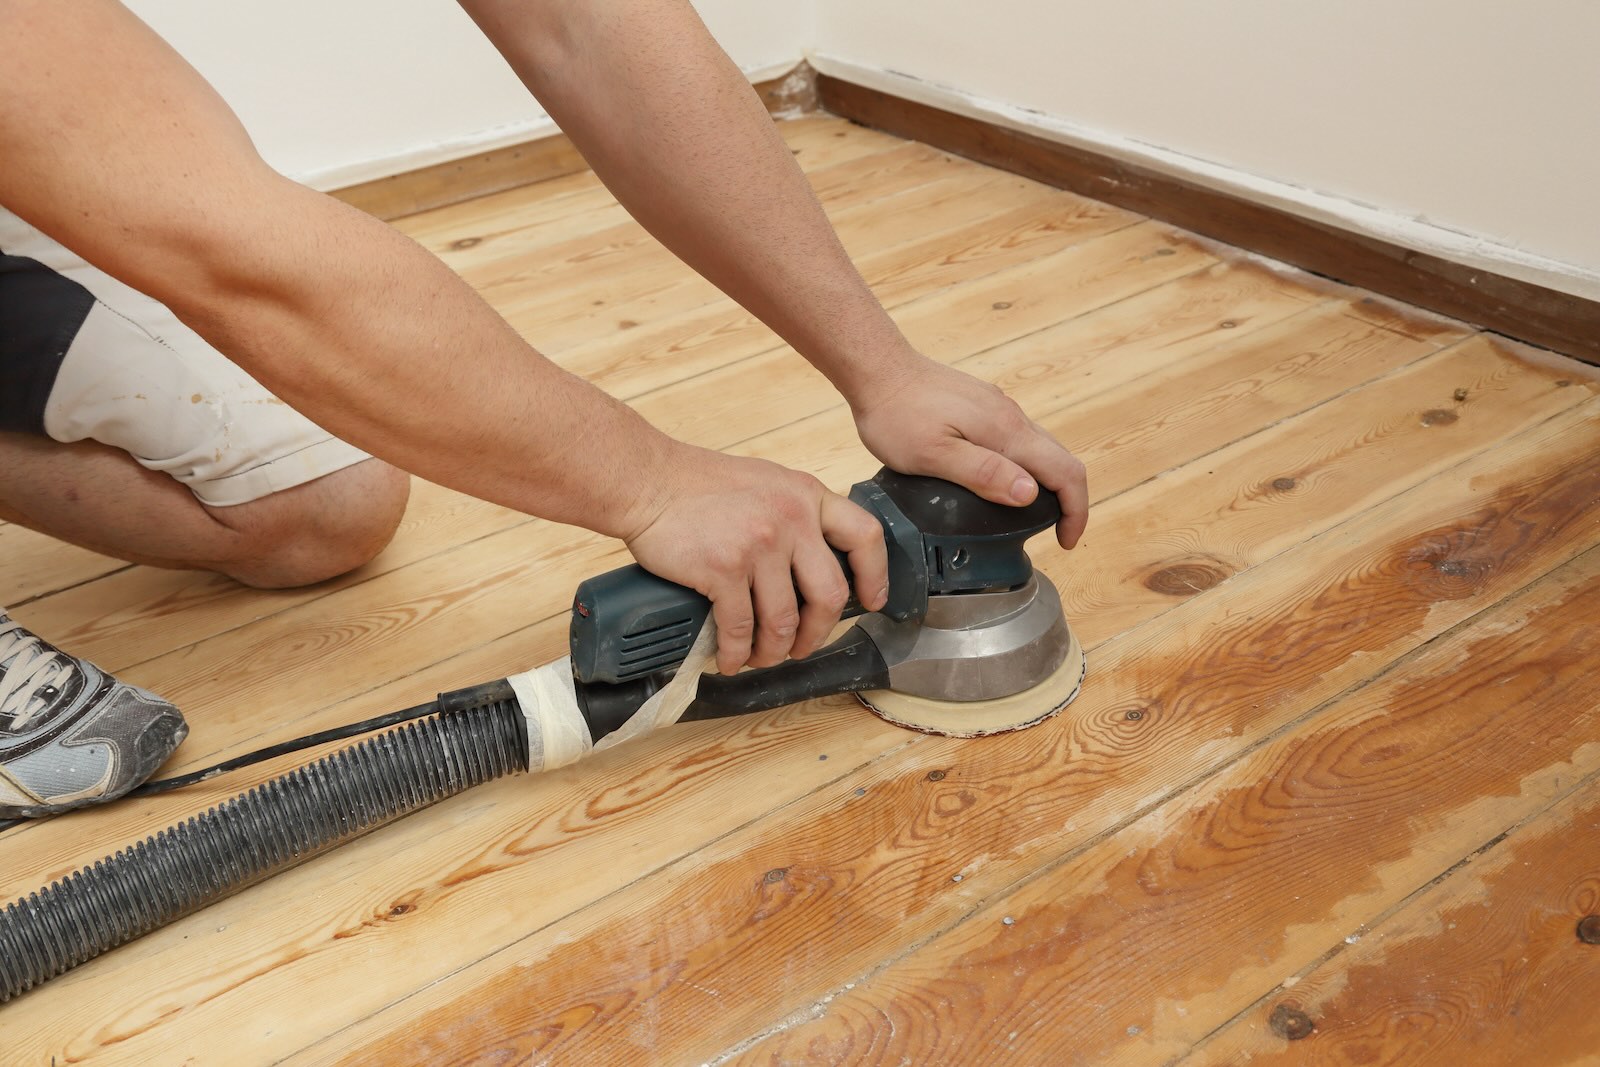
Sanding Techniques
Now that you have prepared the area, it’s time to dive into the sanding process. Here are some essential techniques to keep in mind as you begin sanding your wood floor:
- Starting with Coarse Grit Sandpaper: Begin by attaching the coarse grit sandpaper to your sanding machine or floor sander. This grit is designed to quickly remove the top layer of the wood. Start in a corner of the room and work in small, manageable sections. Keep the sanding machine moving continuously, using smooth and even strokes. Avoid applying excessive pressure, as it can lead to uneven results.
- Sanding in a Straight Line: When sanding, always move in the direction of the wood grain. This helps to create a smooth and uniform appearance. Start sanding in a straight line, moving from one end of the section to the other. Once you reach the other end, lift the sanding machine and return to the starting position. Repeat this motion, slightly overlapping each pass, until the entire section is sanded.
- Sanding the Edges and Corners: The sanding machine may not be able to reach the edges and corners of the room. For these areas, you will need to use a handheld edge sander or corner sander. Attach the appropriate sanding discs and carefully sand along the edges and corners of the floor. Be mindful of maintaining the same sanding technique while using these handheld tools.
- Changing to Medium Grit Sandpaper: Once you have finished sanding with the coarse grit sandpaper, it’s time to switch to medium grit sandpaper. This will help refine the surface and remove any remaining scratches or imperfections. Follow the same techniques as before, sanding in the direction of the wood grain. Make overlapping passes to ensure a thorough sanding.
- Sanding in a Diagonal Pattern: To further promote a smooth finish, sand the entire floor in a diagonal pattern. This helps to remove any remaining swirl marks or uneven areas. Use the medium grit sandpaper and move the sanding machine diagonally across the floor. Be sure to keep the sanding machine at a consistent angle and maintain a steady pace.
- Sanding the Edges and Corners Again: After sanding the main portion of the floor, return to the edges and corners with the handheld edge sander or corner sander. This ensures that all areas are sanded evenly and achieves a uniform appearance.
- Finishing with Fine Grit Sandpaper: Lastly, switch to fine grit sandpaper for the final sanding pass. This will help to smooth out any remaining imperfections and create a polished surface. Sand in the direction of the wood grain once again, making overlapping passes to achieve a consistent finish.
By following these sanding techniques, you will be able to effectively remove imperfections, level the surface, and prepare the wood floor for the next steps in the refinishing process.
Starting with Coarse Grit Sandpaper
When sanding a wood floor, you’ll begin the process by using coarse grit sandpaper. This grit, typically between 24 and 40, is designed to remove the top layer of the wood and eliminate deep scratches, stains, and other imperfections.
To get started, attach the coarse grit sandpaper to your sanding machine or floor sander. Ensure that the sandpaper is securely fastened so that it doesn’t shift or come off while in use. Put on your dust mask or respirator, protective eyewear, and ear protection to safeguard your health during the sanding process.
Start sanding in a corner of the room, working in small, manageable sections. It’s crucial to keep the sanding machine moving continuously to avoid uneven sanding or creating dents in the wood. Move the machine in smooth and even strokes, following the direction of the wood grain. Remember not to apply excessive pressure, as doing so can result in an uneven surface.
As you sand, you’ll gradually see the top layer of the wood being stripped away, revealing a fresh, smooth surface. This initial sanding pass with the coarse grit sandpaper is essential for leveling the floor and removing any significant imperfections. Take your time and pay attention to every section of the floor, ensuring that each area receives uniform sanding.
If your sanding machine comes with a dust collection system, periodically empty the dust bag to maintain its efficiency. If not, it’s crucial to clean up the dust using a vacuum cleaner or broom between sanding passes to prevent it from clogging the sandpaper or hindering the sanding process.
After completing a section, lift the sanding machine and return to the starting position. Repeat the sanding process, slightly overlapping each pass, until the entire section is adequately sanded. Avoid rushing through the process, as thorough sanding is crucial for achieving the best results.
By starting with coarse grit sandpaper, you’ll effectively remove the top layer of the wood and eliminate deep imperfections. This prepares the floor for further sanding with finer grit sandpaper, resulting in a beautifully smooth surface ready for refinishing or staining.
Read more: How To Sand Concrete Floor
Sanding in a Straight Line
When it comes to sanding a wood floor, one of the key techniques to master is sanding in a straight line. This technique helps to ensure a smooth and uniform finish across the entire floor. Here’s how to sand in a straight line:
1. Understand Wood Grain: Before you start sanding, it’s important to understand the direction of the wood grain. Wood grain refers to the patterns and lines that are naturally present in the wood. Sanding with the grain helps to achieve a smoother and more even result. Take the time to observe the direction of the wood grain and plan your sanding accordingly.
2. Select Your Starting Point: Begin sanding in a corner of the room, preferably in an area that is less visible. This will allow you to practice and perfect your sanding technique before moving on to more noticeable areas.
3. Keep the Sanding Machine Moving: Start the sanding machine and, using both hands, guide it in a straight line, moving from one end of the section to the other. The key here is to keep the sanding machine moving continuously, avoiding any sudden stops or backtracking. Stopping in one spot for too long can result in uneven sanding or even create visible lines in the wood.
4. Apply Even Pressure: It’s important to maintain consistent pressure on the sanding machine as you move in a straight line. Applying too much pressure can cause dips or gouges in the wood, while too little pressure may result in uneven sanding. Aim for a moderate and even pressure to achieve the best results.
5. Overlap Each Pass: When sanding in a straight line, make sure to slightly overlap each pass with the sanding machine. This will help to achieve thorough and uniform sanding across the entire section. By overlapping the passes, you avoid leaving any unsanded areas, ensuring a smooth and even finish.
6. Work in Small Sections: It’s important to work in small, manageable sections when sanding in a straight line. This allows you to maintain control and accuracy throughout the process. Start with a reasonable-sized section and complete it before moving on to the next one. This way, you can ensure consistent sanding and avoid fatigue.
7. Maintain a Steady Pace: While sanding in a straight line, it’s important to maintain a steady and consistent pace. Avoid rushing through the process or moving too slowly, as these can lead to uneven results. Find a rhythm that works for you and stick to it throughout the sanding process.
Sanding in a straight line is a fundamental technique that helps you achieve a smooth and professional-looking wood floor. By following these steps and practicing patience and precision, you’ll be able to create a beautifully sanded surface that serves as the perfect base for refinishing or staining.
Sanding the Edges and Corners
When sanding a wood floor, it’s important to pay attention to the edges and corners of the room. These areas require special attention as the sanding machine may not be able to reach them effectively. To ensure a consistent and even finish across the entire floor, follow these steps for sanding the edges and corners:
1. Switch to handheld sanding tools: For sanding the edges and corners, you’ll need to switch from the floor sander to handheld sanding tools. These include an edge sander and a corner sander. These tools are designed to reach the areas that the large sanding machine couldn’t reach.
2. Attach appropriate sanding discs: Depending on the specific tool you are using, attach the appropriate sanding discs. Ensure that they are securely fastened to the sanding tool to avoid any accidents or damage. It’s recommended to use a medium or coarse grit sandpaper initially and then switch to finer grits for a smoother finish.
3. Sand along the edges: Start by sanding along the edges of the room. Hold the edge sander firmly and move it parallel to the edge of the floorboards. Work in small sections and maintain a consistent sanding motion. Pay attention to any high spots or imperfections and sand them down until they are level with the rest of the floor.
4. Sand the corners: Once you have finished sanding the edges, move on to the corners of the room. Use the corner sander to reach these tight spaces. Be careful and gentle when using the corner sander to avoid damaging adjacent boards or walls. Move the sander in a circular motion, ensuring to cover the entire corner area.
5. Work with finesse: Sanding the edges and corners requires a bit more finesse and attention to detail. Take your time and work patiently to achieve a smooth and consistent finish along the edges and corners.
6. Inspect and re-sand if necessary: After sanding the edges and corners, inspect the areas to ensure that they are sanded evenly and match the sanded portion of the floor. If you notice any unevenness or missed spots, go back and re-sand those areas until they are satisfactory.
Remember to wear protective gear, such as a dust mask or respirator, protective eyewear, and ear protection when sanding. This will prevent any dust or debris from causing harm.
By following these steps and using the appropriate sanding tools, you can achieve a uniform and professionally sanded finish in the edges and corners of your wood floor.
Changing to Medium Grit Sandpaper
After completing the initial sanding with coarse grit sandpaper, it’s time to switch to a medium grit sandpaper to further refine the surface of your wood floor. Here’s how to effectively transition to medium grit sandpaper for the next stage of sanding:
1. Choose the right sandpaper: Select a sandpaper with a medium grit, typically between 60 and 100. This grit size will help to smooth out any remaining scratches, level the surface, and prepare it for the final sanding.
2. Remove the coarse grit sandpaper: Turn off the sanding machine or floor sander and remove the coarse grit sandpaper. Check the machine’s instructions or manual for proper guidance on how to change the sandpaper. Make sure to follow the recommended safety precautions and use the appropriate tools or techniques to remove the sandpaper.
3. Attach the medium grit sandpaper: Take the medium grit sandpaper and securely attach it to the sanding machine or floor sander according to the manufacturer’s instructions. Ensure that the sandpaper is aligned properly and tightly fastened to avoid any shifting or displacement during sanding.
4. Start sanding with the medium grit: Begin sanding with the medium grit sandpaper, following the same techniques used with the coarse grit. Start in a corner of the room and work in small sections, moving in a straight line and overlapping each pass slightly. Make sure to sand in the direction of the wood grain to achieve a smooth and uniform finish.
5. Focus on achieving a consistent result: As you sand with the medium grit sandpaper, pay close attention to achieving a consistent result across the entire floor. Take your time and ensure that you sand evenly, covering all areas of the floor. Be mindful of any remaining scratches or imperfections and work on smoothing them out as you progress through each section.
6. Periodically check the sandpaper: While sanding, periodically check the condition of the sandpaper. As the sandpaper becomes worn or clogged with dust, it may lose its effectiveness. Replace the sandpaper when necessary to maintain optimal sanding results and speed up the process.
7. Clean up dust and debris: Throughout the sanding process, it’s important to clean up any dust and debris that accumulates. Use a vacuum cleaner or broom to remove the excess dust, ensuring that the sandpaper continues to work effectively.
By changing to medium grit sandpaper, you’ll further refine the surface of your wood floor, smoothing out scratches and imperfections left behind by the coarse grit sandpaper. Following these steps will help you achieve a more polished and even result, bringing you closer to a beautifully sanded wood floor.
When sanding a wood floor, start with a coarse grit sandpaper to remove old finish and imperfections, then gradually work your way to a finer grit for a smooth finish. Always sand in the direction of the wood grain to avoid scratches.
Sanding in a Diagonal Pattern
Once you have completed sanding with the medium grit sandpaper, it’s time to take your wood floor to the next level by sanding in a diagonal pattern. Sanding in a diagonal pattern helps to further refine the surface, remove any remaining swirl marks, and achieve a smoother and more professional finish. Here’s how to sand in a diagonal pattern:
1. Switch to the appropriate sanding grit: Before you start sanding in a diagonal pattern, determine the appropriate sanding grit for this stage. Typically, a medium or fine grit sandpaper, depending on the condition of the floor, is suitable for this step. Attach the appropriate sandpaper to your sanding machine or floor sander.
2. Begin sanding diagonally: Start in a corner of the room and position the sanding machine at a diagonal angle to the floorboards. Move the machine diagonally across the floor, maintaining a consistent angle and applying even pressure. The diagonal angle should be around 45 degrees, but you can adjust it slightly depending on your preference.
3. Overlapping passes: As you sand in a diagonal pattern, make overlapping passes with the sanding machine. This ensures thorough and even sanding across the entire floor. Keep the sanding machine moving continuously, avoiding any sudden stops or backtracking to prevent uneven sanding or lines in the wood.
4. Watch for swirl marks: Swirl marks can occur when sanding in a diagonal pattern. Keep a close eye on the sanded surface and watch for any swirl marks that may appear. If you notice any, adjust your sanding technique or make additional passes to smooth them out. The goal is to achieve a consistent, swirl-free surface.
5. Pay attention to the edges and corners: While sanding in a diagonal pattern, don’t forget to sand the edges and corners of the room as well. Use handheld sanding tools, such as an edge sander and a corner sander, to ensure that these areas are sanded evenly and match the rest of the floor. Apply the same diagonal sanding technique to these areas for a uniform finish.
6. Inspect the sanded surface: After completing the diagonal sanding, inspect the sanded surface to ensure that it is smooth and free from any obvious imperfections. If you notice any rough spots or swirl marks, go back and make additional passes with the sanding machine to correct them. It’s important to achieve a consistently smooth and uniform surface before proceeding to the next steps.
By sanding in a diagonal pattern, you’ll achieve a polished and refined surface on your wood floor. This technique helps to remove swirl marks, create a smoother finish, and prepare the floor for the final sanding and finishing stages of the process.
Read more: How To Sand Wood Using Sandpaper
Sanding the Edges and Corners Again
Once you have completed the main portion of sanding, it’s essential to give special attention to sanding the edges and corners of your wood floor. These areas are often difficult to reach with a sanding machine and require additional steps to ensure a consistent and polished finish. Here’s how to effectively sand the edges and corners again:
1. Switch back to handheld sanding tools: Transition from the sanding machine back to handheld sanding tools. Utilize an edge sander and a corner sander to maneuver around these hard-to-reach areas. Ensure that the appropriate sanding discs or papers are securely attached to the tools.
2. Sand along the edges: Begin by sanding along the edges of the room. Hold the edge sander firmly, keeping it parallel to the edge of the floorboards. Move the edge sander back and forth, covering each section until it seamlessly blends with the sanded portion of the floor. Be cautious not to tilt the sander, as it may cause an uneven surface.
3. Sand the corners: Move on to sanding the corners of the room using the corner sander. Gently work the sander in a circular motion, ensuring even coverage across all corners. Take care not to apply excessive pressure or spend too much time in one spot to avoid creating uneven areas or gouges in the wood.
4. Check for consistent sanding: After sanding the edges and corners, closely inspect these areas to ensure they are sanded consistently with the rest of the floor. Look out for any rough or uneven spots that may require additional sanding. Sand these areas as needed to achieve a smooth and uniform result.
5. Smooth transitions: Pay special attention to the corners where the edges meet. Ensure a smooth transition between the edges and corners by feathering the sanding motion at these junctions. This will eliminate any sharp edges or noticeable differences in the sanded surface, creating a seamless appearance.
6. Remove dust accumulation: Clean up any dust or debris that may have accumulated during the edge and corner sanding process. Use a vacuum cleaner or a soft brush to ensure the surface is free from any residual particles that could interfere with the subsequent steps of refinishing or staining.
Sanding the edges and corners again allows for a thorough and consistent sanding job, ensuring that these areas blend seamlessly with the rest of the floor. By following these steps, you’ll achieve an even and polished finish throughout your wood floor, ready for the next stages of refinishing or staining.
Finishing with Fine Grit Sandpaper
After sanding with the medium grit sandpaper and refining the edges and corners, it’s time to move on to the final sanding stage using fine grit sandpaper. The fine grit sandpaper will help create a smooth and polished surface, removing any remaining imperfections and preparing the wood floor for the finishing touches. Here’s how to finish with fine grit sandpaper:
1. Select the appropriate sandpaper: Choose a fine grit sandpaper, usually between 120 and 220, depending on the desired level of smoothness. Attach the fine grit sandpaper to your sanding machine or floor sander, ensuring it is securely fastened.
2. Begin sanding with the fine grit: Start by sanding in a corner of the room, following the same techniques used with the coarse and medium grit sandpapers. Move the sanding machine in the direction of the wood grain, making smooth and even passes over the entire floor. As you sand, continue to overlap each pass slightly to achieve consistent sanding coverage.
3. Aim for a uniform finish: Focus on achieving a uniform finish across the entire floor. Pay extra attention to any remaining scratches or blemishes, making sure they are sanded down until they are no longer visible. By using the fine grit sandpaper, you will be able to create a refined and polished surface.
4. Check for smoothness: Periodically stop and run your hand over the sanded surface to check for smoothness. You should feel a consistent and smooth texture across the entire floor. If you encounter any rough spots or inconsistencies, go back and make additional passes with the fine grit sandpaper until the surface is consistently smooth.
5. Sand the edges and corners: Don’t forget to sand the edges and corners of the room with the fine grit sandpaper as well. Use handheld sanding tools to access these areas and ensure they blend seamlessly with the rest of the floor. Apply the same techniques used in the main sanding process, working alongside the wood grain and maintaining an even pressure.
6. Clean up the dust: Throughout the sanding process, dust and debris may accumulate. Clean up the dust using a vacuum cleaner or a soft brush to keep the surface clean and ready for the next steps of refinishing or staining.
By finishing with fine grit sandpaper, you’ll achieve a smooth and polished surface on your wood floor. This final stage of sanding helps to eliminate any remaining imperfections and prepares the floor for the application of finish or stain, bringing it one step closer to its final, elegantly transformed state.
Final Sanding in the Direction of the Wood Grain
After completing the sanding process with the fine grit sandpaper, it’s time for the final sanding stage of your wood floor. This step involves sanding in the direction of the wood grain to achieve a smooth and professional-looking finish. Here’s how to perform the final sanding in the direction of the wood grain:
1. Select a fine grit sandpaper: Choose a fine grit sandpaper, typically ranging from 120 to 220, depending on your desired level of smoothness. This finer grit sandpaper will help to refine the surface further and ensure a polished result.
2. Attach the fine grit sandpaper: Securely attach the fine grit sandpaper to your sanding machine or floor sander. Follow the manufacturer’s instructions for properly attaching the sandpaper, ensuring a tight and secure fit.
3. Sand in the direction of the wood grain: Start in a corner of the room and begin sanding in the direction of the wood grain. This means moving the sanding machine back and forth along the length of the floorboards, following the natural pattern of the wood. Sanding in the direction of the wood grain helps to achieve a smoother and more consistent finish.
4. Apply even pressure: As you sand, apply even pressure to the sanding machine, keeping it level and steady. Avoid exerting too much pressure, as it can cause uneven sanding or damage the wood. Maintaining a consistent and controlled pressure will allow for a uniform result.
5. Overlap each pass: Make sure to overlap each sanding pass slightly to ensure thorough and consistent coverage. This helps to smooth out any remaining imperfections and ensures that the entire floor surface is evenly sanded. Be mindful of maintaining a steady and rhythmic pace to avoid creating visible lines or uneven areas.
6. Focus on any remaining rough spots: Keep a close eye on the surface as you sand. Pay attention to any remaining rough spots or blemishes that may require additional sanding. Use the fine grit sandpaper to carefully sand these areas until they blend seamlessly with the surrounding surface.
7. Inspect and touch up if needed: Once you’ve completed the final sanding pass, carefully inspect the entire floor surface for any missed areas or uneven sections. If you spot inconsistencies, gently touch up those areas with the sanding machine until a smooth and uniform finish is achieved.
By performing the final sanding in the direction of the wood grain, you’ll achieve a refined and professional-looking result. This step helps to enhance the natural beauty of the wood and prepares the floor for the next stages of refinishing or staining.
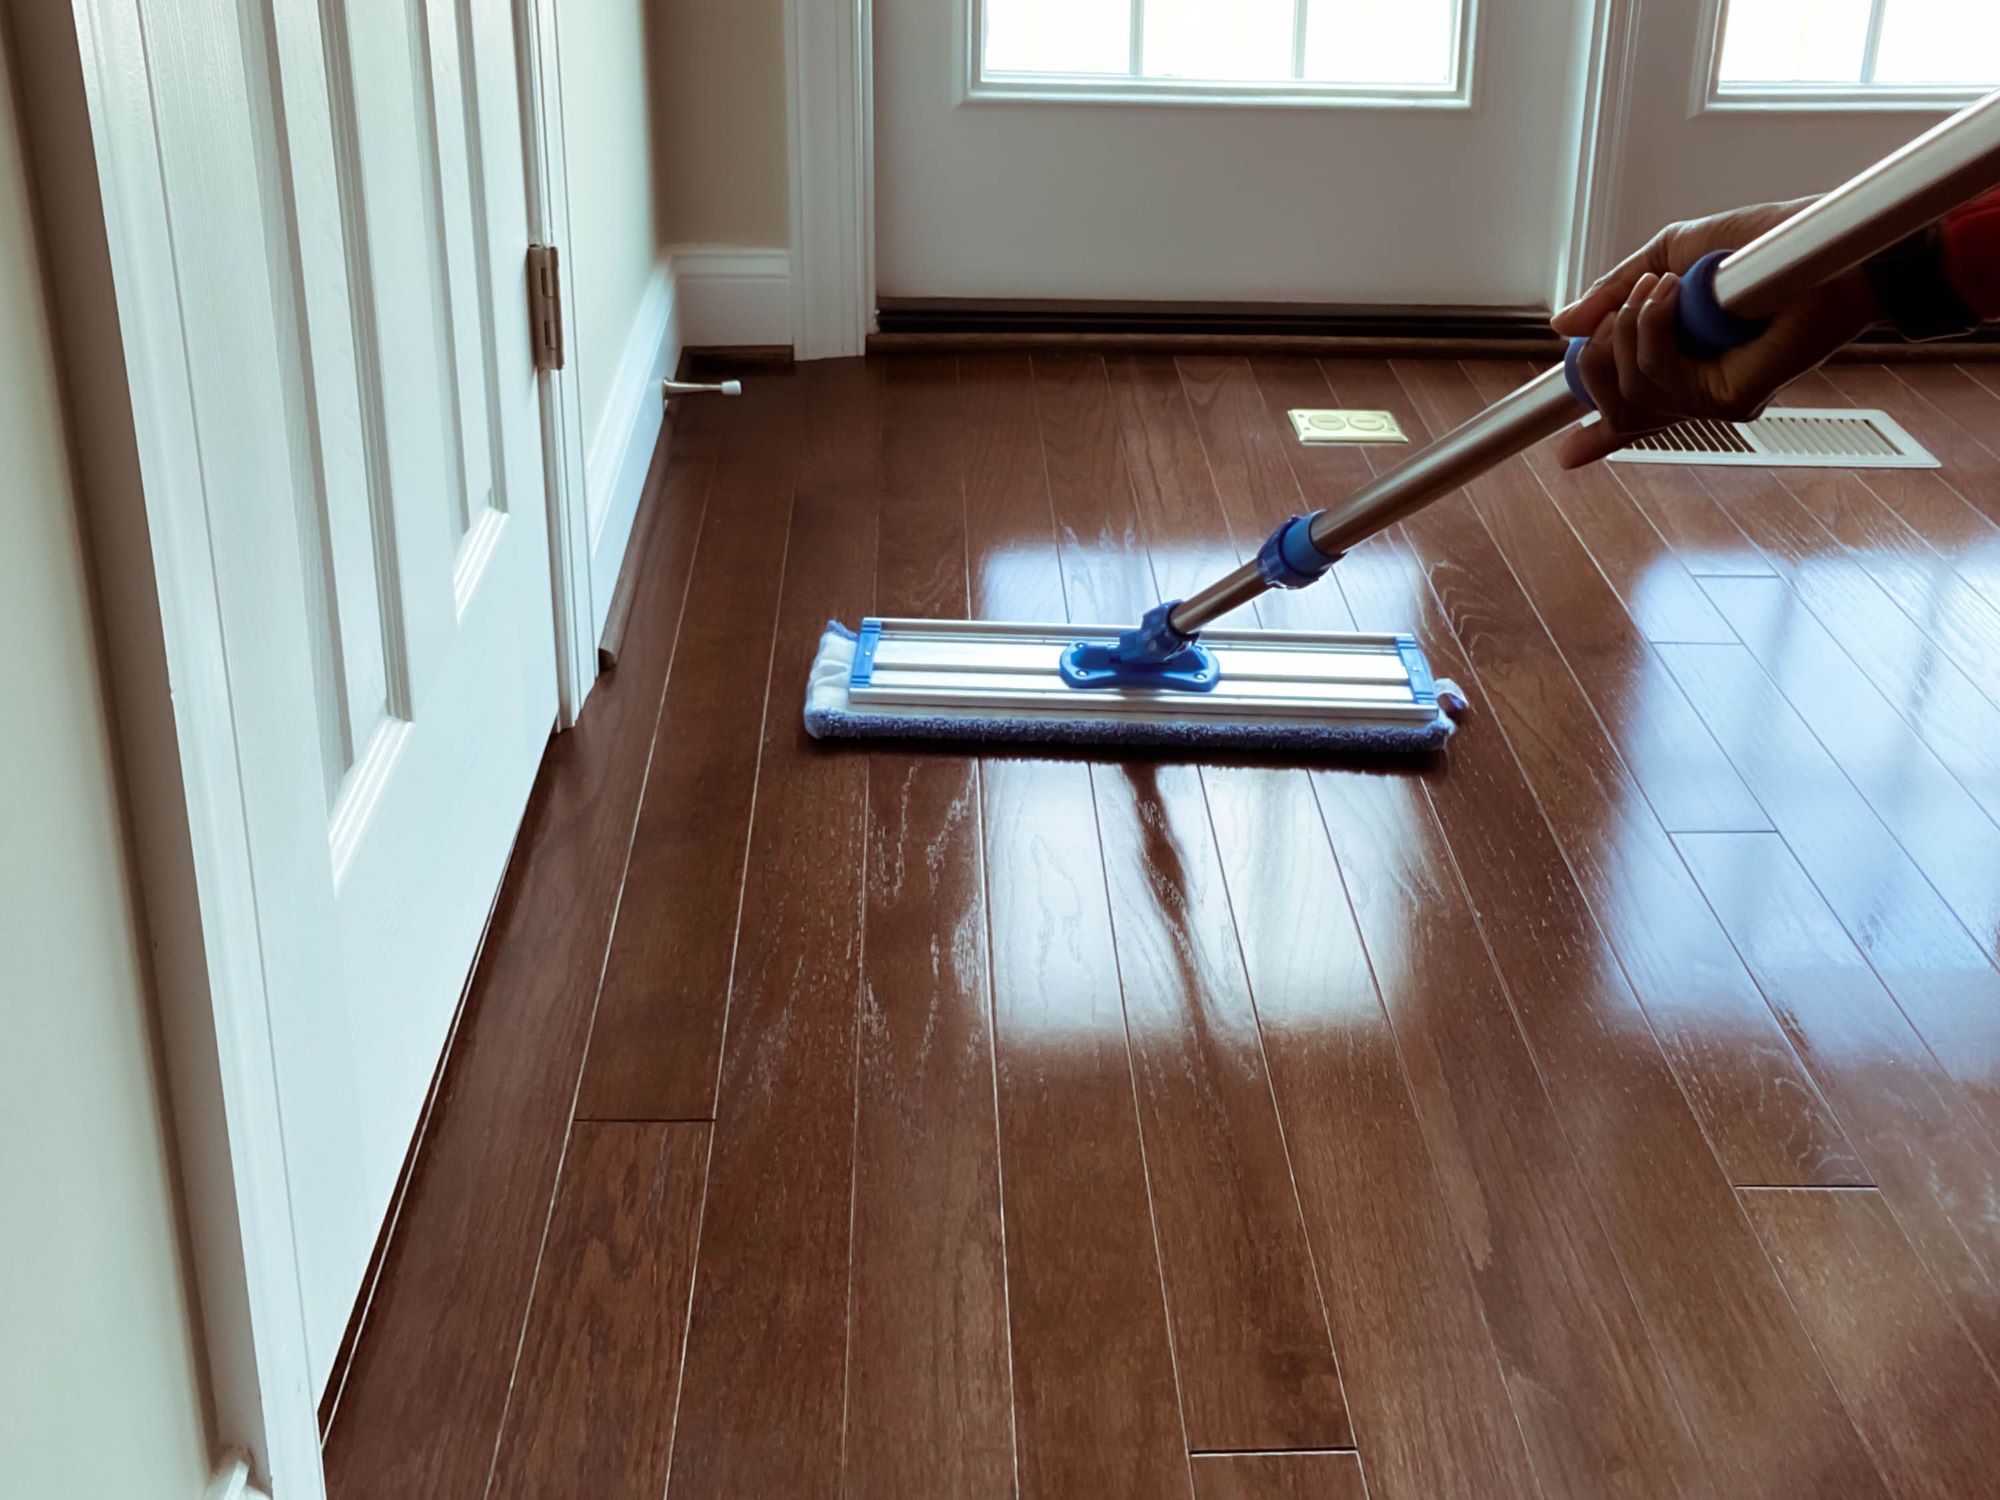
Cleaning the Surface
After completing the sanding process, it’s important to thoroughly clean the surface of your wood floor. Proper cleaning will remove any dust, debris, and residue left behind from the sanding process, ensuring a clean and pristine surface for the next steps of refinishing or staining. Here’s how to effectively clean your wood floor:
1. Use a vacuum cleaner or broom: Begin by using a vacuum cleaner or broom to remove any loose dust, dirt, and debris from the floor. Pay close attention to the edges and corners, as these areas tend to accumulate more dust. A vacuum cleaner with a brush attachment can be particularly effective in picking up fine particles without scratching the floor.
2. Wipe the surface with a damp cloth: Following the initial vacuuming or sweeping, dampen a clean cloth or mop with plain water. Wring out the excess moisture to avoid saturating the floor. Gently go over the surface in a sweeping motion to pick up any remaining dust or residue. Be careful not to use excessive water, as water can damage the wood. The goal is to lightly dampen the cloth, not saturate it.
3. Fine dry mopping or using a tack cloth: For added cleanliness and to ensure that all fine particles are removed, you can perform a second round of dry mopping or use a tack cloth. A tack cloth is a sticky cloth designed to pick up fine dust particles. Gently run the tack cloth across the surface, focusing on any areas that may still have residual dust or debris. This step helps achieve a truly clean surface before applying any finishes.
4. Inspect for remaining debris: After cleaning, inspect the floor for any remaining debris or marks. Use a flashlight to help spot any hidden particles. If you notice any spots or marks that need further attention, gently remove them with a mild cleaning solution suitable for wood floors. Follow the manufacturer’s instructions for the specific product and avoid using harsh chemicals or abrasive cleaners.
5. Ensure the floor is completely dry: Before moving on to the next steps of refinishing or staining, ensure that the wood floor is completely dry. Allow sufficient time for the surface to air dry or use fans to expedite the process if necessary. Moisture on the floor can interfere with the adhesion of finishes or stains, so it’s crucial to start the next steps with a dry surface.
By thoroughly cleaning the surface of your wood floor, you will create a clean and smooth canvas for the next stages of refinishing or staining. Removing all dust, debris, and residue from the sanding process will result in a more professional-looking and long-lasting finish for your wood floor.
Read more: How To Sand Wood Without Sandpaper
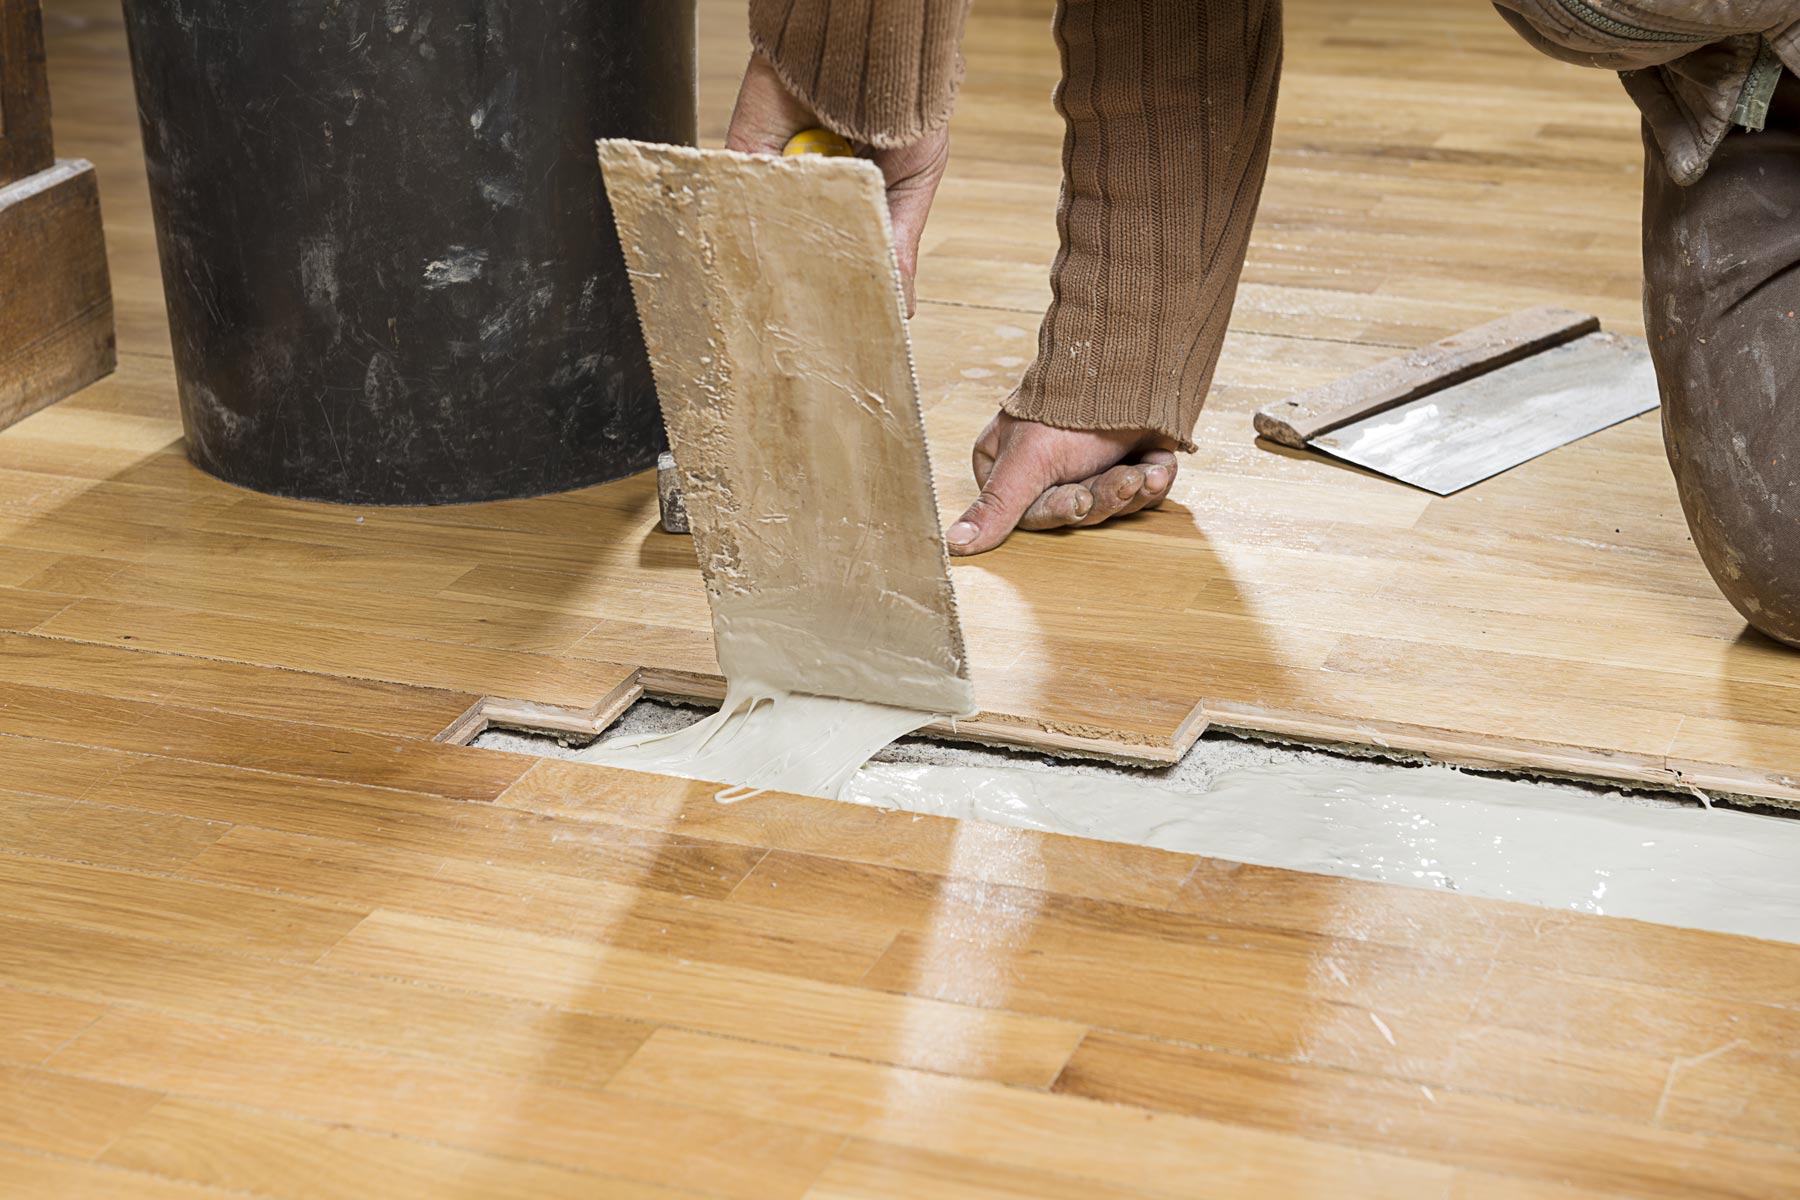
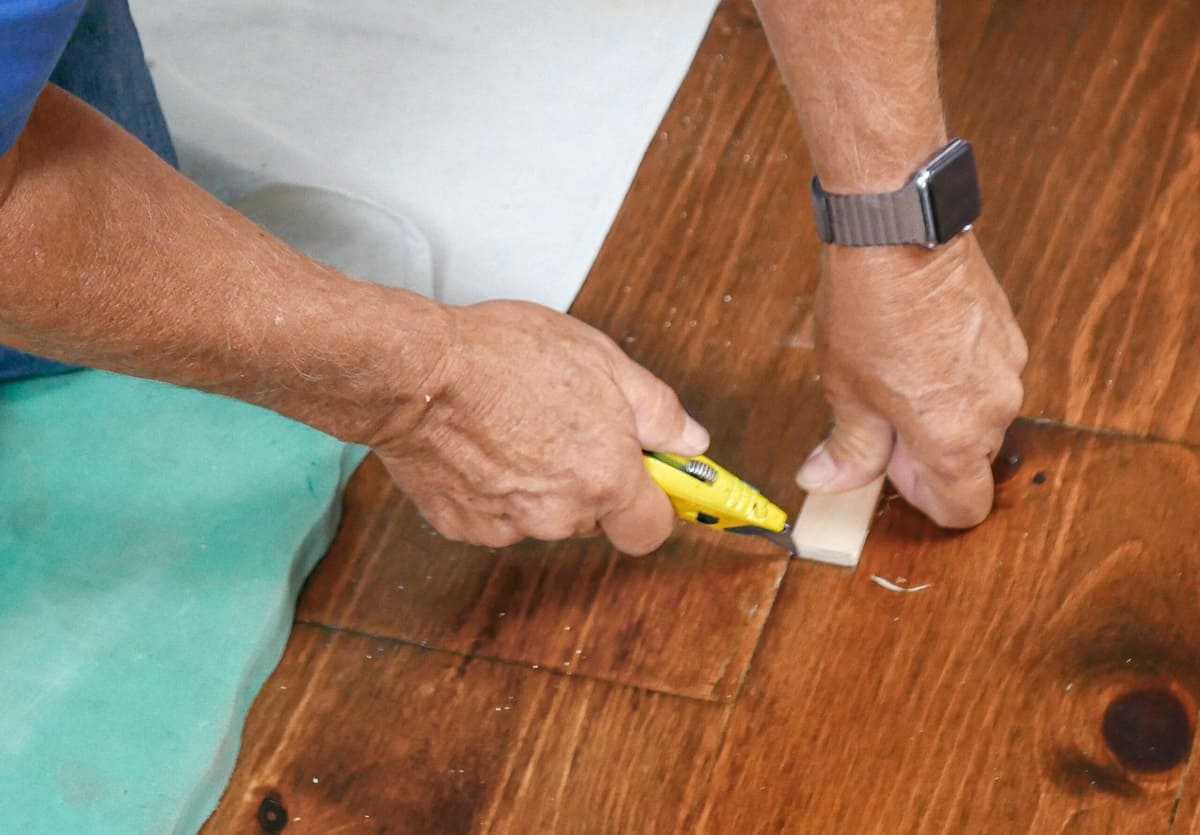
Filling the Gaps and Cracks
Gaps and cracks in a wood floor can detract from its appearance and compromise its structural integrity. Filling these gaps and cracks is an important step in the refinishing process to create a smooth and visually appealing surface. Here’s how to effectively fill the gaps and cracks in your wood floor:
1. Inspect the floor: Begin by thoroughly inspecting the floor and identifying any gaps or cracks that need to be filled. Pay attention to both the main surface as well as the edges and corners of the room. Gaps and cracks can occur naturally over time due to wood expansion and contraction or other factors.
2. Clean the gaps and cracks: Before filling, clean the gaps and cracks to remove any debris, dust, or loose wood particles. Use a vacuum cleaner or a small brush to carefully clean out the gaps, ensuring that they are free from any loose material. This will ensure better adhesion and longevity of the filler.
3. Select the appropriate filler: Choose a suitable filler for your wood floor. There are various options such as wood putty, epoxy fillers, or latex-based fillers available in different colors to match the wood. Consider the size and depth of the gaps and cracks when choosing the filler, selecting one that is appropriate for the specific requirements of your floor.
4. Apply the filler: Using a putty knife or a scraper, apply the filler into the gaps and cracks. Press the filler into the crevices and smooth it out with the knife, ensuring even coverage and a level surface. Alternatively, you can use a caulk gun for more precise application in narrow gaps. Smooth the filler until it is flush with the surrounding floor surface.
5. Remove excess filler: After applying the filler, remove any excess material by scraping the surface with the putty knife at a slight angle. This will help achieve a seamless and blended look, eliminating any raised or uneven spots. Wipe away any excess filler with a damp cloth before it dries, taking care not to disturb the filling within the gaps and cracks.
6. Allow the filler to dry: Follow the manufacturer’s instructions regarding drying time for the specific filler you are using. Allow the filler to dry completely before proceeding with the refinishing or staining of the wood floor. This will ensure that the filler sets properly and creates a solid, stable surface.
7. Sanding and finishing: Once the filler is dry, sand the filled areas gently, blending them with the rest of the floor. Start with a fine-grit sandpaper and gradually work your way to a smoother finish. Be mindful not to oversand the surrounding areas. After sanding, clean the floor again to remove any dust generated from the sanding process before proceeding with the finishing or staining of your wood floor.
By effectively filling the gaps and cracks in your wood floor, you will restore its visual appeal and create a seamless surface. This step is crucial to achieving a professional-looking and durable finish for your wood floor.
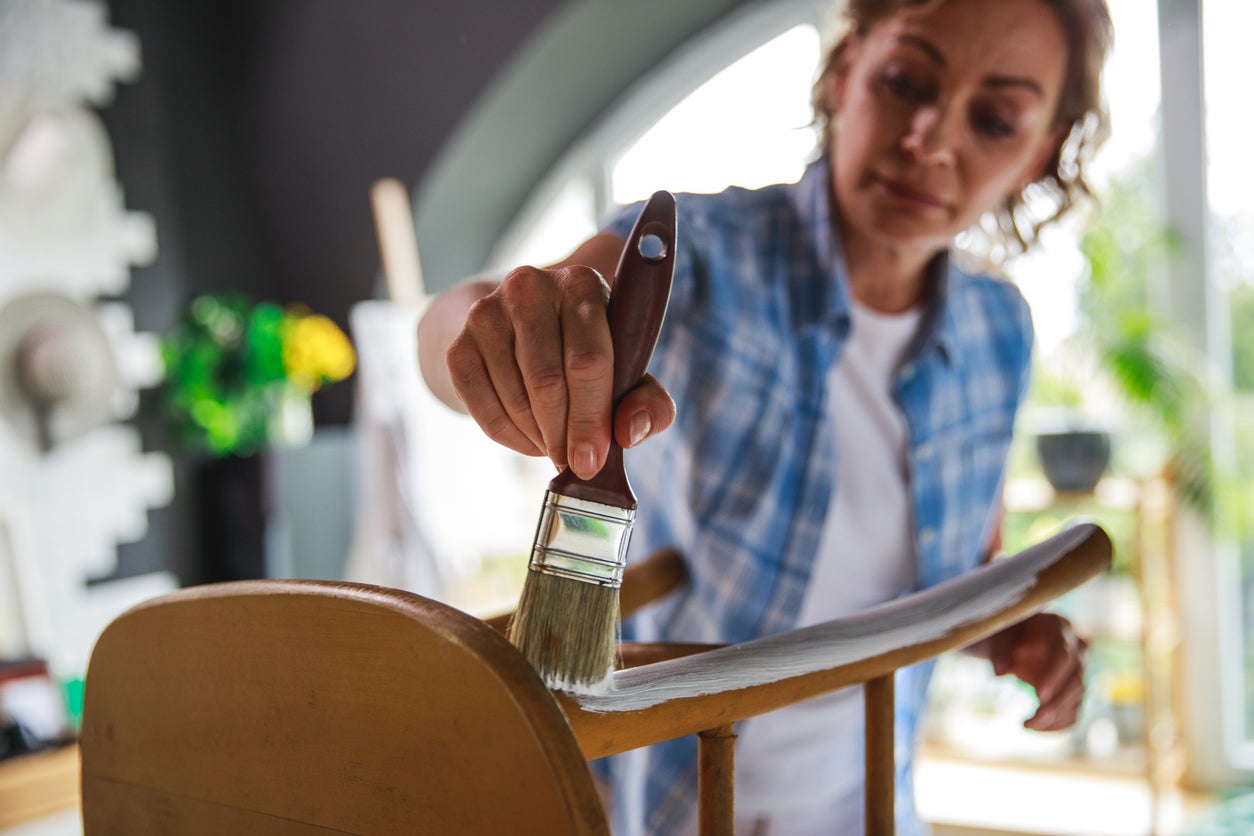
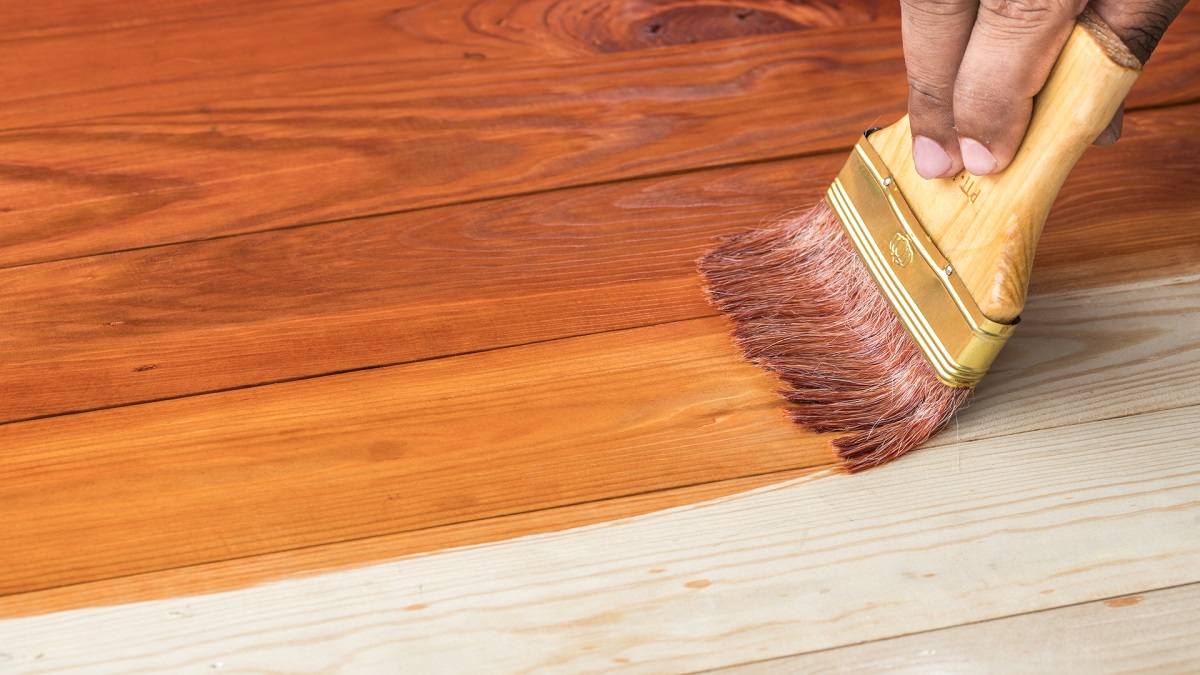
Applying a Wood Finish
Applying a wood finish is the final step in the process of refinishing your wood floor. A wood finish adds protection, enhances the natural beauty of the wood, and gives the floor a polished and finished appearance. Here’s a step-by-step guide on how to apply a wood finish:
1. Select the right wood finish: There are various types of wood finishes available, such as oil-based polyurethane, water-based polyurethane, or tung oil. Consider factors like durability, sheen level, and application method when choosing the appropriate finish for your wood floor.
2. Prepare the area: Before applying the finish, ensure that the room is well-ventilated by opening windows or turning on fans. Remove any furniture, rugs, or debris from the floor. If necessary, cover adjacent surfaces or areas with plastic sheets or drop cloths to protect them from potential drips or splatters.
3. Stir the finish: If your chosen wood finish requires stirring, thoroughly mix it before starting the application process. Follow the manufacturer’s instructions for correct stirring techniques, as shaking the finish can introduce unwanted bubbles.
4. Apply the first coat: Using a clean brush or lambswool applicator, apply the first coat of wood finish. Start in a corner of the room and move along the length of the floorboards in the direction of the wood grain. Work in small sections to ensure a consistent and even application. Be mindful of any edges or corners, making sure to apply the finish evenly in these areas.
5. Allow the first coat to dry: Follow the manufacturer’s instructions regarding drying time for the specific wood finish you are using. Typically, this can range from a few hours to overnight. Make sure the room is well-ventilated during the drying process and avoid walking on the floor until it is fully dry.
6. Sand the first coat (optional): If desired, you can lightly sand the first coat using fine-grit sandpaper to create a smoother surface. This step helps to remove any raised wood fibers or imperfections. Remember to clean the floor thoroughly after sanding to remove any dust before applying subsequent coats.
7. Apply additional coats: Depending on the desired level of durability and sheen, apply two or more additional coats of wood finish. Follow the same application process as with the first coat, allowing each coat to dry fully before applying the next. Lightly sand between coats if desired, ensuring to clean the floor afterward to remove any dust particles. Applying multiple coats will build up the protective layer and provide a more robust and lustrous finish.
8. Allow for curing time: After applying the final coat, allow the wood finish to cure fully. Curing time can vary depending on the type of finish used, so refer to the manufacturer’s instructions for specific guidelines. Avoid moving furniture or heavy foot traffic on the floor until the finish is fully cured to prevent any damage.
Remember to use proper ventilation and personal protective equipment, such as gloves and a mask, during the application process. Following these steps will help you achieve a beautifully finished wood floor that can withstand daily wear and tear while showcasing the natural beauty of the wood.
Conclusion
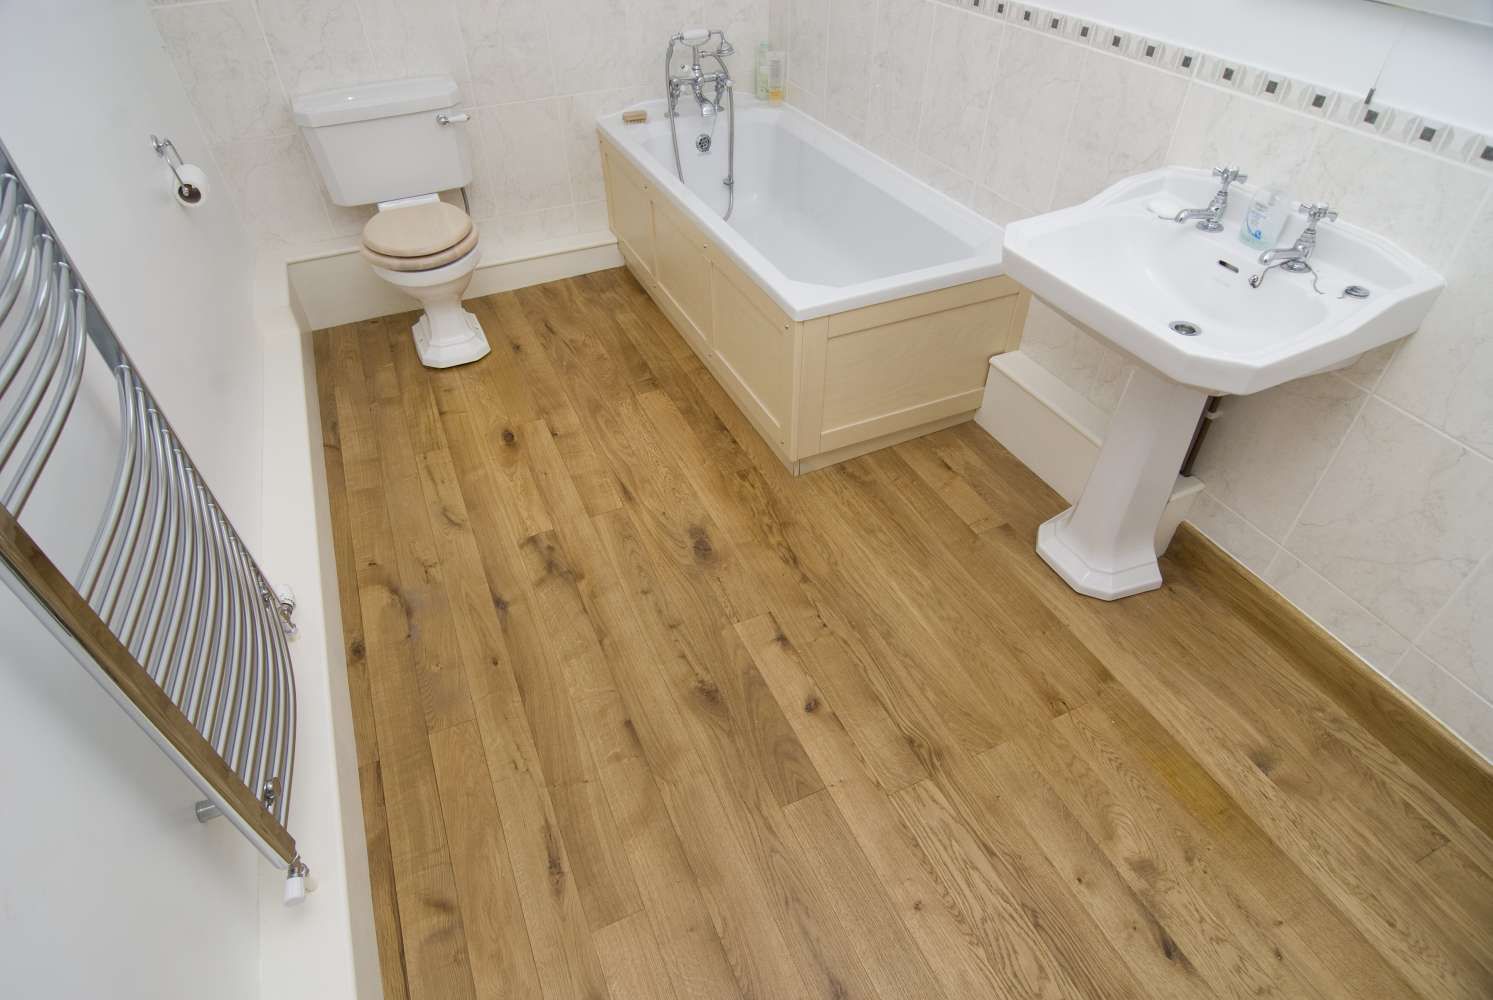
Congratulations! You have successfully navigated through the process of sanding and refinishing your wood floor. By following the step-by-step guide and employing proper techniques, you have transformed your worn-out floor into a revitalized and visually appealing centerpiece for your living space. Let’s recap the key points we discussed:
We began by gathering the necessary tools and materials, ensuring that we had everything we needed for the project. Preparing the area was crucial, cleaning the floor, protecting surrounding areas, and addressing any loose boards or protruding nails. Then, we delved into the various sanding techniques, starting with coarse grit sandpaper to remove imperfections, sanding in a straight line, and paying special attention to the edges and corners. We progressively switched to medium grit sandpaper and continued sanding in a diagonal pattern to achieve a smooth and consistent finish. We then explored the final sanding stage, using fine grit sandpaper and focusing on sanding in the direction of the wood grain for an enhanced surface.
With the sanding complete, we moved on to the crucial step of cleaning the surface, ensuring that all dust and debris were thoroughly removed. We learned the importance of filling gaps and cracks to create a seamless and polished look for our wood floor. Finally, we discussed the application of a wood finish, selecting the appropriate one and applying it in multiple coats to protect and enhance the beauty of the floor.
Through attention to detail, patience, and following proper techniques, you have successfully transformed your wood floor into a stunning feature of your home. Remember to allow the finish to fully cure before introducing heavy foot traffic or furniture to maintain the longevity and quality of the refinished floor.
Now, it’s time to step back and revel in the beauty and accomplishment of your hard work. Your wood floor has gone through a remarkable transformation, and it is sure to impress anyone who enters your space. Enjoy the refreshed aesthetic and the joy of having rejuvenated your living environment!
Frequently Asked Questions about How To Sand A Wood Floor
Was this page helpful?
At Storables.com, we guarantee accurate and reliable information. Our content, validated by Expert Board Contributors, is crafted following stringent Editorial Policies. We're committed to providing you with well-researched, expert-backed insights for all your informational needs.


0 thoughts on “How To Sand A Wood Floor”