Home>Home Appliances>Heating & Cooling>What Temperature Should I Set For Heated Floors?
Heating & Cooling
What Temperature Should I Set For Heated Floors?
Modified: October 20, 2024
Find the ideal temperature for your heated floors with our expert guide. Discover the best settings for efficient heating and cooling.
(Many of the links in this article redirect to a specific reviewed product. Your purchase of these products through affiliate links helps to generate commission for Storables.com, at no extra cost. Learn more)
Introduction
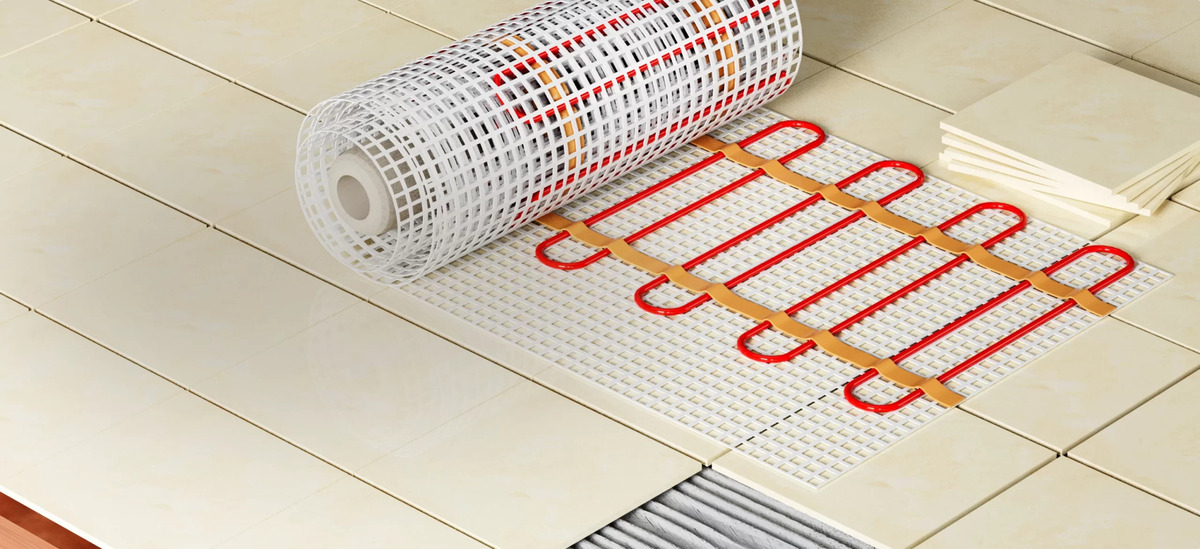
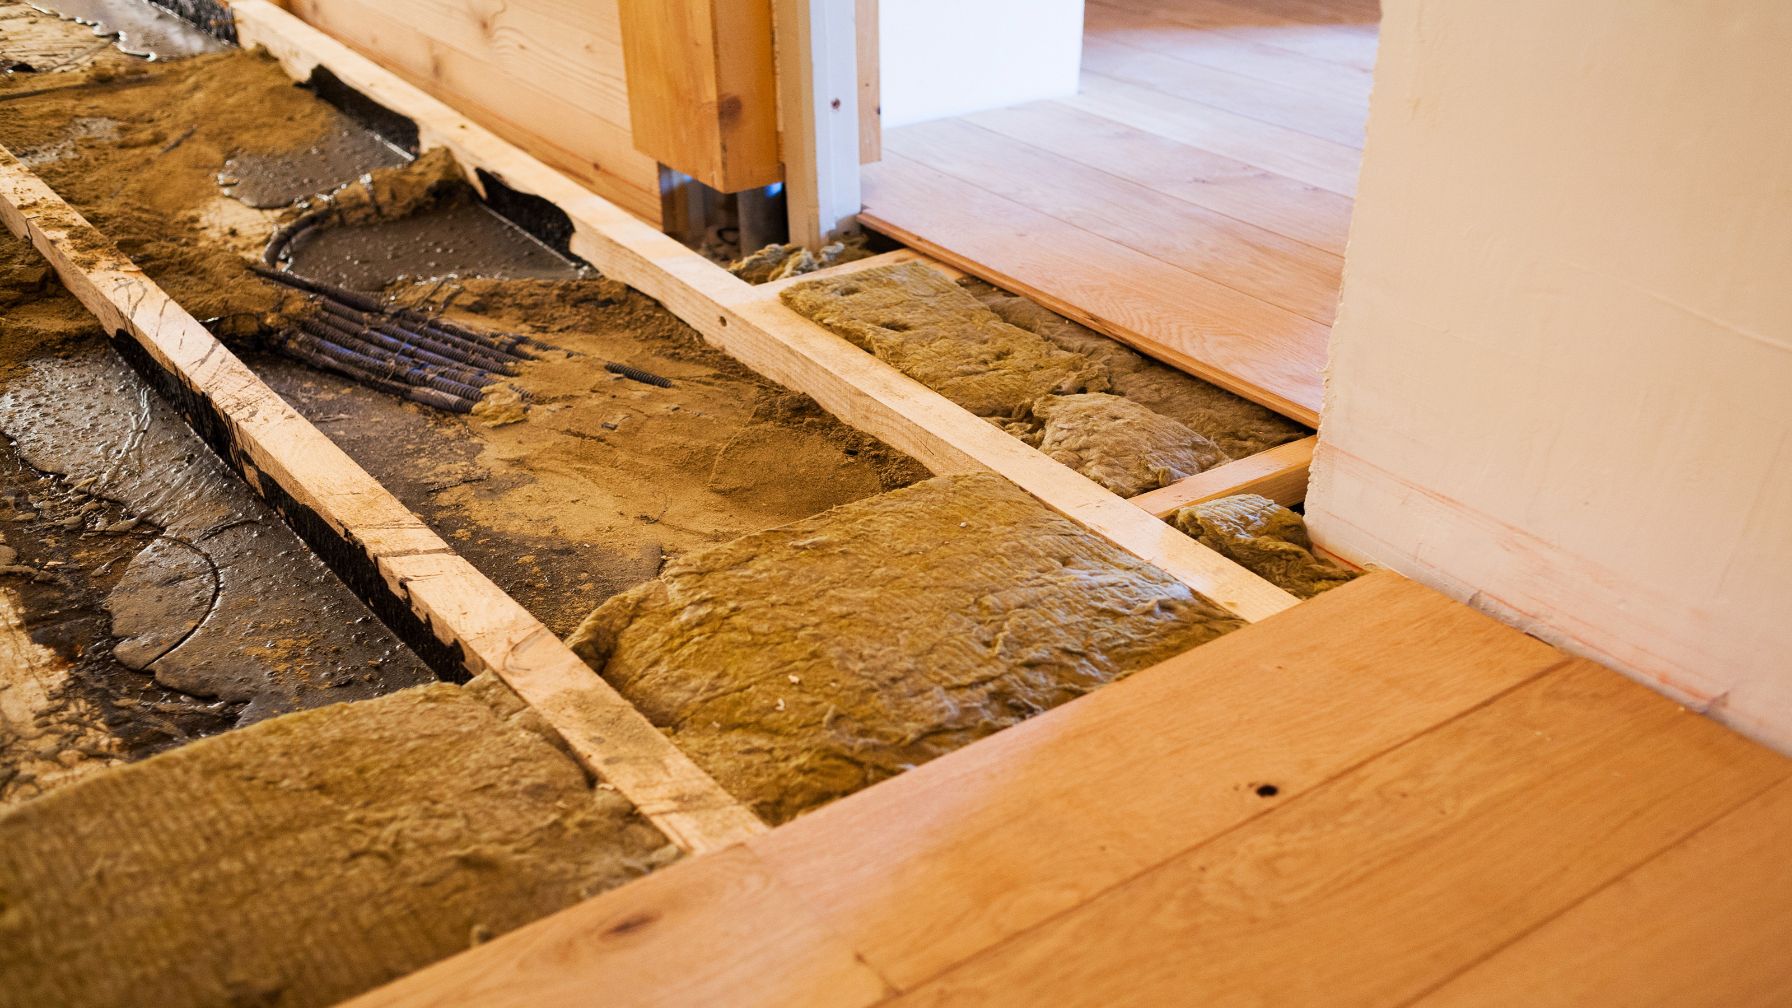
Heated floors, also known as radiant floor heating, offer a luxurious and efficient way to keep your home warm during the colder months. Instead of relying on traditional forced-air heating systems, radiant floor heating distributes warmth evenly across the floor, providing a cozy and comfortable environment. Whether you're considering installing heated floors or already have them in your home, one common question that arises is, "What temperature should I set for heated floors?"
Determining the ideal temperature for your heated floors involves considering various factors, including the type of flooring, your comfort preferences, energy efficiency, and the specific requirements of different areas in your home. By understanding these factors and learning about recommended temperature settings, you can optimize the performance of your heated floors while ensuring a comfortable and inviting living space.
In this comprehensive guide, we'll explore the key factors to consider when setting the temperature for heated floors, provide recommended temperature settings for different areas of your home, and offer insights on adjusting the temperature to suit your needs. Whether you're a new heated floor owner or seeking to maximize the comfort and efficiency of your existing system, this article will equip you with the knowledge to make informed decisions about your heated floors' temperature settings.
Key Takeaways:
- Keep your heated floors cozy and efficient by considering factors like flooring type, room usage, and insulation. Set temperatures between 75°F to 80°F for living areas and bedrooms, and 80°F to 85°F for bathrooms.
- Adjust your heated floor temperatures seasonally and use programmable thermostats for convenience. Monitor energy consumption, invest in user-friendly controls, and seek professional guidance for optimal temperature adjustments.
Factors to Consider
Setting the temperature for heated floors involves considering several important factors to ensure optimal performance and comfort. Here are the key factors to keep in mind:
Type of Flooring
The type of flooring above the heated floors can influence the temperature settings. For example, tile and stone flooring conduct heat effectively and are more responsive to temperature changes, allowing for lower temperature settings. On the other hand, carpeted floors provide more insulation and may require slightly higher temperature settings to achieve the desired warmth.
Room Usage
The purpose of each room will impact the ideal temperature setting for heated floors. For instance, living areas and bedrooms typically require a comfortable and consistent warmth level, while bathrooms may benefit from slightly higher temperatures to create a cozy environment, especially during colder mornings.
Insulation and Heat Loss
The level of insulation in your home and the potential for heat loss can influence the temperature settings for heated floors. Well-insulated spaces may retain heat more effectively, allowing for lower temperature settings, while areas with greater heat loss may require slightly higher temperatures to compensate for the loss.
Energy Efficiency
Optimizing the temperature settings for energy efficiency is essential. By setting the temperature at the lowest comfortable level, you can minimize energy consumption while still enjoying the benefits of radiant floor heating. This approach not only reduces energy costs but also contributes to a more sustainable and eco-friendly heating solution.
User Comfort Preferences
Ultimately, your personal comfort preferences play a significant role in determining the ideal temperature for heated floors. Some individuals may prefer a slightly warmer environment, while others are comfortable with lower temperatures. Understanding and accommodating these preferences is crucial for creating a pleasant and inviting living space.
By carefully considering these factors, you can make informed decisions when setting the temperature for your heated floors, ensuring that they operate efficiently and provide the desired level of comfort throughout your home.
Recommended Temperature Settings
When it comes to setting the temperature for heated floors, it’s essential to establish comfortable and energy-efficient settings for different areas of your home. Here are the recommended temperature settings for various living spaces:
Living Areas and Bedrooms
For living areas and bedrooms, a temperature range of 75°F to 80°F (24°C to 27°C) is generally recommended for optimal comfort. This range provides a cozy and inviting atmosphere, allowing you to enjoy the warmth of the heated floors while engaging in daily activities or relaxing in your living spaces.
Bathrooms
Bathrooms often benefit from slightly higher temperature settings to create a comfortable environment, especially during colder seasons. A temperature range of 80°F to 85°F (27°C to 29°C) can help ensure that bathroom floors are pleasantly warm, particularly in the mornings or when stepping out of the shower or bath.
Kitchen and Dining Areas
For kitchen and dining areas, a temperature range similar to that of living areas, around 75°F to 80°F (24°C to 27°C), is suitable for providing a comfortable and welcoming space for cooking, dining, and socializing. This range allows for consistent warmth while minimizing energy consumption.
Entryways and Hallways
Entryways and hallways may benefit from slightly lower temperature settings, typically within the range of 70°F to 75°F (21°C to 24°C). While these areas still require warmth, the lower settings account for the transient nature of these spaces, ensuring energy efficiency without compromising comfort.
Optimizing Temperature Zones
Consider implementing temperature zoning to customize the heating levels for different areas of your home. This approach allows for greater flexibility in setting and controlling temperatures, catering to specific comfort requirements and usage patterns in various rooms.
By adhering to these recommended temperature settings and utilizing temperature zoning where applicable, you can create a harmonious balance of comfort and energy efficiency throughout your home, maximizing the benefits of your heated floors.
Read more: What Temperature Should A Kegerator Be
Adjusting the Temperature
Adjusting the temperature for heated floors enables you to fine-tune the warmth levels based on seasonal changes, personal preferences, and specific usage patterns in your home. Here are some valuable insights on how to effectively adjust the temperature for your heated floors:
Seasonal Adjustments
As the seasons change, you may need to make corresponding adjustments to the temperature settings for your heated floors. During colder months, slightly higher temperature settings can provide added comfort, especially in frequently used areas such as living spaces and bathrooms. Conversely, as temperatures rise, lowering the settings can help conserve energy while still maintaining a comfortable environment.
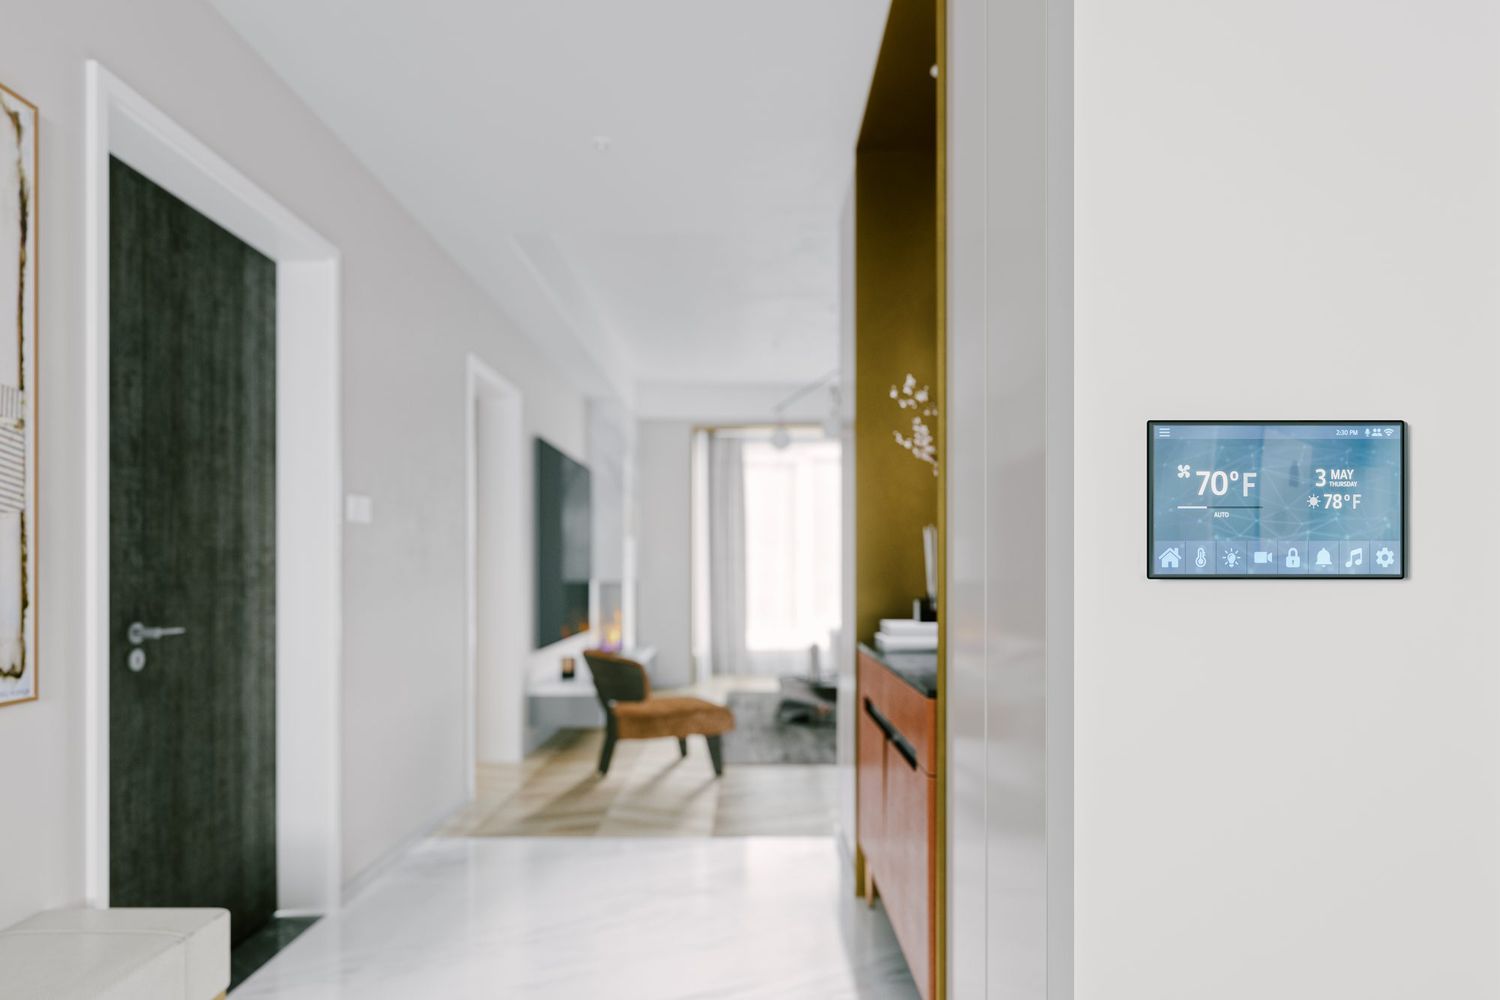
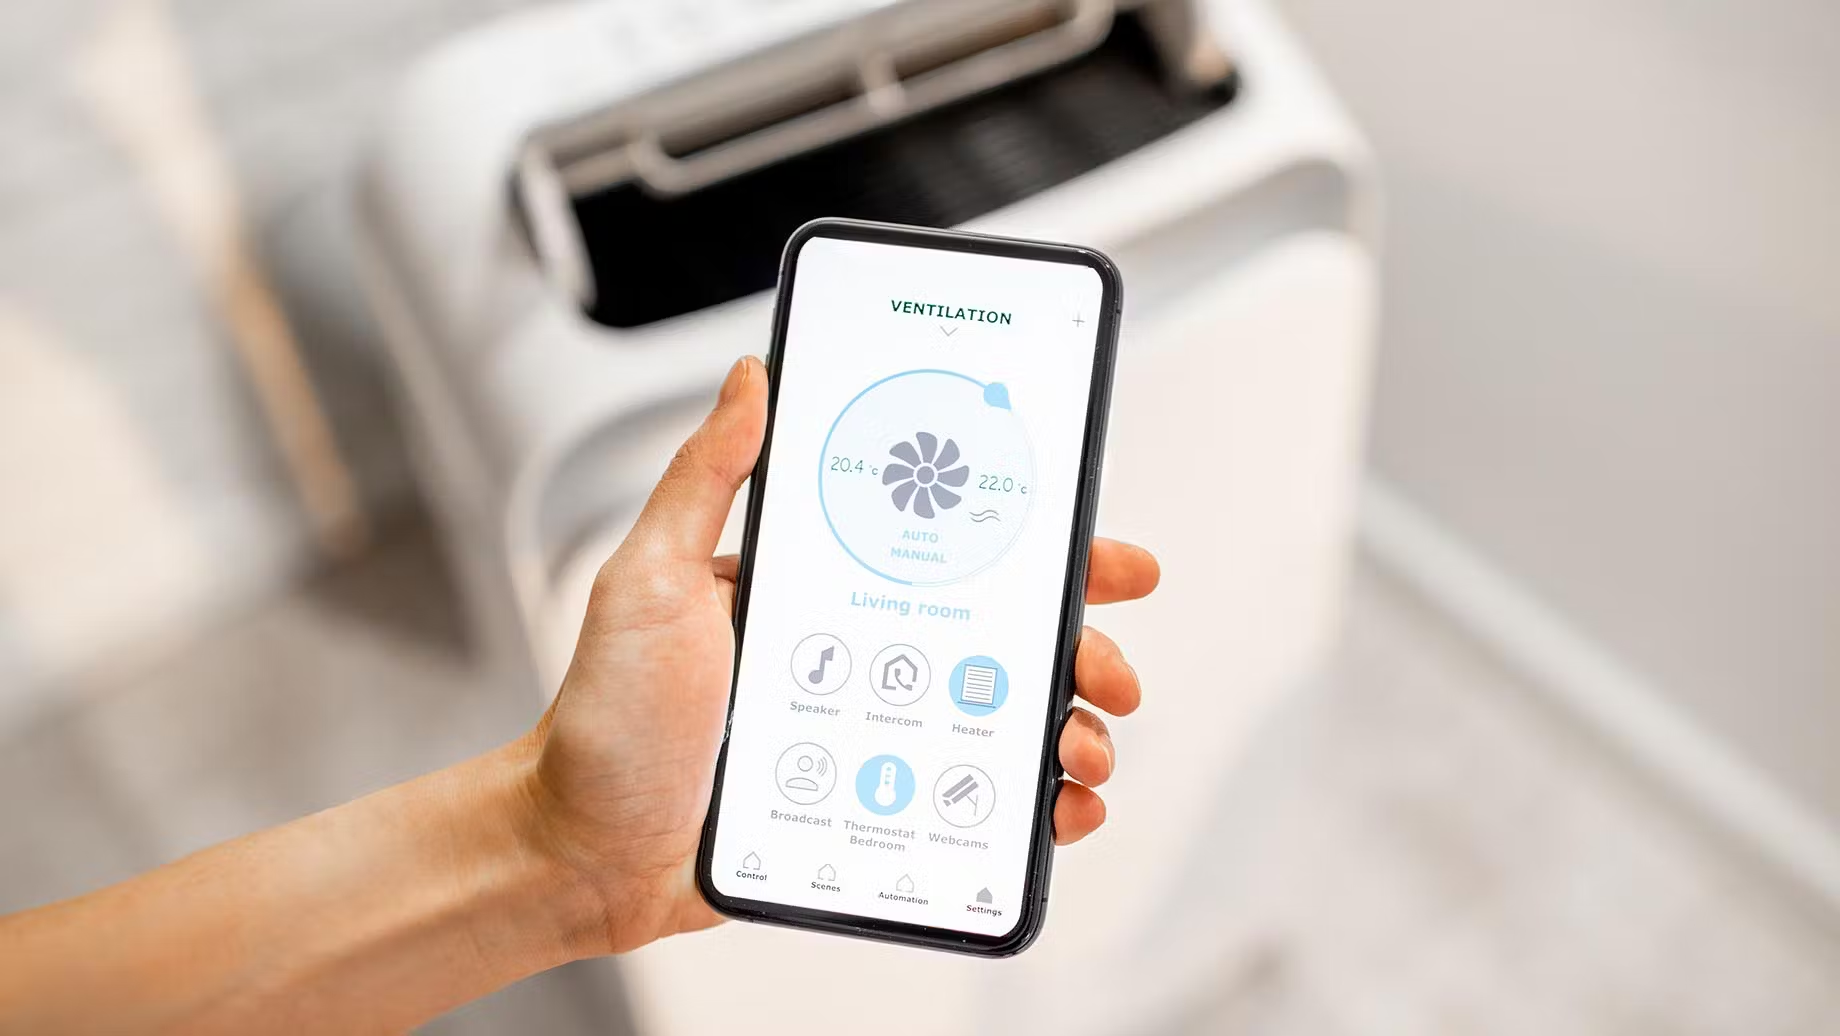
Programmable Thermostats
Utilizing programmable thermostats offers a convenient and efficient way to adjust the temperature for heated floors. These advanced thermostats allow you to create customized heating schedules, aligning the temperature settings with your daily routine. For example, you can program the floors to be warmer during the morning and evening hours and slightly cooler during periods of inactivity or when you’re away from home.
Monitoring Energy Consumption
Keep an eye on your energy consumption while adjusting the temperature for heated floors. By monitoring energy usage and observing the impact of temperature adjustments, you can strike a balance between comfort and energy efficiency. This proactive approach empowers you to make informed decisions about temperature settings that align with your comfort needs and sustainability goals.
Read more: What Dining Table Should I Get?
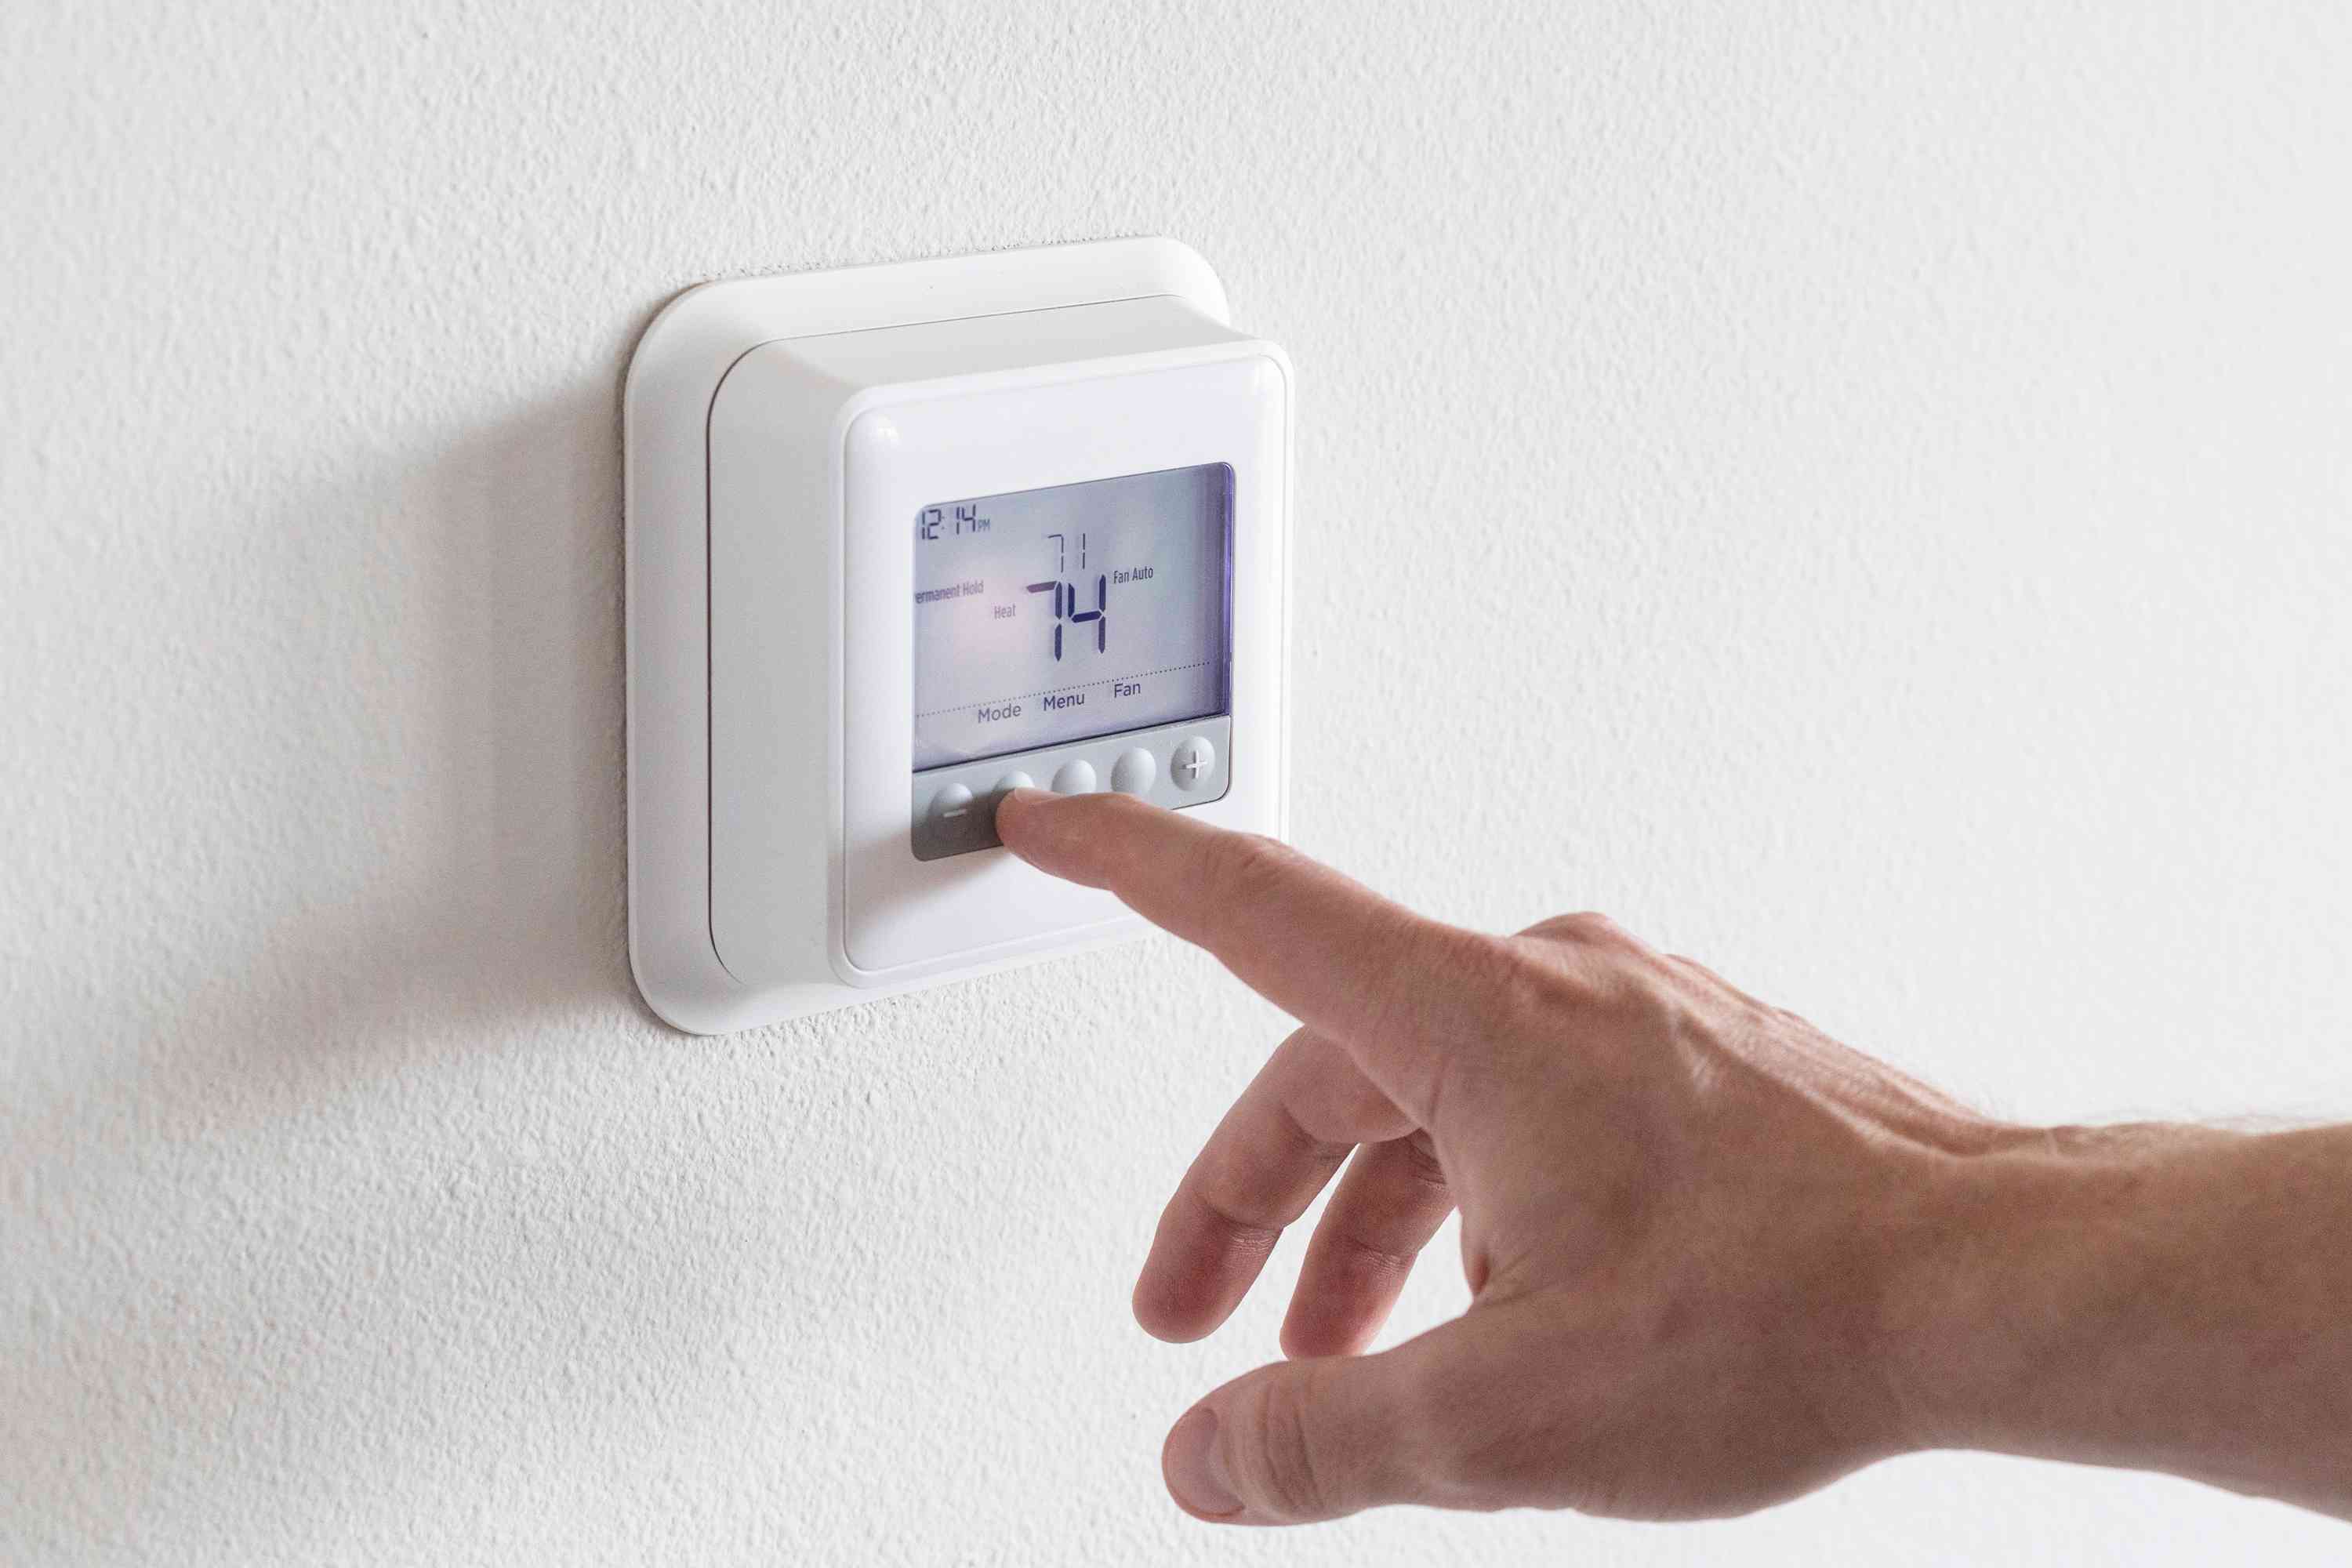
User-Friendly Controls
Invest in user-friendly controls that simplify the process of adjusting the temperature for your heated floors. Intuitive interfaces and responsive controls enhance the overall experience, allowing you to effortlessly fine-tune the warmth levels to suit your preferences and daily activities.
Professional Guidance
Consulting with heating professionals or technicians specializing in radiant floor systems can provide valuable insights into optimizing the temperature settings for your specific setup. These experts can offer tailored recommendations and ensure that your heated floors operate at their best, delivering consistent warmth and energy efficiency.
By implementing these strategies and staying attuned to the unique heating needs of your home, you can effectively adjust the temperature for your heated floors, creating a welcoming and efficient living environment throughout the year.
Conclusion
Setting and adjusting the temperature for heated floors is a thoughtful and dynamic process that involves considering various factors to achieve an optimal balance of comfort, energy efficiency, and functionality. By taking into account the type of flooring, room usage, insulation, energy efficiency goals, and user comfort preferences, you can establish temperature settings that cater to the specific needs of different areas in your home.
Adhering to recommended temperature settings for living areas, bedrooms, bathrooms, kitchen and dining areas, entryways, and hallways ensures that your heated floors deliver consistent warmth while promoting energy-conscious heating practices. Implementing temperature zoning further enhances your ability to customize heating levels, providing personalized comfort throughout your living space.
Adjusting the temperature for heated floors, whether in response to seasonal changes or daily routines, can be efficiently managed through the use of programmable thermostats, energy monitoring, user-friendly controls, and professional guidance. These strategies empower you to fine-tune the warmth levels according to your preferences while optimizing energy usage and overall system performance.
Ultimately, the temperature settings for heated floors play a pivotal role in creating a welcoming and comfortable home environment. By leveraging the insights provided in this guide and staying attuned to the unique heating dynamics of your living space, you can maximize the benefits of radiant floor heating, enjoying a cozy and energy-efficient atmosphere year-round.
Whether you’re considering installing heated floors or seeking to enhance the performance of your existing system, the knowledge and considerations outlined in this guide equip you to make informed decisions about setting and adjusting the temperature for your heated floors, ensuring a delightful and inviting living experience.
Frequently Asked Questions about What Temperature Should I Set For Heated Floors?
Was this page helpful?
At Storables.com, we guarantee accurate and reliable information. Our content, validated by Expert Board Contributors, is crafted following stringent Editorial Policies. We're committed to providing you with well-researched, expert-backed insights for all your informational needs.


0 thoughts on “What Temperature Should I Set For Heated Floors?”