Home>Home Appliances>Home Automation Appliances>How To Add A Smart Bulb To Google Home

Home Automation Appliances
How To Add A Smart Bulb To Google Home
Published: December 22, 2023
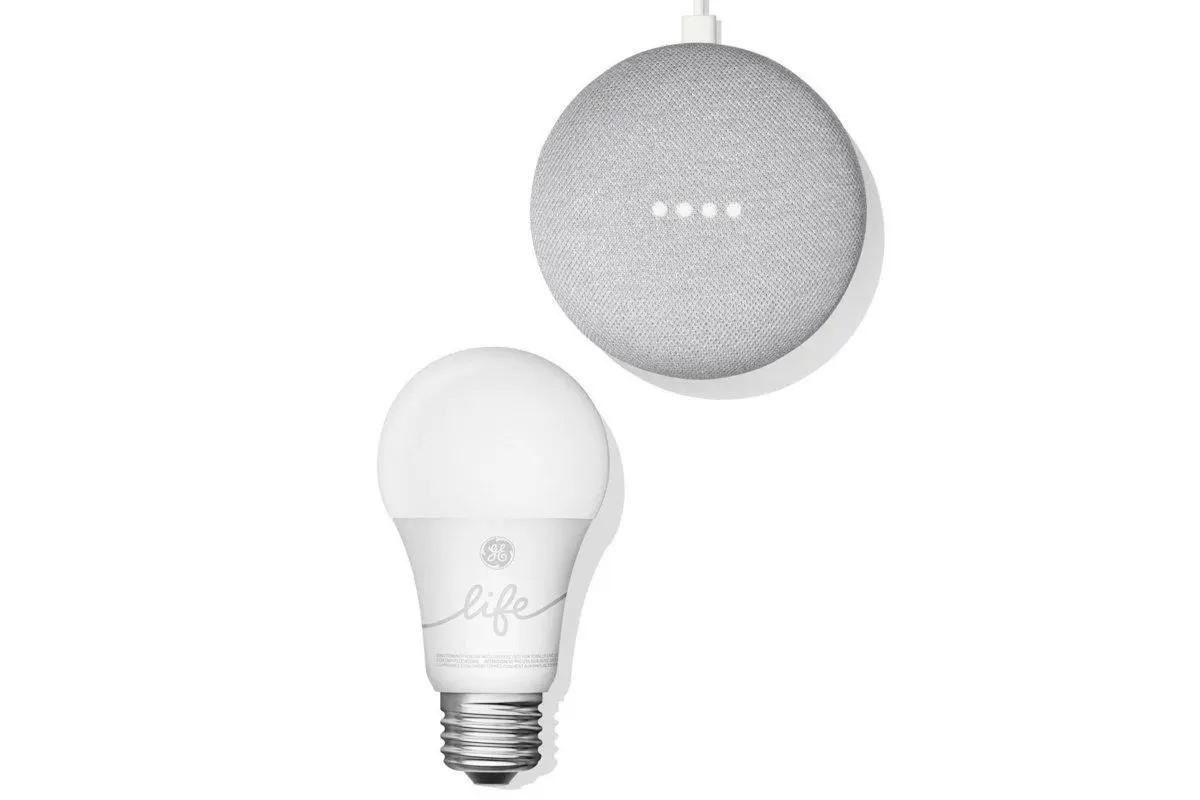
Learn how to easily add a smart bulb to Google Home and enhance your home automation appliances with seamless voice control and convenience. Discover step-by-step instructions and tips.
(Many of the links in this article redirect to a specific reviewed product. Your purchase of these products through affiliate links helps to generate commission for Storables.com, at no extra cost. Learn more)
**
Introduction
**
Welcome to the era of smart homes, where technology seamlessly integrates with everyday living to elevate convenience and efficiency. Smart bulbs are a fantastic entry point into the world of home automation, offering a myriad of benefits such as energy efficiency, customizable lighting, and the ability to be controlled remotely. By integrating smart bulbs with Google Home, you can harness the power of voice commands to illuminate your living space with ease.
In this comprehensive guide, we will walk you through the process of adding a smart bulb to your Google Home ecosystem. Whether you are a tech enthusiast or a novice in the realm of smart home devices, this step-by-step tutorial will equip you with the knowledge and confidence to seamlessly integrate your smart bulb with Google Home. Let’s embark on this illuminating journey and unlock the full potential of your smart lighting system.
**
Key Takeaways:
- Easily control your smart bulb with Google Home using voice commands and the intuitive app, enhancing convenience and personalization in your living space.
- Seamlessly integrate your smart bulb with Google Home to create personalized lighting experiences, save energy, and explore the boundless possibilities of smart home automation.
Read more: Which Smart Bulbs Work With Google Home
Step 1: Set up the smart bulb
**
Before delving into the integration process with Google Home, it is crucial to ensure that your smart bulb is properly set up and ready for connectivity. Here’s a detailed walkthrough to guide you through the initial setup:
1. Unbox the Smart Bulb:
Upon unboxing your smart bulb, carefully inspect the contents to ensure that all components are present. Typically, the package includes the smart bulb itself and any accompanying documentation or setup guides.
2. Install the Smart Bulb:
Identify the lighting fixture where you intend to install the smart bulb. Ensure that the power to the fixture is turned off before proceeding. Next, replace the conventional bulb with the smart bulb, securely screwing it into place.
3. Power On the Bulb:
Once the smart bulb is installed, restore power to the lighting fixture. The smart bulb may illuminate or emit a specific pattern of light to indicate that it is ready for setup.
4. Download the App:
To streamline the setup process, download the dedicated app for your smart bulb. This app is essential for configuring and controlling the smart bulb from your mobile device. It may also offer additional features such as scheduling and color customization.
5. Follow the App’s Setup Instructions:
Launch the app and follow the on-screen instructions to add the smart bulb to your home network. This typically involves connecting to the bulb’s temporary Wi-Fi network and entering your home Wi-Fi credentials for the bulb to join your network.
6. Test the Bulb’s Functionality:
Once the smart bulb is successfully connected to your home network, test its functionality using the app. Ensure that you can turn the bulb on and off, adjust its brightness, and explore any additional features offered by the app.
By diligently following these steps, you can ensure that your smart bulb is seamlessly integrated into your home environment, laying the groundwork for its integration with Google Home in the subsequent steps.
**
Step 2: Connect the smart bulb to Google Home
**
With your smart bulb successfully set up and operational, the next pivotal step involves integrating it with Google Home for effortless control via voice commands and the Google Home app. Here’s a comprehensive guide to connect your smart bulb to Google Home:
1. Open the Google Home App:
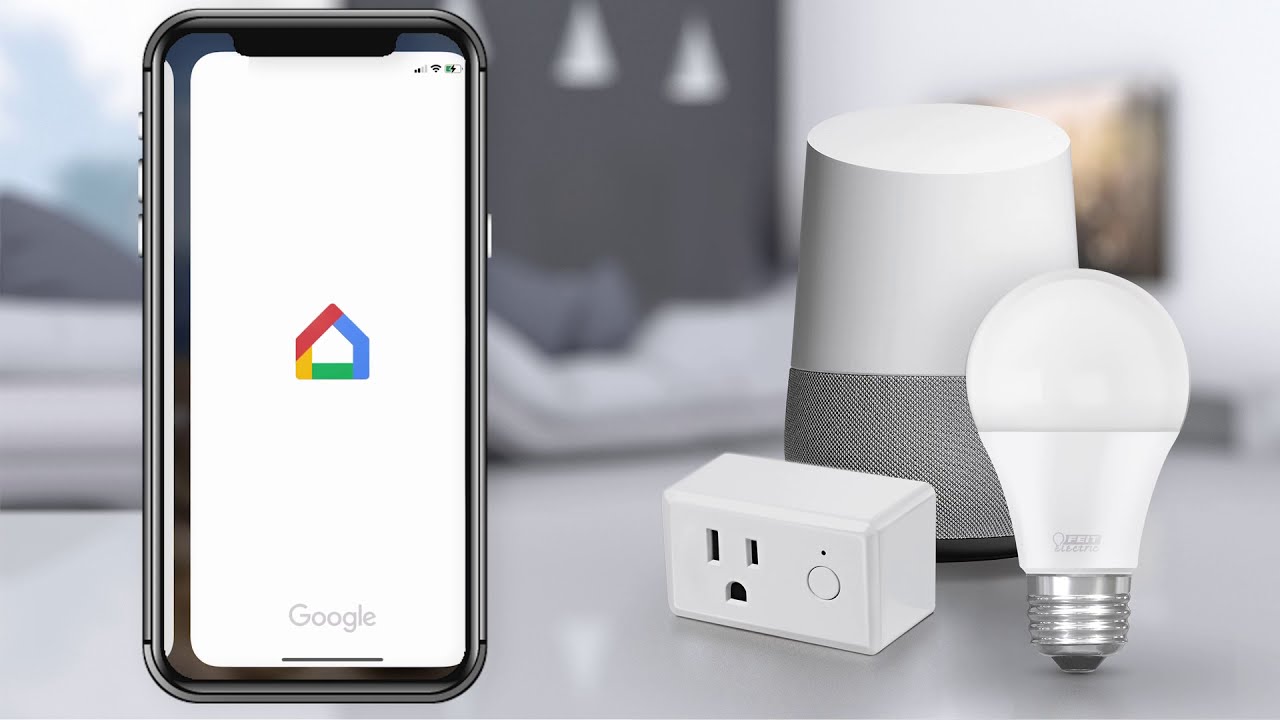
Launch the Google Home app on your mobile device. Ensure that your smartphone or tablet is connected to the same Wi-Fi network that your Google Home device is linked to.
2. Access the Menu:
In the Google Home app, navigate to the menu by tapping on the “hamburger” icon located in the top-left corner of the screen. From the menu, select “Home Control” to proceed to the next step.
3. Add a Device:
Within the “Home Control” section, tap on “Add” or the “+” symbol to initiate the process of adding a new device to your Google Home ecosystem.
4. Select the Smart Bulb Brand:
Scroll through the list of compatible smart home device brands and select the brand that corresponds to your smart bulb. If your smart bulb’s brand is not listed, you may need to consult the smart bulb’s documentation for brand-specific integration instructions.
5. Follow the Prompts:
The Google Home app will guide you through the process of linking your smart bulb account with Google Home. This typically involves logging into your smart bulb account and authorizing the integration with Google Home.
6. Assign the Smart Bulb to a Room:
After successfully linking your smart bulb to Google Home, you will have the option to assign it to a specific room within your home. This organization facilitates streamlined voice commands, allowing you to control the smart bulb by simply referencing the assigned room.
7. Test the Integration:
Once the smart bulb is added to your Google Home ecosystem, test its integration by using voice commands to control its functionality. Experiment with turning the bulb on and off, adjusting its brightness, and exploring any additional features offered by the smart bulb.
By following these steps, you can seamlessly integrate your smart bulb with Google Home, unlocking the convenience of hands-free control and seamless integration with other smart devices in your home.
**
To add a smart bulb to Google Home, open the Google Home app, tap the “+” sign, select “Set up device,” choose “Have something already set up?,” and follow the on-screen instructions to connect the smart bulb to your Google Home.
Step 3: Control the smart bulb using Google Home
**
Now that your smart bulb is successfully integrated with Google Home, you can leverage the power of voice commands and the intuitive Google Home app to effortlessly control and customize your lighting. Here’s a detailed guide to help you maximize the functionality of your smart bulb through Google Home:
1. Voice Commands:
Utilize Google Assistant’s voice commands to control your smart bulb with ease. For example, you can say, “Hey Google, turn on the living room lights,” or “Hey Google, dim the bedroom lights to 50%.” Experiment with different voice commands to seamlessly adjust the lighting according to your preferences.
2. Customized Commands:
Take advantage of Google Home’s customization options to create personalized voice commands for your smart bulb. This feature allows you to assign specific phrases or keywords to control the smart bulb, adding a layer of personalization to your smart home experience.
3. App Control:
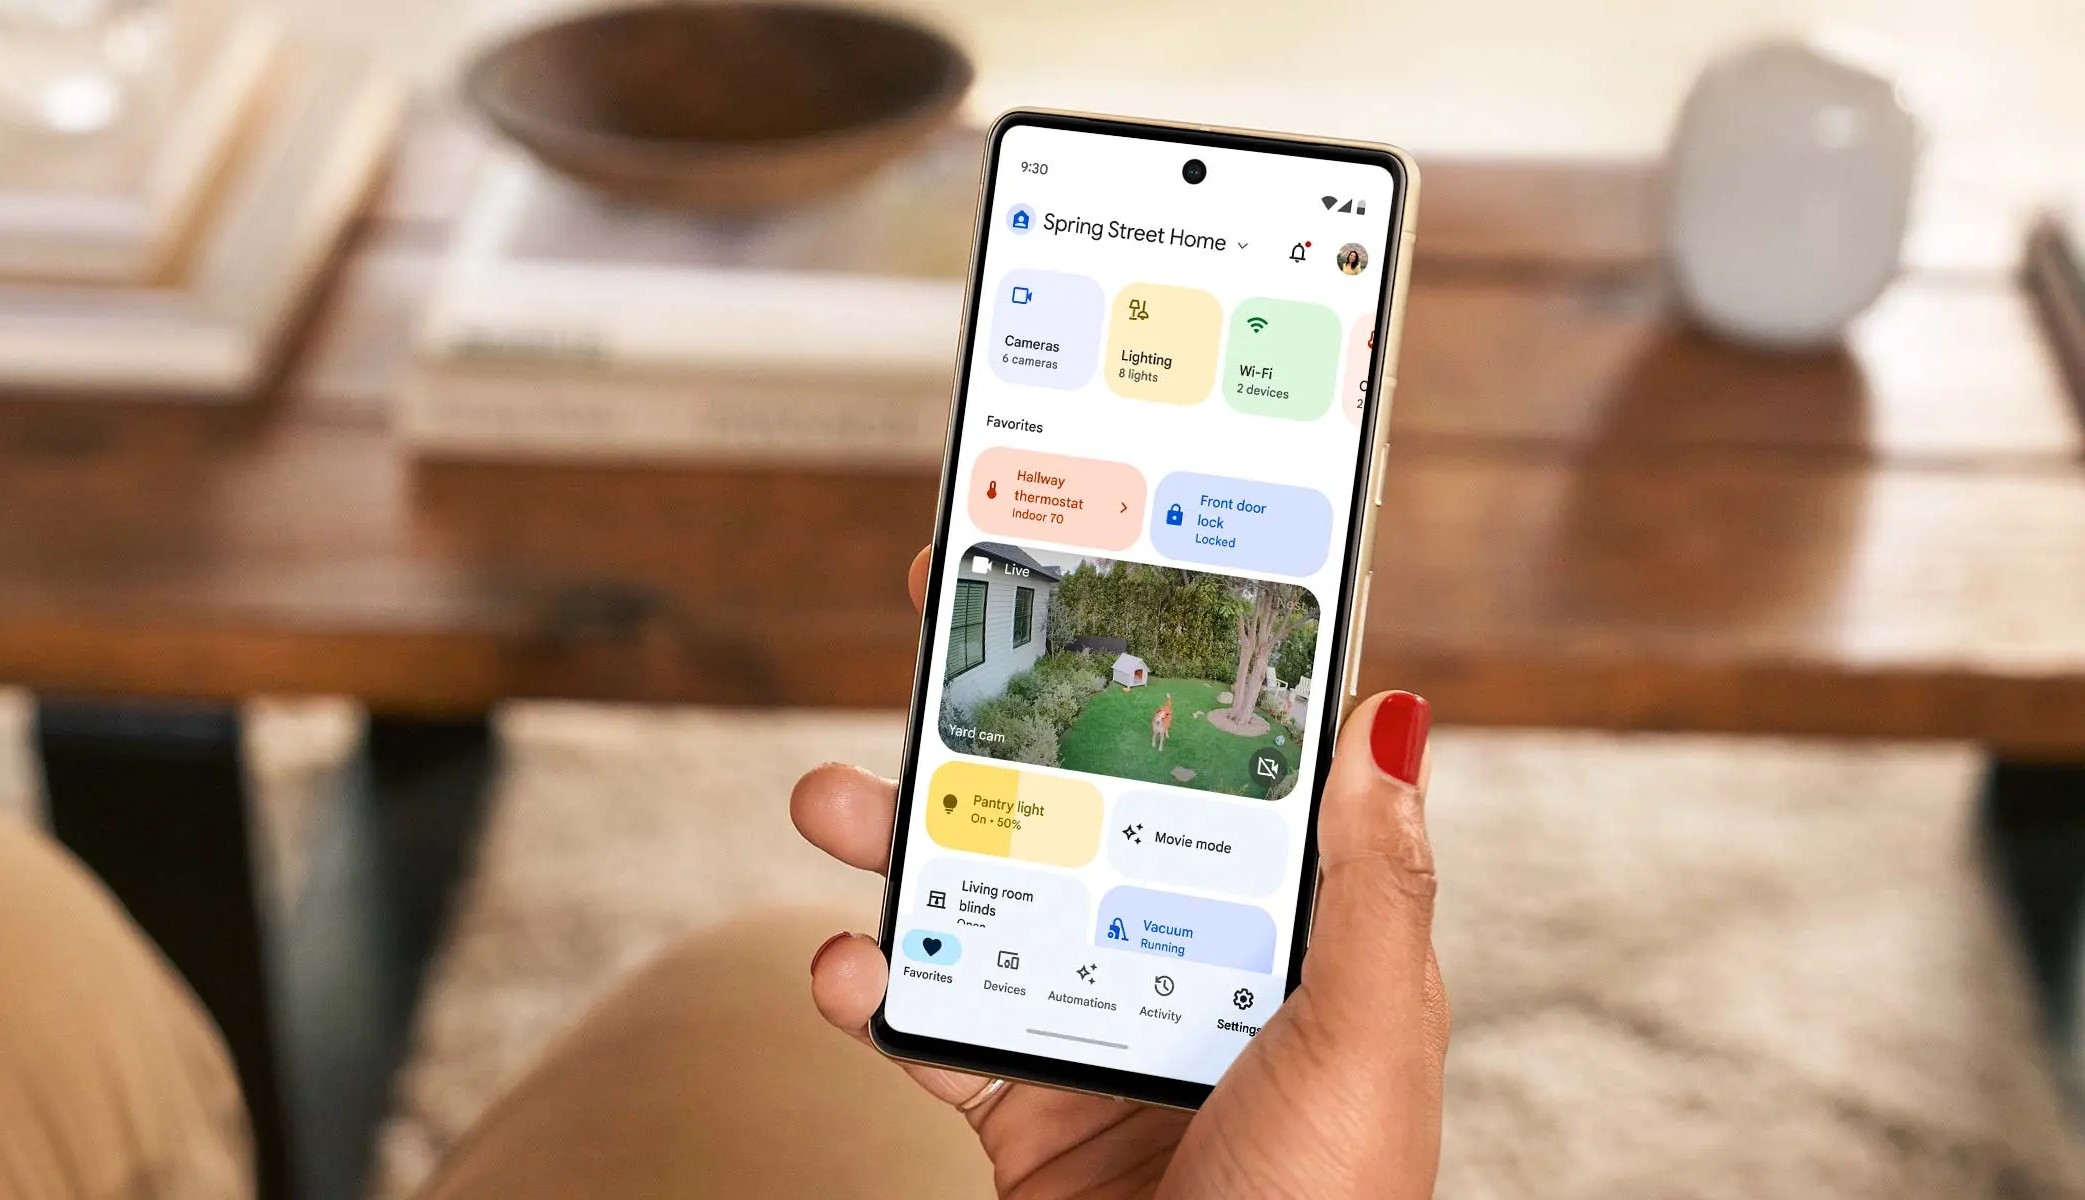
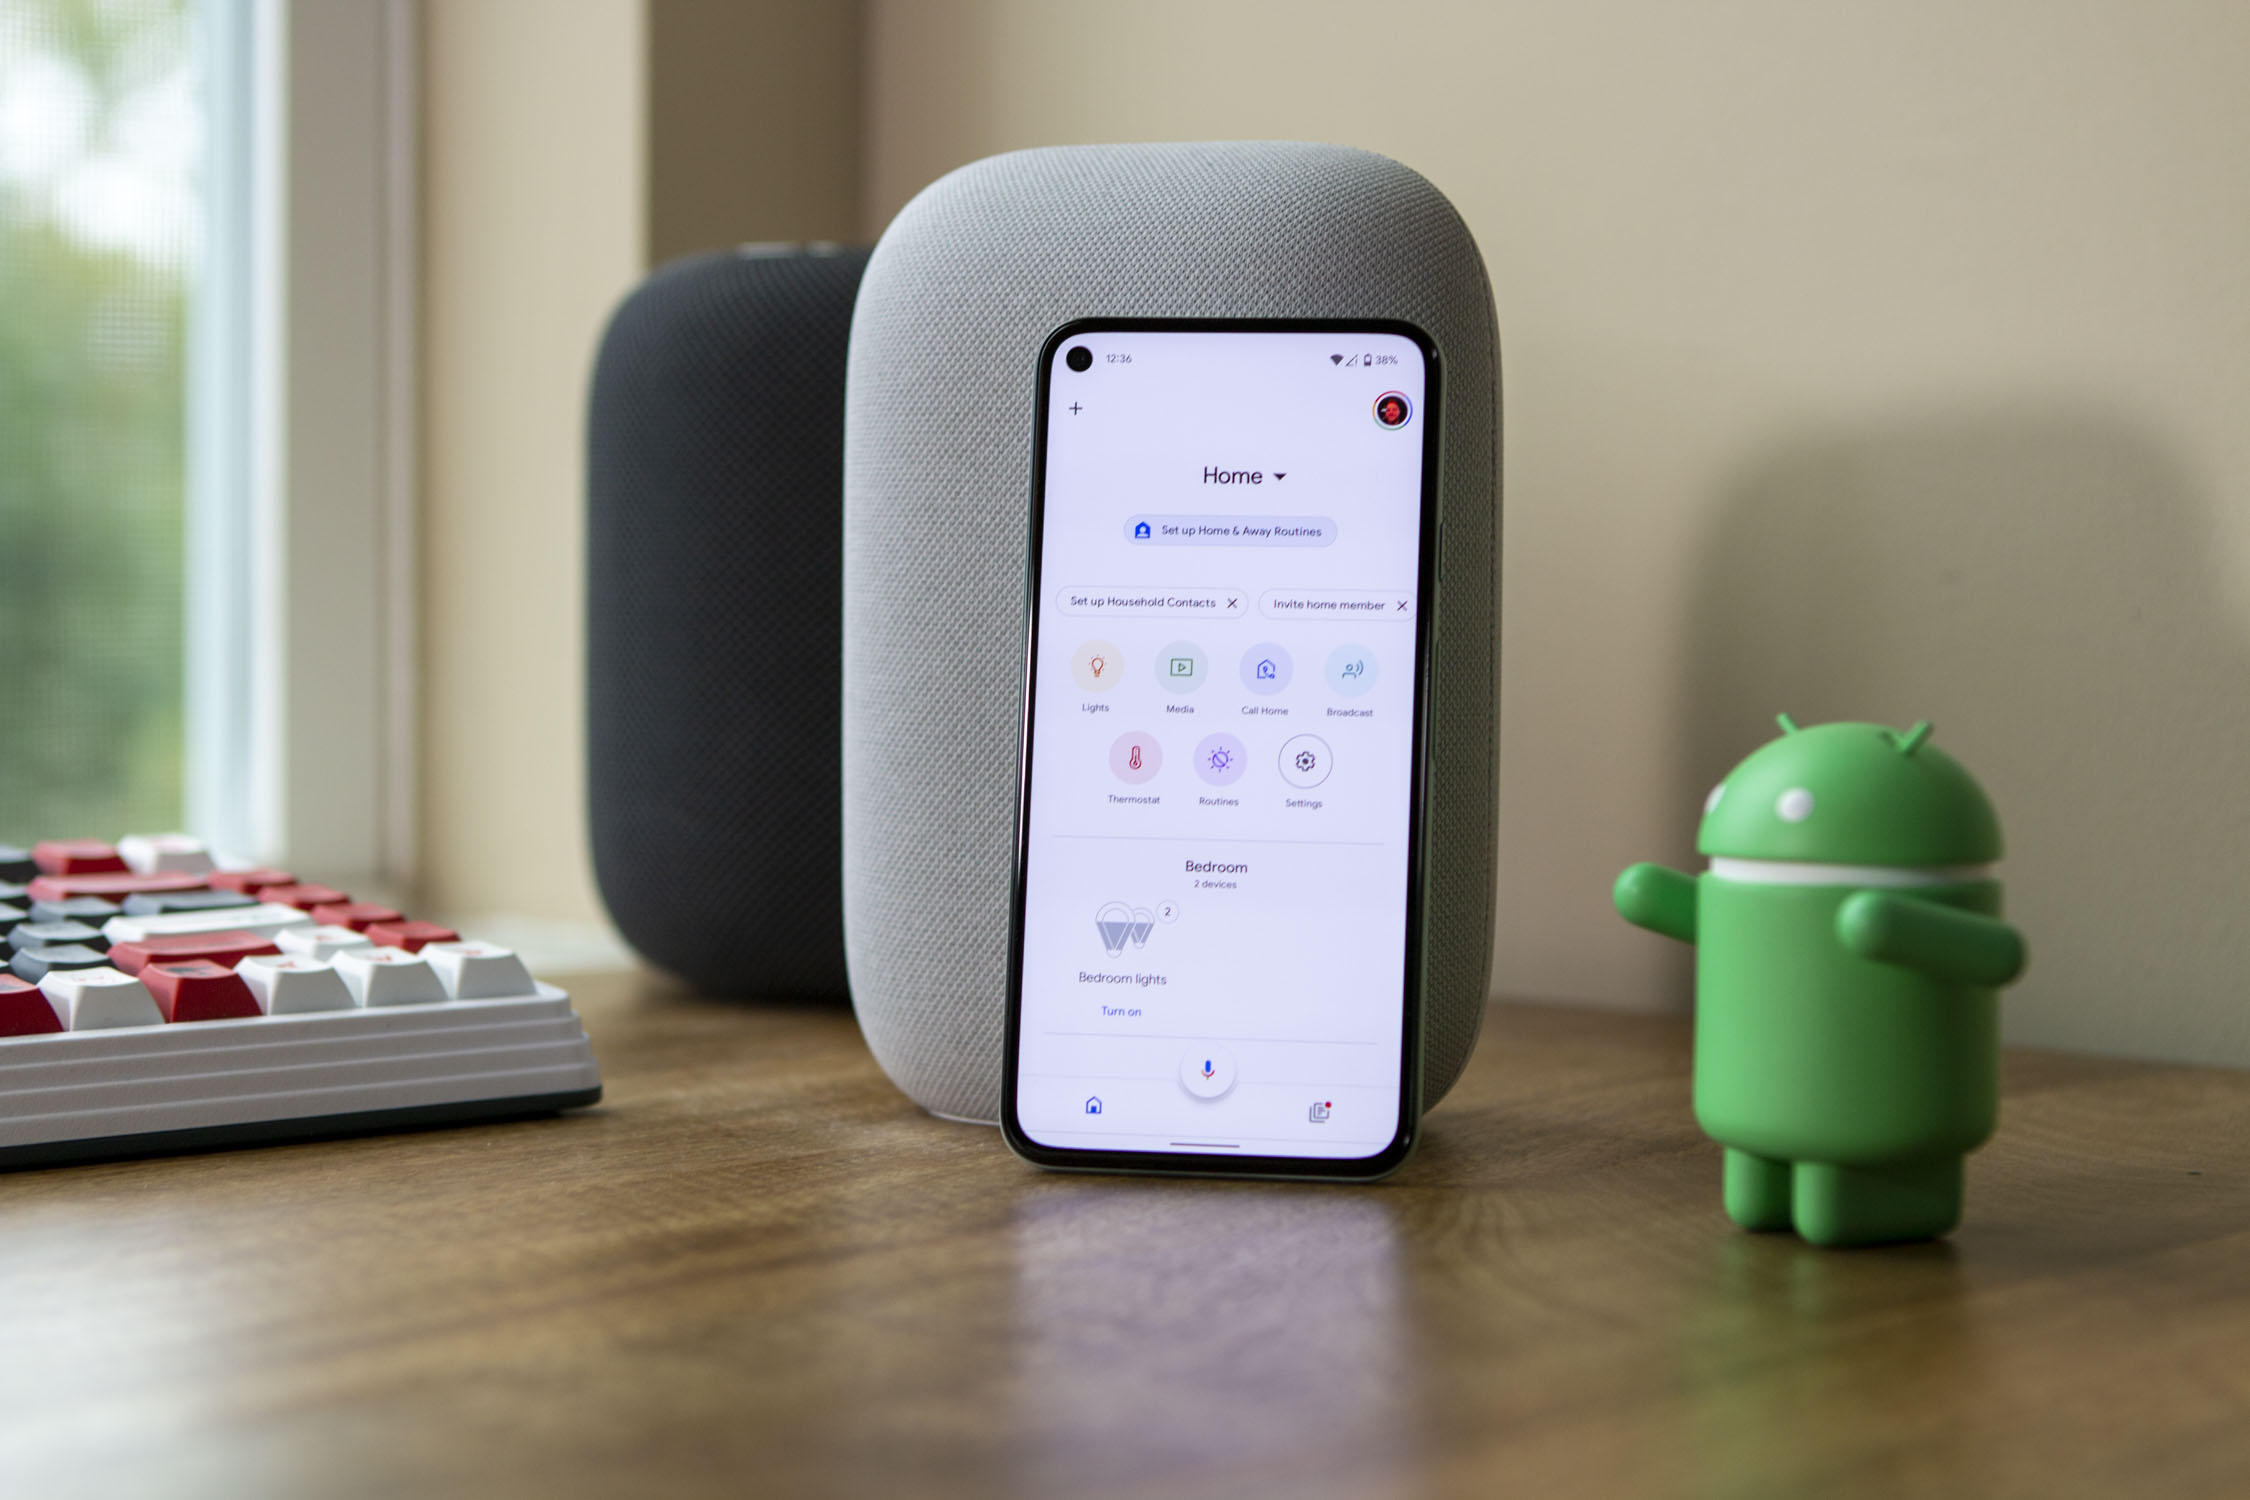
Leverage the Google Home app to access a visual interface for managing your smart bulb. From the app, you can effortlessly adjust the brightness, schedule lighting routines, and explore color customization options if your smart bulb supports multi-color illumination.
4. Routines and Automation:
Explore the “Routines” feature within the Google Home app to automate your smart bulb’s behavior based on predefined triggers or schedules. For instance, you can create a “Good Morning” routine that gradually brightens the lights in your bedroom to gently ease you into the day.
5. Integration with Other Devices:
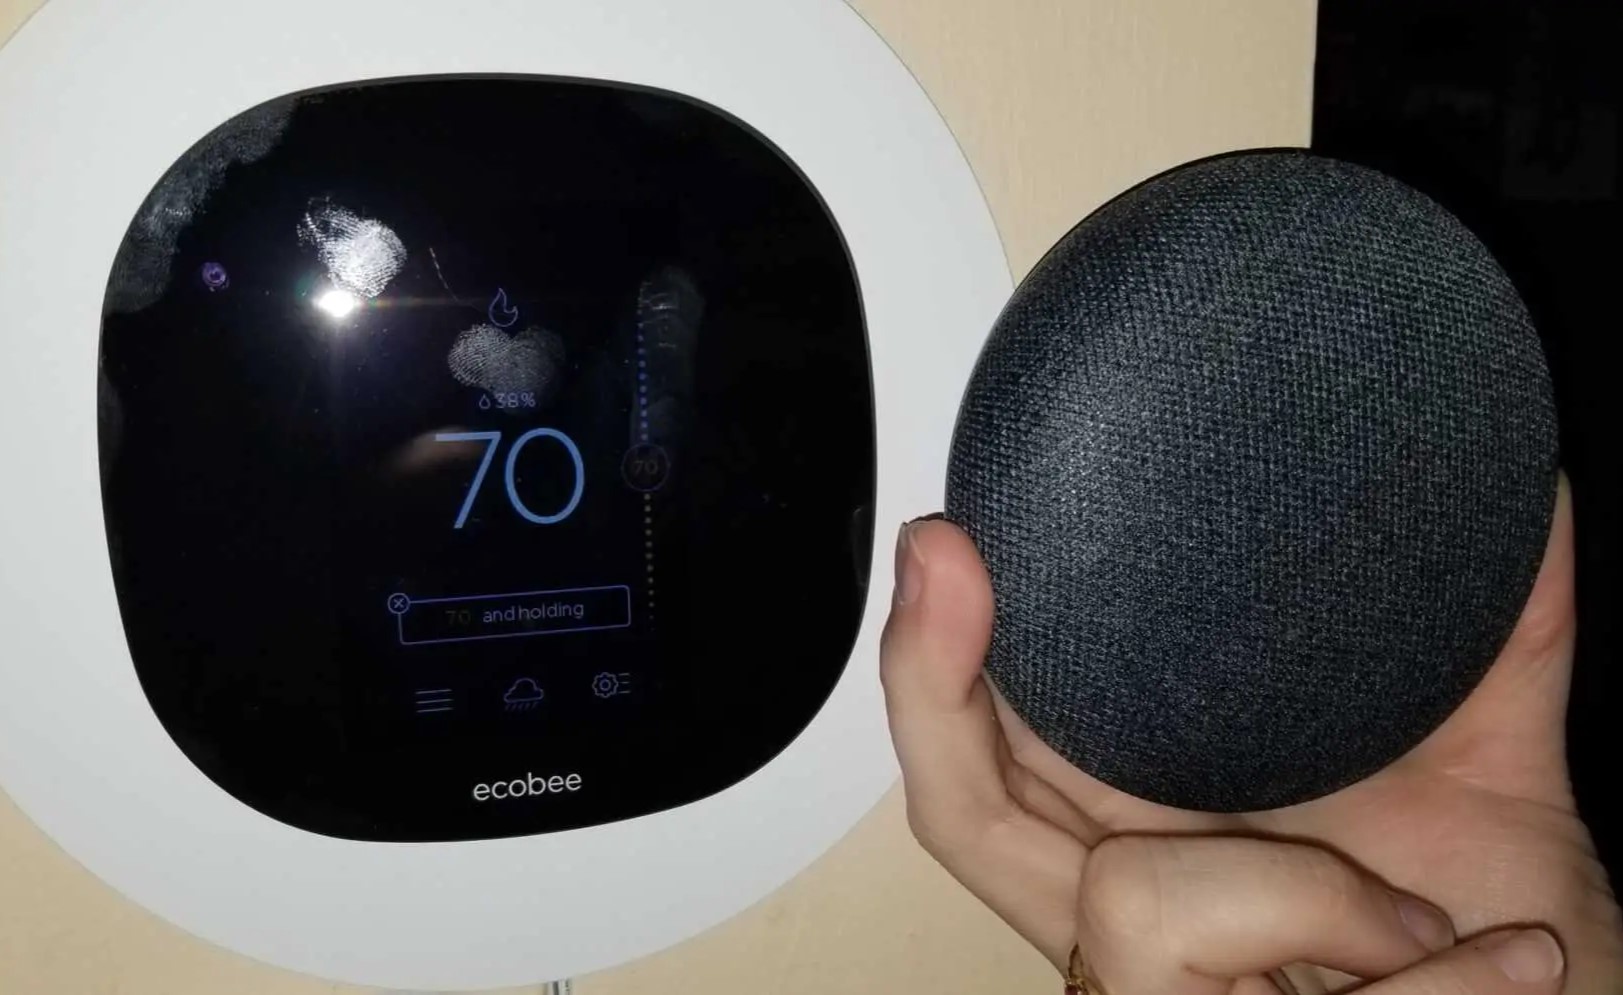
Maximize the synergy of your smart home ecosystem by integrating your smart bulb with other compatible devices linked to Google Home. For example, you can create custom routines that simultaneously adjust the lighting and thermostat settings when activated.
6. Remote Control:
Enjoy the convenience of remotely controlling your smart bulb through the Google Home app, regardless of your physical location. Whether you’re at home or away, you can effortlessly manage your lighting to suit your needs and preferences.
By embracing these functionalities, you can harness the full potential of your smart bulb within the Google Home ecosystem, elevating your living space with intuitive and personalized lighting experiences.
**
Conclusion
**
Congratulations on successfully integrating your smart bulb with Google Home! By following the step-by-step process outlined in this guide, you have unlocked a world of convenience, personalization, and efficiency within your home lighting system. As you bask in the glow of your smart bulb’s illumination, it’s essential to reflect on the transformative impact of this integration.
Seamless Integration:
The integration of your smart bulb with Google Home has seamlessly woven modern technology into the fabric of your daily life. With the power of voice commands and intuitive app control, you can effortlessly manage your lighting to create the perfect ambiance for any occasion.
Enhanced Convenience:
Gone are the days of fumbling for light switches. With Google Home, controlling your smart bulb is as simple as uttering a voice command or tapping a few buttons on your mobile device. This unparalleled convenience elevates your living experience and empowers you to tailor your lighting to suit your mood and activities.
Personalized Experiences:
Through the customization options offered by Google Home, you have the freedom to craft personalized lighting experiences that resonate with your unique preferences. Whether it’s creating tailored routines, adjusting colors, or integrating your smart bulb with other devices, the power to personalize your environment lies at your fingertips.
Energy Efficiency:
Smart bulbs are renowned for their energy-efficient nature, and the integration with Google Home further enhances their eco-friendly attributes. By effortlessly managing your smart bulb’s usage and scheduling lighting routines, you can contribute to energy conservation without compromising on comfort or style.
As you revel in the seamless control, personalized experiences, and energy-conscious approach facilitated by the integration of your smart bulb with Google Home, it’s evident that the fusion of smart home technology and everyday living has enriched your home environment in profound ways. Embrace the possibilities that lie ahead as you continue to explore and expand your smart home ecosystem, knowing that the power to transform your living space is always within reach.
With the knowledge gained from this guide, you are well-equipped to embark on further smart home endeavors, harnessing the potential of cutting-edge technology to elevate every aspect of your home life. Embrace the brilliance of your smart bulb and the boundless opportunities that await within the realm of smart home automation.
Frequently Asked Questions about How To Add A Smart Bulb To Google Home
Was this page helpful?
At Storables.com, we guarantee accurate and reliable information. Our content, validated by Expert Board Contributors, is crafted following stringent Editorial Policies. We're committed to providing you with well-researched, expert-backed insights for all your informational needs.

0 thoughts on “How To Add A Smart Bulb To Google Home”