Home>Home Appliances>Home Automation Appliances>How To Add Nest Protect To Google Home
Home Automation Appliances
How To Add Nest Protect To Google Home
Modified: January 4, 2024
Learn how to seamlessly integrate Nest Protect with Google Home for a smarter home automation experience. Control your home automation appliances with ease.
(Many of the links in this article redirect to a specific reviewed product. Your purchase of these products through affiliate links helps to generate commission for Storables.com, at no extra cost. Learn more)
Introduction
Welcome to the world of smart home technology, where convenience and safety intertwine to elevate your living space. In this comprehensive guide, we will delve into the seamless integration of Nest Protect with Google Home, enabling you to harness the power of voice commands for monitoring and managing your home's safety.
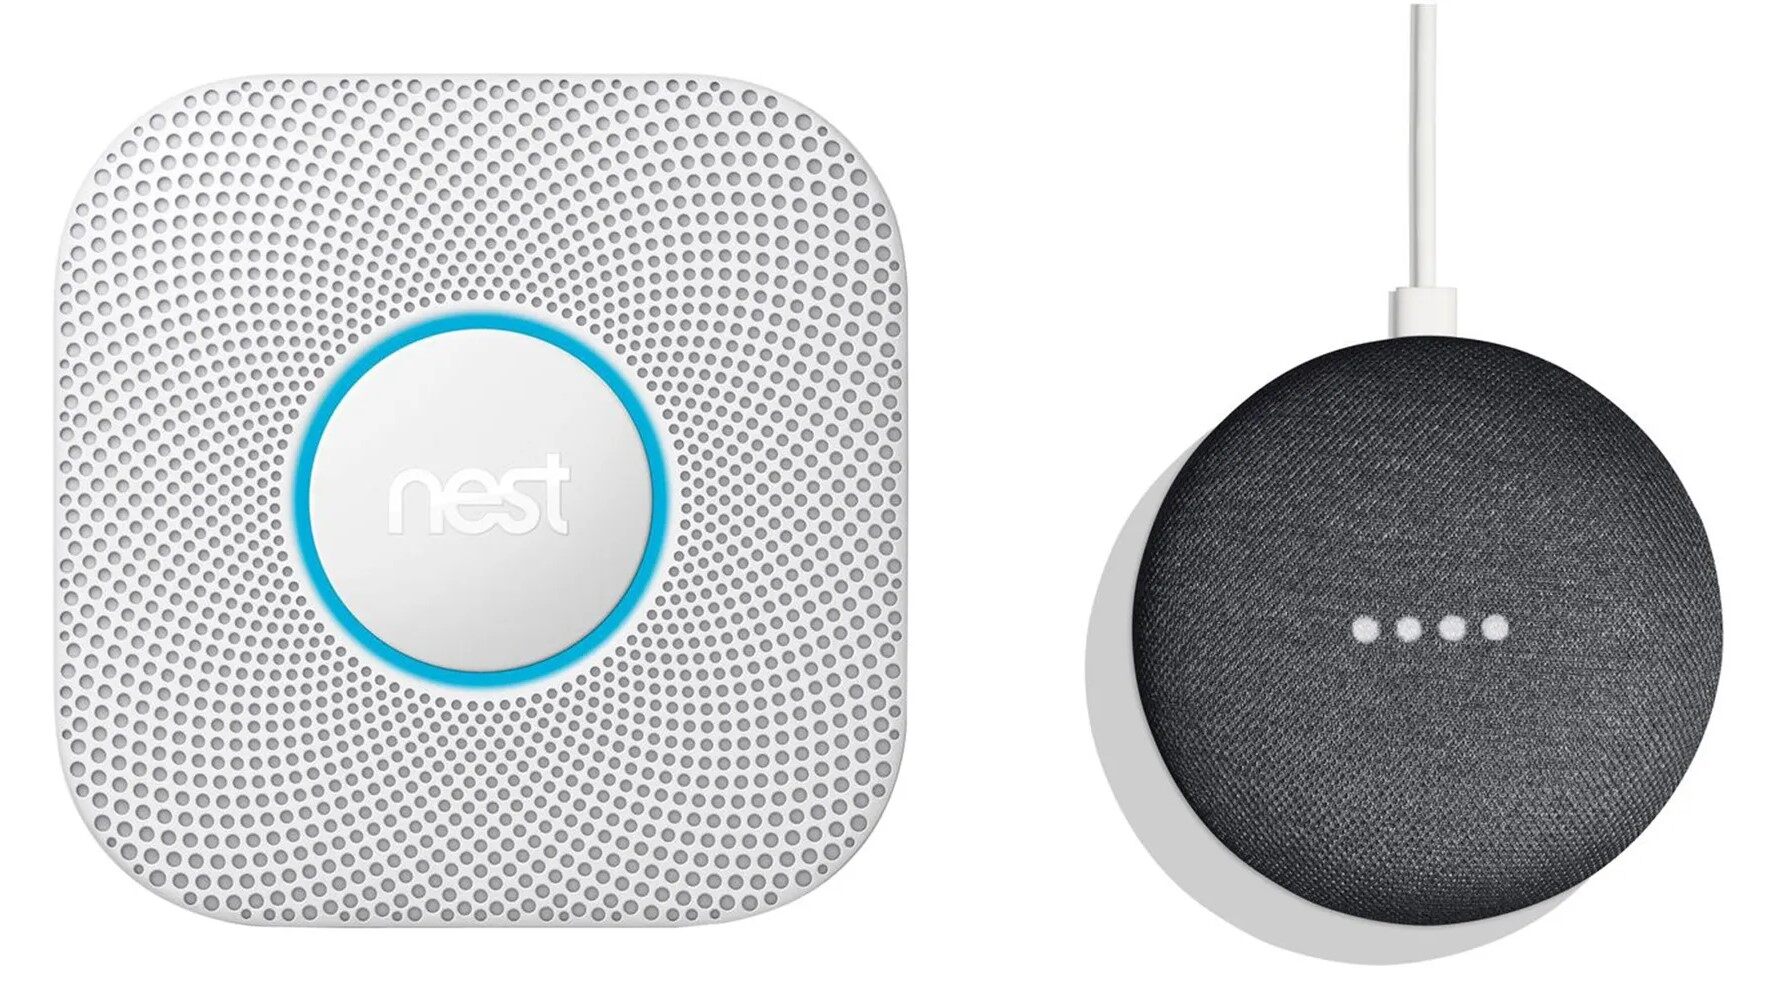
Nest Protect, a cutting-edge smoke and carbon monoxide alarm, brings a new level of intelligence to home protection. By connecting Nest Protect to Google Home, you can effortlessly access vital information and control functionalities using simple voice prompts. Whether you're in the kitchen preparing a meal or winding down for the night, the ability to check on your home's safety with just a few words is a game-changer.
In the following steps, we will walk you through the process of setting up your Nest Protect, establishing the connection to Google Home, and conducting a test to ensure a seamless integration. With this knowledge at your fingertips, you'll be well-equipped to enhance the safety and convenience of your living space. Let's embark on this journey to seamlessly integrate Nest Protect with Google Home and unlock a new realm of smart home capabilities.
Key Takeaways:
- Elevate your home safety with Nest Protect and Google Home integration, enabling voice commands for monitoring and control.
- Seamlessly connect Nest Protect to Google Home for convenient voice control and monitoring of your home’s safety features.
Read more: How To Add Nest Camera To Google Home
Step 1: Set Up Your Nest Protect
Before diving into the integration process, it’s crucial to ensure that your Nest Protect is properly set up and ready to connect with Google Home. Follow these steps to initiate the setup:
- Unbox Your Nest Protect: Carefully unpack your Nest Protect from its packaging, ensuring that all components are intact and undamaged. The package typically includes the Nest Protect unit, screws for installation, and a user manual.
- Choose an Ideal Location: Select an optimal location for your Nest Protect, considering factors such as proximity to potential fire or carbon monoxide sources and accessibility for maintenance.
- Install the Nest App: Download the Nest app on your smartphone or tablet from the App Store or Google Play Store, depending on your device’s operating system.
- Create a Nest Account: Open the Nest app and follow the prompts to create a new Nest account if you don’t already have one. If you have an existing account, simply sign in using your credentials.
- Add Nest Protect to Your Account: Once you’ve logged in, tap the “Add” button in the app and select “Nest Protect” from the list of available Nest devices. Follow the on-screen instructions to add your Nest Protect to your account.
- Connect to Wi-Fi: Ensure that your Nest Protect is connected to your Wi-Fi network. This step is crucial for seamless communication and remote access to your Nest Protect via the Nest app and Google Home.
- Perform Sound Check: After completing the setup, conduct a sound check to verify that the alarm and voice alerts are functioning properly. This ensures that your Nest Protect is ready to deliver reliable safety notifications.
By carefully executing these steps, you’ll establish a solid foundation for integrating your Nest Protect with Google Home. Once your Nest Protect is fully set up and operational, you can proceed to the next phase of the integration process with confidence.
Step 2: Connect Nest Protect to Google Home
Now that your Nest Protect is primed for integration, it’s time to seamlessly link it with Google Home, enabling intuitive voice control and monitoring capabilities. Follow these steps to establish the connection:
- Open the Google Home App: Launch the Google Home app on your smartphone or tablet. If you don’t have the app installed, you can download it from the App Store or Google Play Store.
- Access Device Settings: Within the Google Home app, navigate to the device settings by tapping the “Settings” option, typically represented by a gear or similar icon.
- Select “Works with Google”: Locate and select the “Works with Google” option within the device settings menu. This feature enables you to connect compatible devices, including your Nest Protect.
- Choose “Nest”: Scroll through the list of available smart home brands and select “Nest” as the preferred manufacturer for integrating your Nest Protect.
- Log in to Your Nest Account: If prompted, log in to your Nest account using the same credentials you used during the initial setup of your Nest Protect. This step establishes the link between your Nest Protect and Google Home.
- Authorize Google Home Access: Grant permission for Google Home to access and control your Nest Protect. This authorization is essential for enabling voice commands and remote management through the Google Home app.
- Follow On-Screen Instructions: Proceed through any additional on-screen instructions to finalize the connection between your Nest Protect and Google Home. This may involve confirming specific settings or preferences for seamless integration.
By diligently following these steps, you’ll successfully establish a direct link between your Nest Protect and Google Home, paving the way for effortless voice control and monitoring of your home’s safety features. With this integration in place, you’re poised to experience the convenience and peace of mind that smart home technology affords.
To add Nest Protect to Google Home, open the Google Home app, tap “Add,” then “Set up device,” and select “Have something already set up?” Choose Nest and follow the prompts to connect it to Google Home.
Step 3: Test the Connection
After connecting your Nest Protect to Google Home, it’s essential to verify the integration and ensure that the communication between the two devices is seamless. Follow these steps to conduct a comprehensive test of the connection:
- Voice Command Test: Utilize the voice command feature on your Google Home device to interact with your Nest Protect. For example, you can say, “Hey Google, is my Nest Protect working?” or “Hey Google, what’s the status of my Nest Protect?” to initiate a voice-based query.
- Monitor Alerts: Simulate a test scenario by triggering a manual test alarm on your Nest Protect. Observe how Google Home responds to the alarm activation, ensuring that it provides relevant notifications and status updates through voice prompts or the Google Home app.
- Remote Control Test: Use the Google Home app on your smartphone or tablet to remotely access and manage your Nest Protect. Verify that you can view the current status, adjust settings, and receive alerts regarding smoke and carbon monoxide levels as part of the seamless integration.
- Check for Compatibility: If you have multiple Google Home devices, ensure that the integration with Nest Protect extends to all relevant devices within your smart home ecosystem. Confirm that the connection functions consistently across different Google Home units.
- Review Activity Logs: Access the activity logs or history within the Google Home app to review the interactions and events related to your Nest Protect. This step provides valuable insights into the communication between the devices and any relevant updates or alerts.
By systematically testing the connection between your Nest Protect and Google Home, you can validate the seamless integration and identify any potential areas for optimization or further customization. This proactive approach ensures that your smart home ecosystem operates harmoniously, delivering the safety and convenience you expect from these advanced technologies.
Conclusion
Congratulations on successfully integrating your Nest Protect with Google Home, unlocking a new realm of convenience and control within your smart home environment. By following the outlined steps, you’ve empowered yourself to monitor and manage your home’s safety features using intuitive voice commands and seamless connectivity.
The fusion of Nest Protect and Google Home represents a significant leap forward in home automation, blending advanced safety technology with the power of voice-activated control. With this integration in place, you can confidently rely on your smart home ecosystem to keep you informed and protected, whether you’re at home or on the go.
As you continue to explore the possibilities of smart home technology, remember to stay updated on the latest features and enhancements offered by Nest and Google Home. Regularly check for firmware updates, new voice command capabilities, and expanded integration options to further optimize your smart home experience.
By harnessing the potential of Nest Protect and Google Home, you’ve embraced the future of home automation and safety management. Your proactive approach to integrating these innovative technologies reflects a commitment to enhancing the quality of life within your living space.
As you embark on this journey of smart home exploration, remember that the seamless integration of Nest Protect with Google Home is just one facet of the endless possibilities that await in the realm of home automation. Embrace the convenience, security, and innovation that these technologies offer, and continue to seek out new ways to elevate your smart home experience.
With Nest Protect and Google Home working in harmony, your home is not only smarter—it’s safer and more responsive to your needs. Enjoy the peace of mind and enhanced control that come with this integration, and embrace the boundless potential of smart home living.
Frequently Asked Questions about How To Add Nest Protect To Google Home
Was this page helpful?
At Storables.com, we guarantee accurate and reliable information. Our content, validated by Expert Board Contributors, is crafted following stringent Editorial Policies. We're committed to providing you with well-researched, expert-backed insights for all your informational needs.


0 thoughts on “How To Add Nest Protect To Google Home”