Home>Home Appliances>Home Automation Appliances>How To Add Nest Yale Lock To Google Home
Home Automation Appliances
How To Add Nest Yale Lock To Google Home
Modified: January 4, 2024
Learn how to seamlessly integrate your Nest Yale Lock with Google Home for enhanced home automation. Control your home appliances with ease. Discover how!
(Many of the links in this article redirect to a specific reviewed product. Your purchase of these products through affiliate links helps to generate commission for Storables.com, at no extra cost. Learn more)
Introduction
So, you've taken the leap into the world of smart home technology and are ready to integrate your Nest Yale Lock with Google Home. This exciting venture will not only enhance the security of your home but also grant you the convenience of controlling your lock with voice commands or through the Google Home app. By seamlessly connecting these two devices, you'll be able to remotely lock and unlock your door, check the status of your lock, and include it in your routines and automations.
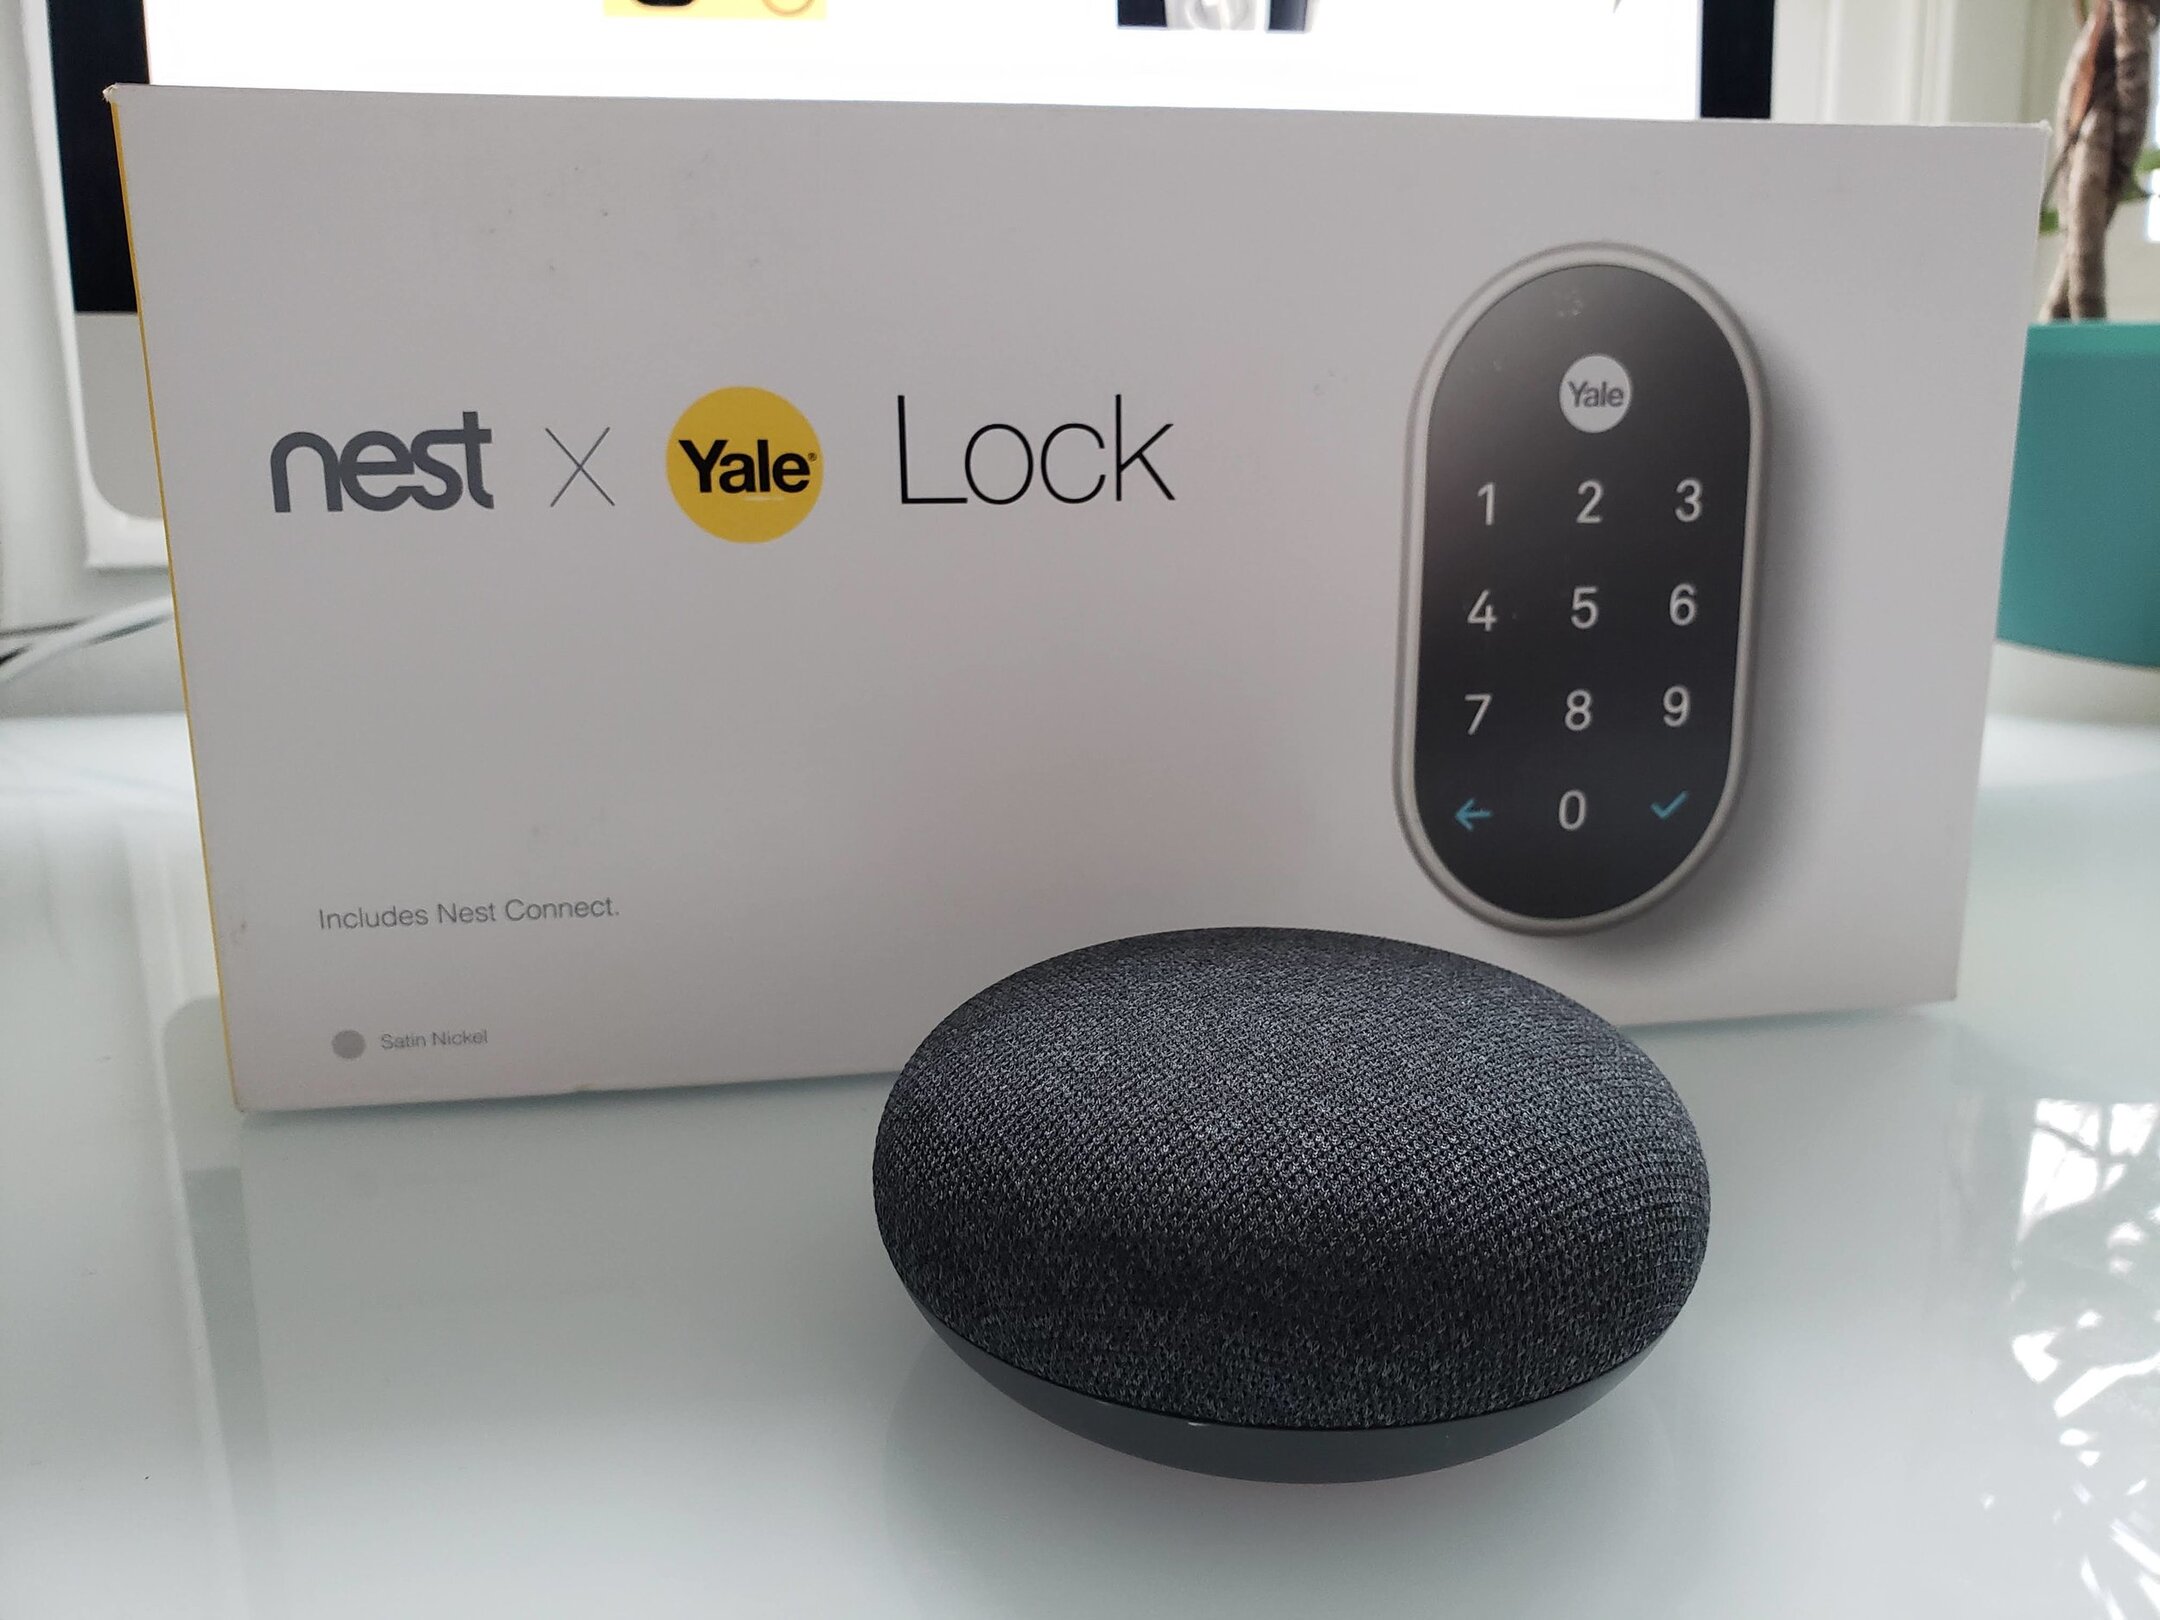
The Nest Yale Lock is a sophisticated and innovative smart lock that offers keyless entry, tamper-proof security, and the ability to create unique passcodes for family members and trusted guests. When integrated with Google Home, you can leverage the power of voice commands to manage your lock effortlessly.
In this comprehensive guide, we will walk you through the step-by-step process of adding your Nest Yale Lock to Google Home. Whether you're a tech-savvy enthusiast or a newcomer to smart home technology, this guide will equip you with the knowledge and confidence to seamlessly merge these two devices. So, let's dive in and embark on this journey to enhance your home security and convenience!
Key Takeaways:
- You can add your Nest Yale Lock to Google Home for easy control and enhanced security. Just follow the simple steps to set up and connect the devices, and enjoy the convenience of managing your lock with voice commands and the Google Home app.
- Once connected, test the integration by using voice commands, exploring the app features, and testing remote access. This seamless synergy between your smart lock and Google Home brings peace of mind and endless possibilities for home security and convenience.
Read more: How To Add Nest Protect To Google Home
Step 1: Set up the Nest Yale Lock
Before you can connect your Nest Yale Lock to Google Home, it is essential to ensure that the lock is properly set up and functioning. Follow these steps to set up your Nest Yale Lock:
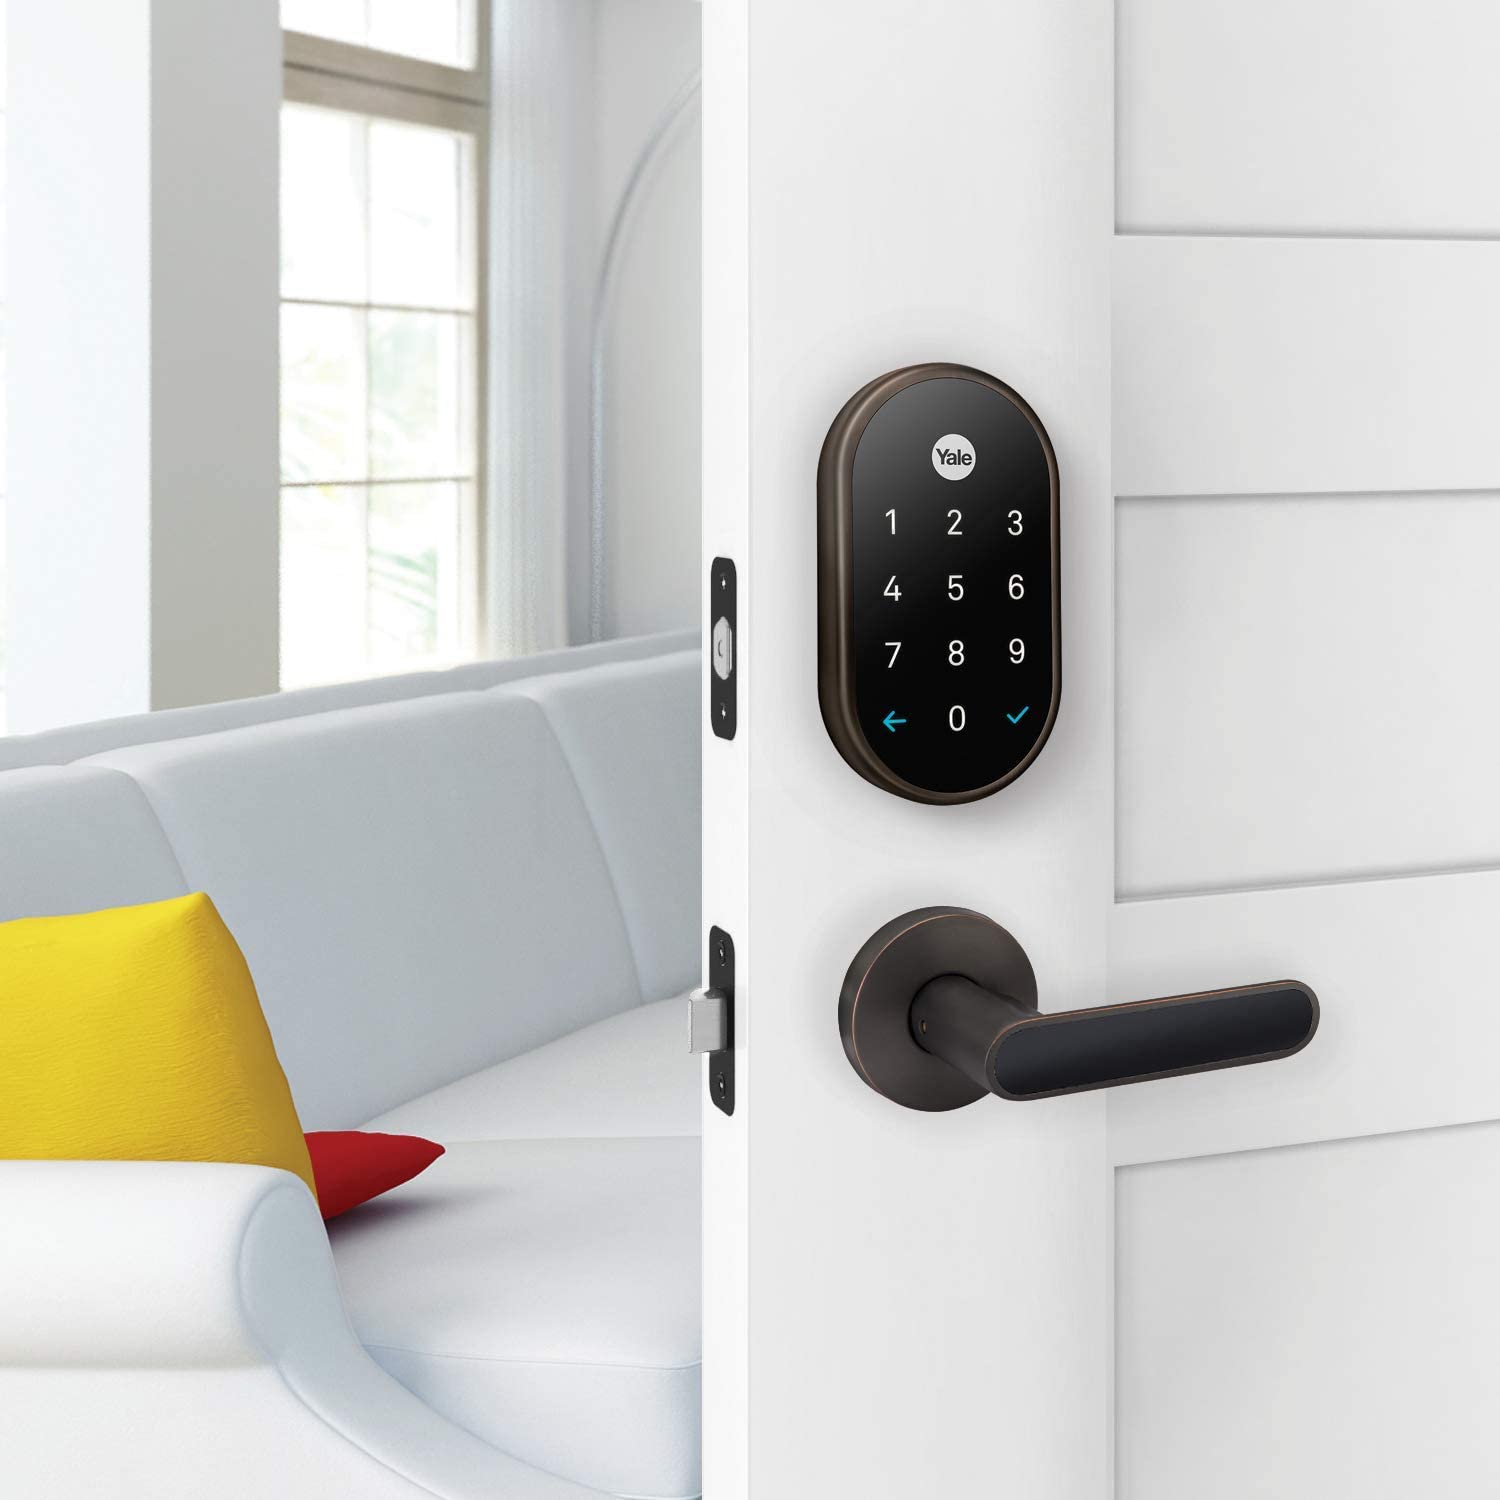
- Install the Lock: Begin by installing the Nest Yale Lock on your door following the manufacturer’s instructions. Ensure that the lock is properly aligned and securely attached to your door.
- Download the Nest App: To initiate the setup process, download the Nest app from the App Store (for iOS devices) or the Google Play Store (for Android devices).
- Create a Nest Account: If you don’t already have a Nest account, you will need to create one. Simply follow the prompts within the app to set up your account.
- Add the Lock to the Nest App: Once your account is set up, follow the on-screen instructions to add your Nest Yale Lock to the Nest app. This typically involves scanning the QR code on the lock or entering the unique code provided with the lock.
- Complete the Setup: Follow the remaining setup steps within the app to configure your lock’s settings, such as setting up passcodes, adjusting auto-lock settings, and customizing notifications.
Once you have successfully completed the setup of your Nest Yale Lock, you are ready to proceed to the next step of connecting it to Google Home. With the lock installed and configured, you are one step closer to enjoying the convenience and security that comes with integrating it into your smart home ecosystem.
Step 2: Connect the Nest Yale Lock to Google Home
Now that your Nest Yale Lock is set up and ready to go, it’s time to seamlessly integrate it with your Google Home ecosystem. Connecting your lock to Google Home will enable you to control it using voice commands and the Google Home app. Follow these steps to connect your Nest Yale Lock to Google Home:
- Open the Google Home App: Launch the Google Home app on your smartphone or tablet. Ensure that your mobile device is connected to the same Wi-Fi network as your Google Home and Nest Yale Lock.
- Access the Menu: Tap on the Menu icon in the top-left corner of the app to access the sidebar menu.
- Select “Home Control”: From the sidebar menu, select “Home Control” to view the list of compatible devices that can be connected to Google Home.
- Add a Device: In the “Home Control” section, tap on the “Add” button or the “Plus” icon to add a new device to your Google Home ecosystem.
- Locate and Select Nest: Scroll through the list of compatible devices and locate “Nest” or “Nest Yale Lock.” Tap on it to initiate the pairing process.
- Sign in to Nest: If prompted, sign in to your Nest account using the same credentials you used during the setup of your Nest Yale Lock.
- Authorize Google Home: Follow the on-screen prompts to authorize Google Home to access and control your Nest Yale Lock. This step is crucial for establishing a secure connection between the two devices.
- Assign a Location: Once the pairing process is complete, you may be prompted to assign a location to your Nest Yale Lock within the Google Home app. This is particularly useful if you have multiple locks or devices connected to your Google Home ecosystem.
After completing these steps, your Nest Yale Lock will be successfully connected to Google Home, allowing you to enjoy the convenience of controlling it through voice commands and the Google Home app. With the integration complete, you’re now ready to test the connection and explore the seamless functionality of your smart lock within your home environment.
To add Nest Yale Lock to Google Home, open the Google Home app, tap “Add,” then “Set up device,” and select “Works with Google.” Find and select Nest Yale Lock, then follow the on-screen instructions to link your accounts and complete the setup.
Step 3: Test the Connection
With your Nest Yale Lock successfully connected to Google Home, it’s time to put the integration to the test. Verifying the connection and testing the functionality of your smart lock within the Google Home ecosystem will ensure that everything is working as intended. Follow these steps to test the connection and explore the capabilities of your integrated devices:
- Voice Commands: Use voice commands to interact with your Nest Yale Lock via Google Home. For example, try saying, “Hey Google, lock the front door” or “Hey Google, is the front door locked?” to test the responsiveness and accuracy of the voice controls.
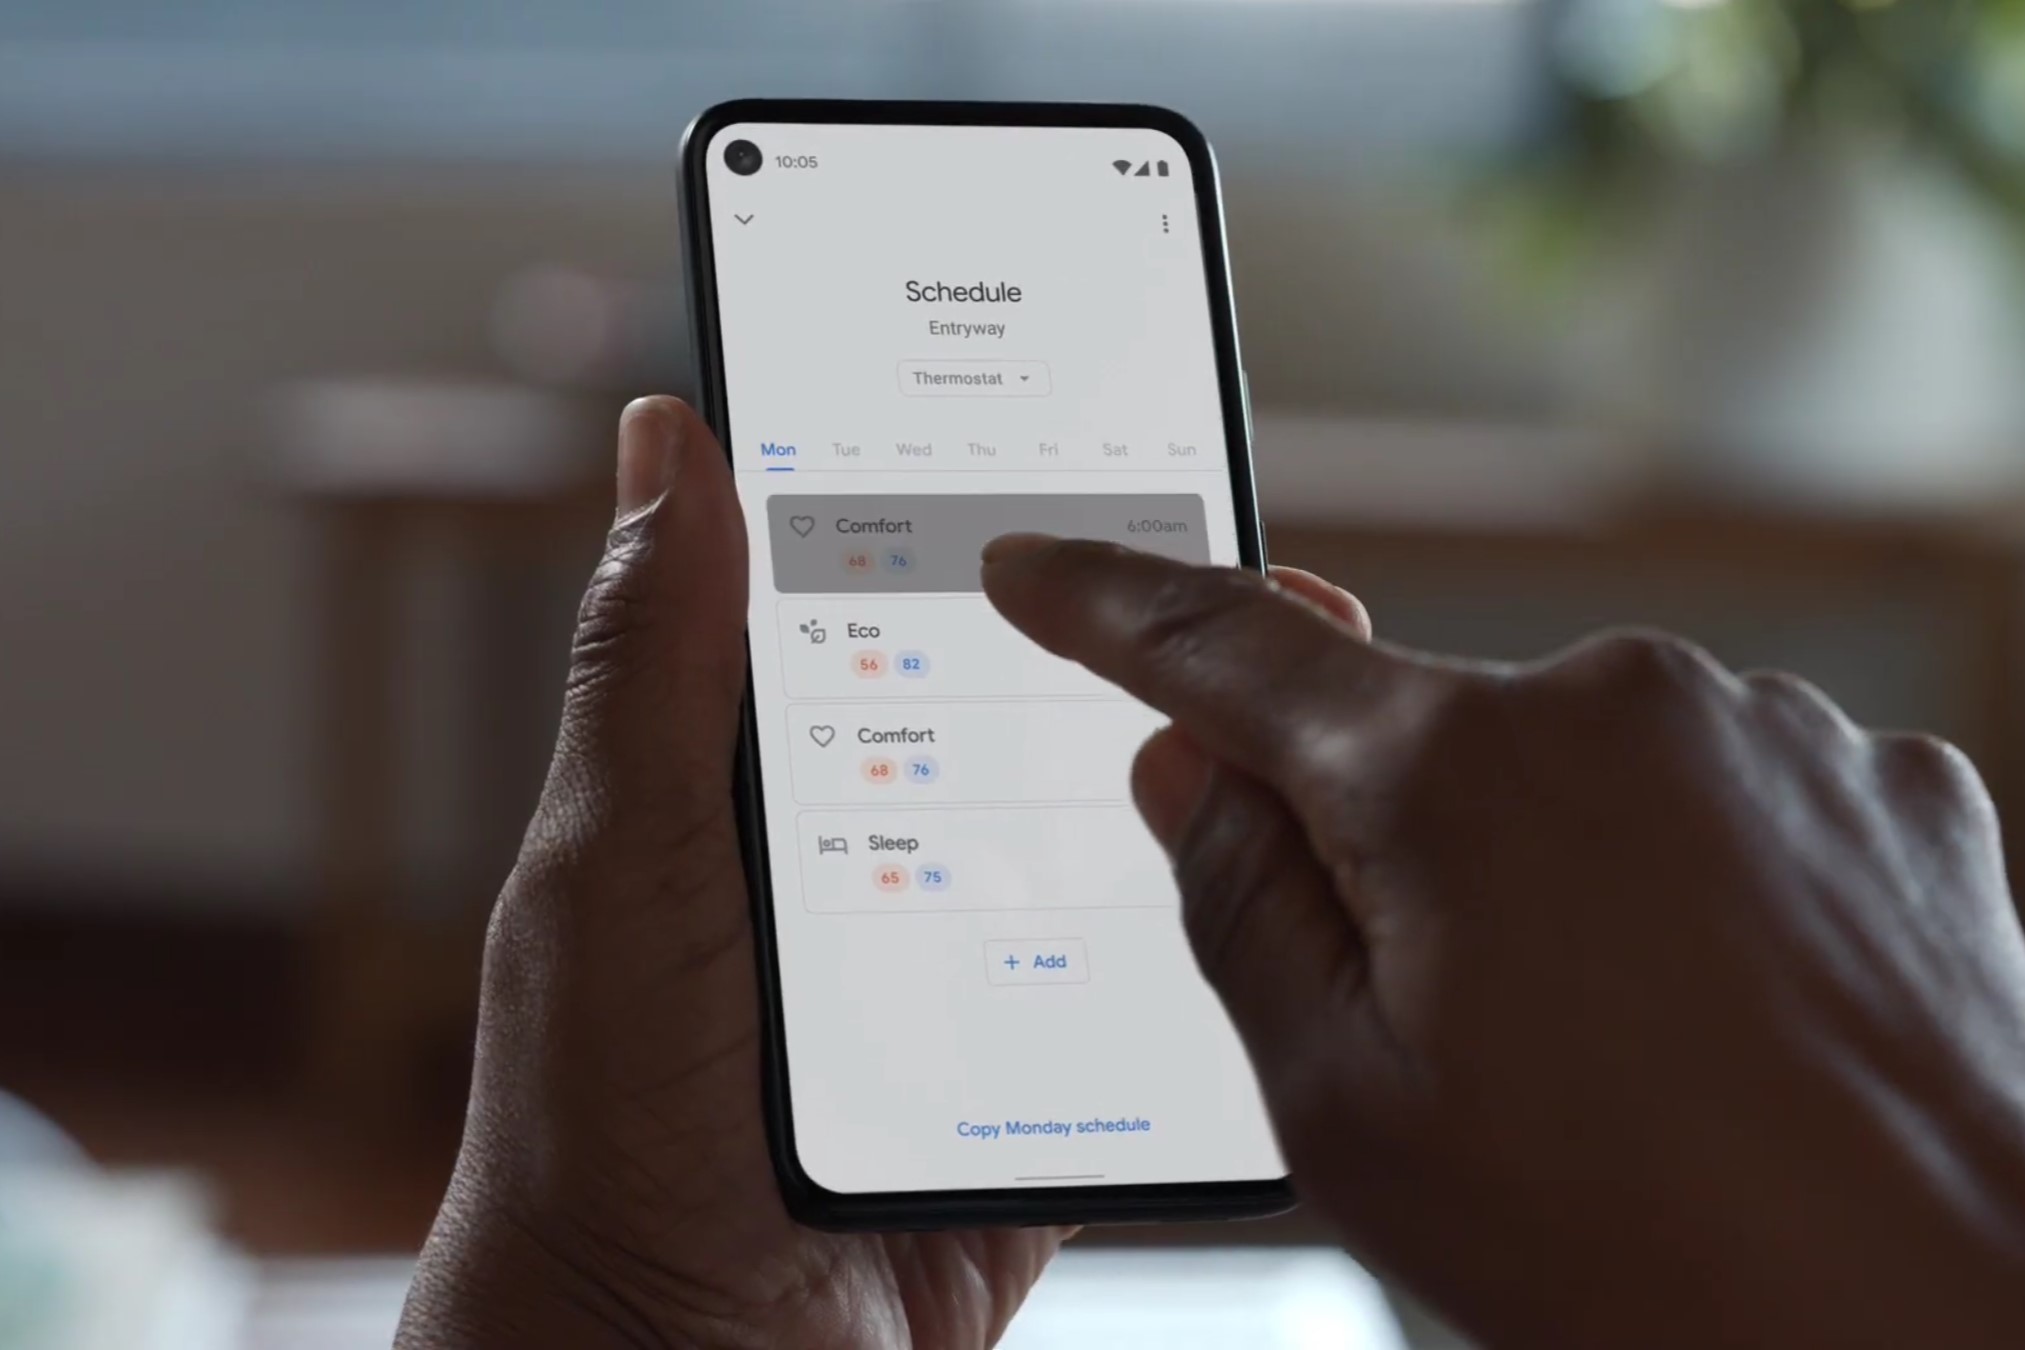
- Google Home App: Open the Google Home app and navigate to the “Home Control” section. Locate the Nest Yale Lock within the list of connected devices and test the lock/unlock functionality directly from the app. This will help you familiarize yourself with the interface and explore the available options for managing your lock.
- Remote Access: Test the ability to remotely lock or unlock your door using the Google Home app while you are away from home. This feature provides added convenience and peace of mind, allowing you to control access to your home from anywhere with an internet connection.
- Explore Additional Features: Take some time to explore any additional features or integrations that may be available for your Nest Yale Lock within the Google Home ecosystem. This could include incorporating the lock into routines, setting up automation triggers, or exploring compatibility with other smart home devices.
- Verify Notifications: Ensure that you receive relevant notifications from the Google Home app regarding the status of your Nest Yale Lock, such as alerts for door activity, low battery warnings, or potential security issues. This will help you stay informed and proactive in managing your smart lock.
By thoroughly testing the connection and functionality of your Nest Yale Lock within the Google Home environment, you can gain confidence in the seamless integration of these devices. This hands-on approach will also allow you to leverage the full potential of your smart lock and explore the myriad ways it can enhance your home security and convenience.
Conclusion
Congratulations! By following the steps outlined in this guide, you have successfully added your Nest Yale Lock to Google Home, creating a harmonious synergy between your smart lock and your home automation ecosystem. The integration of these two powerful devices empowers you with convenient and secure access control, whether you’re at home or on the go.
By setting up your Nest Yale Lock and connecting it to Google Home, you have unlocked a new level of convenience and peace of mind. The ability to control your lock with simple voice commands, manage access for family members and guests, and receive real-time notifications provides a seamless and intuitive approach to home security.
As you continue to explore the capabilities of your integrated devices, consider incorporating your Nest Yale Lock into your daily routines and automations. Whether it’s automatically locking the door at a specific time each evening or integrating it with other smart home devices, the possibilities for enhancing your home’s security and convenience are virtually endless.
Remember to stay informed about software updates and new features for both your Nest Yale Lock and Google Home, as ongoing advancements may further enrich your smart home experience. Additionally, take advantage of resources such as user manuals, online communities, and support channels to maximize your understanding of the features and functionalities available to you.
With your Nest Yale Lock seamlessly integrated into your Google Home ecosystem, you can enjoy the peace of mind that comes with modern, intelligent home security. Embrace the convenience, explore the possibilities, and revel in the seamless synergy between your smart lock and your connected home.
Here’s to a future filled with enhanced security, effortless control, and the boundless potential of your smart home ecosystem!
Frequently Asked Questions about How To Add Nest Yale Lock To Google Home
Was this page helpful?
At Storables.com, we guarantee accurate and reliable information. Our content, validated by Expert Board Contributors, is crafted following stringent Editorial Policies. We're committed to providing you with well-researched, expert-backed insights for all your informational needs.


0 thoughts on “How To Add Nest Yale Lock To Google Home”