Home>Home Appliances>Home Automation Appliances>How To Set Up Nest Thermostat With Google Home
Home Automation Appliances
How To Set Up Nest Thermostat With Google Home
Modified: January 6, 2024
Learn how to easily set up your Nest thermostat with Google Home for seamless home automation. Control your home appliances with ease.
(Many of the links in this article redirect to a specific reviewed product. Your purchase of these products through affiliate links helps to generate commission for Storables.com, at no extra cost. Learn more)
Introduction
Welcome to the seamless integration of smart home technology! Setting up your Nest Thermostat with Google Home is a fantastic way to elevate your home automation experience. By linking these two innovative devices, you gain the ability to control your thermostat using voice commands, schedules, and more. This article will guide you through the process of setting up your Nest Thermostat with Google Home, ensuring that you can effortlessly manage your home's temperature and energy usage.
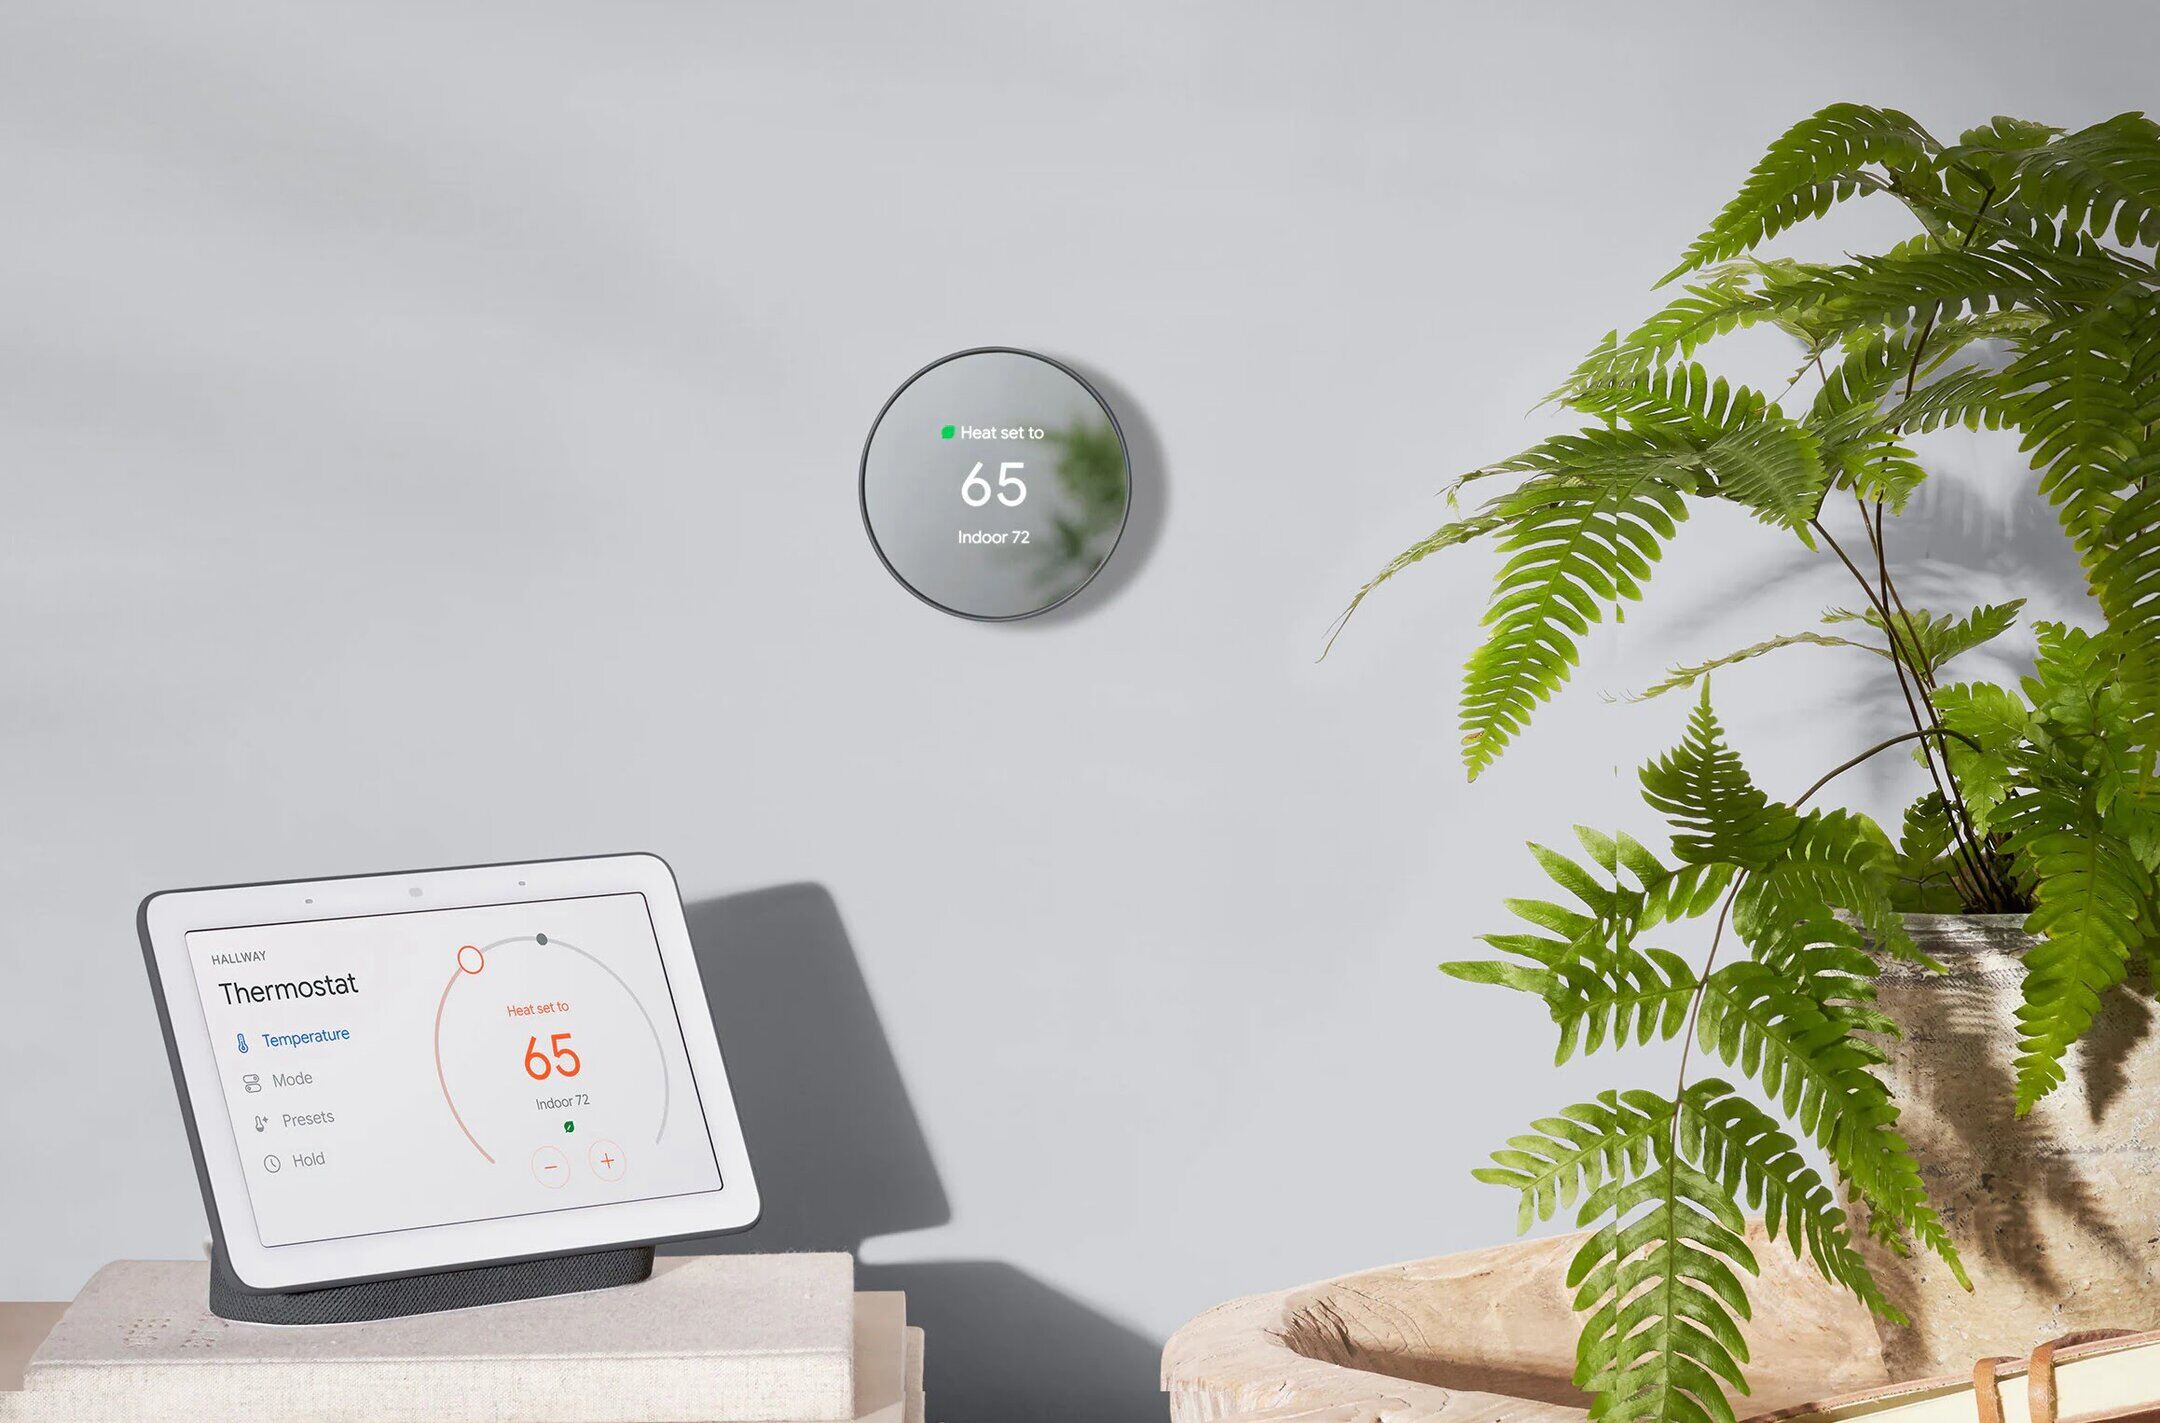
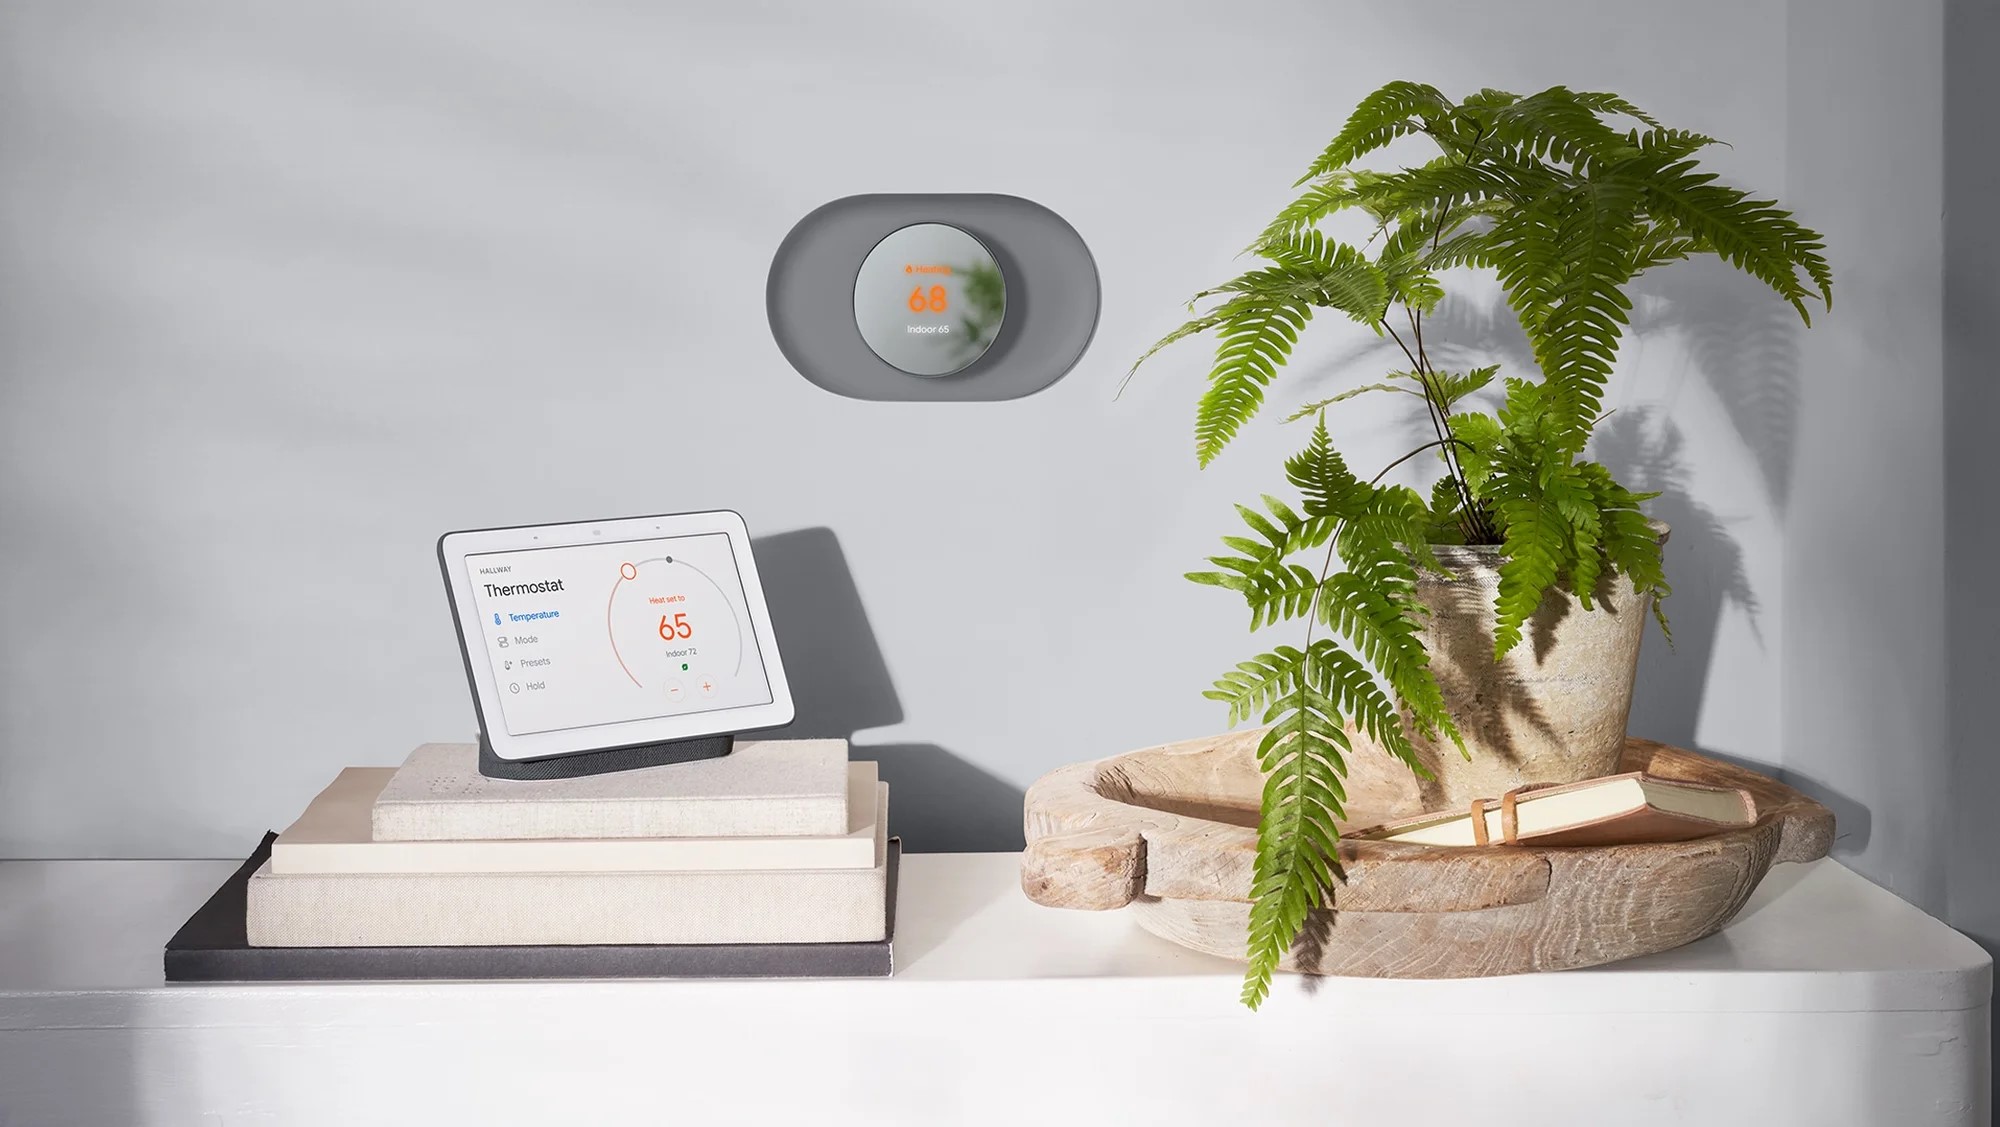
The Nest Thermostat, renowned for its sleek design and advanced features, offers a range of benefits, including energy savings, remote control capabilities, and personalized temperature adjustments. When combined with Google Home, a voice-activated smart speaker, you can harness the power of voice commands to adjust the temperature, check the current settings, and create customized schedules with ease.
Whether you're a tech enthusiast or a homeowner looking to streamline your daily routine, the integration of the Nest Thermostat with Google Home is a game-changer. Embrace the convenience of controlling your home's climate with a simple voice command or a tap on your smartphone. In the following steps, you will learn how to set up and link these devices, opening the door to a new level of comfort and energy efficiency in your home. Let's dive into the process of transforming your living space into a smart, connected environment where technology works harmoniously to enhance your lifestyle.
Key Takeaways:
- Transform your home into a smart, connected environment by setting up Nest Thermostat with Google Home. Enjoy voice-controlled temperature adjustments and energy savings for a seamless home automation experience.
- With Nest Thermostat and Google Home, effortlessly manage your home’s climate using voice commands and personalized schedules. Embrace convenience, comfort, and energy efficiency in your smart home ecosystem.
Read more: How To Use Nest Thermostat With Google Home
Step 1: Gather Required Items
Before embarking on the setup process, it’s essential to gather the necessary items to ensure a smooth and efficient installation of your Nest Thermostat and its integration with Google Home. Here’s a comprehensive list of the items you’ll need:
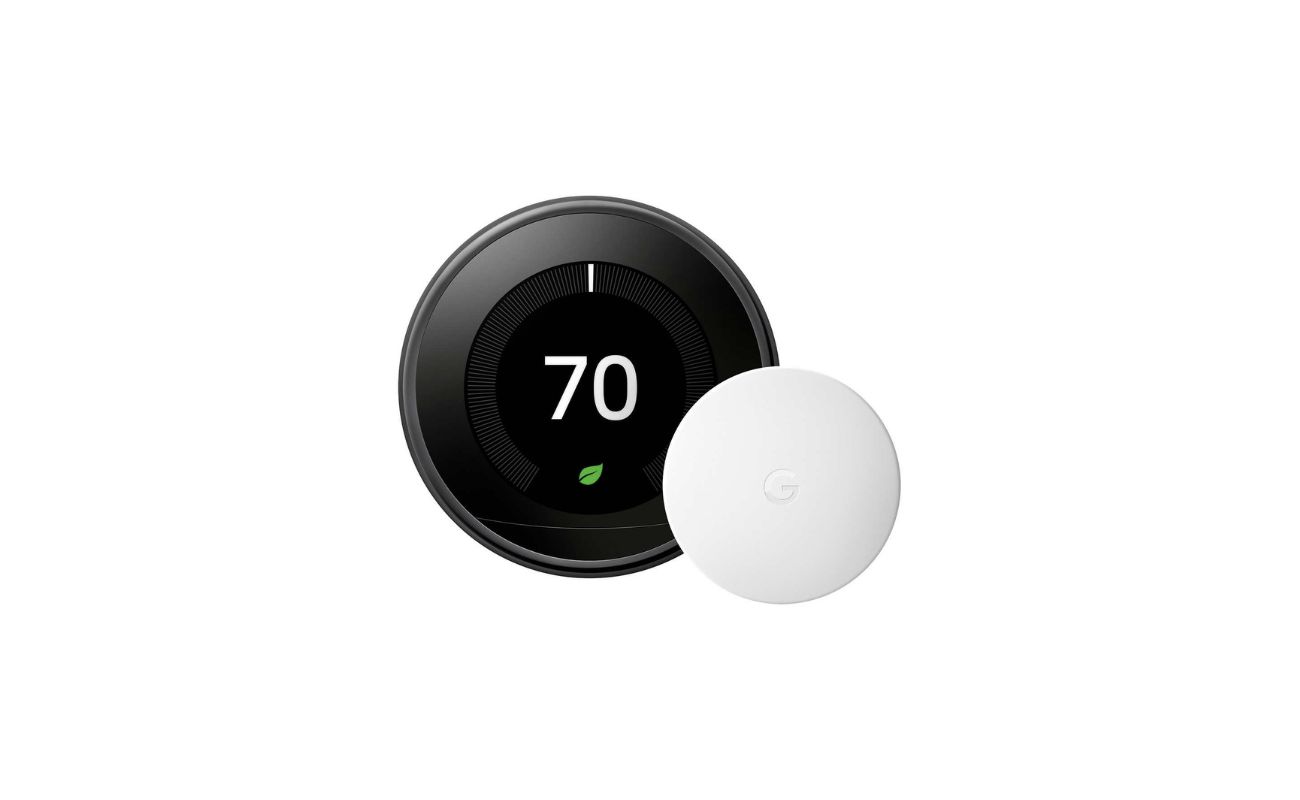
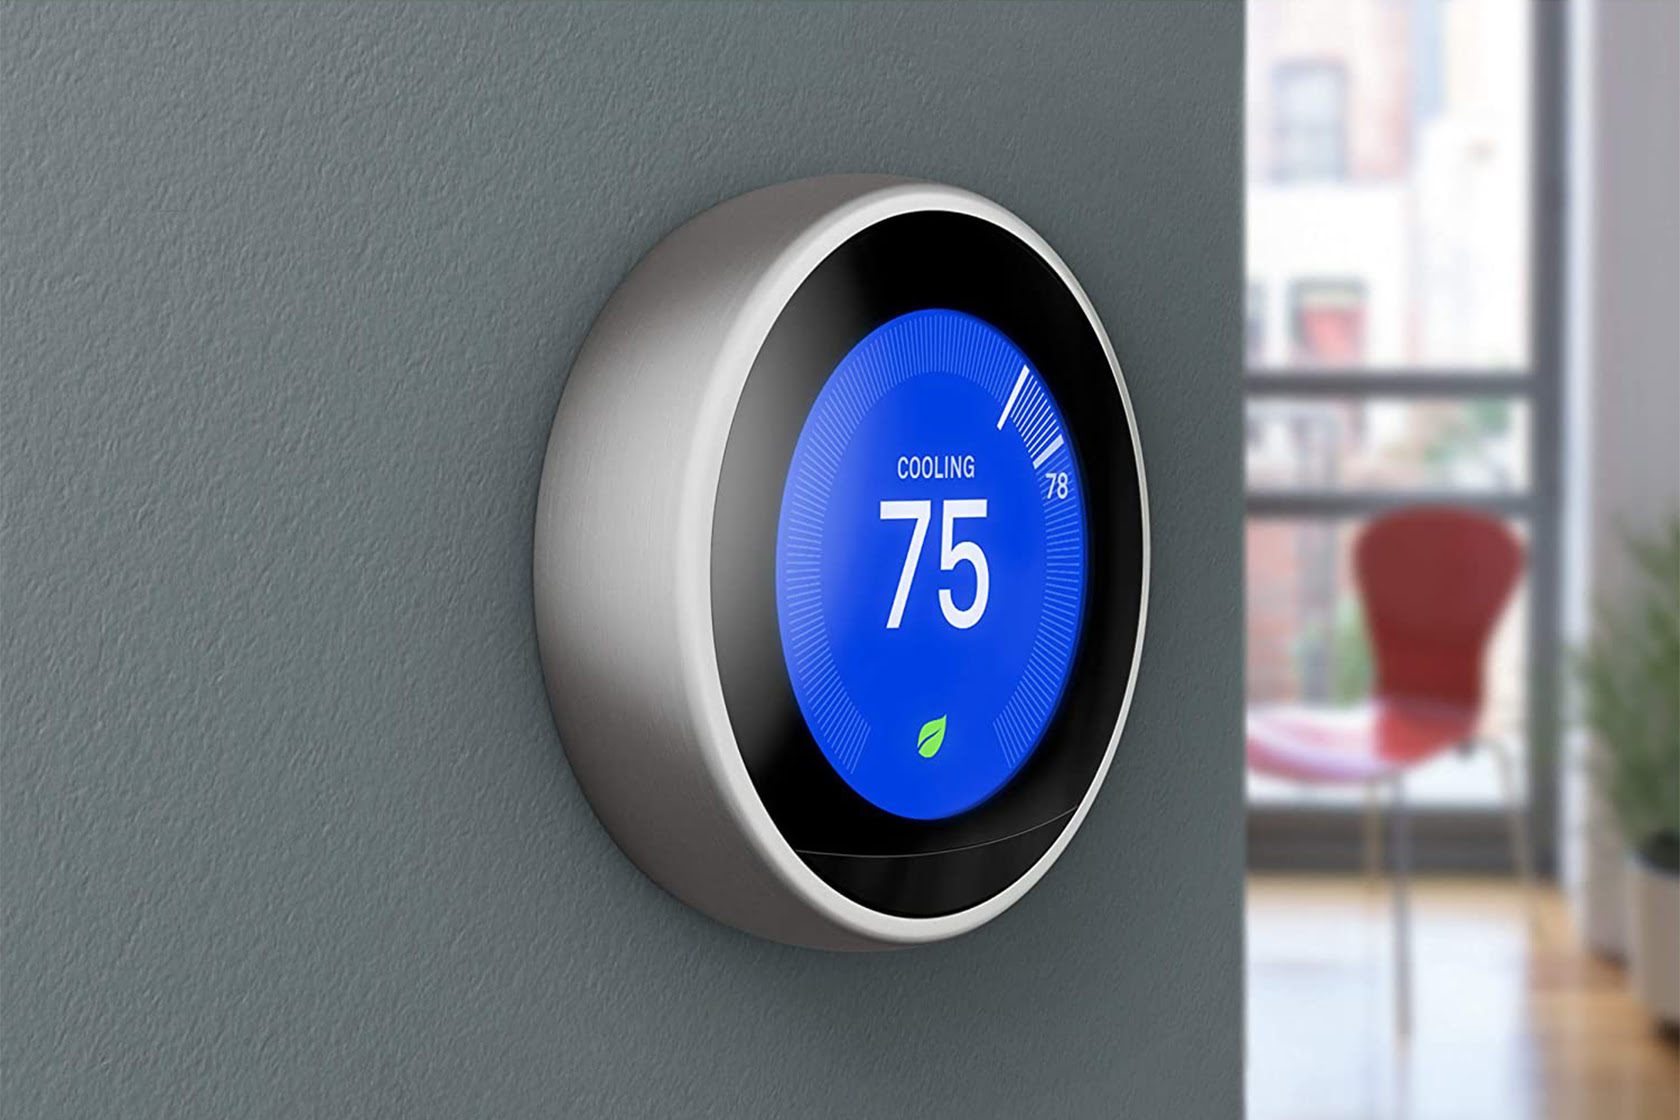
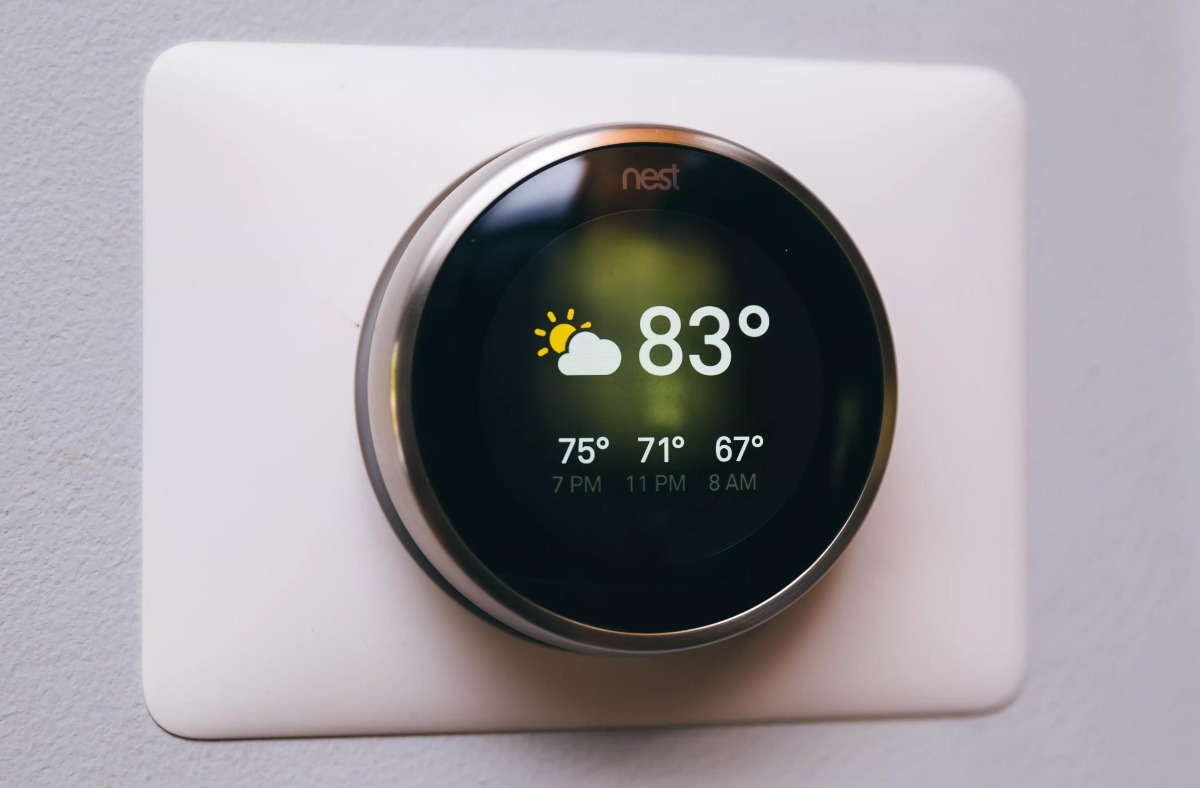
- Nest Thermostat: The central component of your smart climate control system, the Nest Thermostat provides advanced temperature management and energy-saving features.
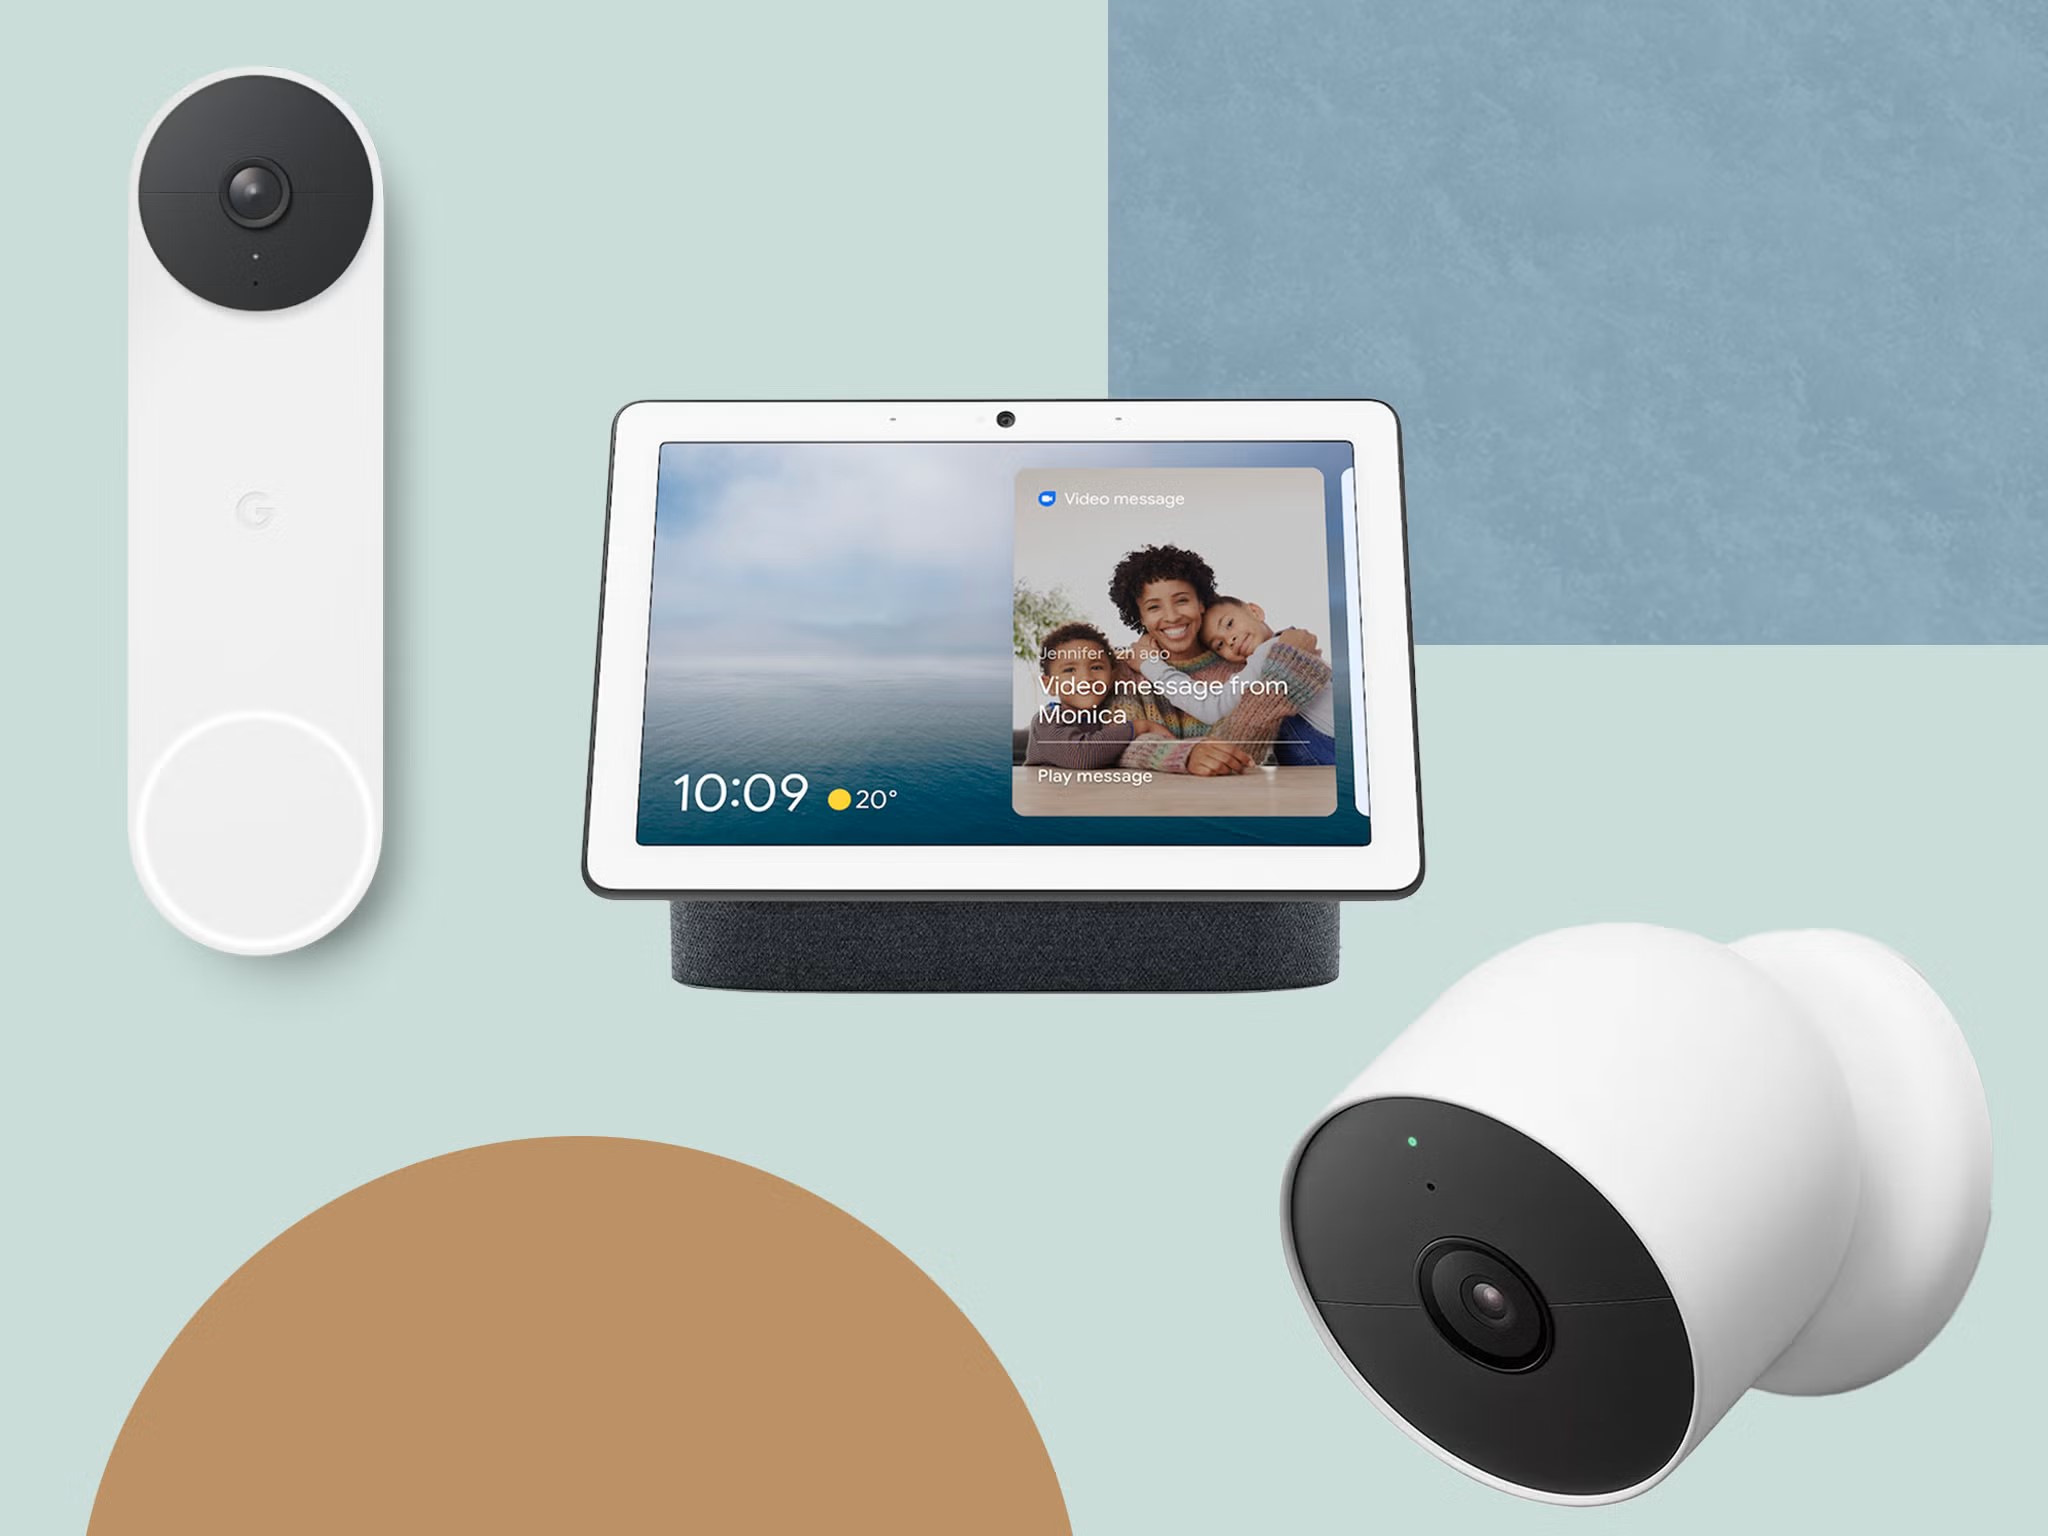
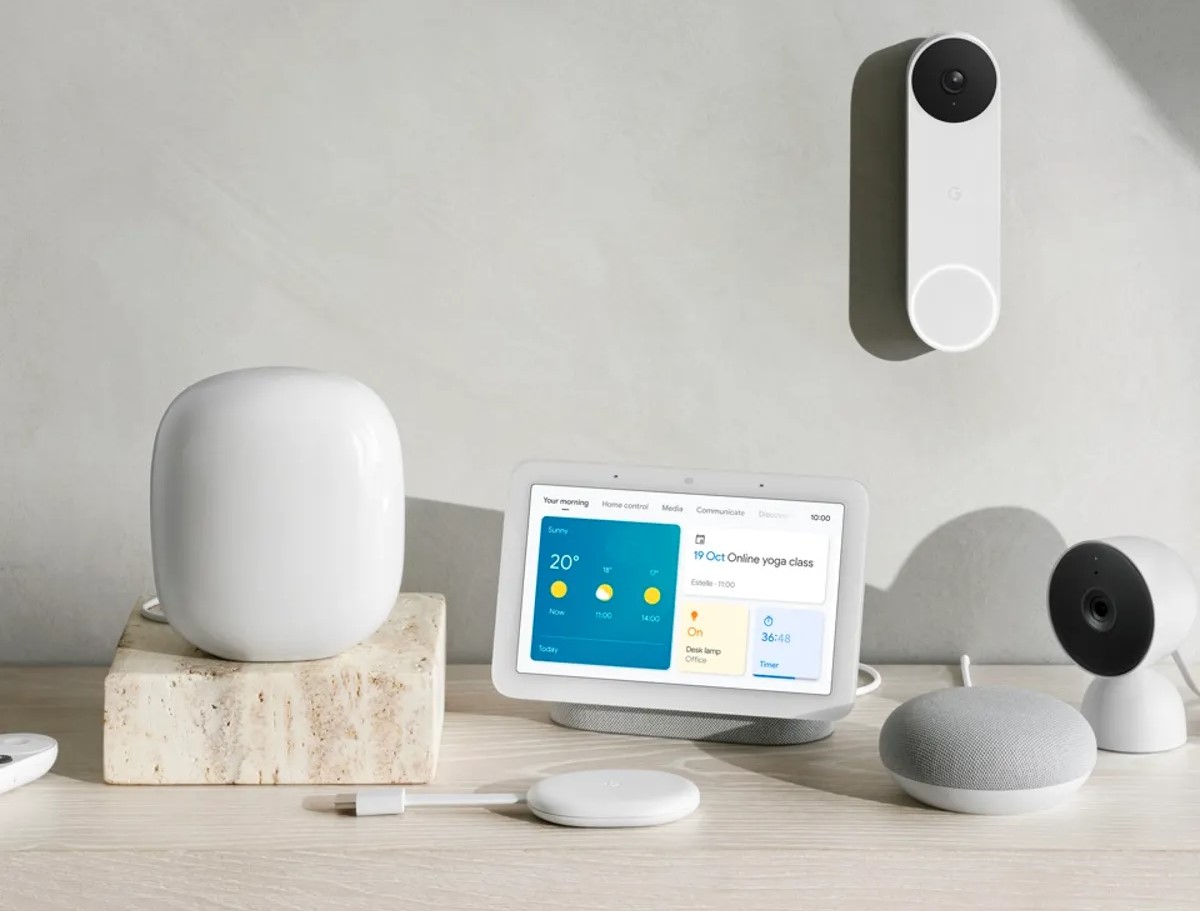
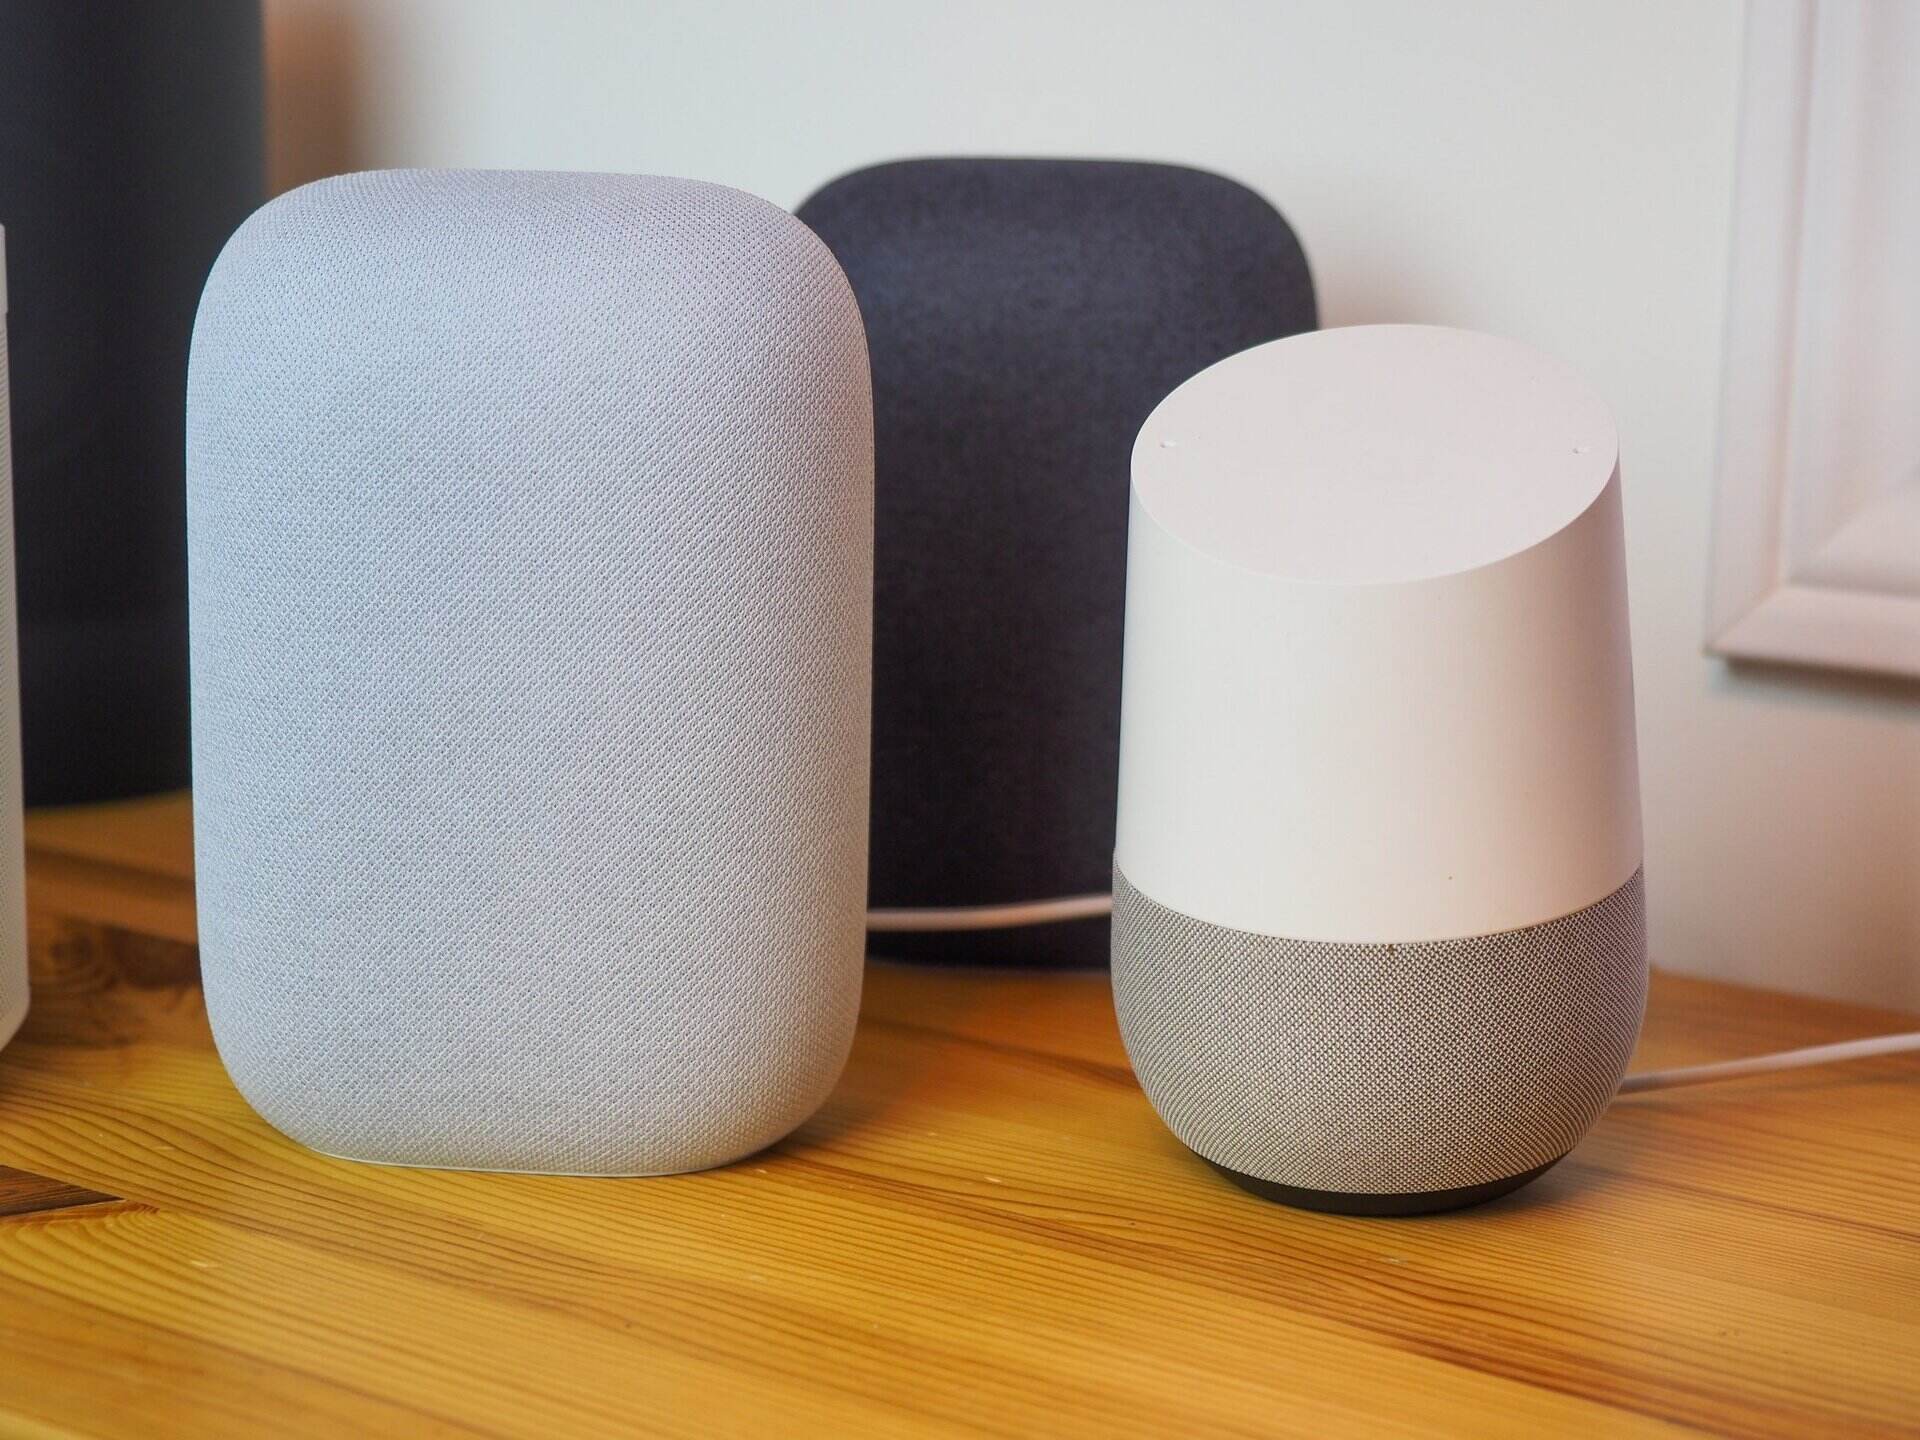
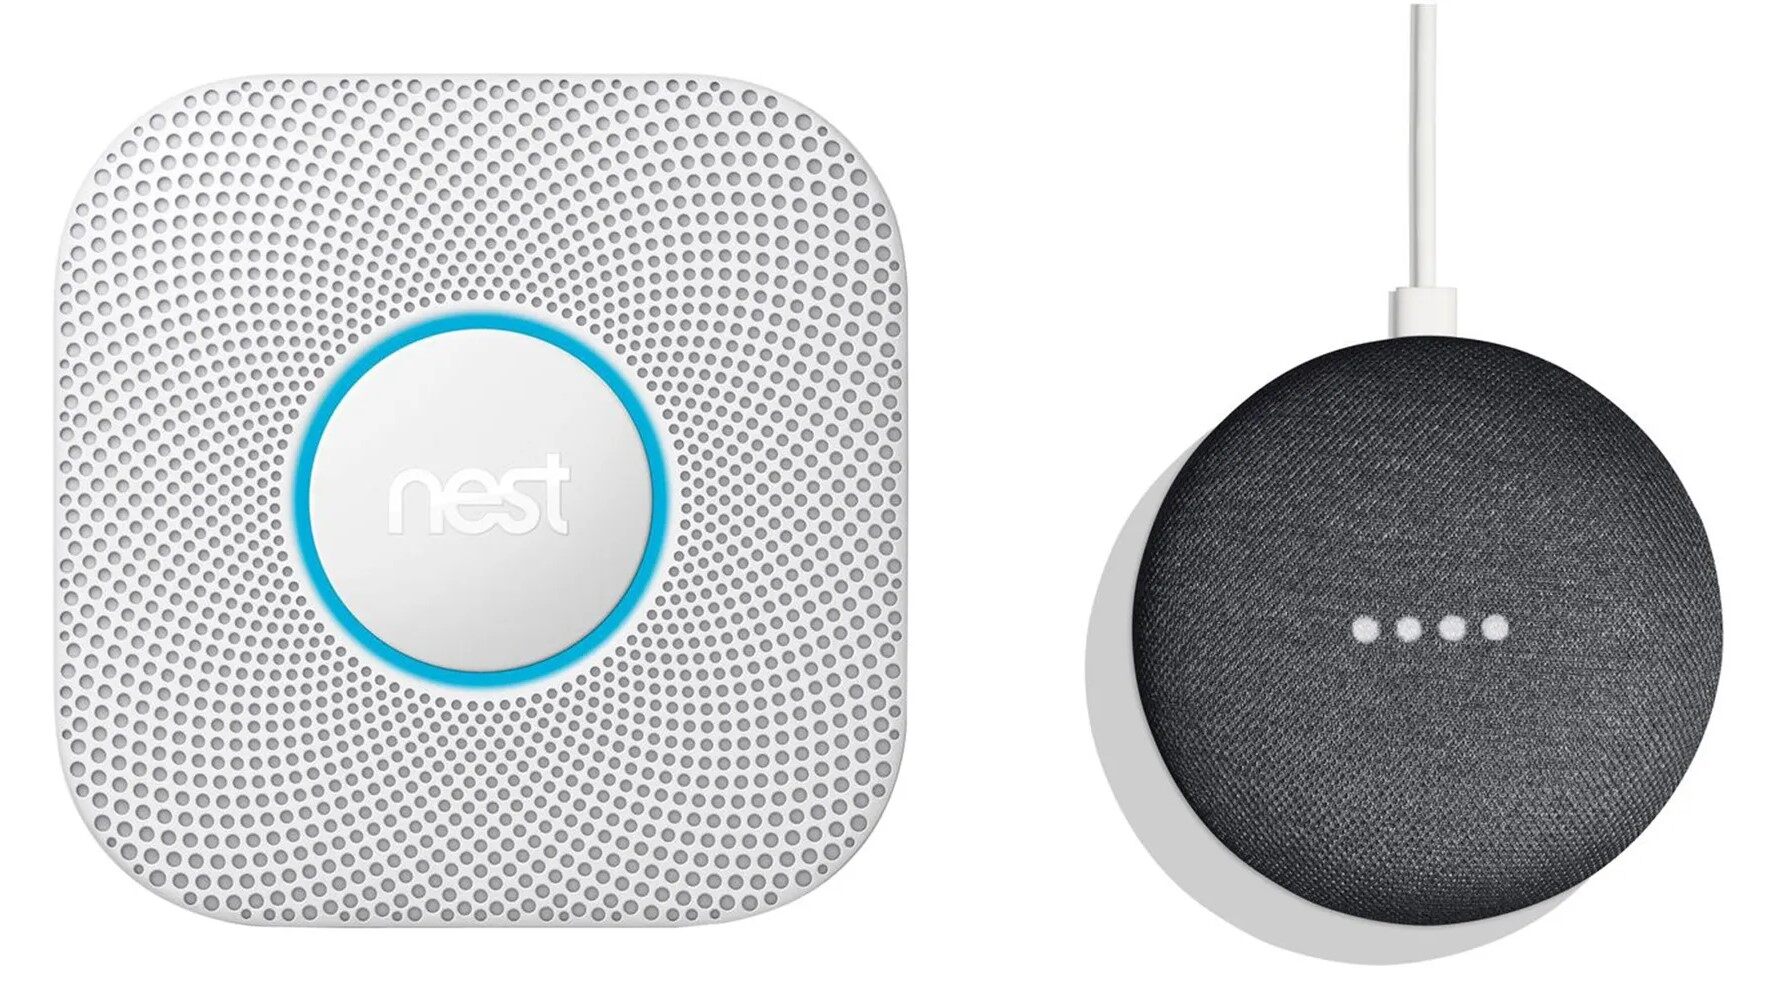
- Google Home Device: This voice-activated smart speaker serves as the command center for controlling various smart home devices, including the Nest Thermostat.
- Wi-Fi Network: A stable and reliable Wi-Fi connection is crucial for connecting and controlling the Nest Thermostat remotely and integrating it with Google Home.
- Smartphone or Tablet: You’ll need a mobile device to install the Nest app, which facilitates the setup process and provides remote control capabilities for your thermostat.
- Compatible HVAC System: Ensure that your heating, ventilation, and air conditioning (HVAC) system is compatible with the Nest Thermostat to enable seamless integration and optimal functionality.
- Power Drill and Screwdriver: These tools may be required for the physical installation of the Nest Thermostat, depending on your existing setup.
- User Manuals: Keep the user manuals for both the Nest Thermostat and Google Home handy for reference during the setup process.
By gathering these essential items, you’ll be fully equipped to proceed with the installation and integration of your Nest Thermostat and Google Home. Once you’ve confirmed the availability of these items, you can move on to the next step, which involves installing the Nest Thermostat in your home.
Step 2: Install the Nest Thermostat
Installing the Nest Thermostat is a pivotal step in creating a smart and energy-efficient home environment. This process involves physical placement and connection of the thermostat to your HVAC system, ensuring that it functions seamlessly and optimally. Follow these steps to install your Nest Thermostat:
- Turn Off Power: Before beginning the installation, turn off the power to your HVAC system at the circuit breaker to ensure safety during the process.
- Remove Existing Thermostat: If you have an existing thermostat, carefully remove it from the wall to access the wiring. Take note of the wires and their corresponding labels, as you will need this information during the installation of the Nest Thermostat.
- Mounting the Nest Base: Use the provided screws and base plate to securely mount the Nest Thermostat base to the wall. Ensure that the base is level and firmly attached to the wall surface.
- Connect Wires: Carefully connect the labeled wires from your HVAC system to the corresponding terminals on the Nest Thermostat base. Follow the provided instructions and use the built-in level to ensure accurate wiring connections.
- Attach Nest Thermostat: Gently align the Nest Thermostat display with the base and press it into place until it clicks securely. The thermostat should sit flush against the wall and remain stable once installed.
- Power On HVAC System: After the Nest Thermostat is securely installed and connected, restore power to your HVAC system at the circuit breaker to initiate the setup process.
Upon completing these installation steps, your Nest Thermostat will be physically installed and ready for the next phase of the setup process. The successful installation sets the stage for connecting your Nest Thermostat to your Wi-Fi network, enabling remote control and integration with Google Home.
Step 3: Connect Nest Thermostat to Wi-Fi
Connecting your Nest Thermostat to your Wi-Fi network is a crucial step that unlocks remote control capabilities and enables seamless integration with Google Home. By establishing a strong and stable connection, you can access and manage your thermostat settings from anywhere using the Nest app on your smartphone or tablet. Follow these steps to connect your Nest Thermostat to Wi-Fi:
- Access Nest Menu: On the Nest Thermostat, select “Settings” from the home screen and navigate to the Wi-Fi settings menu.
- Choose Network: Select your home Wi-Fi network from the available options displayed on the thermostat screen.
- Enter Wi-Fi Password: If prompted, enter the password for your Wi-Fi network using the thermostat’s interface. Use the on-screen keyboard to input the password accurately.
- Connect to Network: Once the correct Wi-Fi password is entered, the Nest Thermostat will attempt to connect to your home network. Upon successful connection, the thermostat will display a confirmation message.
- Verify Connection: Confirm that your Nest Thermostat is successfully connected to your Wi-Fi network by checking for the Wi-Fi icon on the thermostat’s display. This indicates a stable and active connection.
After successfully connecting your Nest Thermostat to your Wi-Fi network, you gain the ability to monitor and adjust your home’s temperature settings remotely. This connectivity also paves the way for integrating your Nest Thermostat with Google Home, allowing you to control the thermostat using voice commands and the Google Home app. With the Wi-Fi connection established, you’re now ready to proceed with setting up Google Home and linking it to your Nest Thermostat.
Make sure your Nest Thermostat is connected to the same Wi-Fi network as your Google Home. Then, open the Google Home app, go to “Add,” select “Set up device,” and follow the instructions to connect your Nest Thermostat to Google Home.
Step 4: Set Up Google Home
Setting up your Google Home device is the next pivotal step in the process of integrating it with your Nest Thermostat. Google Home serves as the central command center for controlling various smart home devices, including the Nest Thermostat, using voice commands and the Google Home app. Follow these steps to set up your Google Home:
- Unpack and Power On: Unbox your Google Home device and plug it into a power outlet using the provided power adapter. The device will power on and emit an audible notification upon startup.
- Download Google Home App: Install the Google Home app on your smartphone or tablet from the App Store (iOS) or Google Play Store (Android). Launch the app to begin the setup process.
- Follow On-Screen Instructions: The Google Home app will guide you through the setup process, including connecting your Google Home device to your Wi-Fi network and linking it to your Google account.
- Customize Settings: Personalize your Google Home device by configuring preferences such as language, location, and default music services within the Google Home app.
- Complete Setup: Once the setup process is complete, your Google Home device is ready to respond to voice commands and act as a central hub for controlling smart home devices, including the Nest Thermostat.
With your Google Home device set up and connected to your Wi-Fi network, you’re now poised to link it to your Nest Thermostat, enabling seamless voice control and management of your home’s temperature settings. The successful setup of Google Home brings you one step closer to a fully integrated and voice-activated smart home experience.
Read more: How To Add My Nest Thermostat To Google Home
Step 5: Link Nest Thermostat to Google Home
Linking your Nest Thermostat to Google Home is a transformative process that enables effortless voice control and management of your home’s climate. By establishing this connection, you gain the ability to adjust the temperature, create schedules, and access personalized climate settings using voice commands and the Google Home app. Follow these steps to link your Nest Thermostat to Google Home:
- Open Google Home App: Launch the Google Home app on your smartphone or tablet, which you previously used to set up your Google Home device.
- Access Device Settings: Navigate to the device settings within the Google Home app and select “Add” or the “+” symbol to add a new device or service.
- Select Works with Google: Choose “Works with Google” from the list of options to explore compatible devices and services that can be linked to your Google Home.
- Find and Link Nest Thermostat: Locate and select the Nest Thermostat from the list of compatible devices. Follow the on-screen prompts to link your Nest account and authorize the integration with Google Home.
- Complete the Linking Process: Once the linking process is complete, your Nest Thermostat is successfully integrated with Google Home, enabling voice control and remote management using the Google Home app.
Upon linking your Nest Thermostat to Google Home, you can begin using voice commands to adjust the temperature, check the current settings, and create custom schedules for your home’s climate control. This seamless integration marks a significant milestone in creating a connected and intelligent home environment, where technology works harmoniously to enhance your comfort and convenience.
Step 6: Control Nest Thermostat with Google Home
Controlling your Nest Thermostat with Google Home introduces a new level of convenience and flexibility to your home automation experience. By leveraging voice commands and the intuitive interface of the Google Home app, you can effortlessly manage your home’s temperature settings, create schedules, and access personalized climate control features. Here’s how you can control your Nest Thermostat with Google Home:
- Voice Commands: Use simple voice commands, such as “Hey Google, set the temperature to 72 degrees,” to adjust the temperature settings on your Nest Thermostat. Google Home responds to your voice commands, instantly updating the thermostat settings to match your preferences.
- Google Home App Control: Open the Google Home app on your smartphone or tablet to access the Nest Thermostat controls. From the app, you can view the current temperature, adjust the settings, and create custom schedules to optimize energy usage and comfort in your home.
- Create Customized Schedules: Utilize the scheduling features within the Google Home app to establish personalized temperature schedules for different times of the day or week. This allows you to automate temperature adjustments based on your daily routine and preferences.
- Access Remote Control Capabilities: Whether you’re at home or away, you can remotely control your Nest Thermostat using the Google Home app. This flexibility enables you to adjust the temperature before arriving home or conserve energy while you’re away.
- Utilize Additional Features: Explore additional features and integrations available through Google Home to enhance your climate control experience. This may include compatibility with other smart home devices and the ability to create routines that incorporate your Nest Thermostat settings.
By harnessing the power of Google Home to control your Nest Thermostat, you can seamlessly manage your home’s climate with unparalleled convenience and precision. The intuitive nature of voice commands and the user-friendly interface of the Google Home app empower you to create a personalized and energy-efficient environment that aligns with your lifestyle and preferences.
Conclusion
Congratulations on successfully setting up and integrating your Nest Thermostat with Google Home! By following the comprehensive steps outlined in this guide, you have unlocked a world of convenience, energy efficiency, and seamless control within your smart home ecosystem.
The combined power of the Nest Thermostat and Google Home enables you to manage your home’s climate with ease, whether you’re adjusting the temperature using voice commands, creating personalized schedules, or accessing remote control capabilities from anywhere. This integration represents a significant leap forward in harnessing the potential of smart home technology to enhance your daily life.
As you continue to explore the capabilities of your Nest Thermostat and Google Home, consider leveraging additional features and integrations to further optimize your home environment. From creating routines that synchronize multiple smart devices to exploring energy-saving strategies, the possibilities are endless when it comes to maximizing the benefits of your connected home ecosystem.
Embrace the convenience, comfort, and energy savings that come with controlling your Nest Thermostat using Google Home. Whether you’re fine-tuning the temperature for optimal comfort or prioritizing energy efficiency, the seamless integration of these devices empowers you to take charge of your home’s climate in a way that aligns with your lifestyle and preferences.
With the foundation laid for a smart, connected home, you’re well-positioned to explore and embrace the ever-evolving landscape of home automation, where technology works harmoniously to elevate your living experience. As you embark on this journey, may your home be a testament to the power of innovation, convenience, and sustainability in shaping the future of modern living.
Frequently Asked Questions about How To Set Up Nest Thermostat With Google Home
Was this page helpful?
At Storables.com, we guarantee accurate and reliable information. Our content, validated by Expert Board Contributors, is crafted following stringent Editorial Policies. We're committed to providing you with well-researched, expert-backed insights for all your informational needs.
0 thoughts on “How To Set Up Nest Thermostat With Google Home”