Articles
How To Wire A AC Thermostat
Modified: January 6, 2024
Learn how to wire an AC thermostat with step-by-step instructions and helpful articles. Get expert tips and advice on thermostat installation and troubleshooting.
(Many of the links in this article redirect to a specific reviewed product. Your purchase of these products through affiliate links helps to generate commission for Storables.com, at no extra cost. Learn more)
Introduction
Welcome to the world of AC thermostats! These little devices play a crucial role in keeping our homes cool and comfortable during the hot summer months. Whether you’re replacing an old thermostat or installing a new one, understanding how to wire an AC thermostat is an essential skill for homeowners and DIY enthusiasts.
In this article, we will guide you through the process of wiring an AC thermostat step by step. From gathering the necessary tools and materials to ensuring safety precautions, we will cover everything you need to know to get the job done. So, let’s dive in and learn how to wire an AC thermostat!
Key Takeaways:
- Understanding the basic components and functionality of AC thermostats is crucial for successful wiring and installation. Different types of thermostats offer varying features, so choose the right one for your needs and follow safety precautions.
- Prioritize safety by turning off the power, handling wires carefully, and following step-by-step instructions. Double-checking connections and testing the new thermostat’s functionality ensures a properly functioning and energy-efficient cooling system.
Read more: How To Wire 4-Wire Thermostat
Understanding AC Thermostats
Before we get into the nitty-gritty of wiring an AC thermostat, it’s important to have a basic understanding of how these devices work. An AC thermostat is essentially a temperature-sensitive switch that regulates the operation of your air conditioning system.
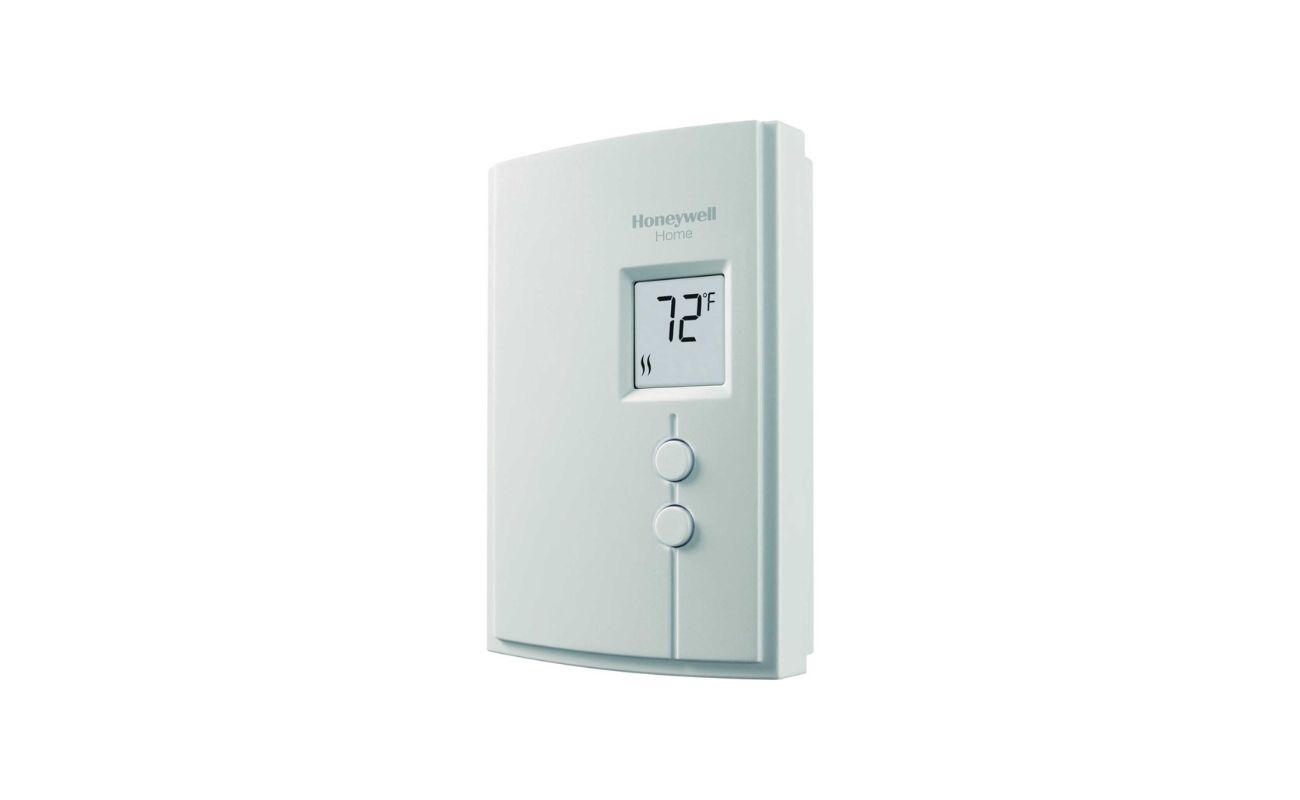
Thermostats come in different types, including manual thermostats, programmable thermostats, and smart thermostats. Manual thermostats require manual adjustment to set the desired temperature, while programmable thermostats allow you to pre-program temperature settings for different times of the day. Smart thermostats take things a step further by connecting to your home’s Wi-Fi network, allowing you to control and monitor your thermostat remotely using a smartphone app or voice commands.
Most AC thermostats have several key components:
- Temperature Sensor: This component detects the current temperature in the room and sends the information to the thermostat.
- Control Circuit: The control circuit receives the temperature information and compares it to the desired temperature setting.
- Relay Switch: If the current temperature is higher than the desired temperature, the relay switch activates the air conditioning system to start cooling. Once the desired temperature is reached, the relay switch turns off the AC system.
- User Interface: The user interface allows you to interact with the thermostat, adjust temperature settings, and access additional features.
Now that you have a basic understanding of AC thermostats, let’s move on to the tools and materials you’ll need to wire a new thermostat or replace an existing one.
Tools and Materials Needed
Before you embark on wiring an AC thermostat, it’s important to gather all the necessary tools and materials. Having everything on hand will make the installation process smoother and more efficient. Here’s a list of what you’ll need:
- Screwdriver: A Phillips or flathead screwdriver will be required to remove and secure the thermostat to the wall.
- Wire Strippers: These will come in handy for stripping the insulation off the thermostat wires.
- Electrical Tape: You’ll need electrical tape to secure the wire connections and prevent any exposed wires.
- Wire Nuts: Wire nuts are used to connect the wires together securely.
- AC Thermostat: Make sure you have the new thermostat that you want to install.
- Level: A level will help you ensure that the thermostat is mounted straight and level on the wall.
- Pencil: You’ll need a pencil to mark the mounting holes on the wall.
- Drill and Bits: If necessary, you may need a drill and appropriate drill bits to create holes for mounting the thermostat.
Depending on your specific thermostat and installation requirements, you may need additional tools or materials, so it’s always a good idea to read the manufacturer’s installation instructions before beginning.
Now that you’ve gathered all the tools and materials, let’s move on to the next section, where we’ll discuss important safety precautions to keep in mind.
Safety Precautions
When working with electrical systems, it’s essential to prioritize safety to avoid potential hazards or accidents. Here are some important safety precautions to keep in mind when wiring an AC thermostat:
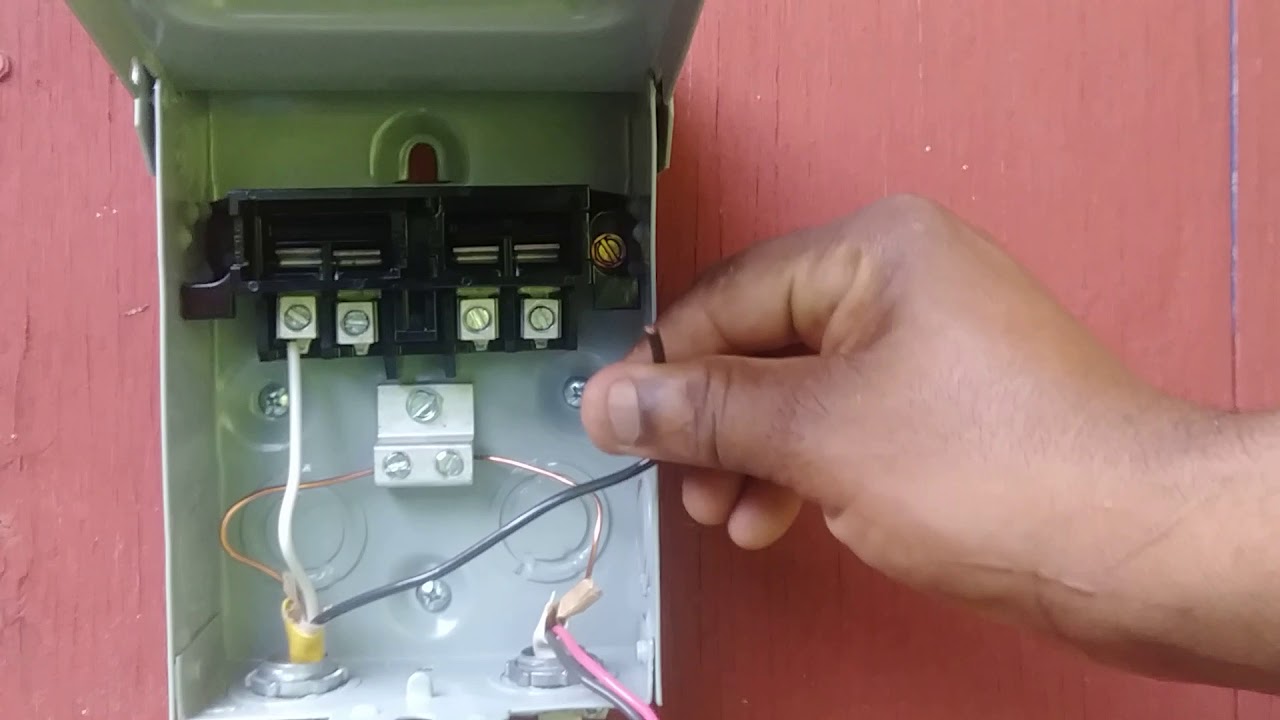
- Turn off the Power: Before you start working, it’s crucial to turn off the power to the HVAC system at the circuit breaker. This will prevent any electrical shock or damage while handling the thermostat wires.
- Handle Wires Carefully: Treat the thermostat wires with care, as they are delicate and can easily break or become damaged. Avoid bending or twisting the wires excessively.
- Double Check the Power: After turning off the power at the circuit breaker, use a voltage tester to verify that the power is indeed off before proceeding with the installation.
- Follow manufacturer’s instructions: Every thermostat model may have specific installation instructions provided by the manufacturer. It’s important to carefully read and follow these instructions to ensure proper installation and functionality.
- Avoid Short Circuits: Be cautious not to allow any bare wires or loose connections to come into contact with other wires or metal surfaces, as this can result in a short circuit or electrical fire.
- Avoid Excessive Force: When connecting or disconnecting wires, use gentle force to avoid damaging the wires or the terminals on the thermostat.
- Keep the Area Clear: Make sure the area around your thermostat is clear of any flammable materials or obstructions to ensure proper airflow and prevent any potential fire hazards.
- Seek Professional Help if Needed: If you’re unsure or uncomfortable with any step of the installation process, it’s always best to consult a professional electrician or HVAC technician for assistance. Safety should always be your top priority.
By following these safety precautions, you can minimize the risk of accidents or electrical hazards while wiring your AC thermostat.
Now that you’re aware of the safety measures, let’s move on to the step-by-step process of wiring an AC thermostat.
Step 1: Turn Off Power
Before you begin working on wiring an AC thermostat, it is crucial to turn off the power to the HVAC system. This step is essential to ensure your safety and to avoid any unintended electrical shock or damage.
The power to your HVAC system is typically controlled by a circuit breaker or a switch located near the unit. Locate the circuit breaker or switch and turn it off to cut the power supply.
Once you have turned off the power, it’s a good practice to double-check that the power is indeed off. You can do this by using a voltage tester to verify that there is no electricity flowing through the wires.
It’s important not to skip this step, as working on live electrical wires can be extremely dangerous. Always prioritize safety by turning off the power before proceeding with any electrical work.
With the power turned off, you’re ready to move on to the next step: removing the old thermostat.
Read more: How To Wire Up A Thermostat
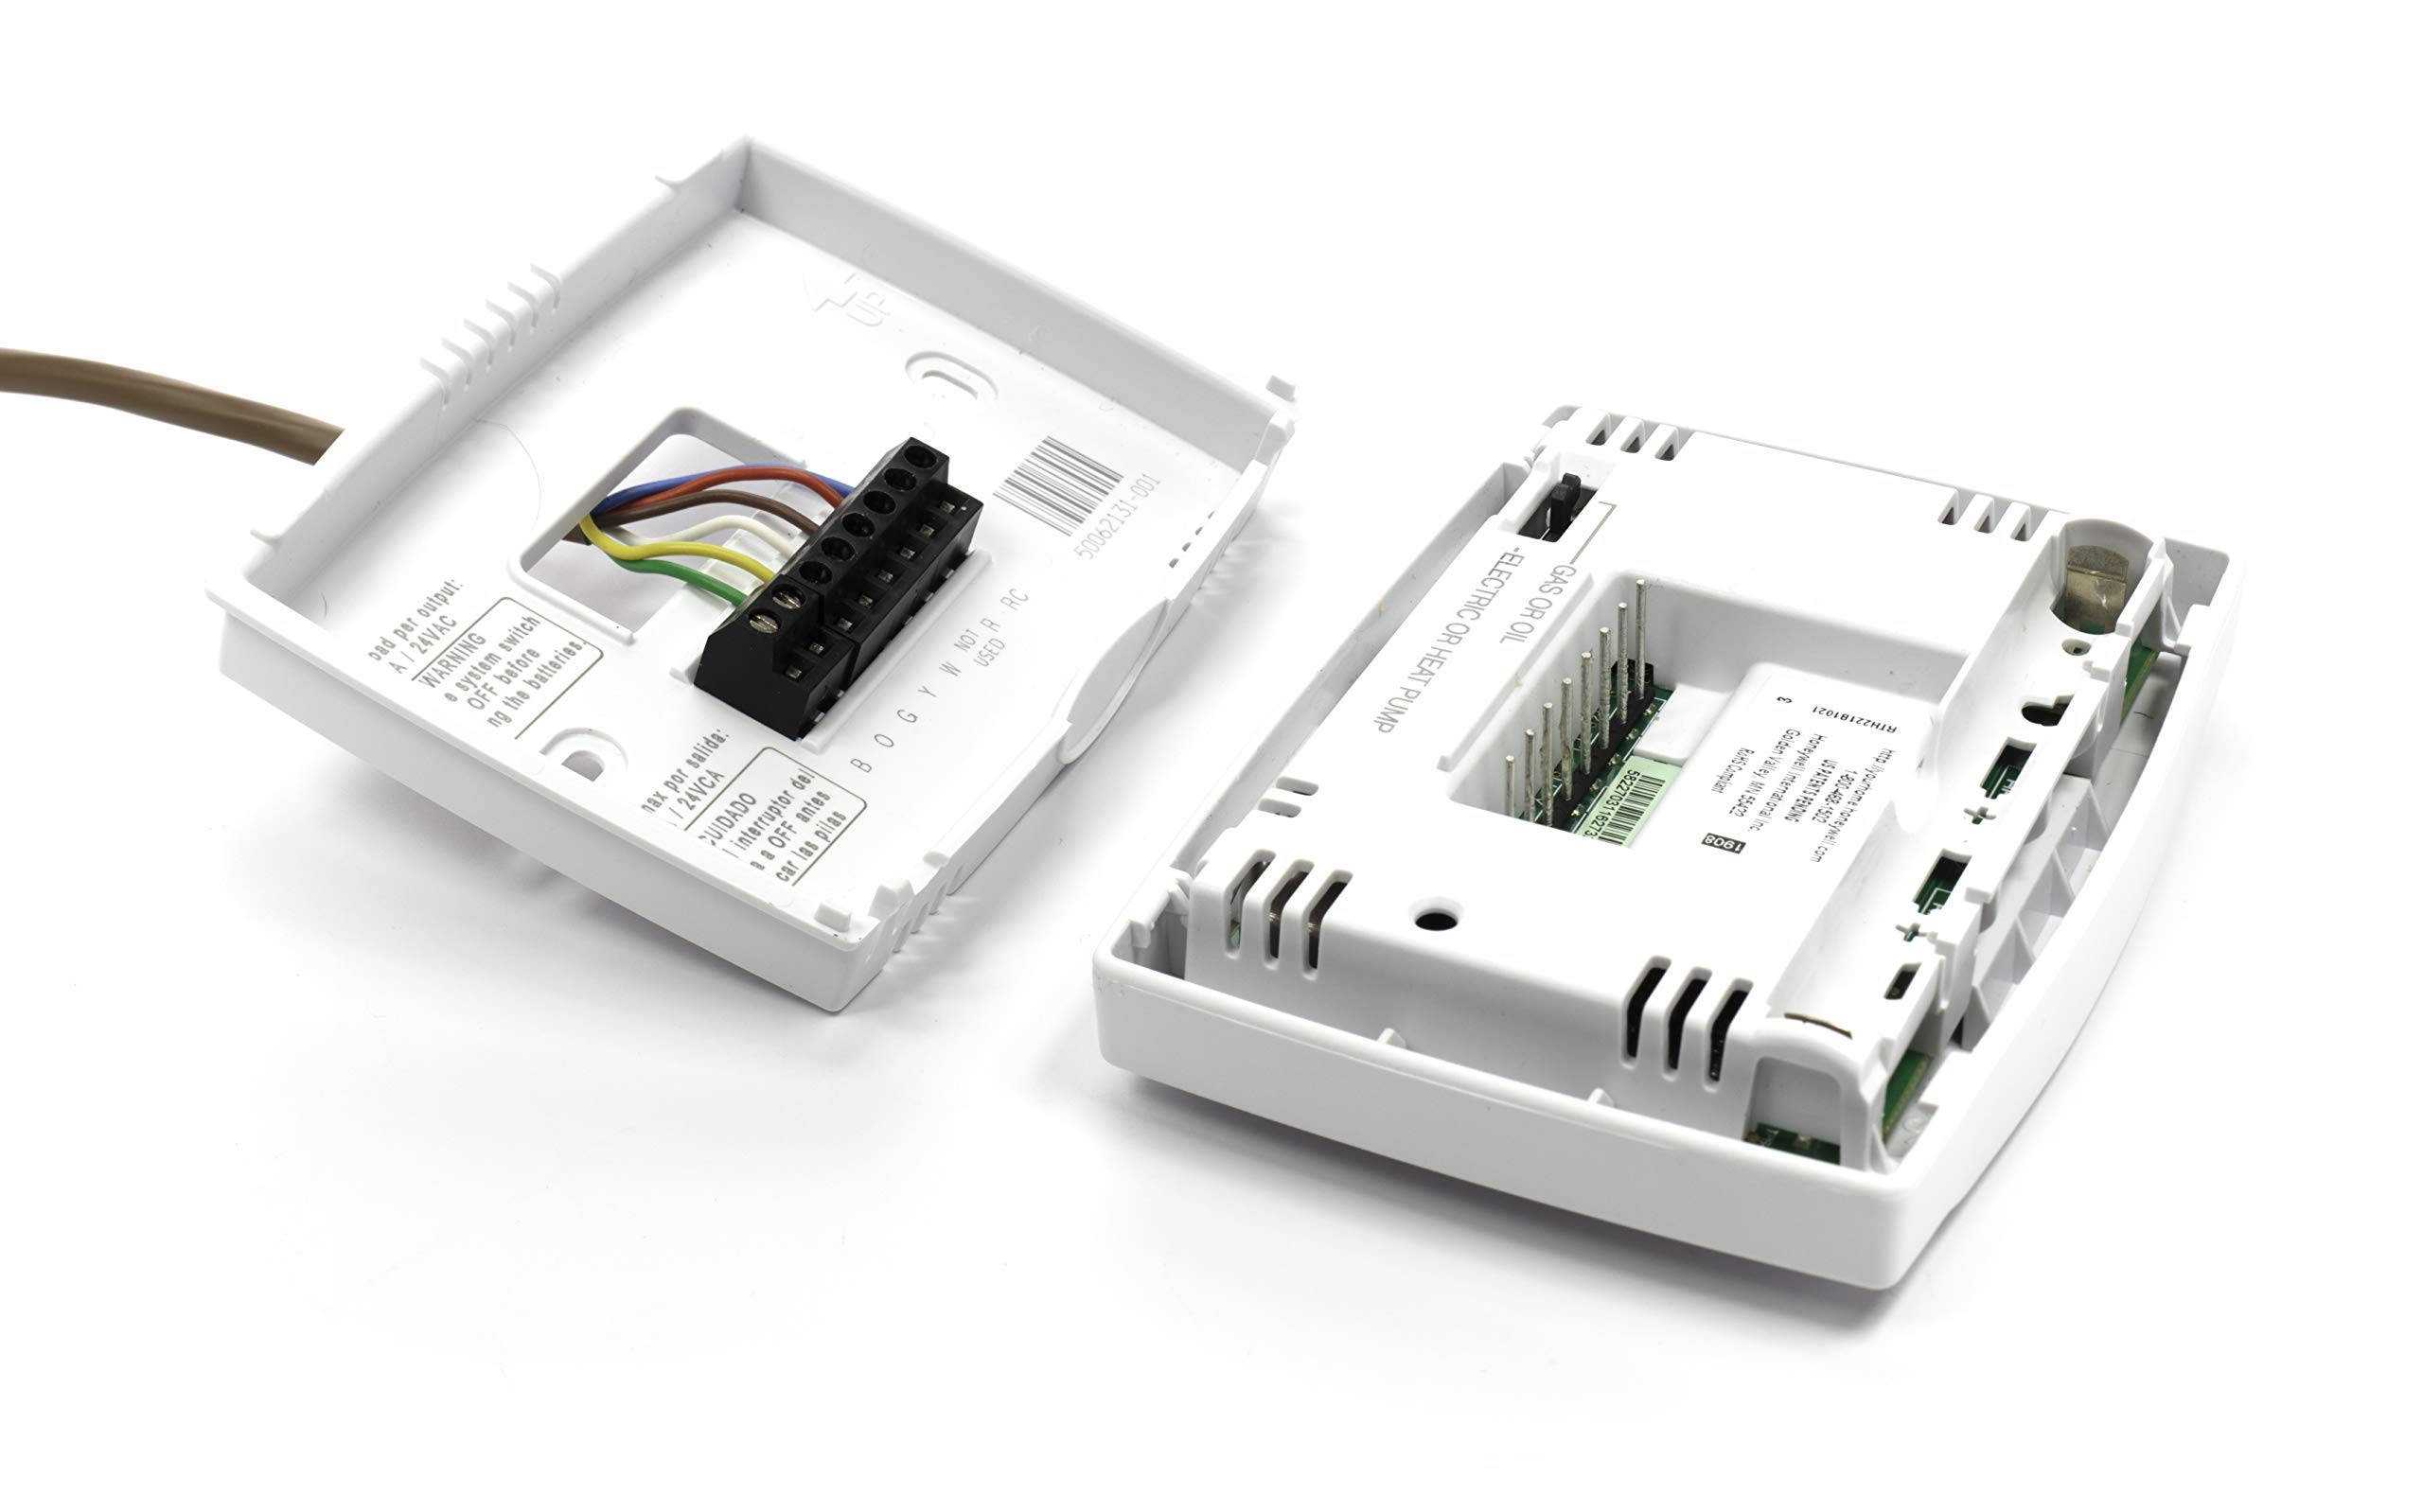
Step 2: Remove Old Thermostat
With the power turned off, it’s time to remove the old thermostat from the wall. Follow these steps to safely remove the old thermostat:
- Remove the thermostat cover: Gently remove the cover from the thermostat. Most covers can be easily popped off by applying slight pressure or by unscrewing any screws holding it in place.
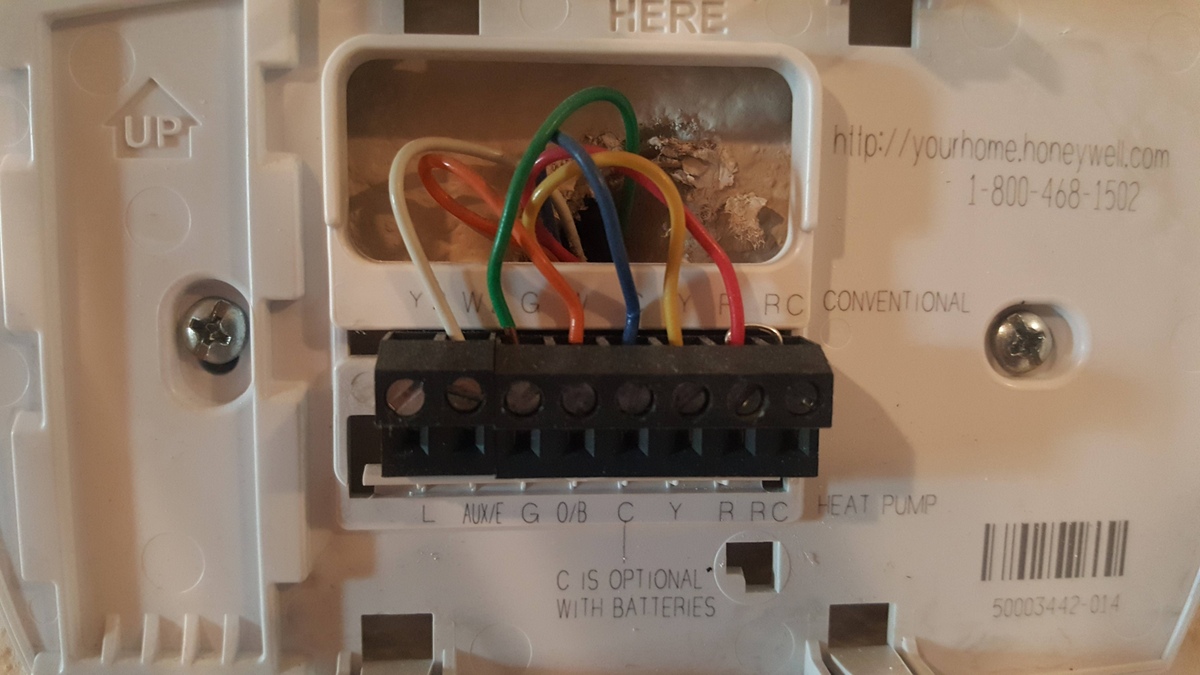
- Take note of the existing wiring: Carefully observe and take note of the wires connected to the terminals on the thermostat. Each wire corresponds to a specific function, such as a power supply, cooling, heating, or fan control.
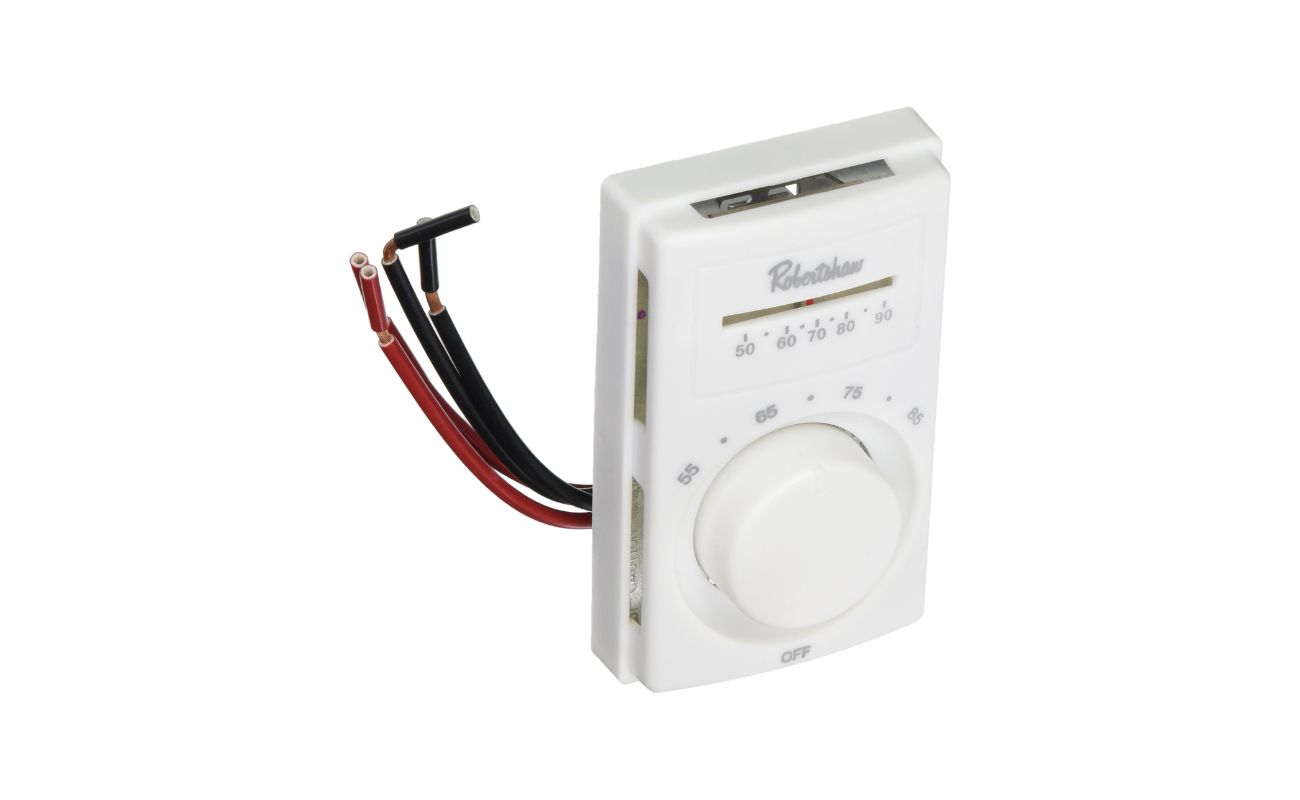
- Disconnect the wires: Using a screwdriver, unscrew the terminal screws to release the wires from the old thermostat. Pay attention to the colors of the wires and their corresponding terminals.
- Remove the mounting plate: Once the wires are disconnected, remove the mounting plate of the old thermostat from the wall. Depending on the type of thermostat, it may be secured with screws or sticky adhesive.
Be careful while handling the old thermostat to prevent any damage to the wires or the thermostat itself. If you are uncertain about which wire corresponds to which terminal, it’s helpful to take pictures or label the wires before disconnecting them.
Once you have successfully removed the old thermostat and its mounting plate from the wall, you can proceed to the next step: identifying the thermostat wires.
When wiring an AC thermostat, make sure to turn off the power to the HVAC system before starting. Follow the manufacturer’s instructions and use a voltage tester to ensure safety.
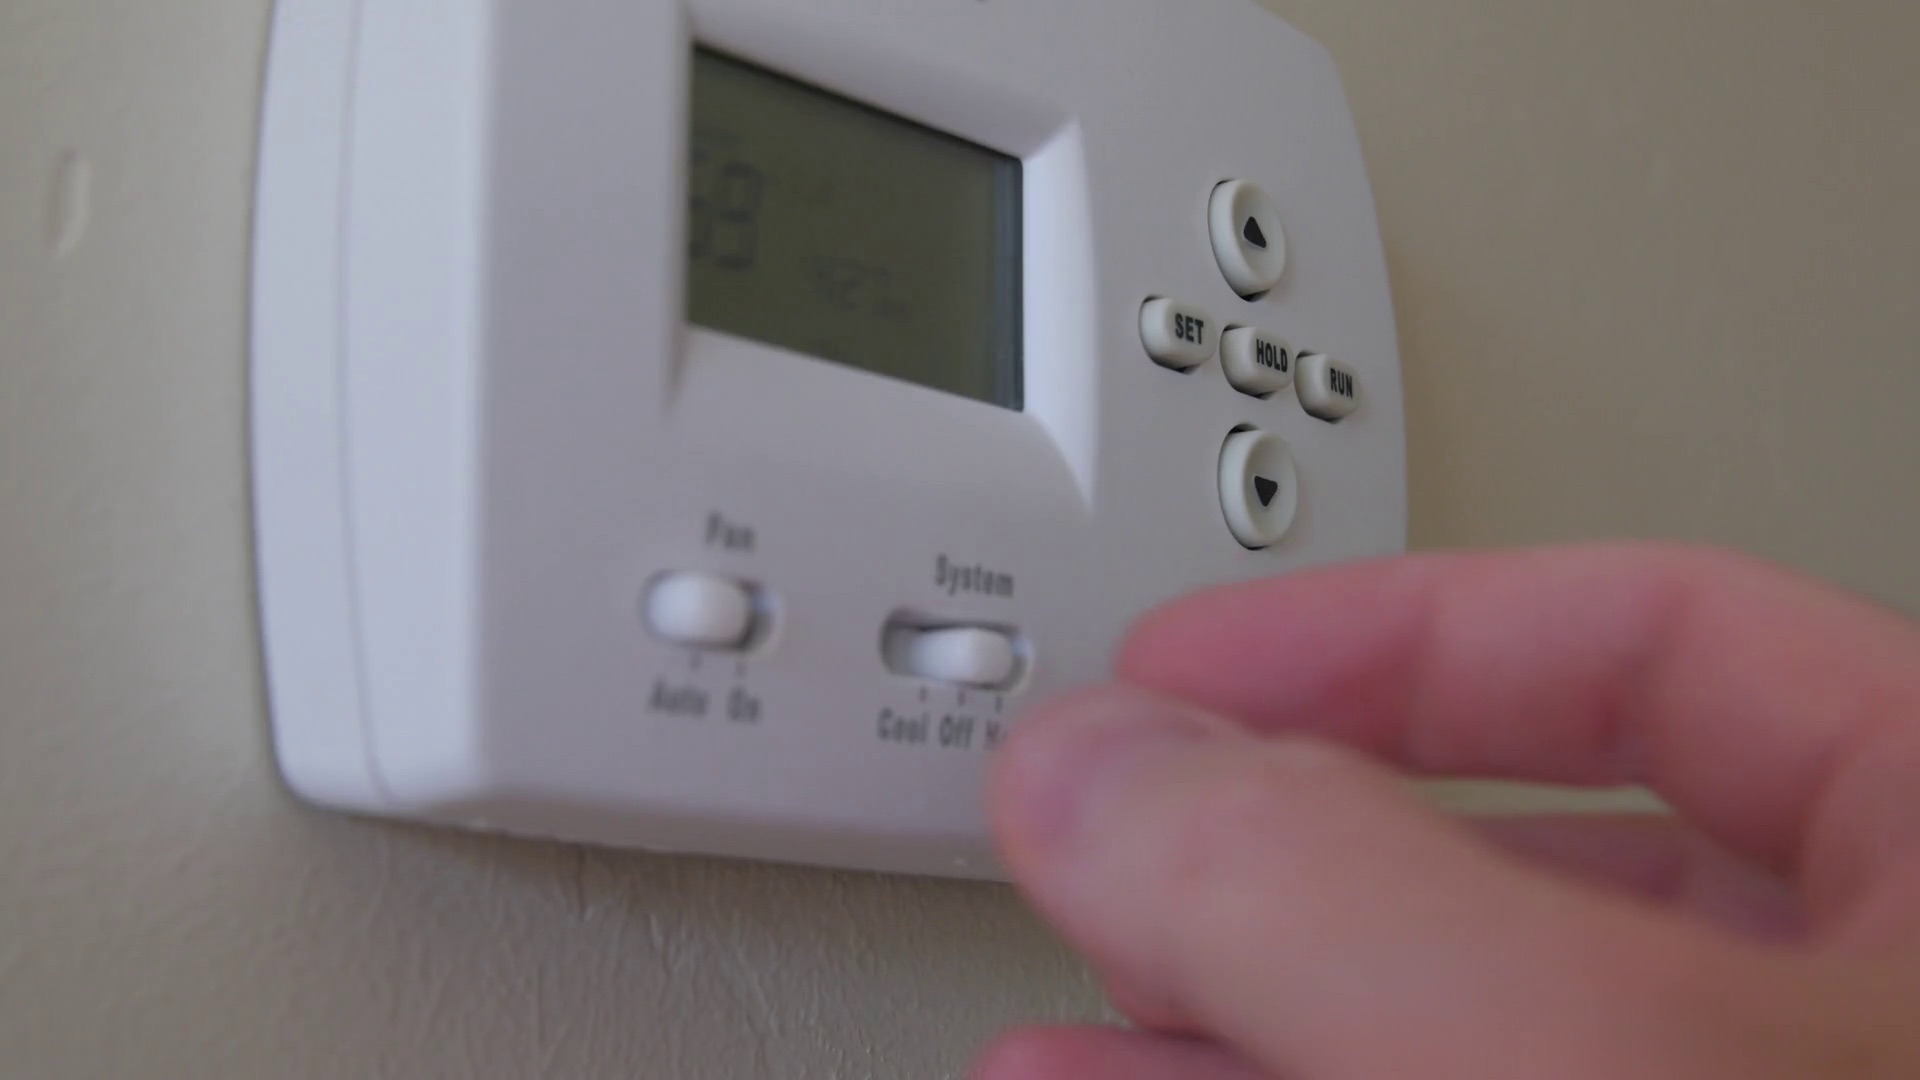
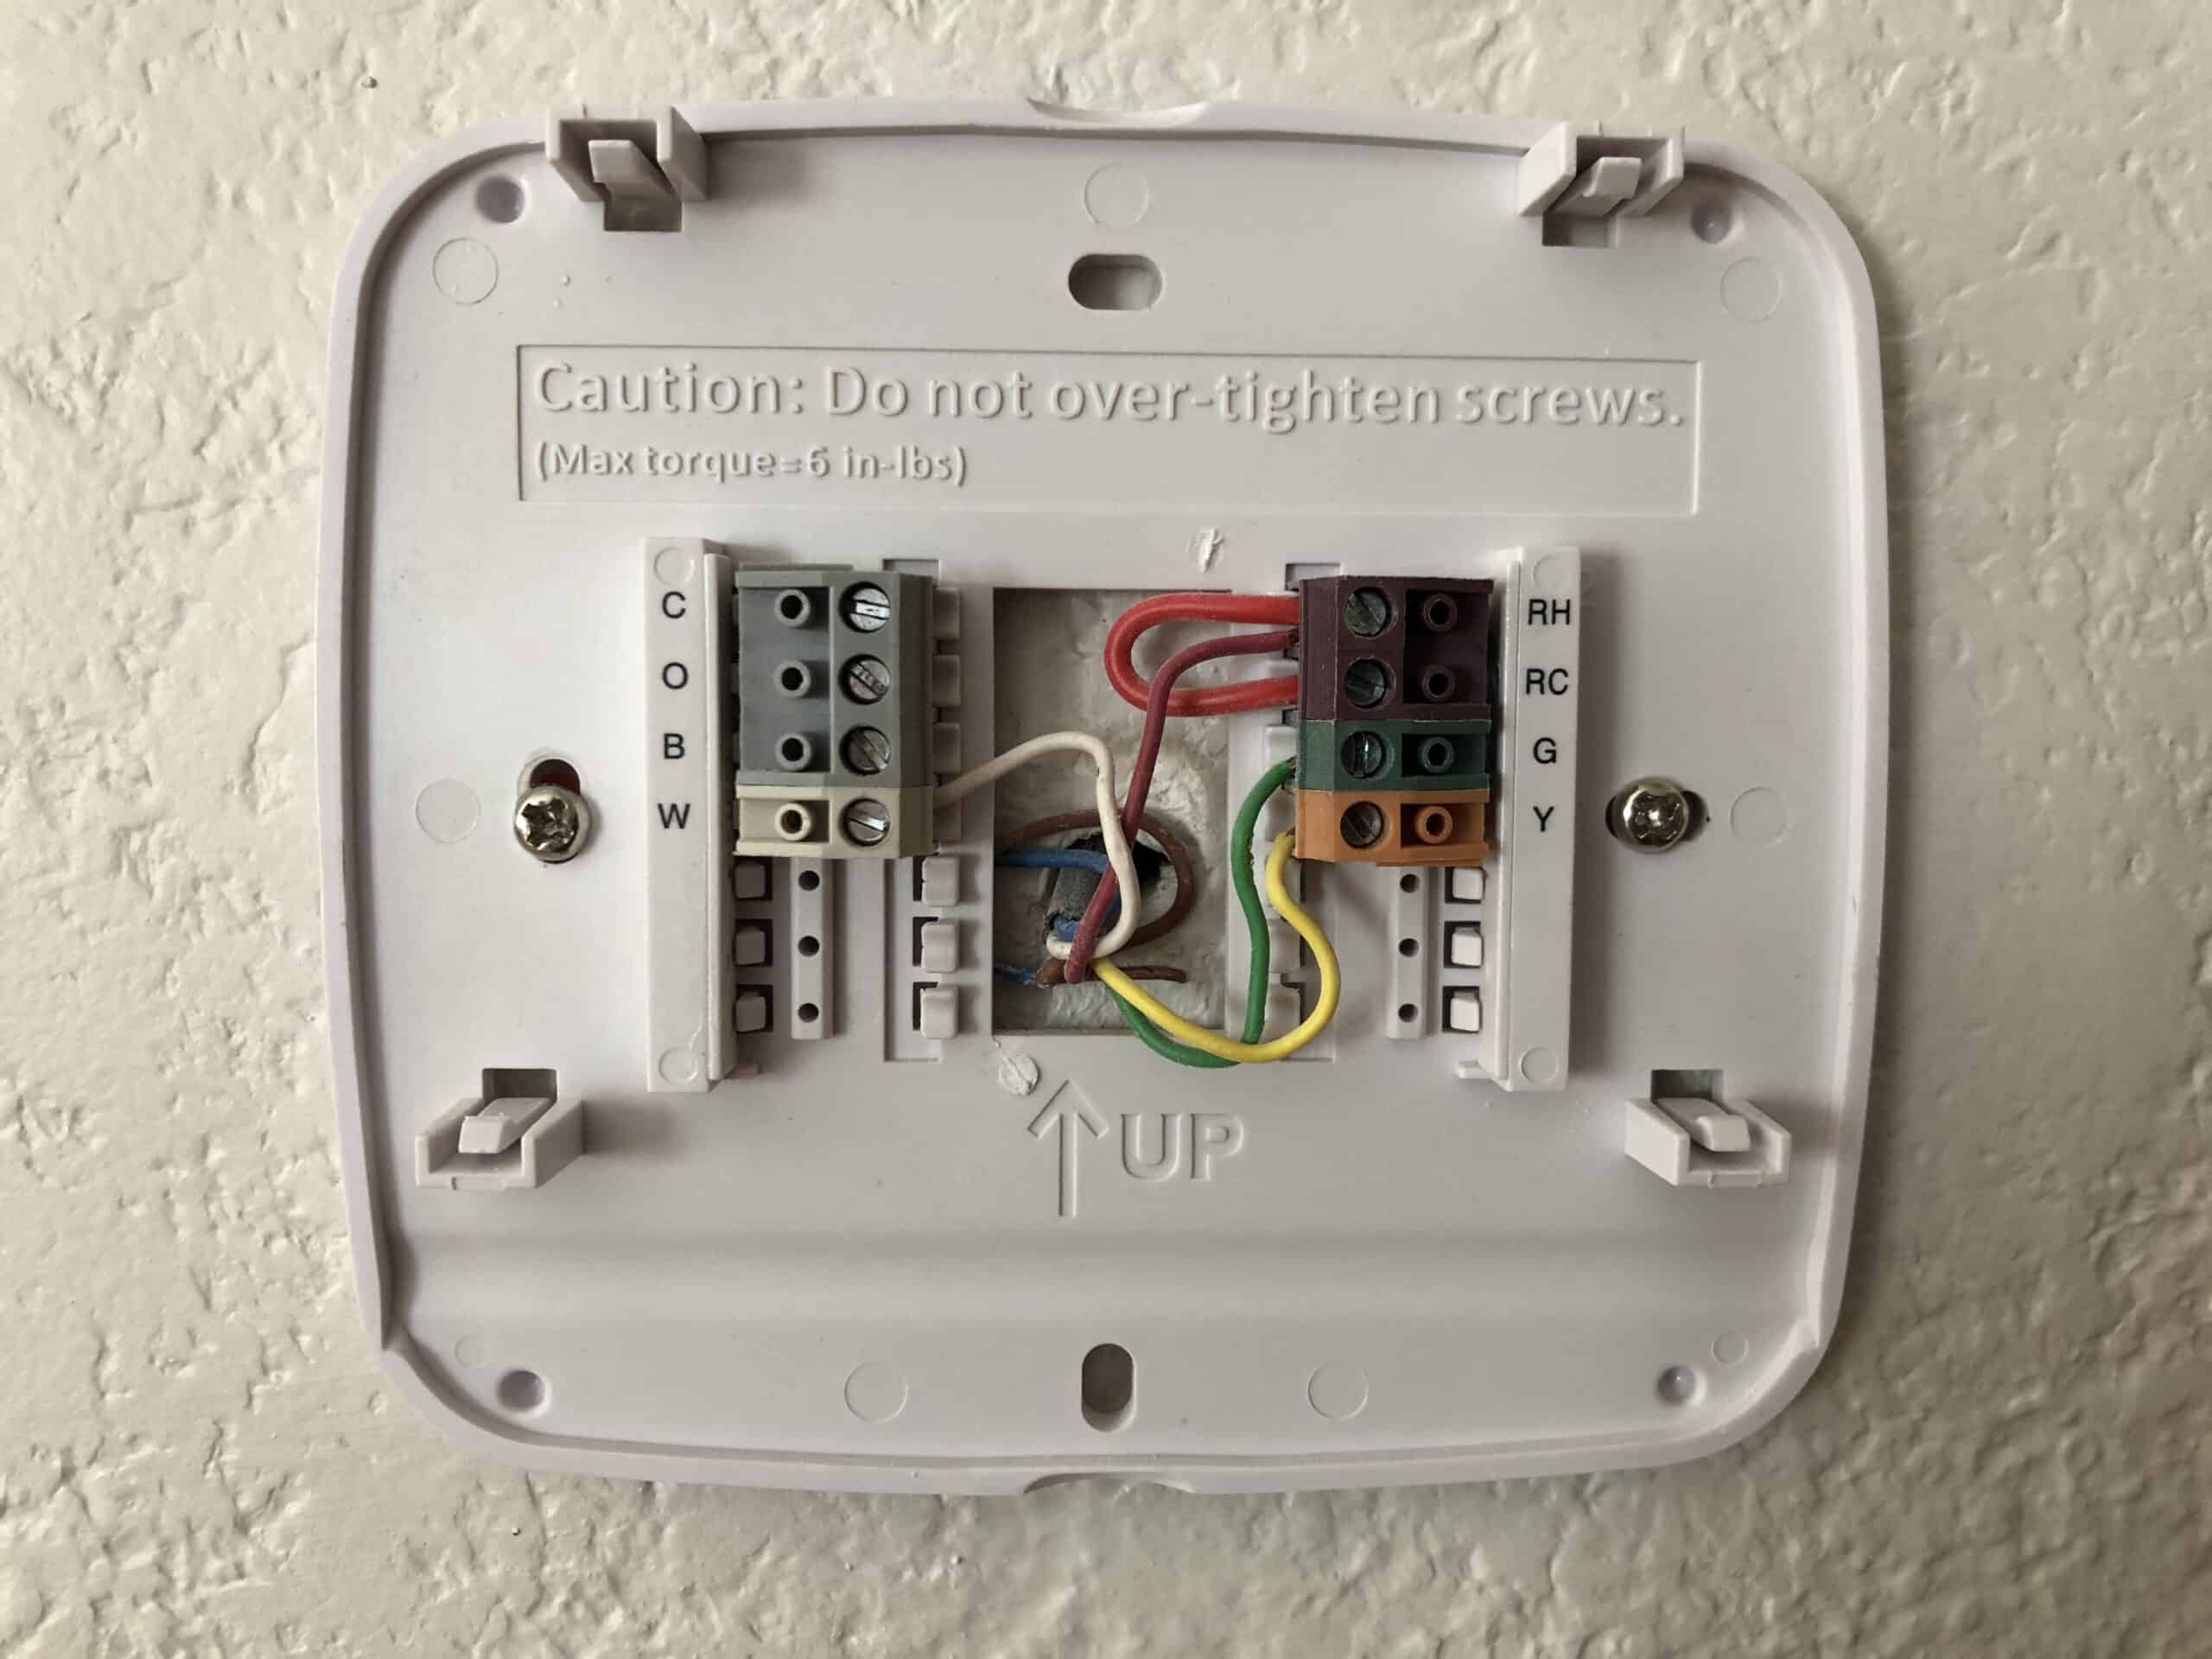
Step 3: Identify Thermostat Wires
Now that you have removed the old thermostat, it’s time to identify the different thermostat wires. Each wire serves a specific function and will need to be connected correctly to the new thermostat. Here’s how you can identify the thermostat wires:
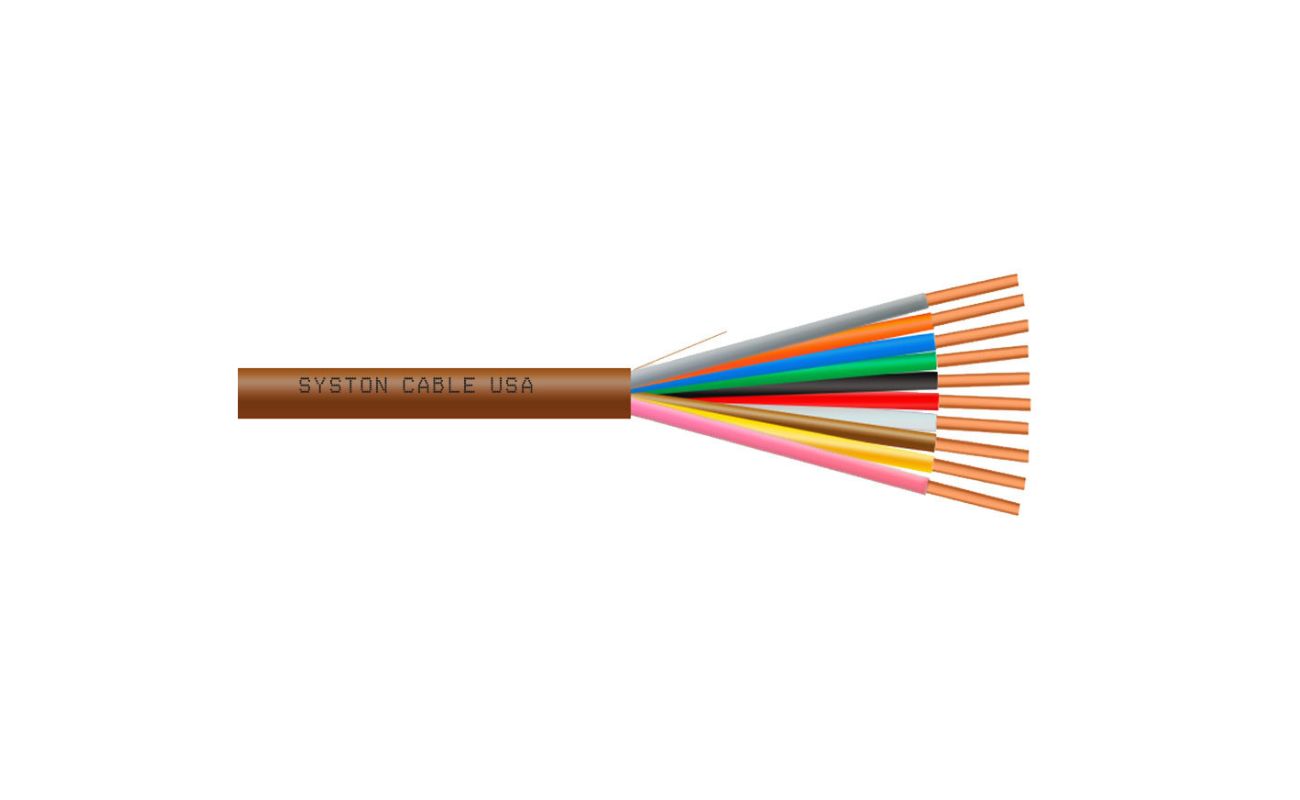
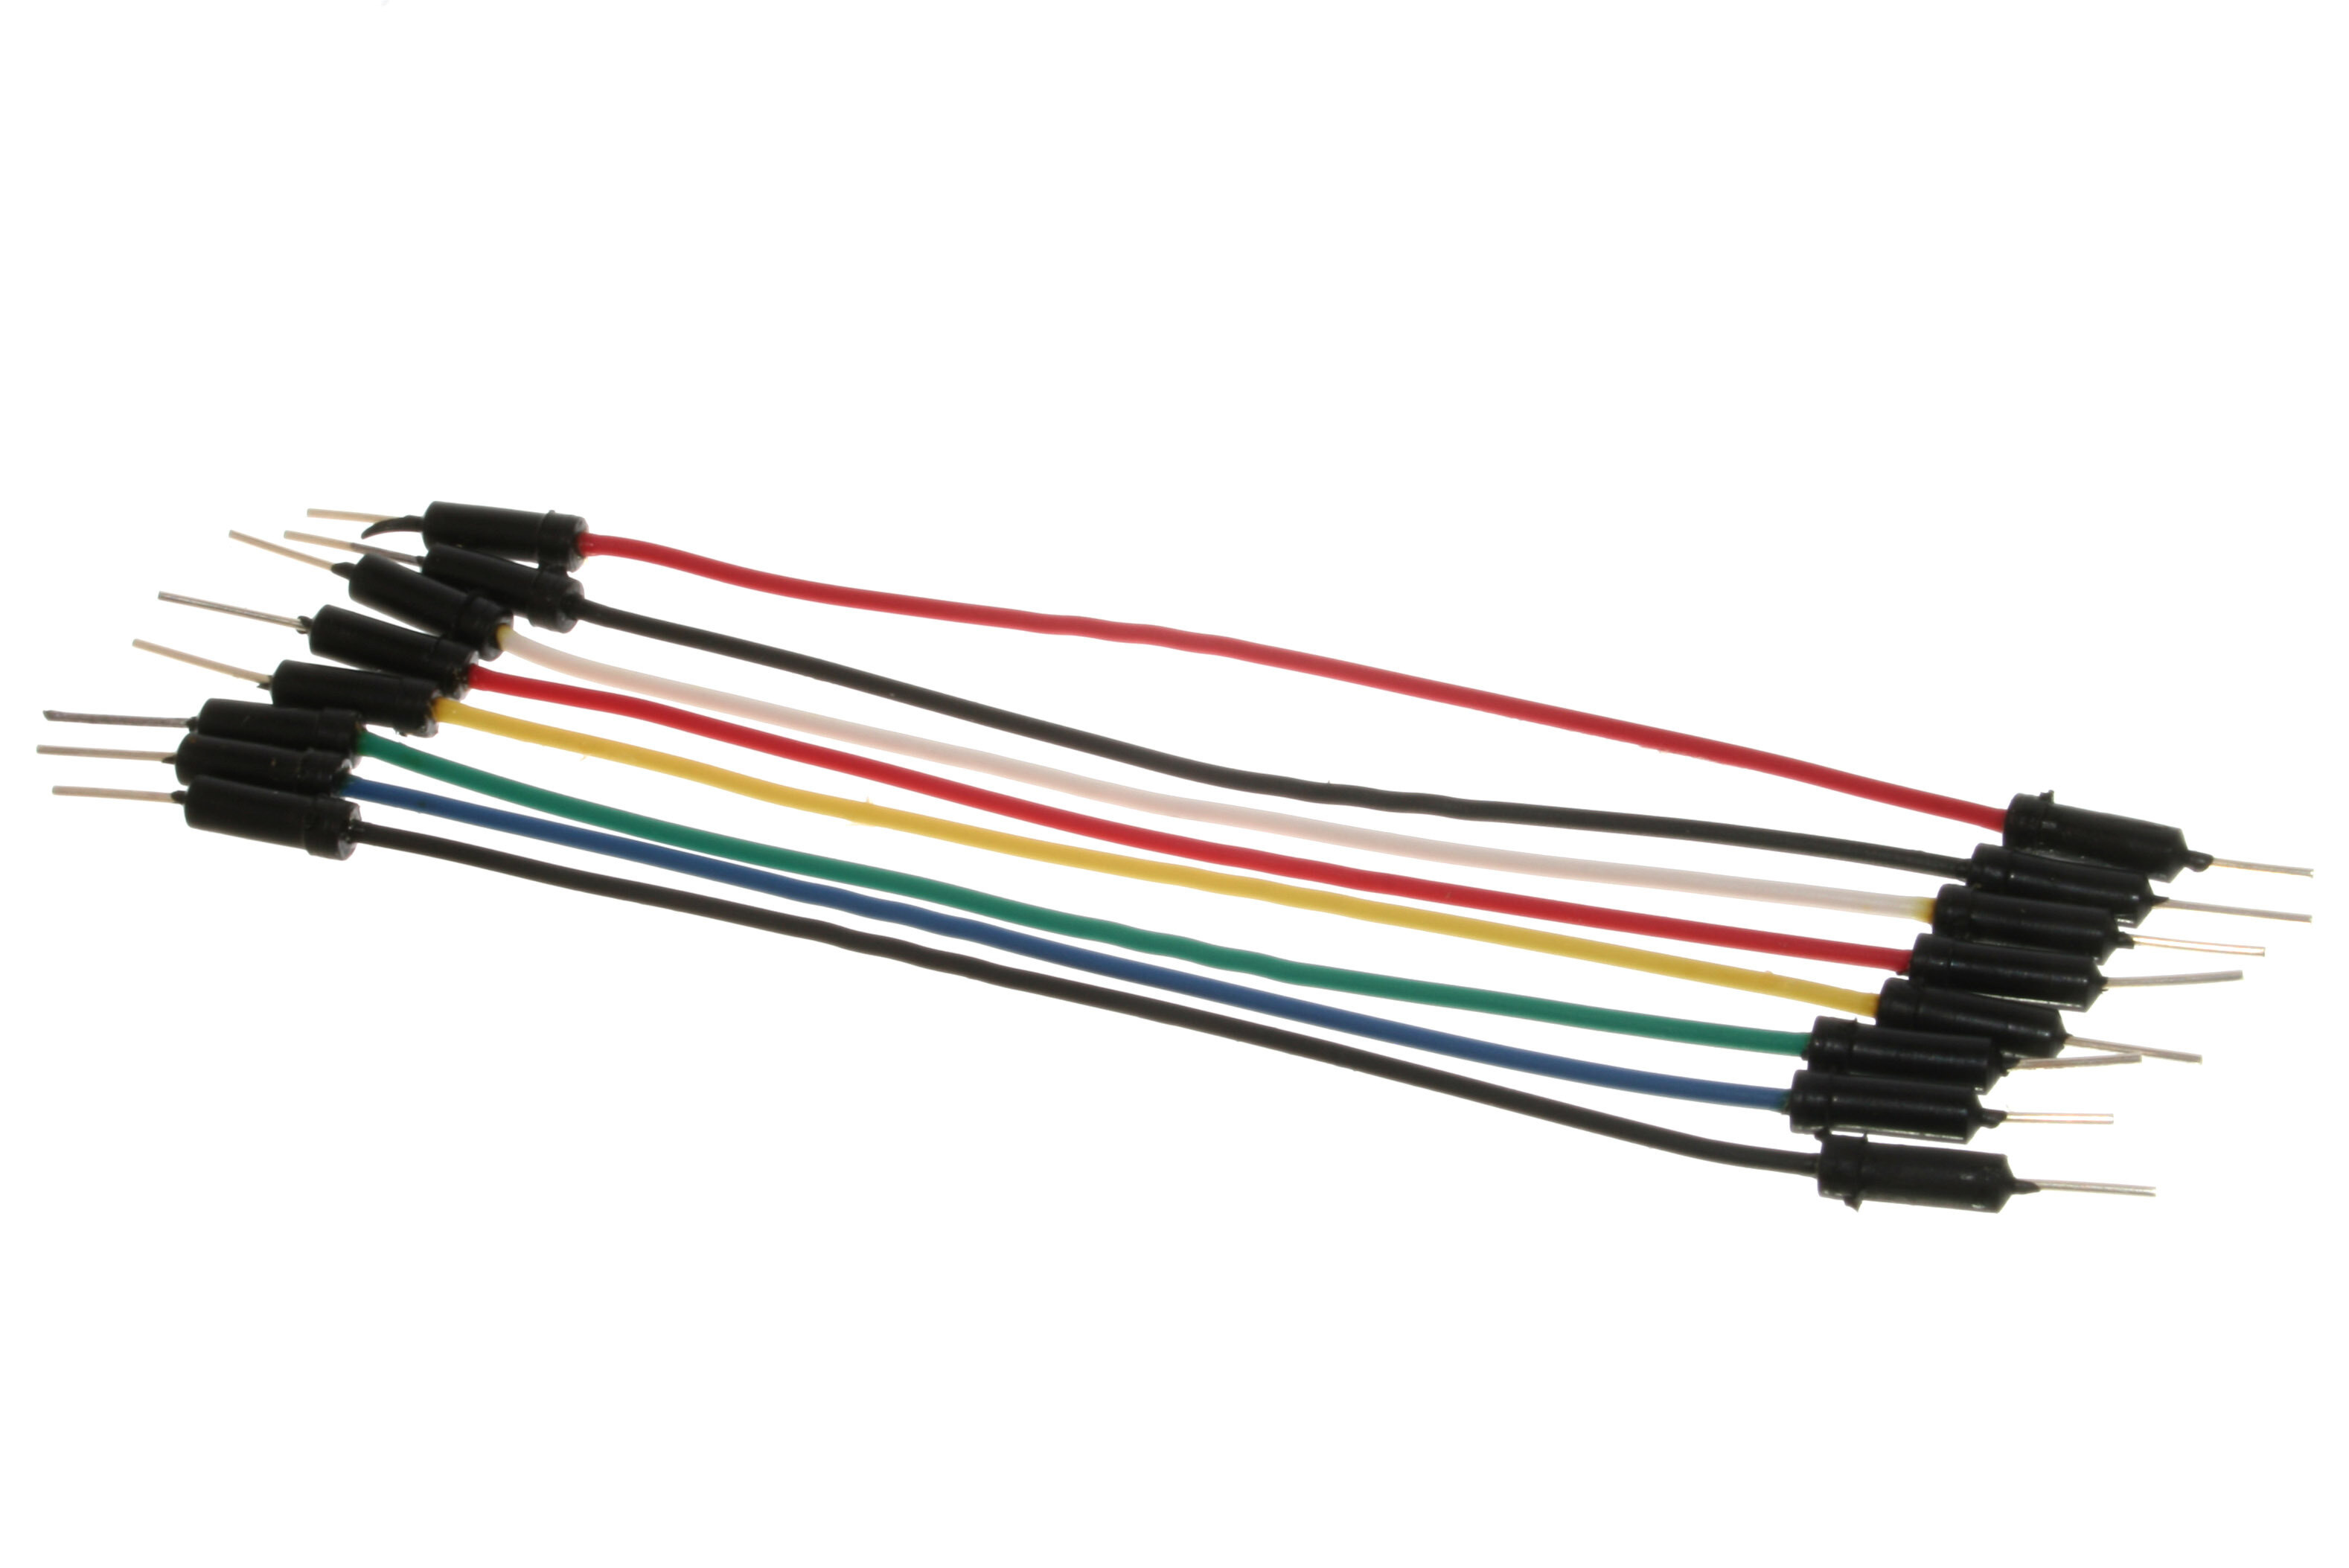
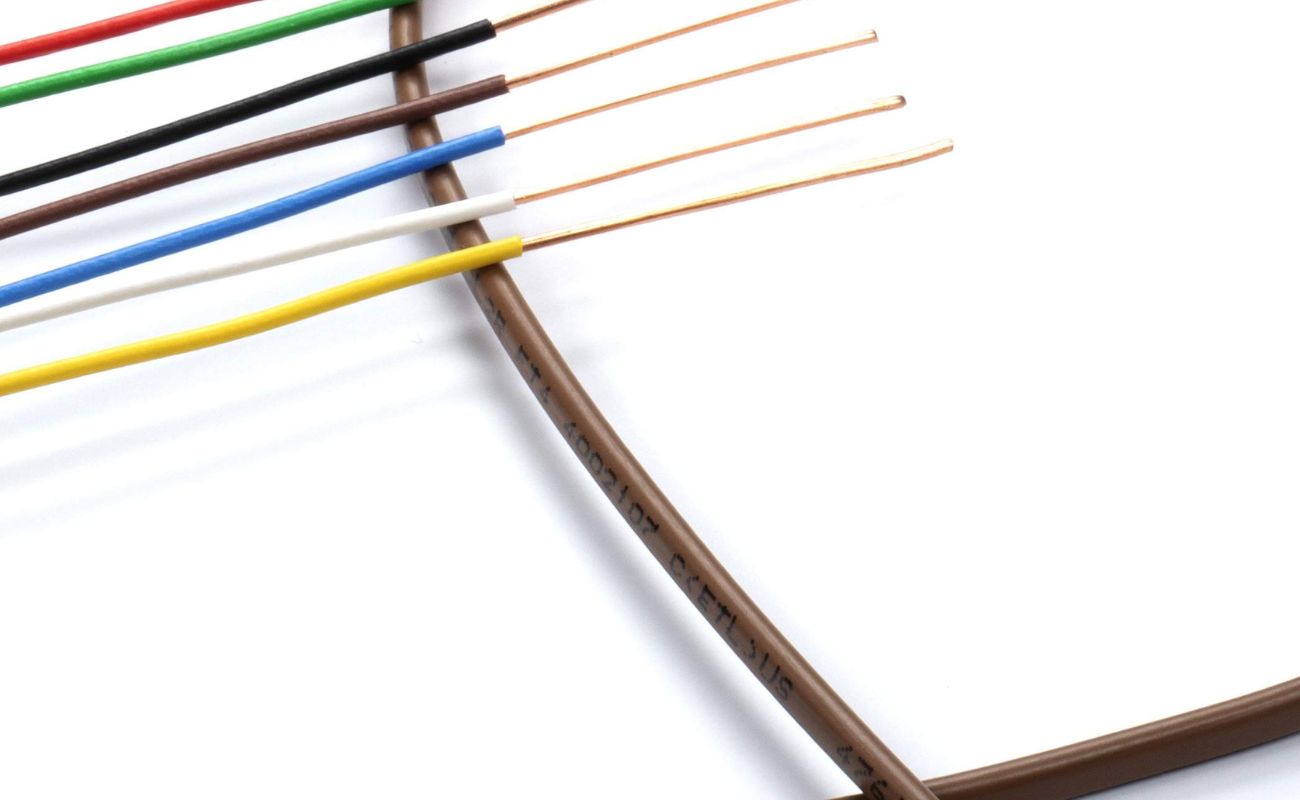
- Observe the color of each wire: The most common thermostat wires are typically color-coded for easy identification. The standard colors include red, white, green, yellow, and blue. However, there may be additional wires of different colors depending on the specific wiring setup.
- Refer to the wiring diagram: If available, refer to the wiring diagram provided by the manufacturer of your HVAC system or the old thermostat. The diagram will indicate the corresponding function of each wire. For example, the red wire is usually the power supply (R), the white wire is for heating (W), the green wire is for the fan (G), and so on.
- If no diagram is available: If you don’t have a wiring diagram, you can use a multimeter or voltage tester to identify the function of each wire. Set the multimeter to measure AC voltage and touch the probes to the exposed ends of the wires. By turning on different systems, such as the cooling or heating, you can determine which wire corresponds to each function.
- Label the wires: Once you have identified the function of each wire, label them accordingly. This will make it easier to connect them to the appropriate terminals on the new thermostat.
Take your time during this step to ensure you correctly identify the function of each wire. Mistakes in wiring can lead to system malfunctions or damage. If you are unsure about any wire, it’s best to consult the manufacturer’s documentation or seek professional assistance.
Now that you have identified the thermostat wires, you’re ready to move on to the next step: connecting the wires to the new thermostat.
Step 4: Connect Wires to New Thermostat
With the old thermostat removed and the wires correctly identified, it’s time to connect the wires to the new thermostat. Follow these steps to ensure a proper connection:
- Refer to the new thermostat’s manual: Before connecting the wires, refer to the manual that came with your new thermostat. It will provide specific instructions on how to connect the wires to the terminals.
- Prepare the wires: Use wire strippers to strip about 1/4 inch of insulation from the ends of each wire. This will expose the bare copper wire for a better connection.
- Match the wires to the terminals: Take each labeled wire and match it to the corresponding terminal on the new thermostat. For example, the red wire (power supply) should be connected to the R terminal, the white wire (heating) to the W terminal, and so on.
- Secure the wires: Once the wires are matched to the correct terminals, use a screwdriver to tighten the terminal screws and secure the wires in place. Make sure each wire is securely fastened to its respective terminal to ensure a good electrical connection.
- Double-check the connections: After connecting all the wires, double-check the connections to ensure they are correct and secure. Wiggle the wires gently to ensure they are tightly fastened to the terminals.
It’s crucial to follow the manufacturer’s instructions and refer to the wiring diagram to ensure the proper connection of the wires. Incorrect wiring can result in system malfunctions or damage. If you are unsure about any step or the wiring diagram is unclear, consult the manufacturer’s customer service or seek professional assistance.
Once all the wires are securely connected to the new thermostat, you can move on to the next step: mounting the new thermostat on the wall.
Step 5: Mount New Thermostat on Wall
Now that the wires are properly connected to the new thermostat, it’s time to mount it securely on the wall. Follow these steps to ensure a secure and level installation:
- Choose the mounting location: Select a suitable location on the wall for mounting the new thermostat. It should be at a convenient and easily accessible height, away from direct heat sources or drafts.
- Use a level: Place a level on top of the thermostat to ensure it is straight and level. Adjust the position as needed.
- Mark the mounting holes: Once the thermostat is level, use a pencil to mark the positions of the mounting holes on the wall. These holes will be used to attach the mounting plate.
- Drill pilot holes (if necessary): If your thermostat requires screws for mounting, use a drill and suitable drill bit to create pilot holes at the marked positions. This will make it easier to screw in the mounting screws.
- Attach the mounting plate: Align the mounting plate of the new thermostat with the marked positions and screw it into place using the provided screws or any necessary mounting hardware.
Ensure that the mounting plate is securely attached to the wall. Give it a gentle tug to check for any looseness or wobbling. If needed, tighten the screws further to ensure a stable installation.
Once the mounting plate is securely in place, you can move on to the final step: restoring the power and testing the new thermostat.
Read more: How To Wire An AC Thermostat
Step 6: Restore Power and Test Thermostat
Now that the new thermostat is securely mounted on the wall, it’s time to restore power and test its functionality. Follow these steps to ensure everything is working correctly:
- Restore power: Go back to the circuit breaker or switch that controls the power to your HVAC system. Turn it back on to restore power.
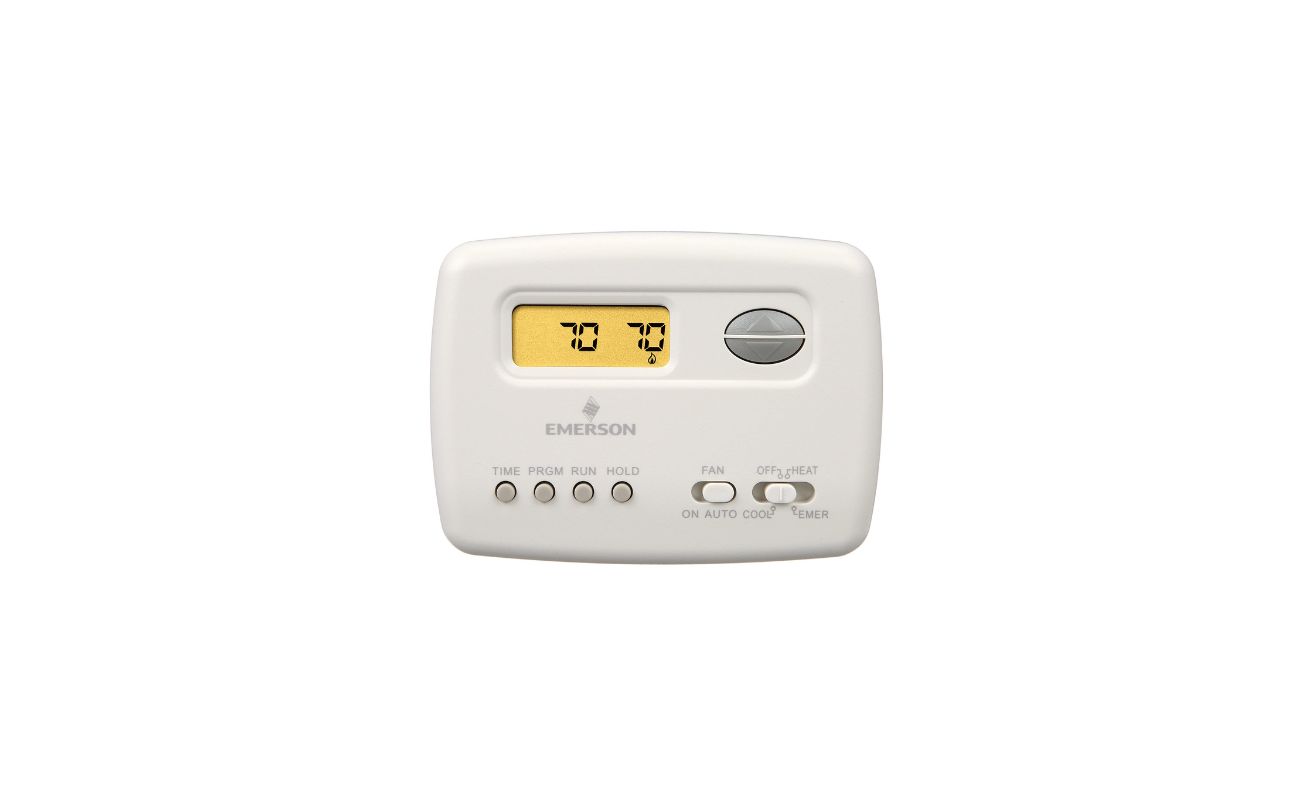
- Set the temperature: Use the thermostat’s user interface to set the desired temperature for your home. Follow the manufacturer’s instructions to navigate the settings and adjust the temperature accordingly.
- Wait for response: Give the system a few minutes to respond after you have set the temperature. You should hear the AC system kick on and start to cool the room if the temperature is higher than the setting.
- Check functionality: Monitor the system’s operation to ensure it is functioning properly. Verify that the AC system turns off once the desired temperature is reached.
- Test additional features: If your thermostat has additional features, such as scheduling or fan control, test them to ensure they are working correctly. Follow the manufacturer’s instructions for programming and using these features.
During this step, pay attention to any strange noises, error messages, or malfunctions. If you notice any issues, consult the thermostat’s manual or contact the manufacturer’s customer service for troubleshooting assistance.
It’s also a good idea to periodically check and calibrate your thermostat to ensure accurate temperature readings and efficient operation. This can help optimize your home’s energy usage and comfort levels.
Congratulations! You have successfully wired and installed your new AC thermostat. Now you can enjoy the comfort and convenience of a properly functioning and energy-efficient cooling system.
Remember, if you encounter any difficulties or are unsure about any step of the installation process, don’t hesitate to seek professional help from an electrician or HVAC technician. Safety and proper installation are essential for the optimal performance of your AC thermostat.
With these steps completed, you have successfully wired and installed your new AC thermostat. Enjoy the benefits and comfort of a properly functioning cooling system!
Conclusion
Wiring an AC thermostat may seem like a daunting task, but with the right tools, materials, and knowledge, it can be a manageable DIY project. By following the steps outlined in this guide, you now have the skills to wire and install a new AC thermostat in your home.
Remember to start by understanding the basics of AC thermostats and the different types available. This knowledge will help you choose the right thermostat for your needs and understand its functionality.
Before beginning any work, gather all the necessary tools and materials. This preparation will ensure a smoother installation process. Additionally, prioritize safety by turning off the power, handling wires carefully, and following the manufacturer’s instructions and safety precautions outlined in this guide.
Once the power is off and safety precautions are in place, proceed to remove the old thermostat, identify the thermostat wires, and connect them correctly to the new thermostat. Take your time and double-check your connections to avoid any wiring mistakes.
After the wiring is complete, mount the new thermostat on the wall securely. Use a level to ensure it is straight and level, and mark and drill pilot holes if necessary.
Finally, restore power and test the functionality of the new thermostat. Set the desired temperature, monitor the system’s response, and test any additional features it may have. This will ensure that your cooling system is working efficiently and accurately.
Remember, if you encounter any difficulties during the installation process or if you are unsure about any step, it is always best to consult the manufacturer’s instructions or seek professional help from an electrician or HVAC technician.
By taking the time to wire and install an AC thermostat correctly, you can enjoy a comfortable and energy-efficient home. So, go ahead and take control of your home’s cooling system by installing a new thermostat today!
Frequently Asked Questions about How To Wire A AC Thermostat
Was this page helpful?
At Storables.com, we guarantee accurate and reliable information. Our content, validated by Expert Board Contributors, is crafted following stringent Editorial Policies. We're committed to providing you with well-researched, expert-backed insights for all your informational needs.

0 thoughts on “How To Wire A AC Thermostat”