Home>Home Appliances>Home Automation Appliances>How To Wire An Emerson Thermostat
Home Automation Appliances
How To Wire An Emerson Thermostat
Modified: February 18, 2024
Learn how to wire an Emerson thermostat for your home automation appliances. Follow our step-by-step guide for easy installation and setup.
(Many of the links in this article redirect to a specific reviewed product. Your purchase of these products through affiliate links helps to generate commission for Storables.com, at no extra cost. Learn more)
Introduction
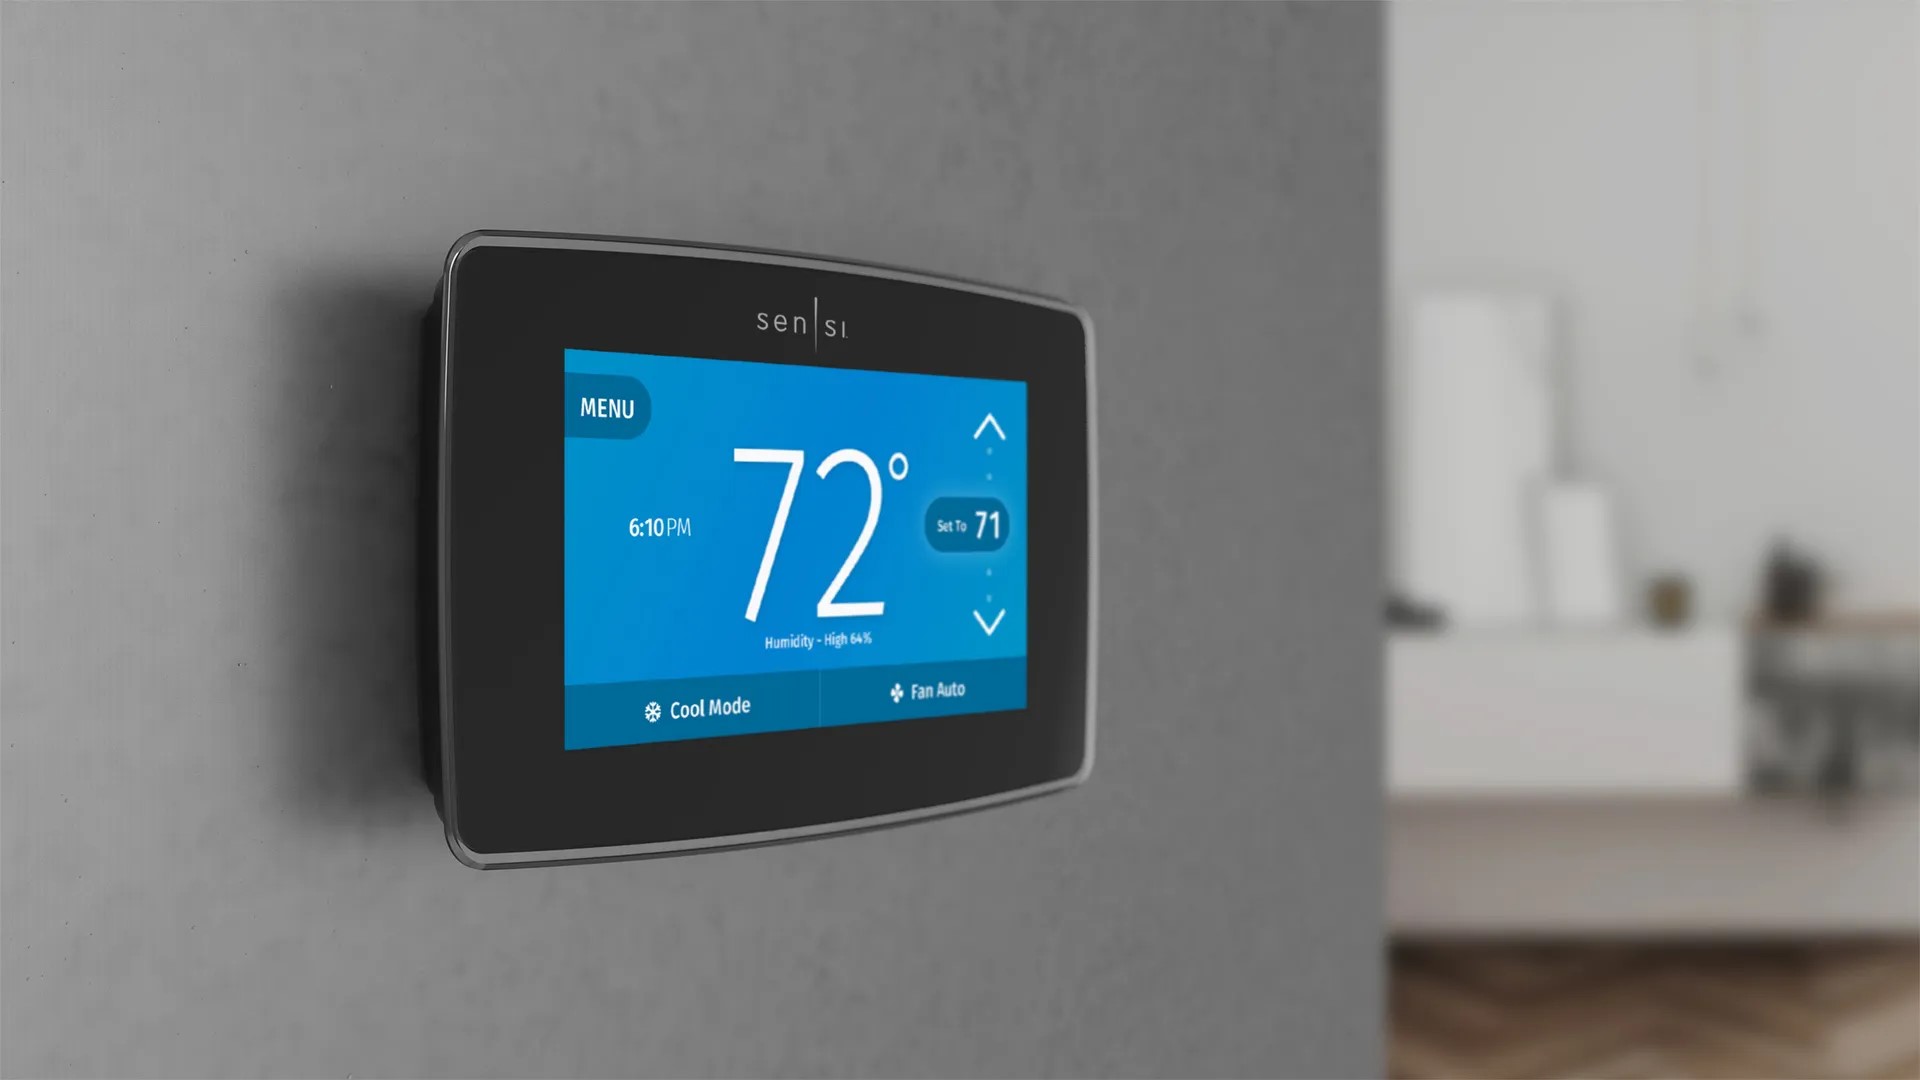
Welcome to the world of home automation! Installing an Emerson thermostat is a fantastic way to take control of your home's heating and cooling system. With the right guidance, this process can be both straightforward and rewarding. In this comprehensive guide, we will walk through the steps to wire an Emerson thermostat, ensuring that you can enjoy a comfortable and efficient home environment.
Whether you are a seasoned DIY enthusiast or a newcomer to home improvement projects, this article will provide you with the knowledge and confidence to successfully complete the installation. From understanding the necessary tools and materials to ensuring safety throughout the process, we've got you covered. By the end of this guide, you will be equipped to wire your Emerson thermostat with ease and precision.
Let's dive into the world of home automation and embark on this exciting journey of enhancing your living space with a new Emerson thermostat!
Key Takeaways:
- Takeaway 1: Safety First!
Before wiring your Emerson thermostat, always turn off the power at the circuit breaker and handle wires carefully to prevent electrical hazards. Prioritize safety to ensure a secure and incident-free installation process. - Takeaway 2: Test and Enjoy!
After wiring your Emerson thermostat, test its functions to ensure optimal performance. Set temperature, activate heating and cooling, and check fan operation to enjoy a comfortable and efficient home environment.
Read more: How To Remove An Emerson Thermostat
Tools and Materials Needed
Before beginning the installation of your Emerson thermostat, it is crucial to gather the necessary tools and materials. Having the right equipment at your disposal will streamline the process and ensure a successful outcome. Here’s what you’ll need:
Tools:
- Flathead screwdriver
- Phillips screwdriver
- Wire cutter/stripper
- Drill and bits (if new holes are required)
- Level
Materials:
- Emerson thermostat
- Thermostat mounting plate
- Wall anchors and screws
- Labels for wires
- Electrical tape
- Pen and paper (for noting wire connections)
- Optional: Wire nuts (if needed for your specific wiring setup)
Ensuring that you have these tools and materials readily available will facilitate a smooth installation process. Additionally, having wire labels and a pen and paper on hand will help you keep track of the wiring connections, making it easier to troubleshoot any issues that may arise during the installation.
With these tools and materials at your disposal, you are well-prepared to embark on the installation of your Emerson thermostat, bringing you one step closer to enjoying a more efficient and comfortable home environment.
Safety Precautions
Prior to commencing the installation of your Emerson thermostat, it is imperative to prioritize safety. By adhering to the following safety precautions, you can ensure a secure and hazard-free installation process:
- Turn off the Power: Before working on the thermostat wiring, turn off the power to your heating and cooling system at the circuit breaker. This precautionary measure will prevent the risk of electrical shock during the installation process.
- Confirm Power Shutdown: Use a non-contact voltage tester to verify that the power to the thermostat and HVAC system is indeed turned off. This step is crucial for your safety and the integrity of the installation process.
- Handle Wires Carefully: When handling the thermostat wires, ensure that they are not live. Exercise caution and use wire cutters/strippers to handle the wires, and avoid contact with bare wires to prevent electrical hazards.
- Secure Mounting: When mounting the thermostat, ensure that the wall anchors and screws are securely fastened. A stable mounting plate is essential to prevent the thermostat from becoming dislodged, especially during maintenance or adjustments.
- Follow Manufacturer’s Instructions: Adhere to the specific instructions provided by Emerson for your thermostat model. Different models may have unique installation requirements, and it is essential to follow the manufacturer’s guidelines for a safe and successful installation.
By prioritizing safety and meticulously adhering to these precautions, you can mitigate potential hazards and create a secure environment for the installation of your Emerson thermostat. Your commitment to safety will ensure a smooth and incident-free installation process, allowing you to enjoy the benefits of your new thermostat with peace of mind.
Read also: 15 Amazing Emerson Thermostat For 2025
Understanding the Wiring System
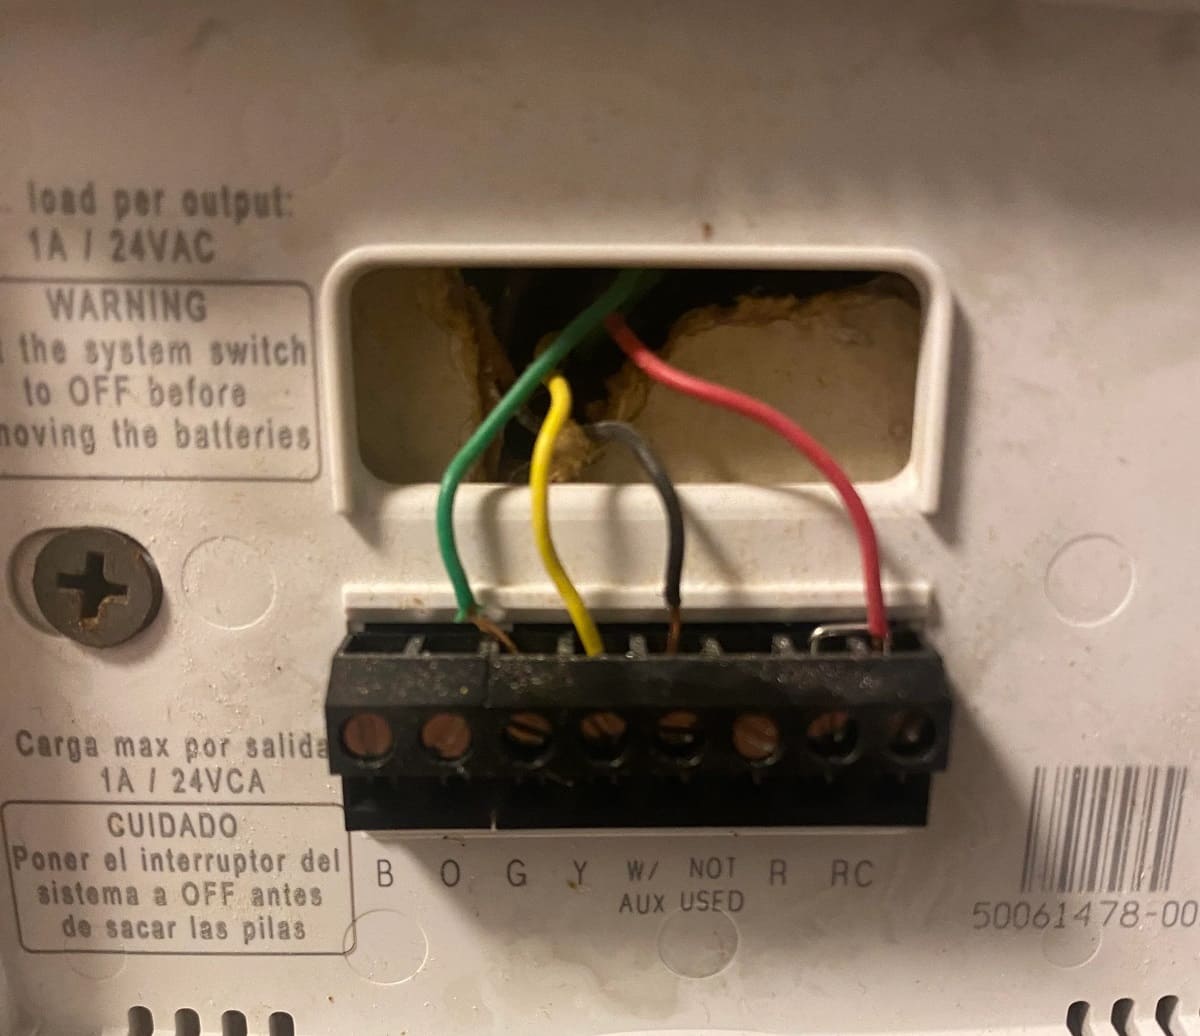
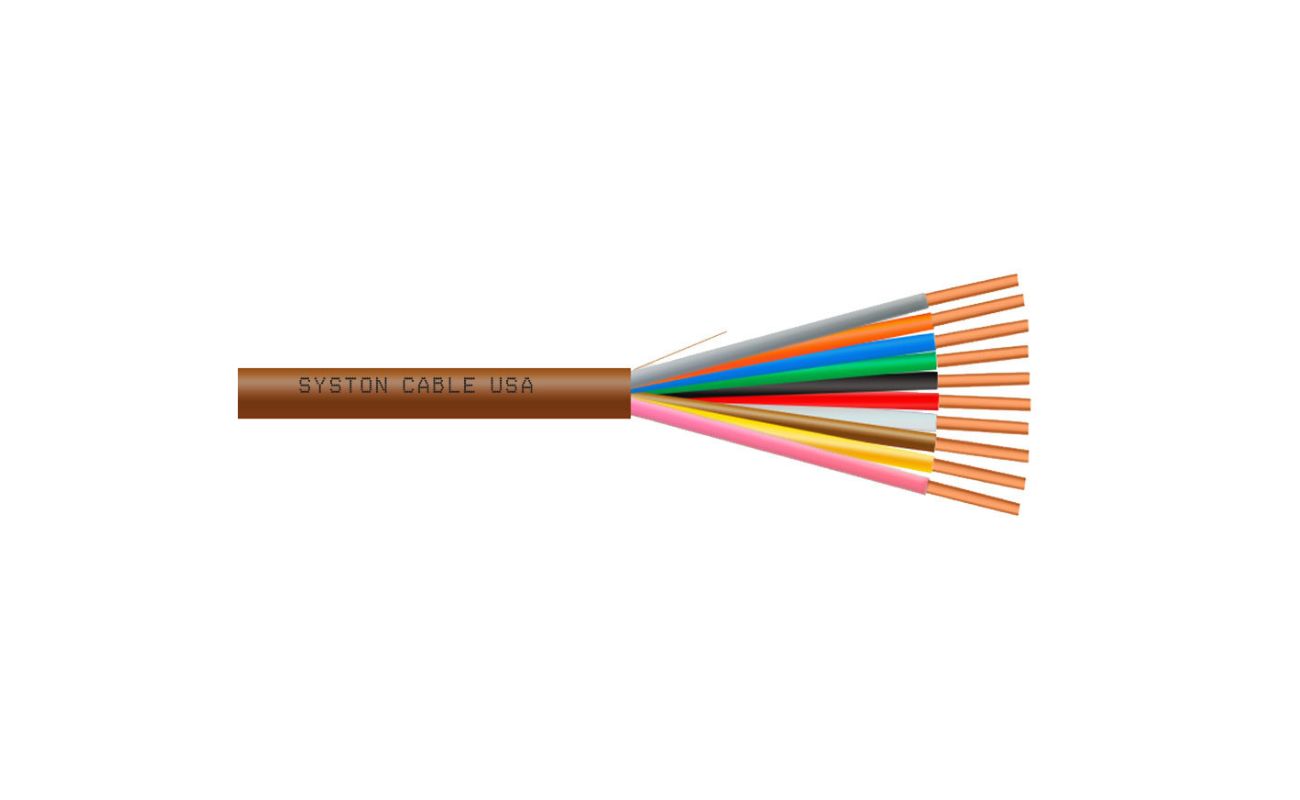
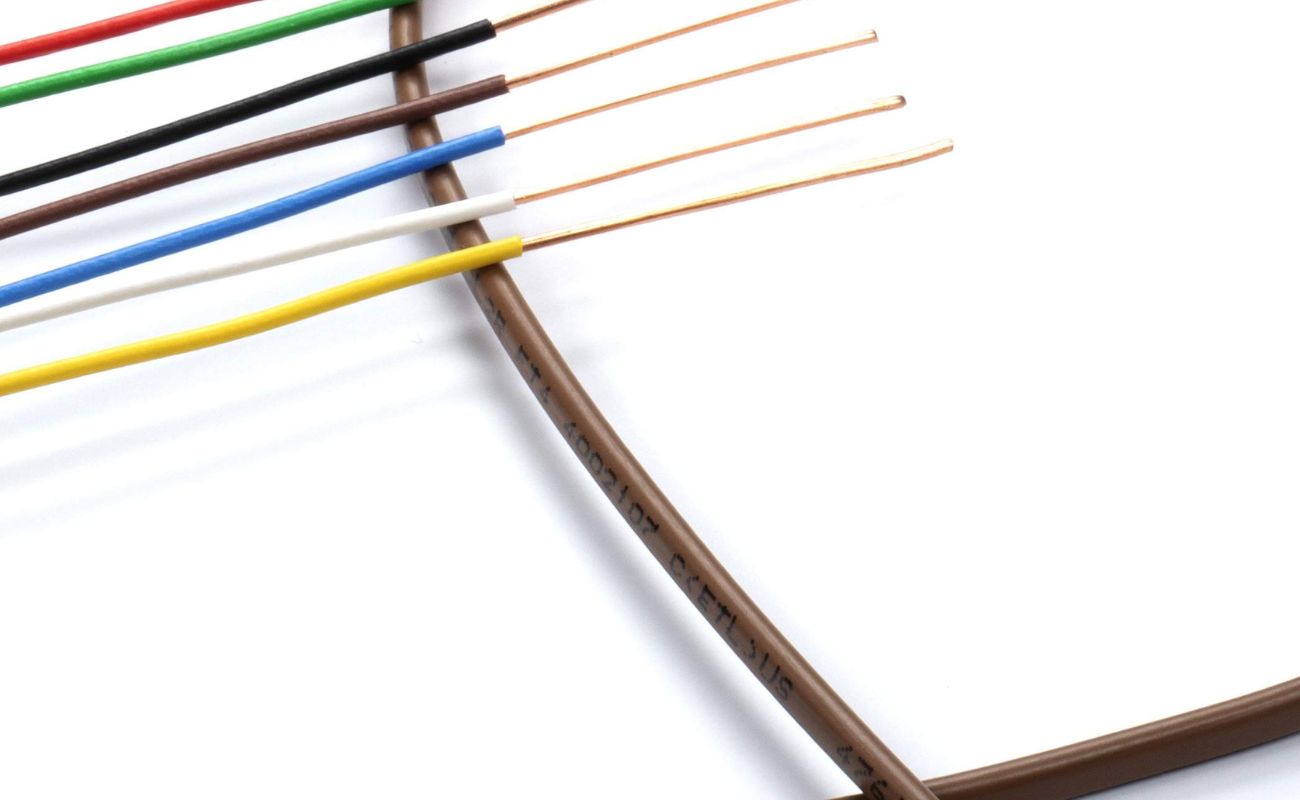
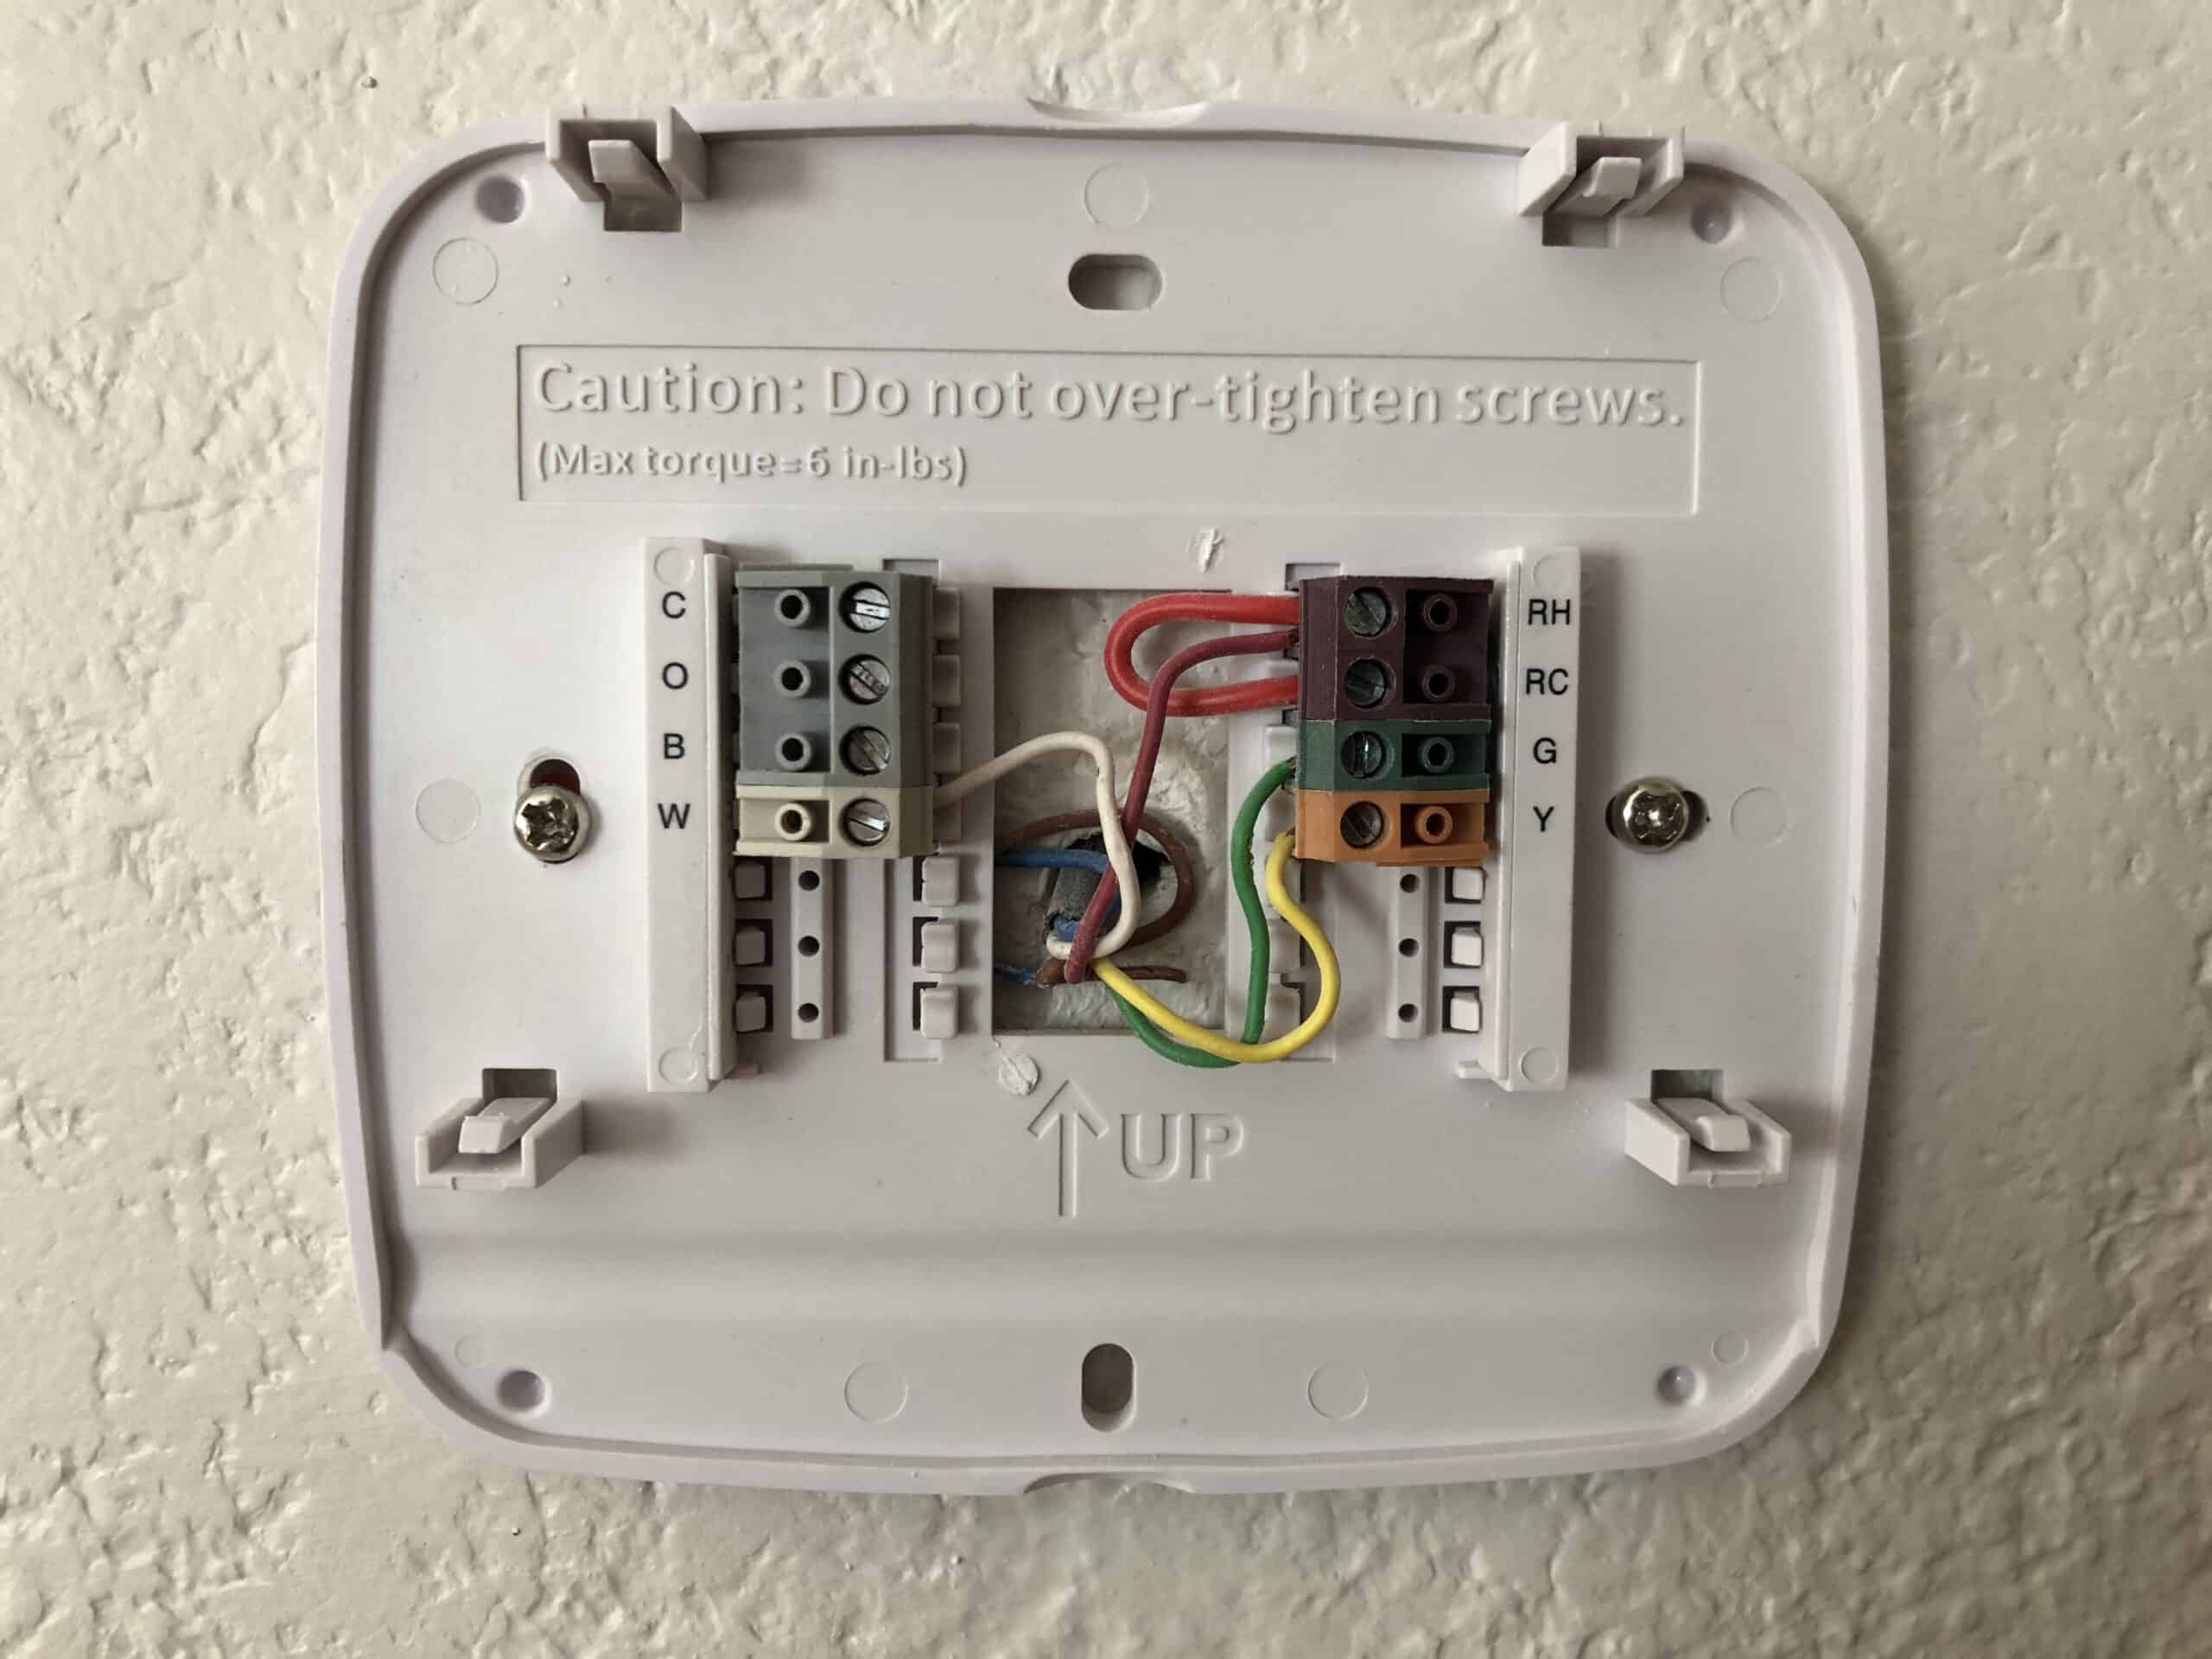
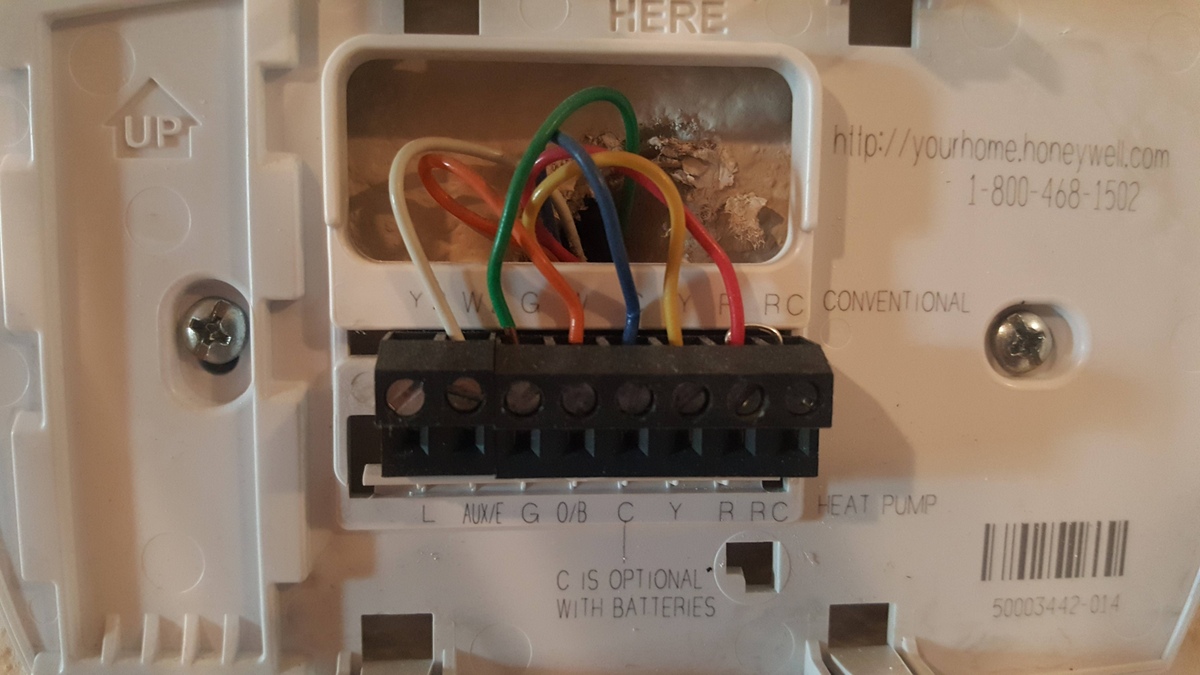
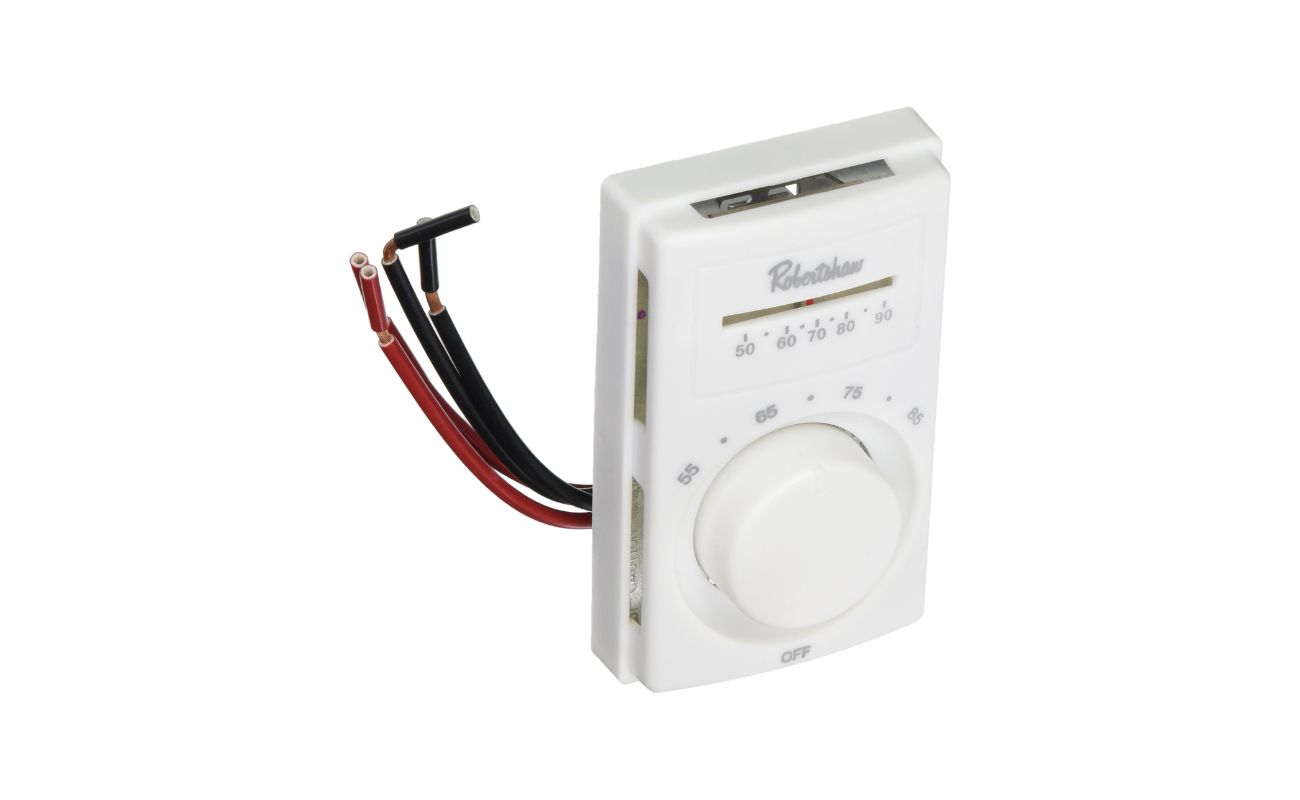
Before delving into the actual wiring process of your Emerson thermostat, it is essential to gain a comprehensive understanding of the wiring system in your home. The thermostat wiring typically consists of several colored wires that connect the thermostat to the heating and cooling system. Understanding the function of each wire and its corresponding terminal will pave the way for a seamless installation process. Here’s a breakdown of the standard thermostat wiring colors and their functions:
- Rh or R (Red): This wire is the power wire for the heating system. It supplies power from the transformer to the thermostat.
- Rc (Red): If you have a separate power source for cooling, the Rc wire is used to supply power to the cooling system.
- Y (Yellow): The Y wire connects to the compressor relay, initiating the air conditioning unit’s cooling cycle.
- G (Green): This wire connects to the fan relay and is responsible for controlling the HVAC system’s fan.
- W (White): The W wire connects to the heating system, signaling it to start the heating process.
- C (Blue): The C wire is the common wire, providing a continuous flow of 24-volt power to the thermostat. Not all systems have a C wire, but it is becoming more common in modern HVAC setups.
It is important to note that the wiring configuration may vary based on the specific heating and cooling system in your home. Additionally, some thermostats may have additional terminals for advanced features such as humidifiers, dehumidifiers, or heat pump systems.
Prior to disconnecting any wires, it is recommended to label each wire according to its terminal designation on the existing thermostat. This labeling will facilitate a smooth transition to the new thermostat, ensuring that the wires are correctly reconnected without confusion.
By familiarizing yourself with the thermostat wiring system and the functions of each wire, you will be well-prepared to proceed with the wiring process for your Emerson thermostat, setting the stage for a successful and efficient installation.
Wiring the Emerson Thermostat
With a solid understanding of the thermostat wiring system and the necessary tools and materials at your disposal, you are now ready to embark on the process of wiring your Emerson thermostat. Follow these step-by-step instructions to ensure a smooth and successful installation:
- Prepare the Mounting Location: Choose a suitable location on the wall to mount the thermostat. Ensure that it is away from direct sunlight, drafts, and other heat sources for accurate temperature readings. Use a level to ensure that the mounting plate is positioned evenly.
- Shut Off Power: Turn off the power to your heating and cooling system at the circuit breaker to prevent electrical hazards during the wiring process.
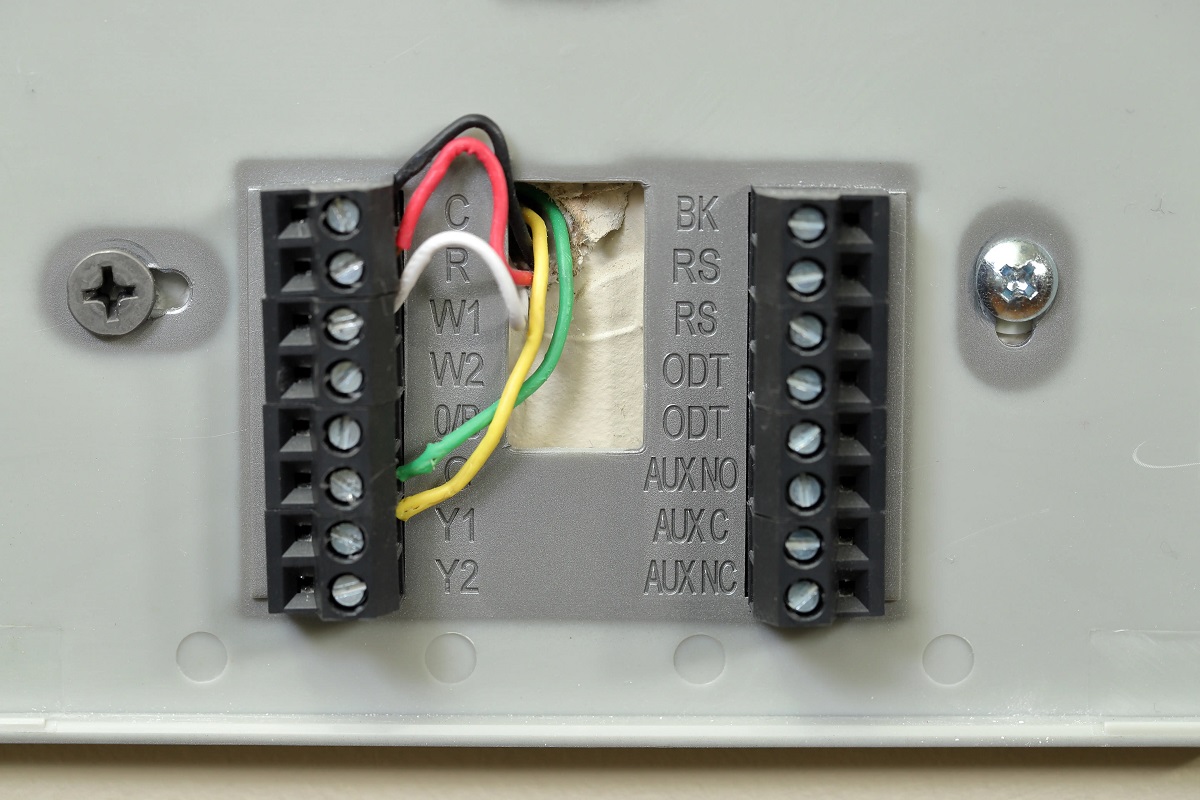
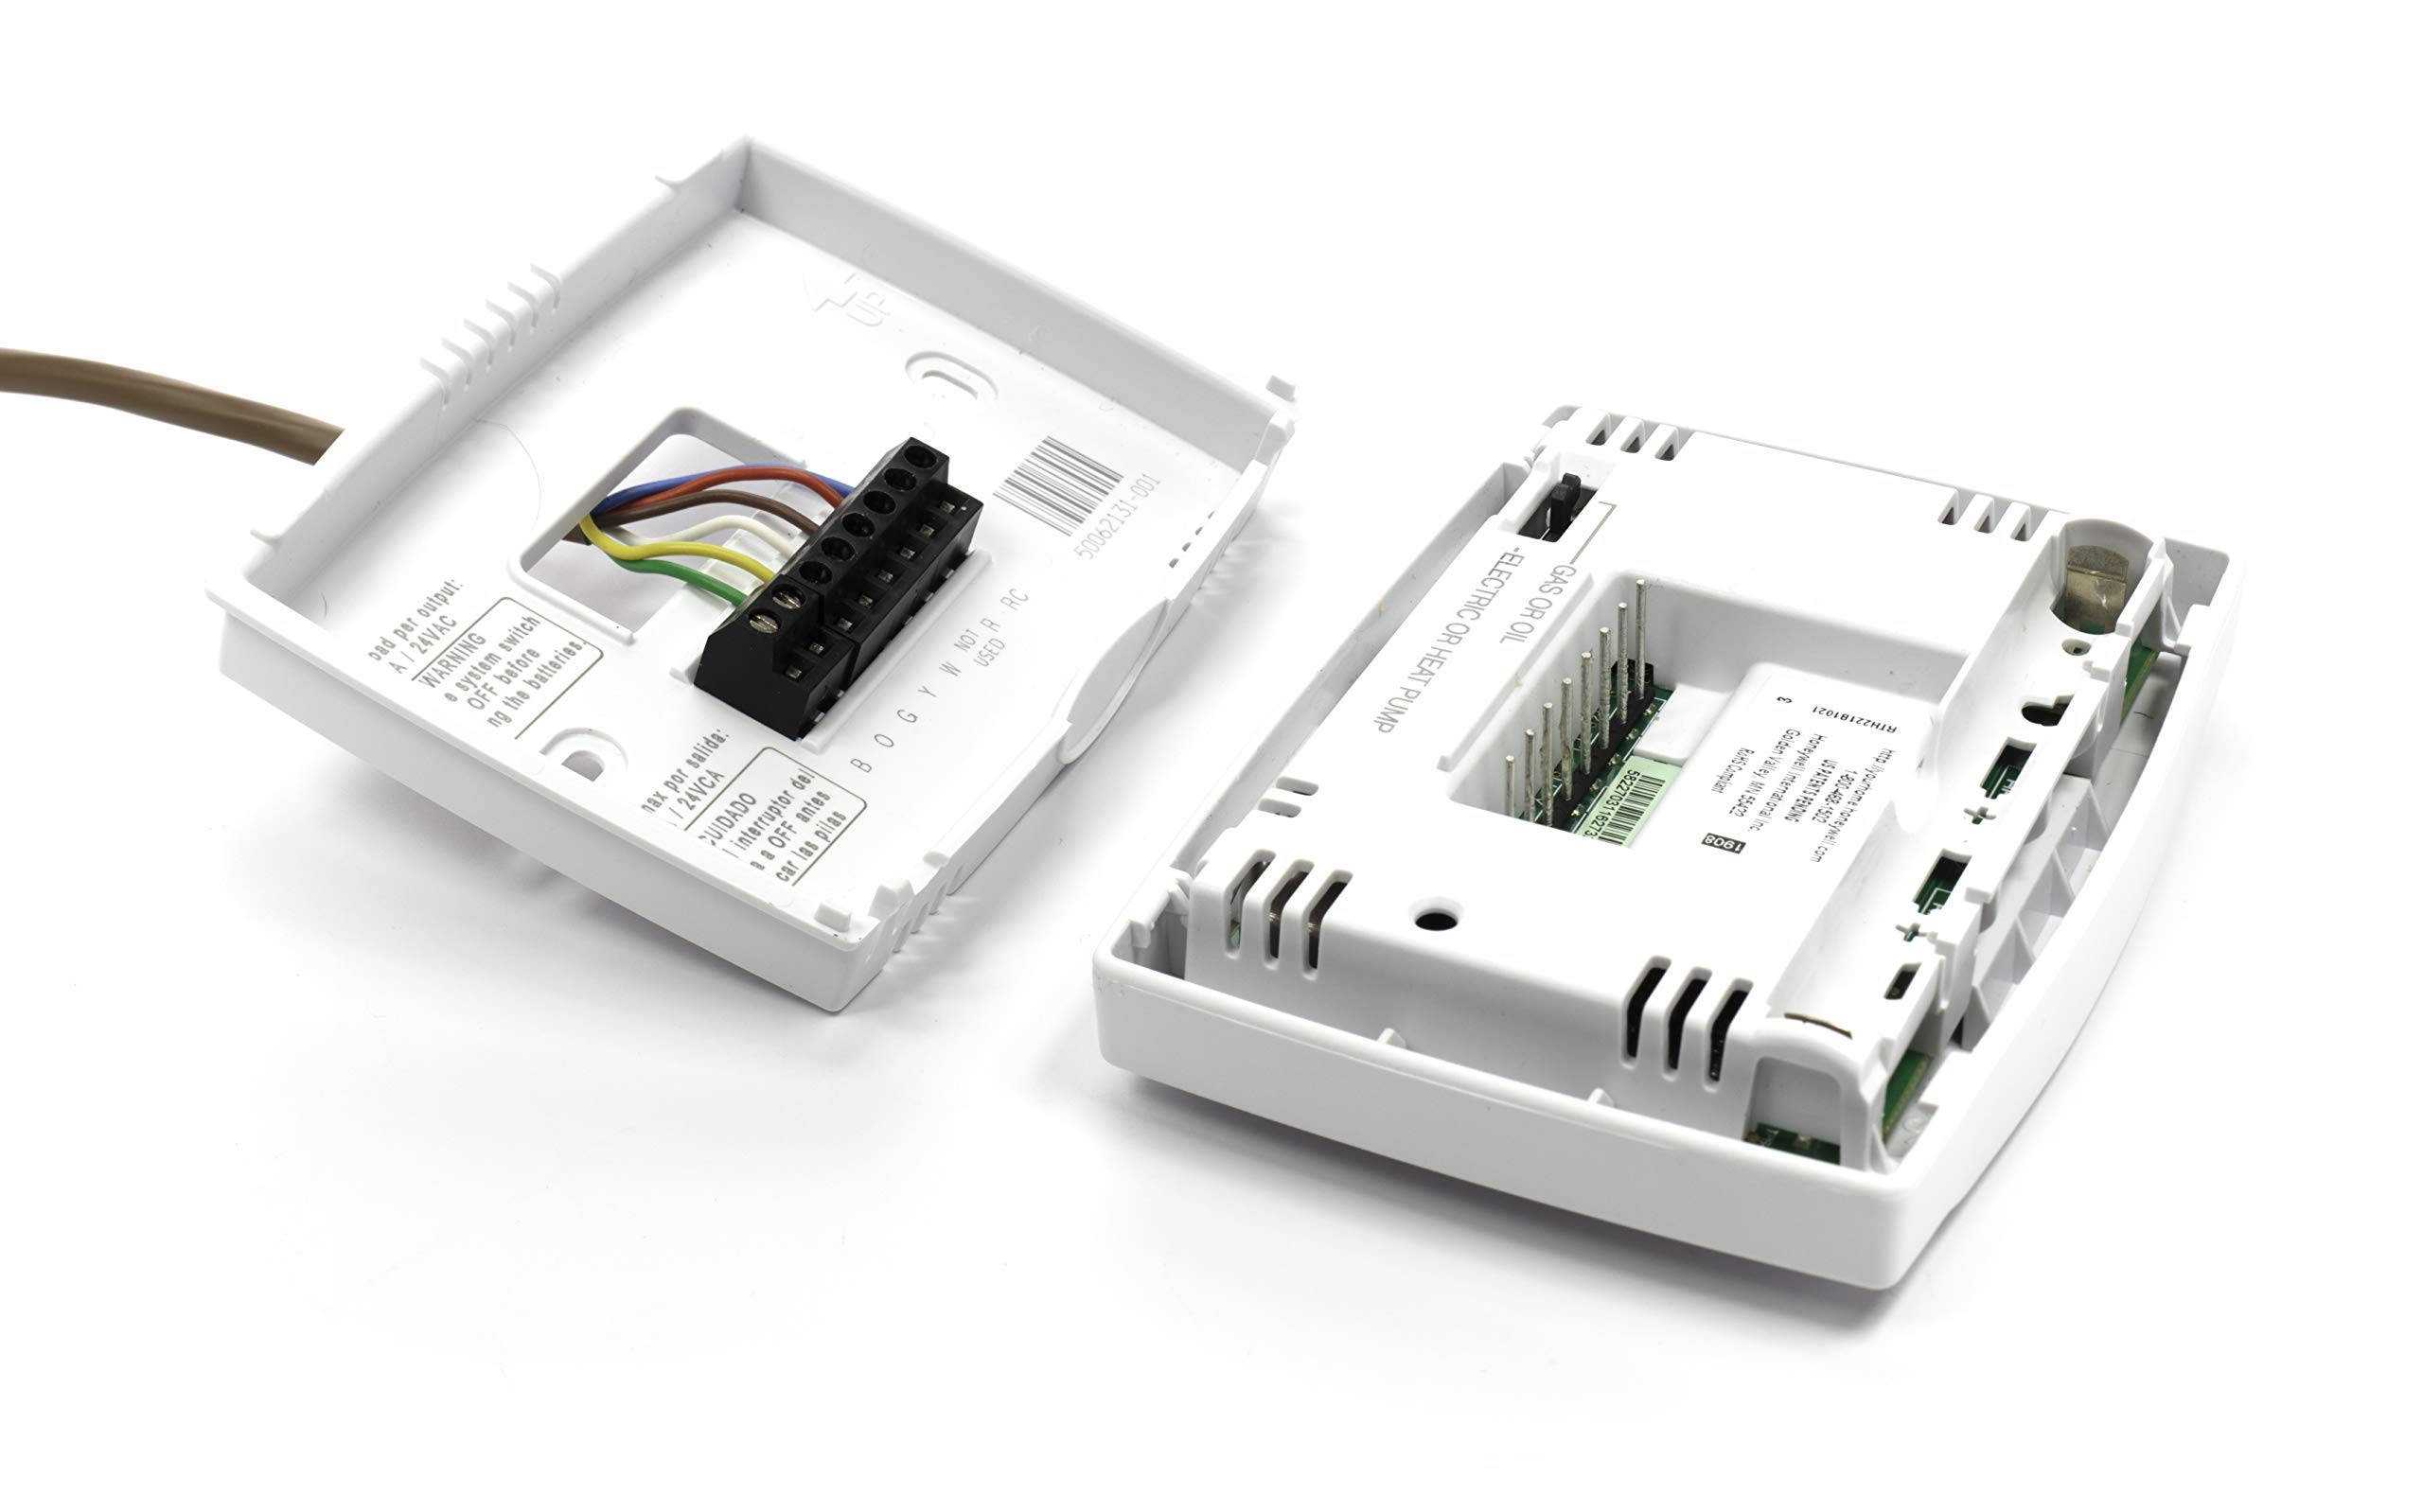
- Remove the Old Thermostat: Carefully remove the existing thermostat from the wall, exposing the wiring and mounting plate. Take note of the wires connected to each terminal and label them accordingly.
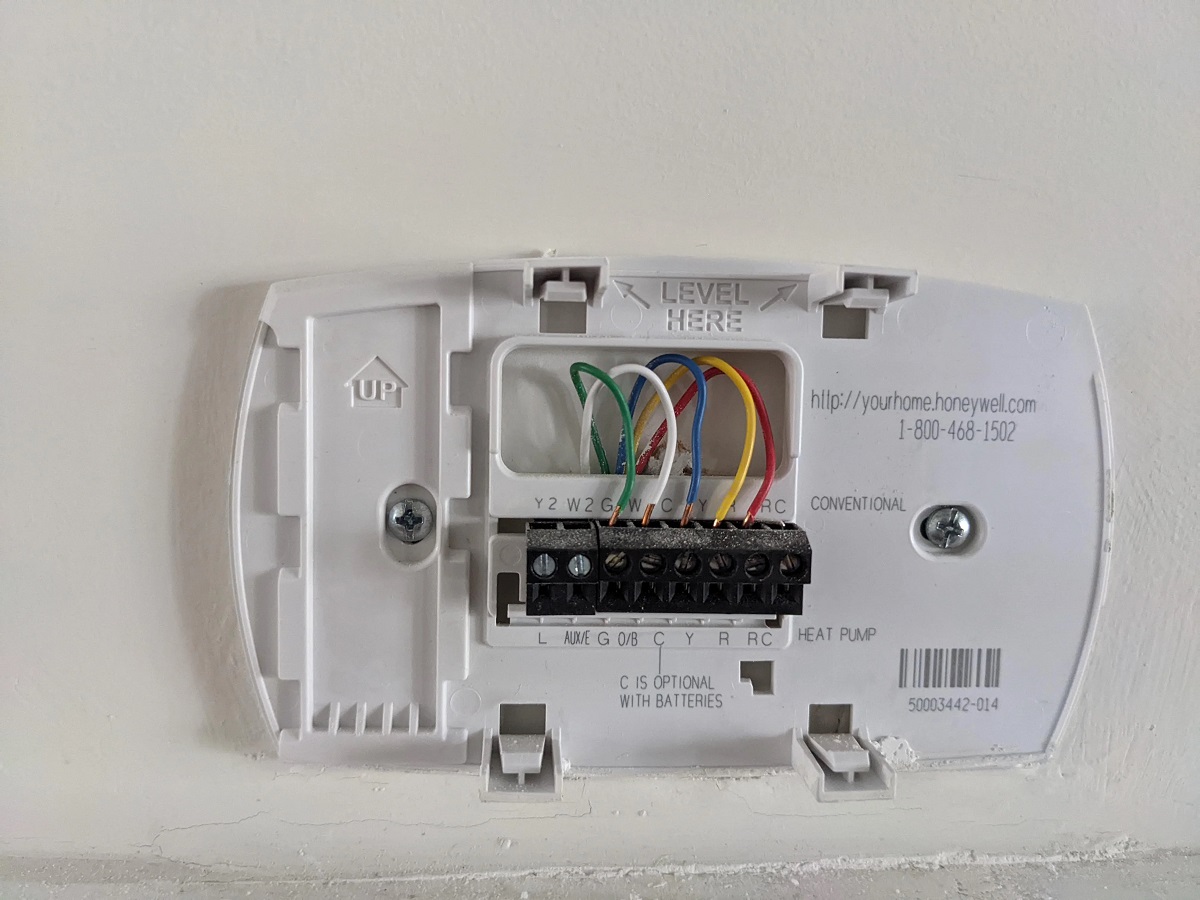
- Mount the New Thermostat: Securely mount the new thermostat’s mounting plate to the wall using the provided wall anchors and screws. Ensure that it is level and firmly attached to the wall.
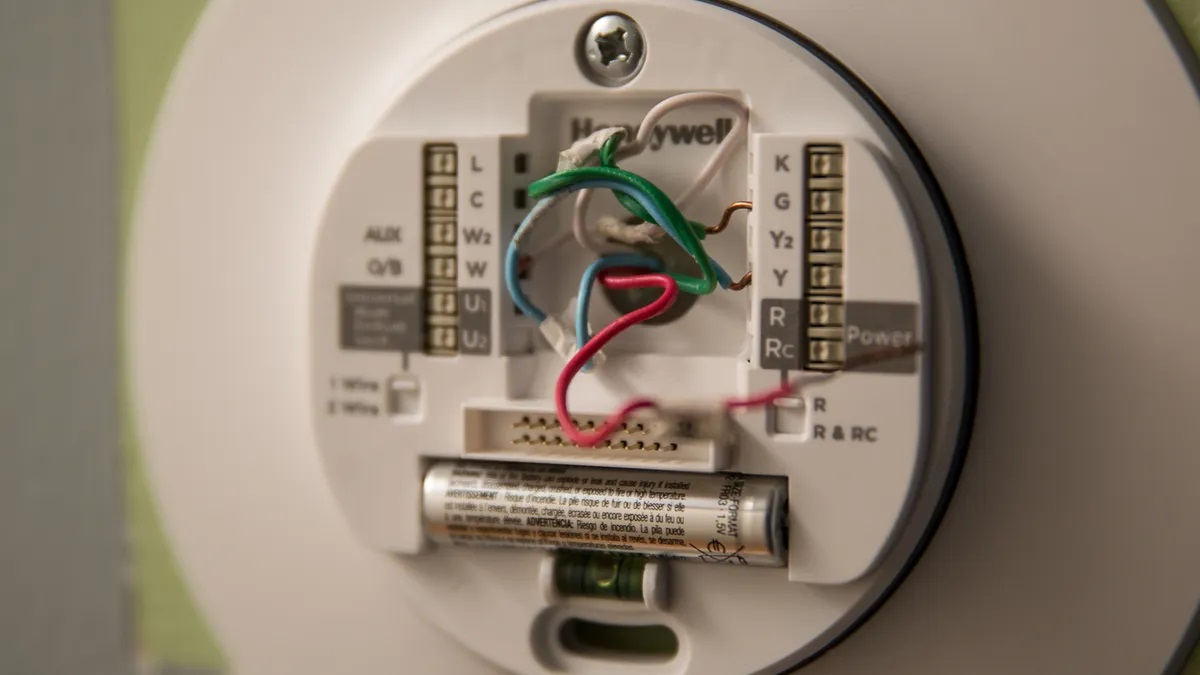
- Connect the Wires: Gently feed the thermostat wires through the opening in the new mounting plate. Refer to the labeled wires and connect them to their corresponding terminals on the Emerson thermostat. Follow the manufacturer’s instructions for your specific thermostat model.
- Secure the Thermostat: Carefully align the thermostat with the mounting plate and snap it into place. Ensure that it is securely attached and level on the wall.
- Restore Power: Turn the power back on at the circuit breaker to activate the heating and cooling system. The Emerson thermostat should power up, and you can proceed with programming it to your desired settings.
It is crucial to follow the manufacturer’s instructions provided with your Emerson thermostat, as different models may have specific wiring requirements. Additionally, if you encounter any challenges during the wiring process, consult the user manual or seek assistance from a qualified professional to ensure a safe and accurate installation.
By meticulously following these steps, you can successfully wire your Emerson thermostat, bringing you one step closer to enjoying enhanced control and efficiency in managing your home’s heating and cooling systems.
When wiring an Emerson thermostat, make sure to turn off the power to your HVAC system before starting. Follow the color-coded wiring diagram provided in the thermostat manual to ensure proper connections. Double-check all connections before turning the power back on.
Testing the Thermostat
After successfully wiring your Emerson thermostat, it is essential to conduct thorough testing to ensure that it is functioning optimally and effectively controlling your home’s heating and cooling systems. Follow these steps to test your newly installed thermostat:
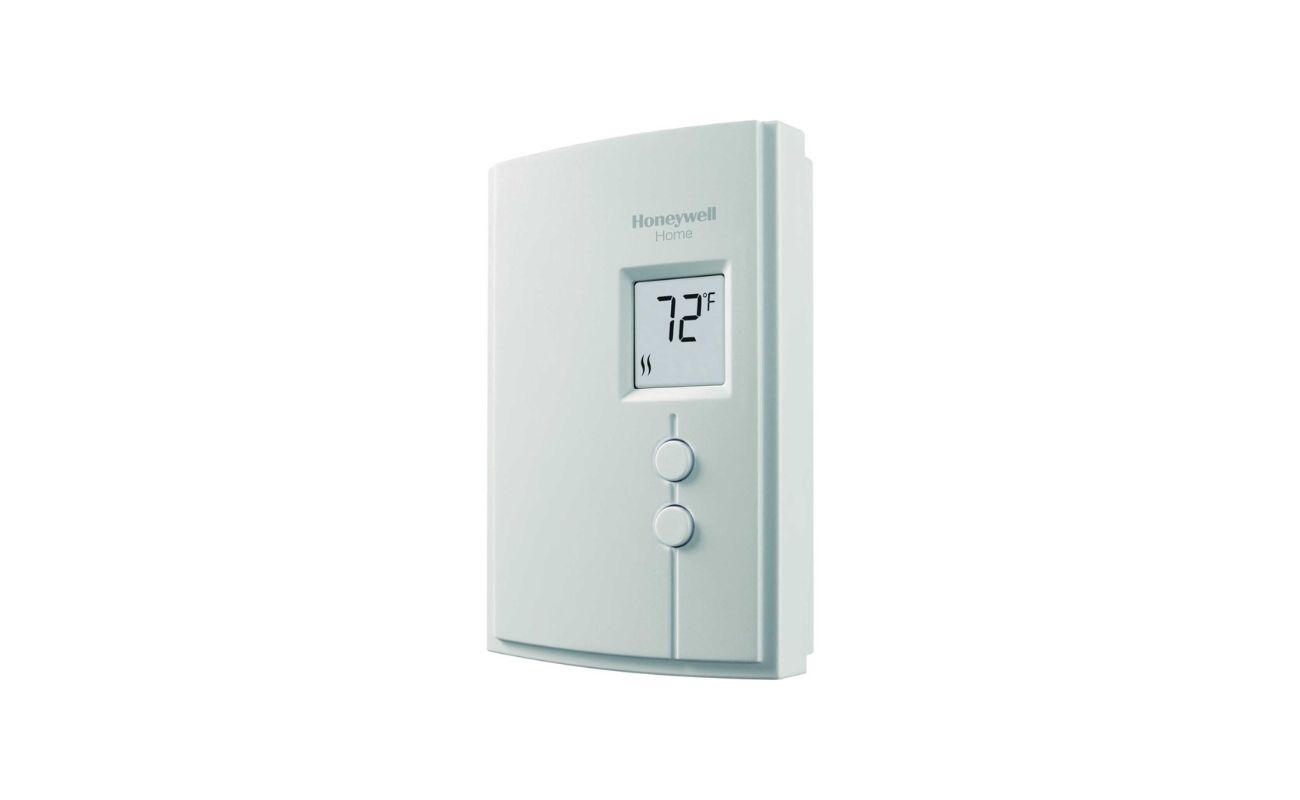
- Power On the Thermostat: Ensure that the thermostat is powered on and displaying the appropriate screen. If the thermostat has batteries, verify that they are properly installed and functional.
- Set the Temperature: Adjust the thermostat to your desired temperature settings for both heating and cooling modes. Monitor the display to confirm that the settings are accurately reflected.
- Activate Heating and Cooling: Test the heating and cooling modes individually to confirm that the thermostat appropriately triggers the HVAC system to provide the desired temperature conditions.
- Check Fan Operation: Verify that the thermostat effectively controls the fan operation, activating it when necessary to circulate air throughout your home.
- Observe Temperature Accuracy: Use a separate thermometer to compare the temperature readings displayed on the thermostat with the actual room temperature. Ensure that the thermostat provides accurate readings and responds appropriately to temperature adjustments.
- Program Additional Features: If your Emerson thermostat includes advanced features such as scheduling, Wi-Fi connectivity, or energy-saving settings, program and test these features to ensure their proper functionality.
Throughout the testing process, pay close attention to any irregularities or inconsistencies in the thermostat’s performance. If you encounter any issues, refer to the user manual for troubleshooting guidance or seek assistance from Emerson’s customer support.
By conducting thorough testing, you can confirm that your Emerson thermostat is effectively controlling your home’s climate and providing the comfort and efficiency you desire. This final step ensures that your installation efforts yield the desired results, allowing you to enjoy the benefits of your new thermostat with confidence and peace of mind.
Conclusion
Congratulations on successfully completing the installation and wiring of your Emerson thermostat! By following the comprehensive steps outlined in this guide, you have taken a significant step toward enhancing the comfort and efficiency of your home’s heating and cooling systems. As you reflect on the installation process and prepare to enjoy the benefits of your new thermostat, it is important to acknowledge the impact of this home automation upgrade.
Your Emerson thermostat empowers you to exert precise control over your home’s climate, providing personalized comfort while contributing to energy conservation and cost savings. With its intuitive features and advanced functionality, the thermostat serves as a cornerstone of modern home automation, offering convenience and environmental sustainability.
As you bask in the comfort and control afforded by your new thermostat, it is essential to maintain a proactive approach to its upkeep. Regularly inspect and clean the thermostat to ensure optimal performance, and familiarize yourself with its programming and energy-saving features to maximize its efficiency.
Furthermore, as the field of home automation continues to evolve, consider exploring additional smart home devices and interconnected systems that complement your Emerson thermostat. From smart lighting and security systems to voice-activated assistants, the possibilities for enhancing your living space are boundless.
Embrace the transformative potential of home automation and relish the newfound convenience and efficiency it brings to your daily life. Your journey toward a smarter, more comfortable home begins with the installation of your Emerson thermostat, and it is a journey filled with endless possibilities for innovation and enhancement.
Thank you for entrusting us with the guidance and insights needed to wire your Emerson thermostat. May your home be a haven of comfort, control, and sustainability, enriched by the seamless integration of advanced home automation technologies.
Frequently Asked Questions about How To Wire An Emerson Thermostat
Was this page helpful?
At Storables.com, we guarantee accurate and reliable information. Our content, validated by Expert Board Contributors, is crafted following stringent Editorial Policies. We're committed to providing you with well-researched, expert-backed insights for all your informational needs.
0 thoughts on “How To Wire An Emerson Thermostat”