Home>Home Appliances>Laundry Appliances>How To Wash Slip-On Vans In The Washing Machine
Laundry Appliances
How To Wash Slip-On Vans In The Washing Machine
Modified: August 27, 2024
Learn how to effectively clean your slip-on Vans in the washing machine with our expert laundry appliance tips. Keep your favorite shoes looking fresh and new!
(Many of the links in this article redirect to a specific reviewed product. Your purchase of these products through affiliate links helps to generate commission for Storables.com, at no extra cost. Learn more)
Introduction
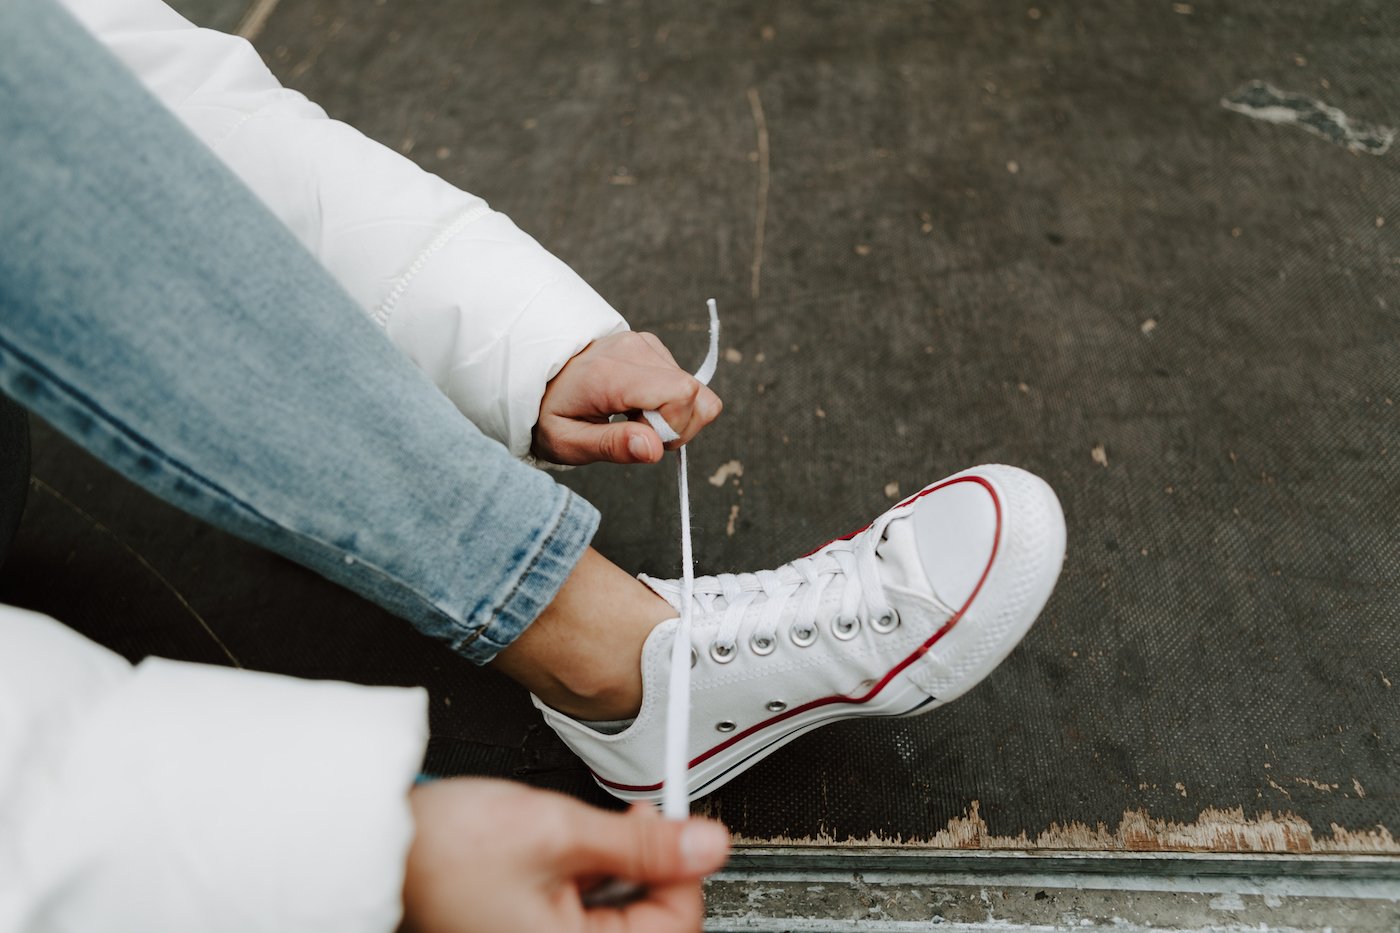
Slip-On Vans are a timeless classic in the world of footwear. Their effortless style and comfortable fit make them a go-to choice for many individuals. However, with regular wear, these beloved shoes can accumulate dirt, grime, and odors, leading to a less-than-fresh appearance. Fortunately, there's a simple and effective solution to restore your Slip-On Vans to their pristine condition: washing them in the washing machine.
In this comprehensive guide, we will walk you through the step-by-step process of safely and effectively washing your Slip-On Vans in the washing machine. Whether your shoes have been through muddy adventures or simply need a refresh, this method will help you achieve clean and revitalized Slip-On Vans without the hassle of hand washing.
By following the instructions outlined in this guide, you can breathe new life into your favorite Slip-On Vans, ensuring that they look and feel as good as the day you first slipped them on. With a few simple steps and the right approach, you can maintain the quality and appearance of your Slip-On Vans, allowing you to continue enjoying their timeless appeal for years to come.
Now, let's dive into the details of preparing your Slip-On Vans for washing and setting up the washing machine for this rejuvenating process. Get ready to give your beloved shoes the care and attention they deserve, and soon you'll be stepping out in freshly washed and revitalized Slip-On Vans.
Key Takeaways:
- Keep your Slip-On Vans looking fresh by washing them in the washing machine. Follow the steps to prep, set up the machine, wash, and air dry for revitalized shoes.
- After washing, gently reshape and air dry your Slip-On Vans to maintain their shape and appeal. Patience is key for a thorough drying process.
Read more: Which Vans Are Non-Slip
Preparing the Slip-On Vans for Washing
Before tossing your Slip-On Vans into the washing machine, it's essential to prepare them properly to ensure the best results. Here's a step-by-step guide to getting your shoes ready for the washing process:
-
Remove Debris: Start by removing any loose dirt, mud, or debris from the surface of your Slip-On Vans. Use a soft-bristled brush or a damp cloth to gently brush off any visible dirt. This initial step helps prevent the washing machine from becoming clogged with excess grime and ensures a more thorough cleaning process.
-
Spot Treat Stains: Inspect your Slip-On Vans for any stubborn stains or marks. If you spot specific areas that require extra attention, consider spot treating them before washing. Use a mild detergent or a specialized shoe cleaner to gently dab at the stains with a soft brush or cloth. Allow the cleaner to sit for a few minutes to help lift the stains effectively.
-
Remove Insoles and Laces: Take out the insoles and laces from your Slip-On Vans. This step is crucial as it allows for a more thorough cleaning of both the shoes and their components. If the insoles are removable, gently take them out and set them aside. Similarly, remove the laces and set them aside for separate cleaning.
-
Check for Damage: Before proceeding, take a moment to inspect your Slip-On Vans for any signs of damage or wear. Look for loose stitching, separated soles, or any other structural issues. If you notice any significant damage, it's best to address these concerns before washing to prevent further deterioration during the cleaning process.
-
Prepare the Washing Machine: While this step falls under the next section, it's worth mentioning here. Ensure that your washing machine is clean and free of any residual detergent or debris from previous loads. This helps prevent any unwanted transfer of dirt or detergent onto your Slip-On Vans during the washing cycle.
By meticulously preparing your Slip-On Vans for washing, you set the stage for a successful cleaning process. With the shoes free from excess dirt, stains, and components removed, you can proceed to the next steps with confidence, knowing that your Slip-On Vans are primed for a thorough and effective wash.
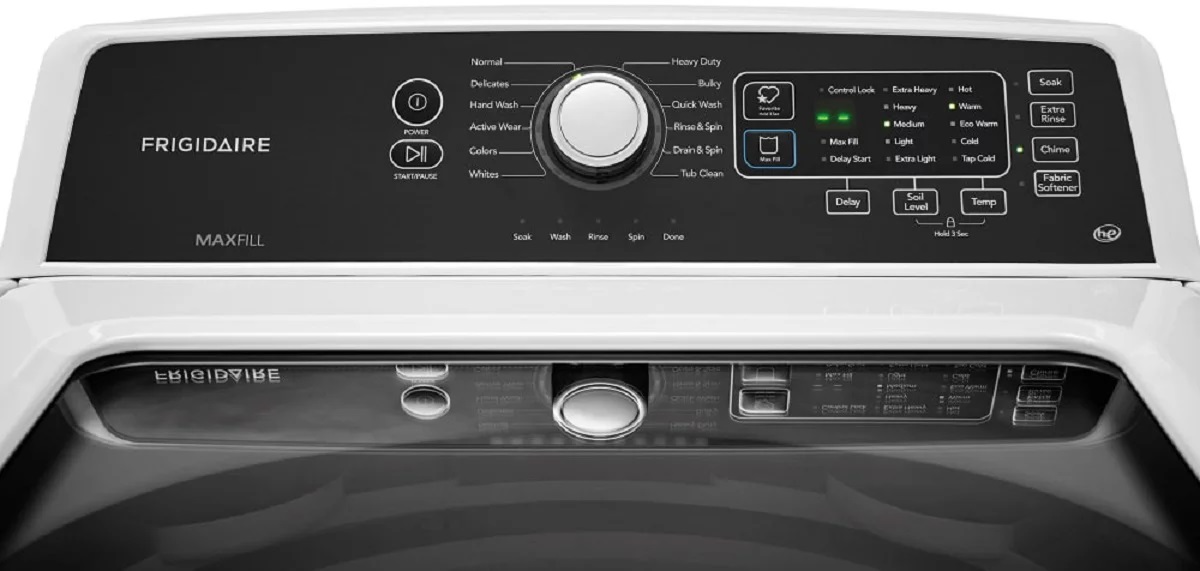
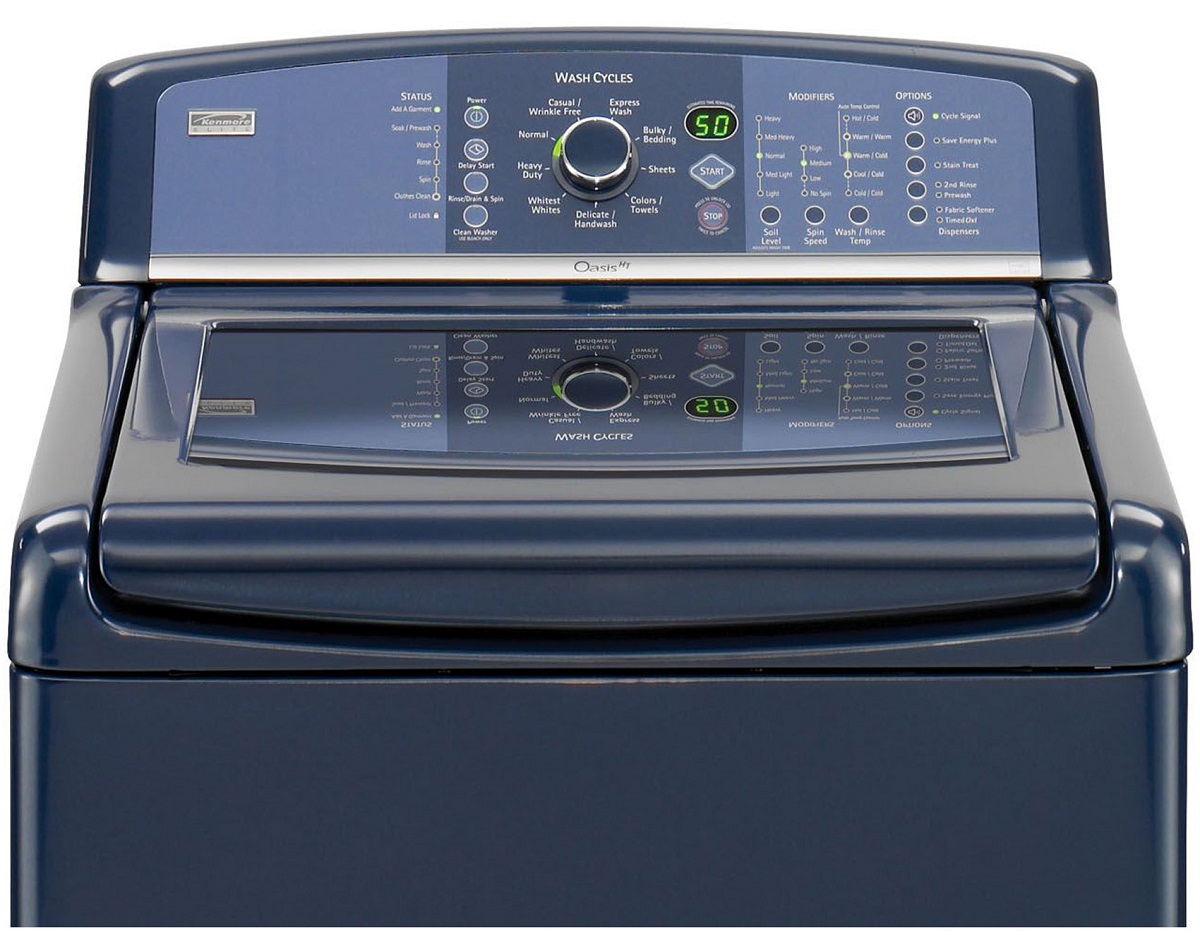
Setting Up the Washing Machine
Now that your Slip-On Vans are prepped and ready for washing, it's time to ensure that the washing machine is set up correctly for this task. Properly configuring the washing machine will help maintain the integrity of your shoes and deliver optimal cleaning results. Follow these steps to set up the washing machine for washing your Slip-On Vans:
-
Select the Right Detergent: Choose a mild detergent that is suitable for delicate fabrics. Avoid using harsh chemicals or bleach, as these can damage the material of your Slip-On Vans. Opt for a gentle, color-safe detergent to ensure that the colors of your shoes remain vibrant and undamaged during the wash cycle.
-
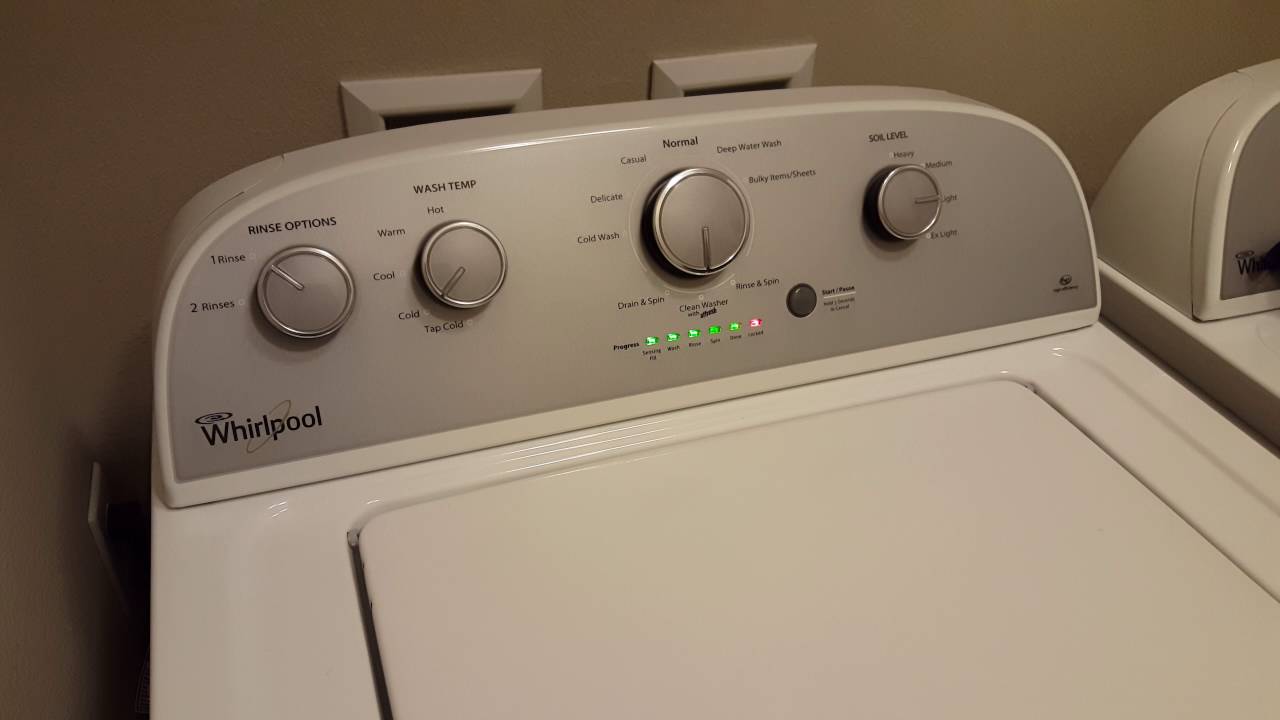
Adjust the Water Temperature: For most Slip-On Vans, using cold water is recommended to prevent any potential shrinkage or damage to the fabric. Cold water is also effective in lifting dirt and stains without causing color fading. Check the care label inside your shoes for specific water temperature recommendations, and adjust the washing machine accordingly.
-
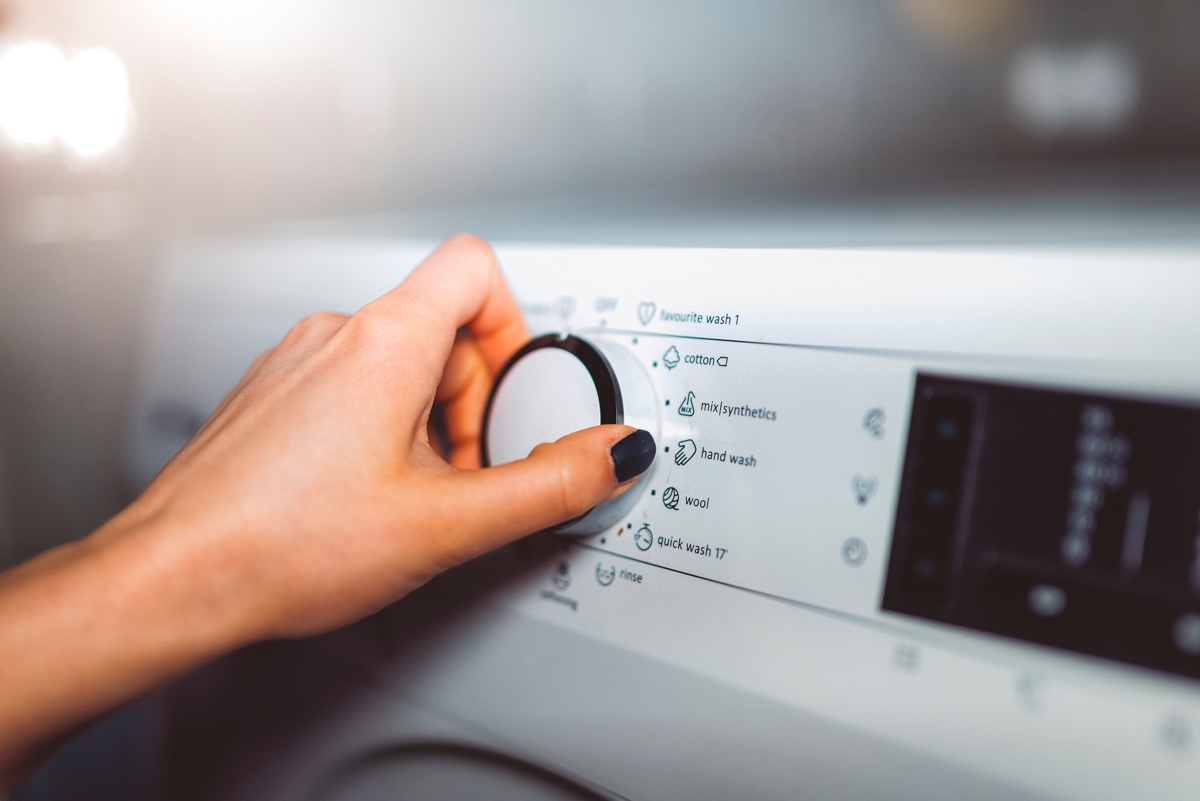
Use a Gentle Cycle: Select a gentle or delicate cycle on the washing machine to minimize agitation and reduce the risk of damaging the shoes. This setting is designed for delicate items and ensures a thorough yet gentle cleaning process. Avoid using a regular or heavy-duty cycle, as these can be too harsh for the material of your Slip-On Vans.
-
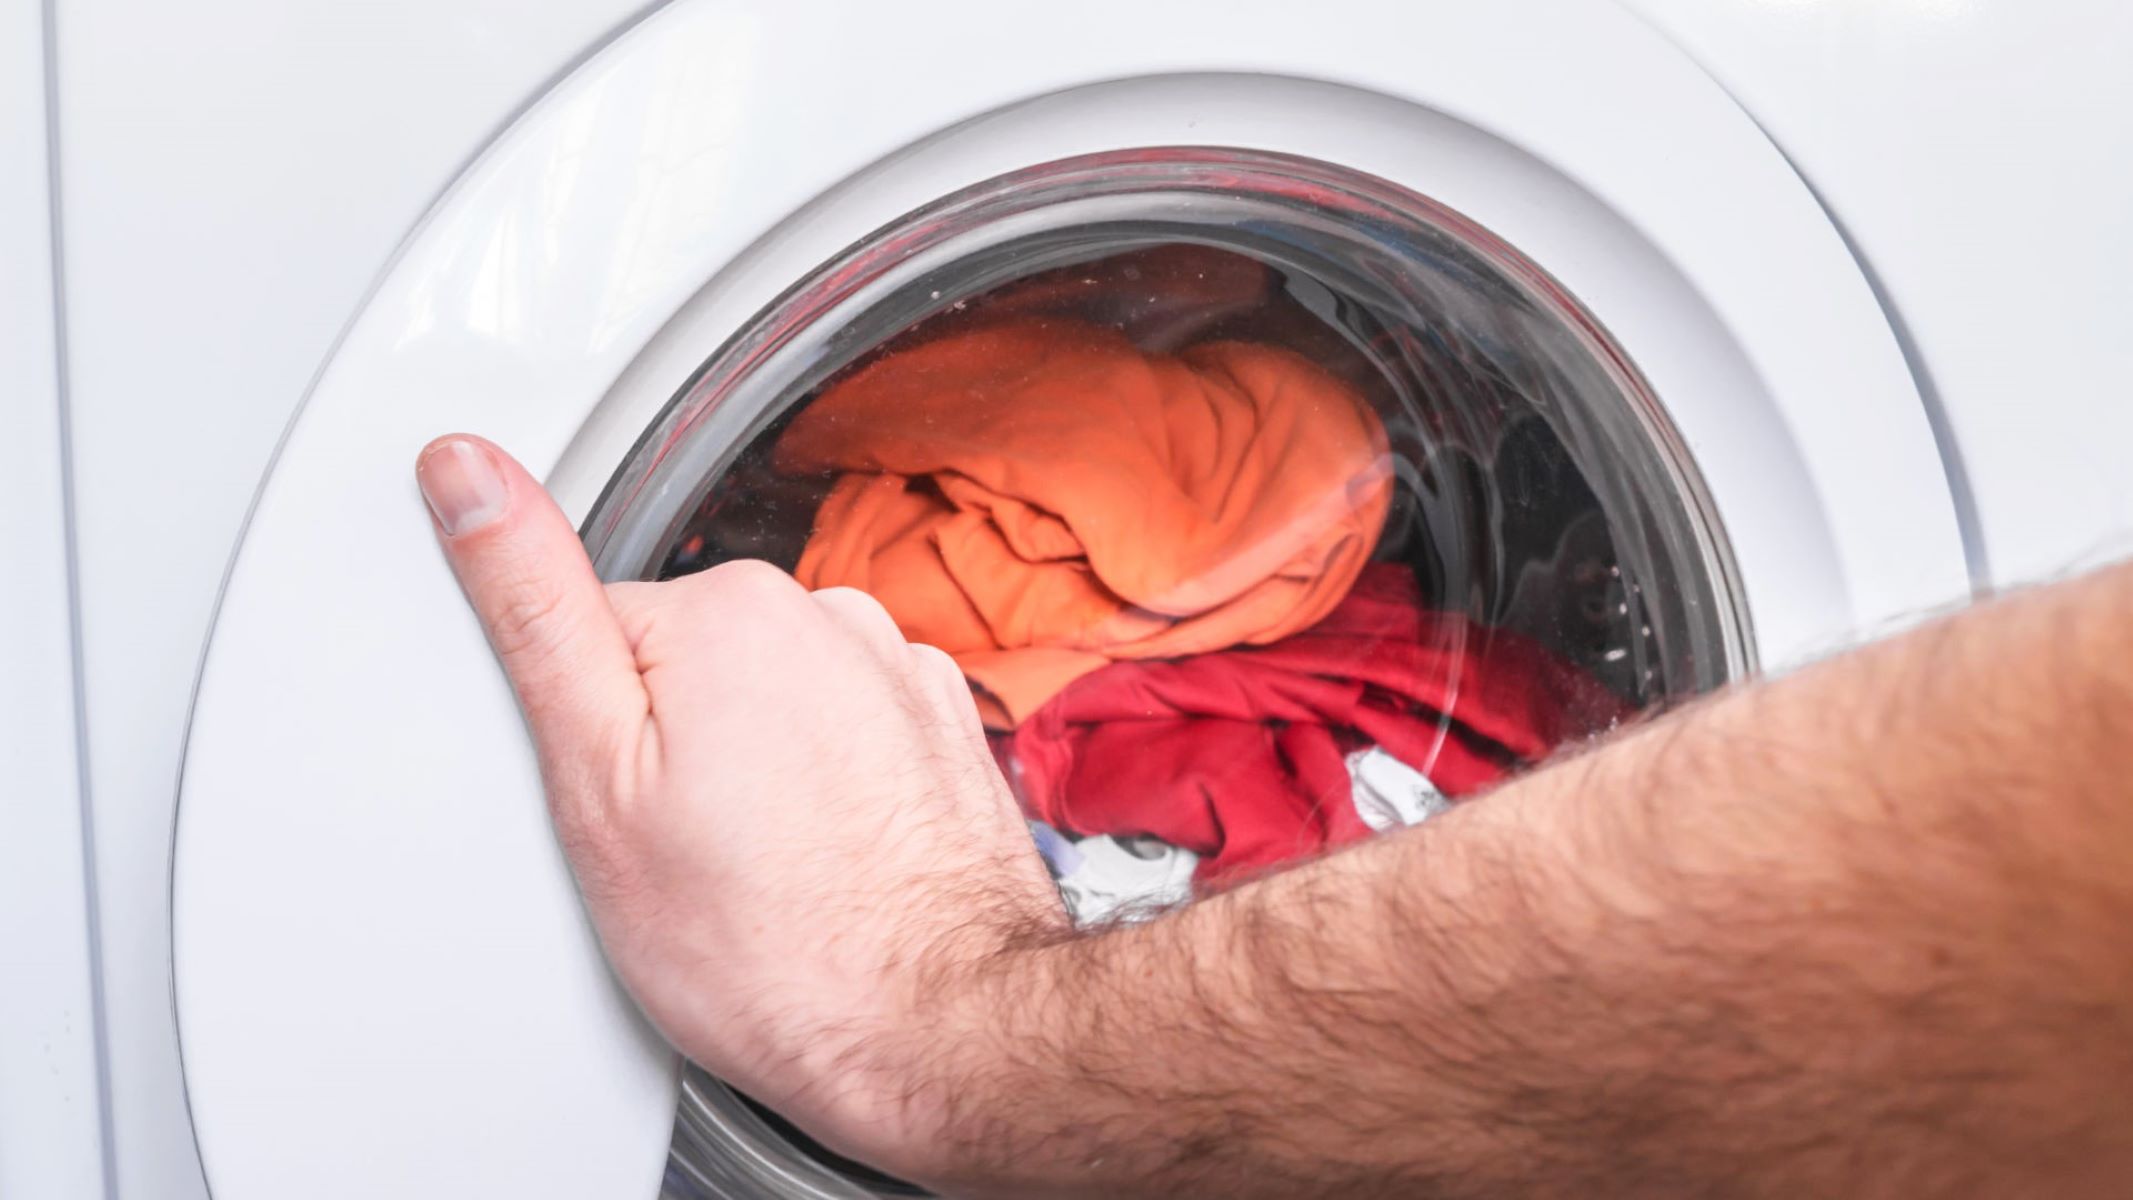
Load the Shoes Carefully: Place your prepared Slip-On Vans into a mesh laundry bag or pillowcase to protect them during the wash cycle. This extra layer helps prevent the shoes from getting tangled or damaged by the agitator in the washing machine. Arrange the shoes evenly in the bag to ensure balanced washing and prevent excessive movement during the cycle.
-
Add a Towel or Cloth: To further cushion the shoes and minimize noise during the wash, consider adding a few towels or soft cloths to the load. This helps create a buffer between the shoes and the walls of the washing machine, reducing the impact of the shoes moving around during the cycle.
-
Avoid Overloading: It's important not to overload the washing machine when washing your Slip-On Vans. Overcrowding the machine can hinder the cleaning process and lead to inadequate results. Ensure that there is enough space for the shoes to move freely within the machine, allowing the detergent and water to reach all areas for a thorough clean.
By following these steps to set up the washing machine, you can create an optimal environment for washing your Slip-On Vans. With the machine configured to accommodate delicate items and the necessary precautions in place, you are ready to proceed with the washing process, ensuring that your beloved shoes receive the care and attention they deserve.
To wash slip-on Vans in the washing machine, remove the insoles and laces, place the shoes in a laundry bag, use a gentle cycle with cold water, and air dry them.
Washing the Slip-On Vans
With the preparation complete and the washing machine set up for the task, it's time to initiate the washing process for your Slip-On Vans. Follow these steps to ensure a thorough and effective cleaning of your beloved shoes:
-
Add the Detergent: Pour the appropriate amount of mild detergent into the designated dispenser or directly into the washing machine drum. Refer to the detergent packaging for guidance on the recommended quantity based on the load size and water hardness.
-
Initiate the Wash Cycle: Start the washing machine on the gentle or delicate cycle with a cold water setting. This combination of gentle agitation and cool water helps prevent any potential damage to the material of your Slip-On Vans while effectively lifting dirt and grime from the fabric.
-
Monitor the Cycle: Keep an eye on the washing machine as it progresses through the cycle. This allows you to ensure that the shoes are moving freely within the machine and that the cleaning process is proceeding as intended. If necessary, pause the cycle briefly to readjust the shoes to maintain balanced washing.
-
Additional Considerations: If your Slip-On Vans are particularly soiled or have lingering odors, consider adding a second rinse cycle to ensure that all traces of detergent are thoroughly removed. This extra step can help prevent any residue from affecting the appearance or texture of your shoes after washing.
-
Complete the Cycle: Once the washing machine completes the cycle, carefully remove the mesh laundry bag or pillowcase containing your Slip-On Vans. Take the time to inspect the shoes for any remaining stains or areas that may require further attention.
-
Air Drying: After washing, it's essential to air dry your Slip-On Vans to maintain their shape and integrity. Avoid using a dryer, as the heat can potentially damage the material and alter the structure of the shoes. Instead, place the shoes in a well-ventilated area away from direct sunlight and allow them to air dry naturally.
By following these steps, you can effectively wash your Slip-On Vans in the washing machine, rejuvenating them and ensuring that they are clean, fresh, and ready to be worn once again. With the washing process complete, your Slip-On Vans are now primed for the final steps of drying and finishing touches, bringing them one step closer to their revitalized state.
Drying and Finishing Touches
After the washing process, proper drying and finishing touches are crucial to ensure that your Slip-On Vans regain their original shape, texture, and overall appeal. Here's a detailed guide on the essential steps for drying and adding the finishing touches to your freshly washed shoes:
-
Remove Excess Water: Before proceeding with the drying process, gently pat your Slip-On Vans with a clean, dry towel to remove any excess water. Avoid wringing or squeezing the shoes, as this can distort their shape and fabric.
-
Re-Shape the Shoes: While the shoes are still damp, take the time to re-shape them to their original form. This can be done by gently manipulating the fabric and ensuring that the shoes retain their characteristic silhouette. Pay particular attention to the toe box and heel areas to maintain their structure.
-
Air Drying: Find a well-ventilated area with indirect sunlight to allow your Slip-On Vans to air dry naturally. Avoid placing them in direct sunlight or using artificial heat sources, as excessive heat can cause the material to warp or shrink. Additionally, refrain from using a dryer, as the tumbling motion and heat can damage the shoes.
-
Stuff with Towels: To help the shoes maintain their shape during the drying process, consider stuffing them with clean, dry towels or cloths. This not only aids in preserving the form of the shoes but also assists in absorbing excess moisture from the interior.
-
Patience is Key: Allow sufficient time for the shoes to air dry completely. Depending on the ambient humidity and airflow, this process may take several hours. It's essential to exercise patience and resist the temptation to expedite the drying process using artificial means.
-
Inspect and Touch Up: Once your Slip-On Vans are fully dry, inspect them for any remaining stains or areas that may require touch-ups. If necessary, spot clean any lingering marks using a gentle cleaner and a soft brush. This step ensures that your shoes are not only clean but also visually appealing.
-
Re-Insert Insoles and Laces: After the shoes have dried and any touch-ups are complete, re-insert the insoles and re-lace your Slip-On Vans. This final step brings the shoes back to their fully assembled state, ready to be worn with confidence.
By following these meticulous steps for drying and adding the finishing touches, you can ensure that your Slip-On Vans emerge from the washing process in optimal condition. With their shape preserved, any remaining imperfections addressed, and the final touches in place, your freshly washed Slip-On Vans are now ready to be enjoyed once again, exuding a renewed sense of cleanliness and style.
Frequently Asked Questions about How To Wash Slip-On Vans In The Washing Machine
Was this page helpful?
At Storables.com, we guarantee accurate and reliable information. Our content, validated by Expert Board Contributors, is crafted following stringent Editorial Policies. We're committed to providing you with well-researched, expert-backed insights for all your informational needs.


0 thoughts on “How To Wash Slip-On Vans In The Washing Machine”