Home>Home Appliances>Lighting Appliances>How To Attach Two LED Strips
Lighting Appliances
How To Attach Two LED Strips
Modified: December 21, 2023
Learn how to properly attach two LED strips for your lighting appliances. Follow our step-by-step guide for a seamless installation process.
(Many of the links in this article redirect to a specific reviewed product. Your purchase of these products through affiliate links helps to generate commission for Storables.com, at no extra cost. Learn more)
Introduction
Welcome to the world of LED lighting! LED strips are a fantastic way to add ambiance, style, and functionality to any space. Whether you're looking to enhance your home, office, or retail environment, the versatility of LED strips allows for a wide range of creative applications. From accentuating architectural features to providing practical task lighting, the possibilities are endless.
In this comprehensive guide, we will walk you through the process of attaching two LED strips, allowing you to expand your lighting setup with ease. Whether you're a seasoned DIY enthusiast or a newcomer to the world of LED technology, this step-by-step tutorial will equip you with the knowledge and confidence to successfully connect and mount your LED strips.
By following these instructions, you'll be able to seamlessly extend your LED lighting system, creating a cohesive and visually stunning illumination that meets your specific needs. So, let's dive in and explore the exciting world of LED strip lighting!
Key Takeaways:
- Preparation is crucial! Gathering the right materials and carefully preparing the LED strips sets the stage for a successful and visually captivating lighting installation.
- Attention to detail matters! From precision in connecting the LED strips to thorough testing and careful mounting, focusing on the details leads to a reliable and visually striking lighting arrangement.
Read more: Why Are My LED Strips Two Different Colors
Step 1: Gather the Necessary Materials
Before you begin the process of attaching two LED strips, it’s essential to gather all the required materials. Ensuring that you have everything at hand will streamline the installation process and prevent unnecessary delays. Here’s a comprehensive list of the materials you’ll need:
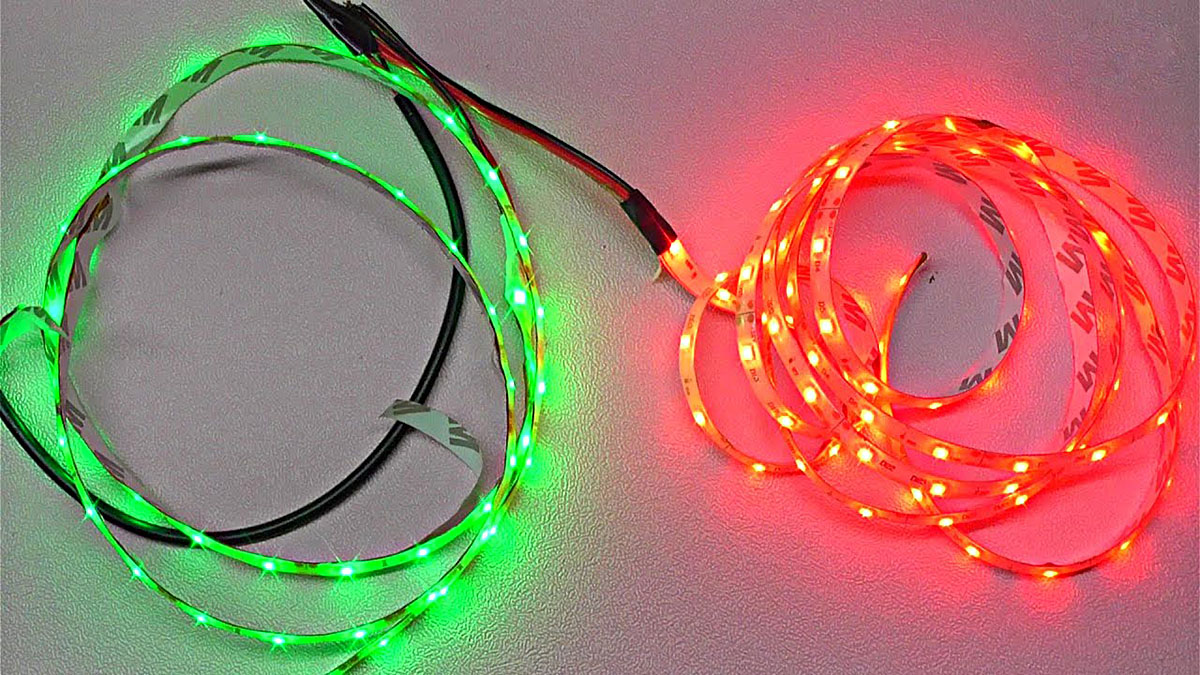
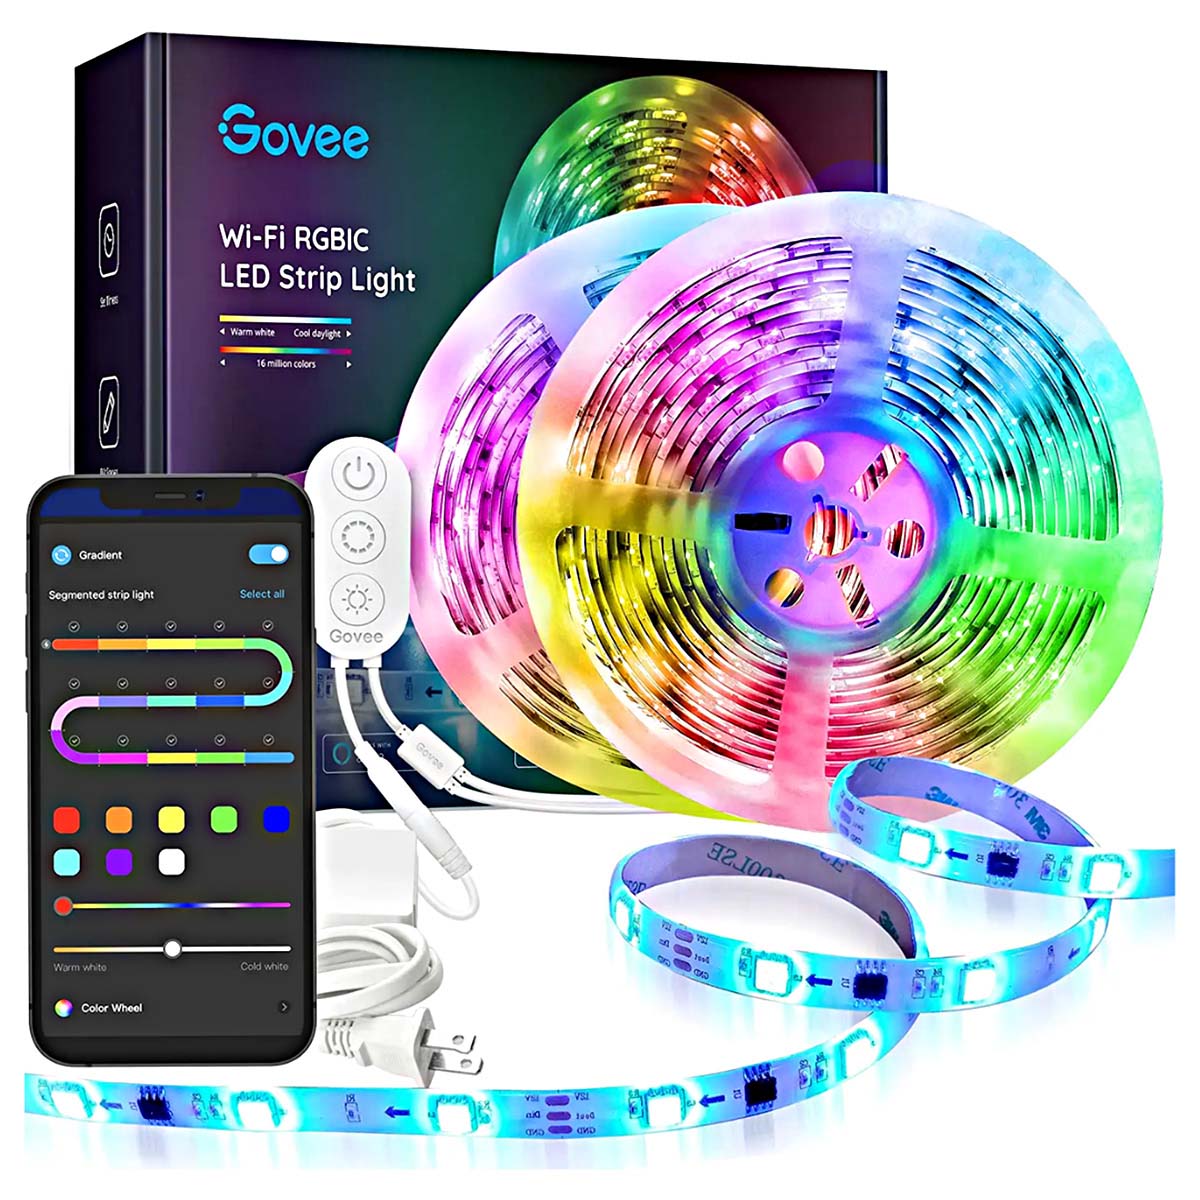
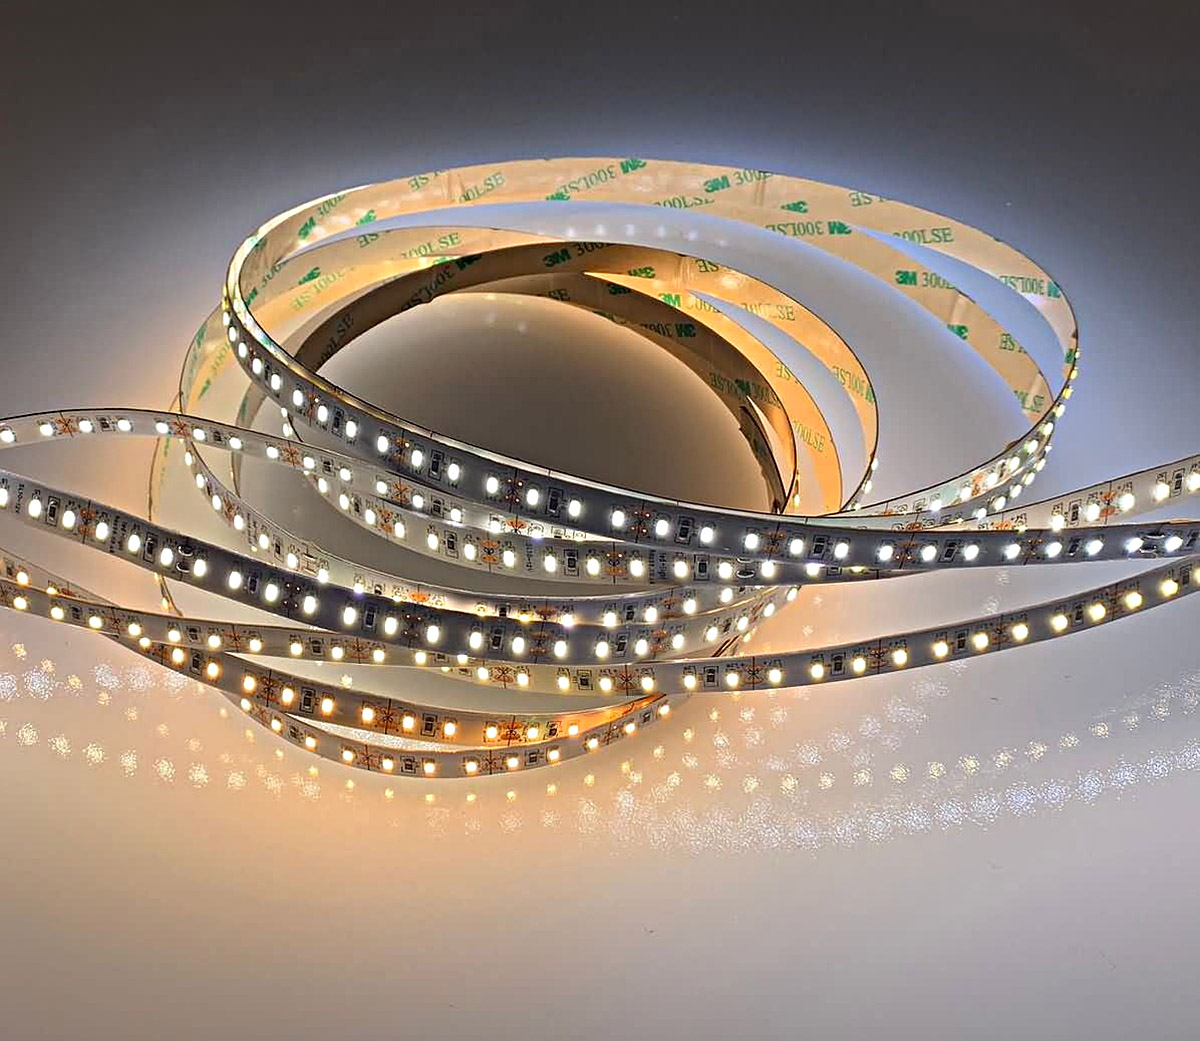
- Two LED Strips: Select LED strips that are compatible in terms of voltage, color temperature, and brightness to ensure a uniform lighting effect.
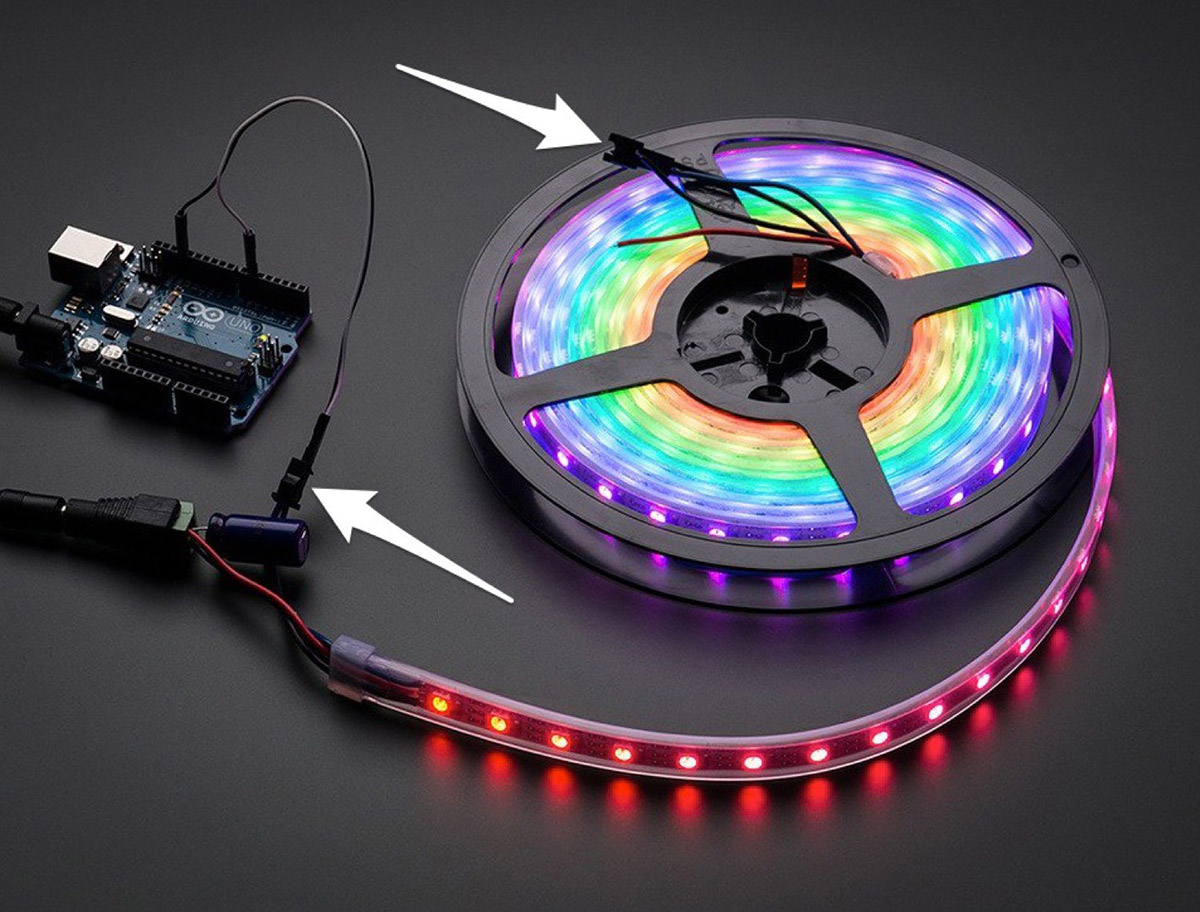
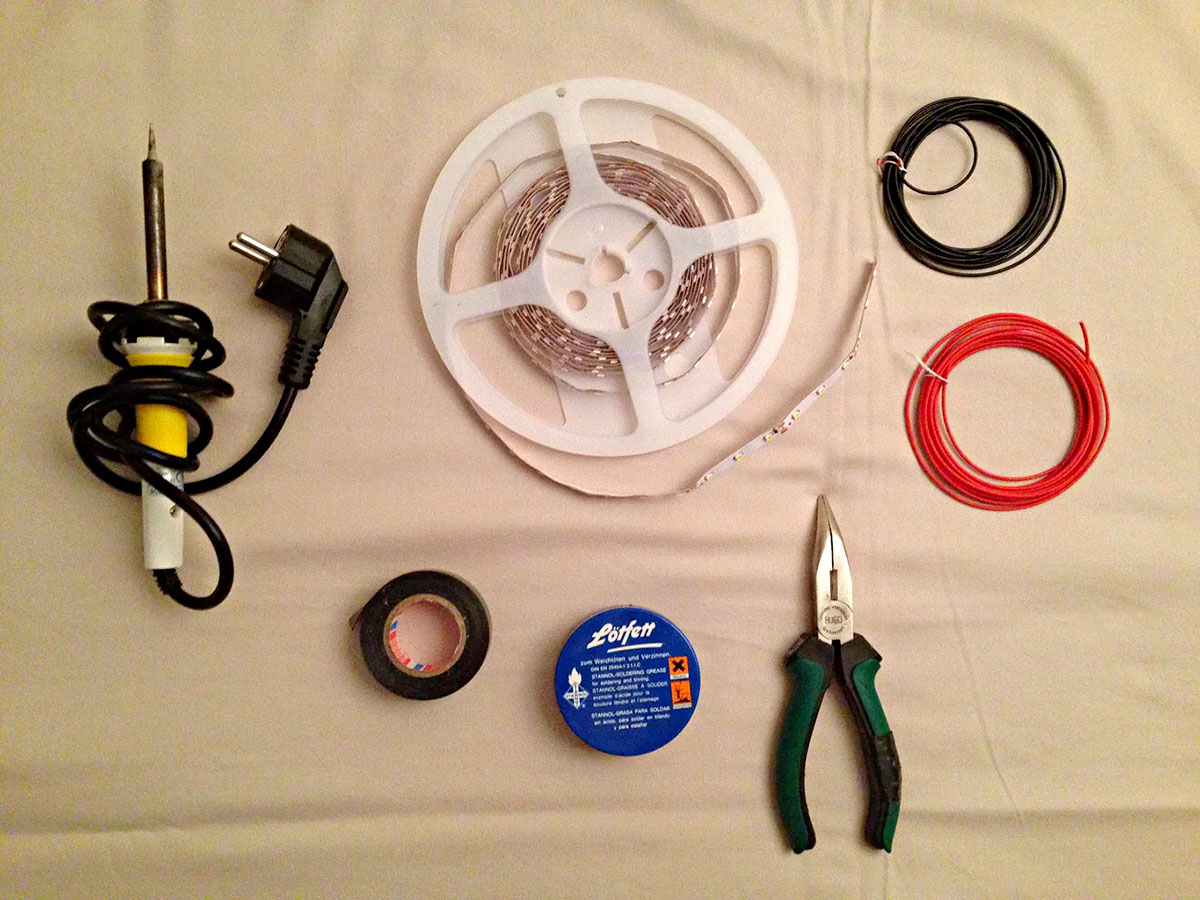
- Connector or Soldering Equipment: Depending on your preference, you can either use connectors designed for LED strips or opt for soldering equipment to establish a secure electrical connection between the two strips.
- Wire Strippers: These tools are essential for preparing the LED strip ends for the connection process. Ensure that the wire strippers are suitable for the gauge of the LED strip wires.
- Electrical Tape: High-quality electrical tape will be used to insulate the connections and provide additional protection against moisture and dust.
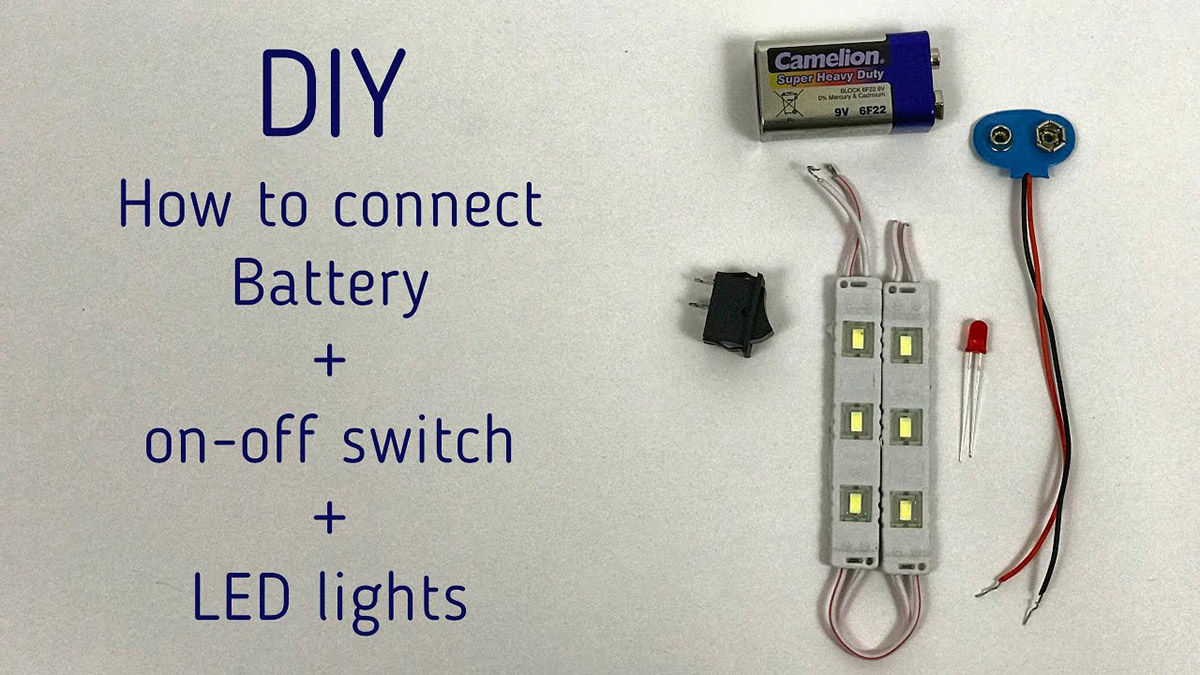
- Power Supply: If your existing power supply is not capable of accommodating the additional LED strip, you may need to acquire a larger power supply to support the combined load.
- Cutting and Mounting Tools: Depending on your specific installation requirements, you may need cutting tools to trim the LED strips to the desired length and mounting tools to affix the strips securely in place.
- Clean Cloth and Isopropyl Alcohol: Before mounting the LED strips, it’s crucial to clean the surface thoroughly to ensure optimal adhesion. Isopropyl alcohol is effective in removing any residual dirt, grease, or contaminants.
- Documentation and Safety Gear: Keep the manufacturer’s instructions and safety gear, such as gloves and eye protection, handy throughout the installation process.
By gathering these materials in advance, you’ll be well-prepared to proceed with confidence as you embark on the journey of attaching two LED strips. With the necessary tools and components at your disposal, you’ll be ready to create a seamless and visually captivating lighting arrangement that elevates the ambiance of your space.
Step 2: Prepare the LED Strips
Before connecting the LED strips, it’s crucial to prepare them for the attachment process. This involves assessing the condition of the strips, determining the connection method, and ensuring that the ends are properly configured for a secure and reliable link. Follow these essential steps to prepare the LED strips:
- Inspect the LED Strips: Carefully examine the LED strips to ensure that they are free from any visible damage or defects. Check for any signs of wear, discoloration, or exposed wiring that may compromise the performance and safety of the strips.
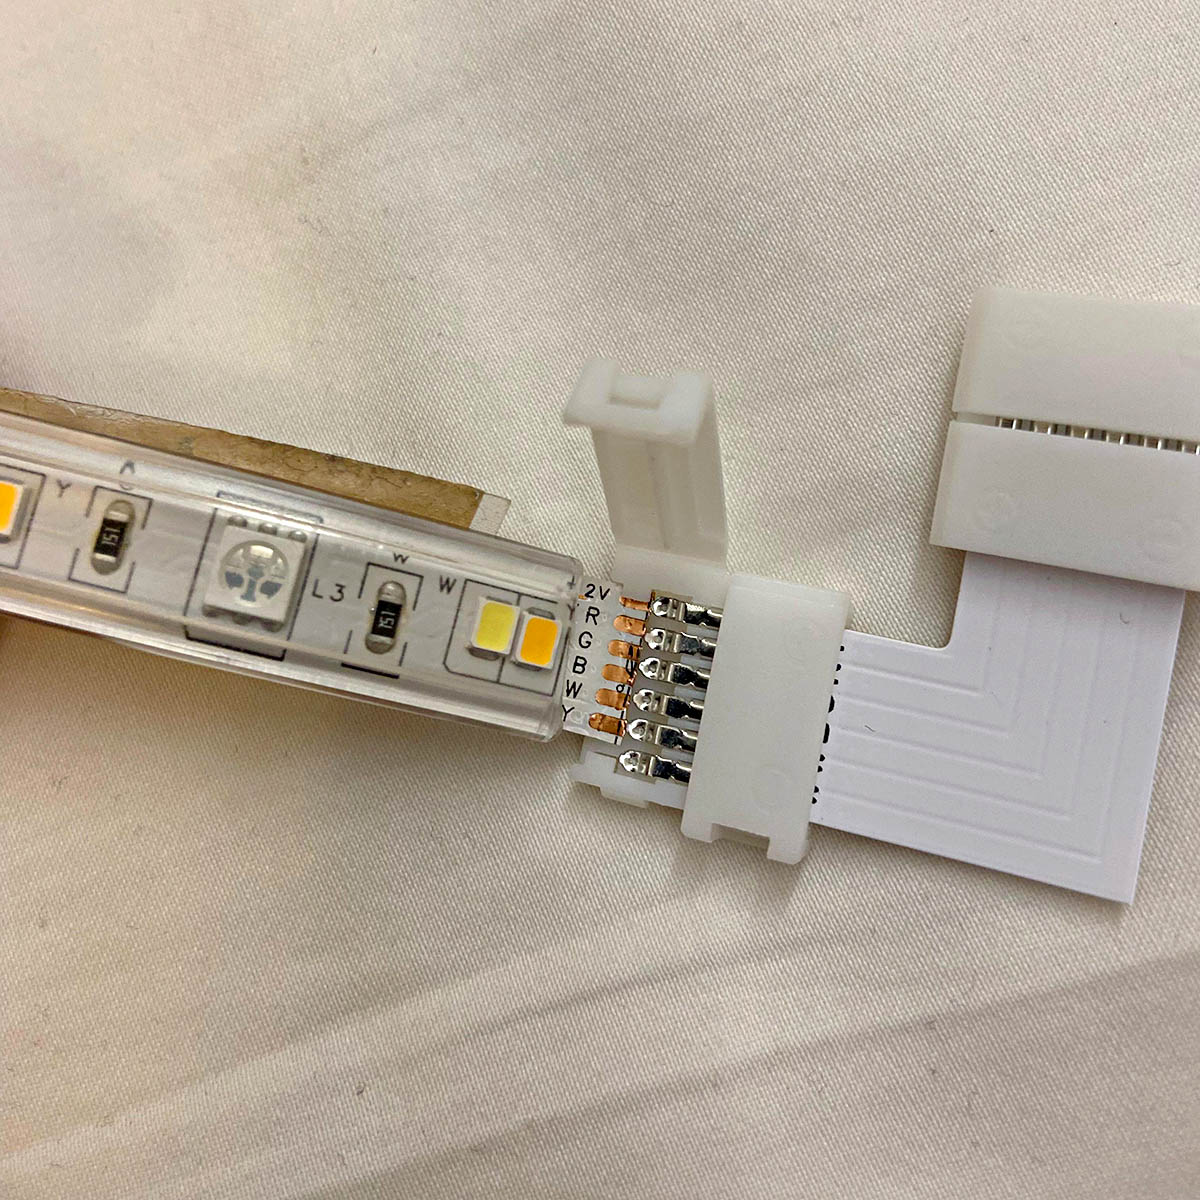
- Identify the Connection Method: Determine whether you will be using connectors or soldering to join the two LED strips. Select the method that aligns with your skill level and the specific requirements of your installation.
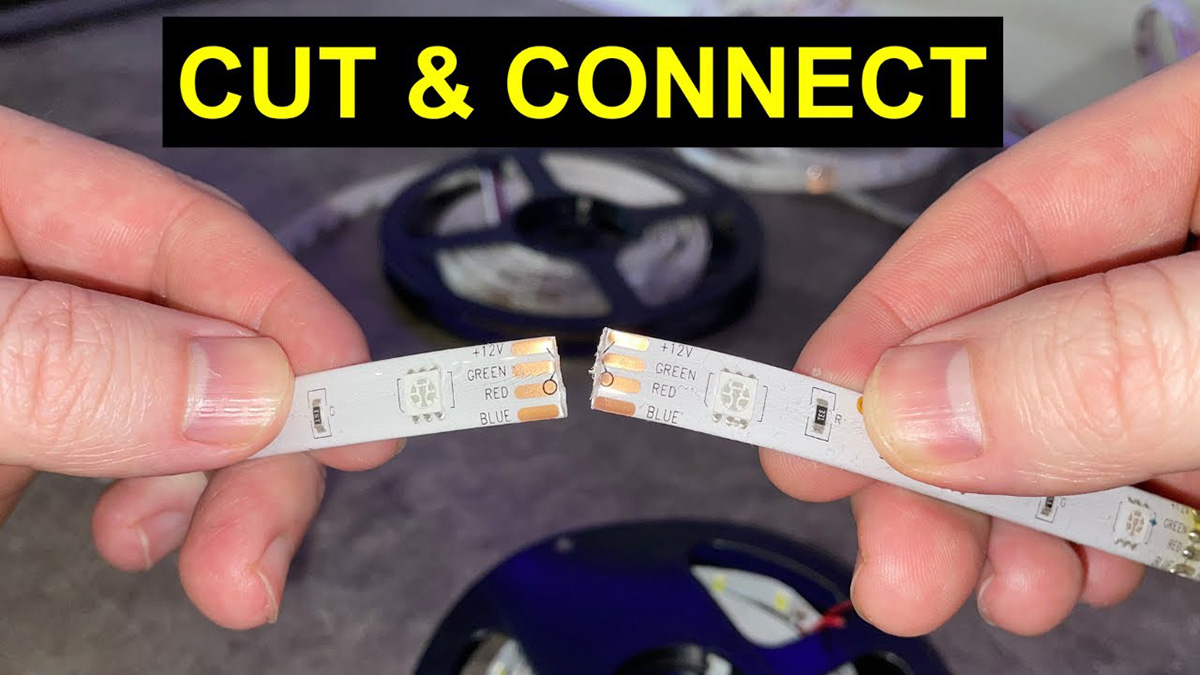
- Trim and Clean the Ends: If necessary, use cutting tools to trim the ends of the LED strips to the desired length. Once trimmed, use a clean cloth and isopropyl alcohol to thoroughly clean the cut ends, removing any debris or residue that could hinder the connection.
- Prepare for Soldering (If Applicable): If you have chosen to solder the connection, carefully expose a small portion of the copper pads on the LED strips using wire strippers. Ensure that the exposed pads are clean and free from any oxidation or contaminants.
- Prepare for Connector Installation (If Applicable): If connectors will be used, follow the manufacturer’s instructions to prepare the LED strip ends for the connector attachment. This may involve removing a specified length of the protective coating and exposing the necessary terminals for the connector interface.
- Ensure Proper Polarity: Confirm the polarity of the LED strips to ensure that the positive and negative terminals align correctly for the connection. This is crucial for maintaining the integrity of the electrical circuit and preventing potential damage to the LED strips.
By meticulously preparing the LED strips for the connection process, you’ll set the stage for a seamless and reliable attachment. Taking the time to assess the condition of the strips, select the appropriate connection method, and ensure proper end preparation will contribute to a successful and durable connection between the two LED strips.
Step 3: Connect the LED Strips
With the LED strips prepared and the necessary materials at hand, it’s time to proceed with connecting the two strips to create a unified and extended lighting installation. Whether you opt for connectors or soldering, the following steps will guide you through the process of establishing a secure and reliable connection between the LED strips:
- Connector Installation: If you are using connectors, carefully align the prepared ends of the LED strips with the connector terminals, ensuring that the polarity matches correctly. Follow the manufacturer’s instructions to secure the connection, typically by inserting the stripped ends into the designated terminals and securing them in place.
- Soldering Process: If soldering is your chosen method, heat the soldering iron to the appropriate temperature and apply a small amount of solder to the exposed copper pads on the LED strips. With precision and caution, join the corresponding positive and negative terminals of the two strips, creating a solid and durable electrical connection.
- Insulate the Connection: Once the connection is established, use high-quality electrical tape to carefully insulate the joined terminals, providing protection against moisture, dust, and accidental contact. Ensure that the insulation is secure and does not impede the flexibility or positioning of the LED strips.
- Test the Continuity: Before proceeding further, it’s essential to test the continuity of the connection to confirm that the electrical circuit is intact and free from any potential short circuits or open connections. Use a multimeter set to the continuity or resistance mode to verify the integrity of the connection.
- Verify Proper Functionality: Once the continuity is confirmed, briefly power the LED strips to verify that they illuminate uniformly and emit the expected color and brightness. This step ensures that the connection is functional and that the combined strips operate harmoniously.
By following these steps with precision and attention to detail, you’ll successfully connect the LED strips, creating a cohesive and expanded lighting arrangement. Whether you choose connectors for convenience or opt for the precision of soldering, the result will be a seamless integration of the two LED strips, ready to enhance your space with captivating illumination.
When attaching two LED strips, make sure to use a soldering iron and solder to connect the positive (+) and negative (-) terminals of the strips. This will create a secure and reliable connection for your LED strips.
Step 4: Test the Connection
After connecting the LED strips, it is crucial to test the integrity of the connection to ensure that the electrical circuit is secure and that the combined strips function as intended. Testing the connection provides an opportunity to identify and address any potential issues before proceeding with the final installation. Follow these steps to thoroughly test the connection between the LED strips:
- Visual Inspection: Begin by visually inspecting the connected area to ensure that the insulation is intact and that the wires or connectors are securely fastened. Look for any signs of exposed wiring, loose connections, or irregularities that may compromise the functionality and safety of the installation.
- Continuity Check: Use a multimeter set to the continuity or resistance mode to perform a comprehensive continuity check across the connected terminals. This step verifies that the electrical pathway between the LED strips is complete and free from any interruptions or irregularities.
- Power-On Test: Power on the LED strips and observe their operation to confirm that both strips illuminate uniformly and emit the expected color and brightness. Pay close attention to any flickering, dimming, or irregularities in the lighting output, as these may indicate underlying connection issues.
- Stress Test: Gently manipulate the connected area to simulate movement or vibration, ensuring that the connection remains stable and reliable under normal usage conditions. This stress test helps identify any potential weak points in the connection that may require reinforcement or adjustment.
- Operational Duration Test: Leave the LED strips powered on for an extended duration, observing their performance over time to ensure that the connection remains stable and that the strips operate consistently without any signs of overheating or degradation.
By meticulously testing the connection between the LED strips, you’ll mitigate the risk of potential issues arising after the installation is complete. This proactive approach allows you to address any concerns and fine-tune the connection, ensuring that your extended LED lighting system operates reliably and delivers the desired visual impact.
Read more: How To Remove LED Strips From The Wall
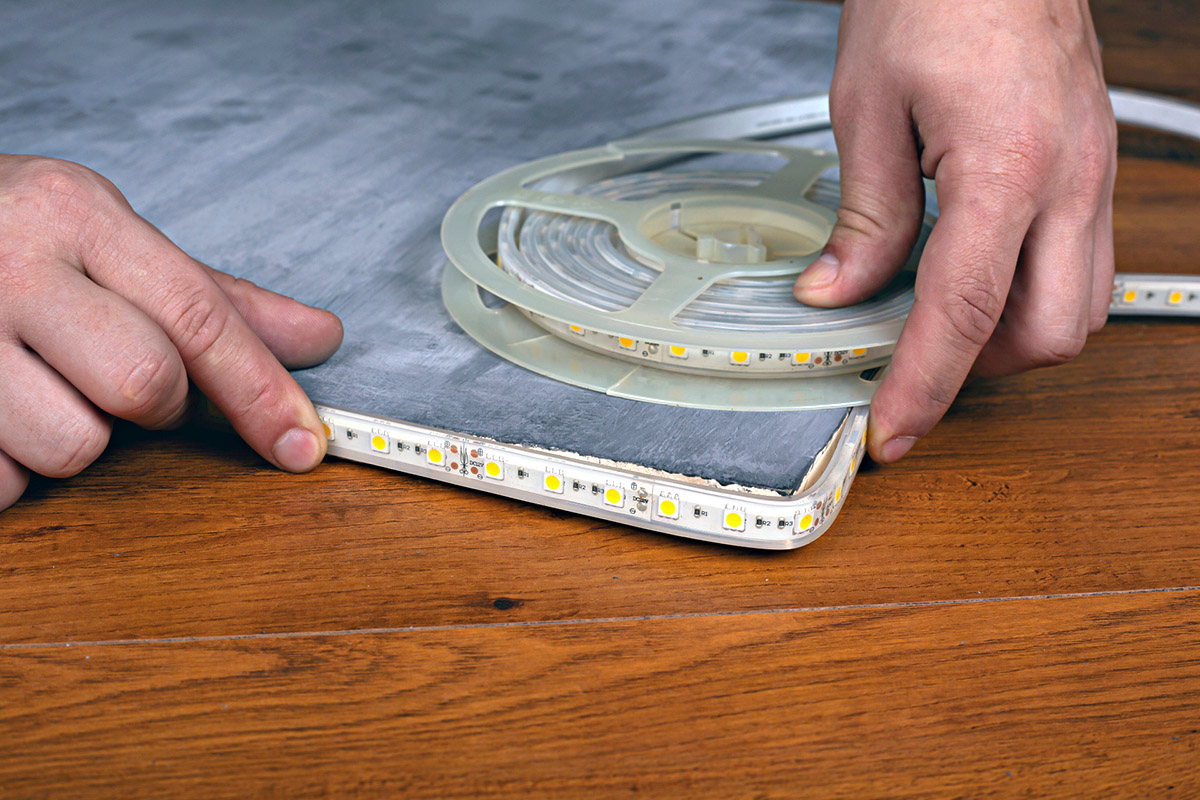
Step 5: Mount the LED Strips
With the LED strips successfully connected and tested, the final step involves mounting the combined strips in their intended location. Proper mounting is essential for ensuring optimal illumination and long-term stability. Follow these steps to securely mount the LED strips:
- Surface Preparation: Clean the mounting surface thoroughly using a clean cloth and isopropyl alcohol to remove any dust, grease, or contaminants that could hinder adhesion. Ensure that the surface is dry before proceeding with the mounting process.
- Cut Mounting Adhesive: If your LED strips feature adhesive backing, carefully cut the adhesive tape or backing to match the desired length of the combined strips. Take care to align the adhesive backing with the bottom of the LED strips to facilitate a secure and uniform attachment to the mounting surface.
- Positioning and Alignment: Carefully position the combined LED strips in the desired location, ensuring that they are aligned precisely and parallel to the mounting surface. Take into account any design considerations or lighting requirements to achieve the intended visual impact.
- Apply Firm Pressure: Once positioned, apply firm and even pressure along the length of the LED strips to ensure optimal adhesion to the mounting surface. This step helps activate the adhesive and promotes a strong bond between the strips and the mounting surface.
- Reinforcement (Optional): For added security, consider using additional mounting brackets or clips to reinforce the attachment of the LED strips, especially in areas prone to movement or vibration. This extra reinforcement enhances the long-term stability of the installation.
- Verify Adhesion: After mounting the LED strips, carefully inspect the adhesion to ensure that the strips are securely affixed to the surface without any signs of lifting or detachment. Address any areas of concern by applying additional pressure or reinforcement as needed.
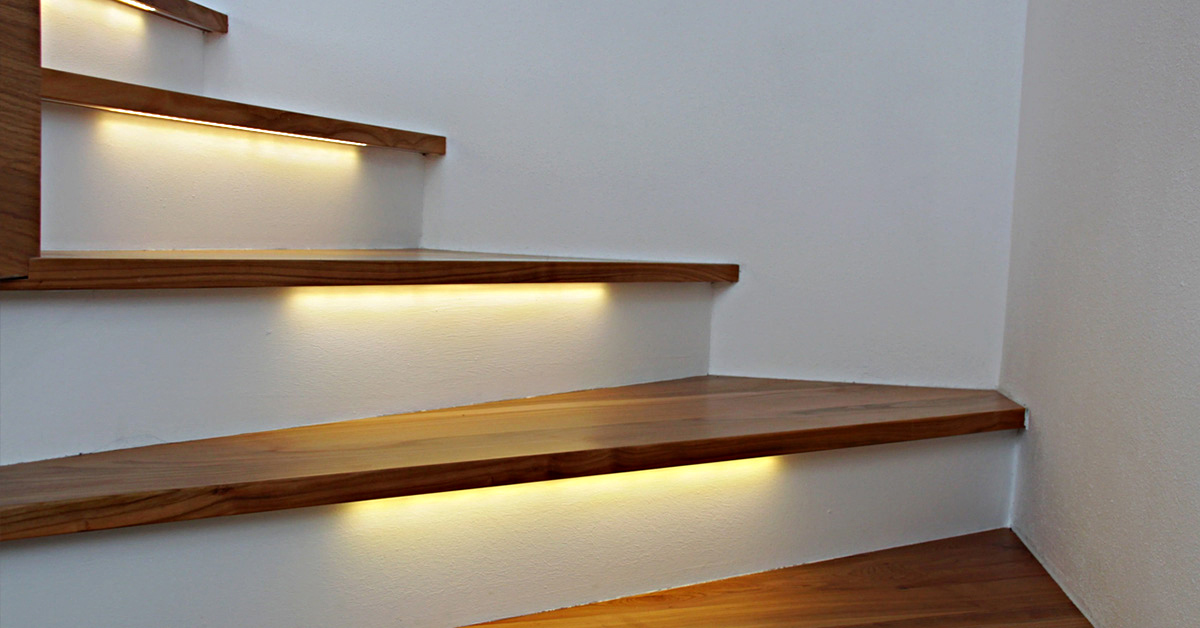
By following these steps, you’ll effectively mount the connected LED strips, creating a visually striking and durable lighting installation. Whether illuminating architectural features, providing task lighting, or enhancing the ambiance of a space, the securely mounted LED strips will deliver reliable and captivating illumination for your specific application.
Conclusion
Congratulations on successfully attaching two LED strips to expand your lighting setup! By following the comprehensive steps outlined in this guide, you’ve gained the knowledge and confidence to seamlessly connect and mount LED strips, creating a unified and visually captivating illumination for your space. As you admire the enhanced ambiance and functionality of your extended LED lighting system, it’s important to reflect on the key takeaways from this process:
- Preparation is Key: By gathering the necessary materials, meticulously preparing the LED strips, and selecting the appropriate connection method, you’ve set the foundation for a successful installation.
- Precision and Testing Ensure Reliability: Whether using connectors or soldering, the precision of the connection process and thorough testing contribute to the reliability and longevity of the LED strips’ operation.
- Attention to Detail Yields Quality Results: From mounting the LED strips with care to verifying the integrity of the connection, your attention to detail has culminated in a visually striking and durable lighting installation.
As you bask in the captivating glow of your expanded LED lighting system, remember that the knowledge and skills you’ve acquired can be applied to future lighting projects, empowering you to explore and innovate with LED technology. Whether it’s illuminating a residential space, enhancing a commercial environment, or embarking on creative lighting endeavors, the possibilities with LED strips are endless.
Embrace the versatility and transformative power of LED lighting, and let your newfound expertise inspire you to continue exploring the exciting world of illumination. With each successful installation, you’ll further refine your skills and expand your creative horizons, making a meaningful impact through the artistry and functionality of LED lighting.
Thank you for embarking on this enlightening journey with us, and may your illuminated spaces continue to captivate and inspire all who experience them.
Frequently Asked Questions about How To Attach Two LED Strips
Was this page helpful?
At Storables.com, we guarantee accurate and reliable information. Our content, validated by Expert Board Contributors, is crafted following stringent Editorial Policies. We're committed to providing you with well-researched, expert-backed insights for all your informational needs.

0 thoughts on “How To Attach Two LED Strips”