Home>Home Appliances>Lighting Appliances>How To Solder RGB LED Strips
Lighting Appliances
How To Solder RGB LED Strips
Modified: August 28, 2024
Learn how to solder RGB LED strips for your lighting appliances. Step-by-step guide to enhance your home lighting with colorful and customizable LED strips.
(Many of the links in this article redirect to a specific reviewed product. Your purchase of these products through affiliate links helps to generate commission for Storables.com, at no extra cost. Learn more)
**
Introduction
**
Soldering RGB LED strips can be an exciting and rewarding DIY project for lighting enthusiasts and tech-savvy individuals. By mastering the art of soldering, you can unleash your creativity and bring vibrant illumination to various spaces, from home décor to professional lighting setups. Whether you're a seasoned hobbyist or a beginner eager to delve into the world of LED technology, this comprehensive guide will walk you through the process of soldering RGB LED strips with precision and confidence.
In this article, we will explore the essential steps and techniques required to solder RGB LED strips effectively. From gathering the necessary materials to testing the connection, each stage plays a crucial role in ensuring a successful outcome. By following these instructions, you can elevate your lighting game and unlock the full potential of RGB LED strips, creating dazzling displays of color and ambiance.
As we embark on this journey, it's important to approach the process with patience and a keen eye for detail. Soldering demands a steady hand and a mindful approach, but the results are well worth the effort. Whether you're aiming to illuminate your living space with dynamic lighting effects or seeking to enhance the aesthetics of a commercial environment, the skills you'll acquire through this guide will empower you to bring your lighting visions to life.
So, let's roll up our sleeves, gather our materials, and dive into the art of soldering RGB LED strips. With the right tools and a willingness to learn, you'll soon be on your way to creating captivating and customizable lighting arrangements that showcase your unique style and ingenuity. Let's illuminate the path ahead and discover the art of soldering RGB LED strips together.
Key Takeaways:
- Mastering the art of soldering RGB LED strips requires patience and precision, empowering you to create personalized and vibrant lighting arrangements for various spaces.
- By learning to solder RGB LED strips, you gain the ability to unleash your creativity and bring captivating illumination to life, while prioritizing safety and quality throughout the process.
Read also: 10 Best Rgb LED Bulb for 2025
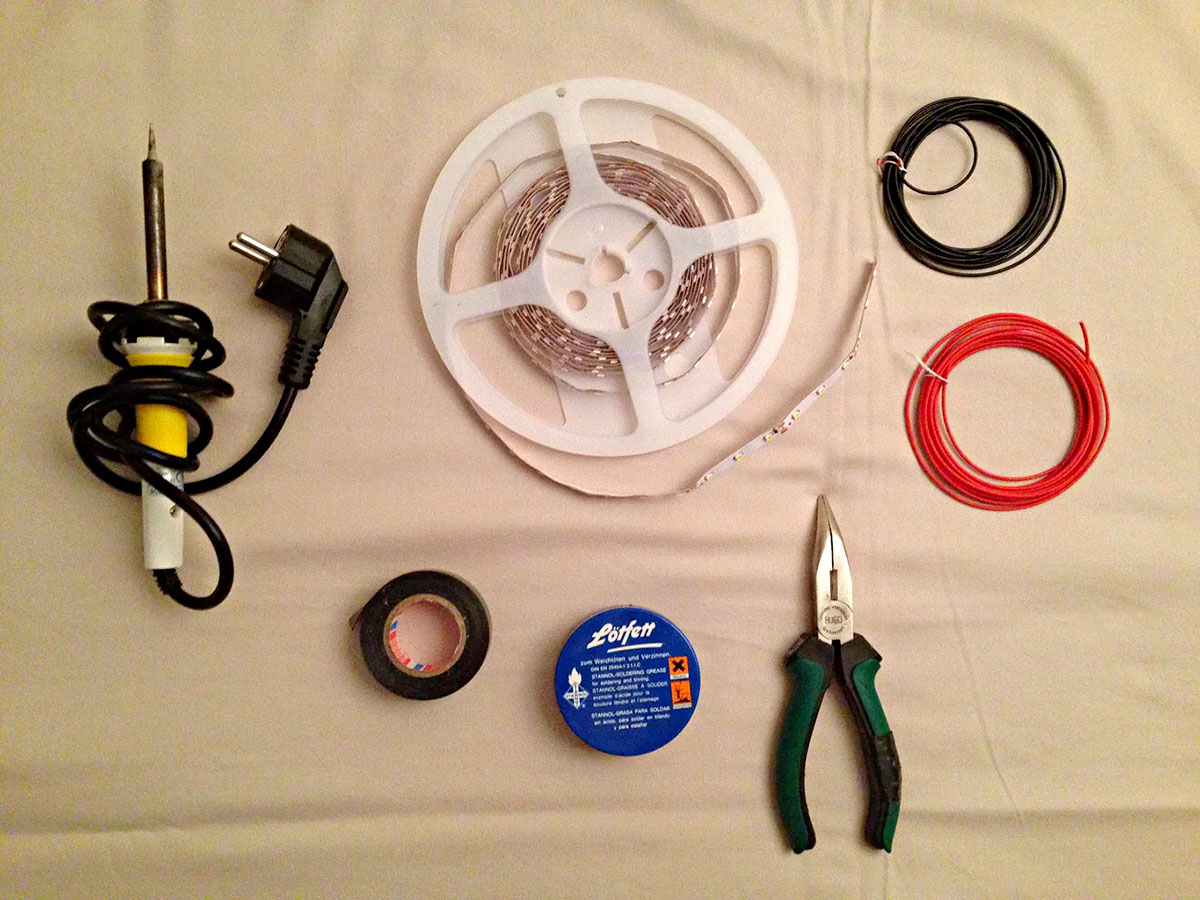
Materials Needed
Before embarking on the soldering journey, it’s essential to gather the necessary materials to ensure a smooth and successful process. Here’s a comprehensive list of the items you’ll need:
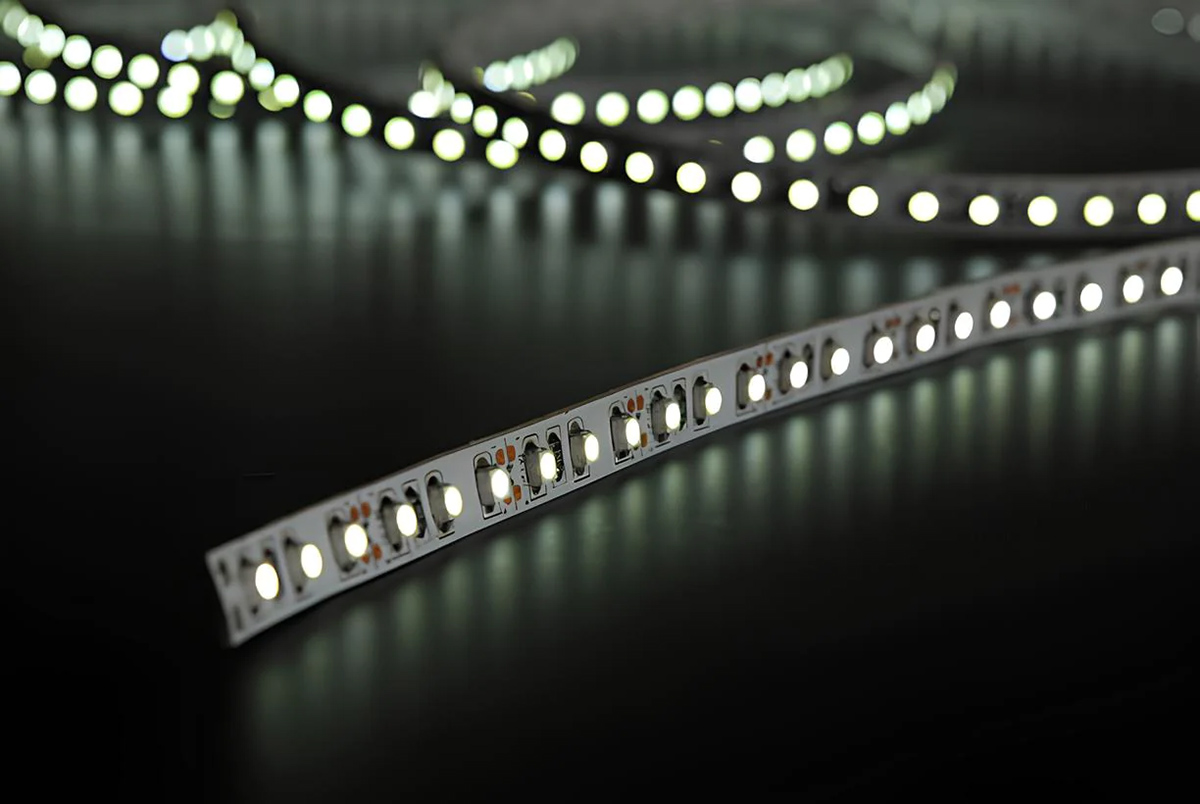
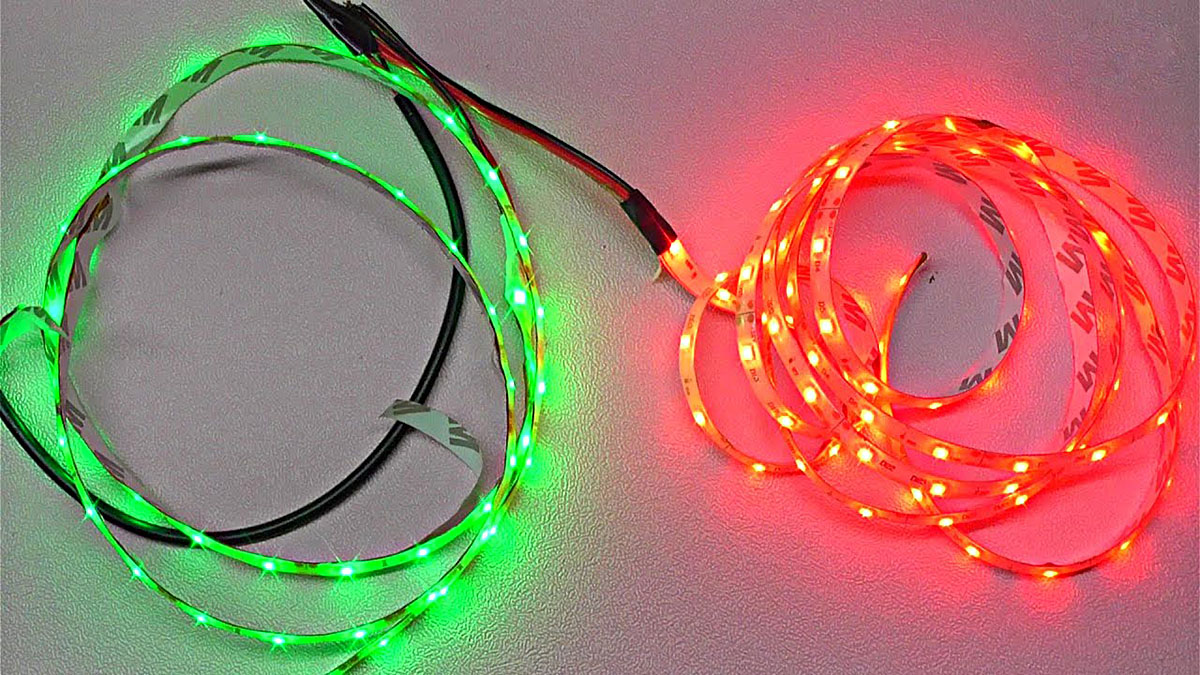
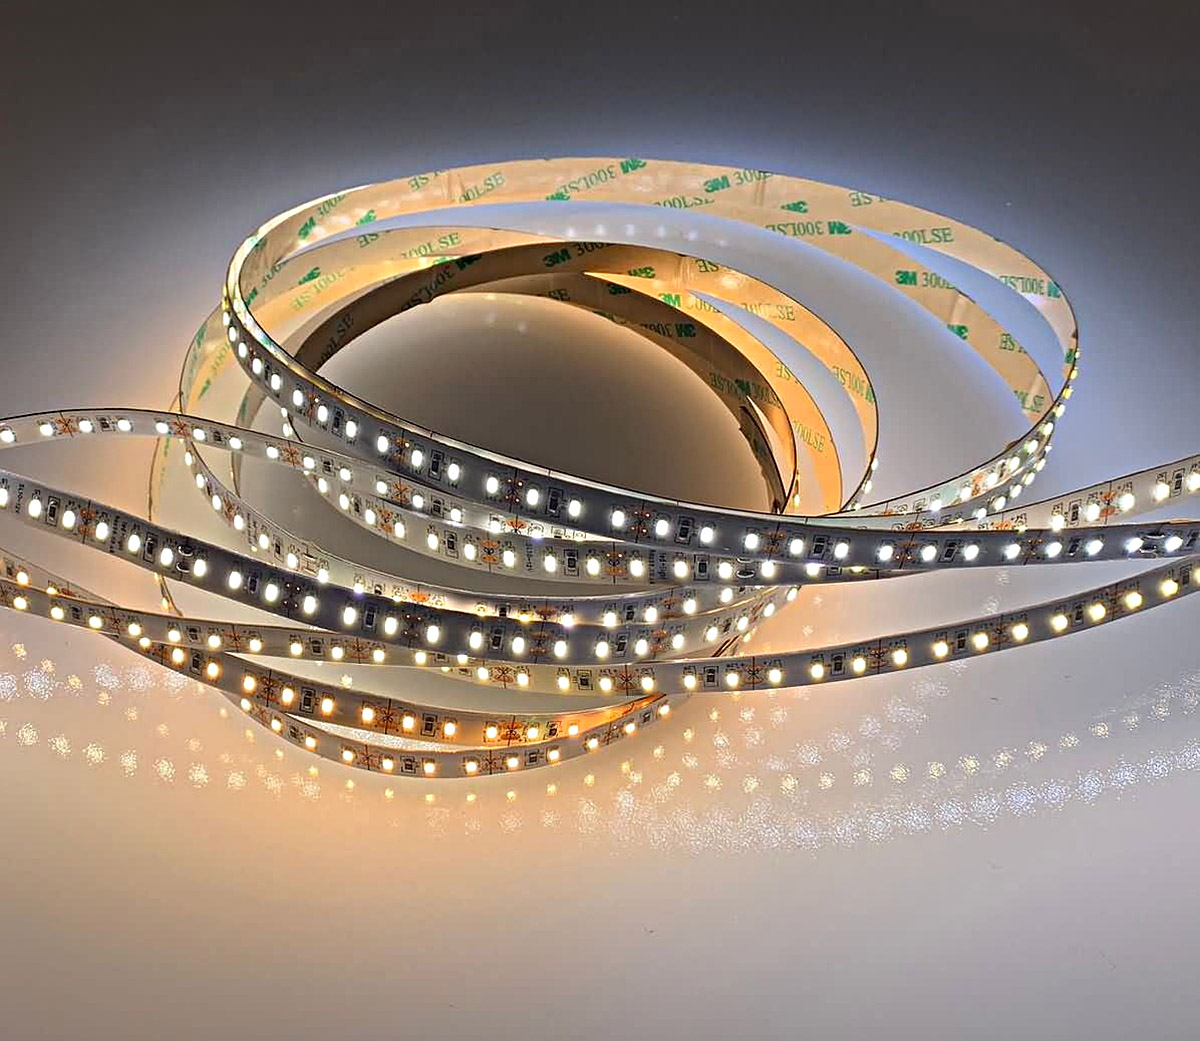
- RGB LED strips: These flexible and versatile strips come in various lengths and densities, allowing you to customize your lighting design according to your specific requirements.
- Soldering iron: A quality soldering iron with adjustable temperature settings is crucial for achieving clean and precise solder joints. Look for a soldering iron with a fine tip to facilitate intricate work.
- Solder wire: High-quality solder wire with a rosin core is recommended for reliable electrical connections. Opt for a diameter suitable for the size of the components you’ll be soldering.
- Wire cutters/strippers: These tools are essential for preparing the LED strips and wires, ensuring clean and precise cuts as well as proper insulation removal.
- Helping hands or third hand tool: This tool holds the components in place, allowing you to focus on soldering without the risk of movement or misalignment.
- Heat shrink tubing: Using heat shrink tubing provides insulation and protection for soldered connections, enhancing the overall durability and safety of the installation.
- Safety goggles: Protecting your eyes from potential solder splashes and stray wire clippings is vital for a safe and comfortable soldering experience.
- Safety gloves: Heat-resistant gloves can safeguard your hands from accidental contact with the soldering iron and hot components.
- Safety mask: When working in a confined space or with sensitive individuals nearby, a safety mask can help mitigate the inhalation of solder fumes.
- Multimeter: This versatile tool allows you to measure voltage, current, and resistance, enabling you to verify the integrity of your soldered connections and troubleshoot any potential issues.
By ensuring you have these materials on hand, you’ll be well-equipped to tackle the soldering process with confidence and precision. With the right tools at your disposal, you can embark on this illuminating endeavor and unleash the full potential of your RGB LED strips.
Preparation
Before diving into the soldering process, it’s crucial to prepare your workspace and familiarize yourself with the components you’ll be working with. Taking the time to set the stage for soldering will contribute to a smoother and more efficient experience. Here are the key steps to consider when preparing for the soldering of RGB LED strips:
1. Workspace Setup:
Establish a well-lit and well-ventilated workspace free from clutter and potential hazards. A clean and organized environment will facilitate precision and focus during the soldering process. Ensure that your work surface is stable and offers sufficient space for maneuvering the LED strips and soldering equipment.
2. Component Familiarization:
Take a moment to review the RGB LED strips and associated components, such as the soldering iron, solder wire, and wire cutters. Familiarize yourself with the specific requirements of your LED strips, including the designated soldering points and any special considerations for handling and soldering the flexible circuit board.
3. Safety Measures:
Prioritize safety by donning safety goggles and, if necessary, heat-resistant gloves and a safety mask. These precautions will protect you from potential solder splashes, wire clippings, and fumes, ensuring a secure and comfortable soldering experience.
4. Soldering Iron Preparation:
If your soldering iron features adjustable temperature settings, set it to the appropriate temperature for soldering the LED strips. A temperature range of 350°C to 400°C is generally suitable for soldering electronic components effectively. Allow the soldering iron to reach the desired temperature before commencing the soldering process.
5. Component Orientation:
Lay out the RGB LED strips and associated components in a manner that allows for easy access and manipulation during soldering. Ensure that the LED strips are positioned securely, with the designated soldering points clearly visible and accessible.
6. Organization of Tools:
Arrange your soldering tools and accessories within reach, including wire cutters, solder wire, heat shrink tubing, and any additional tools you may require. Having these items readily available will streamline the soldering process and minimize interruptions.
By attending to these preparatory steps, you’ll establish an optimal environment for soldering RGB LED strips, setting the stage for a focused, efficient, and safe soldering experience. With your workspace primed and your tools at the ready, you’re poised to embark on the next phase: soldering the RGB LED strips with precision and confidence.
When soldering RGB LED strips, make sure to use a soldering iron with a fine tip to avoid damaging the delicate components. Additionally, always double-check the polarity of the connections to ensure the LEDs light up correctly.
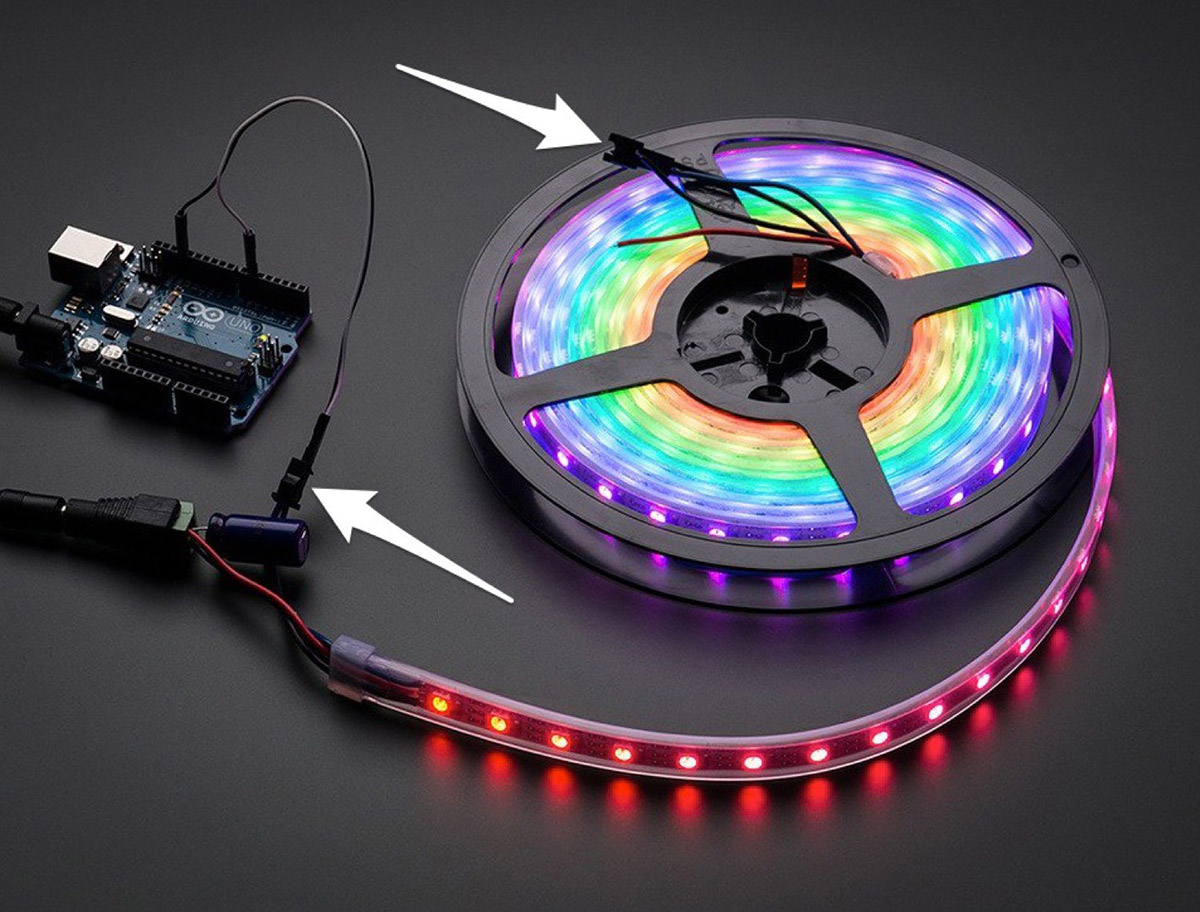
Soldering the RGB LED Strips
With the preparatory steps complete, it’s time to delve into the intricate process of soldering the RGB LED strips. This stage demands precision, patience, and a steady hand as you create reliable electrical connections to unleash the vibrant potential of the LED strips. Follow these essential steps to solder the RGB LED strips effectively:
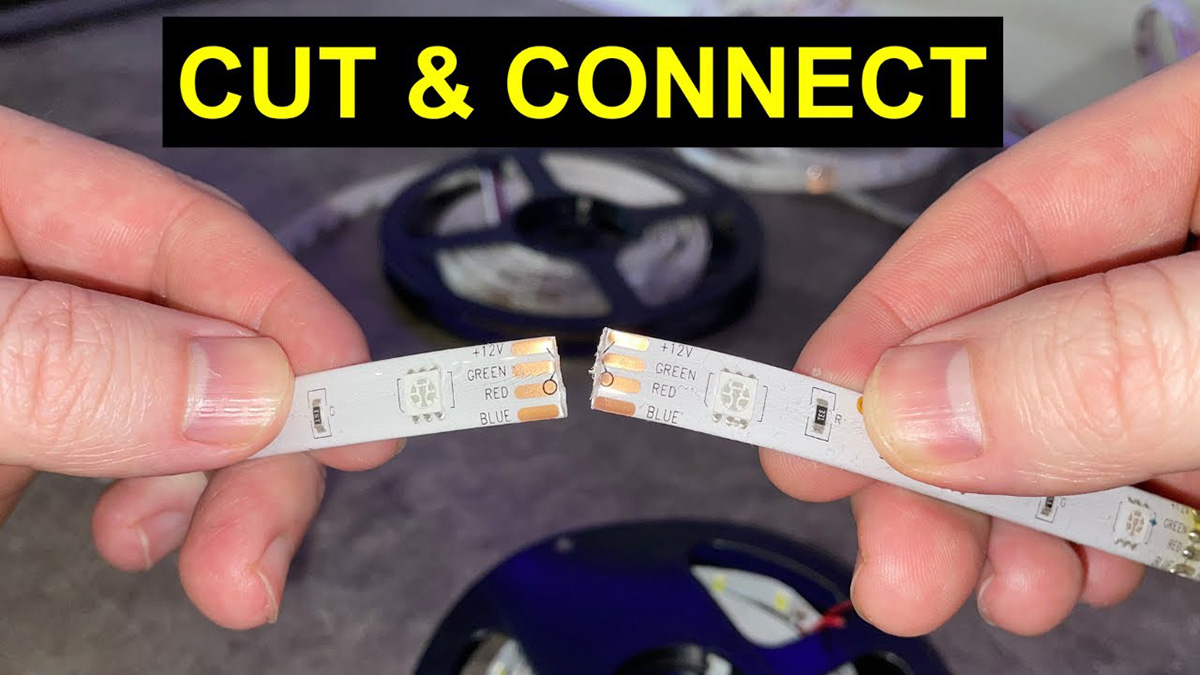
1. Strip Preparation:
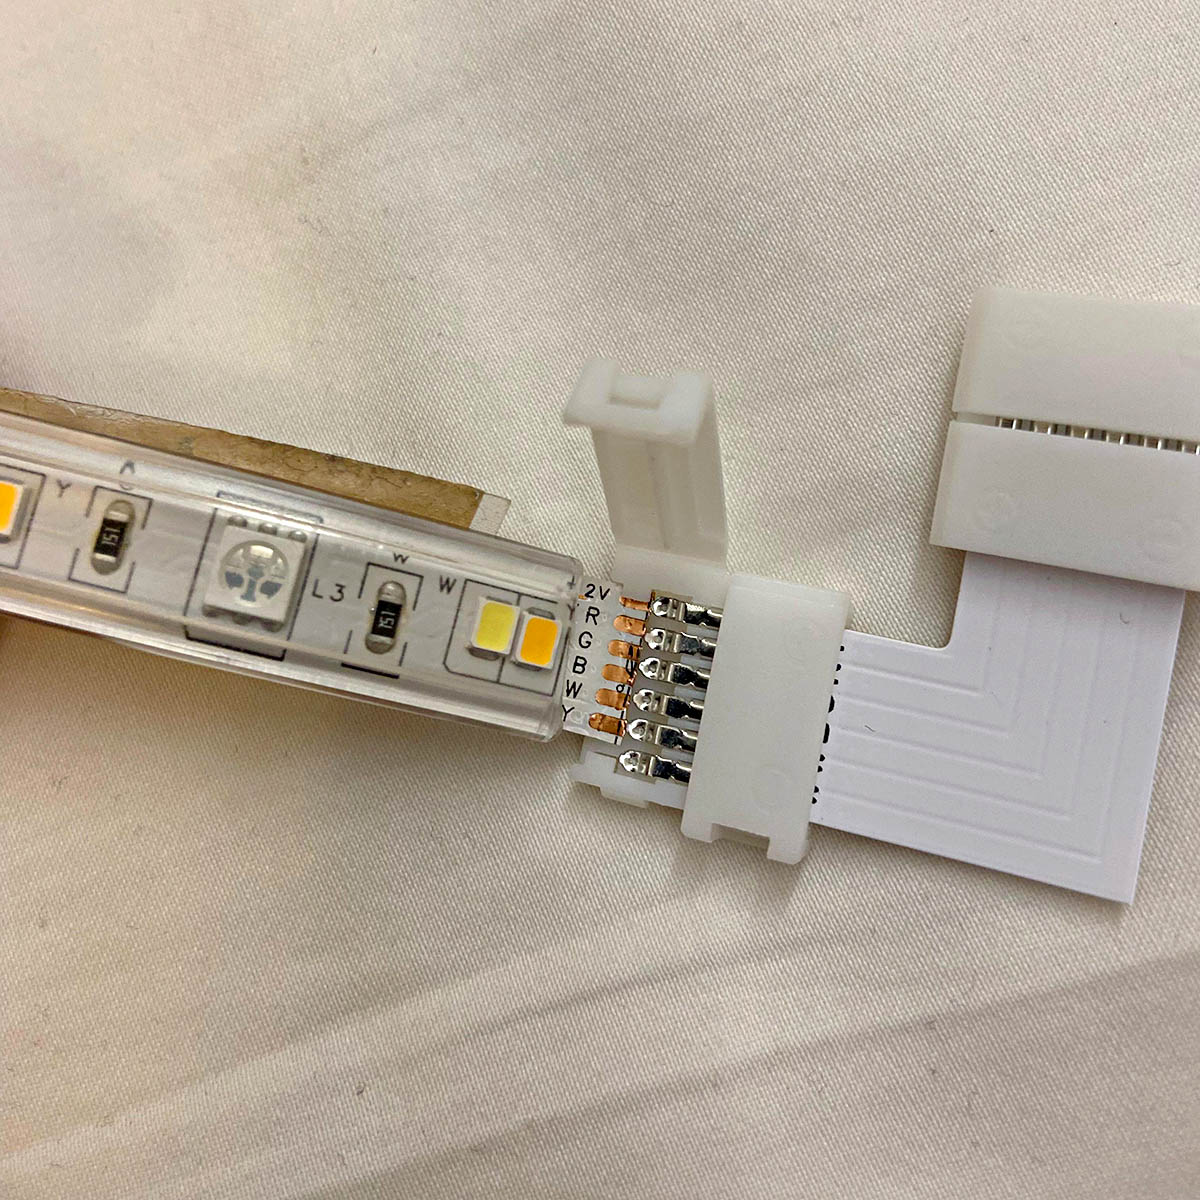
Before soldering, carefully inspect the RGB LED strips to identify the designated soldering points. Use wire cutters to trim the strips to the desired length, ensuring that the cut is clean and perpendicular to the strip. If the LED strips feature a waterproof coating, carefully remove a small section near the soldering points to expose the copper pads.
2. Tinning the Pads:
Apply a small amount of solder to the exposed copper pads on the LED strip. This process, known as tinning, prepares the pads for the soldering of wires or additional components. The solder should form a thin, even layer on the pads, enhancing their conductivity and facilitating the soldering process.
3. Wire Preparation:
If you’re connecting wires to the LED strips, ensure that the wires are stripped and tinned to facilitate a secure and reliable connection. Tinning the wires involves applying solder to the exposed ends, creating a smooth and conductive surface for soldering to the LED strip’s pads.
4. Soldering Technique:
With the pads and wires prepared, carefully position the tinned wires onto the corresponding pads on the LED strip. Hold the soldering iron against the wire and pad, allowing the heat to melt the solder and create a strong bond between the wire and the pad. Ensure that the solder flows smoothly and forms a secure connection without excessive solder buildup.
5. Heat Shrink Tubing Application:
Once the connections are soldered, slide a suitable length of heat shrink tubing over the soldered area. Gently heat the tubing with a heat gun or the soldering iron to shrink it, providing insulation and protection for the soldered connections. This step enhances the durability and safety of the soldered joints.
6. Repeat and Inspect:
Continue soldering the remaining connections, repeating the process of tinning, wire preparation, soldering, and heat shrink tubing application. Once all connections are soldered, carefully inspect each joint to ensure that the soldering is clean, secure, and free from any short circuits or cold joints.
By following these steps with precision and care, you’ll effectively solder the RGB LED strips, creating robust and reliable electrical connections that form the foundation for dazzling lighting displays. With the soldering complete, it’s time to move on to the crucial phase of testing the connections to verify their functionality and integrity.
Testing the Connection
After soldering the RGB LED strips, it’s essential to verify the integrity and functionality of the connections to ensure that the lighting system operates as intended. Testing the connections not only validates the success of the soldering process but also allows for early detection of any potential issues that may require troubleshooting. Follow these steps to methodically test the connection of the soldered RGB LED strips:
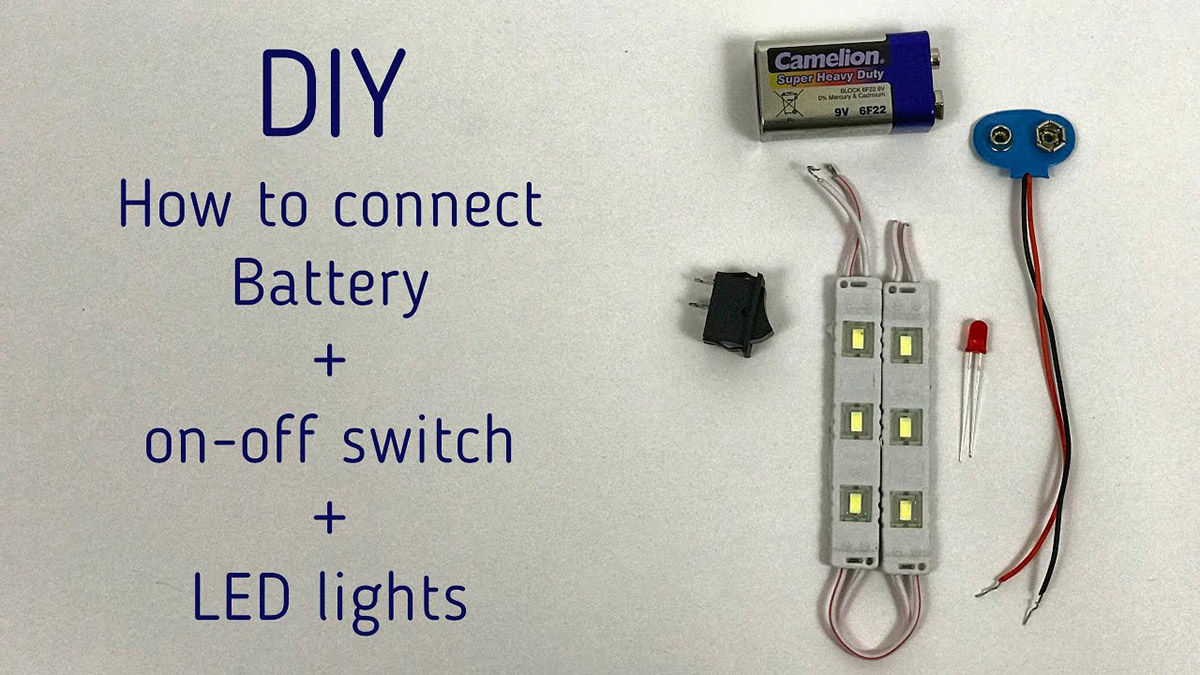
1. Power Supply Setup:
Prepare a suitable power supply, such as a DC power adapter or a compatible LED controller, to provide electrical power to the RGB LED strips. Ensure that the voltage and current ratings of the power supply align with the specifications of the LED strips to prevent damage or malfunction.
2. Connection Verification:
Connect the power supply to the soldered RGB LED strips, ensuring that the polarity is correctly aligned with the designated positive (+) and negative (-) terminals on the LED strips. Take care to avoid accidental short circuits or reverse polarity, which can compromise the functionality of the LED strips.
3. Power On:
Apply power to the LED strips by activating the power supply or LED controller. Observe the LED strips closely to confirm that they illuminate and display the expected colors and lighting effects. A successful test will demonstrate that the soldered connections are conducting electricity effectively and that the RGB LED strips are responding to the applied power.
4. Visual Inspection:
Examine each segment of the LED strips to ensure that all colors (red, green, and blue) are functioning correctly and that there are no irregularities or flickering in the illumination. Verify that the transitions between colors are smooth and consistent, indicating that the soldered connections are secure and reliable.
5. Functionality Testing:
If the RGB LED strips offer programmable or dynamic lighting effects, test the full range of functionalities, including color cycling, brightness adjustment, and pattern sequencing. Confirm that the soldered connections support these features without interruption or degradation in performance.
6. Troubleshooting:
If any issues are detected during the testing phase, such as non-illuminating segments, erratic behavior, or inconsistent color rendering, conduct a systematic review of the soldered connections and associated components. Verify the continuity of the soldered joints and address any potential issues through re-soldering or component replacement.
By diligently testing the connection of the soldered RGB LED strips, you can validate the success of the soldering process and address any anomalies before finalizing the installation. This thorough approach ensures that your lighting system functions reliably and delivers the captivating illumination you envisioned. With the connections tested and confirmed, you’re now prepared to bring your soldered RGB LED strips to life in various lighting applications.
Read more: How To Remove LED Strips From The Wall
Conclusion
Congratulations on mastering the art of soldering RGB LED strips! Through careful preparation, precise soldering techniques, and thorough testing, you’ve unlocked the potential of these versatile lighting components, paving the way for captivating and customizable illumination in a variety of settings. As you conclude this soldering journey, it’s essential to reflect on the skills you’ve acquired and the possibilities that lie ahead.
By embracing the process of soldering RGB LED strips, you’ve gained valuable expertise in electrical connections, component handling, and troubleshooting, setting the stage for future DIY lighting projects and creative endeavors. The ability to solder LED strips empowers you to design and implement custom lighting solutions that elevate the ambiance and visual appeal of residential, commercial, and entertainment spaces.
As you move forward, consider the following key takeaways from your soldering experience:
- Precision and Patience: Soldering demands meticulous attention to detail and a patient approach. By honing these qualities, you’ve cultivated the skills necessary for achieving reliable and aesthetically pleasing soldered connections.
- Customization and Creativity: With the ability to solder RGB LED strips, you possess the means to create dynamic and personalized lighting arrangements, from vibrant accent lighting to immersive color-changing displays.
- Technical Proficiency: Your proficiency in soldering extends beyond LED strips, equipping you with the foundational knowledge and dexterity required for soldering various electronic components and circuitry.
- Safety and Quality: Throughout the soldering process, you’ve prioritized safety measures and meticulous workmanship, ensuring that your lighting installations are safe, durable, and visually striking.
As you consider future projects and endeavors, envision the myriad possibilities for integrating soldered RGB LED strips into your lighting designs. Whether you’re illuminating architectural features, crafting interactive art installations, or enhancing themed events with captivating lighting effects, your newfound soldering skills will serve as a catalyst for innovation and visual storytelling.
As a lighting enthusiast and a craftsman of illumination, your journey with soldering RGB LED strips represents a significant milestone in your pursuit of dynamic and expressive lighting solutions. Embrace the knowledge and expertise you’ve gained, and let your creativity guide you as you embark on new ventures in the realm of LED technology and custom lighting design.
With your soldered RGB LED strips ready to enliven spaces with mesmerizing light, the future holds endless opportunities to infuse color, vibrancy, and ambiance into the world around you. As you continue to explore the art of lighting, may your soldered creations illuminate the path to new discoveries and inspire awe and wonder in all who behold them.
Frequently Asked Questions about How To Solder RGB LED Strips
Was this page helpful?
At Storables.com, we guarantee accurate and reliable information. Our content, validated by Expert Board Contributors, is crafted following stringent Editorial Policies. We're committed to providing you with well-researched, expert-backed insights for all your informational needs.


0 thoughts on “How To Solder RGB LED Strips”