Home>Home Appliances>Lighting Appliances>How To Connect LED Strips To A Battery
Lighting Appliances
How To Connect LED Strips To A Battery
Modified: January 3, 2024
Learn how to easily connect LED strips to a battery and enhance your lighting appliances. Step-by-step guide for efficient installation.
(Many of the links in this article redirect to a specific reviewed product. Your purchase of these products through affiliate links helps to generate commission for Storables.com, at no extra cost. Learn more)
Introduction
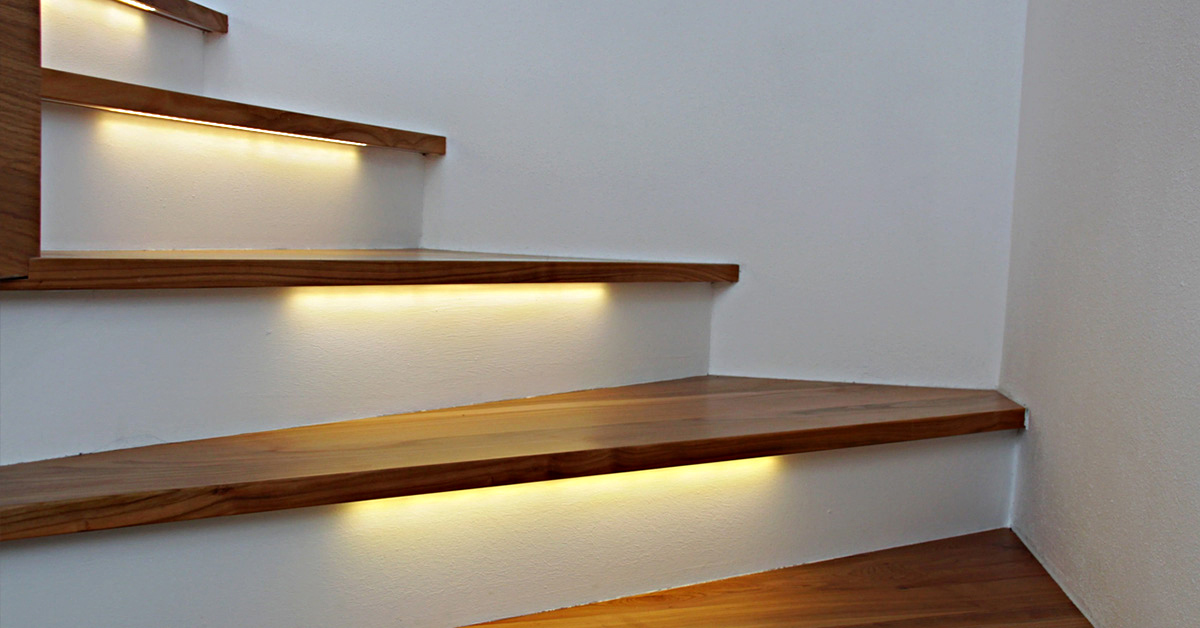
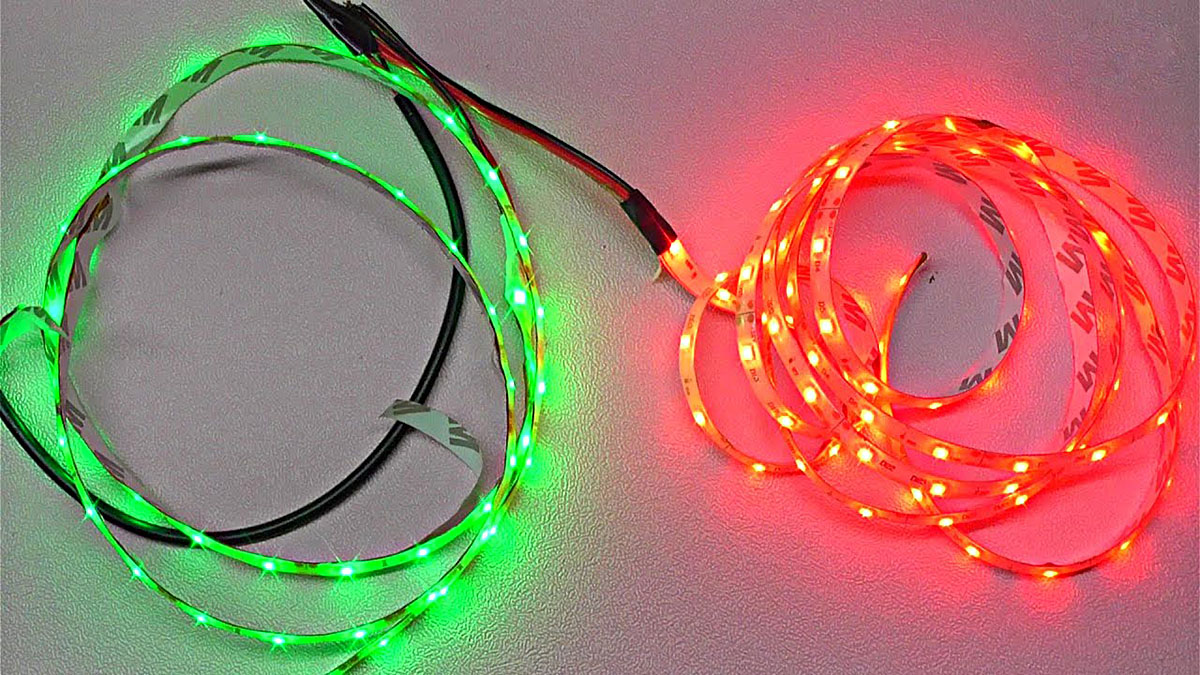
Welcome to our guide on how to connect LED strips to a battery! LED strips are versatile lighting solutions that can be used for various applications, including accent lighting, home decor, and even automotive lighting. One of the key advantages of LED strips is their low power consumption, making them ideal for use with batteries.
In this article, we will walk you through the steps to successfully connect LED strips to a battery. Whether you are looking to create a portable lighting setup or simply want to power your LED strips off the grid, this guide will provide you with the necessary knowledge and instructions.
Before we begin, it’s important to note that working with electricity can be dangerous, so please exercise caution and follow all safety guidelines. If you are not comfortable with electrical work, it is always best to seek assistance from a qualified professional.
Now, let’s gather the materials needed for this project!
Key Takeaways:
- Easily power your LED strips with a battery by following simple steps and safety precautions. Enjoy the versatility and energy efficiency of LED lighting for various applications.
- Understand voltage and current requirements, choose the right battery, and test your connection to create captivating LED lighting with ease and safety. Unleash your creativity and illuminate your world!
Read more: How To Connect LED Strips To TV
Materials Needed
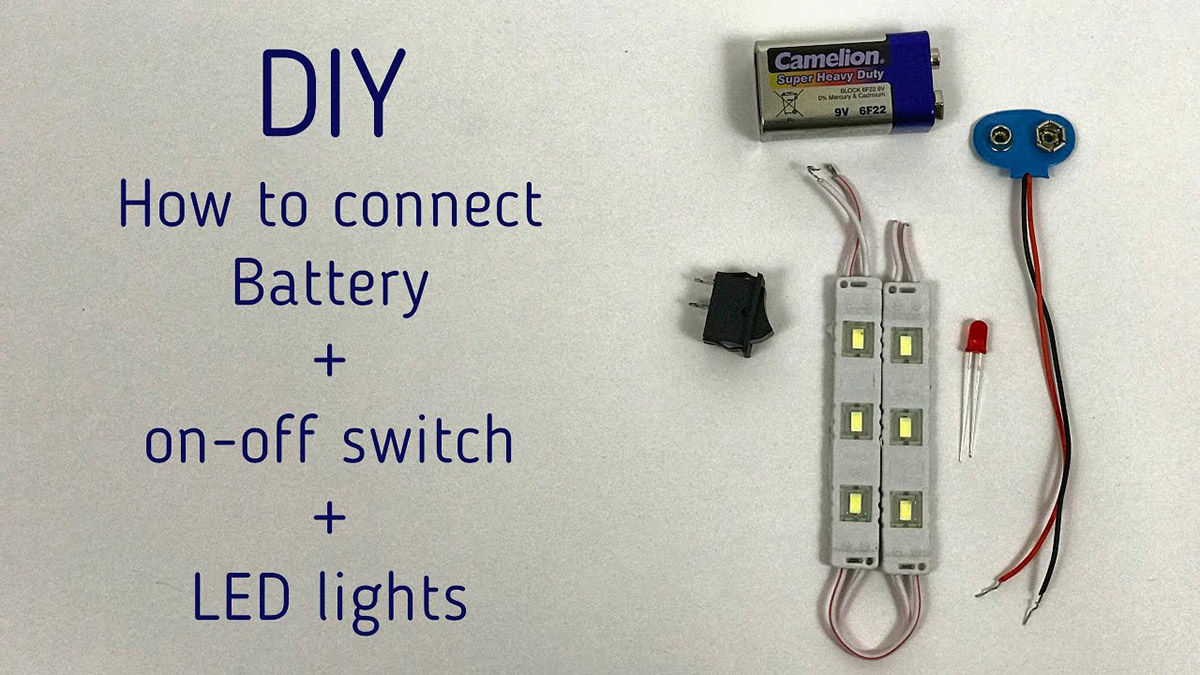
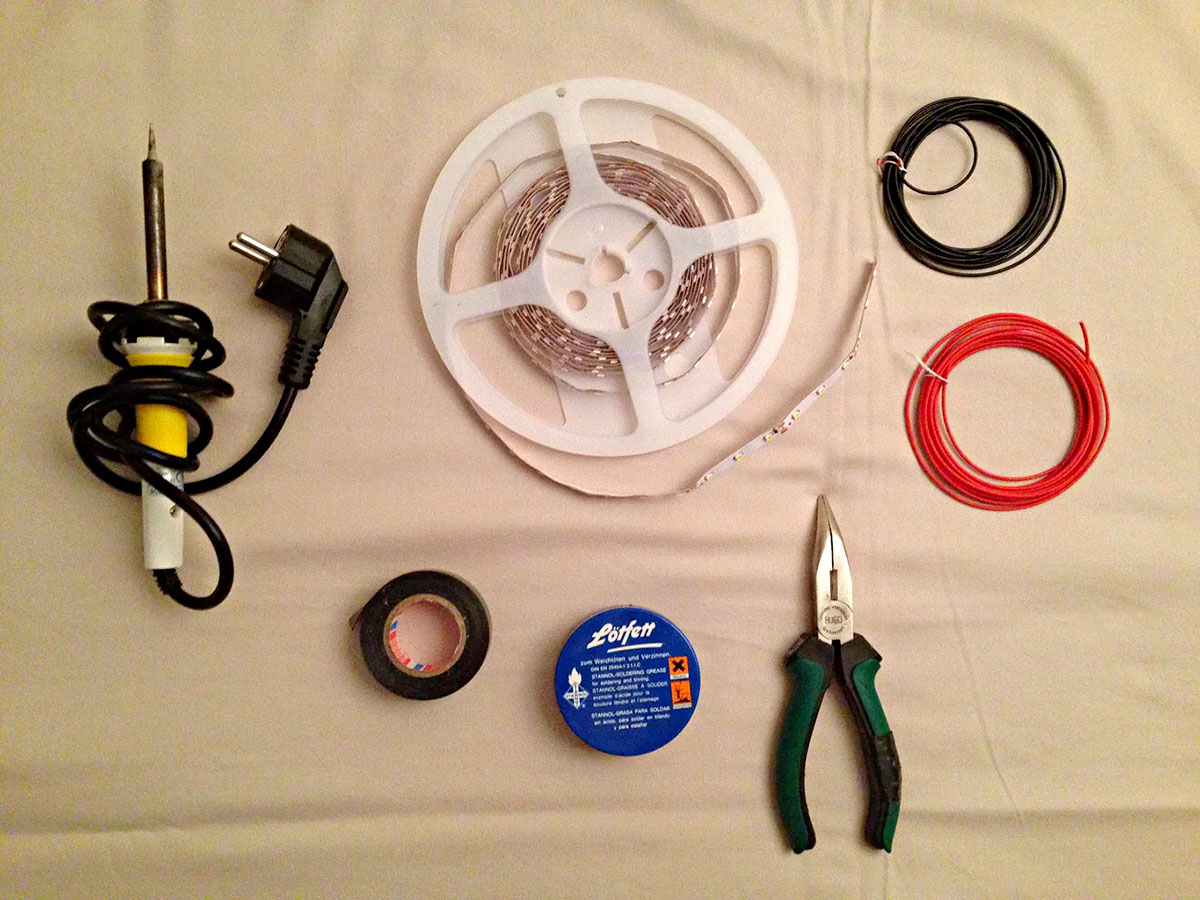
Before you can connect LED strips to a battery, you will need a few essential materials. Here’s a list of what you’ll need:
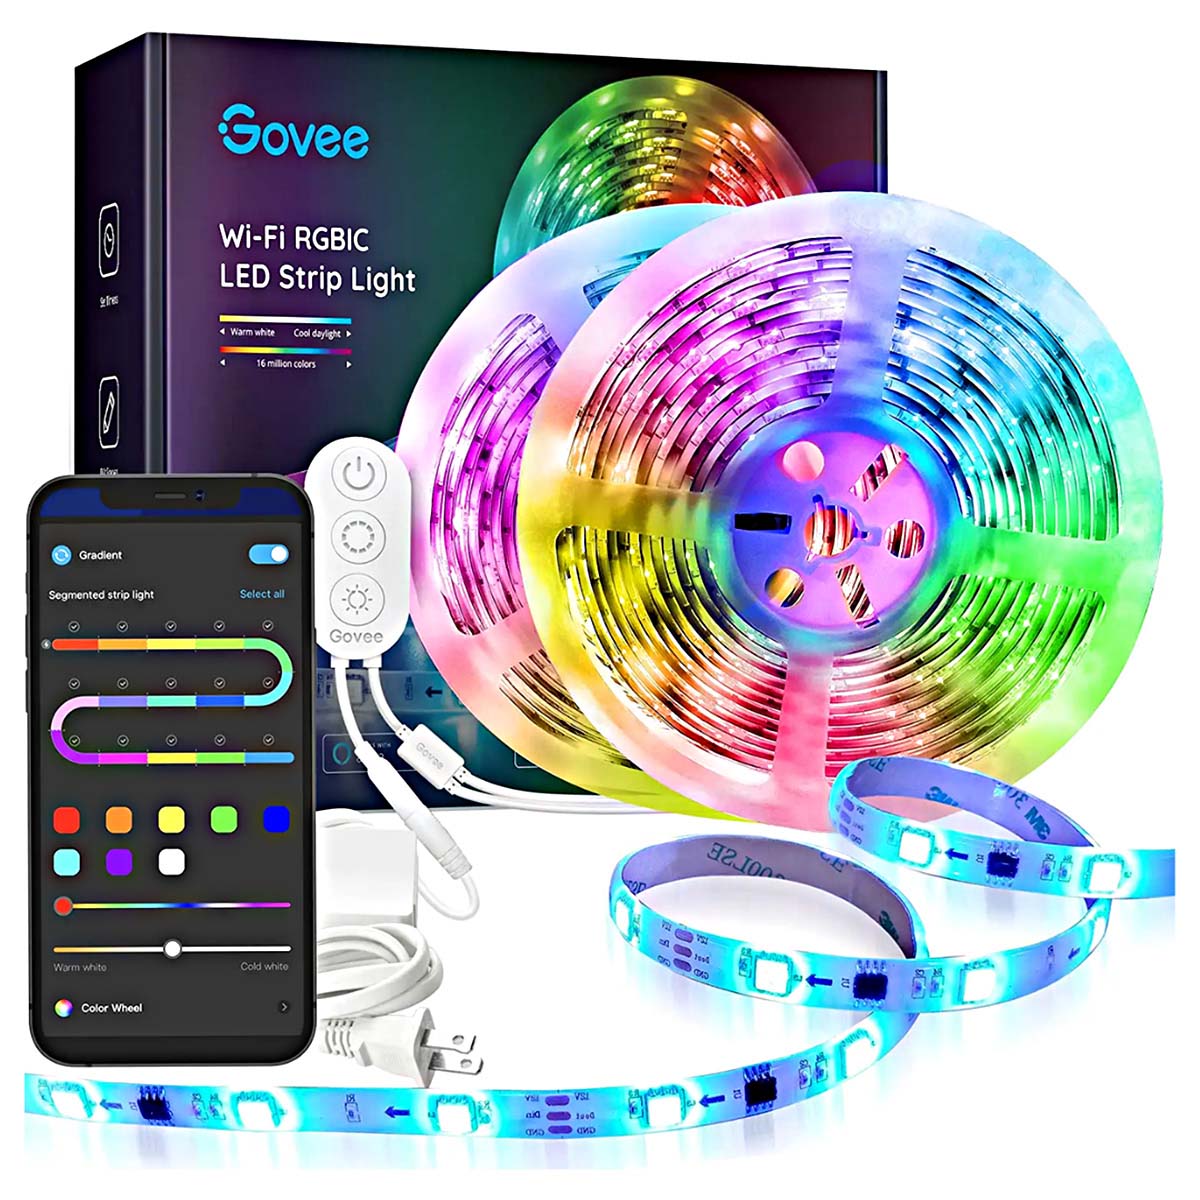
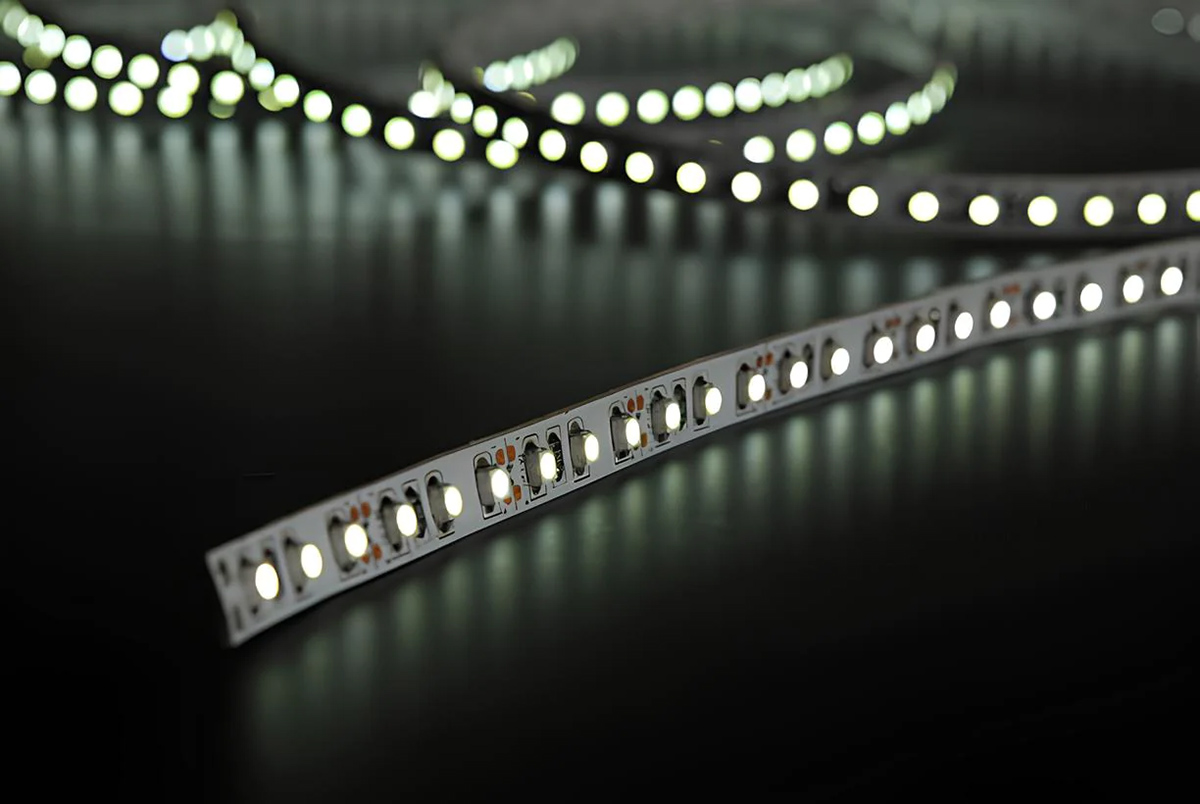
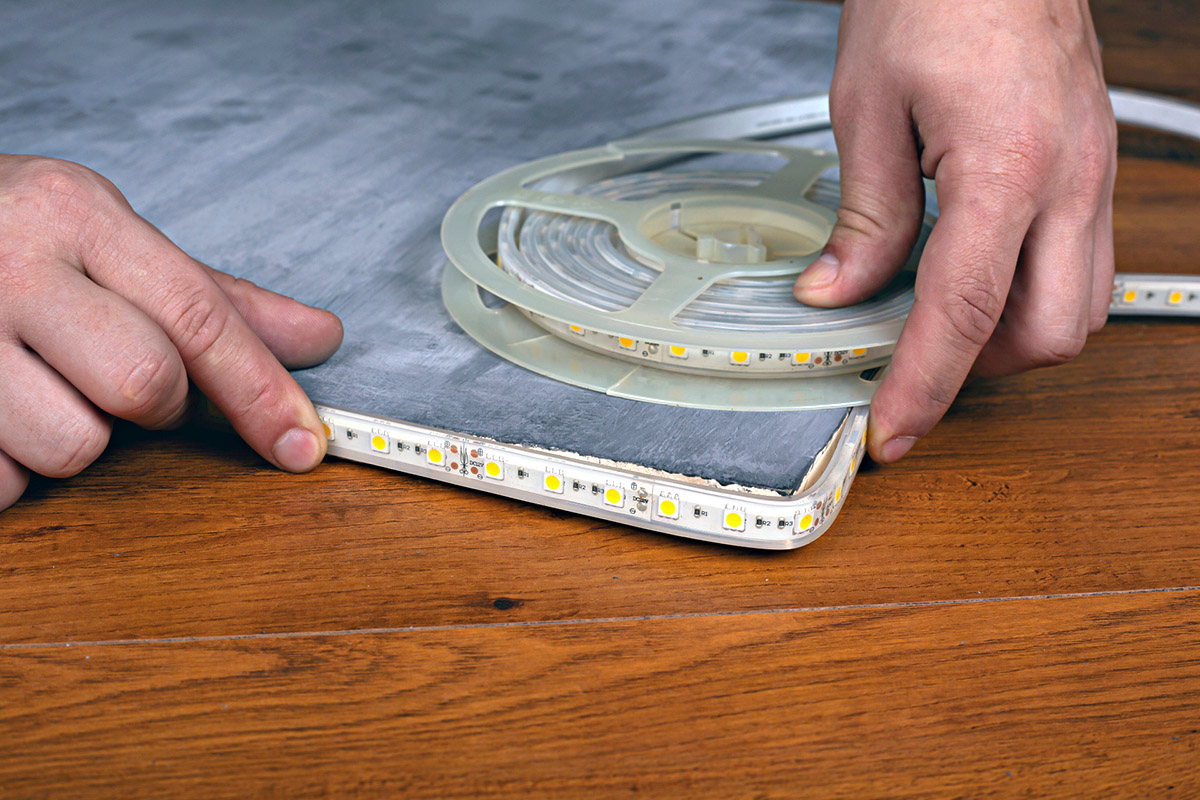
- LED Strips: Choose the type and length of LED strips that suit your needs. Make sure the LED strips you select are compatible with the voltage of the battery you plan to use.
- Battery: Select a battery that provides the appropriate voltage and capacity to power your LED strips. Common options include rechargeable lithium-ion batteries or standard AA/AAA batteries.
- Resistors (if needed): Depending on the voltage requirements of your LED strips, you may need resistors to regulate the current. Consult the LED strip specifications to determine if resistors are necessary.
- Wires: You will need wires to make the connections between the LED strips, battery, and any additional components. Make sure to choose wires that are capable of handling the current required by the LED strips.
- Soldering Iron and Solder: If you need to make permanent connections, a soldering iron and solder will be necessary. Ensure you have the appropriate soldering tools and materials for the job.
- Wire Strippers and Cutters: These tools will come in handy when preparing the wires for connection. Wire strippers are used to remove the insulation from the wire, while wire cutters are used to trim the wires to the required length.
- Electrical Tape or Heat Shrink Tubing: These materials are used to insulate the connections and provide additional protection against short circuits.
Once you have gathered all the necessary materials, you are ready to proceed to the next step: determining the voltage and current requirements of your LED strips.
Step 1: Determine the Voltage and Current Requirements
Before connecting LED strips to a battery, it is crucial to determine the voltage and current requirements of the LED strips. This information will help ensure that the battery you choose is compatible and capable of providing enough power.
Here’s how you can determine the voltage and current requirements:
- Consult the LED strip specifications: The voltage and current requirements are typically specified by the manufacturer. Look for this information in the product datasheet or packaging. It is important to note that LED strips typically operate at low voltages, such as 12V or 24V, but this can vary depending on the type of LED strip.
- Calculate the total power consumption: To calculate the power consumption, multiply the voltage (V) by the current (A) rating of the LED strip. For example, if the LED strip operates at 12V and has a current rating of 2A, the power consumption would be 12V x 2A = 24W.
Once you have determined the voltage and current requirements, you can proceed to the next step: choosing the appropriate battery.
Note: It is important to select a battery that can provide enough voltage and capacity to power the LED strips. Using a battery with insufficient power can result in dim or flickering LEDs, while using a battery with excessive power can potentially damage the LEDs. Therefore, knowing the voltage and current requirements is essential for a successful connection.
Step 2: Choose the Battery
After determining the voltage and current requirements of your LED strips, it’s time to choose the appropriate battery to power them. The battery you select should provide enough voltage and capacity to meet the power needs of your LED strips.
Here are some considerations when choosing a battery:
- Voltage: Ensure that the battery voltage matches or is close to the voltage required by your LED strips. For example, if your LED strips operate at 12V, choose a battery with a compatible voltage rating.
- Capacity: The capacity of a battery is measured in ampere-hours (Ah) and represents the amount of charge it can store. Consider the power consumption of your LED strips and the desired runtime when selecting a battery. If you need extended usage time, opt for a battery with a higher capacity.
- Battery type: There are various types of batteries available, each with its own characteristics. Common options include rechargeable lithium-ion (Li-ion) batteries, lead-acid batteries, or disposable alkaline batteries. Consider the specific requirements of your project and choose a battery type that fits your needs and preferences.
- Size and weight: Depending on your application, you might need to consider the size and weight of the battery. If portability is a priority, choose a battery that is compact and lightweight.
- Charging options: If you opt for a rechargeable battery, consider the charging options available. Some batteries can be charged with a standard charger, while others may require specialized charging equipment.
It is also important to keep in mind the safety precautions associated with the battery you choose. Follow all manufacturer guidelines for handling, charging, and storage to prevent any accidents or damage.
Once you have selected the battery, you can move on to the next step: calculating the resistor value (if necessary) for your LED strips.
When connecting LED strips to a battery, make sure to use the correct voltage for the LED strips to avoid damaging them. Use a resistor if needed to regulate the current.
Step 3: Calculate the Resistor Value (if needed)
When connecting LED strips to a battery, it’s important to ensure that the current flowing through the LEDs is regulated to prevent damage. In some cases, depending on the voltage of the LED strips and the battery being used, it may be necessary to calculate and include a resistor in the circuit.
Here’s how you can calculate the resistor value:
- Determine the forward voltage (Vf) of the LED strips: The forward voltage is the voltage required for the LEDs to turn on. This information can be found in the LED strip specifications or datasheet.
- Find the forward current (If) rating of the LED strips: The forward current is the current that should flow through the LEDs to ensure proper operation. This information is also specified in the LED strip documentation.
- Subtract the forward voltage from the battery voltage: Calculate the voltage drop across the resistor by subtracting the forward voltage (Vf) from the battery voltage (V). For example, if the LED strip operates at 3.5V and the battery supplies 5V, the voltage drop across the resistor would be 5V – 3.5V = 1.5V.
- Calculate the desired current through the LED: Divide the voltage drop across the resistor by the desired LED current. For example, if you want a current of 20mA (0.02A) to flow through the LEDs, the resistor value would be 1.5V / 0.02A = 75Ω. Round to the nearest standard resistor value.
It’s important to note that not all LED strips require a resistor. Some LED strips come with built-in resistors or voltage regulators, while others are designed to operate directly at the battery voltage. Always refer to the manufacturer’s specifications for guidance on resistor requirements.
Once you have calculated the resistor value (if needed), you can move on to the next step: connecting the LED strips to the battery.
Read more: How To Connect LED Strips To Bluetooth
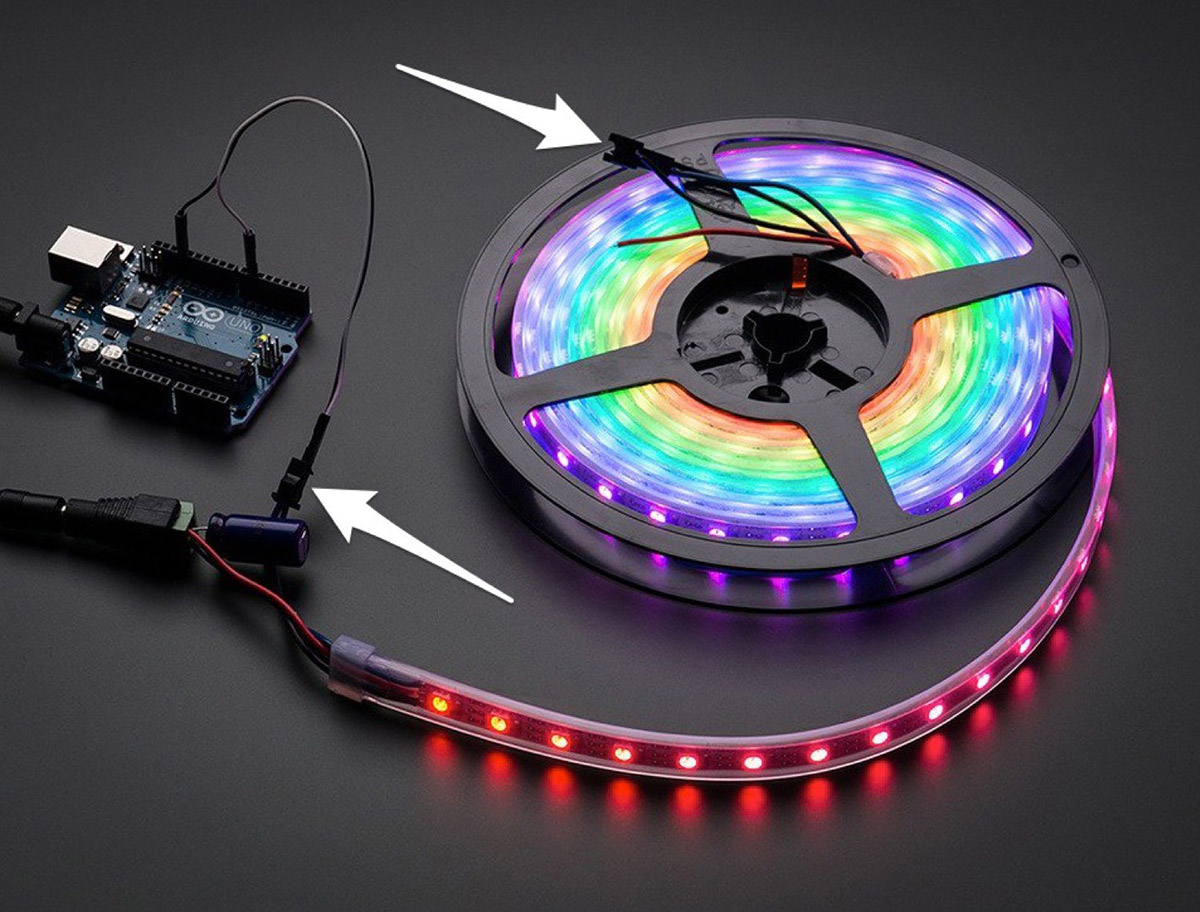
Step 4: Connect the LED Strips to the Battery
Now that you have determined the voltage and current requirements, chosen the appropriate battery, and calculated the resistor value (if needed), it’s time to connect the LED strips to the battery. Follow these steps to make the connection:
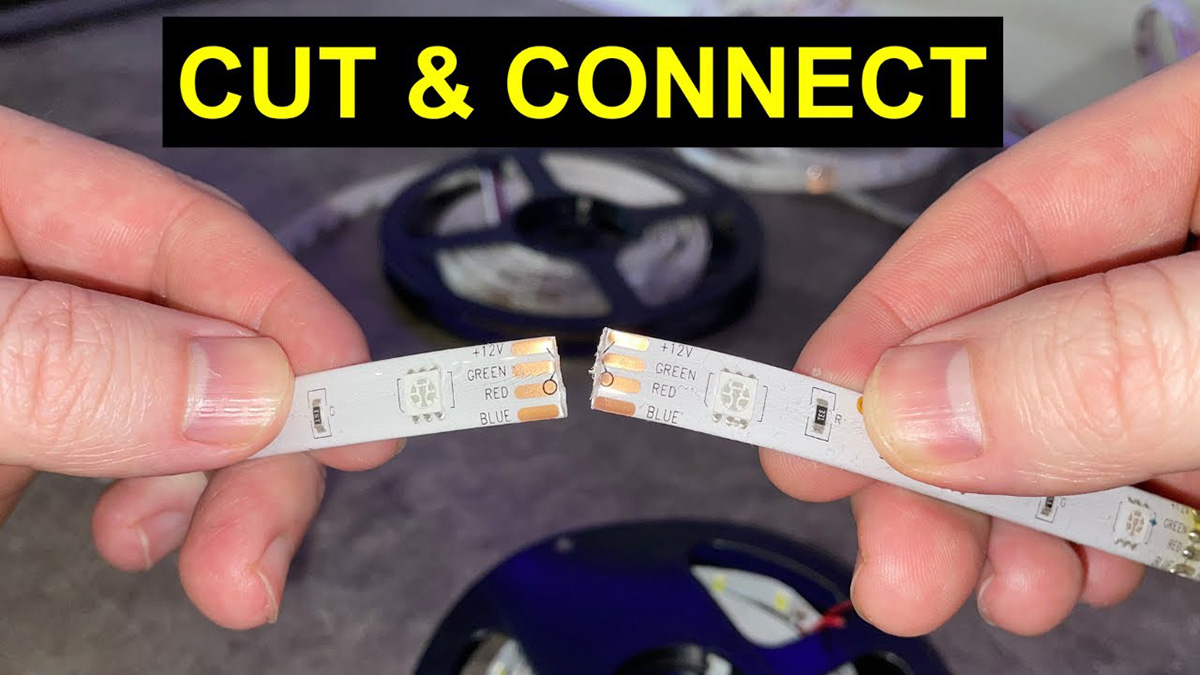
- Prepare the wires: Cut the wires to the desired length, ensuring they are long enough to reach from the LED strips to the battery.
- Strip the wire ends: Use wire strippers to remove a small section of insulation from the ends of the wires, revealing the metal conductor.
- If necessary, solder the connections: If you are using a soldering iron, heat the wire ends and apply solder to create secure and permanent connections. Take care to avoid overheating and damaging the LED strips.
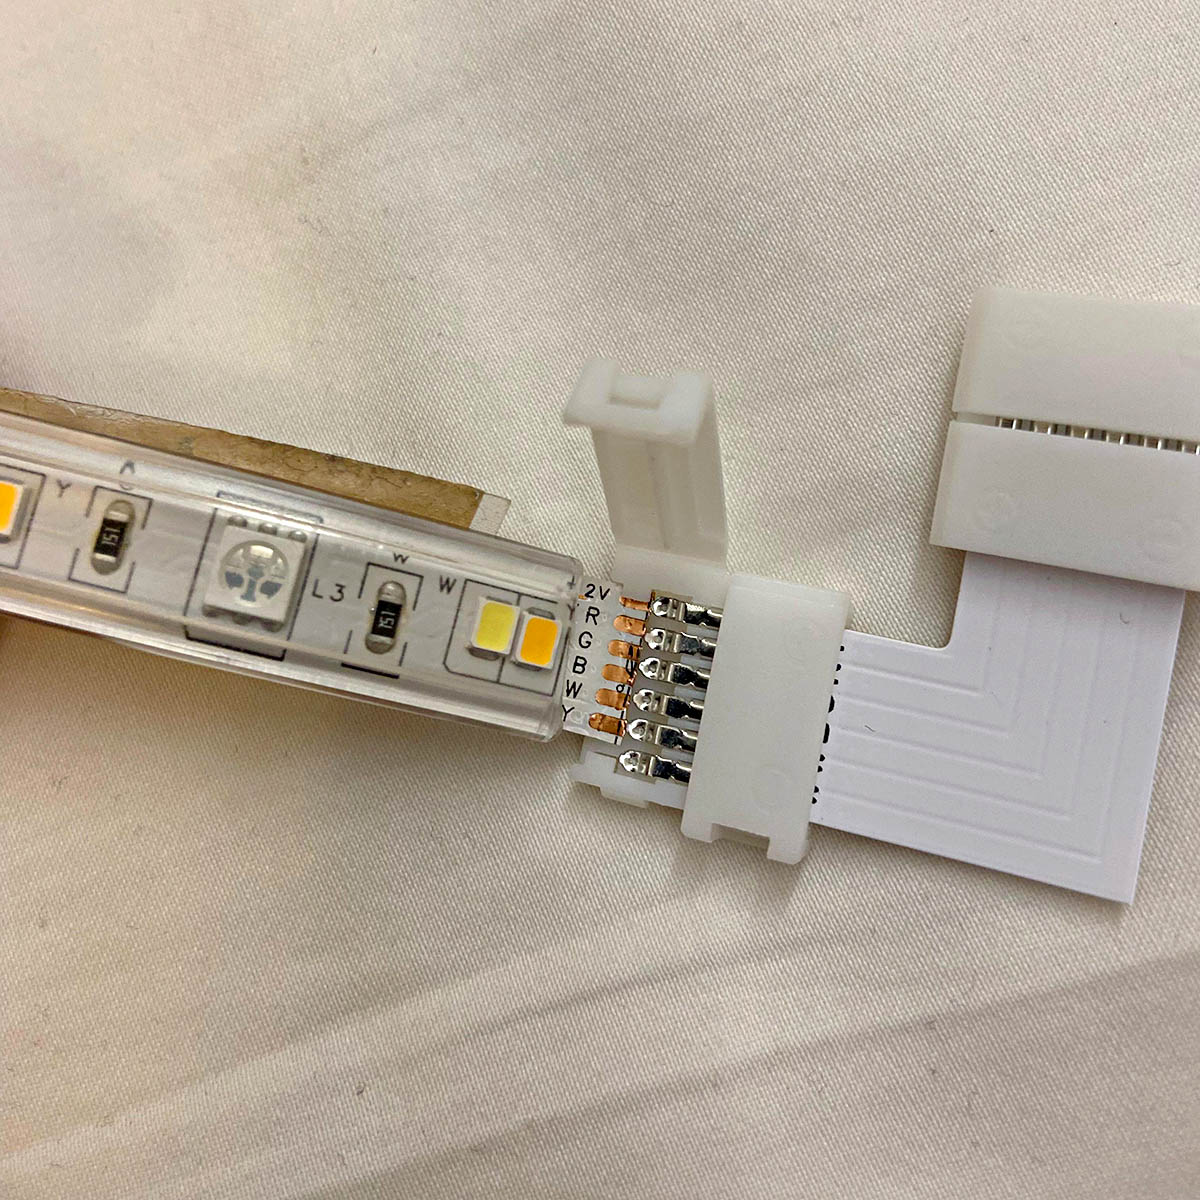
- Connect the wires to the LED strips: Identify the positive (+) and negative (-) terminals on the LED strip. Connect the positive wire from the battery to the positive terminal of the LED strip, and the negative wire from the battery to the negative terminal of the LED strip.
- Secure the connections: Once the wires are properly connected, use electrical tape or heat shrink tubing to insulate and protect the connections from accidental contact.
It’s worth noting that some LED strips may have additional components or connectors, such as capacitors or connectors for easy plug-and-play installation. Follow the manufacturer’s instructions and ensure proper alignment and polarity when connecting these components.
Double-check all the connections to ensure they are secure and properly connected. Any loose or incorrect connections can result in the LED strips not functioning correctly or potential damage.
With the LED strips successfully connected to the battery, it’s time to move on to the final step: testing the connection.
Step 5: Test the Connection
Once you have connected the LED strips to the battery, it’s crucial to test the connection to ensure everything is functioning properly. Testing the connection will help you identify any issues and make any necessary adjustments.
Here are the steps to test the connection:
- Turn on the battery: If using a switch or button to activate the battery, ensure it is turned on.
- Observe the LED strips: Look for any signs of illumination or activity on the LED strips. They should light up according to the desired configuration or pattern.
- Check for proper brightness: Ensure that the LED strips are emitting light at the desired brightness level. If they appear dim, it could indicate a power issue or a need for further adjustments.
- Inspect the connections: Double-check all the connections, making sure the wires are securely attached and there are no loose connections or exposed wires.
- Measure the voltage and current: Use a multimeter to measure the voltage and current at various points of the circuit, ensuring they match the intended values. This step is particularly important if you have implemented a resistor to regulate the current.
- Adjustments and troubleshooting: If there are any issues, such as dim or flickering LEDs, you may need to troubleshoot and make adjustments. Check for any loose connections, incorrect wiring, or insufficient power supply.
If everything is working as expected, congratulations! Your LED strips are successfully connected to the battery. You can now enjoy the captivating lighting effects and illumination provided by the LED strips. However, if you encounter any issues during testing, don’t hesitate to revisit the previous steps and ensure all the connections and components are properly configured.
Remember, safety should always be a priority when working with electricity. If you are unsure or uncomfortable with any aspect of the connection process, consult an electrician or a qualified professional.
With the connection successfully tested, you can now confidently incorporate LED strips powered by a battery into your project or application.
Conclusion
Connecting LED strips to a battery offers a convenient and versatile lighting solution for various applications. By following the steps outlined in this guide, you can successfully create a connection that illuminates your space with captivating LED light.
Throughout the process, it’s important to consider the voltage and current requirements of your LED strips, choose an appropriate battery, and calculate the necessary resistor value (if needed) to ensure proper operation. Always follow safety guidelines and exercise caution when working with electricity.
By preparing the wires, making secure connections, and testing the connection, you can verify that your LED strips are functioning as intended. Remember to troubleshoot any issues that may arise and make adjustments as necessary.
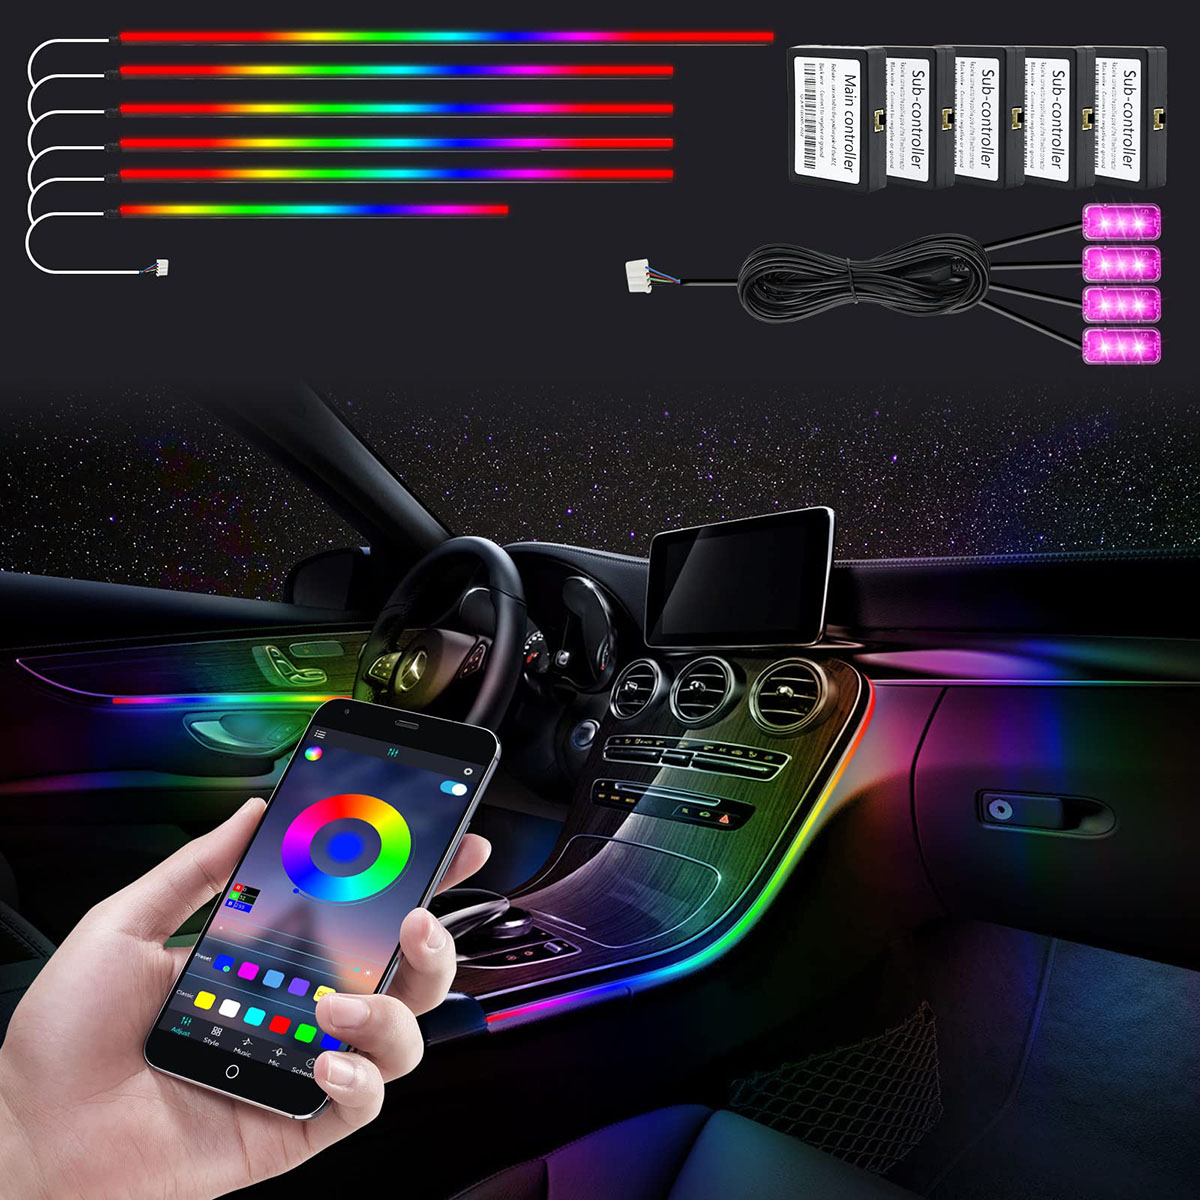
Whether you’re looking to create stunning accent lighting, enhance the ambiance of your home, or add an extra touch to your automotive project, connecting LED strips to a battery opens up a world of possibilities. With their low power consumption and wide range of available colors and effects, LED strips provide an energy-efficient and visually appealing lighting solution.
Now that you have the knowledge and guidance, it’s time to unleash your creativity and bring your ideas to life. Enjoy the vibrant illumination and endless possibilities that LED strips powered by a battery can offer. Illuminate your world with style and brilliance!
Frequently Asked Questions about How To Connect LED Strips To A Battery
Was this page helpful?
At Storables.com, we guarantee accurate and reliable information. Our content, validated by Expert Board Contributors, is crafted following stringent Editorial Policies. We're committed to providing you with well-researched, expert-backed insights for all your informational needs.


0 thoughts on “How To Connect LED Strips To A Battery”