Home>Home Appliances>Lighting Appliances>How To Install LED Strips Around Corners
Lighting Appliances
How To Install LED Strips Around Corners
Modified: January 3, 2024
Illuminate your space with ease by learning how to install LED strips around corners. Our step-by-step guide ensures seamless lighting appliances integration.
(Many of the links in this article redirect to a specific reviewed product. Your purchase of these products through affiliate links helps to generate commission for Storables.com, at no extra cost. Learn more)
Introduction
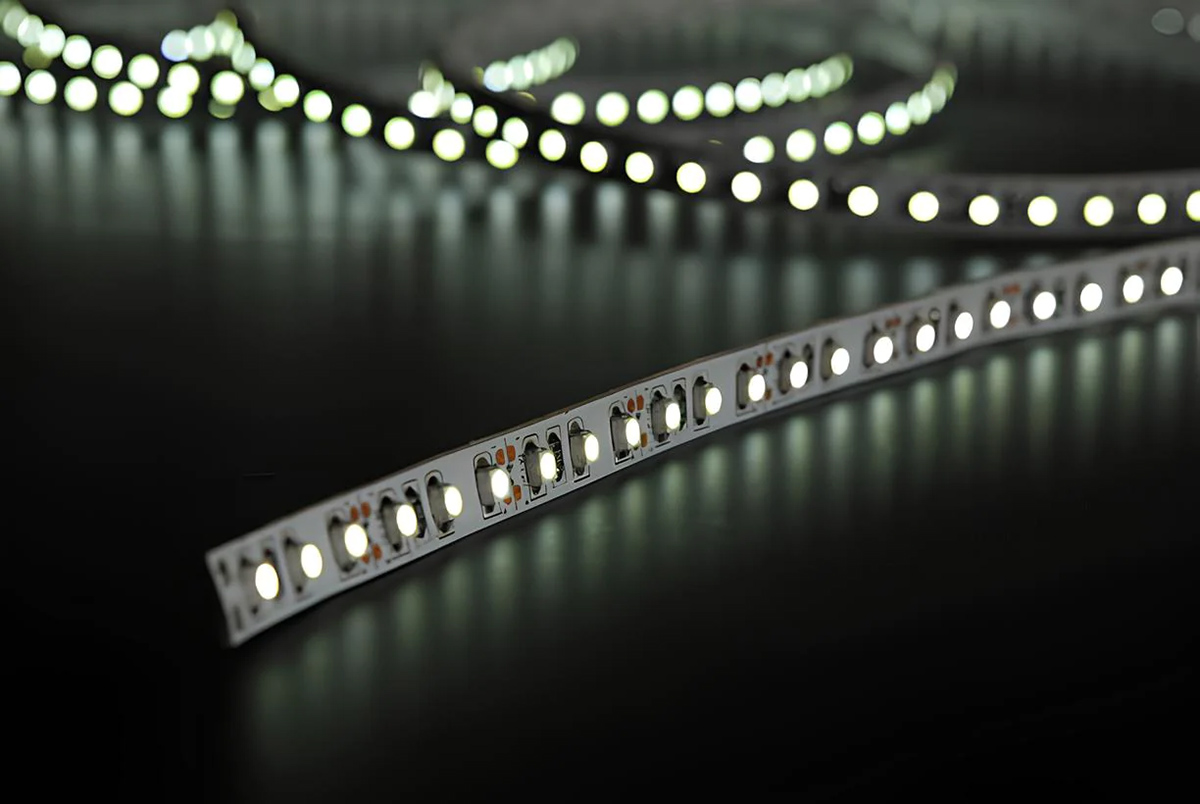
LED strips have become a popular lighting solution due to their flexibility, energy efficiency, and versatility. Whether you want to add ambient lighting to your living space or create a vibrant atmosphere for a special occasion, installing LED strips can transform the look and feel of any room.
One common challenge when installing LED strips is navigating corners. Unlike traditional lighting fixtures, LED strips are flexible and can easily be bent to fit around curved surfaces. To ensure a seamless and professional-looking installation, it’s important to know the right techniques for installing LED strips around corners.
In this article, we will guide you through the process of installing LED strips around corners, providing step-by-step instructions and helpful tips along the way. By the end, you’ll have the knowledge and confidence to tackle any corner installation with ease.
Before we dive into the installation process, let’s take a look at the tools and materials you’ll need.
Key Takeaways:
- Transform any space with professional-looking LED strip installations by mastering corner navigation, secure attachment, and proper testing. Enjoy the process and embrace the magic of visually stunning lighting!
- Achieve a captivating and inviting environment with high-quality LED strips. Plan the layout, prepare, install, connect, and test for seamless, visually appealing results. Let your creativity shine!
Read more: How To Install LED Strips In Your Car
Tools and Materials Needed
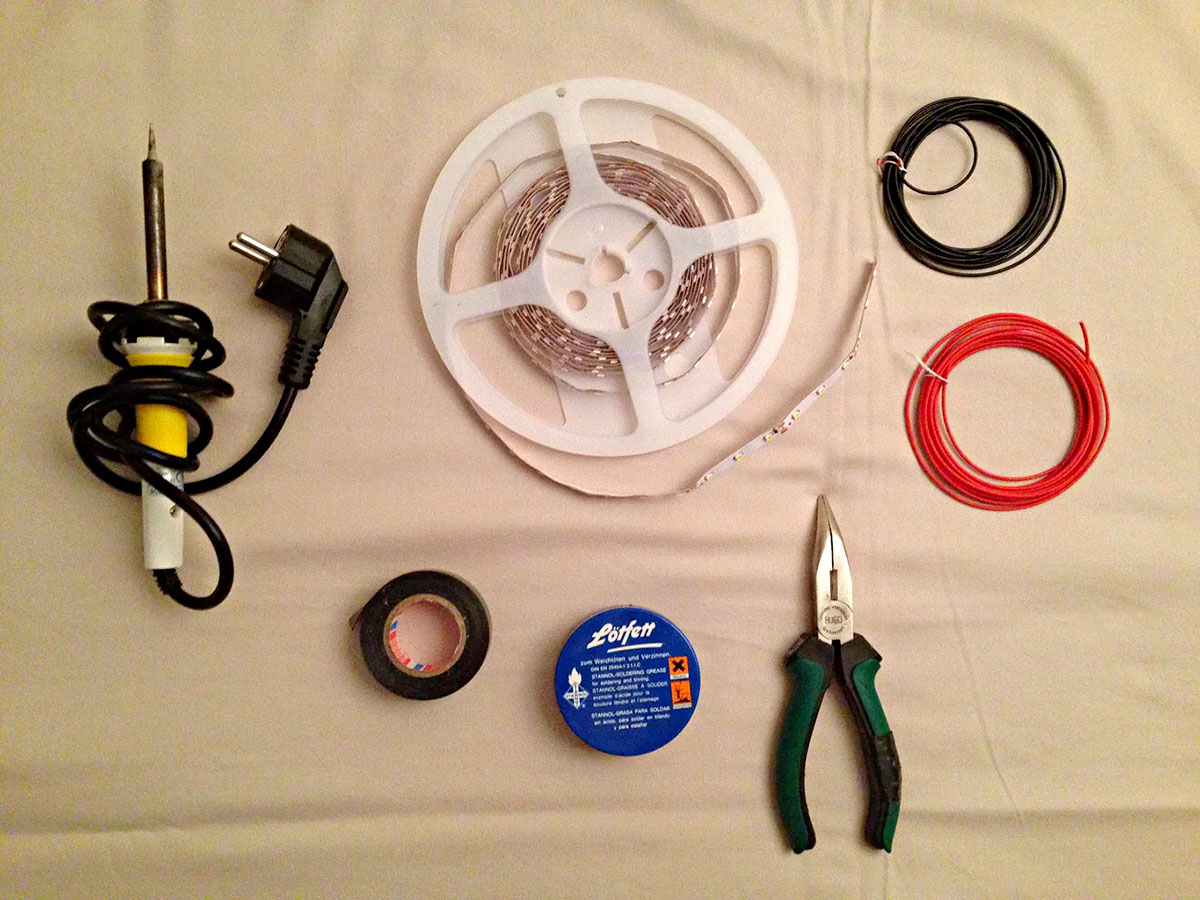
Before you begin installing LED strips around corners, gather the following tools and materials:
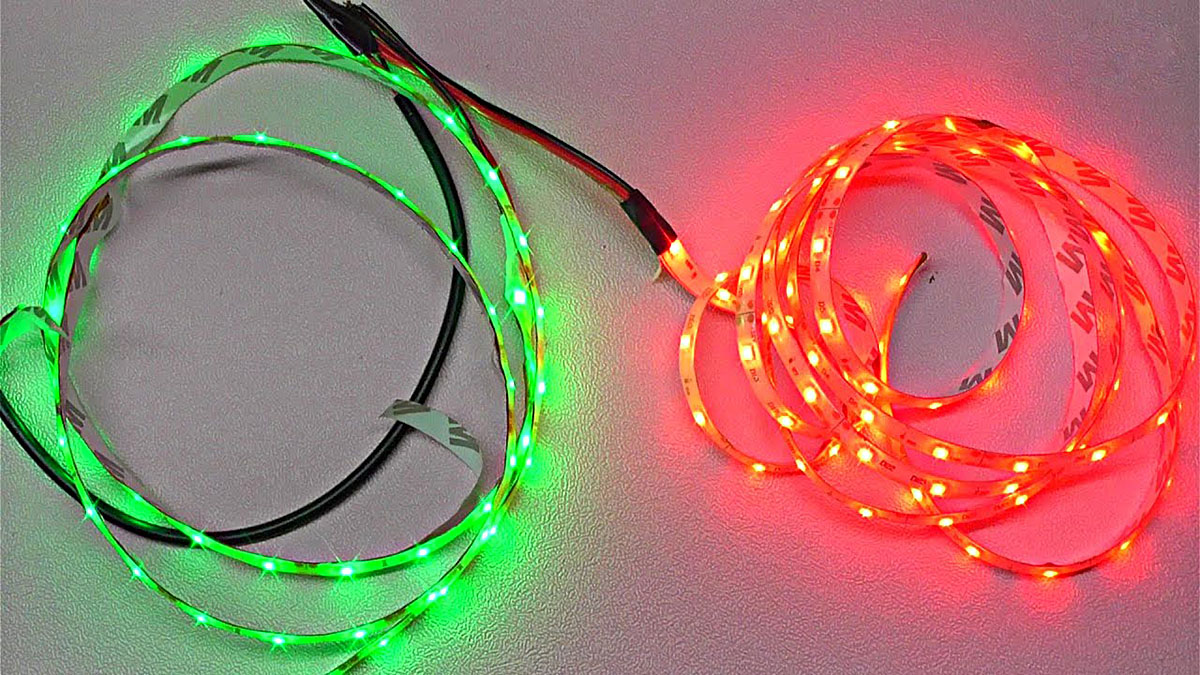
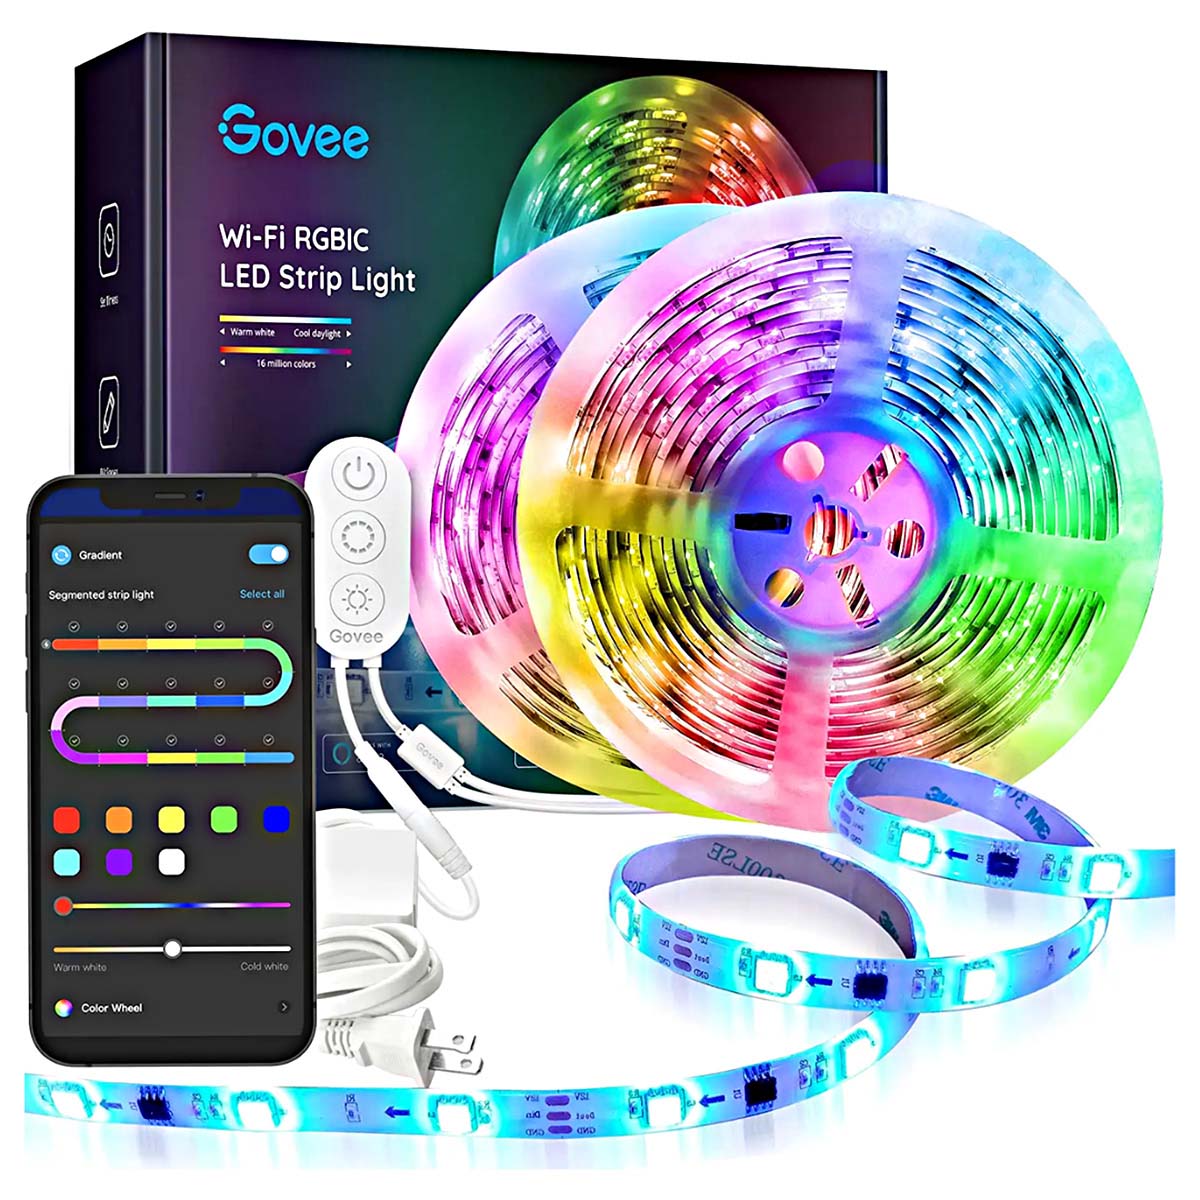
- LED strips: Choose high-quality LED strips that are suitable for your desired lighting effect and color.
- Tape measure: Measure the length of the installation area to ensure accurate placement of the LED strips.
- Cutting tool: A sharp pair of scissors or a cutting tool specifically designed for cutting LED strips will be necessary to customize the length of the strips.
- Clean cloth: Use a soft, lint-free cloth to clean the installation area and ensure proper adhesion of the strips.
- Adhesive: Depending on the type of LED strips you have, you will need adhesive backing or mounting clips to secure the strips in place.
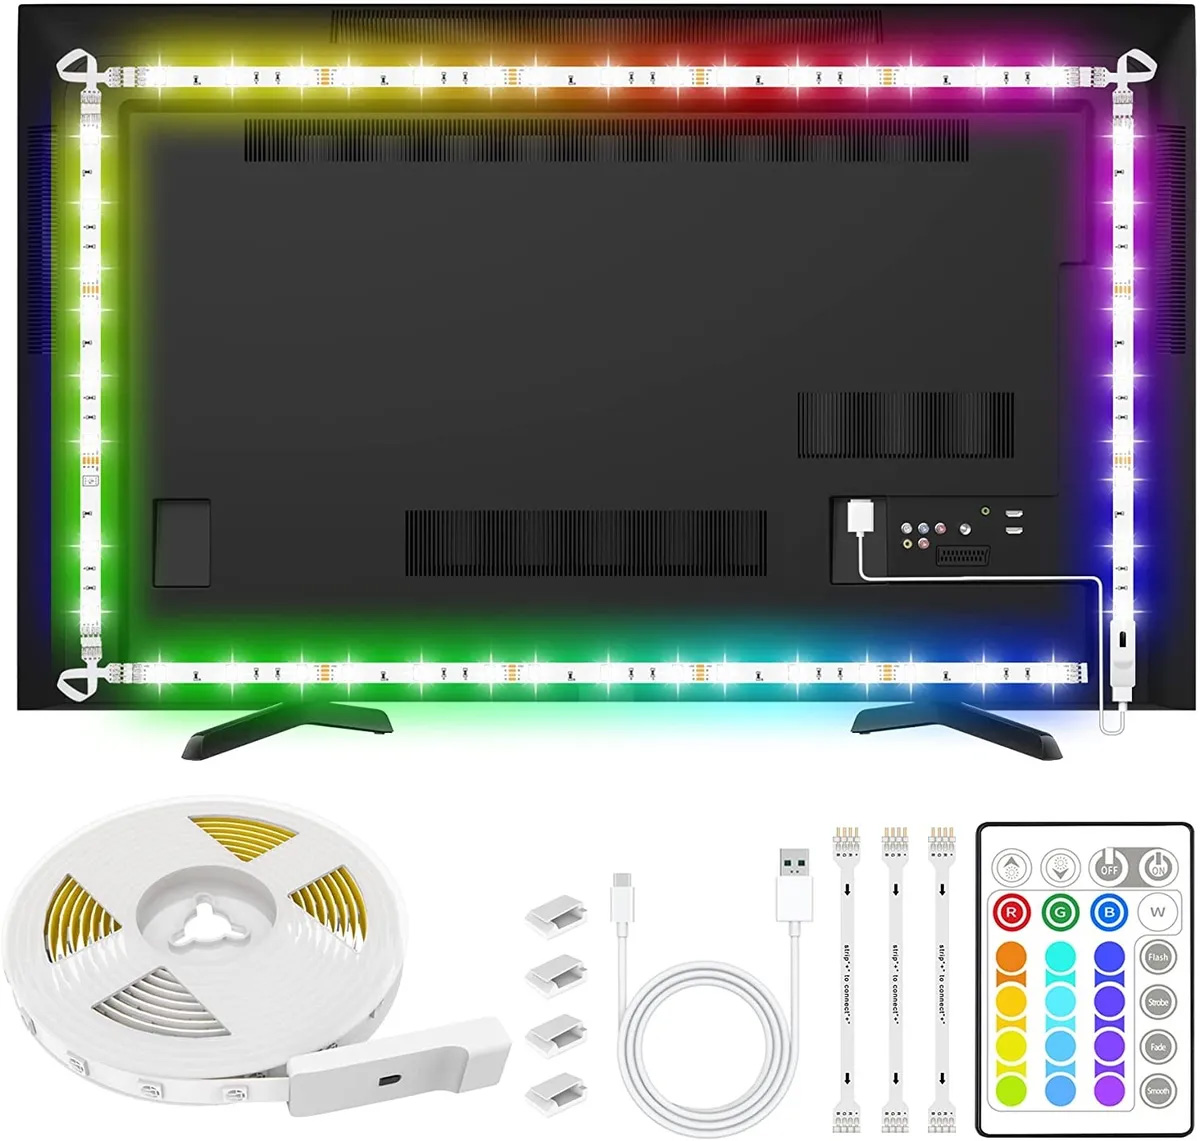
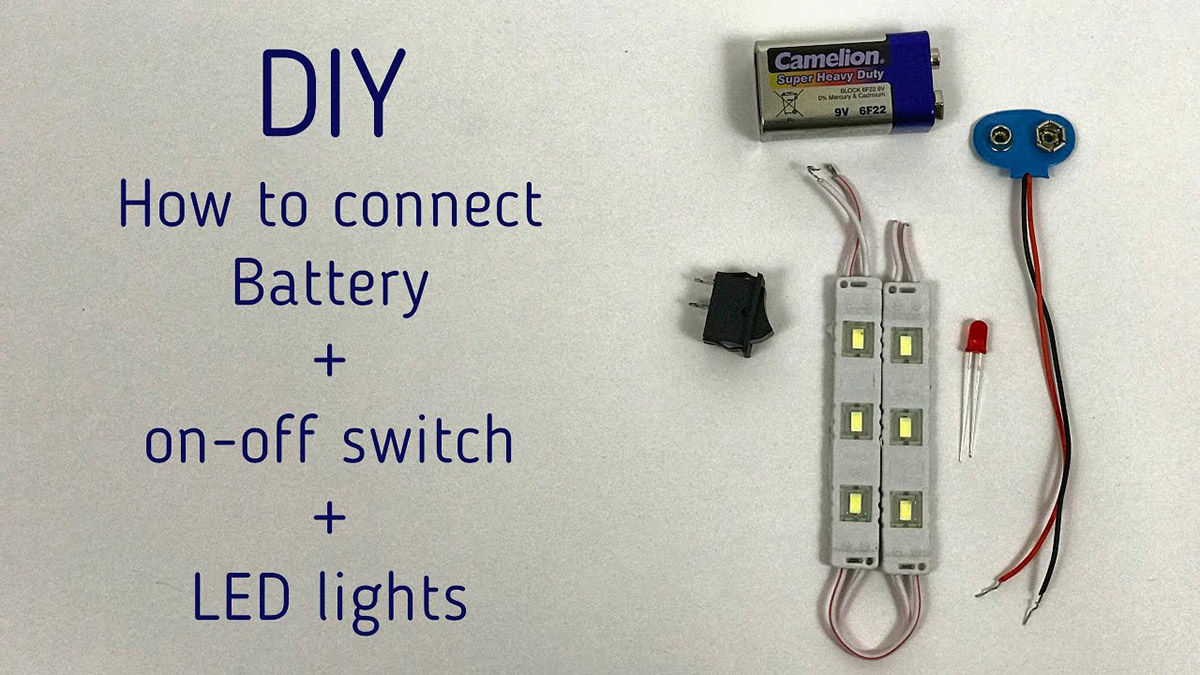
- Power supply: LED strips require a power supply to function. Make sure you have a suitable power supply that matches the voltage and wattage requirements of your LED strips.
- Connectors and wires: Depending on the layout of your installation, you may need connectors and wires to link multiple LED strips together or connect the strips to the power supply.
- Controller (optional): If your LED strips come with color-changing or dimming capabilities, you may need a controller to adjust the settings.
- Extension cables (if needed): If the distance between your LED strips and the power supply is too far, you may need extension cables to bridge the gap.
Having these tools and materials ready before you begin the installation process will ensure a smoother and more efficient workflow. Now, let’s move on to the step-by-step guide for installing LED strips around corners.
Step 1: Planning the Layout
Before you start installing the LED strips, it’s crucial to plan the layout of your installation. This step will help you determine the correct length of the LED strips, the placement of connectors and wires, and ensure that the final result is aesthetically pleasing.
Here are some key points to consider during the planning phase:
- Measure the installation area: Use a tape measure to measure the length and height of the area where you intend to install the LED strips. This will help you determine the quantity and length of LED strips you’ll need.
- Consider the power source: Identify the location of the nearest power source or outlet. Ideally, the power supply should be placed within easy reach of the LED strips. If the power source is far away, make sure you have sufficient extension cables to bridge the gap.
- Decide on the LED strip placement: Consider the desired lighting effect and decide whether you want to install the LED strips on the bottom, top, or sides of the installation area. Take into account any obstacles or objects that may hinder the installation and plan accordingly.
- Plan for corners: Determine how many corners you’ll need to navigate and plan the positioning of the LED strips accordingly. Keep in mind that LED strips can be bent to a certain degree, but sharp angles may require additional connectors or corner pieces.
- Visualize the final result: Use your measurements and a pen and paper or a digital design tool to sketch out the layout of the LED strips. This will give you a visual representation of how the installation will look and allow you to make any necessary adjustments before you begin.
By taking the time to plan the layout, you’ll save yourself from potential headaches and issues that may arise during the installation process. With a clear plan in place, you can move on to the next steps with confidence.
Step 2: Preparing the LED Strips
Once you have a clear layout plan, it’s time to prepare the LED strips for installation. This step involves cutting the strips to the desired length and preparing the adhesive backing or mounting clips for secure attachment.
Here’s how to prepare the LED strips:
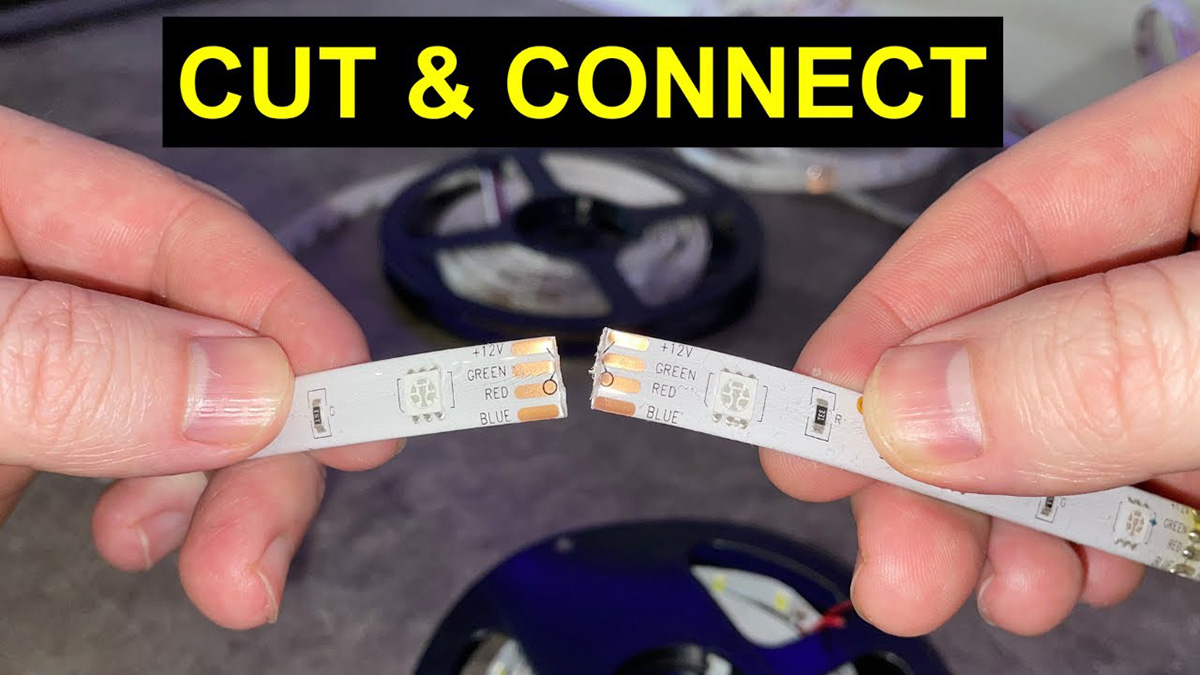
- Measure and cut: Use a tape measure to measure the required length of the LED strips based on your layout plan. Be sure to cut the strips at designated cut points, usually marked on the strip itself. Follow manufacturer instructions for cutting the strips to ensure accurate results.
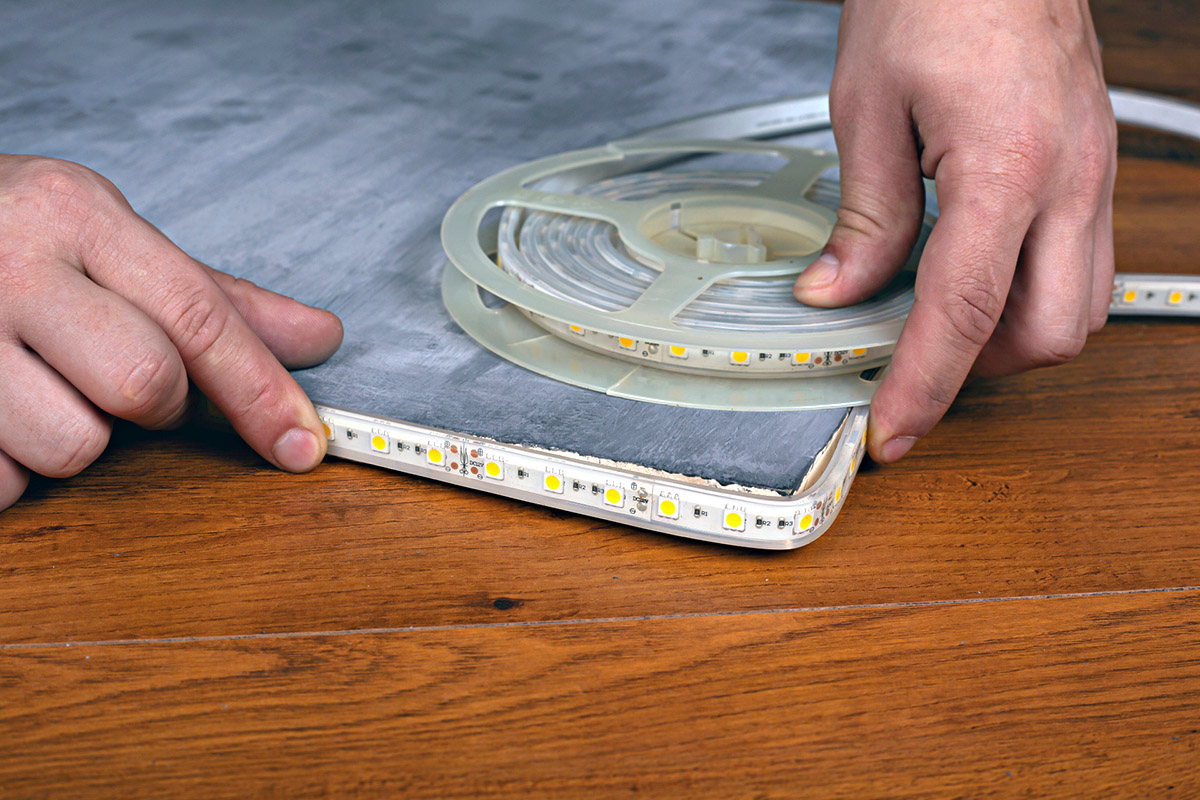
- Clean the installation area: Before attaching the LED strips, clean the surface where they will be placed using a clean cloth. This will remove any dust or debris that could interfere with the adhesive backing or mounting clips.
- Remove the backing: If your LED strips have adhesive backing, carefully peel off the protective film to expose the adhesive side. Take care not to touch the sticky surface as it may reduce its effectiveness.
- Attach mounting clips (if applicable): If your LED strips require mounting clips, follow the manufacturer instructions to attach them securely to the installation area. Make sure the clips are evenly spaced and aligned to hold the LED strips in place.
- Test the LED strips: Before final installation, it’s recommended to test the LED strips to ensure they are functioning properly. Connect the strips to the power supply and turn them on to verify that all the LEDs light up and the desired lighting effect is achieved.
By properly preparing the LED strips, you will ensure a smoother installation process and a secure attachment to the installation area. Take your time and double-check your measurements to avoid any unnecessary mistakes.
Step 3: Installing the LED Strips on Straight Sections
With the LED strips prepared, it’s time to start the installation process. Begin by attaching the LED strips to the straight sections of your installation area. This step will create a solid foundation for navigating corners later on.
Follow these steps to install the LED strips on straight sections:
- Start at the designated starting point: Begin at the desired starting point of your installation. This can be the bottom, top, or side of the installation area. Ensure there is easy access to the power supply or extension cables.
- Peel off the adhesive backing: If your LED strips have adhesive backing, carefully peel off the protective film to expose the adhesive side. Remember to handle the strips gently, avoiding any excess bending or stretching.
- Align and press down: Align the LED strip with the designated straight section of the installation area. Apply even pressure along the entire length of the strip to ensure proper adhesion. If using mounting clips, slide the strips into the clips and secure them in place.
- Continue the installation: Continue attaching the LED strips along the straight sections, following your layout plan. Take care to align the strips evenly and maintain a consistent spacing between them.
- Secure loose sections: If any sections of the LED strips become loose during installation, apply additional adhesive or mounting clips to secure them firmly in place.
- Trim excess length: If you have any excess length of LED strip, carefully cut it using scissors or a cutting tool. Be sure to follow the designated cut points to avoid any damage to the LEDs.
By installing the LED strips on straight sections first, you will establish a solid base for the corner sections. Take your time during this step to ensure the strips are properly aligned and securely attached.
When installing LED strips around corners, use corner connectors specifically designed for LED strips to ensure a seamless and secure connection without any bending or cutting of the strips.
Step 4: Installing the LED Strips at Corners
Now that you have installed the LED strips on the straight sections, it’s time to navigate the corners of your installation area. This step requires a bit more precision and attention to detail to ensure a seamless transition around the corners.
Follow these steps to install the LED strips at corners:
- Assess the corner angle: Take a close look at the corner where you need to install the LED strips. Determine the angle of the corner to understand how much bending or extension may be required.
- Bend the LED strips: If the corner is a gentle curve, you may be able to bend the LED strip to fit the angle. Be sure to bend the strip gradually and avoid sharp creases or folds that could damage the LEDs. If the corner is a sharp angle, you may need to use additional connectors or specialized corner pieces to navigate the turn.
- Apply adhesive or mounting clips: Peel off the adhesive backing from the LED strip or attach the strip to the mounting clips. If using mounting clips, make sure they are positioned on both sides of the corner and securely hold the LED strip in place.
- Press and secure: Apply gentle pressure to ensure the LED strip adheres to the corner. If necessary, use additional adhesive or mounting clips to secure any loose sections.
- Trim excess length: If there is any excess length of LED strip at the corner, carefully trim it using scissors or a cutting tool at the designated cut points.
- Repeat for other corners: Repeat the same process for each corner of your installation area, taking into account the angle of each corner and adjusting the LED strips accordingly.
Installing the LED strips at corners requires a bit of patience and careful handling. Pay attention to the angle of the corners and use the appropriate techniques to ensure a smooth transition. Take your time during this step to achieve a professional-looking result.
Step 5: Connecting and Securing the LED Strips
With the LED strips installed on both straight sections and corners, it’s time to connect and secure the strips to ensure proper functioning and longevity. This step involves making necessary connections, securing loose sections, and organizing the cables for a tidy installation.
Follow these steps to connect and secure the LED strips:
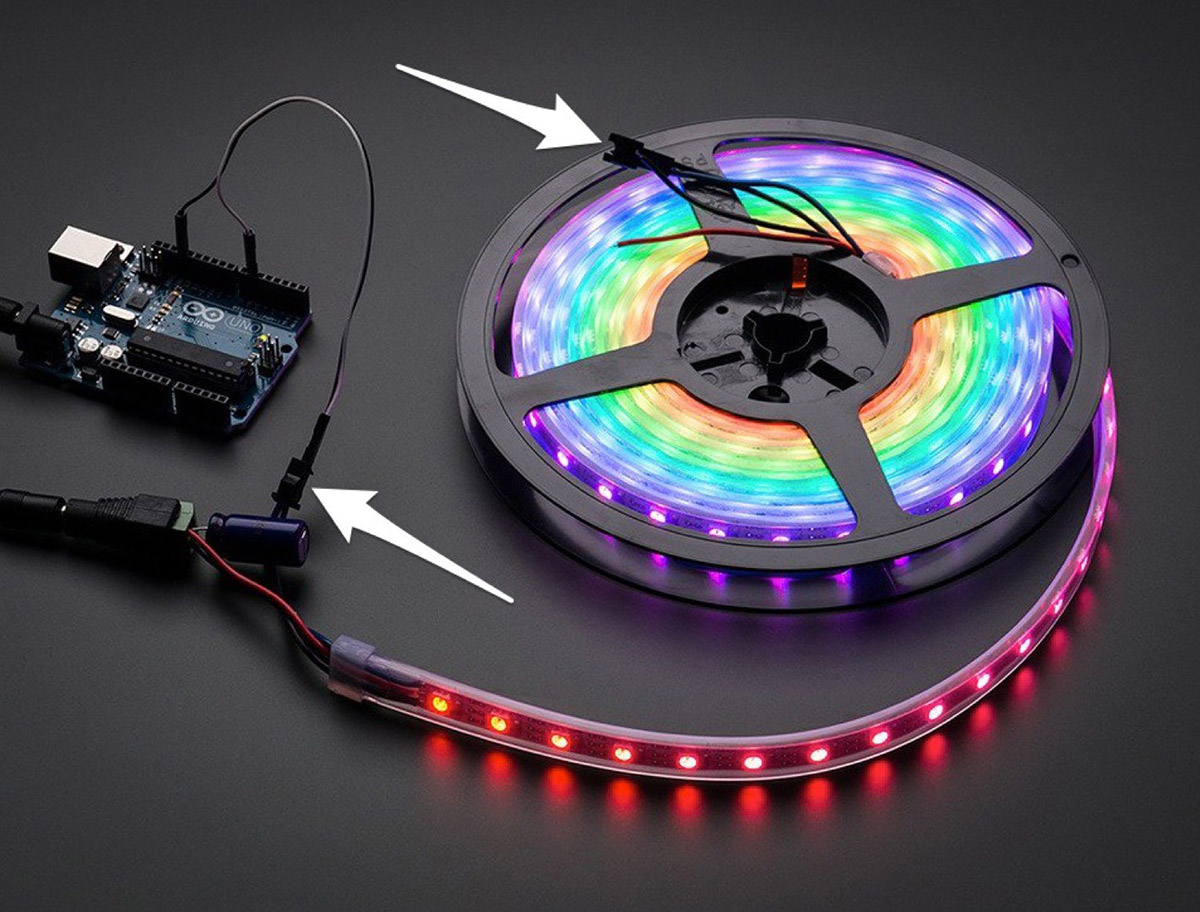
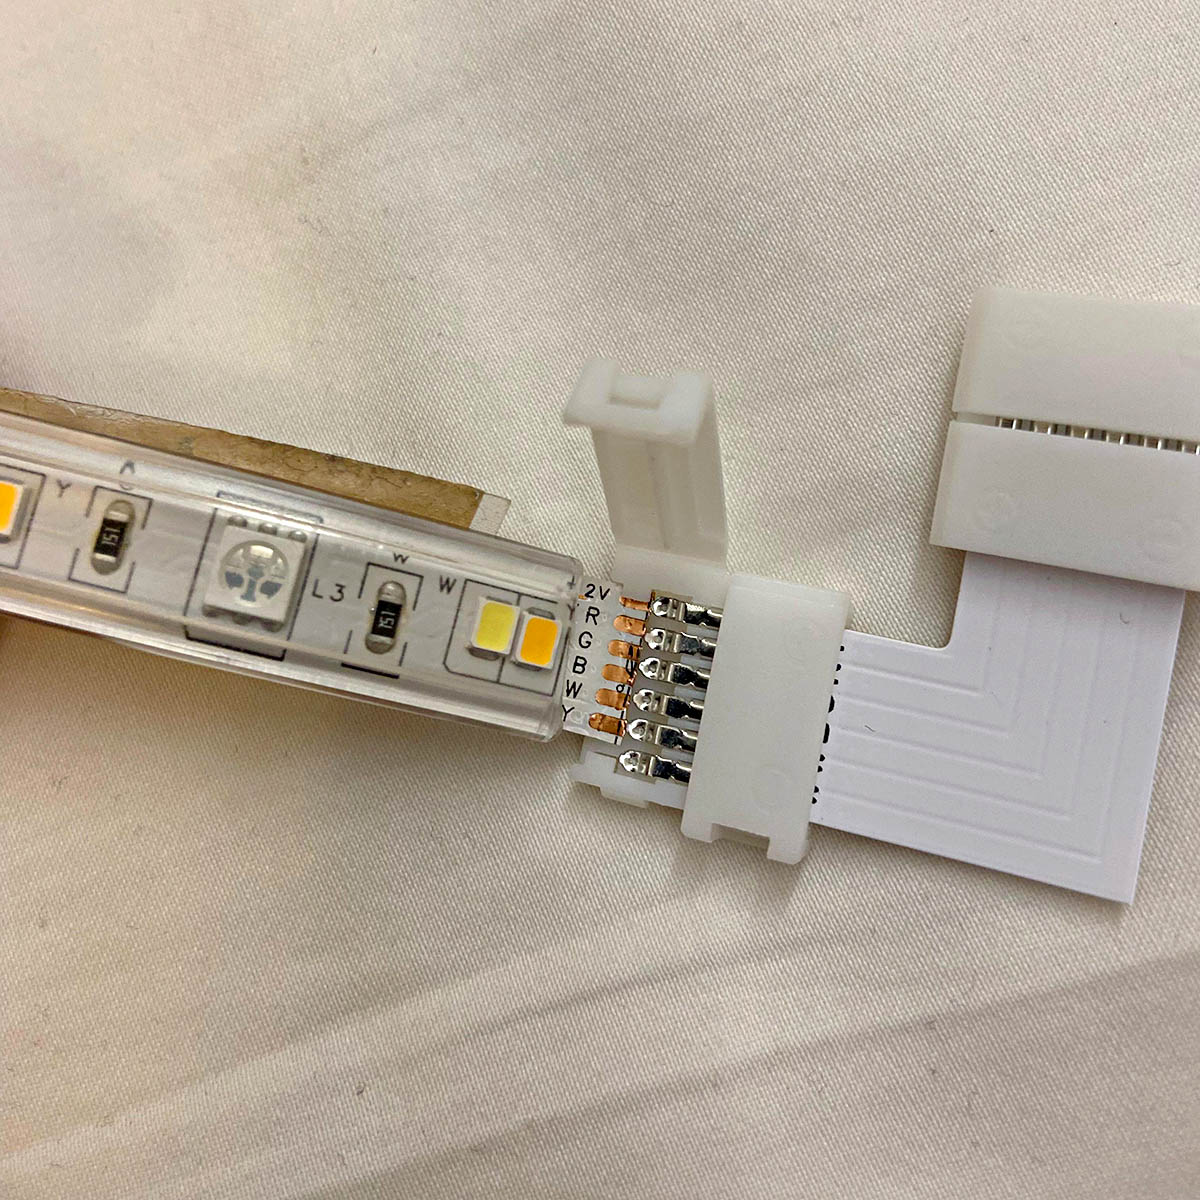
- Connect the strips: If you have multiple LED strips, connect them together using the appropriate connectors and wires. Make sure the connectors are securely attached and the wiring is neatly organized.
- Secure loose sections: Inspect the entire installation to identify any loose sections of LED strips. Apply additional adhesive or mounting clips to secure them firmly in place.
- Organize the cables: Tidy up the cables by bundling them together and using cable clips or ties to keep them organized and hidden from view. This will create a clean and professional appearance.
- Verify the connections: Double-check all the connections to ensure they are properly aligned and securely connected. Test the LED strips to confirm that they light up and function correctly.
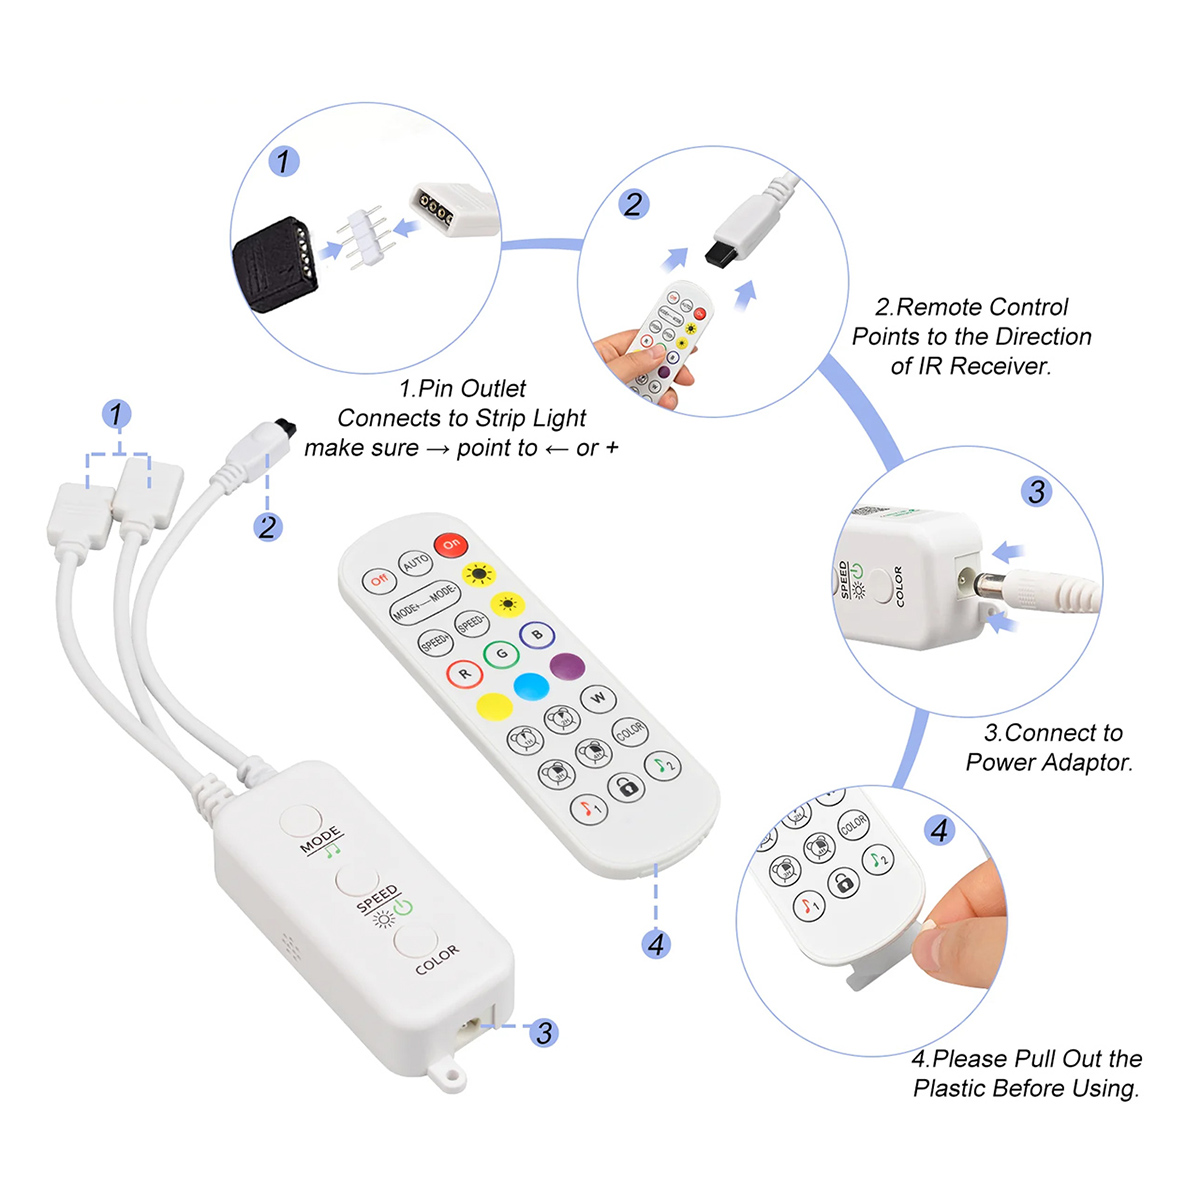
- Use a controller (if applicable): If your LED strips come with a controller for color-changing or dimming options, connect the controller and ensure it is functioning properly. Adjust the settings according to your preferences.
- Secure the power supply: Make sure the power supply is securely plugged in and positioned in a safe and accessible location. Double-check the voltage and wattage requirements to ensure they match your LED strips.
- Hide cables (optional): If desired, use cable management solutions such as cable raceways or conduit to conceal the cables and create a more polished and professional look.
By connecting and securing the LED strips properly, you ensure reliable performance and minimize the risk of accidental disconnections or damage. Take the time to organize the cables and verify all the connections to achieve a clean and functional installation.
Step 6: Testing the Installation
After completing the installation of your LED strips and making all the necessary connections, it’s essential to test the installation to ensure everything is functioning as expected. This step allows you to identify any issues or adjustments that may be needed before finalizing the installation.
Follow these steps to test the installation:
- Power on the LED strips: Turn on the power supply to activate the LED strips. Take a moment to observe the lighting effect and ensure all the LEDs are properly illuminated.
- Check for uniform illumination: Inspect the entire installation area to ensure that the LEDs are evenly illuminating the space. Look out for any dark spots or areas where the light is noticeably weaker.
- Adjust brightness or color (if applicable): If your LED strips come with dimming or color-changing capabilities, test these features and adjust the brightness or color to your desired preference.
- Test the controller (if applicable): If you have a controller for your LED strips, test its functionality by navigating through the different settings and modes. Ensure that the controller is responsive and that it accurately changes the lighting effect.
- Check for loose sections: Inspect the entire installation area once again to ensure that all the LED strips are firmly secured in place. Look out for any signs of loose sections or areas where the adhesive may have weakened.
- Verify cable management: Check the organization and hiding of cables to ensure that they are neatly organized and well-concealed. Make any necessary adjustments to achieve a clean and professional appearance.
- Listen for any buzzing or flickering: Pay attention to any unusual sounds or flickering of the LED strips. If you notice any issues, consult the manufacturer’s instructions or seek professional advice to rectify the problem.
By thoroughly testing the installation, you can address any potential issues or adjustments before finalizing the process. This ensures that your LED strips are functioning optimally and that you can enjoy the desired lighting effect for years to come.
With the completion of the testing phase, you have successfully installed and tested your LED strips. It’s time to step back and admire your newly transformed space!
Conclusion
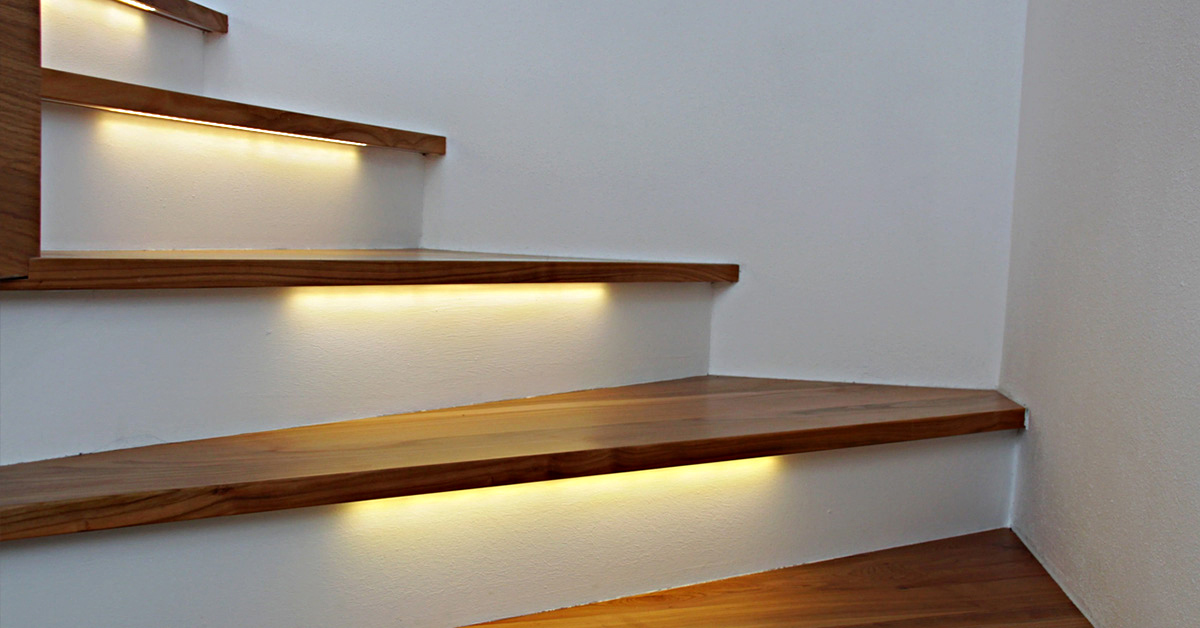
Installing LED strips around corners may seem like a daunting task, but with the right techniques and a little bit of planning, you can achieve a professional-looking installation that adds a stunning visual impact to your space. By following the step-by-step guide outlined in this article, you have gained valuable knowledge on how to navigate corners, make connections, and secure the LED strips for a seamless and visually appealing result.
Remember to carefully plan the layout, prepare the LED strips, and install them on both straight sections and corners. Take your time to ensure proper connections, secure loose sections, and organize the cables for a tidy installation. Testing the installation is a crucial step to identify any issues or adjustments that need to be made before finalizing the process.
By choosing high-quality LED strips, measuring accurately, and following the manufacturer’s instructions, you can create the perfect lighting atmosphere for any space. LED strips offer a variety of advantages, including energy efficiency, flexibility, and versatility, making them a popular choice for both residential and commercial lighting projects.
Now that you have the knowledge and confidence to install LED strips around corners, you can let your creativity shine and transform your living space, office, or any other area into a captivating and inviting environment. With proper installation and maintenance, your LED strips will continue to illuminate your space for years to come, providing a stylish and efficient lighting solution that enhances the ambiance and beauty of your surroundings.
Enjoy the process, have fun with the installation, and embrace the incredible transformation that LED strips can bring to your space. Get ready to bask in the glow of well-placed, visually stunning lighting that adds a touch of magic to your everyday life!
Frequently Asked Questions about How To Install LED Strips Around Corners
Was this page helpful?
At Storables.com, we guarantee accurate and reliable information. Our content, validated by Expert Board Contributors, is crafted following stringent Editorial Policies. We're committed to providing you with well-researched, expert-backed insights for all your informational needs.

0 thoughts on “How To Install LED Strips Around Corners”