Home>Home Appliances>Lighting Appliances>How To Wire LED Strips
Lighting Appliances
How To Wire LED Strips
Modified: January 9, 2024
Learn how to wire LED strips for your lighting appliances with our step-by-step guide. Discover the best practices for installing LED strips to enhance your home lighting.
(Many of the links in this article redirect to a specific reviewed product. Your purchase of these products through affiliate links helps to generate commission for Storables.com, at no extra cost. Learn more)
Introduction
Welcome to the world of LED lighting! LED strips are a fantastic way to add ambient lighting to any space, whether it's for functional purposes or to create a visually stunning atmosphere. In this comprehensive guide, we will explore the ins and outs of wiring LED strips, ensuring that you have all the knowledge and confidence needed to embark on your lighting project.
LED strips have revolutionized the way we illuminate our homes, offices, and outdoor spaces. Their flexibility, energy efficiency, and vibrant color options make them a popular choice for both residential and commercial applications. Whether you're looking to enhance the aesthetic appeal of your living room, highlight architectural features, or add a touch of drama to your outdoor landscaping, LED strips offer endless possibilities.
Understanding the intricacies of wiring LED strips is essential for a successful lighting installation. From selecting the right tools and materials to properly connecting the strips to a power supply, each step plays a crucial role in achieving the desired lighting effect. By mastering the art of wiring LED strips, you'll not only elevate the ambiance of your environment but also gain valuable insight into the world of lighting design and technology.
Throughout this guide, we will delve into the fundamentals of LED strips, provide a detailed overview of the tools and materials you'll need, and walk you through the step-by-step process of wiring and connecting LED strips. Additionally, we'll cover essential tips for testing the LED strips to ensure they are functioning optimally.
Whether you're a seasoned DIY enthusiast or a novice looking to embark on your first lighting project, this guide is designed to equip you with the knowledge and skills necessary to wire LED strips like a pro. So, let's roll up our sleeves, gather our tools, and illuminate the world with the brilliance of LED lighting!
Key Takeaways:
- Master the art of wiring LED strips to illuminate any space with creativity and confidence, from residential accent lighting to dynamic commercial displays.
- Understand the fundamentals of LED strips, from technical attributes to meticulous testing, to create captivating and reliable lighting installations.
Read more: How To Remove LED Strips From The Wall
Understanding LED Strips
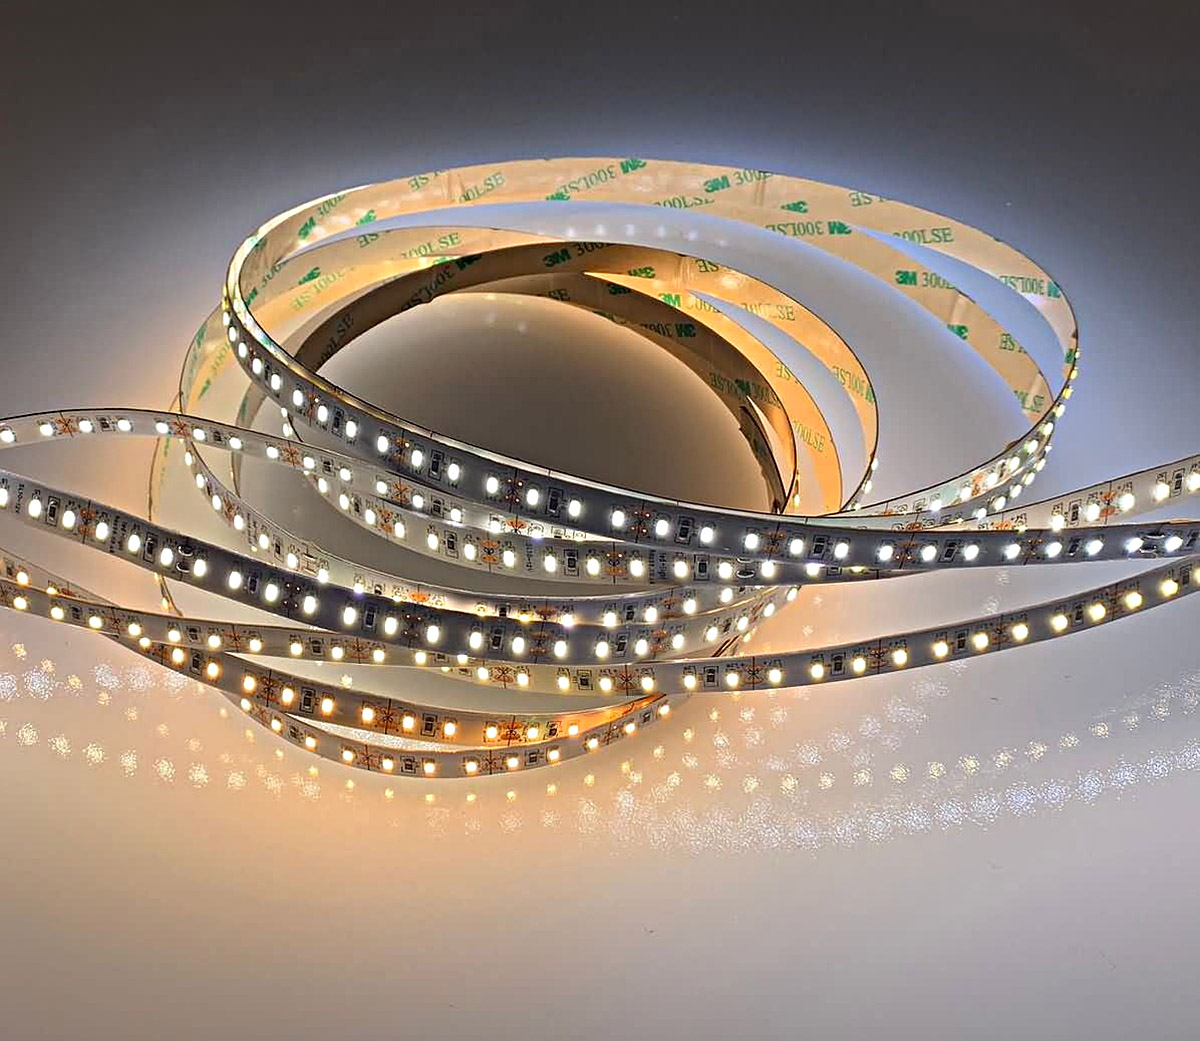
Before diving into the wiring process, it's essential to grasp the fundamentals of LED strips. These innovative lighting fixtures consist of small, light-emitting diodes (LEDs) mounted on a flexible circuit board. The flexibility of the circuit board allows the strips to be bent, twisted, and maneuvered around various surfaces, making them incredibly versatile for a wide range of applications.
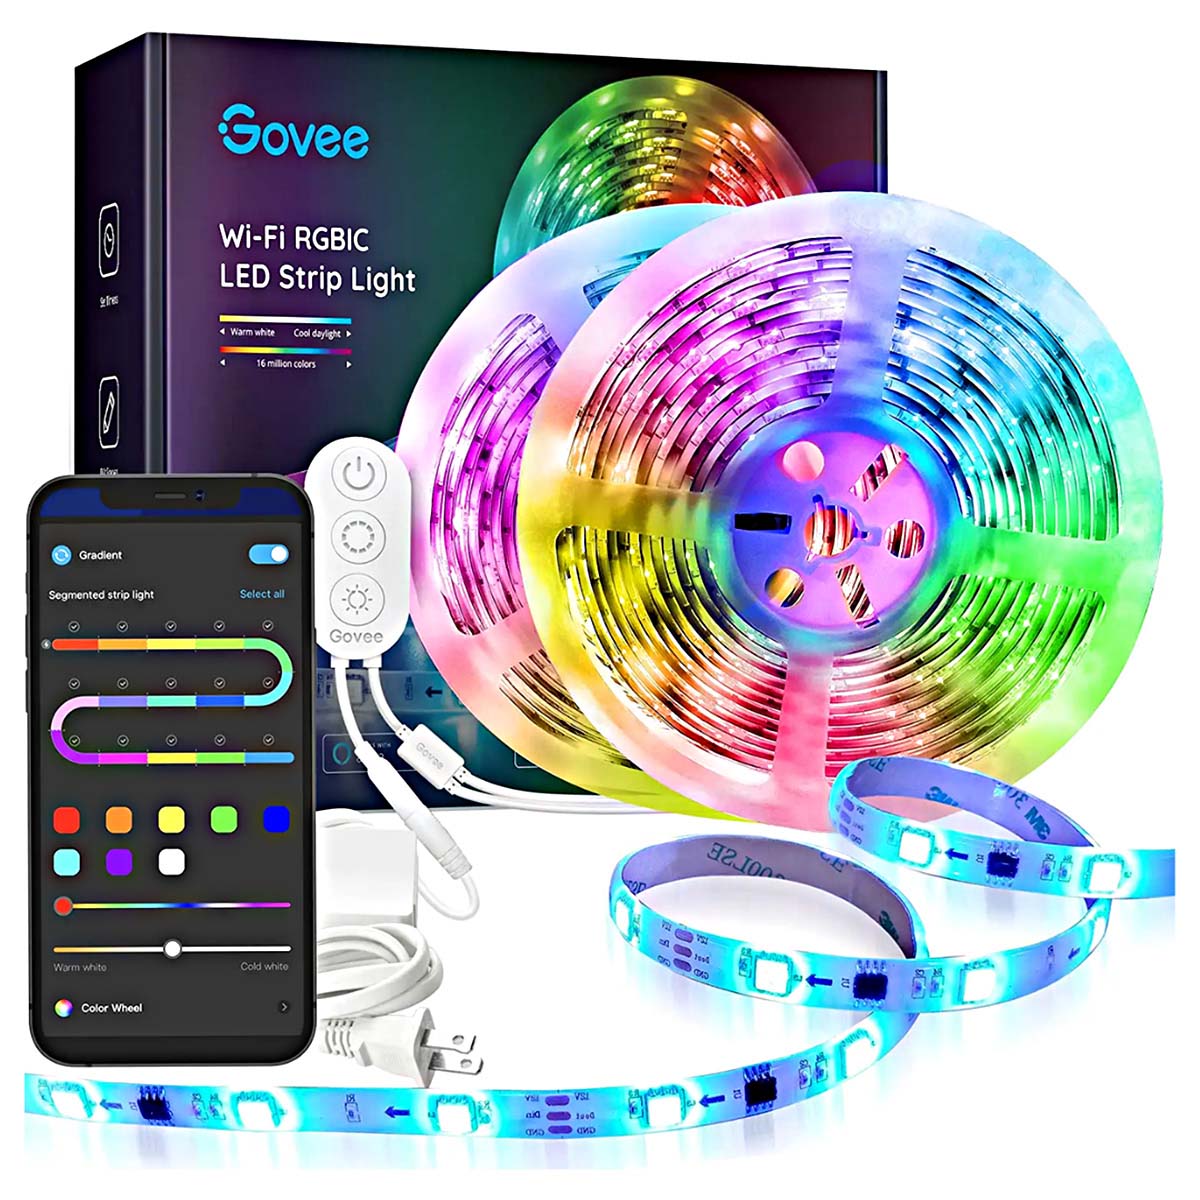
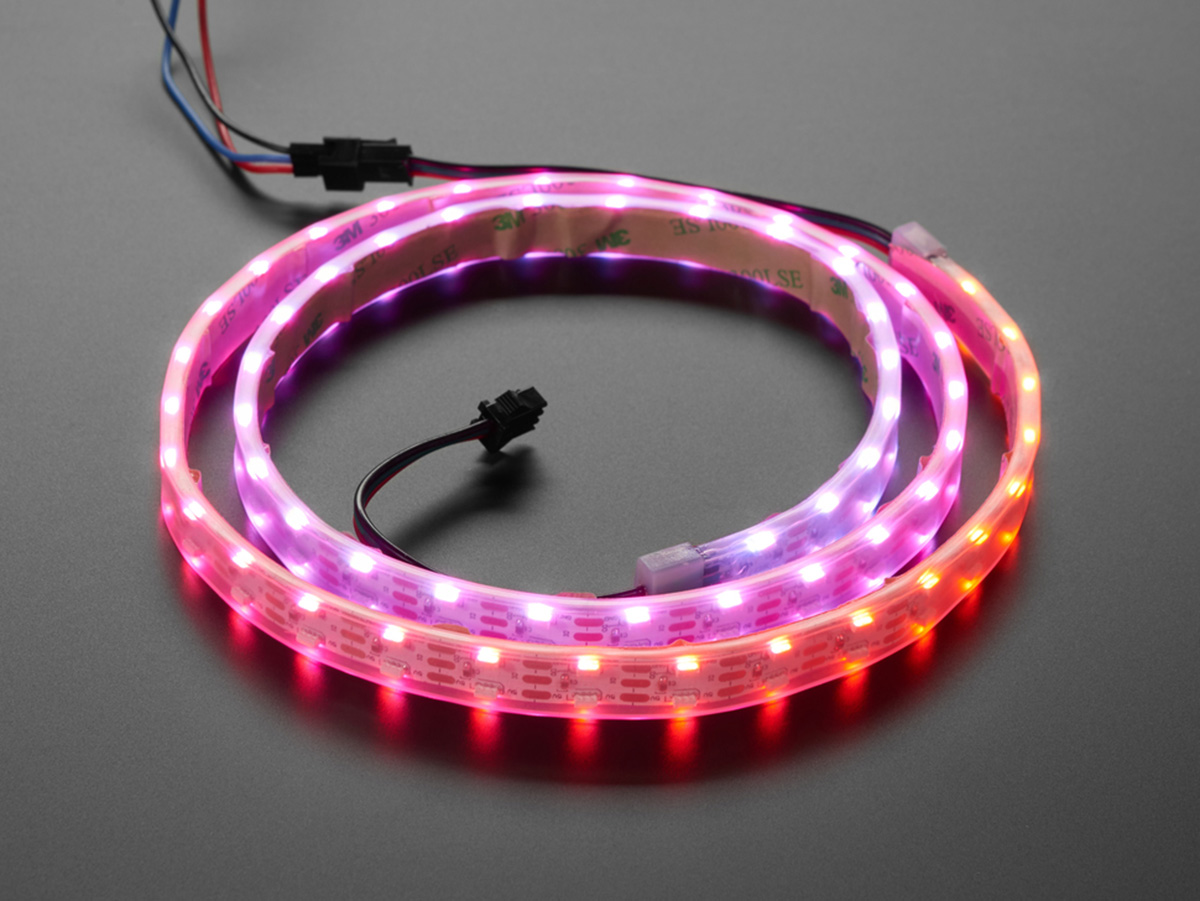
LED strips come in various types, each offering unique features and capabilities. The two primary types are single-color and color-changing (RGB) LED strips. Single-color strips emit a consistent hue, such as warm white, cool white, or a specific color, making them ideal for creating uniform ambient lighting. On the other hand, color-changing LED strips are equipped with red, green, and blue LEDs, enabling them to produce a spectrum of colors through different combinations of these primary colors.
When selecting LED strips for your project, it’s crucial to consider factors such as brightness, color temperature, and IP (Ingress Protection) rating. The brightness of LED strips is measured in lumens, indicating the amount of light they emit. Color temperature, measured in Kelvin, determines the warmth or coolness of the light produced. Additionally, the IP rating signifies the level of protection against dust and moisture, an important consideration for outdoor or damp environments.
LED strips are available in various lengths and densities, with a higher LED density resulting in a more uniform and continuous light output. Understanding these attributes will help you choose the most suitable LED strips for your specific lighting requirements.
Furthermore, it’s essential to be mindful of the voltage and power requirements of LED strips. Most LED strips operate on low voltage (typically 12V or 24V), ensuring safety and energy efficiency. However, it’s crucial to select a compatible power supply and ensure proper wiring to prevent voltage drop and maintain consistent illumination.
By gaining a comprehensive understanding of the different types, features, and technical aspects of LED strips, you’ll be better equipped to make informed decisions when planning and executing your lighting project. With this knowledge in hand, you’re ready to embark on the exciting journey of wiring LED strips with confidence and precision.
Tools and Materials Needed
Before you begin wiring LED strips, it’s essential to gather the necessary tools and materials to ensure a smooth and efficient installation process. Having the right equipment at your disposal will not only streamline the wiring process but also contribute to the overall safety and quality of the installation.
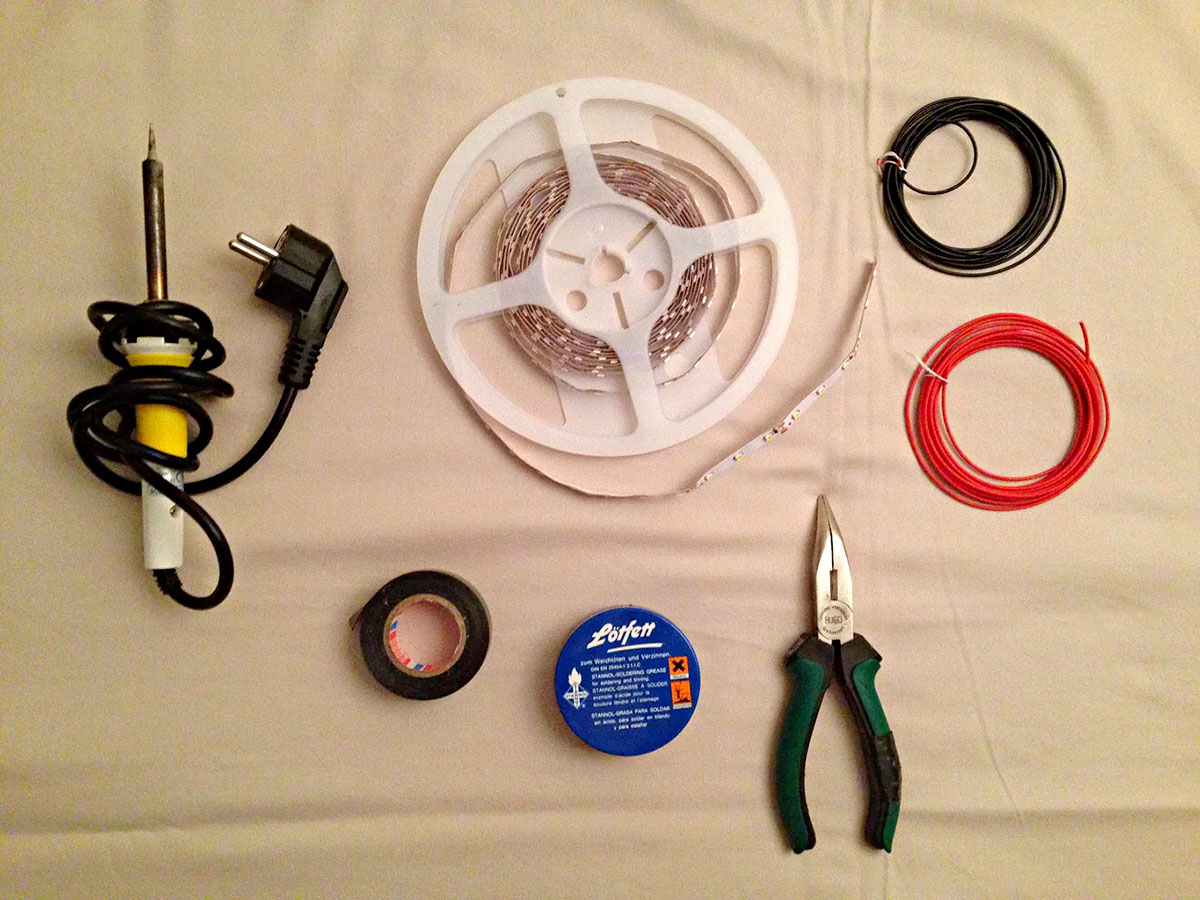
Tools:
- Screwdriver: A screwdriver, both flathead and Phillips, will be required for securing connectors and mounting hardware.
- Wire Strippers: These are essential for removing the insulation from the wire ends, ensuring proper connectivity.
- Scissors or Wire Cutters: These tools will be used to cut the LED strips to the desired length and trim the connecting wires.
- Heat Gun or Lighter: If you're working with heat-shrink tubing, a heat gun or lighter will be necessary to shrink the tubing and provide a secure seal.
- Multimeter: A multimeter is handy for testing the continuity and voltage of the wiring connections.
- Wire Crimping Tool: If you're using crimp connectors, a wire crimping tool will facilitate secure and reliable connections.
Materials:
- LED Strips: Select the appropriate type, color, and length of LED strips based on your lighting requirements.
- Power Supply: Choose a compatible power supply with the correct voltage and wattage to power the LED strips.
- Connectors: Depending on the specific installation, you may need solderless connectors, soldering equipment, or terminal blocks for connecting the LED strips.
- Wire: Ensure you have the appropriate gauge and type of wire for connecting the LED strips and power supply. Stranded wire is often preferred for flexibility.
- Mounting Hardware: If you plan to secure the LED strips in place, mounting clips, adhesive tape, or other mounting hardware may be necessary.
- Heat-Shrink Tubing: This provides insulation and protection for soldered connections, enhancing the durability of the wiring.
- Cable Ties: These are useful for organizing and securing excess wiring to maintain a tidy installation.
By assembling these tools and materials, you’ll be well-prepared to tackle the task of wiring LED strips effectively and professionally. With everything in place, you can proceed with confidence, knowing that you have the essential components to bring your lighting vision to life.
Read more: How To Hide LED Strips
Wiring LED Strips
Wiring LED strips involves connecting the individual segments of the strips and establishing the necessary electrical connections to power the lighting system. Whether you’re working with single-color or color-changing LED strips, the wiring process follows a similar set of fundamental steps to ensure proper functionality and seamless integration into your lighting setup.
Step 1: Planning and Preparation
Before commencing the wiring process, carefully plan the layout and placement of the LED strips. Determine where the power supply will be located and map out the route for the wiring, considering any obstacles or structural elements that may impact the installation. Additionally, measure and cut the LED strips to the desired lengths, ensuring precision and accuracy to achieve a clean and professional appearance.
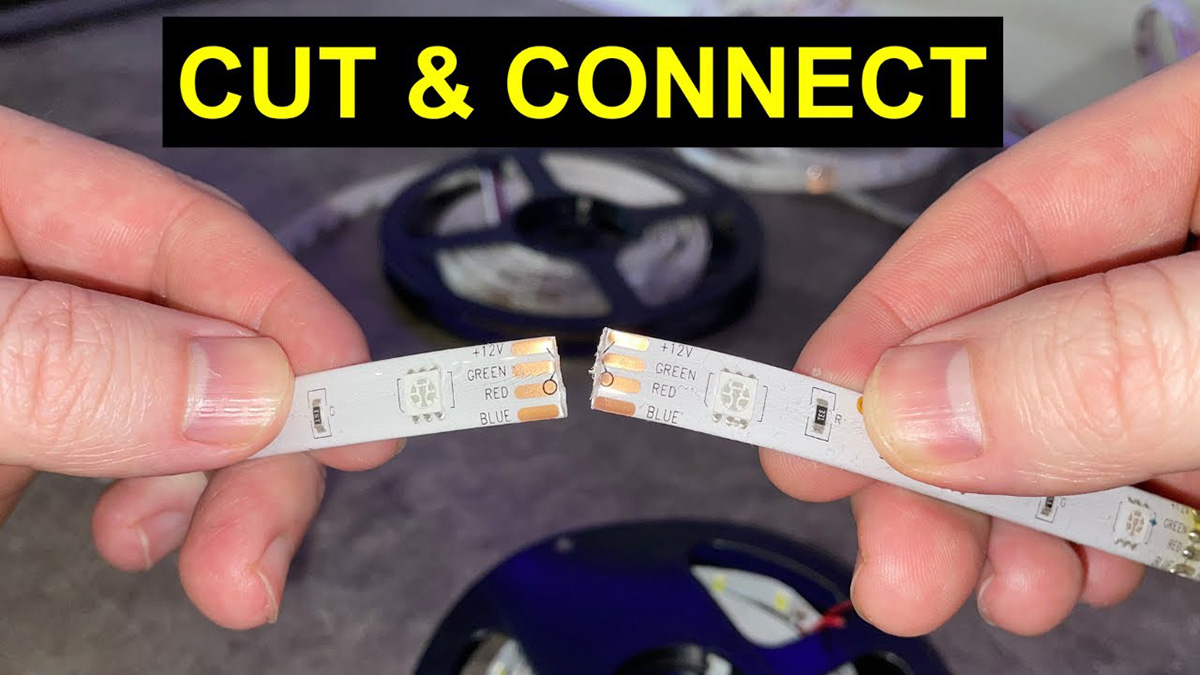
Step 2: Connecting the LED Strips
When working with single-color LED strips, the segments can be connected directly using solderless connectors or by soldering wires to the designated connection points. For color-changing LED strips, it’s crucial to follow the manufacturer’s guidelines for connecting the RGB segments and ensuring proper alignment of the color channels. Carefully inspect the soldered or connected joints to confirm secure and reliable connections.
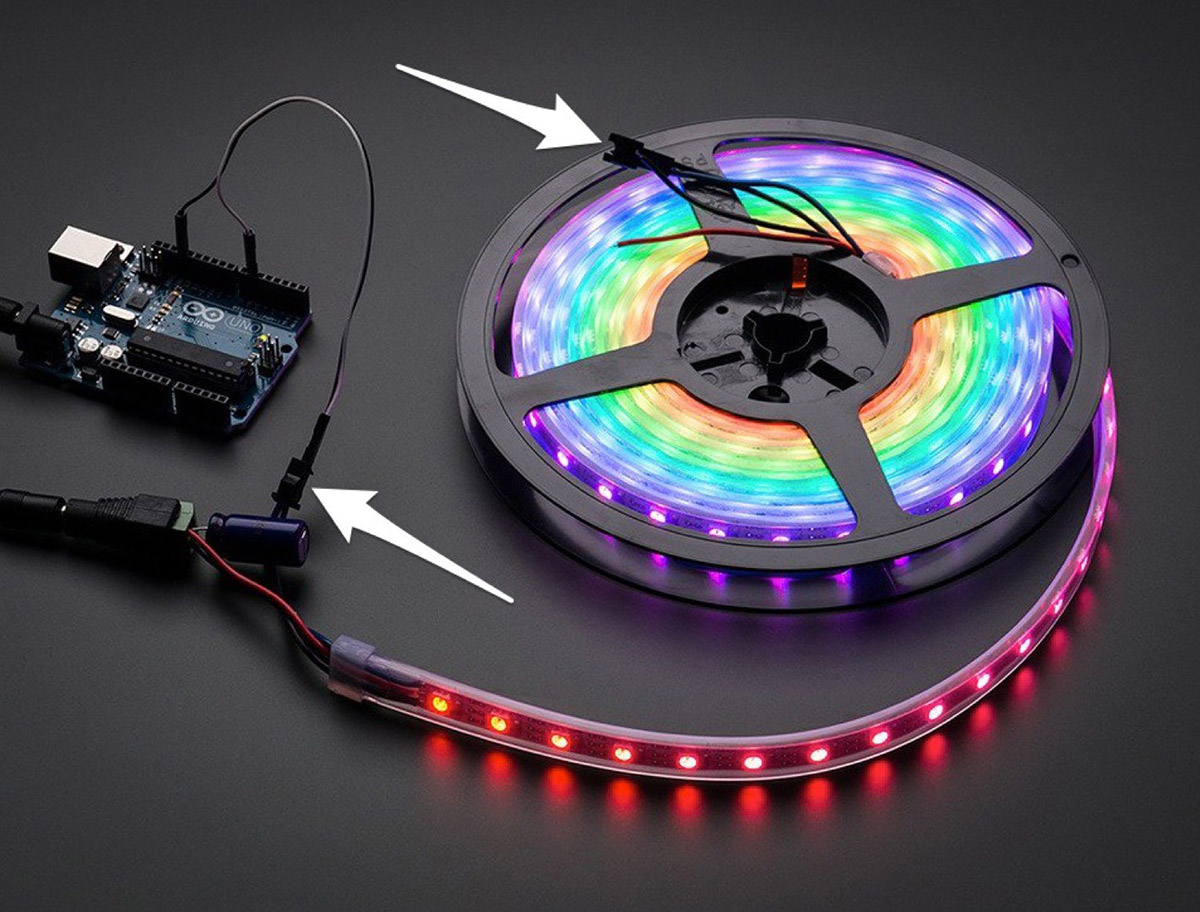
Step 3: Wiring to the Power Supply
Once the LED strips are connected, the next step involves wiring them to the power supply. Depending on the specific requirements of your installation, you may use solderless connectors, terminal blocks, or soldering to establish the electrical connections. It’s essential to adhere to the polarity markings on both the LED strips and the power supply to prevent any potential damage or malfunction.
Read more: How To Connect LED Strips To TV
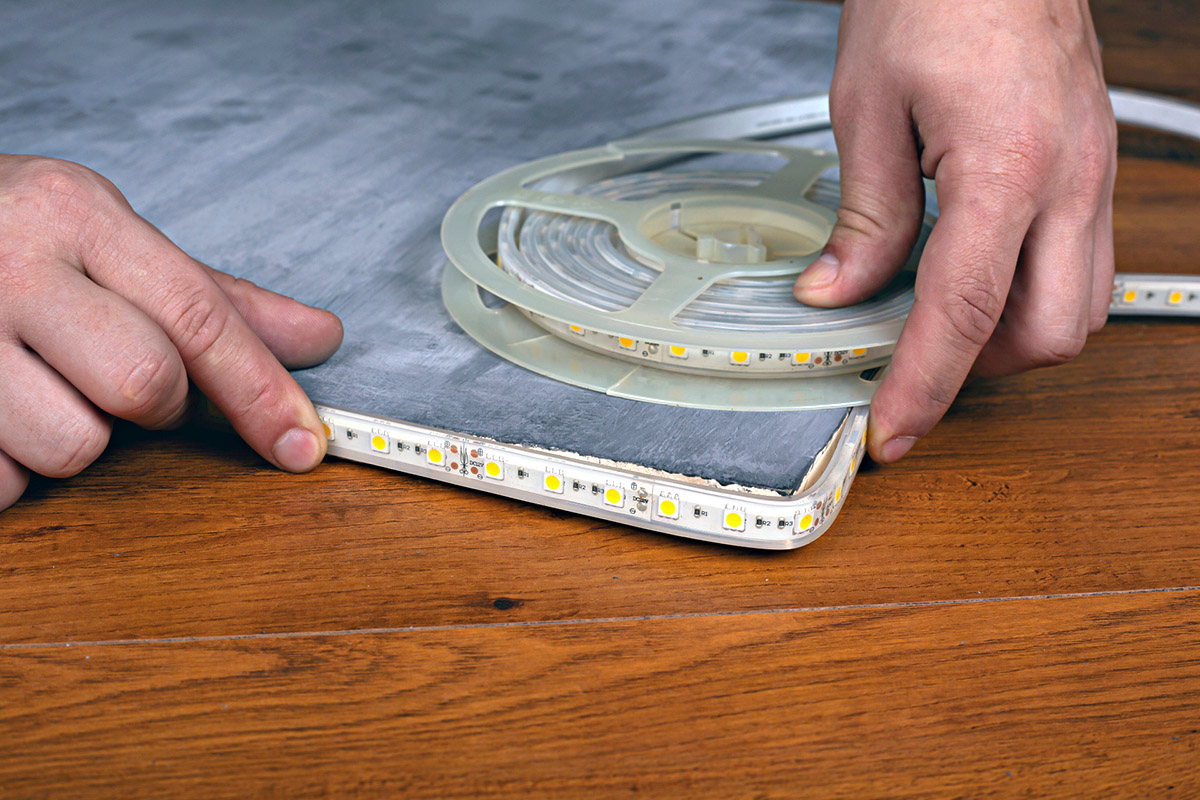
Step 4: Securing the Wiring
After completing the electrical connections, secure the wiring in place using mounting clips, adhesive tape, or other suitable fastening methods. Organize and bundle the wiring neatly to maintain a tidy and professional appearance while minimizing the risk of accidental damage or interference with the LED strips.
Step 5: Inspecting and Testing
Before powering up the LED strips, carefully inspect the entire wiring setup to ensure that all connections are secure and free from any potential hazards. Use a multimeter to verify the continuity and voltage of the connections, providing an additional layer of assurance before energizing the system. Once everything is in order, it’s time to move on to the exciting phase of testing the LED strips.
By following these systematic steps and exercising precision and attention to detail, you can successfully wire LED strips with confidence and proficiency. This foundational process sets the stage for bringing your lighting vision to fruition, paving the way for a captivating and visually stunning illumination experience.
Connecting LED Strips to Power Supply
Establishing the connection between LED strips and the power supply is a critical step in the wiring process, ensuring that the lighting system receives the necessary electrical power to illuminate with brilliance and efficiency. Whether you’re working with single-color or color-changing LED strips, the method of connecting them to the power supply remains consistent, prioritizing safety, compatibility, and reliable performance.
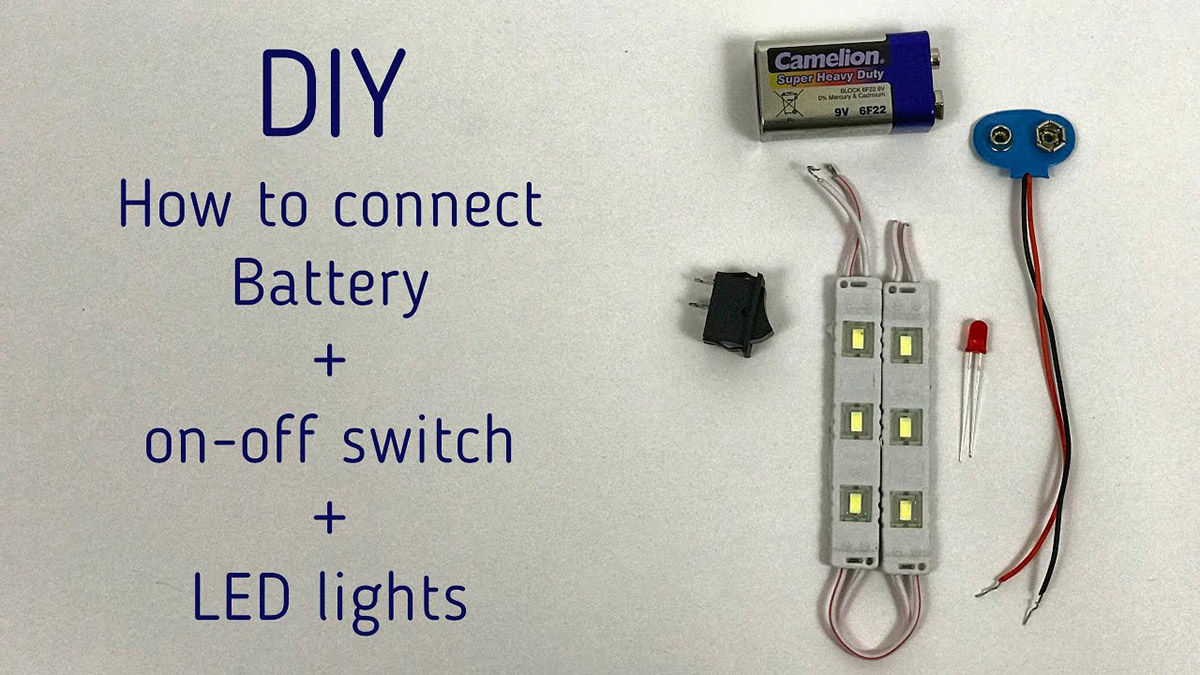
Identifying the Power Requirements
Before making the electrical connections, it’s essential to determine the voltage and wattage requirements of the LED strips. Most LED strips operate on low voltage, typically 12V or 24V, to ensure safe and energy-efficient performance. It’s imperative to select a power supply that matches the voltage rating of the LED strips and provides sufficient wattage to accommodate the total power consumption of the lighting system.
Read more: How To Install LED Strips In Your Car
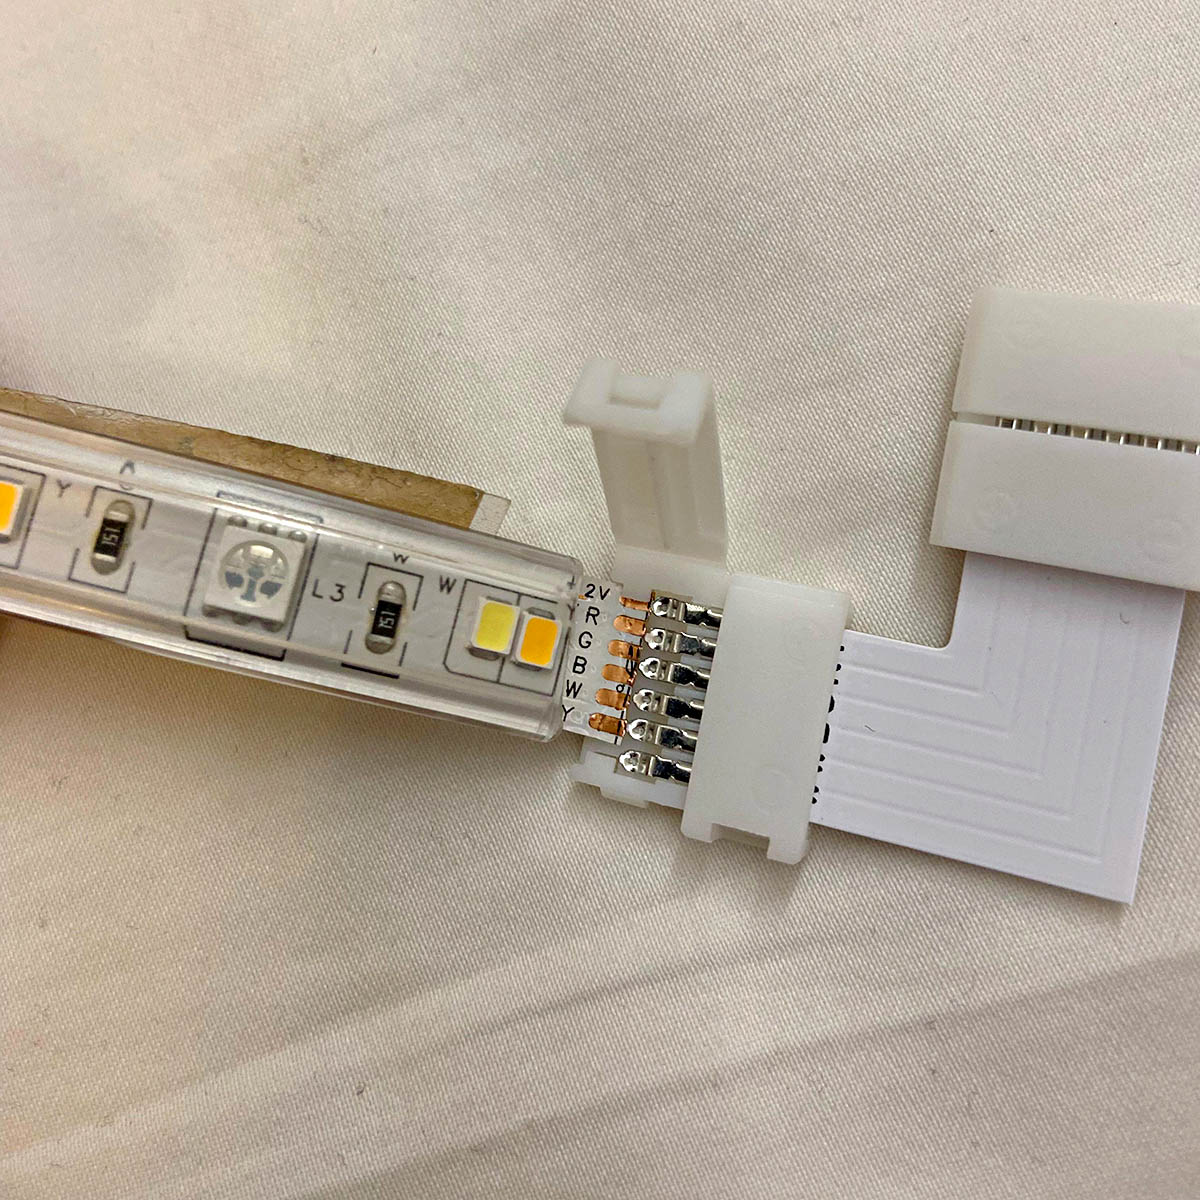
Using Solderless Connectors
Solderless connectors offer a convenient and secure method for attaching the LED strips to the power supply. These connectors feature terminals that grip the exposed conductors of the LED strip and the corresponding wires from the power supply, creating a reliable electrical connection without the need for soldering. When using solderless connectors, it’s crucial to follow the manufacturer’s guidelines and ensure proper alignment of the polarity to prevent any potential damage to the LED strips or power supply.
Employing Soldering Techniques
In some instances, soldering may be required to establish the connection between the LED strips and the power supply. This method involves joining the conductors of the LED strips to the wires from the power supply using solder and a soldering iron. It’s essential to exercise caution and precision during the soldering process, as overheating the LED strips can lead to damage or malfunction. Additionally, insulating the soldered connections with heat-shrink tubing provides added protection and durability.
Utilizing Terminal Blocks
Terminal blocks offer a versatile and secure means of connecting the LED strips to the power supply. By securing the conductors within the terminal blocks and tightening the terminal screws, a reliable electrical connection is established, facilitating easy installation and maintenance. When using terminal blocks, it’s important to verify that the conductors are securely fastened and that the polarity is maintained to prevent any potential electrical issues.
Adhering to Polarity Markings
Maintaining the correct polarity throughout the connection process is crucial to prevent damage to the LED strips and ensure optimal functionality. Polarity markings, often indicated by “+” and “-” symbols or color-coded wires, must be carefully observed and aligned between the LED strips and the power supply. Reversing the polarity can result in the LED strips failing to light up or sustaining damage, emphasizing the importance of meticulous attention to this aspect of the wiring process.
By conscientiously following these guidelines and methods for connecting LED strips to the power supply, you can establish a robust and dependable electrical infrastructure for your lighting installation. This pivotal step sets the stage for illuminating your space with captivating and dynamic LED lighting, enhancing the ambiance and visual appeal with a touch of brilliance and sophistication.
Read more: How Long LED Strips Last
Testing the LED Strips
Once the LED strips are wired and connected to the power supply, it’s crucial to conduct thorough testing to ensure that the lighting system functions as intended and delivers the desired illumination. Testing the LED strips not only verifies their operational integrity but also provides an opportunity to make any necessary adjustments before finalizing the installation, contributing to a seamless and successful lighting project.
Powering Up the System
Before initiating the testing phase, double-check all the electrical connections to confirm that they are secure and free from any potential hazards. Once the connections are verified, proceed to power up the LED strips by energizing the power supply. Observe the LED strips closely to confirm that they illuminate uniformly and emit the expected color or hue, indicating that the wiring and connectivity are functioning correctly.
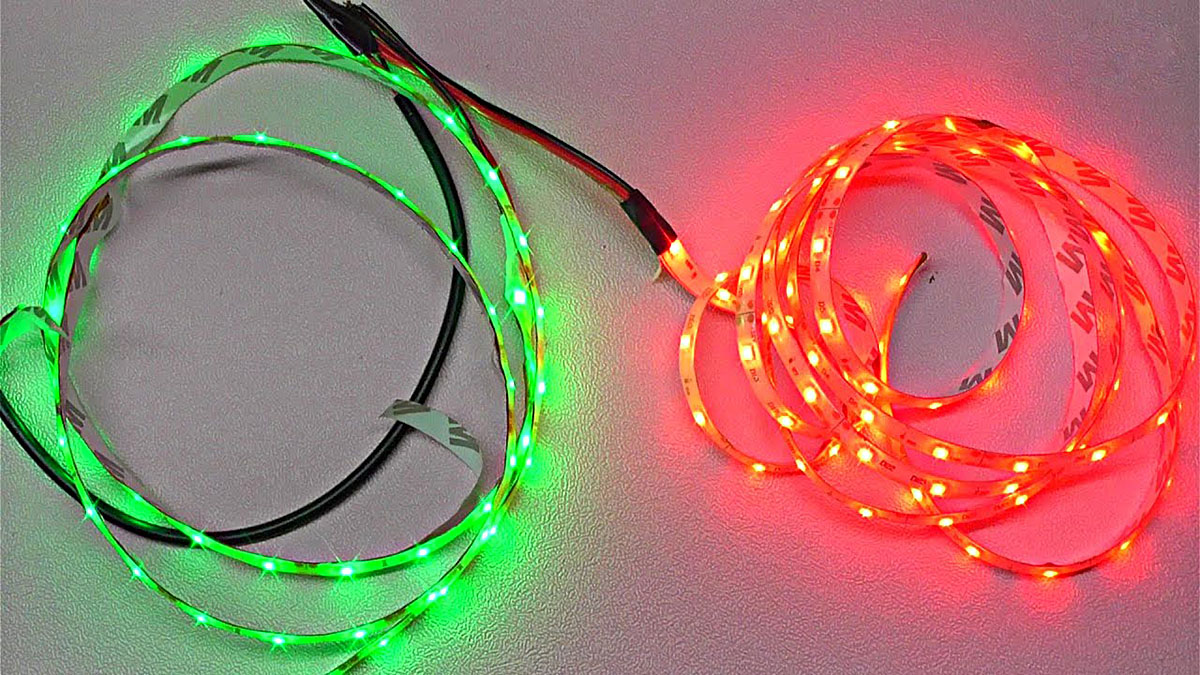
Verifying Color Consistency
For color-changing (RGB) LED strips, it’s essential to verify the consistency and accuracy of the color output across the entire length of the strips. Cycle through the various color options and dynamic lighting effects to ensure that each LED segment synchronizes seamlessly, creating a harmonious and visually captivating display. Address any discrepancies in color consistency or irregularities in the lighting effects to achieve a polished and professional outcome.
Assessing Brightness and Uniformity
Evaluate the brightness and uniformity of the LED strips to confirm that they meet the desired lighting requirements. Adjust the dimming settings, if applicable, to gauge the versatility and adaptability of the LED strips in different lighting scenarios. Pay close attention to any areas of the installation where the light output may be uneven or insufficient, as this may necessitate repositioning or additional adjustments to optimize the overall lighting effect.
Read more: How To Connect LED Strips To Bluetooth
Testing Remote Control Functionality
If the LED strips are equipped with remote control capabilities for color selection and lighting effects, thoroughly test the functionality of the remote control. Confirm that the remote commands are received and executed by the LED strips without any lag or inconsistency. Additionally, explore the full range of features and settings offered by the remote control to ensure a seamless and intuitive user experience.
Addressing Any Issues
During the testing phase, if any issues or anomalies are identified, such as flickering lights, color irregularities, or operational glitches, promptly investigate and address the root causes. This may involve rechecking the wiring connections, adjusting the power supply settings, or consulting the manufacturer’s guidelines for troubleshooting specific issues. By promptly resolving any discrepancies, you can achieve a flawless and reliable LED lighting installation.
By conducting comprehensive testing of the LED strips, you can validate the functionality, performance, and visual impact of the lighting system, ensuring that it meets your expectations and fulfills the intended lighting objectives. This meticulous approach to testing not only enhances the quality and reliability of the installation but also instills confidence in the enduring appeal and allure of LED lighting.
Conclusion
Congratulations on mastering the art of wiring LED strips! As you conclude this enlightening journey through the intricacies of LED lighting, it’s essential to reflect on the knowledge and skills you’ve acquired, as well as the transformative potential of LED strips in illuminating and enhancing various environments.
By delving into the fundamentals of LED strips, understanding their technical attributes, and mastering the wiring process, you’ve unlocked the ability to harness the captivating allure of LED lighting to elevate the ambiance and visual appeal of any space. Your newfound expertise empowers you to embark on a myriad of lighting projects, from creating mesmerizing accent lighting in residential settings to designing immersive and dynamic lighting displays in commercial and hospitality environments.
As you bask in the radiance of your meticulously wired LED strips, it’s important to appreciate the versatility, energy efficiency, and aesthetic versatility that LED lighting offers. The ability to customize color, brightness, and lighting effects provides boundless opportunities for expressing creativity and setting the perfect mood for any occasion.
Furthermore, your commitment to meticulous planning, precise execution, and comprehensive testing has resulted in a lighting installation that not only dazzles the senses but also exemplifies the hallmark of professionalism and attention to detail. Your dedication to excellence ensures that the LED strips will continue to illuminate with reliability and allure, captivating all who bask in their luminous glow.
As you bid farewell to this guide, equipped with a newfound mastery of wiring LED strips, remember that your journey in the realm of LED lighting has only just begun. Embrace the endless possibilities that LED strips offer, and let your creativity and expertise shine as you illuminate the world with the brilliance of LED lighting.
With your newfound knowledge and skills, you’re poised to embark on a captivating and transformative lighting journey, bringing to life captivating and immersive LED lighting installations that captivate the senses and elevate the ambiance of any space. Let the radiance of LED strips be your guiding light as you continue to explore the art and science of lighting design, leaving a trail of brilliance in your wake.
Frequently Asked Questions about How To Wire LED Strips
Was this page helpful?
At Storables.com, we guarantee accurate and reliable information. Our content, validated by Expert Board Contributors, is crafted following stringent Editorial Policies. We're committed to providing you with well-researched, expert-backed insights for all your informational needs.

0 thoughts on “How To Wire LED Strips”