Home>Home Appliances>Lighting Appliances>How To Connect Cut LED Strips
Lighting Appliances
How To Connect Cut LED Strips
Modified: January 6, 2024
Learn how to easily connect cut LED strips for your lighting appliances. Follow our step-by-step guide to ensure a seamless installation process.
(Many of the links in this article redirect to a specific reviewed product. Your purchase of these products through affiliate links helps to generate commission for Storables.com, at no extra cost. Learn more)
Introduction
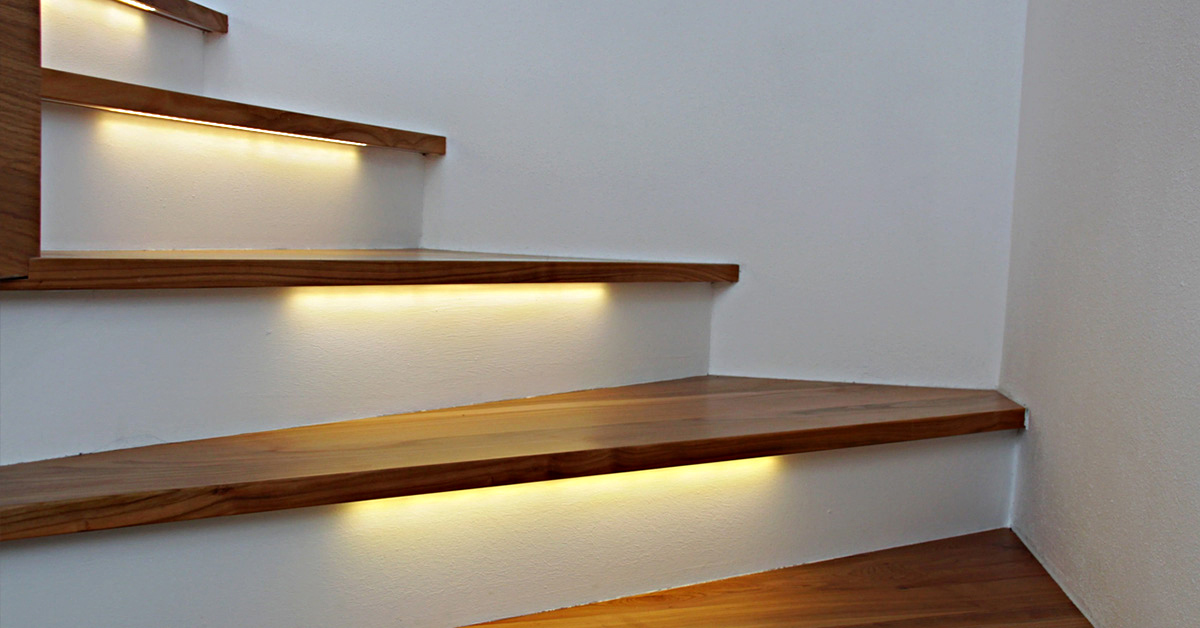
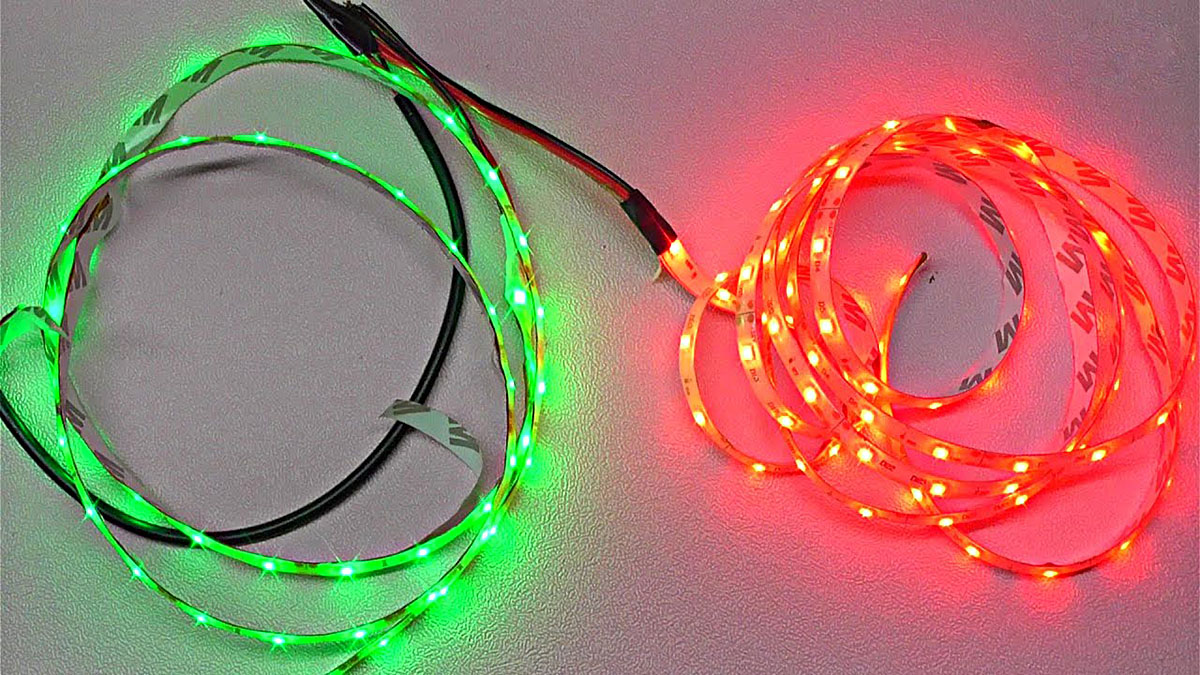
LED strips have become increasingly popular in the world of lighting, offering a versatile and creative solution for adding ambiance and illumination to any space. However, there may be instances where you need to cut the LED strips to fit a specific area or to create unique lighting patterns. Connecting cut LED strips properly is crucial to ensure they function effectively and maintain their durability.
In this article, we will explore the process of connecting cut LED strips and provide you with a step-by-step guide to doing so. Whether you’re a DIY enthusiast or a professional electrician, this comprehensive guide will help you make the correct connections and unleash the full potential of your LED lighting.
Before we dive into the nitty-gritty of connecting cut LED strips, let’s first understand the basics of LED strip lighting and why it has gained immense popularity.
Key Takeaways:
- Master the art of connecting cut LED strips with precision and confidence using our comprehensive guide, ensuring seamless and professional-looking connections for your lighting projects.
- Elevate your space with stunning lighting effects by following essential tips to ensure a successful and reliable connection when connecting cut LED strips, unleashing your creativity with ease.
Read more: How To Connect LED Strips To TV
Understanding Cut LED Strips
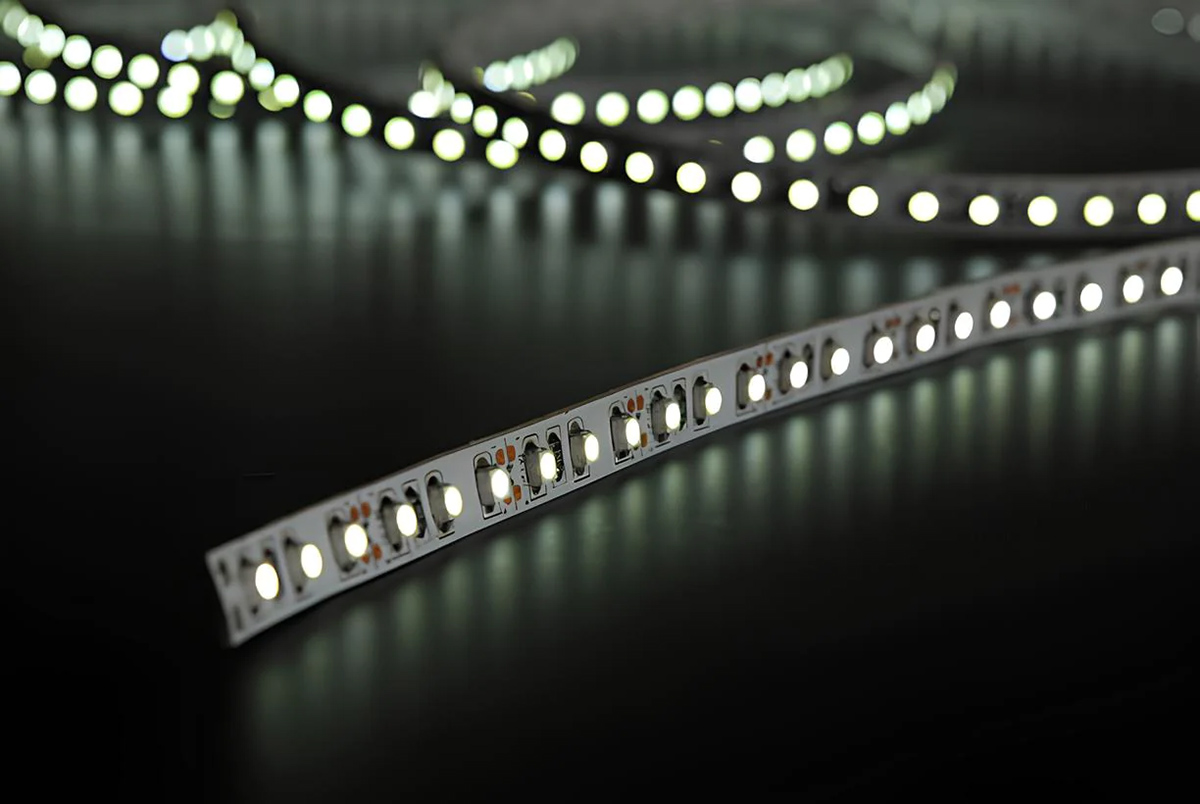
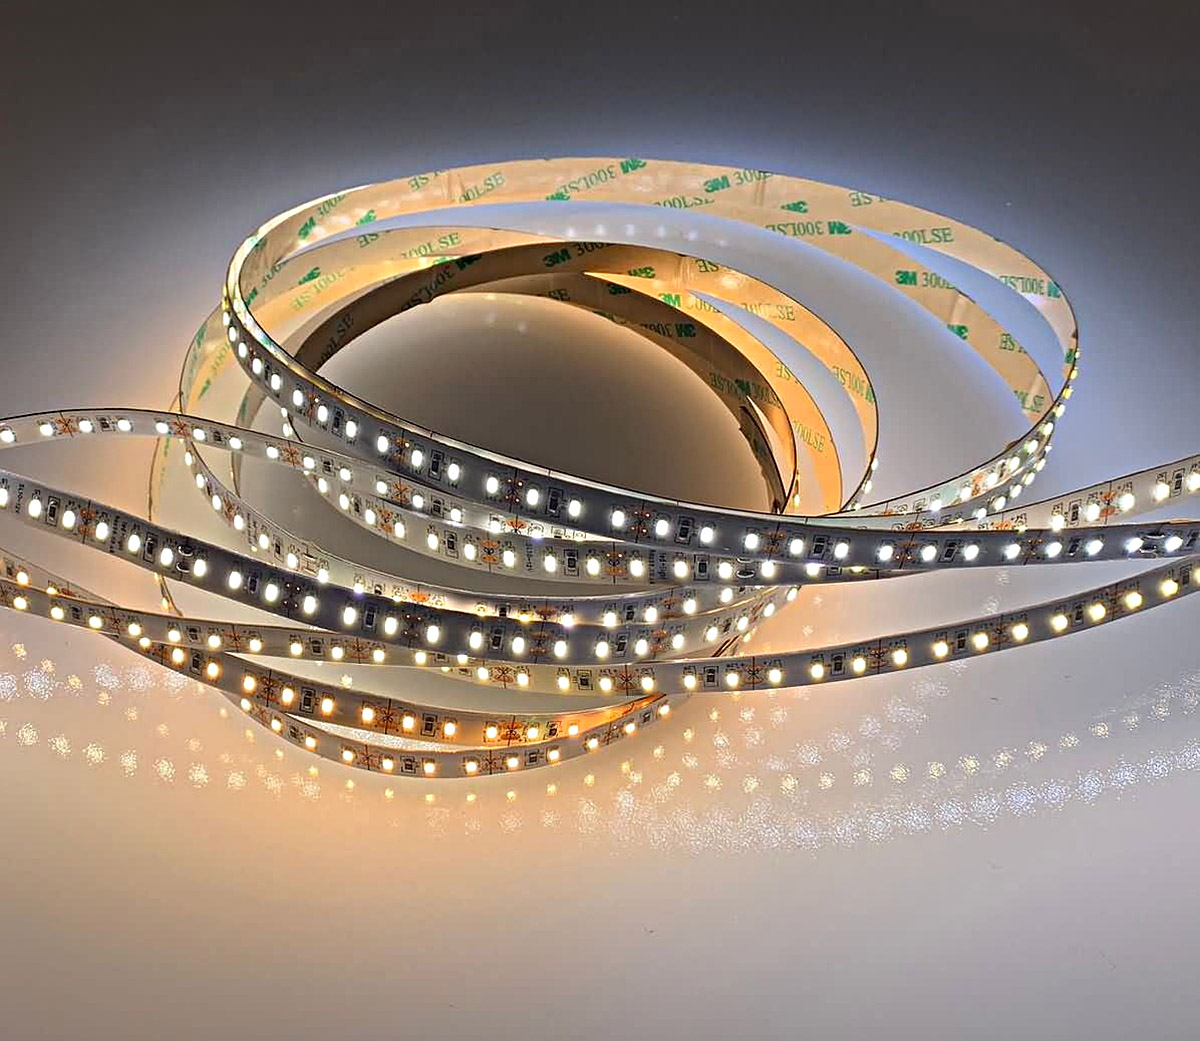
LED strips consist of small, individual light-emitting diodes (LEDs) mounted on a flexible circuit board. These strips are available in various lengths and can be easily cut to fit specific requirements. By cutting the strip at designated points, you have the freedom to create unique lighting designs and customize the length to suit your needs.
It’s important to note that not all LED strips can be cut. Look for LED strips that are specifically marked as “cuttable” or “trimmable” to ensure they can be safely divided into smaller segments without causing any damage.
LED strips usually come with predetermined cut points, typically marked by a line or solder pads. These cut points are strategically placed to provide a proper connection and maintain the electrical continuity of the strip. However, it’s vital to connect the cut ends properly to ensure the LEDs function correctly and maintain their longevity.
Now that we have a basic understanding of cut LED strips, it’s time to gather the necessary requirements to successfully connect them.
Requirements for Connecting Cut LED Strips
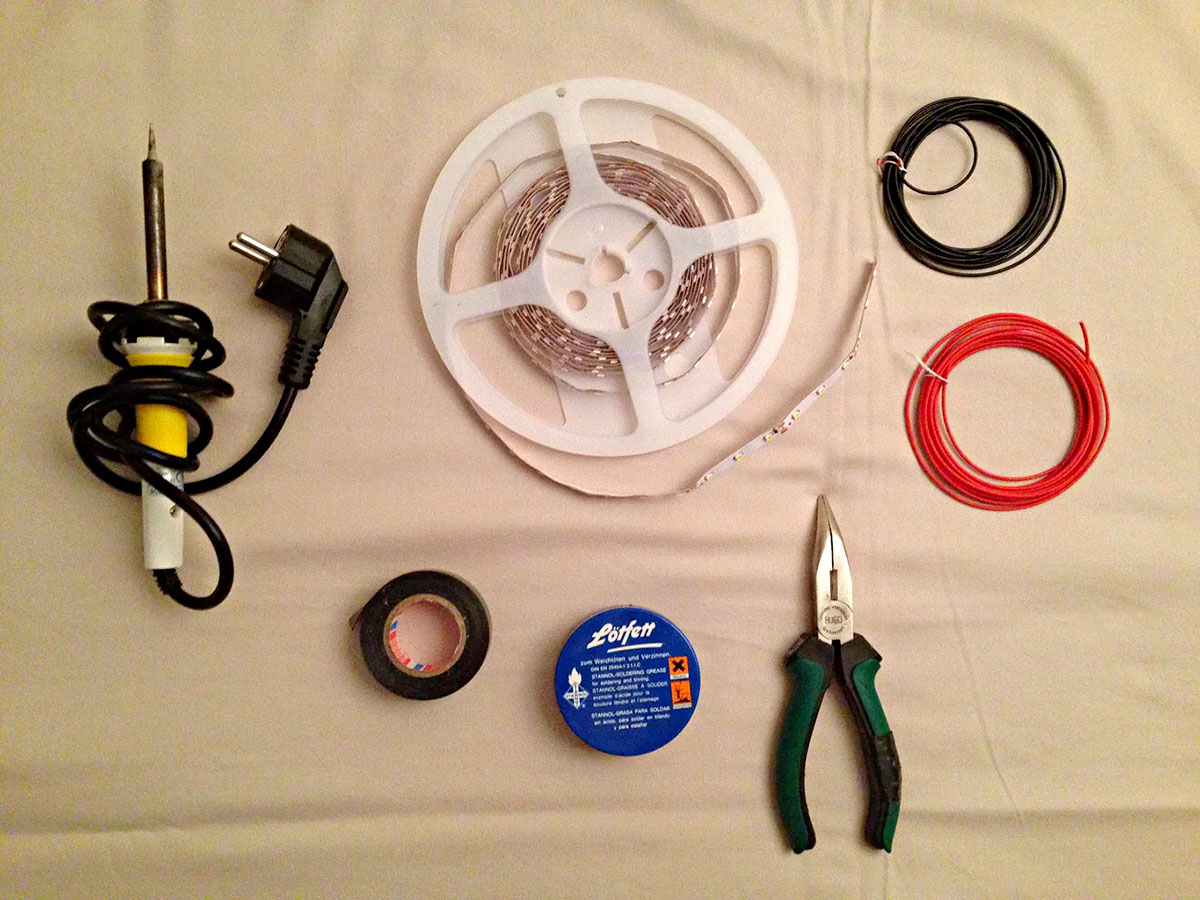
Before you jump into connecting cut LED strips, it’s important to gather the necessary tools and materials to ensure a smooth and successful process. Here are the essential requirements:
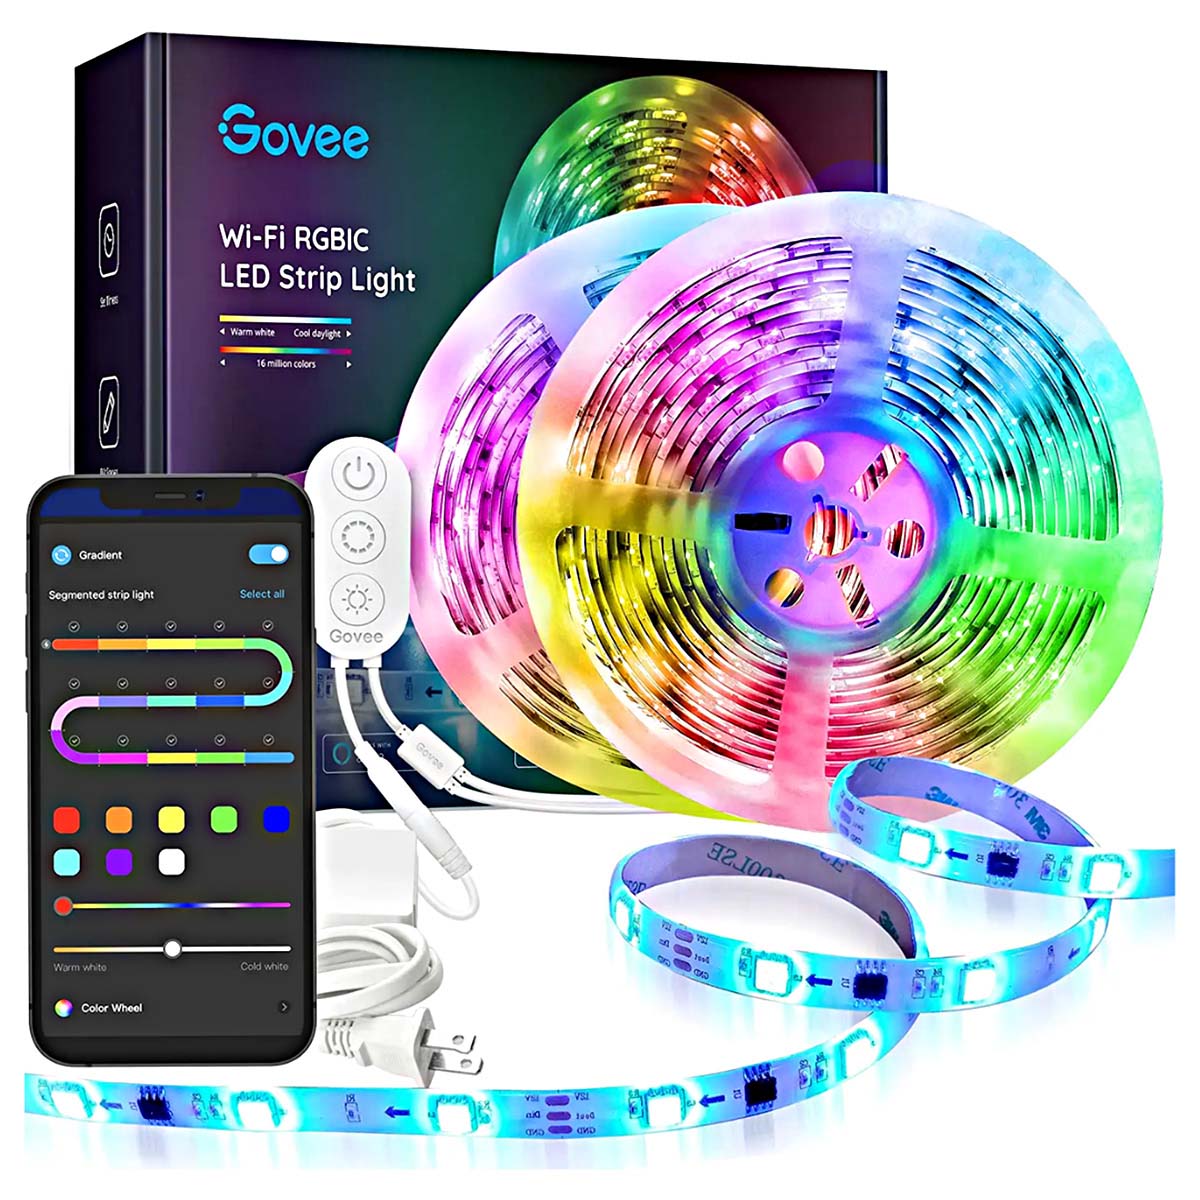
- Cut LED Strips: Start with an LED strip suitable for cutting. Look for strips specifically labeled as “cuttable” or “trimmable.” It’s crucial to choose the right strip to avoid damaging the LEDs or compromising functionality.
- Connector: You will need a suitable connector to join the cut ends of the LED strips. There are various types of connectors available, including solderless connectors, soldered connectors, and quick connectors. Choose the one that best suits your needs and skill level.
- Wire Strippers: To expose the copper contacts on the LED strips and the connector, you will need wire strippers. These tools will help you remove the protective coating without damaging the wires.
- Soldering Iron (if applicable): If you opt for soldered connectors, you will need a soldering iron to secure the connection. Make sure you have the necessary skills and safety precautions in place when working with a soldering iron.
- Heat Shrink Tubing (if applicable): Heat shrink tubing is used to insulate and protect the soldered connections. It’s optional but recommended for added durability and safety.
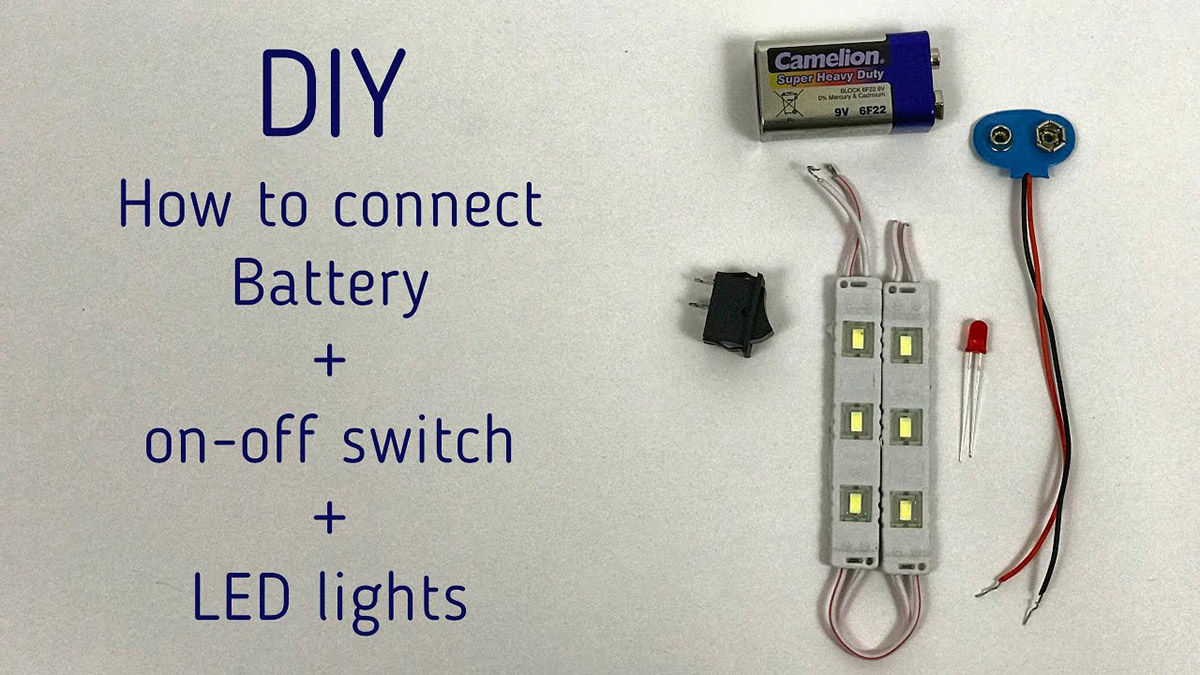
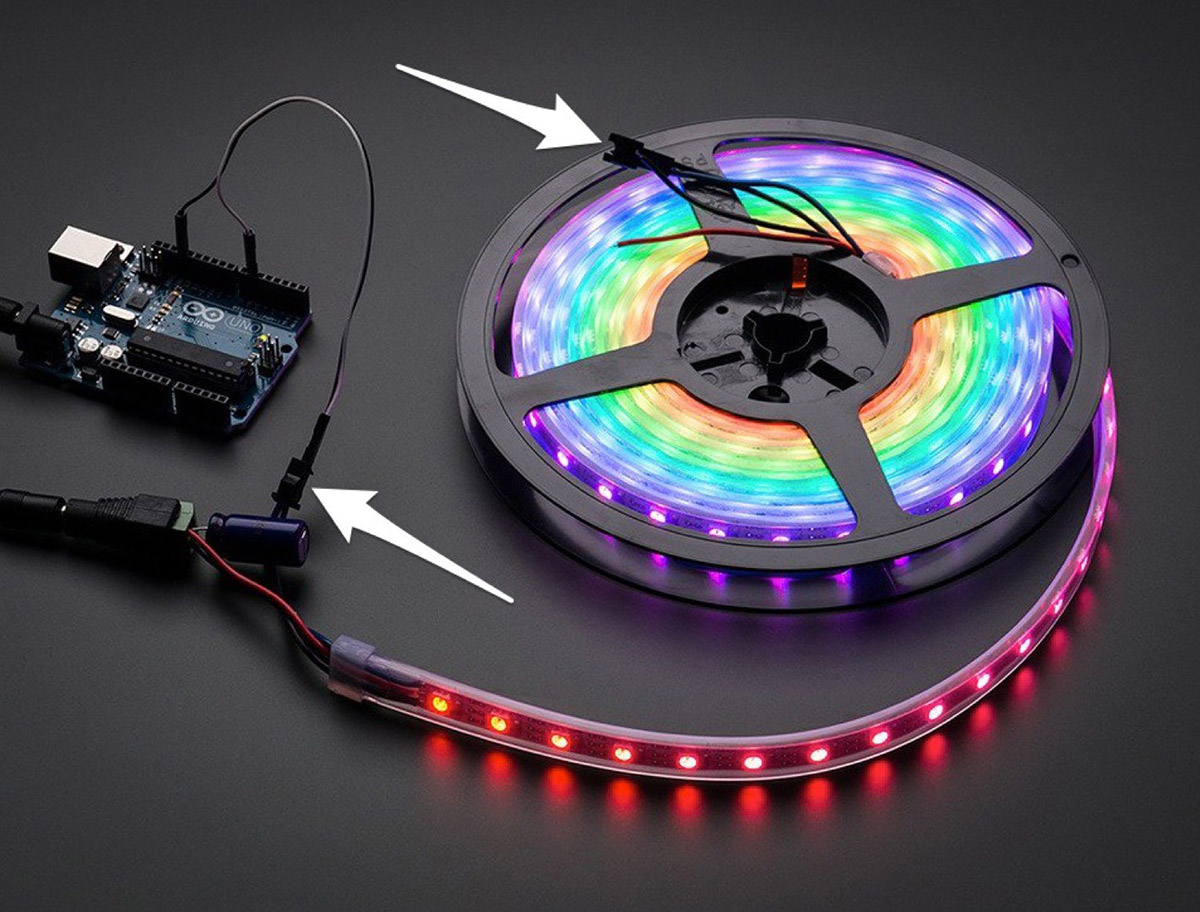
- Power Supply: Depending on the LED strip’s length and power requirements, you may need an appropriate power supply to connect to the strip. Ensure the power supply can supply the necessary voltage and current for optimal performance.
Having these requirements on hand will make the process of connecting cut LED strips much easier and more efficient. Now that we have everything ready, let’s dive into the step-by-step guide for connecting them.
When connecting cut LED strips, make sure to use the appropriate connectors or soldering techniques to ensure a secure and reliable connection. It’s important to follow the manufacturer’s guidelines to avoid damaging the LED strips.
Step-by-Step Guide to Connecting Cut LED Strips
Connecting cut LED strips may sound complicated, but with the right approach and tools, it’s a straightforward process. Follow these steps to ensure a successful connection:
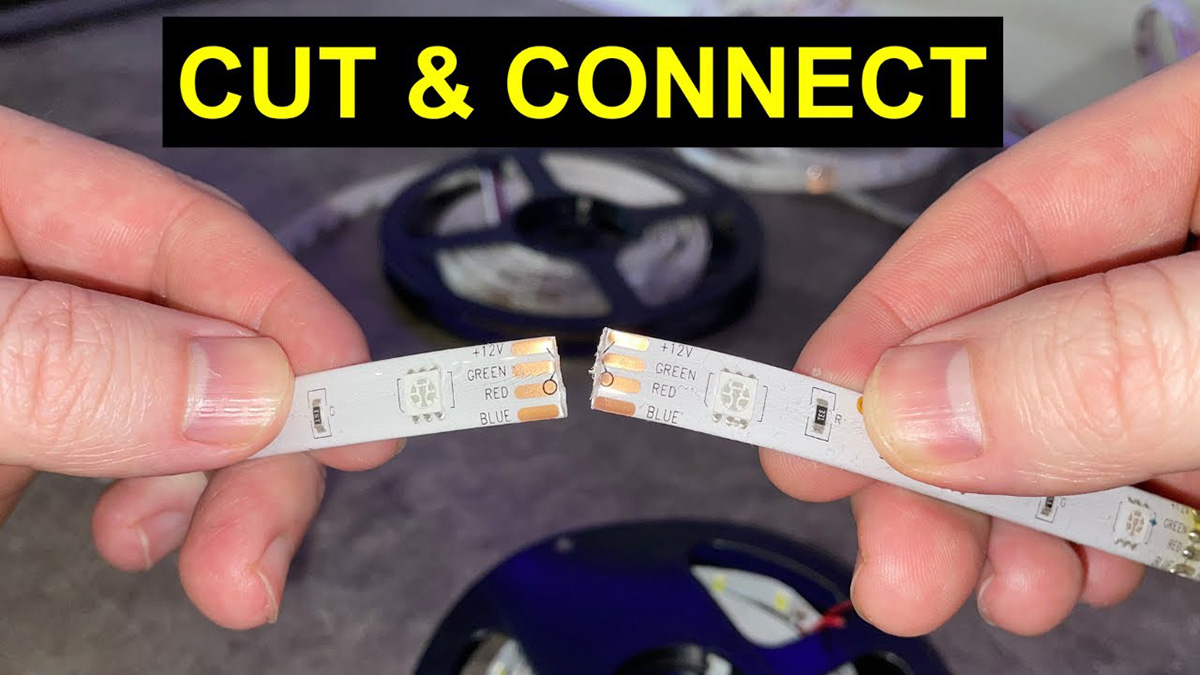
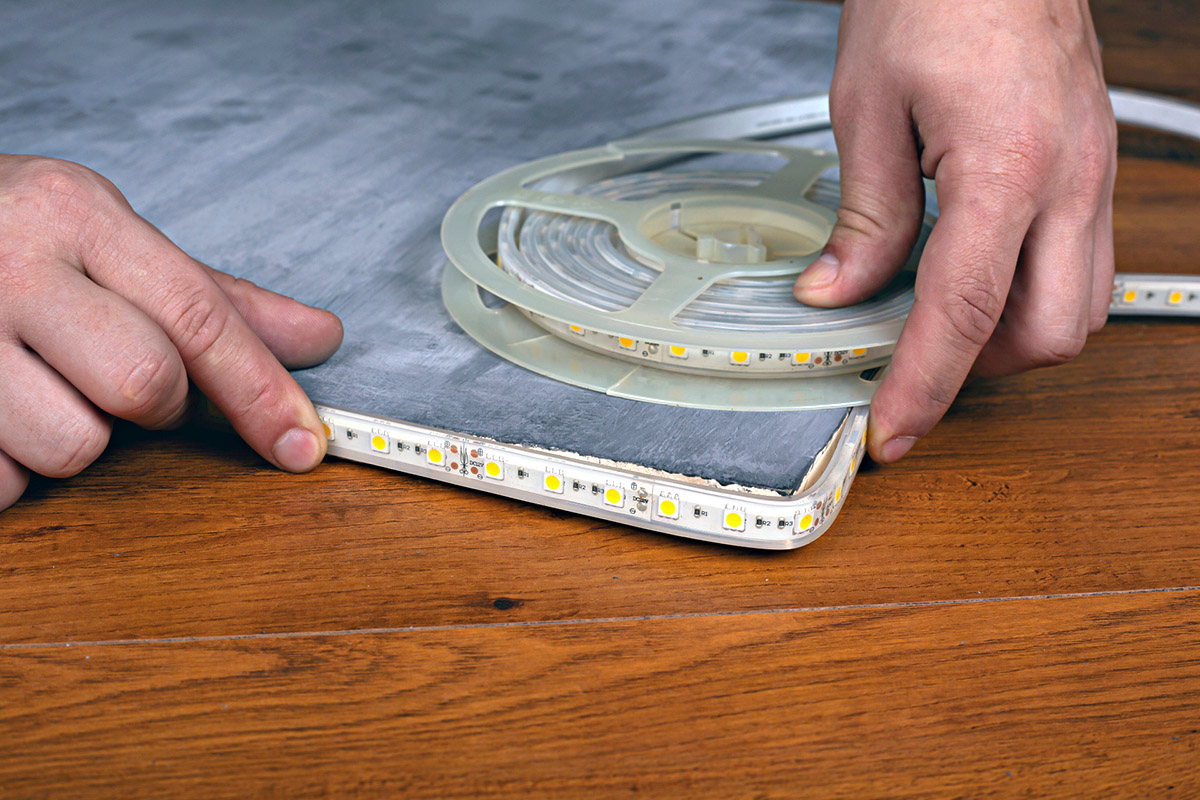
- Prepare the LED Strips: Begin by identifying the designated cut points on your LED strip. Carefully cut along these points using sharp scissors or a craft knife. Be precise to avoid damaging the circuit or the LEDs. Once cut, remove any protective coating, exposing a small section of the copper contacts on both ends.
- Prepare the Connector: Depending on the type of connector you’re using, prepare it according to the manufacturer’s instructions. For solderless connectors, ensure the wires are stripped and ready for insertion. If soldering is required, heat the soldering iron and apply a small amount of solder onto the copper contacts of the connector.
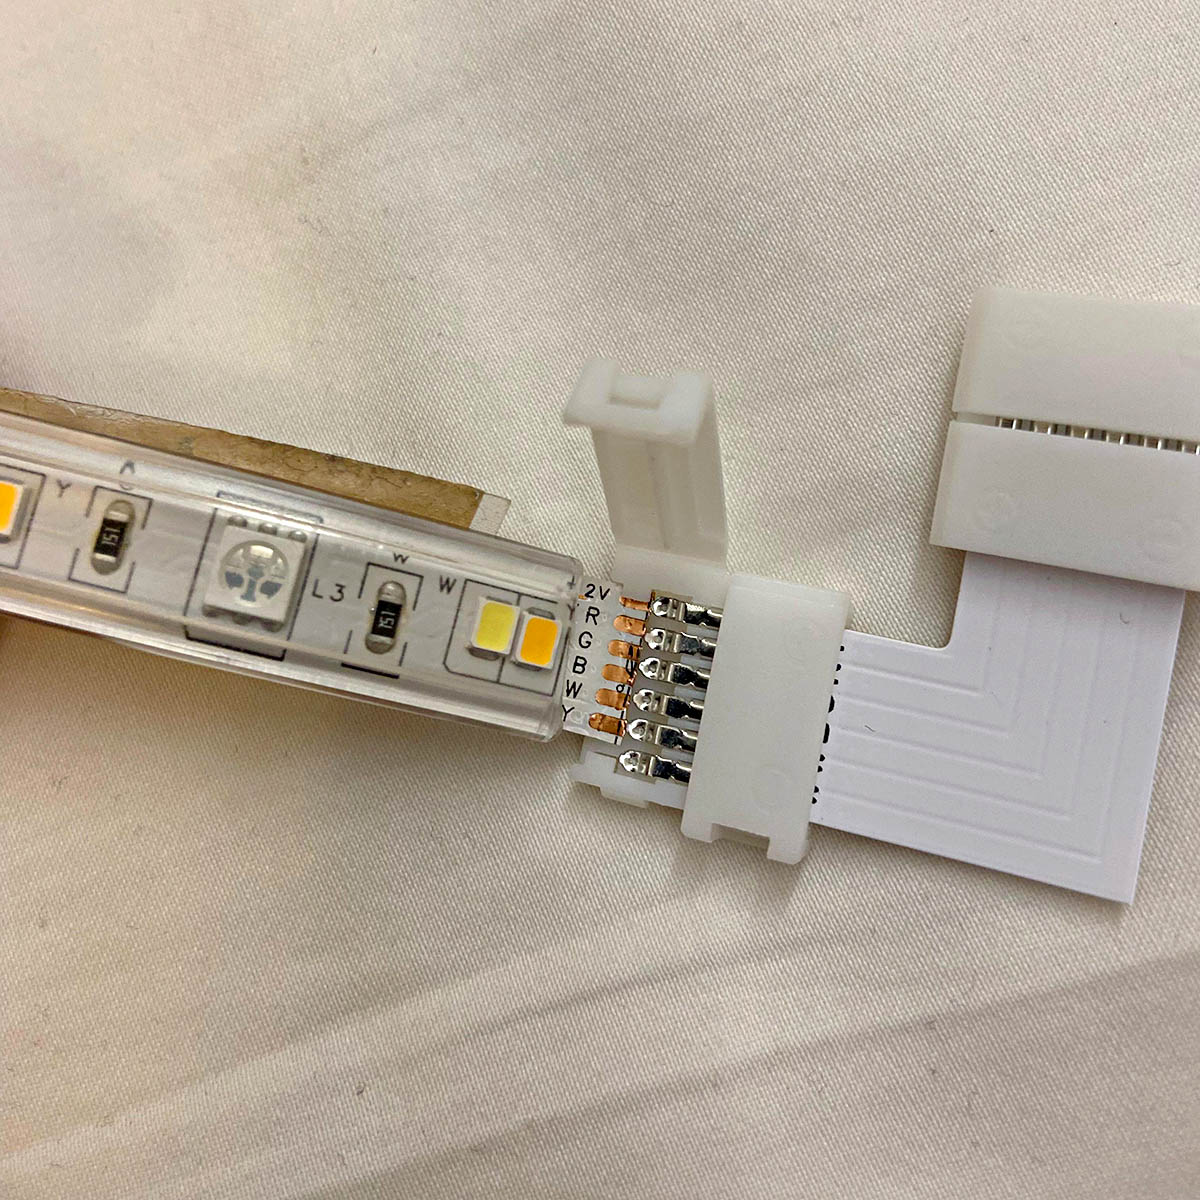
- Position the LED Strips: Take the cut ends of the LED strips and insert them into the corresponding slots or holes in the connector. Ensure the copper contacts of the LED strip align with the conductive parts of the connector.
- Secure the Connection: Once the LED strip is inserted into the connector, secure the connection. For solderless connectors, tighten the screws or clips to establish a firm connection. If soldering, use the soldering iron to join the copper contacts of the LED strip with the solder-covered contacts on the connector. Ensure the solder flows smoothly and creates a strong bond.
- Insulate the Connection (if applicable): If you have chosen to use heat shrink tubing, slide it over the soldered connection before applying heat. Use a heat gun or a lighter to shrink the tubing, creating a tight and protective seal around the connection. Be cautious to avoid overheating and damaging the LED strip.
- Test the Connection: After connecting the LED strips, it’s important to test the connection before installing them permanently. Connect the power supply and turn on the LEDs to ensure they light up uniformly and function properly. If any issues arise, double-check the connection and troubleshoot accordingly.
- Mount the LED Strips: Once you have confirmed that the connection is successful, you can mount the LED strips according to your desired location. Use adhesive backing or mounting clips to secure the strips in place, ensuring they are properly aligned and evenly spaced.
By following these step-by-step instructions, you’ll be able to connect cut LED strips with ease. Now, let’s explore some essential tips to ensure a successful connection and maximize the performance of your LED lighting setup.
Tips for Ensuring Successful Connection
While connecting cut LED strips is a fairly straightforward process, there are some tips you can follow to ensure a successful and long-lasting connection:
- Double-Check Polarity: LED strips have a polarity, which means they need to be connected correctly to function properly. Make sure the positive and negative terminals of the LED strips align with the corresponding terminals on the connector. Swapping the polarity can result in the LEDs not lighting up or functioning erratically.
- Clean and Secure Connections: Before connecting the LED strips, ensure that the copper contacts are clean and free from any dirt, oil, or residue. Use a clean cloth or alcohol wipes to gently clean the contacts. Additionally, ensure that the connections are secure and firmly tightened to prevent any loose or intermittent connections.
- Use Heat Shrink Tubing: If you choose to solder the connections, using heat shrink tubing is highly recommended. It provides insulation, protection from moisture and dust, and improves the overall durability of the connection. Ensure that the heat shrink tubing size matches the width of the soldered connection for a snug fit.
- Optimal Power Supply: LED strips have specific power requirements. Ensure that the power supply you’re using matches the voltage and current rating indicated by the LED strip manufacturer. Using an inadequate power supply can result in dim lighting, flickering, or even damage to the LED strip.
- Avoid Overloading: LED strips have a maximum power limit that should not be exceeded. Overloading the strip with too many LEDs can lead to overheating, reduced lifespan, or even failure. Refer to the manufacturer’s guidelines to determine the maximum number of LEDs that can be safely connected to a single power source.
- Manage Excess Wire: When connecting cut LED strips, you may have excess wire between the strip and the connector. To maintain a neat appearance and avoid potential hazards, trim off any excess wire and securely fasten it to prevent it from hanging loosely or getting tangled.
- Test Before Installation: Before permanently installing the LED strips, it’s crucial to test the connection to ensure everything is functioning as expected. This will help you identify any issues and make necessary adjustments before mounting the strips in your desired location.
By following these tips, you can ensure a successful and reliable connection when connecting cut LED strips. Now that you’re equipped with the necessary knowledge and guidance, you can confidently embark on your LED lighting projects.
Read more: How To Connect LED Strips To Bluetooth
Conclusion
Connecting cut LED strips doesn’t have to be a daunting task. With the right tools, materials, and step-by-step instructions, you can create seamless and professional-looking connections that enhance the beauty and functionality of your LED lighting setup.
In this article, we’ve explored the fundamentals of cut LED strips and their versatility in creating customized lighting designs. We discussed the requirements for connecting these strips, including the importance of choosing the right strip and connector, as well as the necessary tools like wire strippers and soldering irons.
Following our detailed step-by-step guide, you can confidently connect cut LED strips with precision and ensure a secure and efficient connection. We emphasized the importance of double-checking polarity, cleaning and securing connections, and using heat shrink tubing for insulation and protection.
Additionally, we presented essential tips to ensure a successful connection, such as using the proper power supply, avoiding overloading, and managing excess wires. By following these tips, you can enhance the performance and longevity of your LED lighting setup.
In conclusion, connecting cut LED strips is an accessible DIY task that allows you to unleash your creativity and transform any space with beautiful lighting. With the knowledge and guidance provided in this article, you’re now equipped to confidently connect cut LED strips and create stunning lighting effects to elevate your living or work environment.
So, gather your tools, choose the right LED strips, and let your imagination guide you as you embark on your LED lighting projects. Enjoy the process and bask in the mesmerizing glow of your skillfully connected cut LED strips!
Frequently Asked Questions about How To Connect Cut LED Strips
Was this page helpful?
At Storables.com, we guarantee accurate and reliable information. Our content, validated by Expert Board Contributors, is crafted following stringent Editorial Policies. We're committed to providing you with well-researched, expert-backed insights for all your informational needs.


0 thoughts on “How To Connect Cut LED Strips”