Home>Home Appliances>Lighting Appliances>How To Connect Multiple Govee LED Strips
Lighting Appliances
How To Connect Multiple Govee LED Strips
Modified: December 21, 2023
Learn how to easily connect and control multiple Govee LED strips for a seamless lighting experience. Enhance your home's ambiance with our step-by-step guide. Ideal for lighting appliances.
(Many of the links in this article redirect to a specific reviewed product. Your purchase of these products through affiliate links helps to generate commission for Storables.com, at no extra cost. Learn more)
Introduction
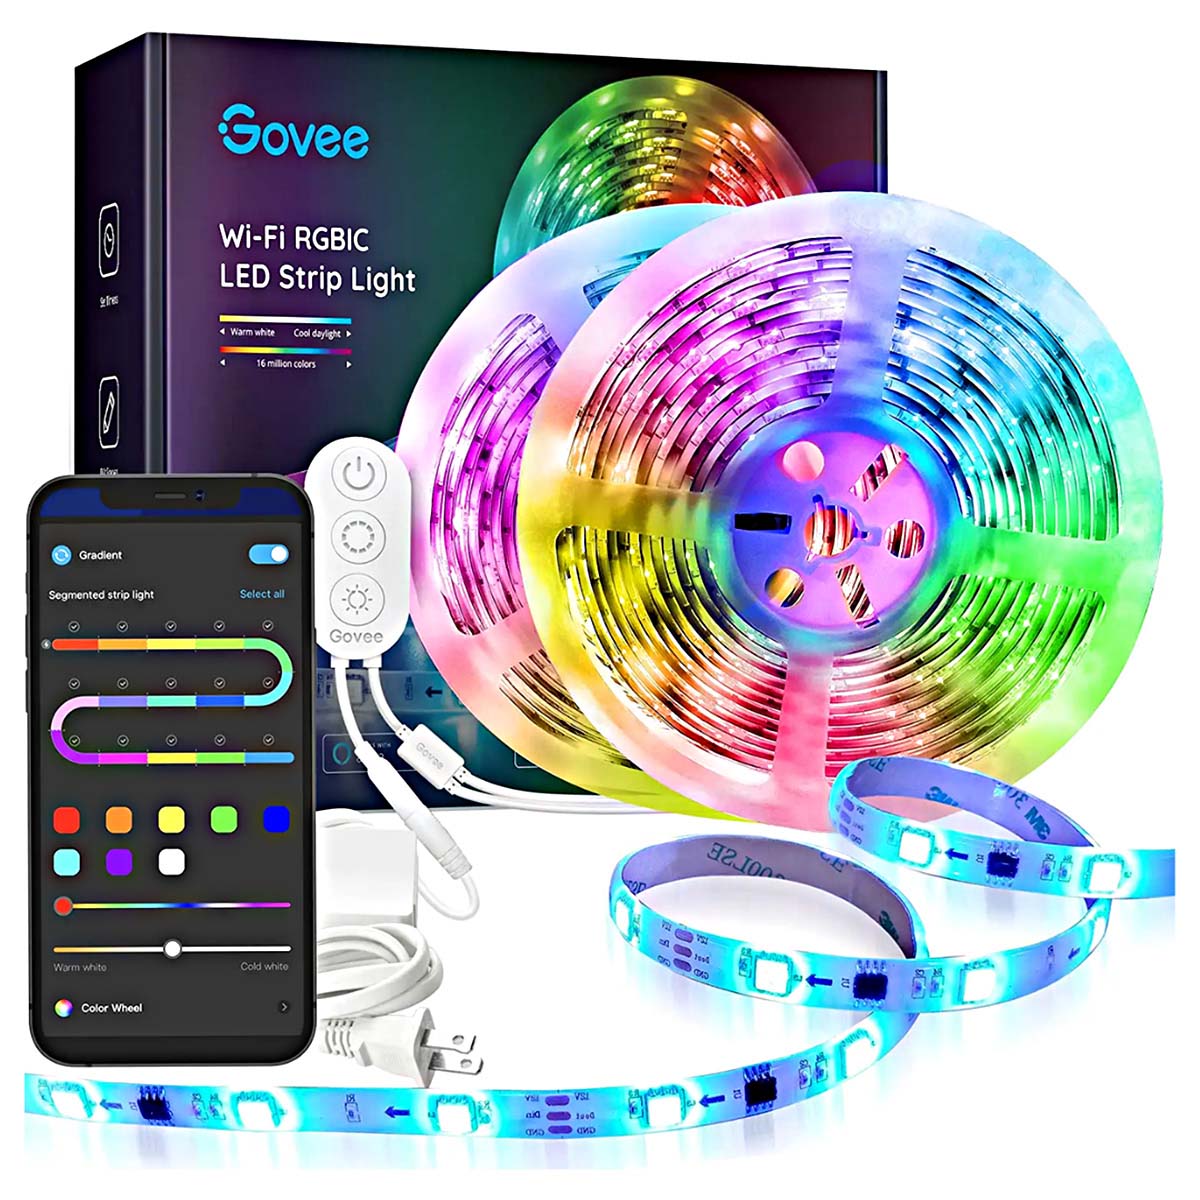
Welcome to the world of Govee LED strips! If you're looking to add a touch of ambiance and style to your living space, Govee LED strips are an excellent choice. These versatile lighting solutions offer a myriad of colors, brightness levels, and dynamic effects, allowing you to create the perfect atmosphere for any occasion.
In this comprehensive guide, we'll delve into the process of connecting multiple Govee LED strips to elevate your lighting experience. Whether you're aiming to illuminate a large area or create captivating lighting effects across different sections of a room, understanding how to seamlessly connect multiple Govee LED strips is essential to achieving your desired lighting arrangement.
From gaining a deeper understanding of Govee LED strips and their capabilities to mastering the art of connecting multiple strips, this guide will equip you with the knowledge and insights needed to transform your space with stunning, customizable lighting.
So, let's embark on this illuminating journey and unlock the potential of Govee LED strips to bring your vision to life!
Key Takeaways:
- Elevate your lighting experience by seamlessly connecting multiple Govee LED strips. Follow the step-by-step guide to expand your design and achieve visually striking illumination across your space.
- Overcome challenges and unlock the full potential of Govee LED strips with troubleshooting tips and valuable insights. Experiment with color combinations, zone-based control, and smart home integration for a captivating lighting experience.
Read more: How To Connect LED Strips To TV
Understanding Govee LED Strips
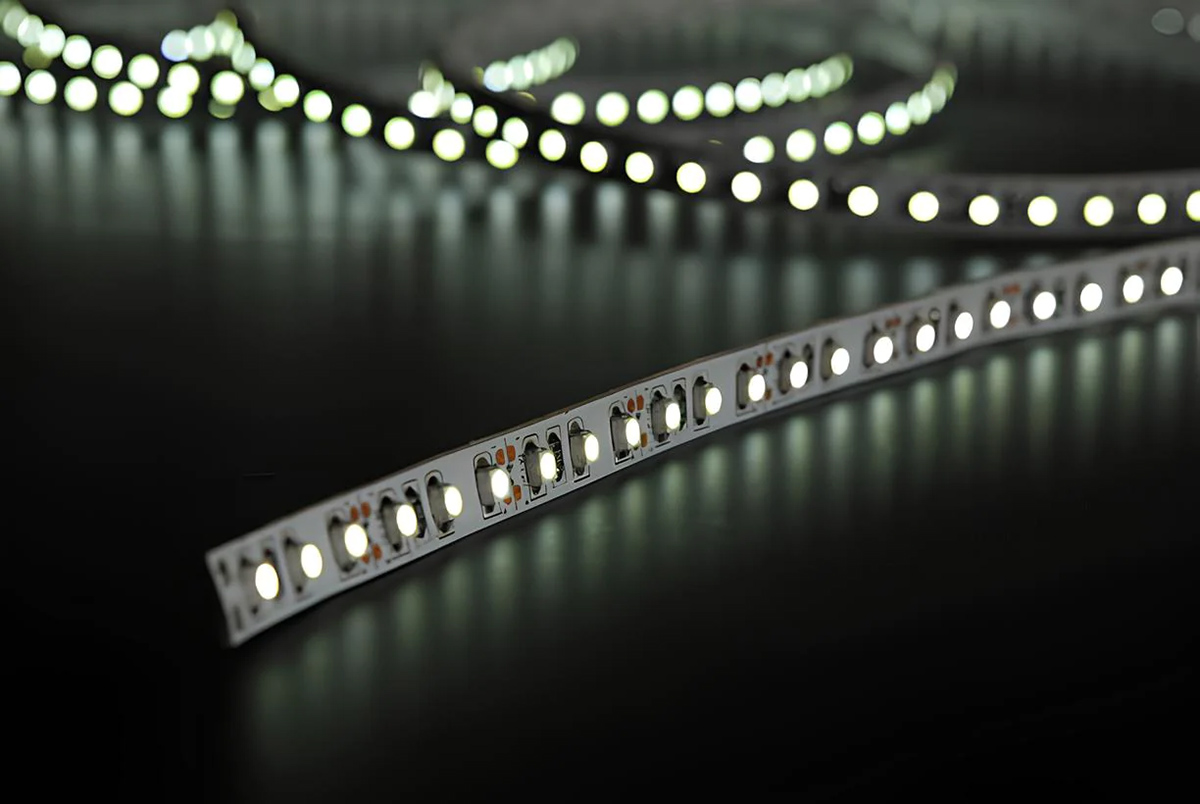
Before diving into the process of connecting multiple Govee LED strips, it’s essential to grasp the fundamentals of these innovative lighting products. Govee LED strips are flexible, adhesive-backed strips equipped with vibrant LEDs that emit a wide spectrum of colors. They are designed to be easily installed and offer a convenient way to introduce dynamic lighting to any environment.
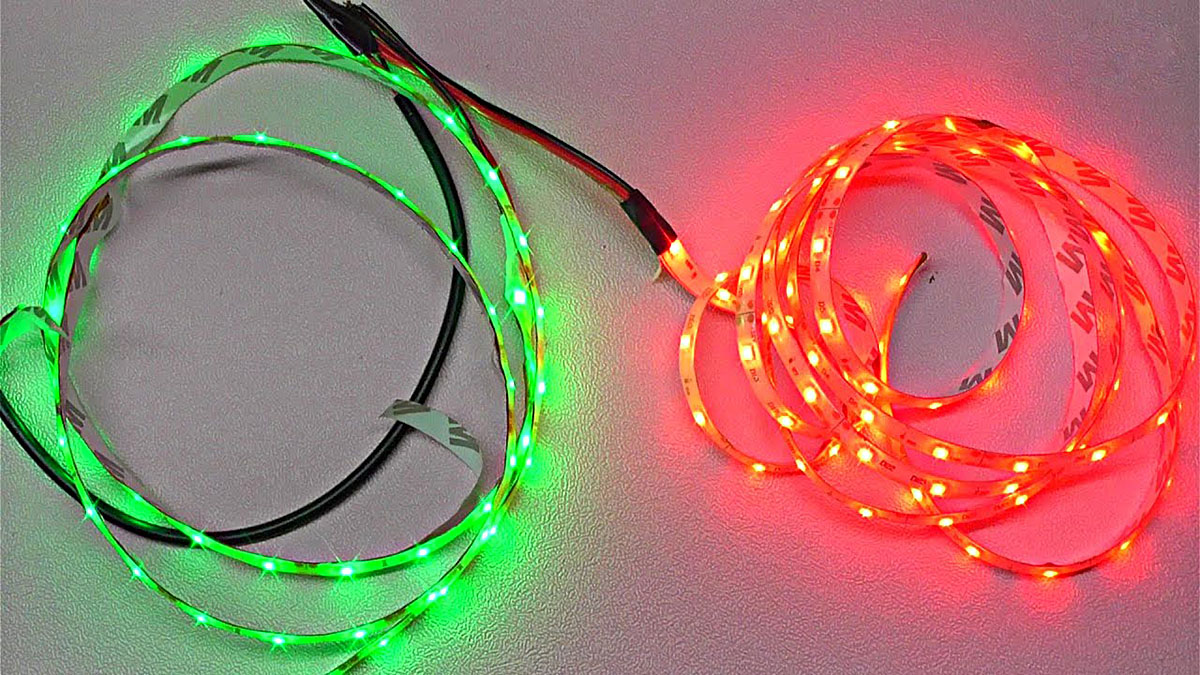
One of the standout features of Govee LED strips is their versatility. With the ability to produce a diverse range of colors, including warm whites, cool whites, and vibrant hues, these strips provide an extensive palette for creating captivating lighting displays. Additionally, many Govee LED strips are compatible with smart home systems, allowing for seamless integration with voice assistants and smartphone apps for convenient control and customization.
Furthermore, Govee LED strips often come with various dynamic lighting modes, such as color cycling, music synchronization, and DIY color sequencing, enabling users to tailor the lighting effects to suit their preferences. Whether you’re aiming to set a relaxing ambiance with soft, warm tones or energize a space with vivid, pulsating colors, Govee LED strips offer a wealth of options to cater to diverse lighting needs.
When selecting Govee LED strips, it’s important to consider factors such as length, brightness, and waterproofing, depending on the intended application. Whether you’re adorning a cozy living room, illuminating a kitchen workspace, or accentuating outdoor features, Govee offers a range of LED strip options to accommodate various environments and requirements.
By understanding the capabilities and features of Govee LED strips, you can harness their potential to transform any space into a visually stunning and immersive environment. Now that we’ve established a foundational understanding of Govee LED strips, let’s explore the process of connecting multiple strips to expand the scope of your lighting design.
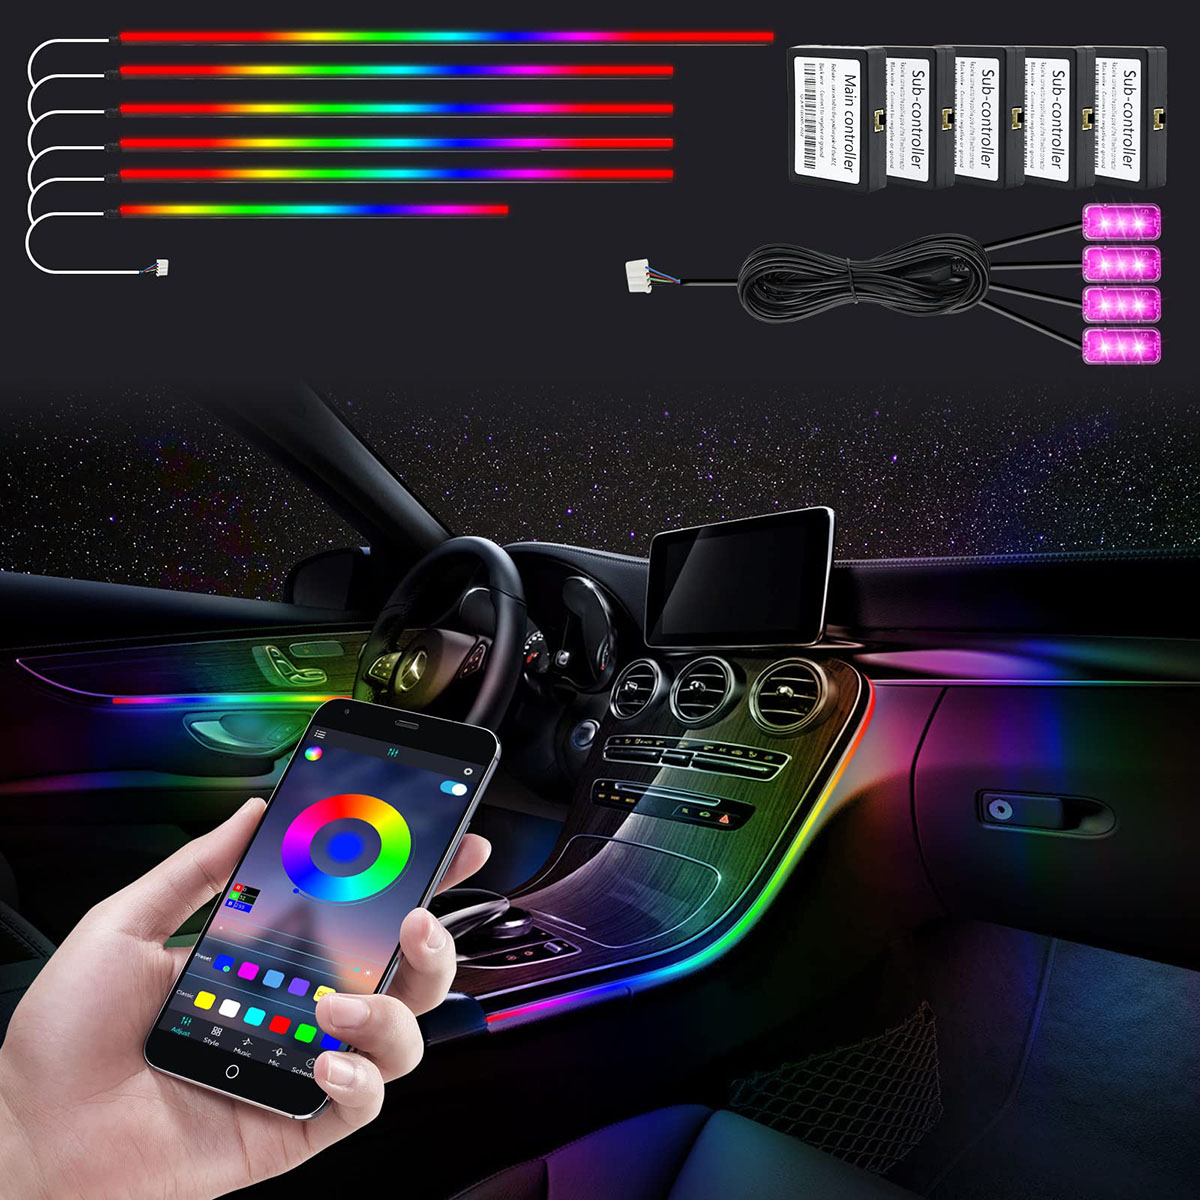
Connecting Multiple Govee LED Strips
As you delve into the realm of lighting design with Govee LED strips, the prospect of connecting multiple strips opens up a world of creative possibilities. Whether you’re aiming to illuminate a larger area, create captivating visual effects, or implement zone-based lighting, the process of connecting multiple Govee LED strips is relatively straightforward and offers immense flexibility.
Before initiating the connection process, it’s crucial to assess the power requirements and compatibility of the LED strips. Govee LED strips typically come with a designated maximum length for a single continuous run, beyond which additional power sources or signal repeaters may be necessary to maintain optimal performance.
Here’s a step-by-step guide to connecting multiple Govee LED strips:
- Determine Power Requirements: Begin by calculating the total length of LED strips you intend to connect. Check the power specifications of the Govee LED strips to ensure that the combined length does not exceed the maximum recommended length for a single continuous run. If the total length exceeds this limit, additional power sources or signal repeaters may be required to maintain consistent brightness and color uniformity.
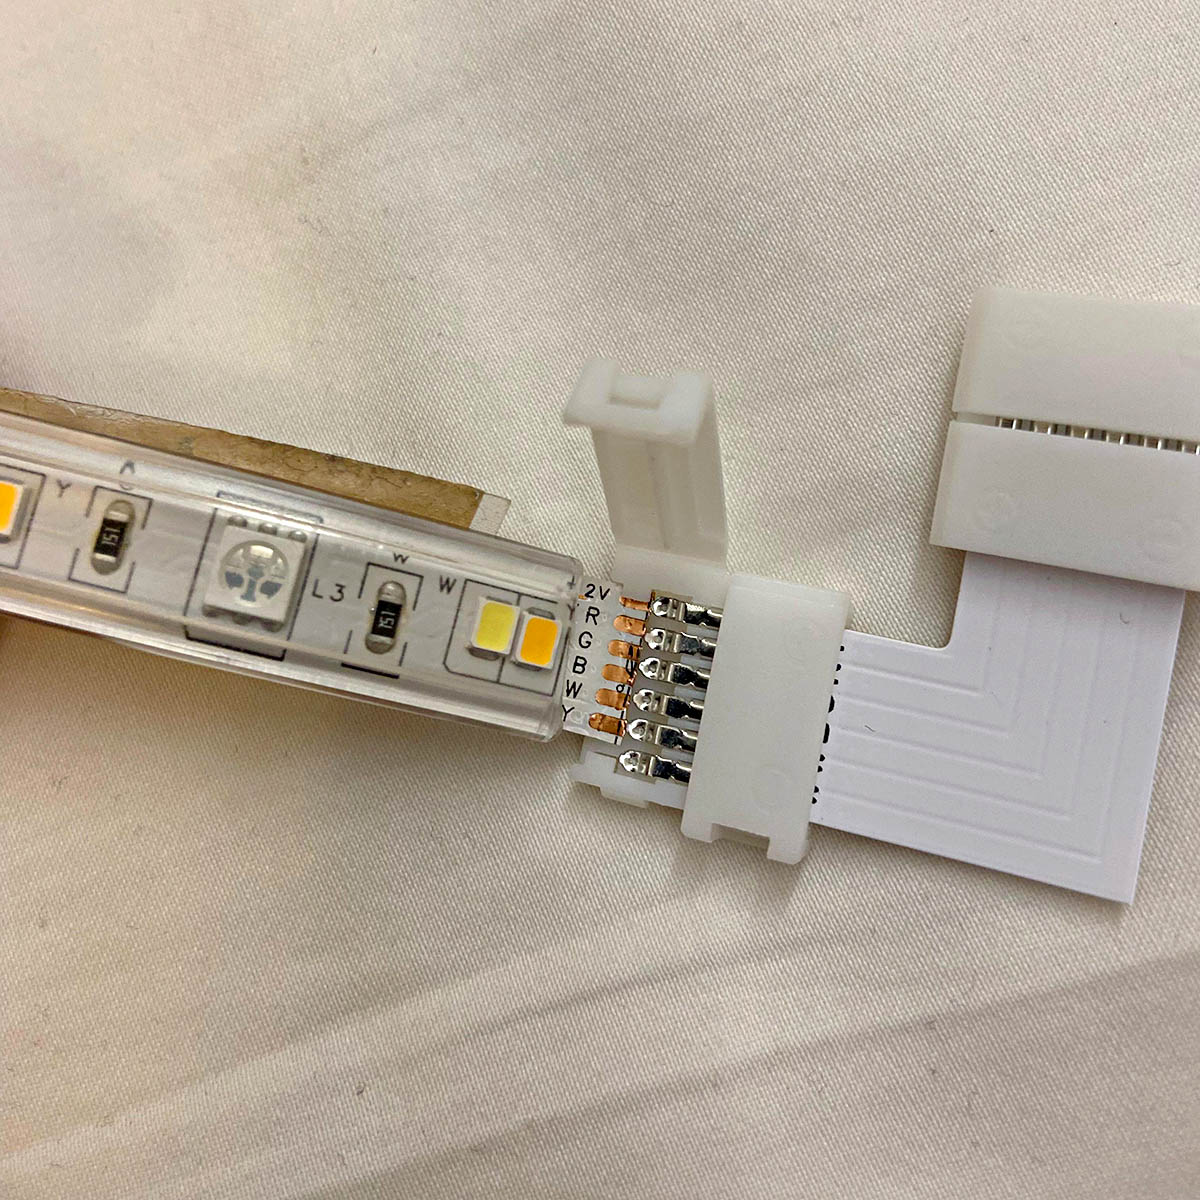
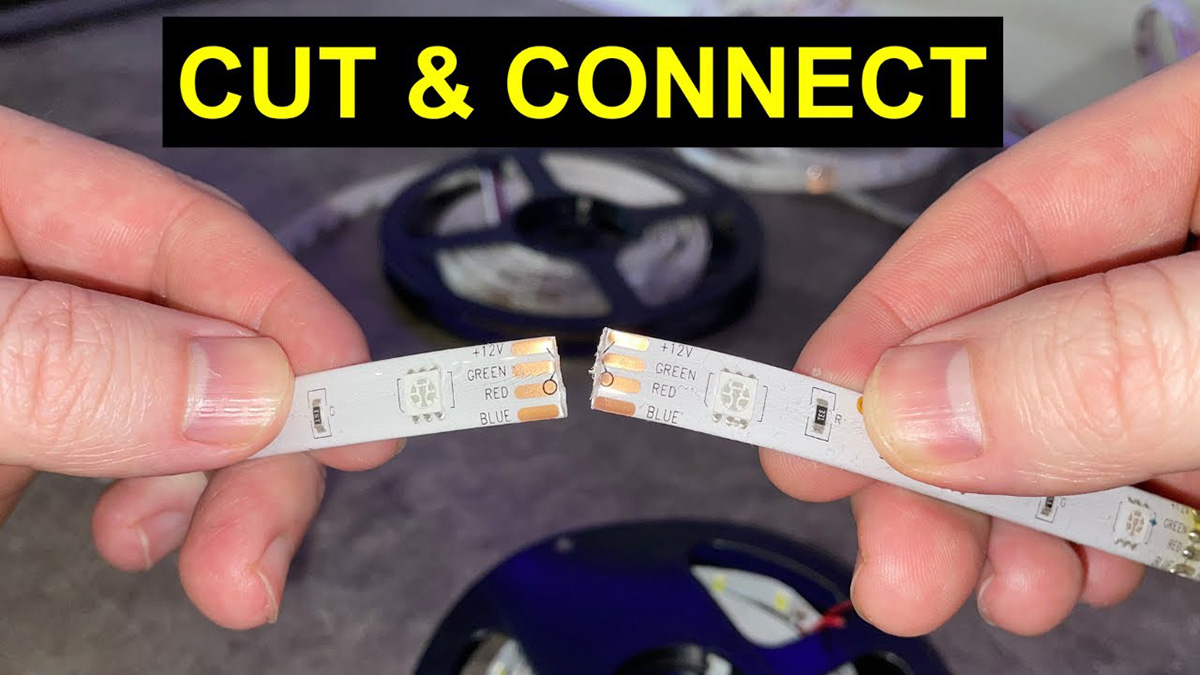
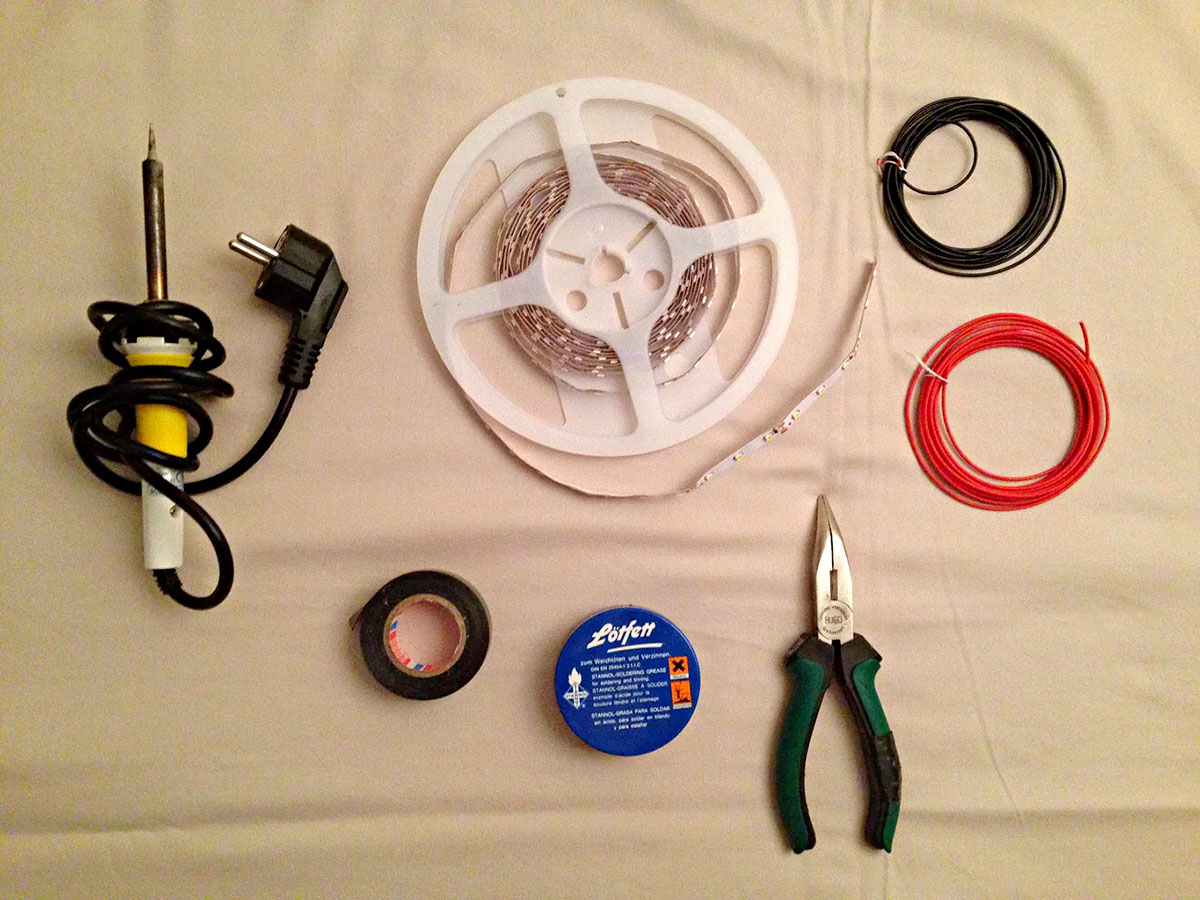
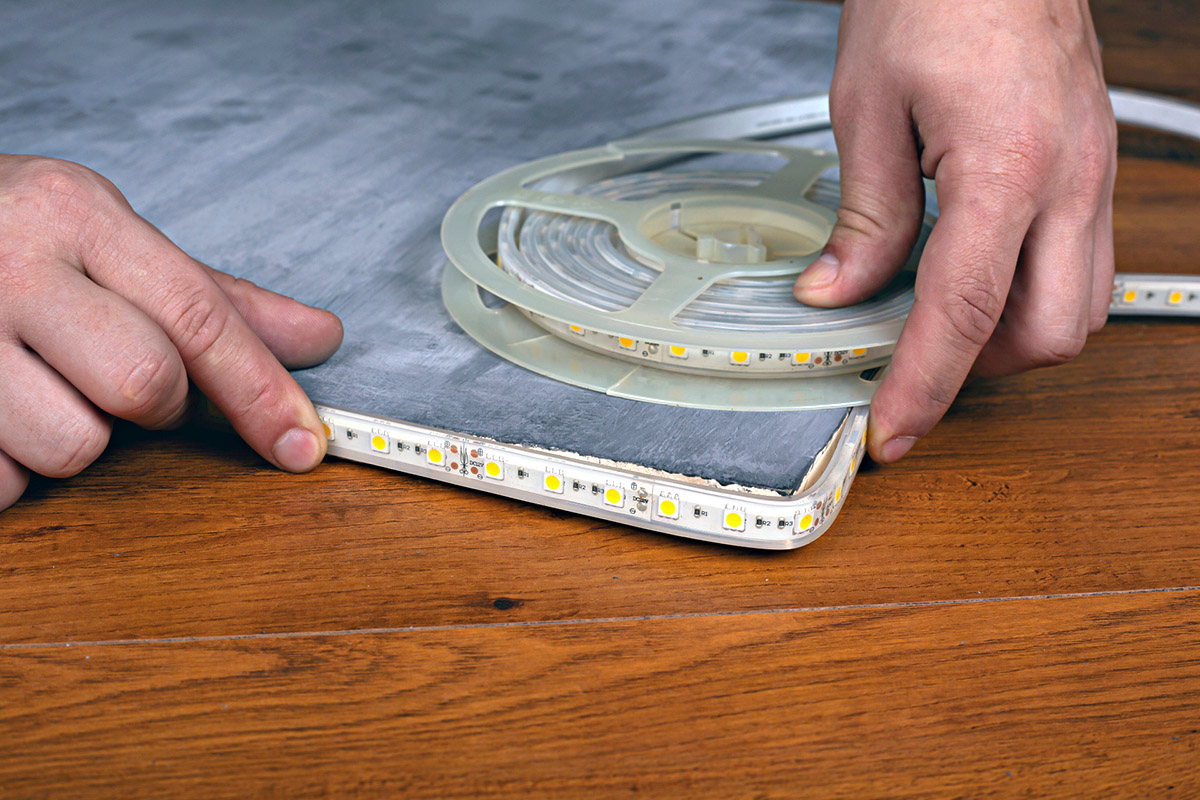
- Prepare the LED Strips: Ensure that the Govee LED strips are clean and free from any dust or debris. If necessary, cut the strips to the desired lengths using designated cut points to accommodate the layout of your space.
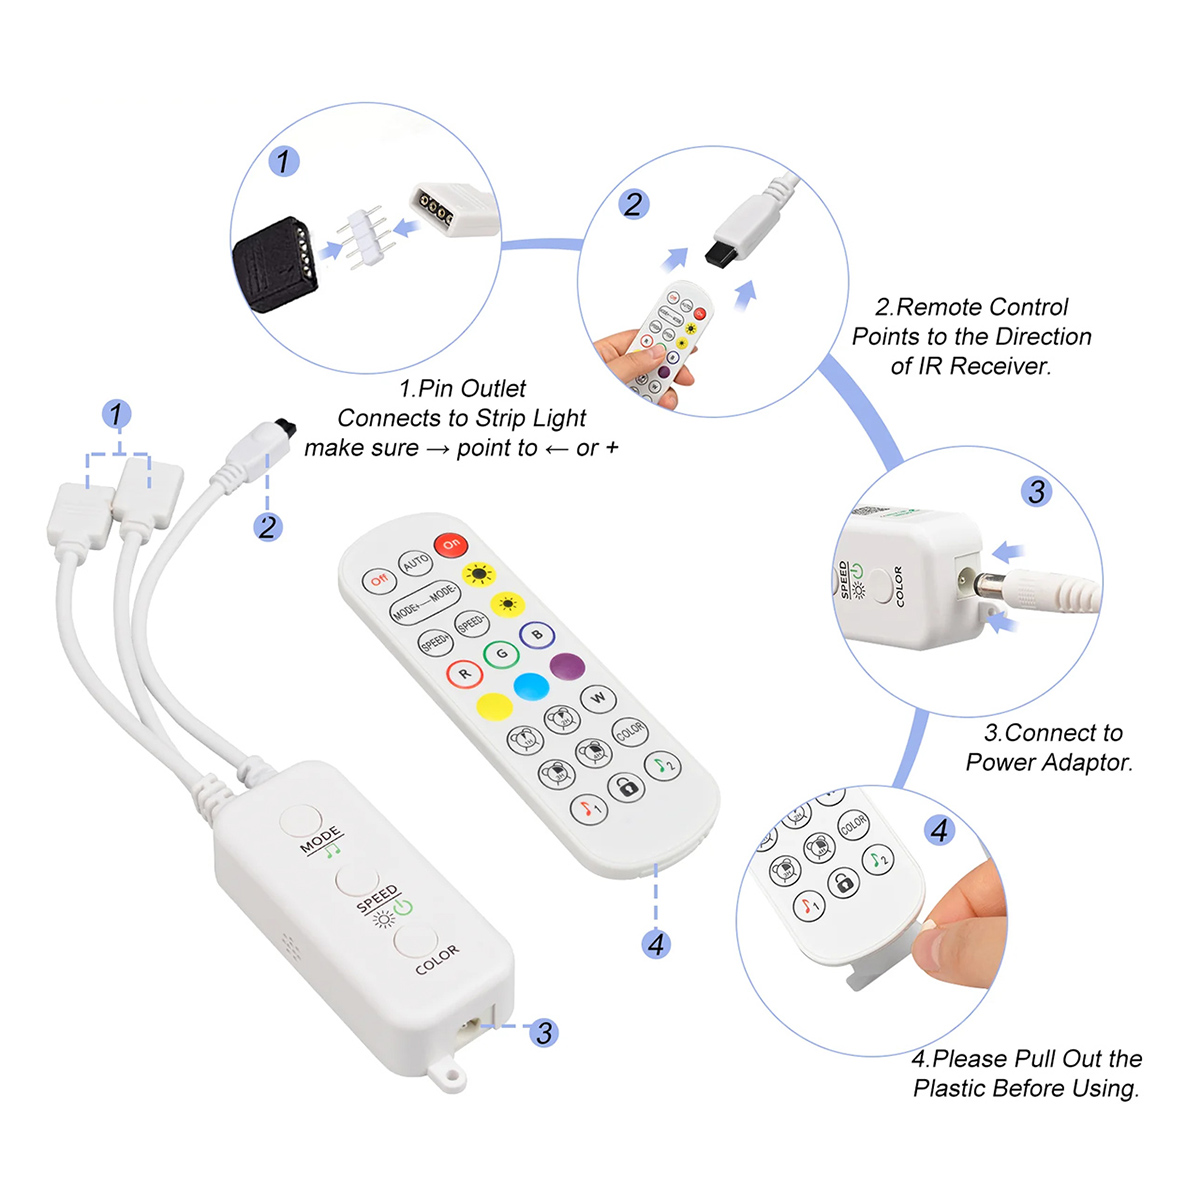
- Connect the Strips: Using the provided connectors or soldering techniques, join the cut ends of the LED strips to create a continuous circuit. Take care to align the positive and negative terminals correctly to ensure proper functionality.
- Test the Connection: Once the strips are connected, power them up to verify that all segments illuminate uniformly and produce the intended colors. Address any inconsistencies or issues before proceeding to secure the connections.
- Secure the Connections: To ensure long-term reliability, secure the connections using adhesive-lined heat shrink tubing or electrical tape. This helps protect the soldered or connected joints from environmental factors and physical stress.
- Power Up the Strips: Once the connections are secured, power up the Govee LED strips and assess the overall lighting effect. Confirm that the connected strips function seamlessly and produce the desired lighting display.
By following these steps, you can effectively connect multiple Govee LED strips to expand your lighting design and achieve a cohesive, visually striking illumination across your desired space.
As you experiment with connecting multiple Govee LED strips, don’t hesitate to explore the diverse lighting modes and color options available. Whether you’re aiming to synchronize the lighting to music, create captivating color transitions, or set static color displays, Govee LED strips offer a wealth of customization to bring your lighting vision to life.
Now that we’ve covered the process of connecting multiple Govee LED strips, let’s delve into troubleshooting tips and additional insights to ensure a seamless lighting experience.
To connect multiple Govee LED strips, use Govee’s provided connectors to link the strips together. Make sure to align the positive (+) and negative (-) ends correctly for a secure connection.
Troubleshooting and Tips
While connecting multiple Govee LED strips can elevate your lighting design, it’s important to be aware of potential challenges and implement effective troubleshooting strategies to ensure a seamless and reliable setup. Here are some troubleshooting tips and valuable insights to enhance your experience with multiple connected Govee LED strips:
- Power Distribution: If you encounter dimming or inconsistent brightness across the connected LED strips, consider redistributing the power sources. Adding additional power supplies or signal repeaters at strategic points along the circuit can help maintain uniform brightness and color consistency.
- Signal Amplification: In scenarios where the connected LED strips exhibit color discrepancies or signal degradation, incorporating signal amplifiers or repeaters can bolster the transmission of control signals, ensuring that all segments of the LED strips respond accurately to color and brightness commands.
- Environmental Considerations: When installing Govee LED strips in outdoor or potentially humid environments, prioritize waterproofing and protection against environmental factors. Utilize waterproof connectors, silicone sealants, or specialized enclosures to safeguard the connections and components from moisture and dust, enhancing the longevity and reliability of the installation.
- Heat Management: During extended operation, Govee LED strips may generate heat, particularly in enclosed or tightly spaced installations. Implement adequate ventilation and heat dissipation measures to prevent excessive heat buildup, which can affect the performance and longevity of the LED strips.
- Remote Control Pairing: If you’re utilizing a remote control or smartphone app to manage the Govee LED strips, ensure that the control device is effectively paired with all connected segments. Follow the manufacturer’s instructions to synchronize the control signals across the entire connected circuit for seamless operation and consistent lighting effects.
- Regular Maintenance: Periodically inspect the connections, power sources, and overall condition of the connected LED strips. Address any signs of wear, corrosion, or damage promptly to maintain optimal performance and prevent potential issues from escalating.
By incorporating these troubleshooting tips and proactive measures, you can overcome common challenges associated with connecting multiple Govee LED strips and ensure a reliable, visually captivating lighting installation.
Additionally, here are some valuable tips to enhance your experience with multiple connected Govee LED strips:
- Experiment with Color Combinations: Take advantage of the diverse color options and dynamic lighting modes offered by Govee LED strips to create captivating color combinations and immersive lighting displays tailored to different moods and occasions.
- Zone-Based Control: Consider segmenting the connected LED strips to enable zone-based control, allowing you to independently adjust the lighting in specific areas for enhanced customization and ambiance management.
- Smart Home Integration: Explore the integration of Govee LED strips with smart home systems and voice assistants to enable convenient voice commands and automated lighting routines, adding a layer of sophistication and convenience to your lighting setup.
- Community Insights: Engage with online communities, forums, and resources dedicated to Govee LED strips to gain inspiration, troubleshooting insights, and innovative ideas for maximizing the potential of your connected LED strip installation.
Armed with these troubleshooting tips and valuable insights, along with the creative potential of Govee LED strips, you’re well-equipped to overcome challenges and unlock the full spectrum of possibilities when connecting and utilizing multiple Govee LED strips in your lighting design.
Conclusion
Congratulations on embarking on an illuminating journey through the world of Govee LED strips and the art of connecting multiple strips to create captivating lighting displays. By gaining a comprehensive understanding of Govee LED strips and mastering the process of connecting multiple strips, you’ve unlocked the potential to transform any space into a visually stunning and immersive environment.
Throughout this guide, we’ve explored the versatility and capabilities of Govee LED strips, from their extensive color options and dynamic lighting modes to their compatibility with smart home systems. Understanding these features has provided a solid foundation for leveraging the full potential of Govee LED strips in your lighting design endeavors.
Connecting multiple Govee LED strips opens up a world of creative possibilities, allowing you to illuminate larger areas, implement zone-based lighting, and experiment with captivating visual effects. By following the step-by-step guide and incorporating troubleshooting tips, you can effectively connect and manage multiple LED strips to achieve cohesive, visually striking lighting displays.
As you continue to explore the diverse lighting modes, color options, and smart home integration capabilities of Govee LED strips, remember to leverage the insights and tips provided to enhance your lighting experience. Whether you’re setting the perfect ambiance for a cozy evening at home or orchestrating vibrant lighting displays for social gatherings, the flexibility and customization offered by Govee LED strips empower you to curate captivating lighting scenes tailored to any occasion.
As you immerse yourself in the world of connected Govee LED strips, don’t hesitate to experiment, seek inspiration from online communities, and push the boundaries of creativity to discover new and innovative applications for your lighting design. With the right approach and a touch of imagination, your connected Govee LED strips can become a dynamic canvas for expressing your unique lighting vision.
So, go forth and illuminate your world with the boundless possibilities of Govee LED strips. Whether you’re accentuating architectural features, creating mesmerizing visual effects, or simply enhancing the ambiance of your living space, the art of connecting multiple Govee LED strips empowers you to craft captivating lighting experiences that leave a lasting impression.
Now, armed with a wealth of knowledge and insights, it’s time to unleash your creativity and bring your lighting vision to life with the brilliance of Govee LED strips!
Frequently Asked Questions about How To Connect Multiple Govee LED Strips
Was this page helpful?
At Storables.com, we guarantee accurate and reliable information. Our content, validated by Expert Board Contributors, is crafted following stringent Editorial Policies. We're committed to providing you with well-researched, expert-backed insights for all your informational needs.


0 thoughts on “How To Connect Multiple Govee LED Strips”