Home>Home Maintenance>How To Build A Drainage Ditch Around A House

Home Maintenance
How To Build A Drainage Ditch Around A House
Modified: May 6, 2024
Learn how to protect your home with proper drainage by building a functional and effective drainage ditch. Our comprehensive guide will help you with all your home maintenance needs.
(Many of the links in this article redirect to a specific reviewed product. Your purchase of these products through affiliate links helps to generate commission for Storables.com, at no extra cost. Learn more)
Introduction
Welcome to our comprehensive guide on how to build a drainage ditch around a house. Proper drainage is essential for maintaining the structural integrity of your home and preventing water damage. A drainage ditch is a simple yet effective solution to redirect excess water away from your property and prevent it from pooling around the foundation.
In this article, we will walk you through the process of building a drainage ditch, step by step. Whether you are dealing with heavy rainfall or have a sloping landscape that causes water to flow towards your house, a well-planned and properly constructed drainage ditch can help protect your property.
Before we dive into the details, it’s important to note that building a drainage ditch requires some physical labor and may involve using tools and machinery. It’s always a good idea to consult with professionals or seek assistance if you are unsure about any aspect of the process.
Now, let’s explore the reasons why you might need a drainage ditch and how it can benefit your home.
Key Takeaways:
- Building a drainage ditch around your house is crucial for protecting your home from water damage and maintaining its structural integrity. It involves assessing the landscape, digging the trench, and installing drainage pipes to redirect excess water away from the foundation.
- Regular maintenance, such as clearing debris and monitoring the grading, is essential to ensure the drainage ditch functions optimally over time. By taking proactive steps, you can safeguard your home from water-related issues and enjoy a healthier living environment.
Understanding the Need for a Drainage Ditch
A drainage ditch is a channel or trench that is designed to collect and redirect water away from your home’s foundation. It is an essential element in managing stormwater runoff and preventing water accumulation around your property.
There are several reasons why you might need a drainage ditch around your house:
- Preventing Water Damage: Excess water can seep into the foundation of your home, causing structural issues, such as cracks and mold growth. A properly constructed drainage ditch helps to redirect water away from the foundation, preventing damage to the structure.
- Managing Surface Water: If your property has a slope or uneven terrain, water can accumulate and pool around your house, especially during heavy rainfall. A drainage ditch can effectively channel the water away, preventing waterlogging and potential flooding.
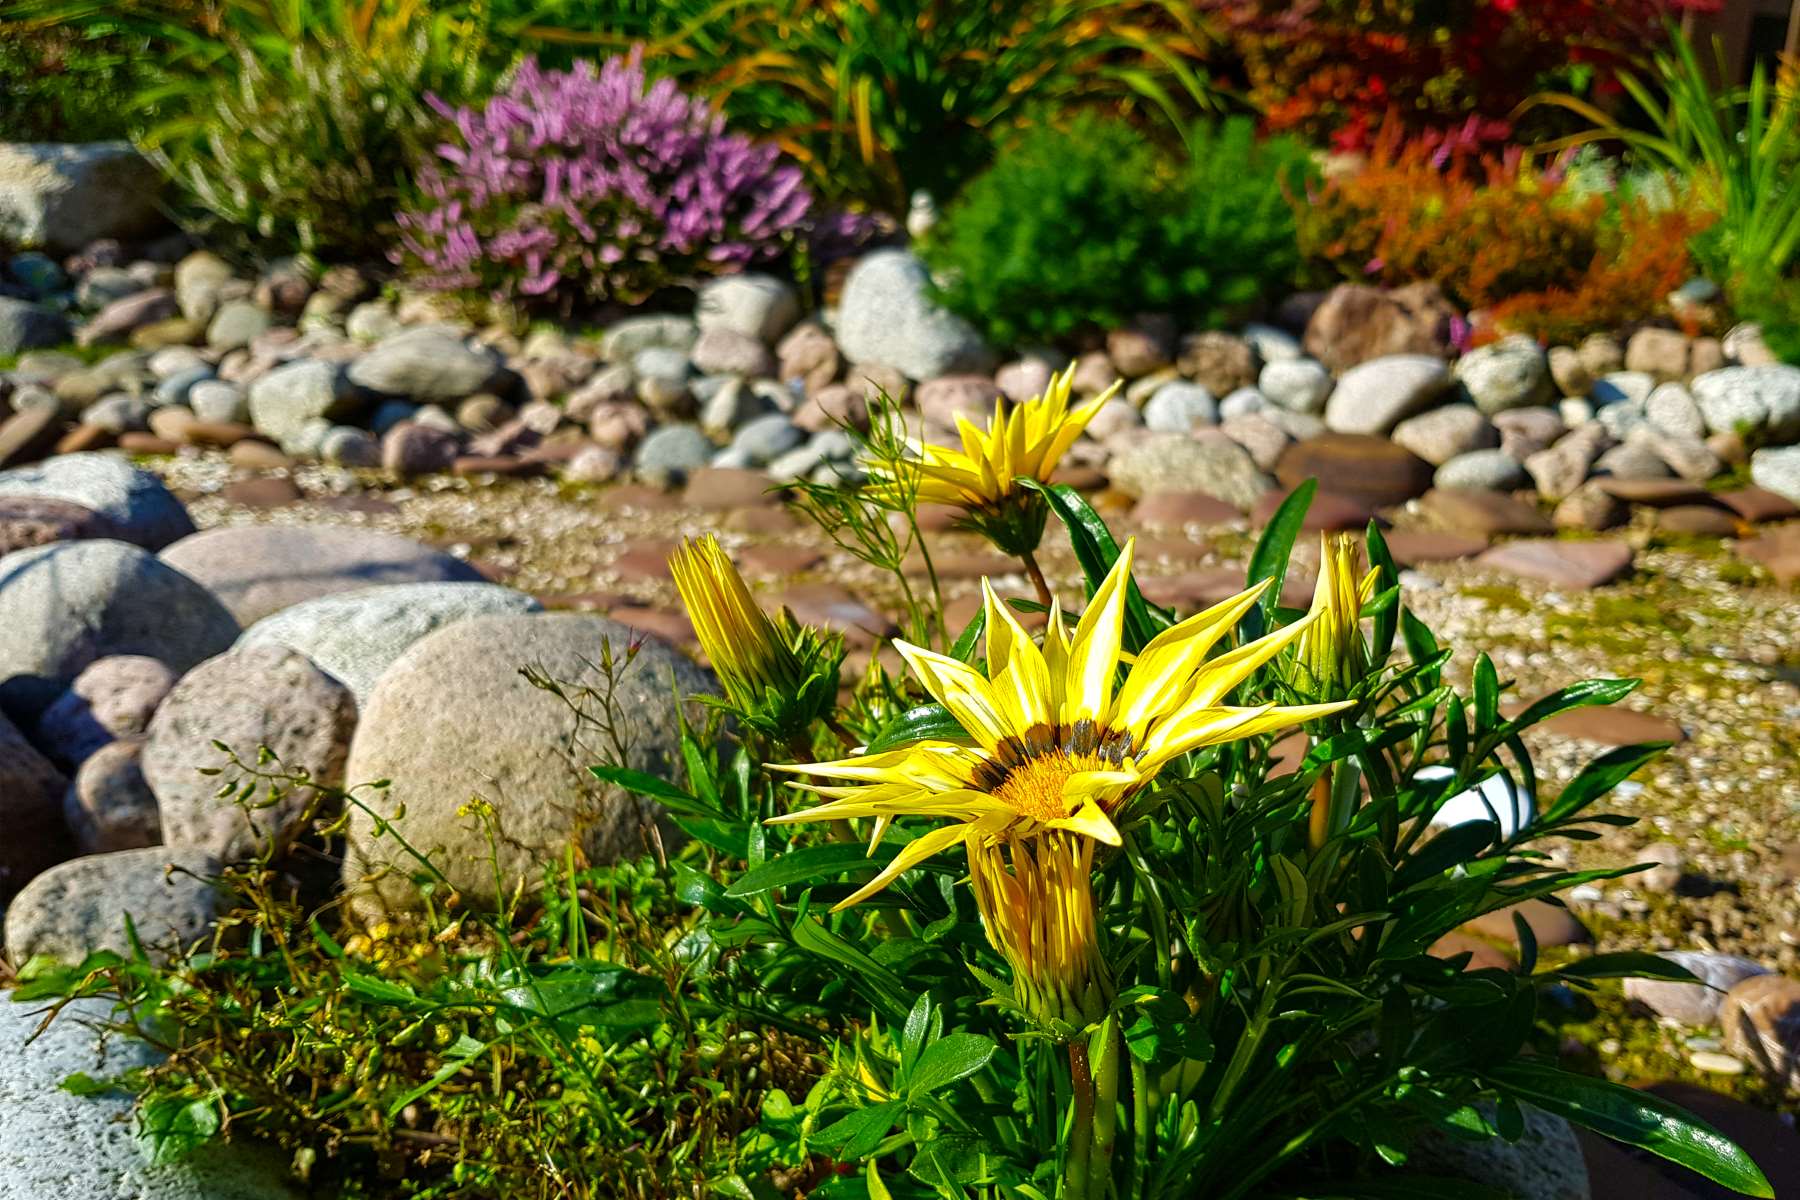
- Protecting Landscaping: Excessive water can drown your plants, erode soil, and destroy the landscaping around your house. By diverting water into a drainage ditch, you can prevent soil erosion and maintain the health and beauty of your garden.
- Preserving the Integrity of Driveways and Walkways: Constant exposure to water can cause driveways and walkways to crack and deteriorate over time. A properly designed drainage ditch ensures that water flows away from these areas, reducing the risk of damage and costly repairs.
By understanding the need for a drainage ditch, you can take proactive measures to protect your home and property from water damage. Next, we will discuss how to assess your landscape to determine the ideal placement for the drainage ditch.
Assessing the Landscape for Drainage Ditch Placement
Before you start digging a drainage ditch, it’s crucial to assess your landscape to determine the optimal placement for the ditch. Here are some key factors to consider:
- Water Flow: Observe how water flows across your property during rainfall. This will help you identify the areas where water tends to pool or flow towards your house. These are the locations where you will need to install the drainage ditch.
- Slope of the Land: Determine the slope of your property to understand how water naturally moves. Ideally, the drainage ditch should be positioned in a way that takes advantage of the existing slope, allowing water to flow downhill away from your house.
- Property Boundaries: Be mindful of your property boundaries when planning the placement of the drainage ditch. You should avoid directing water towards your neighbors’ properties or causing any drainage issues for adjacent buildings.
- Utilities: Check for any underground utilities, such as gas lines, water pipes, or electrical cables, that may be present in the area where you plan to dig the ditch. Call your local utility companies to mark the locations of these utilities to prevent any accidental damage during excavation.
- Landscaping and Structures: Take into account existing landscaping features, such as trees, bushes, and structures like sheds or fences. You want to ensure that the drainage ditch does not disrupt or damage any of these elements. Adjust the path of the ditch accordingly, if needed.
Once you have assessed these factors, you will have a better understanding of the ideal placement for your drainage ditch. It’s important to note that the main objective is to direct water away from the foundation of your house and towards an appropriate runoff area, such as a natural slope or a designated drainage point.
In the next section, we will discuss how to determine the depth and width of the drainage ditch based on your specific requirements.
Determining the Depth and Width of the Drainage Ditch
Once you have assessed your landscape and determined the placement of the drainage ditch, the next step is to determine the appropriate depth and width of the ditch. The dimensions of the drainage ditch will vary depending on factors such as the volume of water you expect to manage, the soil composition, and the slope of your property.
Here are some guidelines to help you determine the depth and width of your drainage ditch:
- Depth: The depth of the drainage ditch should be sufficient to accommodate the expected volume of water during heavy rainfall. A general rule of thumb is to aim for a depth of 6-8 inches (15-20 cm) for residential properties. However, if you experience frequent heavy rain or have significant water runoff, you may need to increase the depth accordingly.
- Width: The width of the drainage ditch will depend on the volume of water you expect to manage and the soil type. In most cases, a width of 12-18 inches (30-45 cm) is suitable for residential drainage ditches. However, if you have a large amount of water to channel or if your soil has low permeability, you may need to increase the width for better water flow.
- Slope: The slope of the drainage ditch is crucial for proper water flow. Aim for a gentle slope of around 1-2% to ensure that water moves efficiently along the ditch. If the slope is too steep, water may flow too quickly and cause erosion, while a flat slope may cause water to stagnate.
- Outlet Point: Consider where the drainage ditch will discharge the water. Designate an appropriate outlet point, such as a natural drainage area, a municipal storm drain, or a dry well. Ensure that the outlet is located at a lower elevation than the starting point of the ditch to allow gravity to facilitate water flow.
Keep in mind that these are general guidelines, and the depth and width of your drainage ditch may need adjustment based on your specific circumstances. It’s always a good idea to consult with a professional if you are unsure about the dimensions.
Next, we will discuss the process of digging the trench for the drainage ditch.
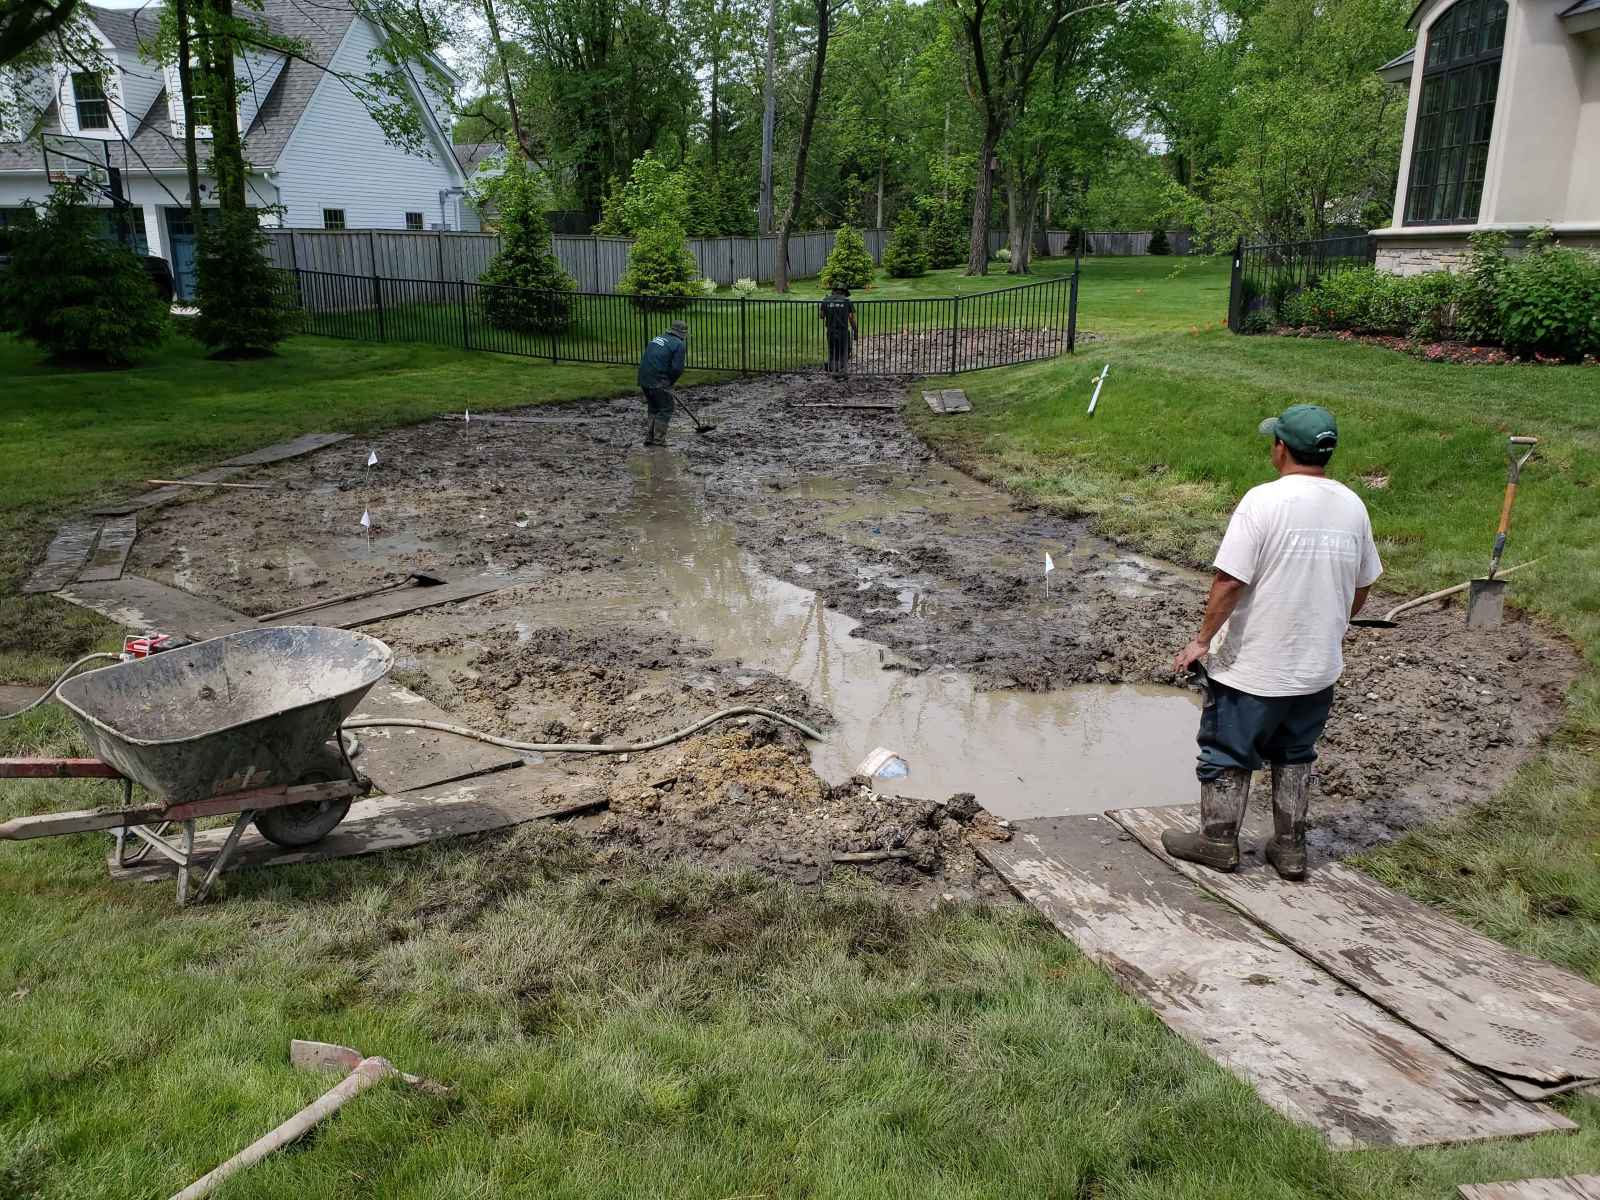
Digging the Trench for the Drainage Ditch
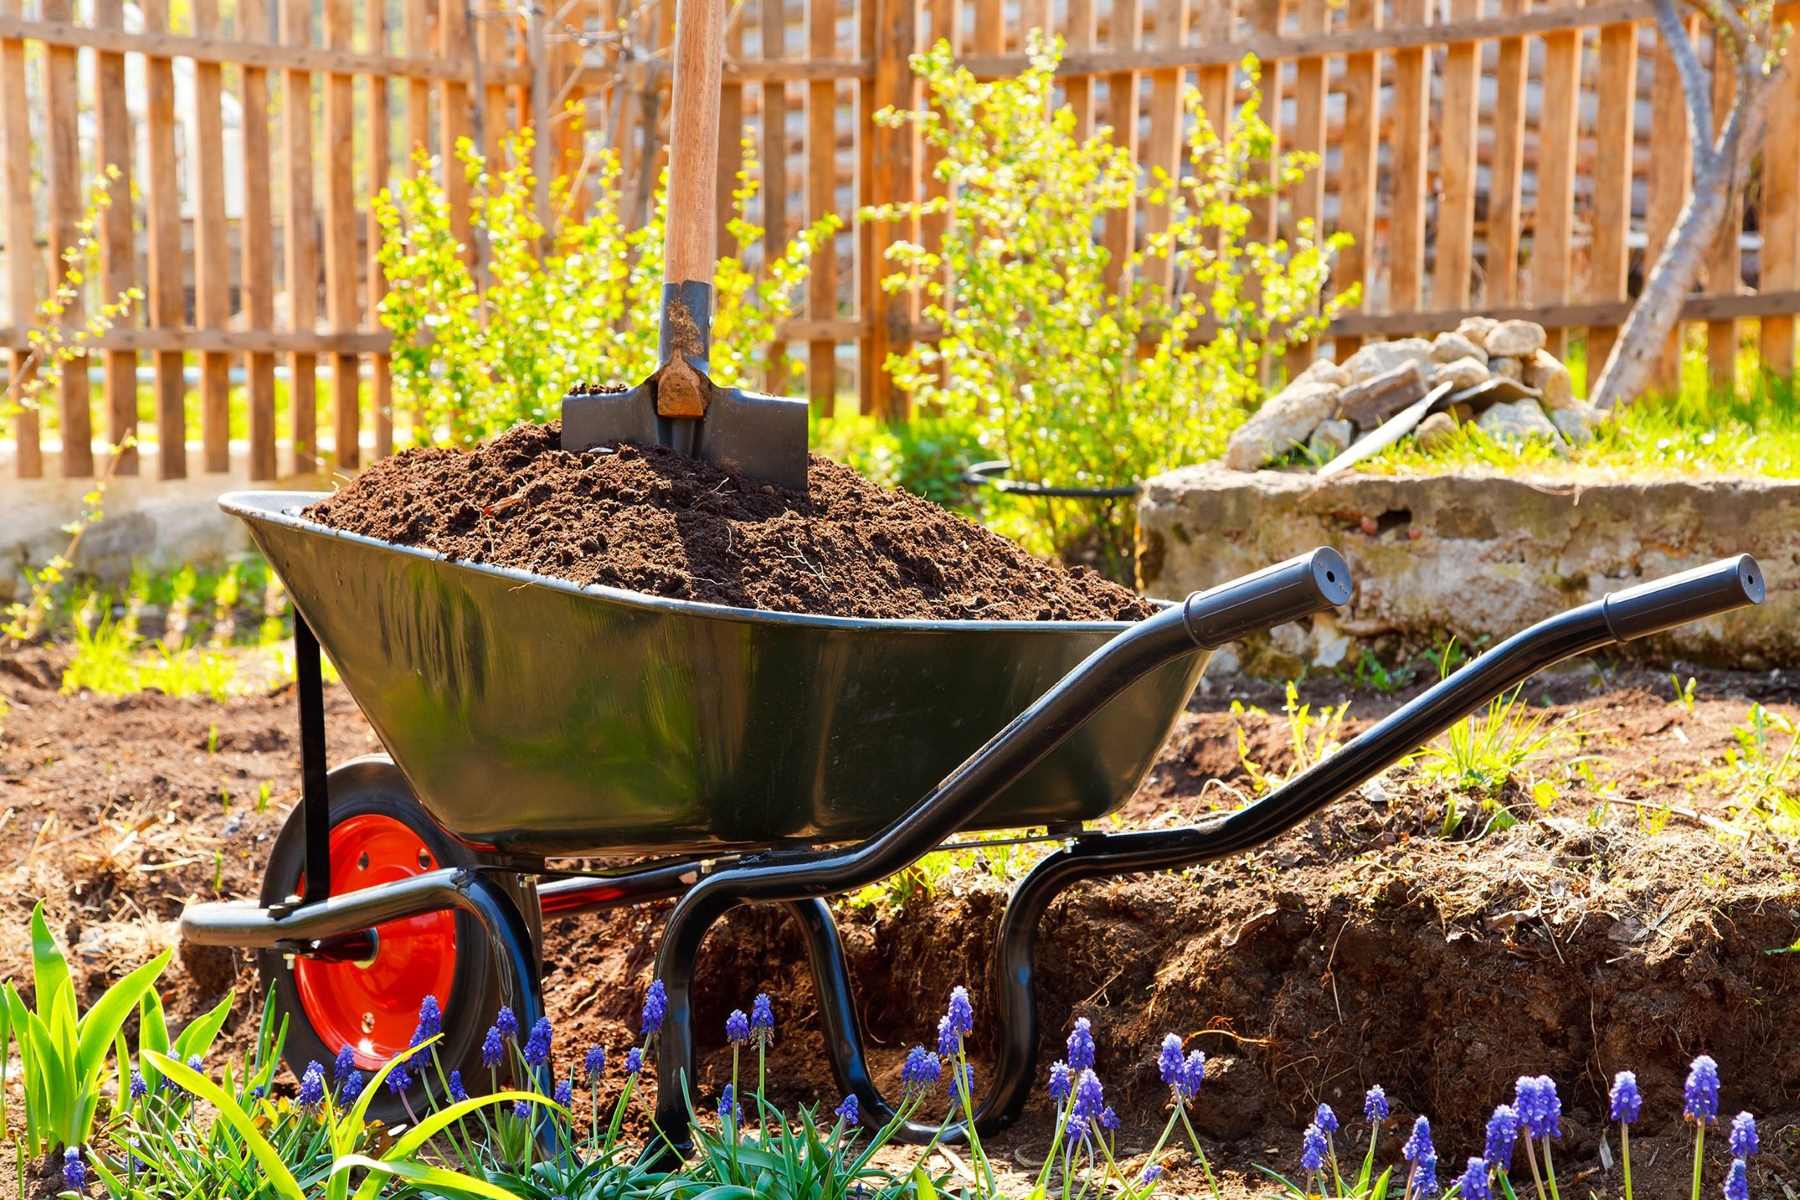
With the placement and dimensions of the drainage ditch determined, it’s time to start digging the trench. Before you begin, make sure you have the necessary tools and equipment, such as shovels, a wheelbarrow, and a tape measure.
Here’s a step-by-step guide on how to dig the trench for your drainage ditch:
- Mark the Path: Use spray paint or stakes and string to mark the path of the drainage ditch on the ground. This will serve as a guide as you start digging.
- Start at the Outlet: Begin digging the trench from the designated outlet point and work your way towards the starting point of the drainage ditch. This ensures that water will flow in the intended direction.
- Dig to the Desired Depth: As you dig, use a tape measure to check the depth of the trench and ensure that it matches your predetermined specifications. Remove any rocks, roots, or debris that may obstruct the trench.
- Keep a Consistent Width: Maintain a consistent width along the entire length of the trench, using your tape measure as a guide. This will help ensure proper water flow.
- Slope the Sides: As you dig, slope the sides of the trench to match the desired slope of the drainage ditch. This will help direct water towards the outlet point.
- Remove Excavated Soil: As you dig, deposit the excavated soil into a wheelbarrow or a designated area away from the trench. This will prevent it from falling back into the ditch and potentially blocking water flow.
- Check the Depth and Width Regularly: Periodically check the depth and width of the trench throughout the digging process to ensure they align with your desired specifications.
- Smooth Out the Bottom: Once the trench is dug to the desired depth and width, use a shovel or rake to smooth out the bottom of the trench. This will facilitate better water flow.
Remember, safety is paramount during this process. Take breaks when needed, stay hydrated, and carefully handle any tools or machinery. If digging the trench seems too challenging, consider hiring professionals who have the expertise and equipment to complete the task efficiently.
Next, we will discuss the installation of drainage pipes in the ditch.
Installing Drainage Pipe in the Ditch
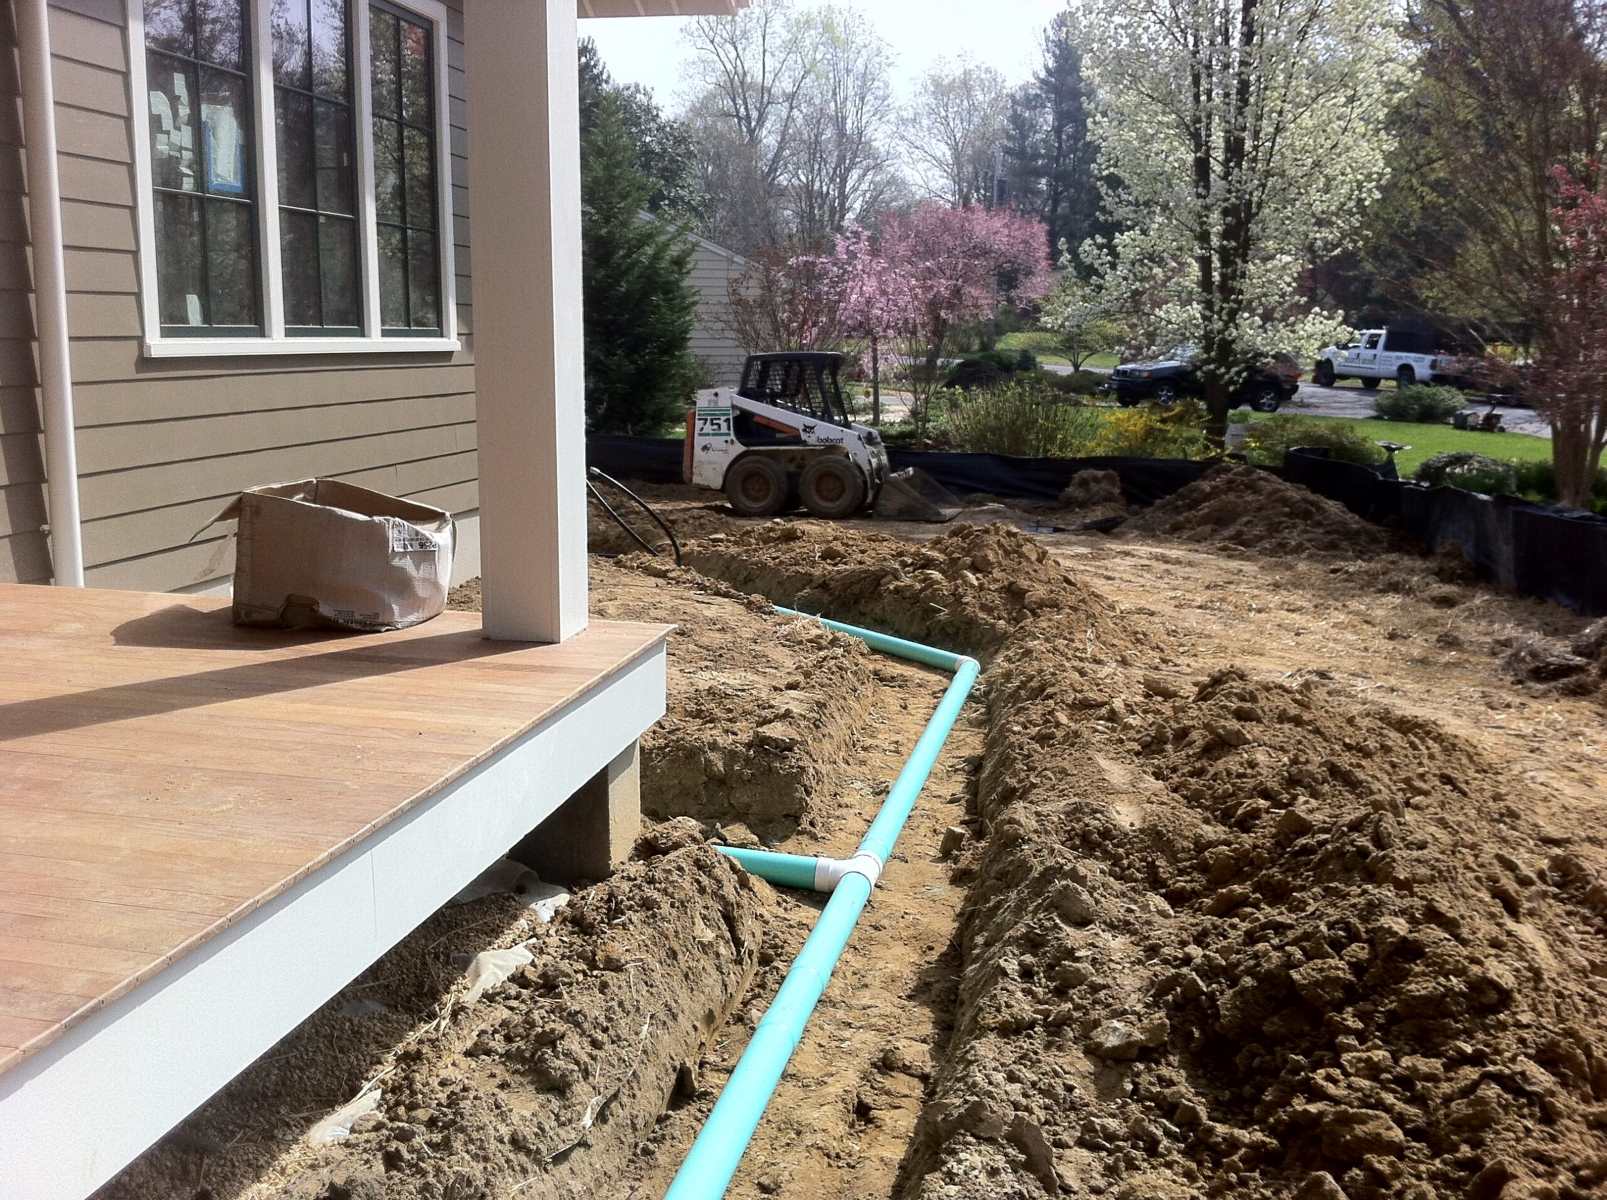
Once the trench for your drainage ditch is dug to the desired depth and width, it’s time to install the drainage pipe. The pipe will serve as a conduit to carry water away from your house and towards the designated outlet point.
Follow these steps to properly install the drainage pipe in the ditch:
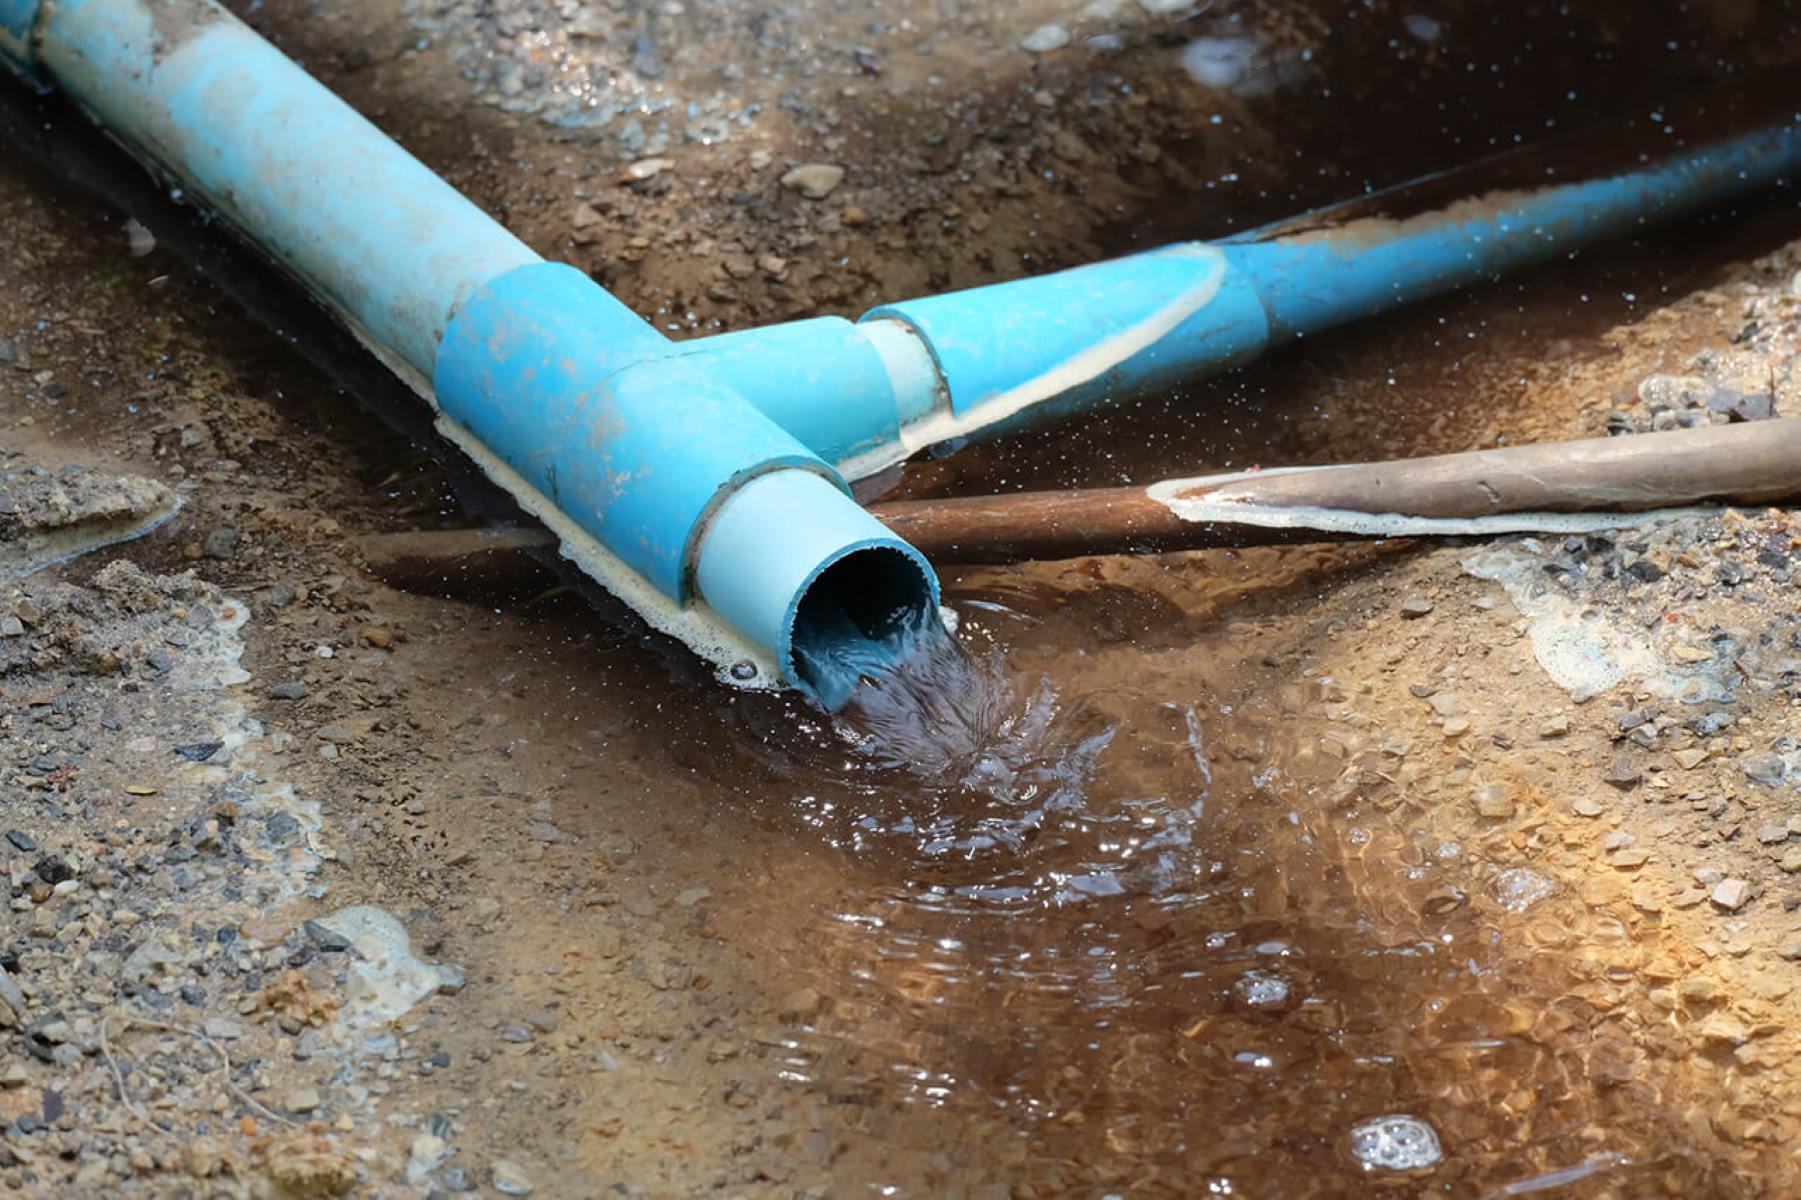
- Select the Right Pipe: Choose a drainage pipe that is suitable for your specific needs and the estimated water volume. Common options include PVC (polyvinyl chloride) or HDPE (high-density polyethylene) pipes. Ensure that the pipe diameter is appropriate for the amount of water you anticipate managing.
- Place a Gravel Bed: Before laying the drainage pipe, create a thin layer of gravel along the bottom of the trench. This provides stability and helps with water filtration and distribution.
- Lay the Pipe: Position the drainage pipe on top of the gravel bed. The pipe should be sloped slightly to ensure water flows in the intended direction. Connect multiple sections of pipe, if necessary, using appropriate connectors or couplers.
- Secure the Pipe: Use stakes or brackets to secure the pipe in place, especially at bends or corners, to prevent it from shifting or moving once backfilled.
- Add additional Gravel: After laying the pipe, cover it with a layer of gravel. This helps with water filtration and prevents the pipe from becoming clogged with debris or sediment.
- Install Filter Fabric: To further protect the drainage pipe from debris and sediment, wrap it with a layer of filter fabric. This fabric allows water to pass through while preventing soil particles from entering and clogging the pipe.
- Backfill the Trench: Carefully backfill the trench with the excavated soil, ensuring that the pipe remains secure and in place. Gradually fill the trench, compacting the soil lightly as you go to minimize settling.
- Leave Outlet End Exposed: Ensure that the outlet end of the drainage pipe remains exposed at the designated outlet point. This allows water to discharge freely and prevents any potential obstruction.
Remember to inspect the drainage pipe regularly to check for any signs of damage or clogging. Clear any blockages or obstructions promptly to maintain optimal water flow.
In the next section, we will discuss the addition of gravel and filter fabric to the drainage ditch to further enhance its effectiveness.
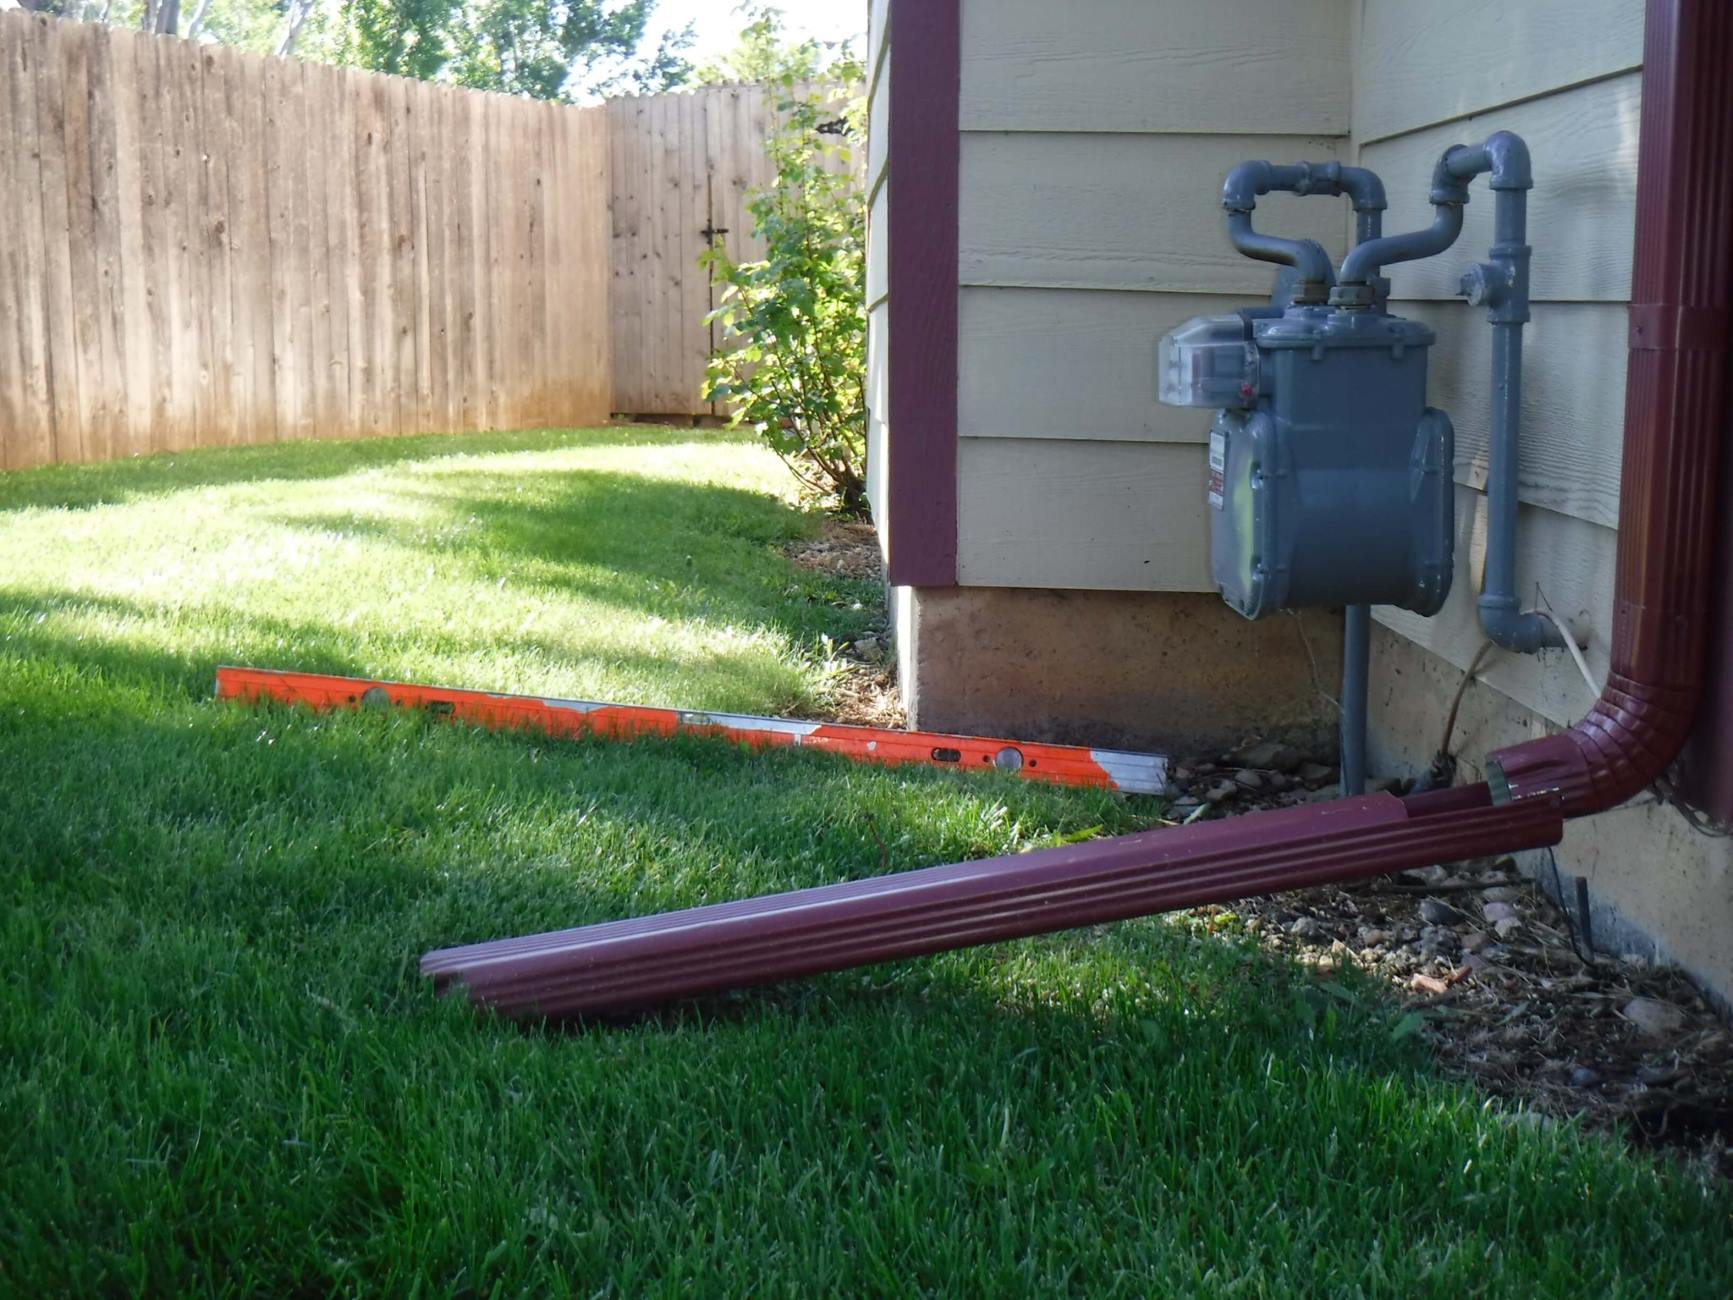
When building a drainage ditch around your house, make sure to slope it away from the foundation to direct water away from the house. This will help prevent water damage and flooding.
Adding Gravel and Filter Fabric to the Drainage Ditch
After installing the drainage pipe in the ditch, the next step is to add gravel and filter fabric. These additional layers will enhance the functionality and longevity of the drainage system by promoting water filtration and preventing clogs.
Follow these steps to add gravel and filter fabric to the drainage ditch:
- Gravel Layer: Start by adding a layer of gravel on top of the drainage pipe. This layer serves several purposes. It provides stability to the pipe, aids in water distribution, and acts as a filter to prevent soil particles from clogging the pipe. Aim for a layer of gravel that is around 2-3 inches deep.
- Compact the Gravel: Use a tamper or the back of a shovel to compact the gravel layer. This ensures that it is firmly in place and provides stability to the drainage system.
- Filter Fabric: Lay the filter fabric on top of the compacted gravel layer. The filter fabric further prevents fine particles and debris from entering the drainage system while allowing water to pass through freely.
- Overlap the Fabric: If using multiple sections of filter fabric, overlap the edges by a few inches to ensure a continuous barrier that covers the entire width of the drainage ditch.
- Secure the Fabric: Use landscaping pins or stakes to secure the filter fabric in place. This prevents it from shifting or being displaced during backfilling or heavy rainfall.
- Backfill the Trench: Once the filter fabric is secured, backfill the rest of the trench with the excavated soil. Take care not to dislodge or damage the gravel layer and filter fabric while backfilling. Gradually fill the trench, compacting the soil lightly as you go.
- Smooth and Grade the Surface: After backfilling, use a rake or shovel to smooth out the surface of the backfilled soil. This promotes proper water drainage and prevents water from pooling around the drainage ditch.
By adding gravel and filter fabric, you provide an additional layer of protection and ensure that the drainage ditch functions optimally. These layers help filter out debris, prevent clogs, and improve water flow through the system.
In the next section, we will discuss the process of backfilling and compacting the trench to complete the construction of the drainage ditch.
Backfilling and Compacting the Trench
After installing the drainage pipe, gravel, and filter fabric, the next step is to backfill and compact the trench. This process ensures that the trench is properly filled, the soil is stable, and the drainage ditch is structurally sound.
Here are the steps to backfill and compact the trench effectively:
- Backfill Gradually: Begin by filling the trench with the excavated soil gradually. Add the soil in layers, compacting each layer lightly with a hand tamper or the back of a shovel. This helps prevent settling and ensures a stable backfill.
- Distribute the Soil: Use a rake or shovel to distribute the soil evenly along the trench. Ensure that the soil is tightly packed around the drainage pipe, avoiding any voids or air pockets.
- Compact the Soil: After each layer is added, compact the soil using a hand tamper or plate compactor. This compaction helps increase soil density, stability, and water flow through the drainage ditch.
- Repeat the Process: Continue adding soil in layers, compacting, and repeating the process until the trench is completely filled and the soil is at the desired level. Take care not to over-compact the soil, as this can hinder water movement.
- Slope the Surface: Use a rake or shovel to slope the surface of the backfilled soil away from the house. This promotes proper water drainage and prevents water from pooling near the foundation.
- Smooth and Level the Surface: Finally, use a rake or shovel to smooth and level the surface of the backfilled soil. This creates a neat and uniform appearance and facilitates proper water flow.
It’s important to note that proper compaction of the soil is crucial to prevent settling and maintain the integrity of the drainage ditch. Ensure that the soil is compacted evenly and consistently throughout the backfilling process.
Once the trench is completely backfilled and compacted, your drainage ditch will be ready to effectively manage water flow and protect your home from potential water damage.
In the next section, we will discuss the importance of creating slopes and grading around the house to complement the functionality of the drainage system.
Creating Slopes and Grading Around the House
Creating slopes and properly grading the area around your house is essential to complement the functionality of the drainage ditch and ensure effective water management. Sloping the ground away from your house helps direct water flow and prevents water from pooling near the foundation, reducing the risk of water damage.
Here are the steps to create slopes and grade the area around your house:
- Evaluate Existing Grading: Assess the current grading around your house to determine if it slopes away from the foundation. Look for areas where water tends to collect or puddle, as this indicates improper grading.
- Identify Low Spots: Locate any low spots or depressions in the ground near your house where water might collect. These areas will require additional attention during the grading process.
- Use Fill Dirt: If needed, bring in fill dirt to raise the level of low spots and create slopes away from the house. Spread the fill dirt evenly and compact it to ensure stability.
- Grade the Soil: Use a shovel or rake to grade the soil, creating a gentle slope away from the foundation. Aim for a slope of at least 1 inch per foot for the first six feet away from the house. This ensures proper water runoff.
- Smooth and Compact the Soil: Smooth out the graded soil using a rake or shovel. Then, lightly compact the soil to promote stability and prevent erosion. Avoid over-compacting, as it can hinder water absorption.
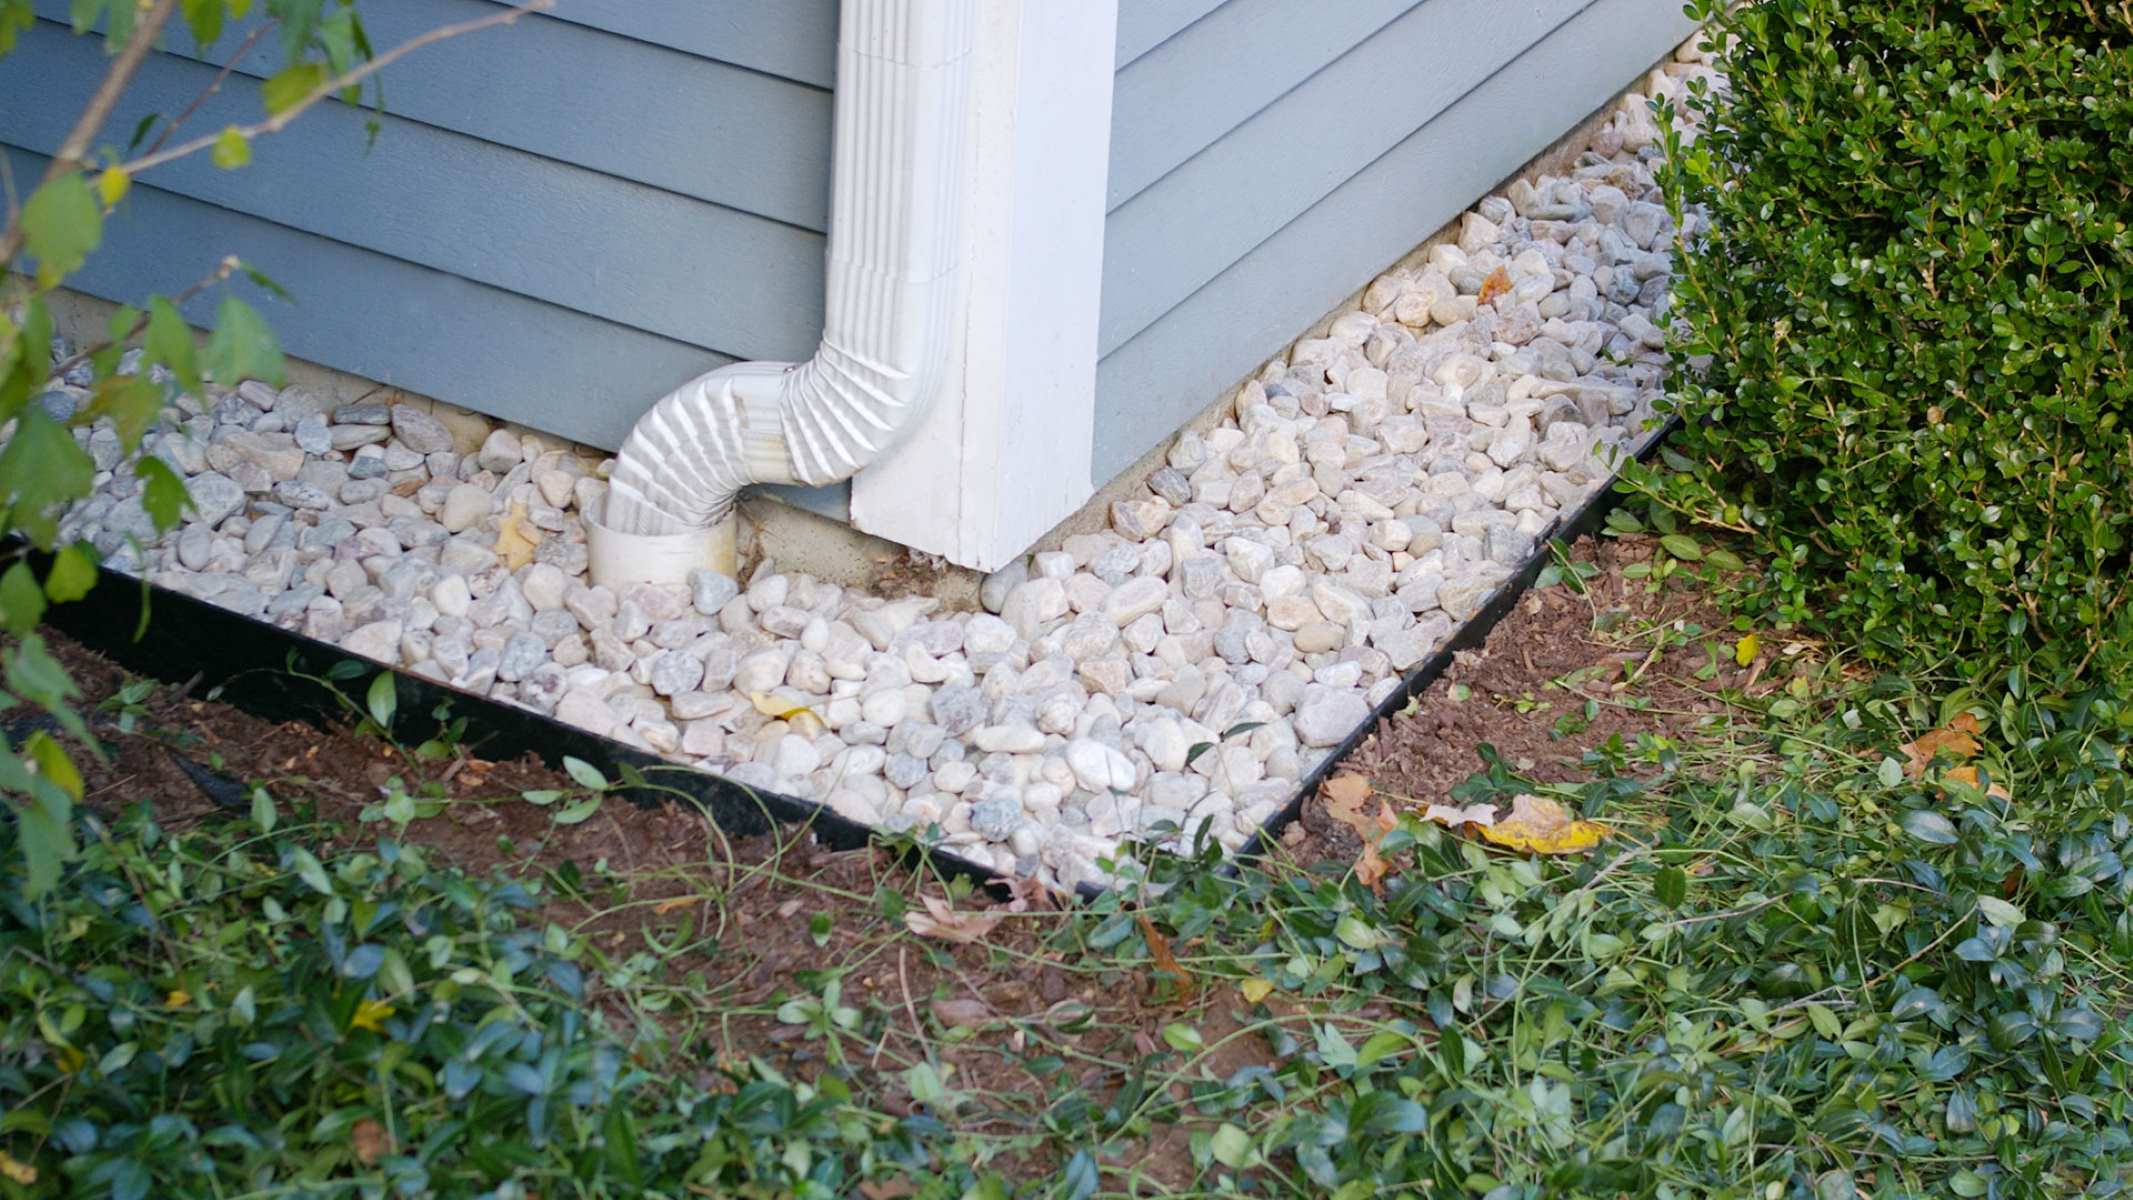
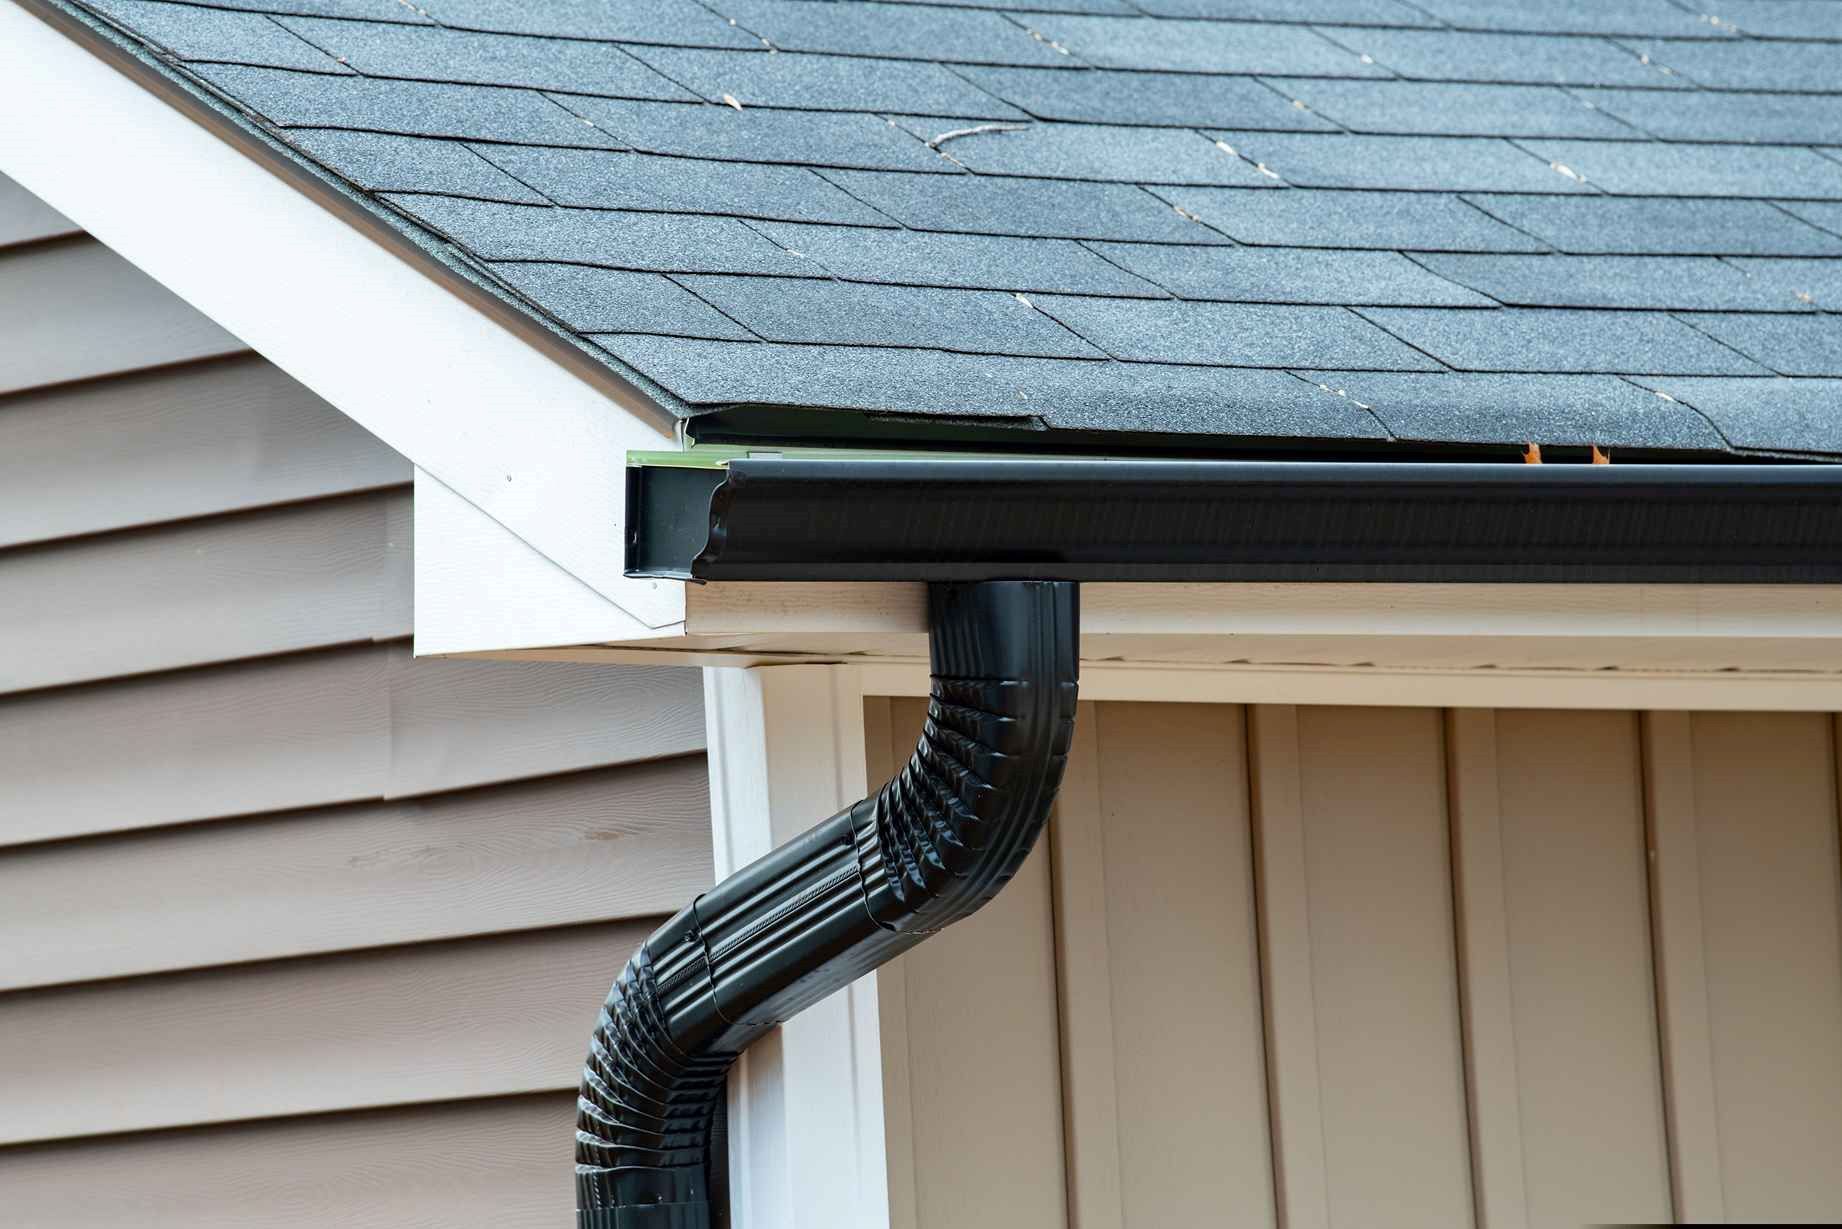
- Consider Rain Gutters and Downspouts: Install rain gutters and downspouts if they are not already in place. This will help collect and redirect water away from the foundation, further enhancing the effectiveness of the drainage system.
- Direct Water Towards the Drainage Ditch: Ensure that the slopes and grading around your house direct water towards the drainage ditch. This can be achieved by aligning the slope with the path of the drainage ditch or using swales to guide water flow.
- Monitor and Adjust: Regularly monitor the graded area around your house for any signs of ponding or water accumulation. If necessary, make adjustments to the grading to ensure proper water flow.
Creating slopes and grading the area around your house in conjunction with a well-designed drainage ditch is crucial for effective water management. It helps protect your home’s foundation and landscaping from water damage, ensuring a safe and dry environment.
In the next section, we will discuss the importance of maintaining and clearing the drainage ditch to keep it functioning optimally over time.
Read more: How To Improve Drainage Around The House
Maintaining and Clearing the Drainage Ditch
Maintaining and regularly clearing your drainage ditch is essential to ensure its optimal functionality and prevent any potential issues. Over time, debris, leaves, and sediment can accumulate in the ditch and obstruct water flow. Here are some maintenance tips to keep your drainage ditch in good condition:
- Inspect Regularly: Schedule regular inspections of your drainage ditch to check for any signs of blockages or erosion. Look for debris, vegetation growth, or any other obstructions that may impede water flow.
- Clear Debris: Remove any leaves, branches, or other debris that has accumulated in the drainage ditch. Use a rake, shovel, or a small hand tool to carefully clear the obstructions and restore proper water flow.
- Trim Vegetation: Trim back any overhanging branches or vegetation that may hang over the drainage ditch. This prevents leaves and twigs from falling into the ditch, reducing the likelihood of clogs.
- Check and Clean Filter Fabric: If you have installed filter fabric around your drainage pipe, inspect it regularly for any signs of sediment buildup or clogs. If necessary, carefully remove and clean the fabric to ensure unobstructed water flow.
- Prevent Erosion: Keep an eye out for any signs of erosion or soil displacement along the drainage ditch. If you notice any areas where the soil is eroding, consider adding additional measures such as erosion control blankets or plantings to stabilize the soil and reduce erosion risks.
- Monitor Outlet Point: Regularly check the outlet point of your drainage ditch to ensure that it remains unobstructed. Clear away any debris or vegetation that may hinder water discharge. If necessary, construct a splash pad or other erosion control measures at the outlet point to prevent erosion.
- Redirect Downspouts: Ensure that the downspouts from your gutters are directing water into the drainage ditch. Regularly check for any blockages or misalignment that may affect water flow. Keep the area around the downspouts free of debris to allow proper water diversion.
- Maintain the Grading: Regularly monitor the grading around your house to ensure that it remains sloped away from the foundation. If you notice any areas where the grading has shifted or settled, re-grade and compact the soil as needed to maintain proper water runoff.
By implementing regular maintenance practices and clearing any obstructions, you can ensure that your drainage ditch functions optimally and adequately protects your home from excess water. Take the time to inspect and maintain your drainage ditch, especially before the rainy season, to prevent potential issues and maintain a properly functioning system.
Now that you are aware of how to maintain the drainage ditch, let’s conclude our guide on how to build a drainage ditch around a house.
Conclusion
Building a drainage ditch around your house is an important step in protecting your home from water damage and maintaining its structural integrity. By redirecting excess water away from the foundation, a well-designed drainage system can prevent issues such as foundation cracks, mold growth, and landscaping damage.
Throughout this comprehensive guide, we have covered the various steps involved in building a drainage ditch. From understanding the need for a drainage ditch to assessing the landscape, determining the depth and width, and digging the trench, each step is crucial in creating an effective drainage system. We have also discussed the installation of drainage pipes, adding gravel and filter fabric, backfilling and compacting the trench, and creating slopes and grading around the house. Lastly, we emphasized the importance of maintaining and clearing the drainage ditch to keep it functioning optimally over time.
Remember, each property is unique, and the specific requirements for building a drainage ditch may vary. It’s essential to assess your landscape, consider local regulations, and consult with professionals when needed to ensure you create the most suitable drainage system for your home.
By taking the time and effort to build a proper drainage ditch, you can safeguard your home from water-related issues and enjoy a healthier and more secure living environment. Stay proactive with regular maintenance, ensuring debris is cleared, and the drainage system is in good working condition.
If you are unsure about any step or task involved in building a drainage ditch, it is always wise to seek professional advice and assistance. They can provide guidance based on your specific property and help ensure that the drainage ditch is built to meet your requirements effectively.
With a well-designed and maintained drainage ditch, you can have peace of mind knowing that your home is protected from water damage and can withstand heavy rainfall effectively. So, go ahead and take the necessary steps to build a drainage ditch and ensure the safety and longevity of your home.
Now that you've mastered building a drainage ditch to protect your home, why not enhance its surroundings with creative barriers? Our guide on garden fence ideas offers a multitude of designs that blend function with style, perfect for any homeowner keen on landscaping. Whether you're looking for privacy, charm, or a way to keep critters out, you'll find inspiration to transform your outdoor space into a delightful haven.
Frequently Asked Questions about How To Build A Drainage Ditch Around A House
Was this page helpful?
At Storables.com, we guarantee accurate and reliable information. Our content, validated by Expert Board Contributors, is crafted following stringent Editorial Policies. We're committed to providing you with well-researched, expert-backed insights for all your informational needs.

0 thoughts on “How To Build A Drainage Ditch Around A House”