Home>Home Maintenance>How To Build Drainage Around House Foundation
Home Maintenance
How To Build Drainage Around House Foundation
Modified: October 18, 2024
Learn how to build proper drainage around your house foundation to protect your home from water damage. Ensure the longevity of your foundation with expert home maintenance tips.
(Many of the links in this article redirect to a specific reviewed product. Your purchase of these products through affiliate links helps to generate commission for Storables.com, at no extra cost. Learn more)
Introduction
Welcome to our comprehensive guide on how to build effective drainage around your house foundation. Having proper drainage is essential for maintaining the structural integrity of your home and preventing water damage. By ensuring that water is directed away from your foundation, you can avoid issues such as basement flooding, moisture buildup, and foundation cracks.
In this article, we will discuss the importance of proper drainage, how to assess your current drainage system, and various solutions for building effective drainage around your house foundation. Whether you are experiencing drainage problems or looking to prevent future issues, this guide will provide you with the knowledge and steps to take for a long-lasting and functional drainage system.
Without further ado, let’s dive into the world of drainage and learn how to protect your home!
Key Takeaways:
- Proper drainage around your home foundation is crucial to prevent issues like basement flooding and foundation damage, ensuring a safe and stable living environment.
- Solutions such as French drains, swales, downspout extensions, and dry well systems can effectively redirect water away from your foundation, safeguarding your home from water damage.
Importance of Proper Drainage
Proper drainage is crucial for the health and stability of your home’s foundation. When water is not properly directed away from the foundation, it can accumulate and cause a wide range of problems that can be both costly and time-consuming to fix.
One of the main problems that can arise from poor drainage is basement flooding. If water is allowed to seep into your basement, it can damage your belongings, ruin the structural integrity of the space, and create a breeding ground for mold and mildew. This not only poses health risks but can also lead to significant repair costs.
Excess moisture around the foundation can also lead to the deterioration of the foundation itself. When soil becomes saturated with water, it expands and exerts pressure on the foundation walls. Over time, this pressure can lead to cracks in the foundation, compromising its stability and potentially causing structural issues throughout the entire home.
In addition to basement flooding and foundation damage, poor drainage can also result in water seeping into the crawl spaces beneath your home. This can create an environment for pests and insects to thrive, and can also cause the wooden structures in the crawl space to rot and decay.
Furthermore, inadequate drainage can cause water to accumulate in your yard, resulting in pools of standing water. This not only poses a safety hazard but can also drown plants and lead to soil erosion, affecting the overall health and aesthetics of your landscaping.
By ensuring proper drainage around your house foundation, you can prevent all of these issues and safeguard the longevity of your home. A well-designed and effective drainage system will redirect water away from the foundation, allowing it to flow naturally and preventing water from pooling near your home.
In the following sections, we will discuss how to assess your current drainage system and the various options available for improving it. With the right tools and techniques, you can create a drainage system that effectively protects your home from water damage and ensures a dry and stable foundation for years to come.
Assessing Your Current Drainage System
Before you dive into building a new drainage system, it’s important to assess your current setup. By understanding how water currently flows around your home, you can identify any existing issues and determine the best solutions for improving drainage.
Start by conducting a thorough inspection of your yard and the areas surrounding your foundation. Look for signs of pooling or standing water, uneven ground, dampness, or any areas where water seems to flow towards your home instead of away from it.
Observe how water accumulates during rainstorms or after irrigation. Are there any gutters or downspouts that are not functioning properly, causing water to overflow or be directed towards the foundation? Pay attention to any indications of water damage, such as damp walls or a musty smell in the basement.
Next, consider the slope of your landscape. Ideally, your yard should have a gentle slope away from the foundation, allowing water to naturally flow downhill and away from your home. If you notice flat or sunken areas near your foundation, these could be potential problem spots where water might accumulate.
Inspect the condition of your gutters and downspouts. Clear away any debris, such as leaves or twigs, that might be blocking the flow of water. Ensure that the downspouts are securely attached and are directing water at least a few feet away from the foundation.
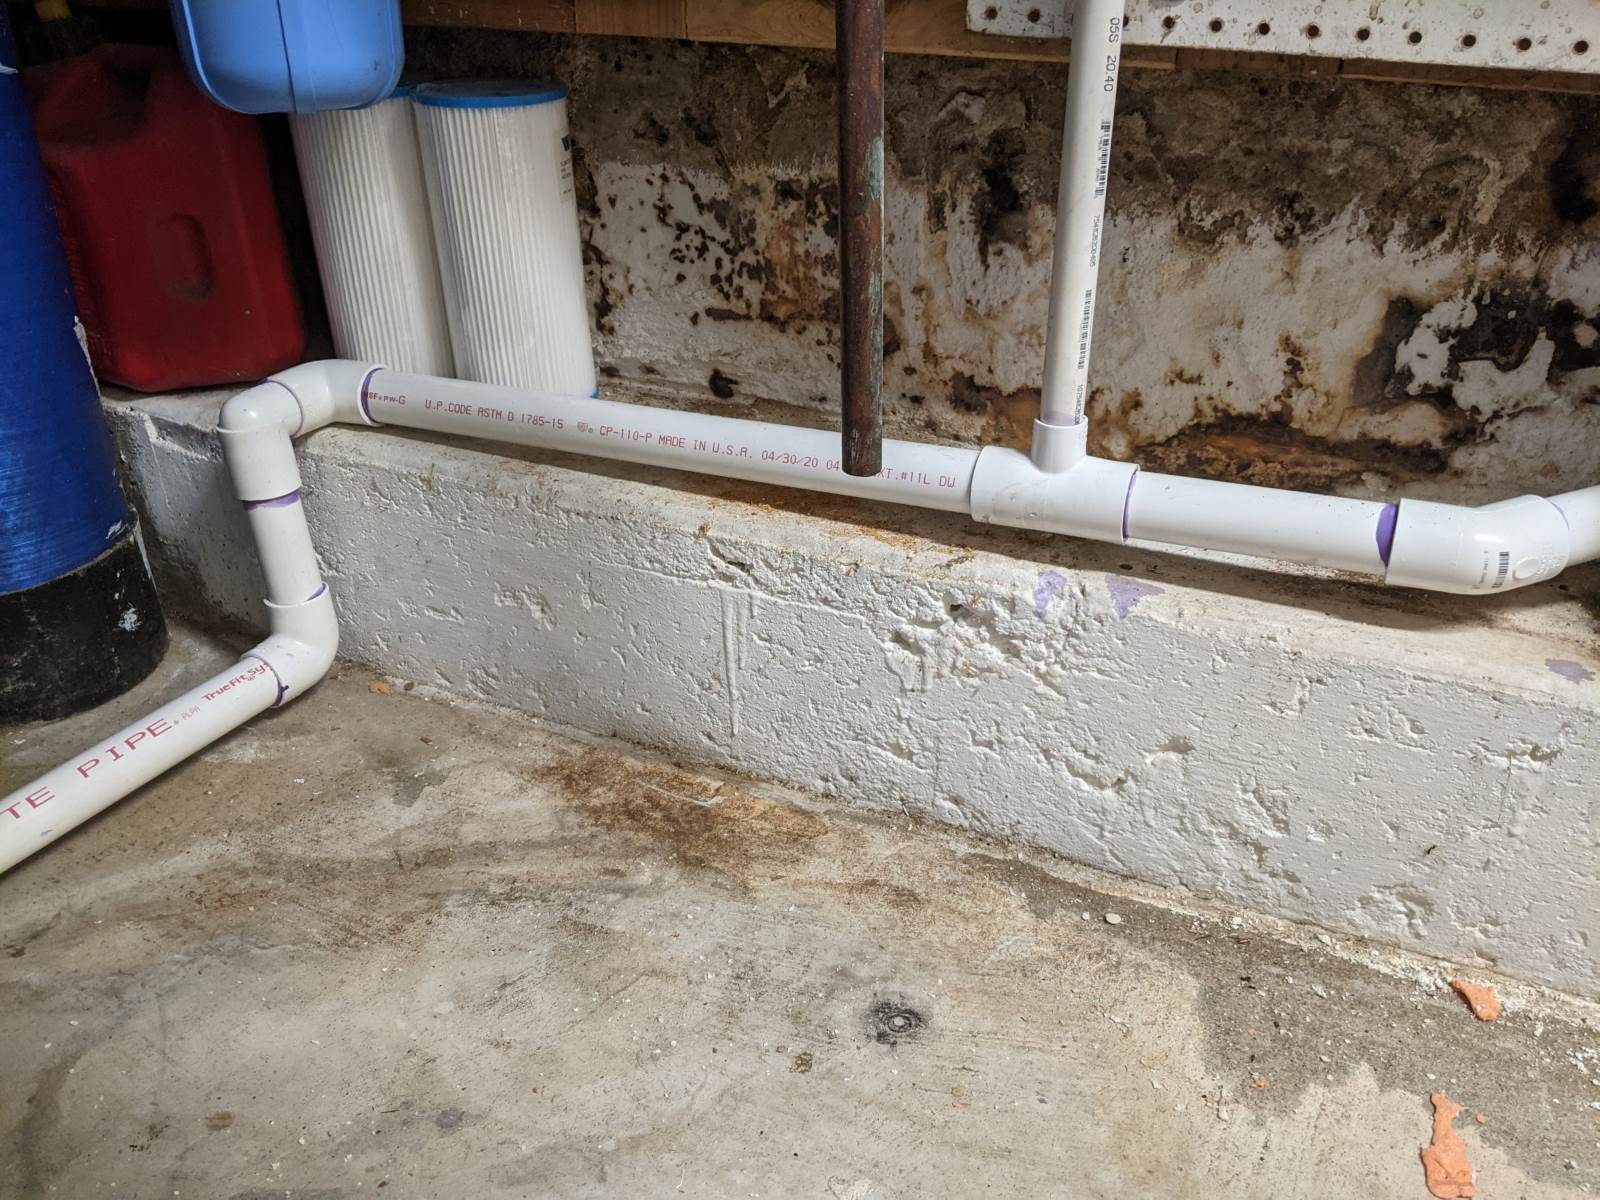
It’s also important to check the condition of your foundation walls. Look for any cracks or leaks that could indicate water damage. Keep in mind that some signs of water damage might not be immediately visible, so it’s crucial to address any concerns and consult with a professional if needed.
By thoroughly assessing your current drainage system, you will have a better understanding of the specific issues that need to be addressed. This will guide you in choosing the most appropriate drainage solutions for your home.
In the next section, we will explore some of the common drainage solutions available and how each can be implemented to improve the drainage around your house foundation.
Choosing the Right Drainage Solution
When it comes to improving the drainage around your house foundation, there are several effective solutions to consider. The right choice will depend on factors such as the slope of your yard, the severity of your drainage issues, and your budget.
Here are some common drainage solutions to help you choose the best option for your needs:
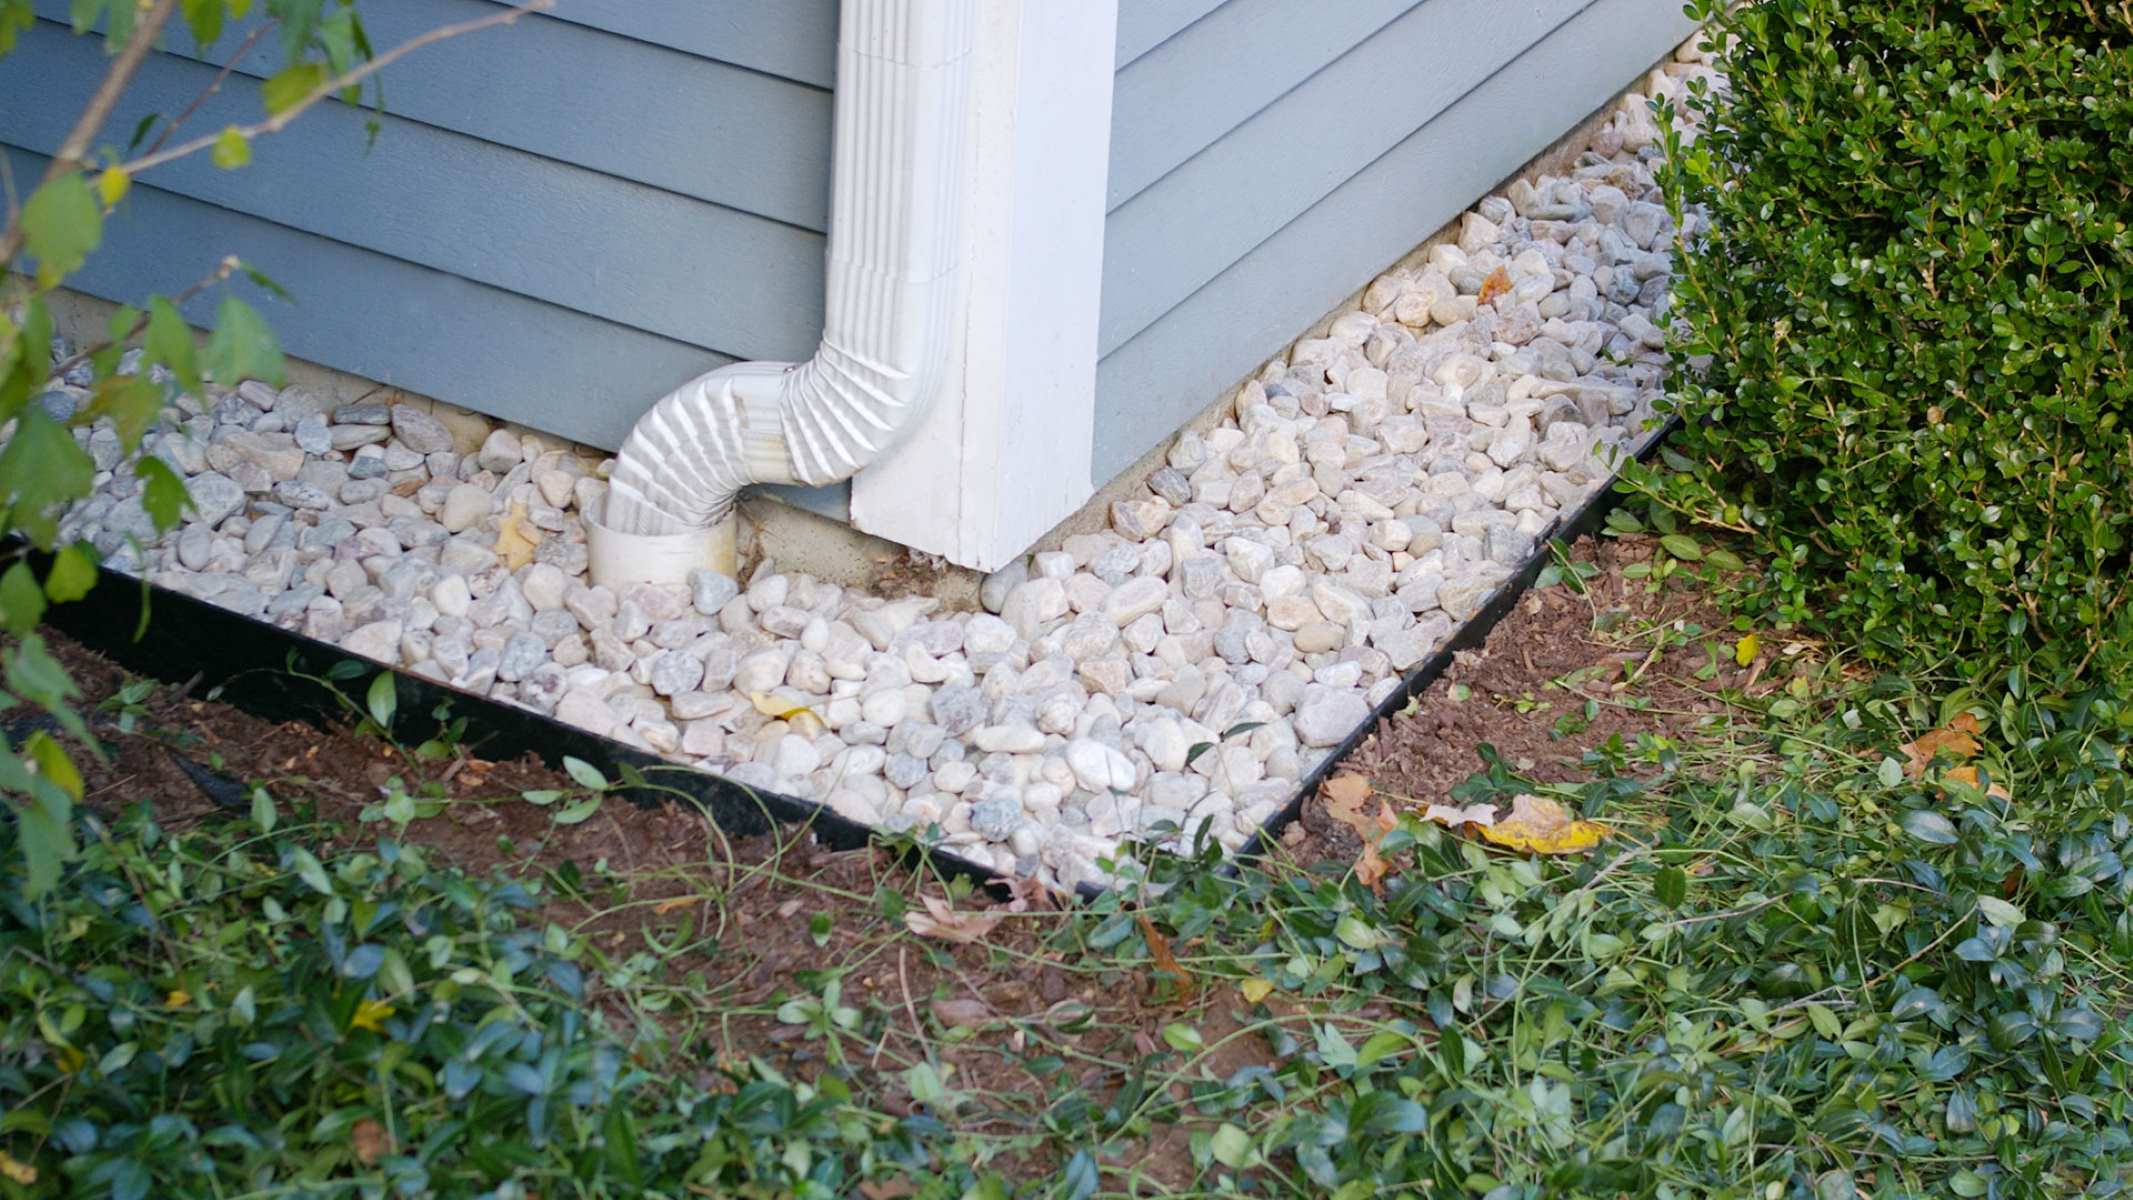
- French Drain: A French drain is a popular choice for managing excess water around the foundation. It consists of a trench filled with gravel and a perforated pipe that redirects water away from the foundation. The gravel acts as a filter to prevent debris from clogging the pipe. French drains are effective for redirecting water from higher areas of your yard or from downspouts, and they can be positioned along the perimeter of your home or across problem areas.
- Swale or Grading Slope: Creating a swale or grading slope involves reshaping the landscape to allow water to naturally flow away from the foundation. A swale is a shallow, sloping ditch that directs water towards a designated drainage area. Grading slope involves adjusting the existing slope of your yard to ensure proper water runoff. These methods are suitable for properties with moderate slope variations and can be enhanced with the addition of plants and vegetation to absorb excess water.
- Downspout Extensions: If your gutters and downspouts are not adequately directing water away from your foundation, installing downspout extensions can be a simple yet effective solution. These extensions are attached to the downspouts to carry water further away from the house. Ensure that the extensions direct water onto a sloping area or into a designated drainage system to prevent water from pooling near the foundation.
- Dry Well System: A dry well is a subsurface drainage system designed to collect and disperse excess water efficiently. It consists of a large hole filled with gravel or a pre-made plastic container that allows water to gradually seep into the ground. Dry wells are particularly useful for managing a high volume of water runoff or when the soil has poor drainage capabilities.
- Gutter Maintenance: Sometimes, the solution to your drainage issues may simply involve proper maintenance of your gutters and downspouts. Regularly clean out debris, such as leaves and twigs, to prevent clogs that can lead to overflowing gutters. Additionally, ensure that the gutters are securely attached and that all connections are leak-free.
When choosing the right drainage solution, consider the specific needs of your property and consult with professionals if necessary. They can provide expert advice tailored to your unique situation and help you select the most effective drainage solution for your home.
Next, we will delve into the steps to install a French drain, a popular drainage solution for many homeowners.
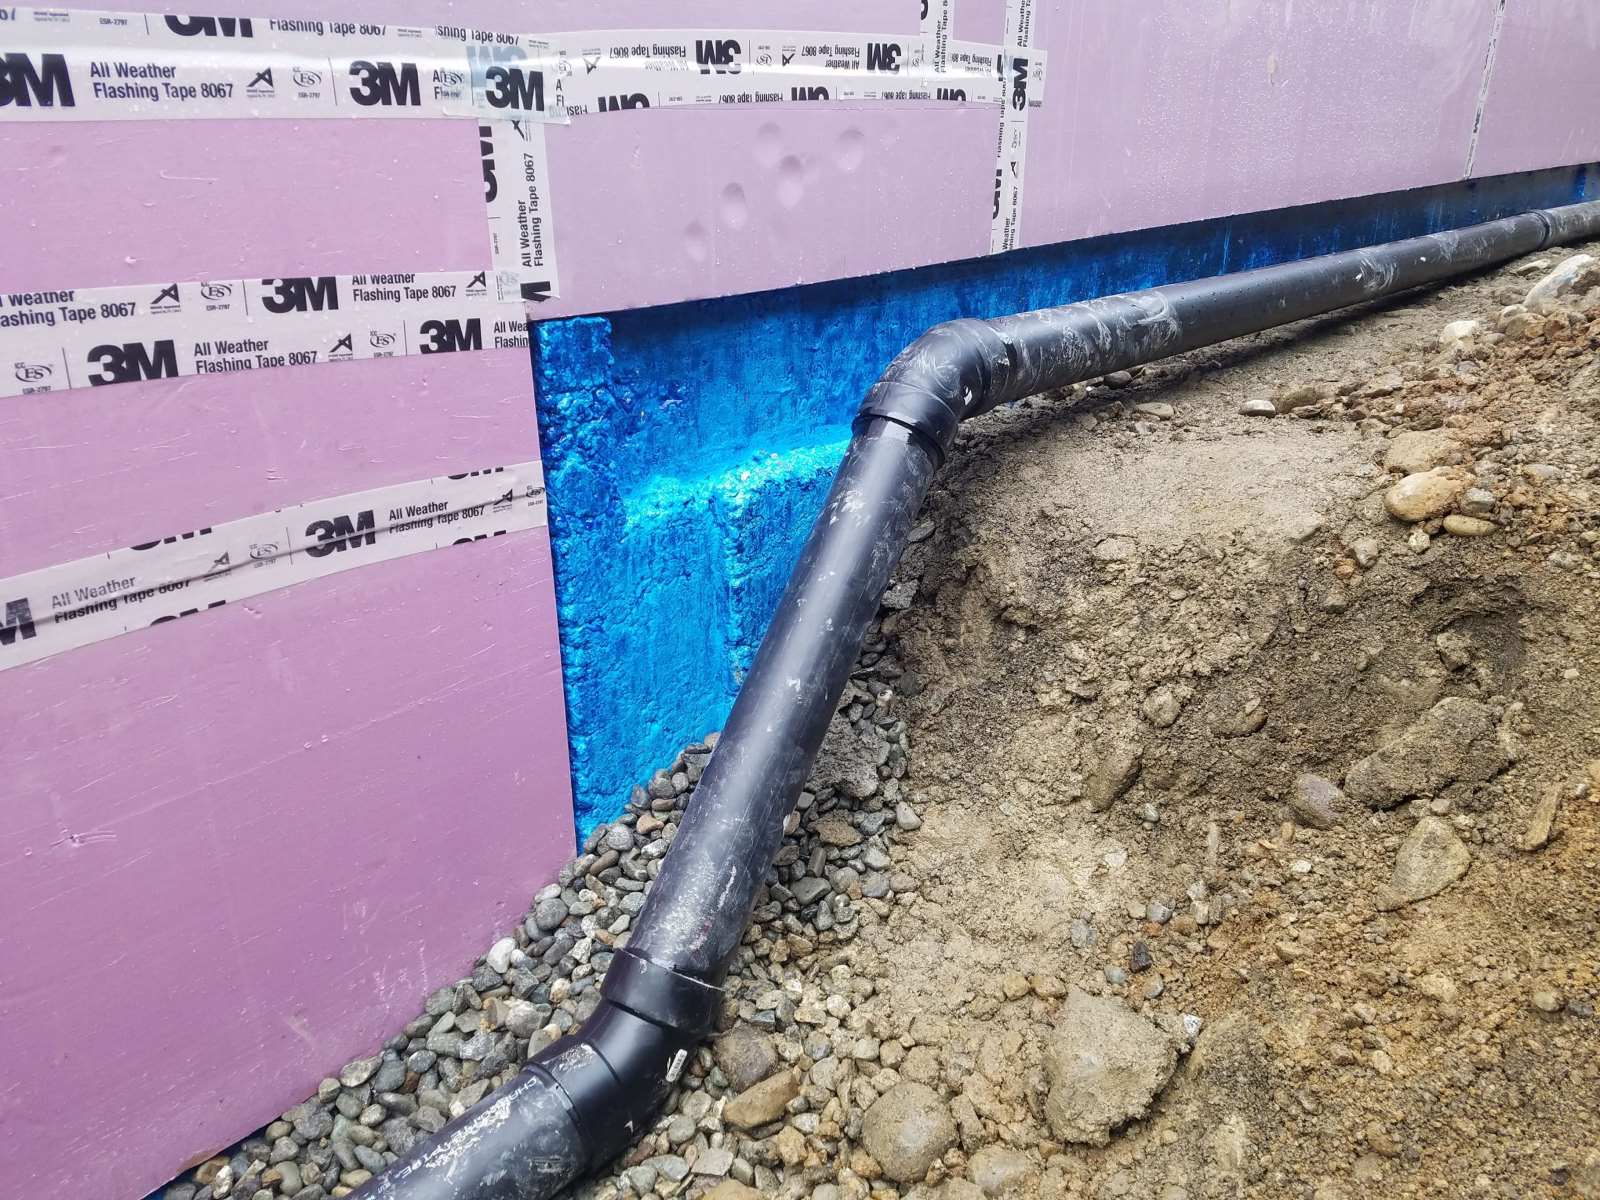
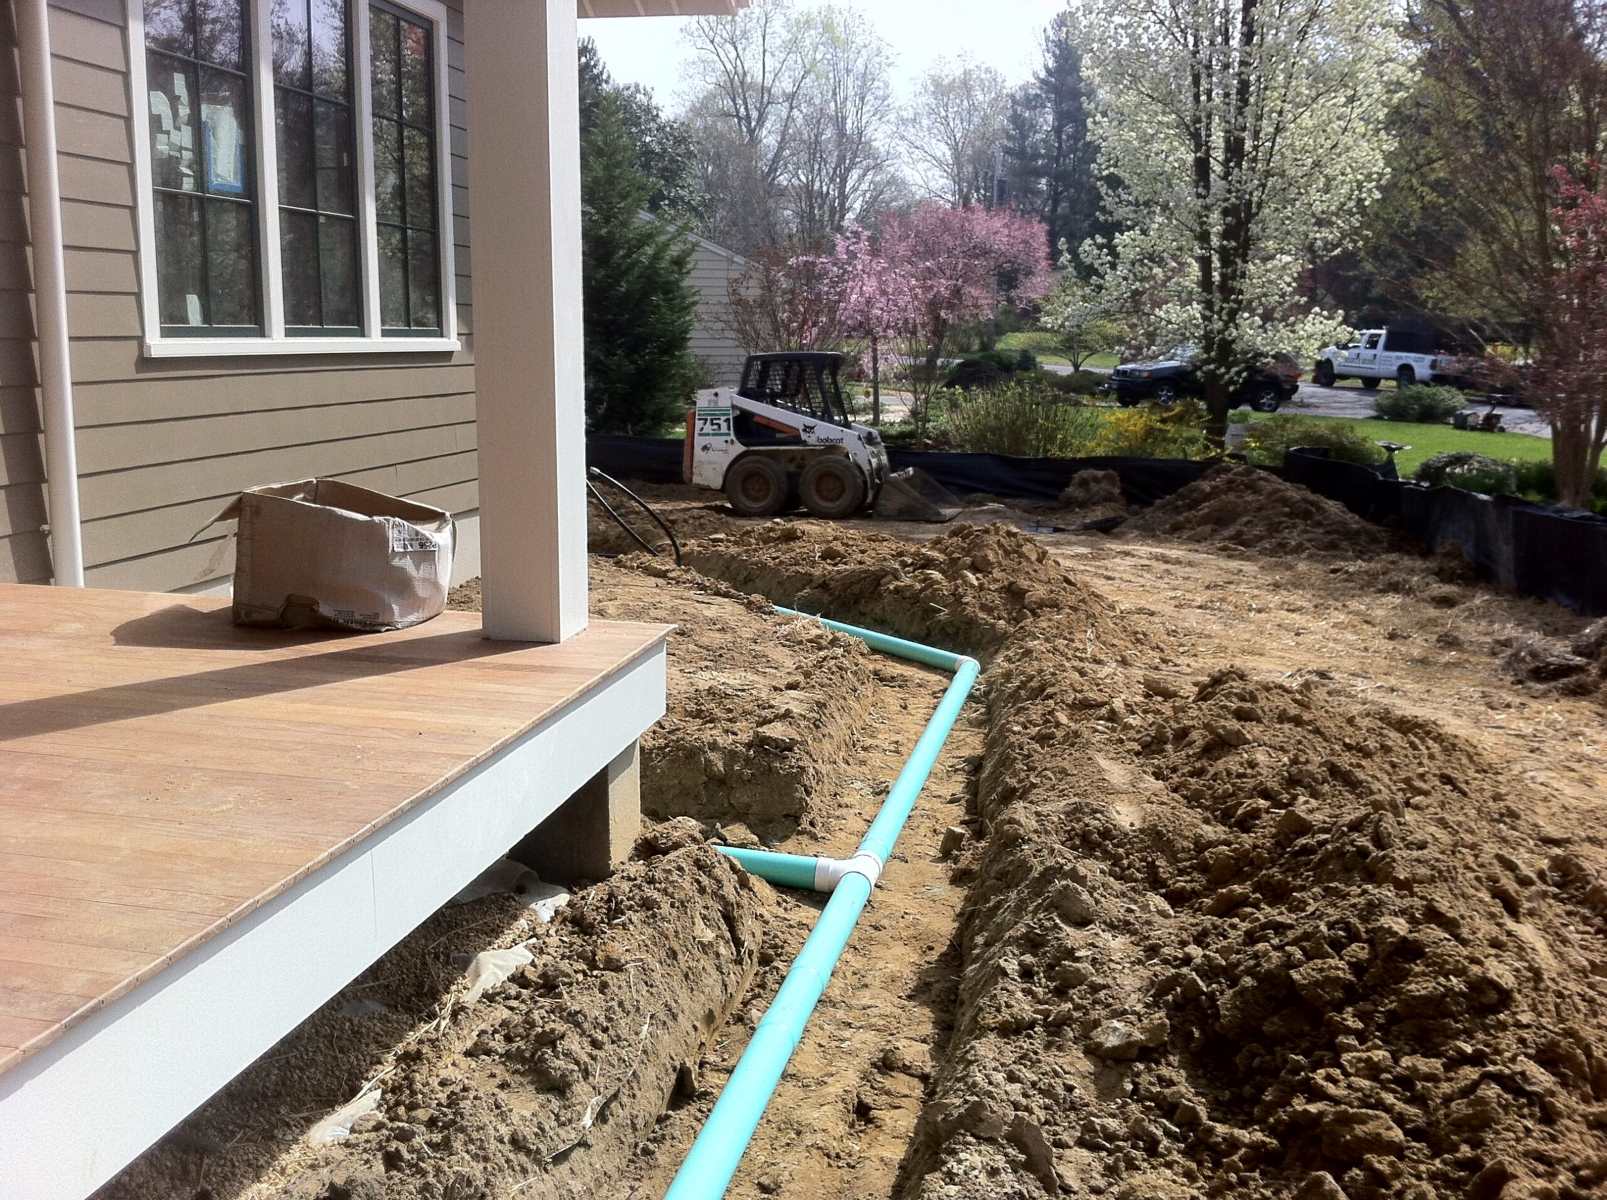
Installing a French Drain
A French drain is a highly effective drainage solution for redirecting water away from your house foundation. It consists of a trench filled with gravel and a perforated pipe that collects and channels water. Installing a French drain requires careful planning and execution, but with the right steps, you can successfully improve your drainage system.
Here’s a step-by-step guide on how to install a French drain:
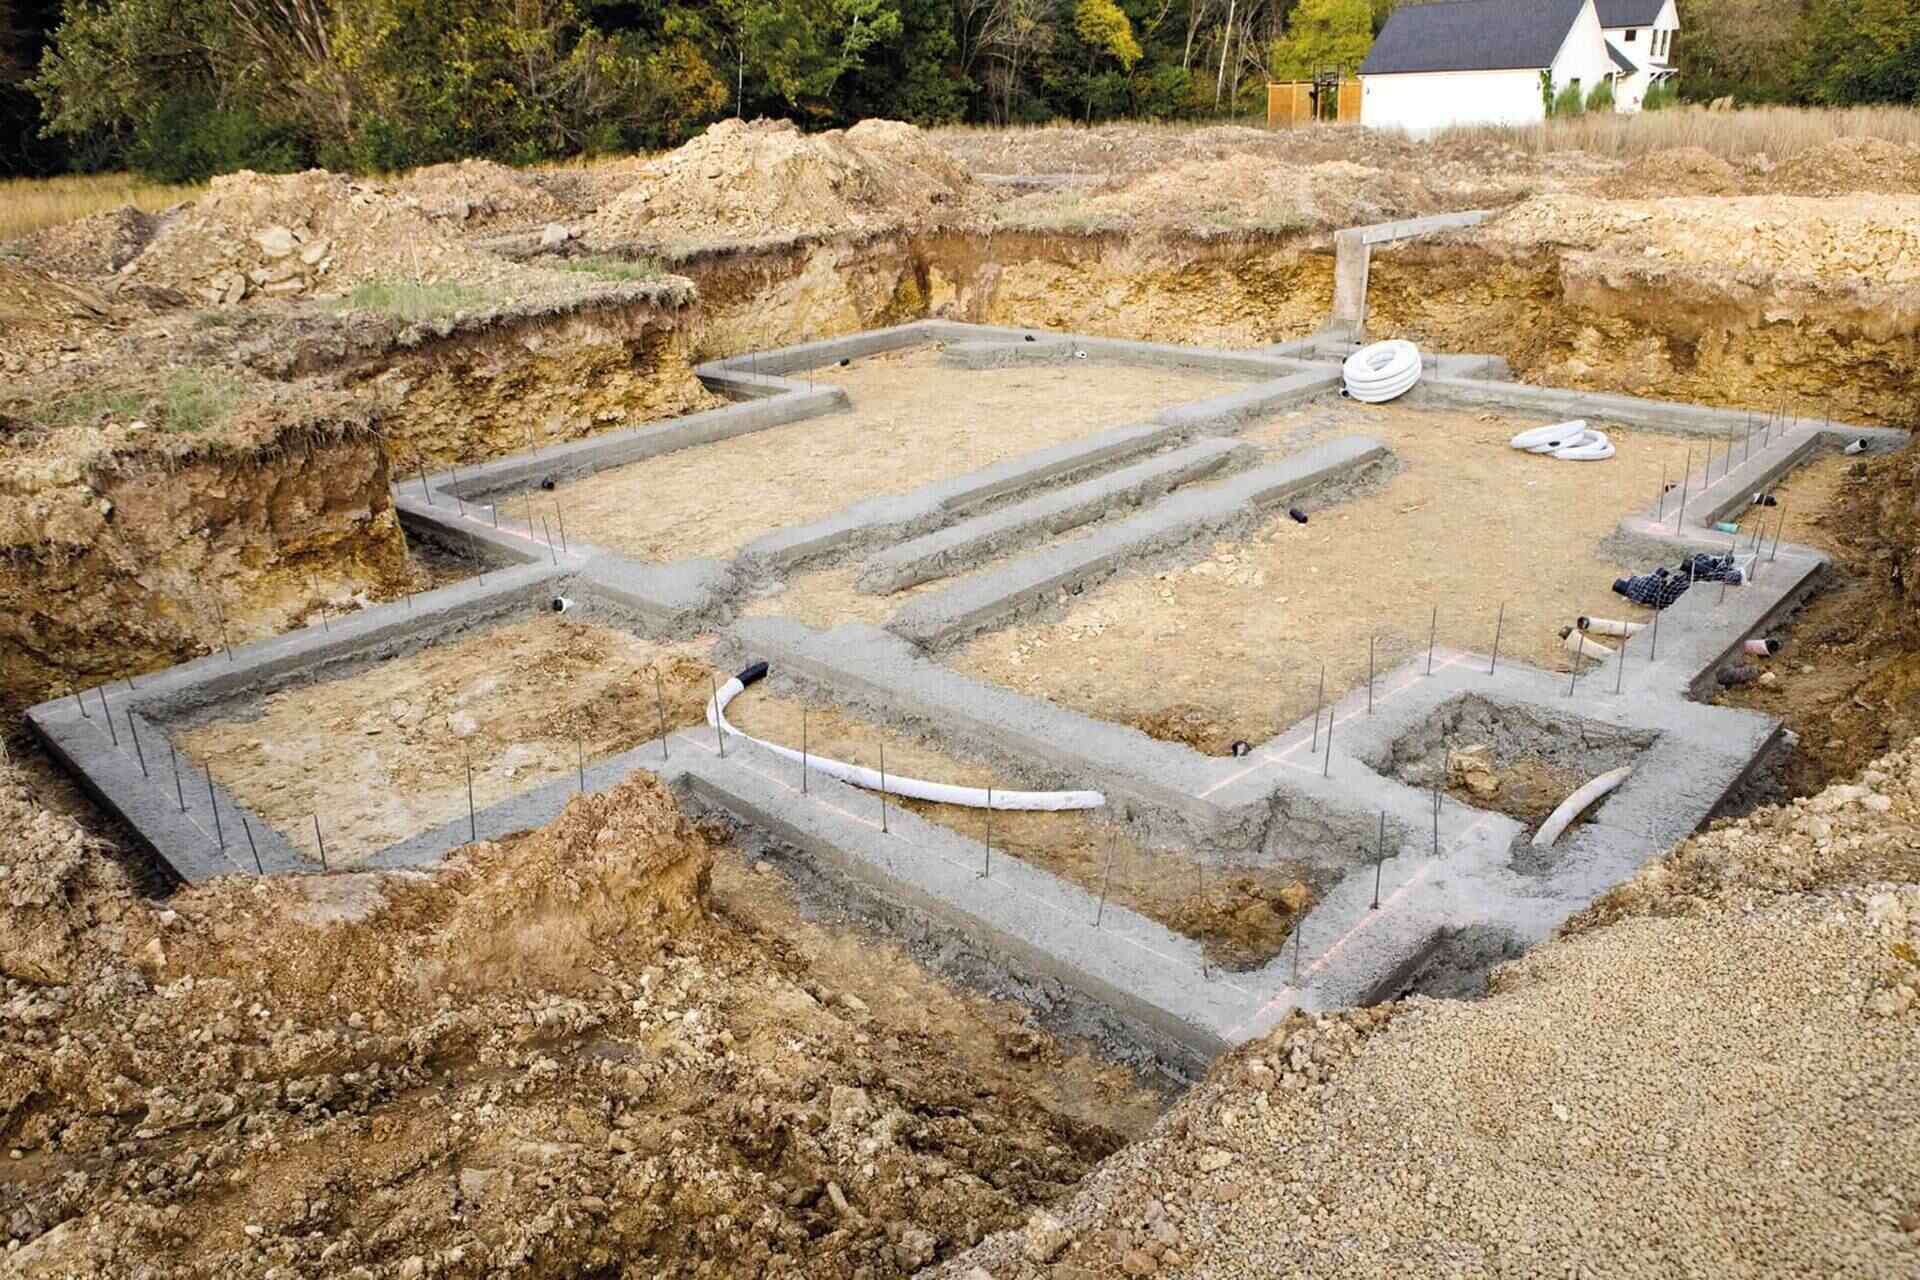
1. Determine the Drainage Route: Start by identifying the best route for your French drain. Consider the slope of your yard and the direction you want the water to flow. The drain should lead to a lower point away from your foundation, such as a drainage ditch or a designated drainage area.
2. Excavate the Trench: Dig a trench along the planned route for your French drain. The trench should be about 12-18 inches deep and wide enough to accommodate the pipe and gravel. Ensure that the trench has a slight slope of 1-2 inches every 8-10 feet to encourage water flow.
3. Add Gravel: Fill the bottom of the trench with a layer of gravel. This acts as a filter and prevents sediment from clogging the pipe. The gravel should be about 2-4 inches deep.
4. Place the Perforated Pipe: Lay the perforated pipe on top of the gravel, ensuring that the perforations face downward. The pipe should have a continuous slope towards the drainage point. Connect multiple sections of pipe, if needed, using pipe connectors or couplings.
5. Fill with Gravel: Surround the pipe with more gravel, ensuring that the pipe is completely covered. Fill the trench with gravel until it reaches the ground level.
6. Cover with Landscape Fabric: To prevent soil or debris from entering the French drain, cover the gravel with landscape fabric. This allows water to pass through while keeping the drain free from obstructions.
7. Backfill the Trench: Carefully fill the remaining trench with soil, tamping it down gently as you go. Make sure the surface is level and blends with the surrounding landscape.
8. Direct Water Away: Make sure to extend your downspouts or connect them to the French drain system to ensure that water is effectively redirected away from your foundation.
Once your French drain is installed, monitor its effectiveness by observing water flow during rain events. Regular maintenance, such as removing debris from the drain and inspecting the pipe for any clogs or damage, is also essential to keep your French drain working optimally.
Remember, if you are unsure about installing a French drain yourself, it’s always best to consult with a professional to ensure that the drainage system is properly installed and suited to your specific needs.
Ensure the ground slopes away from the foundation at a 5% grade for at least 10 feet. Use downspout extensions and French drains to direct water away from the house.
Read more: How To Build A Drainage Ditch Around A House
Building a Swale or Grading Slope
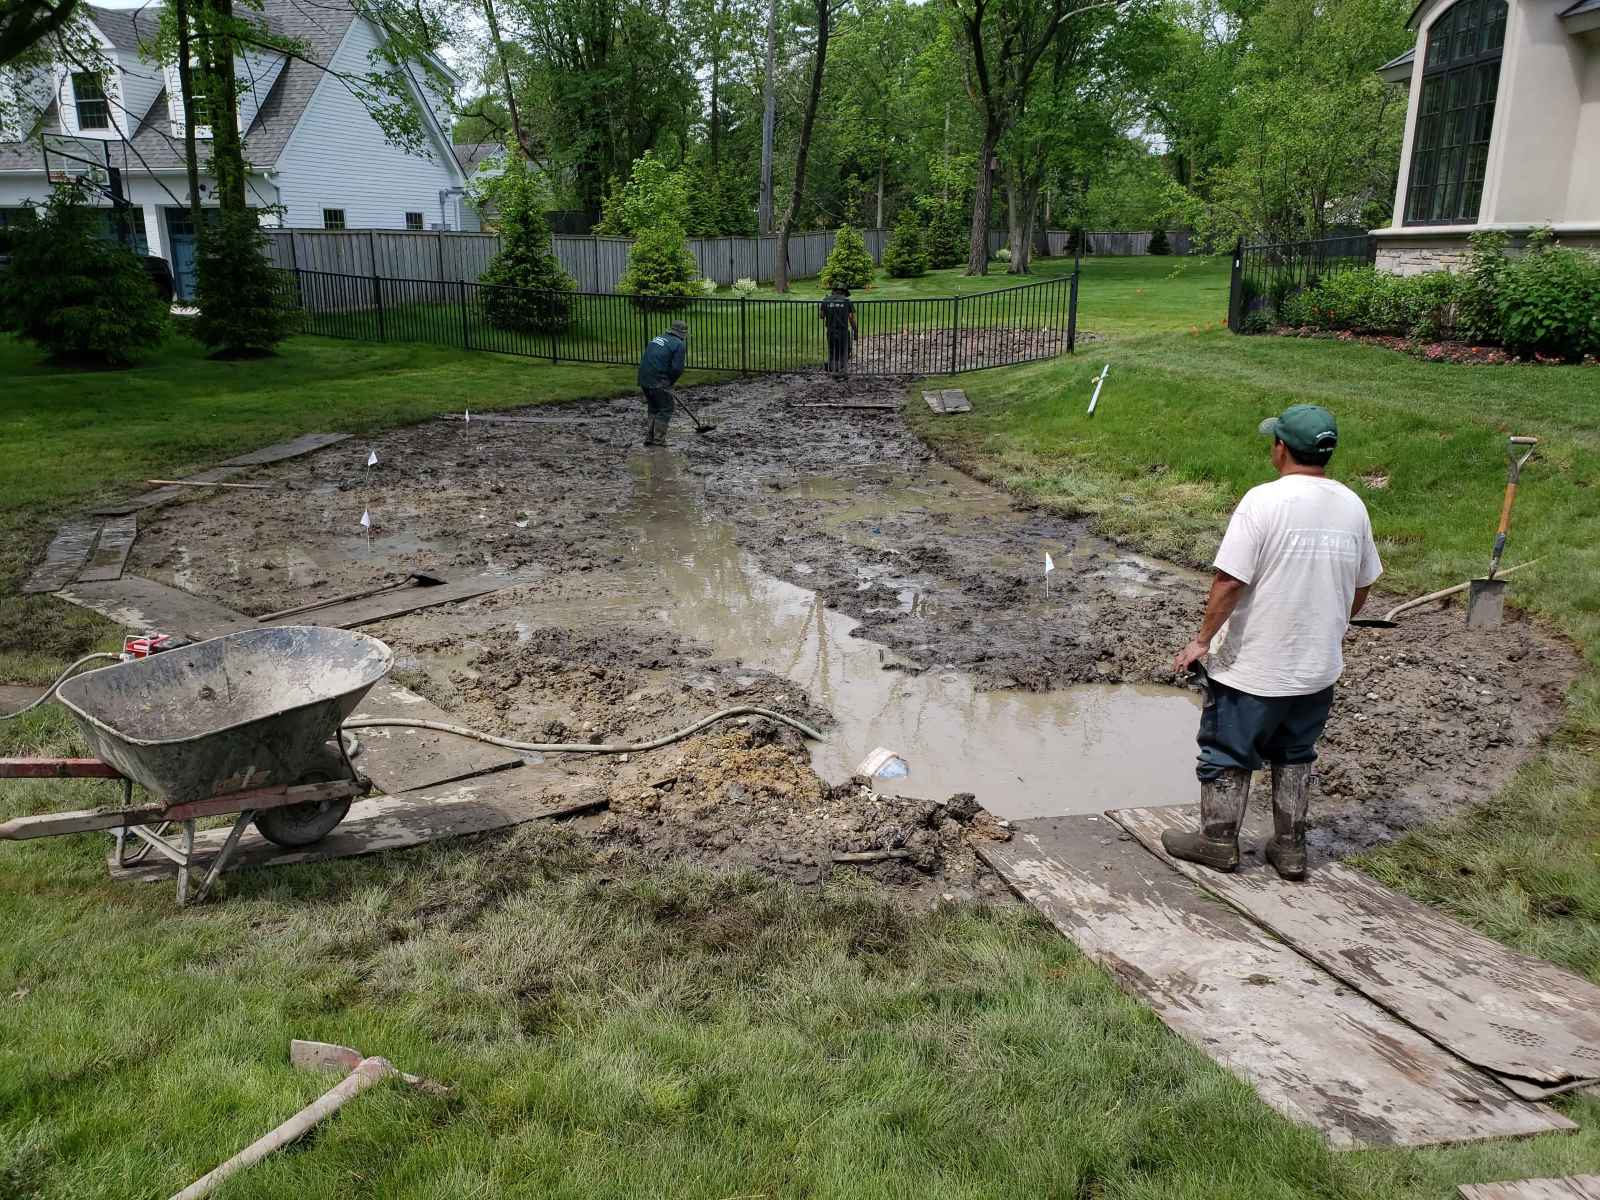
If you have a relatively flat yard or are dealing with minor drainage issues, building a swale or grading slope can be an effective and budget-friendly solution. These methods involve adjusting the landscape to create a gentle slope that directs water away from your house foundation.
Here’s a step-by-step guide on how to build a swale or grading slope:
1. Assess Your Yard: Determine the areas where water tends to accumulate or flow towards your foundation. Use this information to plan the location and path of the swale or the desired slope for grading.
2. Mark the Swale or Grading Lines: Use stakes and string to mark the lines where the swale or grading slope will be created. Ensure that the lines gently slope away from your foundation to allow water to naturally flow downhill.
3. Excavate the Swale or Grading Area: Dig a trench along the marked lines. The depth and width of the trench will depend on the amount of water you anticipate. Generally, a depth of 6-12 inches and a width of 2-3 feet is sufficient for most situations.
4. Shape the Swale or Grading Slope: Use a shovel or rake to shape the bottom of the trench, ensuring a consistent slope from one end to the other. The slope should be approximately 1-2 inches per 8-10 feet.
5. Check the Slope: Use a level or a measuring device with a slope indicator to confirm that the swale or grading slope has the desired incline. This will ensure proper water runoff.
6. Install Landscape Fabric (Optional): To prevent the swale or grading slope from eroding, you can lay landscape fabric along the bottom and sides of the trench before backfilling with soil. This will help stabilize the slope and prevent soil from washing away.
7. Backfill and Compact: Fill the swale or grading trench with soil, packing it down firmly as you go. Ensure that the surface is level and blends with the surrounding landscape.
8. Plant Vegetation (Optional): To enhance the appearance of the swale or grading slope and maximize water absorption, consider planting vegetation such as grass, shrubs, or native plants. These plants can help absorb excess water and reduce soil erosion.
Building a swale or grading slope can be a DIY project or can be completed with the assistance of landscaping professionals. It’s important to consider the specific needs of your property and consult with experts if needed.
By creating a designated path for water flow, swales and grading slopes can effectively redirect water away from your foundation, preventing issues such as pooling, erosion, and foundation damage. Regular maintenance, such as removing debris from the swale or grading slope, is essential to keep it functioning properly.
Using Downspout Extensions
Downspout extensions are a simple yet effective solution to redirect water away from your house foundation. If your gutters and downspouts are not adequately directing water away from your home, installing downspout extensions can significantly improve your drainage system.
Here’s how to use downspout extensions:
1. Assess Your Downspouts: Inspect your gutters and downspouts to determine if they are effectively directing water away from your foundation. Look for any signs of overflowing or pooling near the downspouts.
2. Identify the Problem Areas: Locate the downspouts that are not adequately directing water away from your foundation. These are the areas where you will need to install downspout extensions.
3. Choose the Right Extensions: Select downspout extensions that are compatible with your existing downspouts. Extensions are available in various materials, such as flexible plastic or aluminum, and come in different lengths to accommodate your needs.
4. Attach the Extensions: Position the downspout extensions onto the ends of the existing downspouts. Ensure a secure fit by using connectors or clips, depending on the type of extension and downspout.
5. Extend Away from the Foundation: Position the downspout extensions so that water is directed away from your house foundation. Aim for a distance of at least 3-4 feet from the foundation, or even further if possible, to ensure proper drainage.
6. Check for Proper Slope: Make sure that the downspout extensions have a slight slope away from your home. This will encourage water flow and prevent any pooling near the foundation.
It’s important to note that downspout extensions should direct water towards a sloping area of your yard, a designated drainage system, or a catchment basin. Avoid directing the water towards neighboring properties or areas where it could cause damage or pooling issues.
Regularly inspect and clean the extensions to ensure they are free of debris and not clogged. Additionally, check the connections between the extensions and downspouts to ensure they are secure and leak-free.
By properly using downspout extensions, you can prevent water from pooling near your foundation and ensure that it is directed away from your home, reducing the risk of water damage and foundation issues.
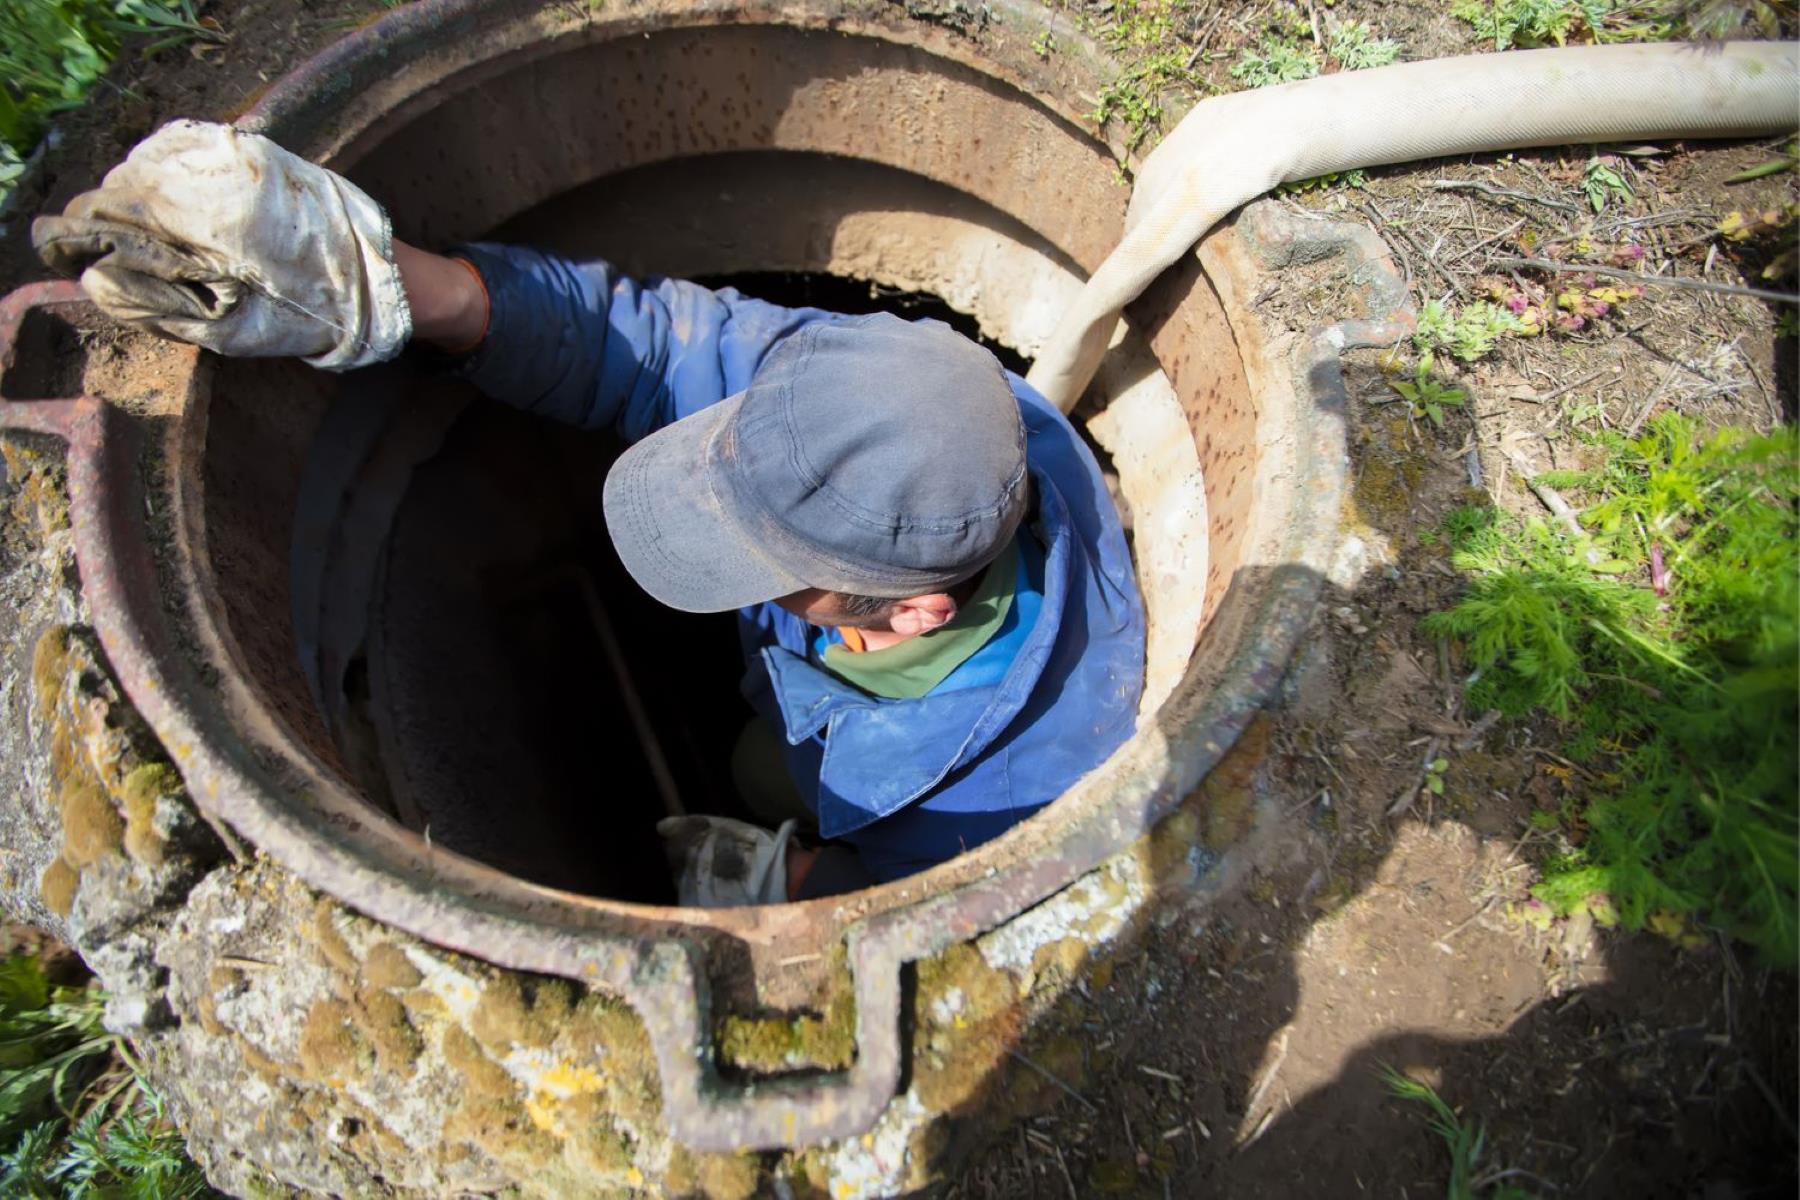
Creating a Dry Well System
A dry well system is an effective solution for managing excessive water runoff around your house foundation. It consists of a large hole filled with gravel or a pre-made plastic chamber that collects and slowly disperses water into the ground. By creating a dry well system, you can prevent water from pooling near your foundation and mitigate potential drainage issues.
Here’s how to create a dry well system:
1. Assess Your Yard and Determine Placement: Identify areas where water tends to accumulate or flow towards your foundation. Look for low points or areas where the ground is consistently damp. These are the ideal locations for your dry well system.
2. Dig the Dry Well Hole: Dig a hole in the chosen location that is large enough to accommodate the dry well chamber or a 55-gallon drum. The size of the hole will depend on the volume of water you need to manage. A general recommendation is to have a hole that is approximately 2-3 times the size of the dry well chamber.
3. Install the Dry Well Chamber: If you are using a pre-made plastic chamber, simply lower it into the hole and make sure it is level with the surrounding ground. If using a 55-gallon drum, drill holes in the sides and bottom of the drum to allow for water absorption.
4. Fill the Hole with Gravel: Fill the hole around the dry well chamber with gravel. This will serve as a filter, allowing water to seep slowly into the ground while preventing sediment from clogging the system. Fill the hole until the dry well chamber is completely surrounded by gravel.
5. Redirect Water into the Dry Well: To direct water into the dry well system, you can connect the downspouts from your gutters or channel water from problematic areas using a slope or swale. Make sure the water flows directly into the dry well, allowing it to slowly infiltrate the ground.
6. Cover the Dry Well (Optional): To prevent debris from entering and clogging the dry well, you can cover it with a permeable landscape fabric. This will allow water to pass through while keeping unwanted materials out.
Regularly inspect and maintain the dry well system by clearing any debris or sediment that may accumulate over time. Additionally, check the connections and ensure that water is consistently flowing into the dry well.
A dry well system can be a valuable addition to your drainage strategy, particularly if you have areas in your yard that are prone to excess water accumulation. If you are unsure about installing a dry well system yourself, consult with a professional to ensure proper installation and functionality.
Tips for Maintaining Drainage around the House Foundation
Maintaining proper drainage around your house foundation is crucial to avoid water damage and maintain the structural integrity of your home. Here are some tips to help you effectively maintain your drainage system:
1. Regularly Clean Gutters and Downspouts: Clean your gutters and downspouts at least twice a year, and more frequently if you have trees near your home. Removing leaves, debris, and other blockages will ensure that water can flow freely through the system and be directed away from your foundation.
2. Ensure Proper Downspout Extensions: Regularly check that your downspout extensions are securely attached and directed away from the foundation. Ensure that the extensions are long enough to direct water a sufficient distance from your home, typically at least 3-4 feet.
3. Monitor and Adjust Your Grading: Regularly inspect the slope of your yard and the grading around your foundation. Over time, the soil may settle and cause the slope to become less effective. Adjust the grading as necessary to ensure water is directed away from your foundation, preventing pooling and potential damage.
4. Check for Foundation Cracks and Leaks: Inspect your foundation for any cracks or leaks. Even small cracks can allow water to seep in and cause damage. If you notice any signs of foundation issues, such as moisture or musty odors in your basement, consult with a professional to address the problem promptly.
5. Install a Sump Pump: Consider installing a sump pump in your basement if you frequently experience water penetration. A sump pump can help remove excess water and prevent basement flooding. Regularly check and maintain the sump pump to ensure it is working properly.
6. Maintain Drainage Paths: Ensure that any swales, grading slopes, or French drains on your property are clear of debris and flowing effectively. Regularly remove leaves, dirt, and other obstructions to keep the drainage paths open and functional.
7. Monitor Your Yard’s Irrigation: Be mindful of your yard’s irrigation system to prevent overwatering. Excessive watering can lead to water pooling around your foundation. Adjust your watering schedule as needed and ensure that sprinkler heads are not spraying directly onto your house.
8. Consider Professional Help: If you are experiencing persistent or severe drainage issues, it may be beneficial to consult with a professional. They can assess your specific situation and provide informed recommendations for improving your drainage system.
Remember, regular maintenance is key to ensuring the effectiveness of your drainage system. By implementing these tips, you can minimize the risk of water damage, prevent foundation issues, and maintain a dry and stable home.
Read more: How To Improve Drainage Around The House
Conclusion
Proper drainage around your house foundation is essential for maintaining the integrity and longevity of your home. By implementing effective drainage solutions, you can prevent issues such as basement flooding, foundation damage, and water accumulation, thereby safeguarding your investment and ensuring a healthy living environment.
In this comprehensive guide, we have discussed the importance of proper drainage, how to assess your current drainage system, and various solutions for building effective drainage around your house foundation.
We explored options such as installing a French drain, building a swale or grading slope, using downspout extensions, and creating a dry well system. Each of these solutions offers unique benefits and can be tailored to suit your specific needs and property layout.
Additionally, we provided tips for maintaining your drainage system, including regular gutter cleaning, monitoring and adjusting grading, checking for foundation cracks, and proper irrigation management.
Remember, regular inspection and maintenance are crucial for ensuring the continued efficacy of your drainage system. Regularly assess your drainage setup, address any issues promptly, and consult with professionals when needed to ensure the best outcomes.
By taking proactive steps to improve and maintain drainage around your house foundation, you can prevent water damage, protect your foundation, and maintain a safe and dry living environment for years to come.
Thank you for reading our guide. We hope it has provided you with valuable insights and practical solutions for improving the drainage around your home. Here’s to a well-protected and water-free foundation!
Frequently Asked Questions about How To Build Drainage Around House Foundation
Was this page helpful?
At Storables.com, we guarantee accurate and reliable information. Our content, validated by Expert Board Contributors, is crafted following stringent Editorial Policies. We're committed to providing you with well-researched, expert-backed insights for all your informational needs.

0 thoughts on “How To Build Drainage Around House Foundation”