Home>Home Maintenance>How To Point Drainage Gravel Around House Foundation
Home Maintenance
How To Point Drainage Gravel Around House Foundation
Modified: October 18, 2024
Learn how to properly point drainage gravel around your house foundation for effective home maintenance. Protect your home from water damage and ensure proper drainage.
(Many of the links in this article redirect to a specific reviewed product. Your purchase of these products through affiliate links helps to generate commission for Storables.com, at no extra cost. Learn more)
Introduction
Welcome to the world of home maintenance, where every small detail can make a big difference. One often overlooked aspect of keeping your home in pristine condition is ensuring proper drainage around the foundation. A well-designed drainage system can prevent water damage, protect the structural integrity of your home, and enhance its longevity. One essential component of an effective drainage system is the use of drainage gravel around the foundation.
In this article, we will guide you through the process of pointing drainage gravel around your house foundation. Whether you are a seasoned do-it-yourself enthusiast or a homeowner looking to tackle a new project, this comprehensive guide will provide you with the necessary information to get the job done right.
Before we dive into the step-by-step process, let’s talk about why drainage gravel is important. When it rains or when water accumulates near your foundation, it can seep into the soil, causing it to expand and exert pressure against your home’s foundation walls. Over time, this can lead to cracks, leaks, and even structural damage. By installing drainage gravel, you create a path for water to flow away from the foundation, reducing the risk of moisture-related issues.
Now that we understand why drainage gravel is crucial, let’s explore the steps involved in pointing it around your house foundation. By following these steps, you can ensure proper drainage and safeguard the integrity of your home.
Key Takeaways:
- Properly pointing drainage gravel around your home’s foundation is crucial for preventing water damage and maintaining structural integrity. Follow the step-by-step guide to ensure effective water redirection.
- Regular maintenance of the drainage system is essential to prevent clogs, blockages, and other issues that may compromise its proper functioning. Keep an eye on water flow, clean the drainage pipe, and attend to foundation cracks.
Step 1: Prepare the Area Around the Foundation
Before you can begin pointing drainage gravel, it’s important to prepare the area around your house foundation. This step ensures that the foundation is clean and free from any obstructions that could hinder the installation process. Here’s what you need to do:
- Clear the area: Start by removing any plants, debris, or objects close to the foundation. Trim back any overgrown vegetation and clear the space to create a clean working area.
- Inspect for any existing drainage: Take a walk around your home and inspect the existing drainage system, if any. Look for downspouts, gutters, or other drainage features that may already be in place. Assess their condition and make any necessary repairs before proceeding.
- Identify water sources: Determine the sources of water near your foundation. Look for areas where water accumulates or where there are signs of moisture. This will help you understand where the drainage gravel should be pointed and ensure proper water flow away from the foundation.
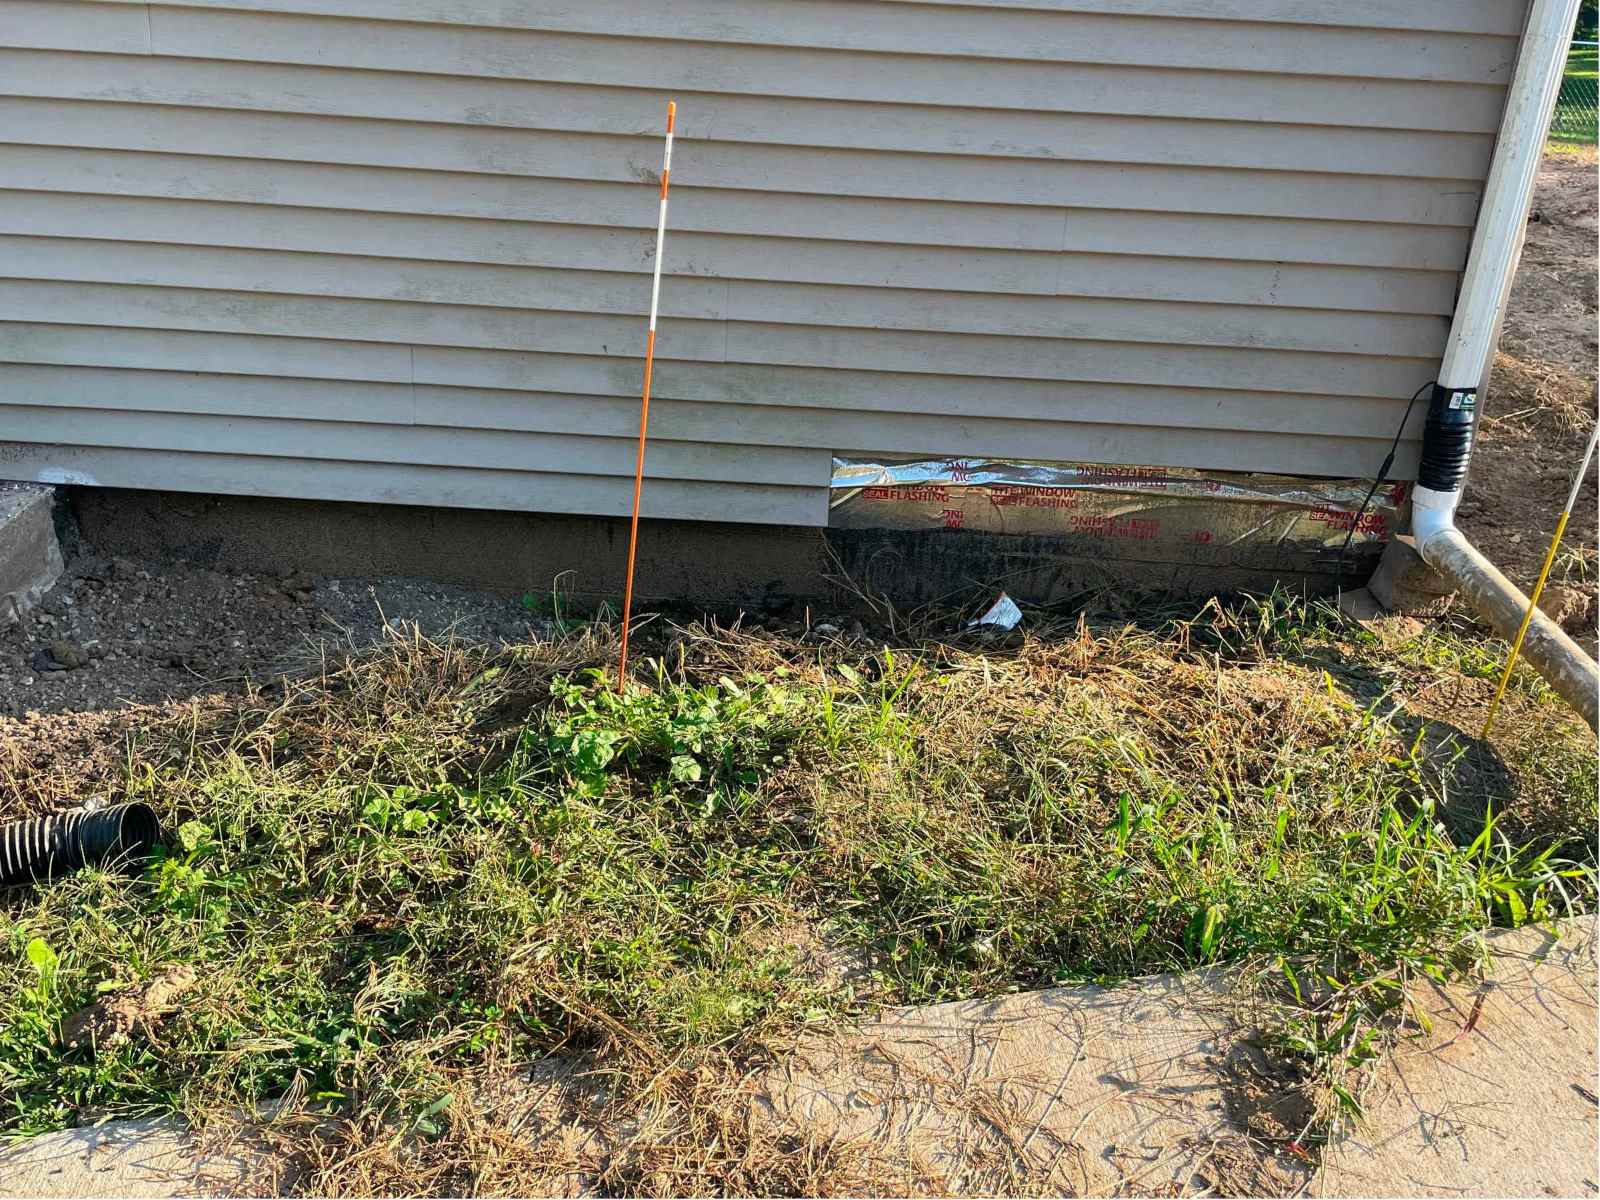
- Check for foundation cracks or damage: Take the time to carefully inspect your foundation for any cracks, leaks, or signs of damage. If you notice any issues, it’s essential to address them before proceeding with the drainage gravel installation. Repairing foundation damage will help maintain the structural integrity of your home.
By adequately preparing the area around your foundation, you lay the groundwork for a successful drainage gravel installation. Remember, taking the time to complete this step thoroughly will ensure a more effective and durable drainage system.
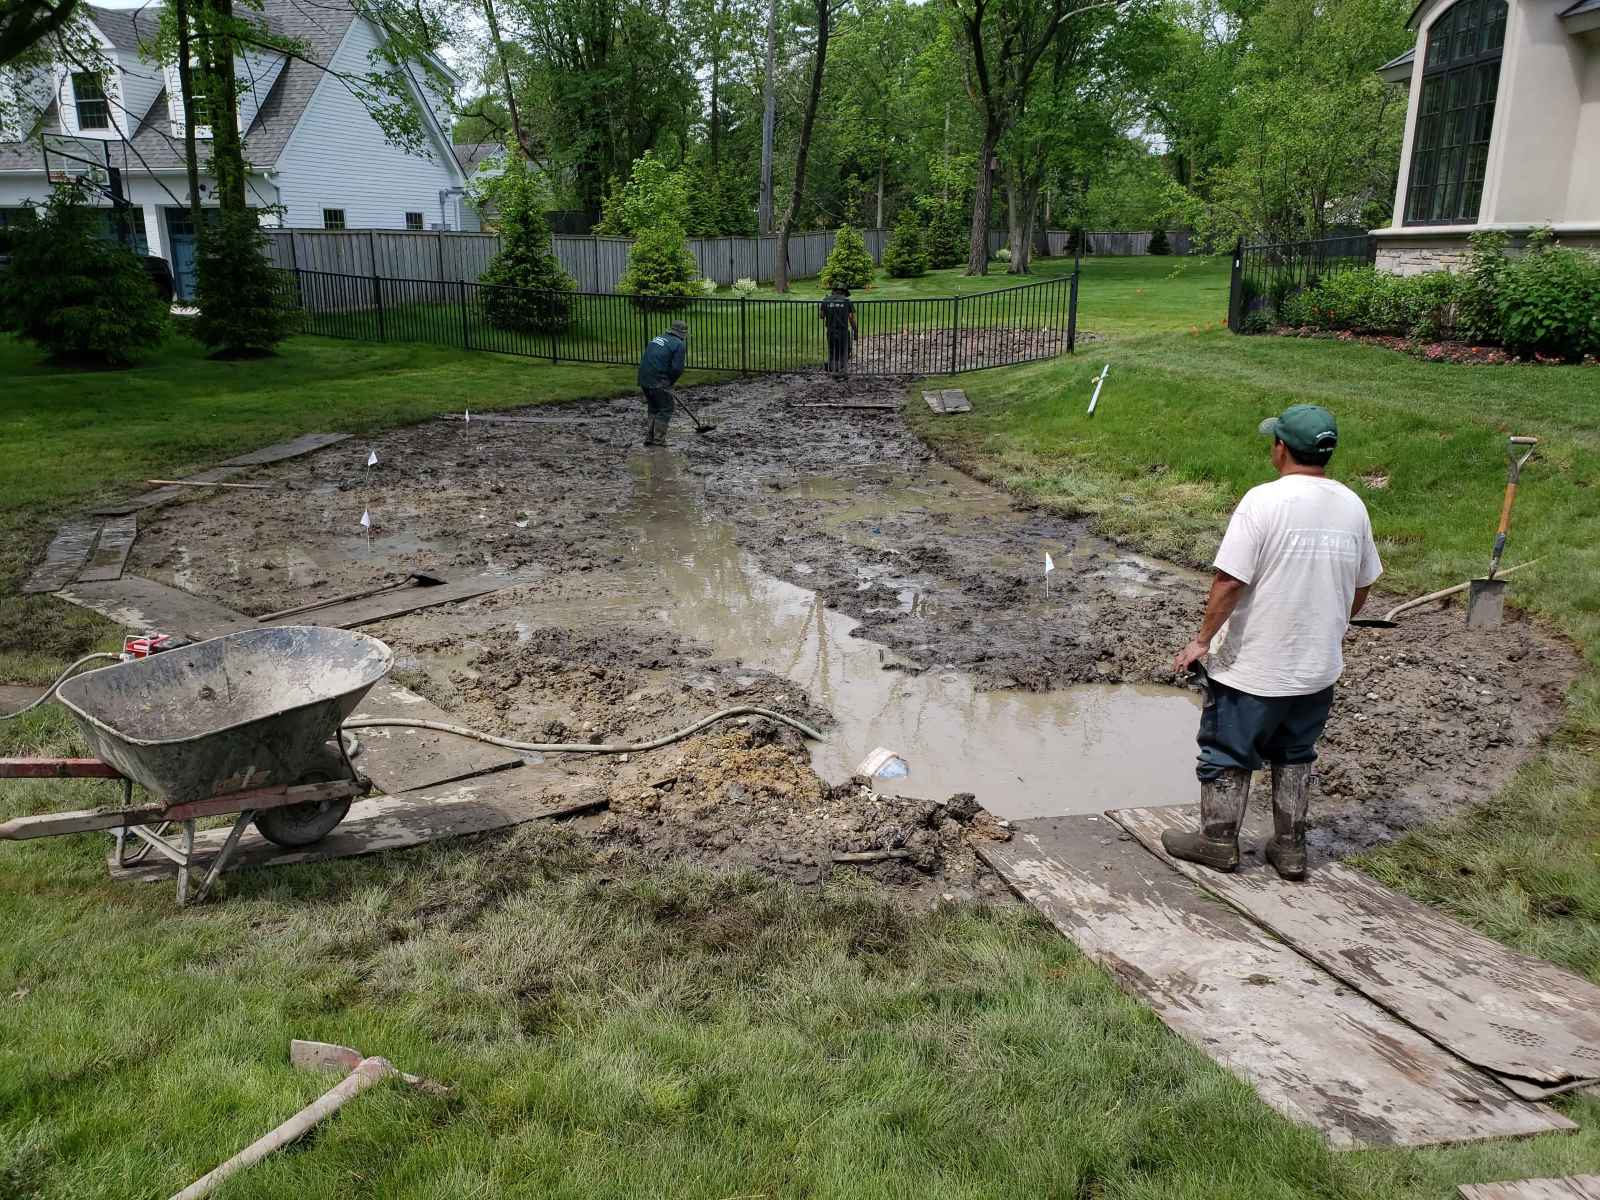
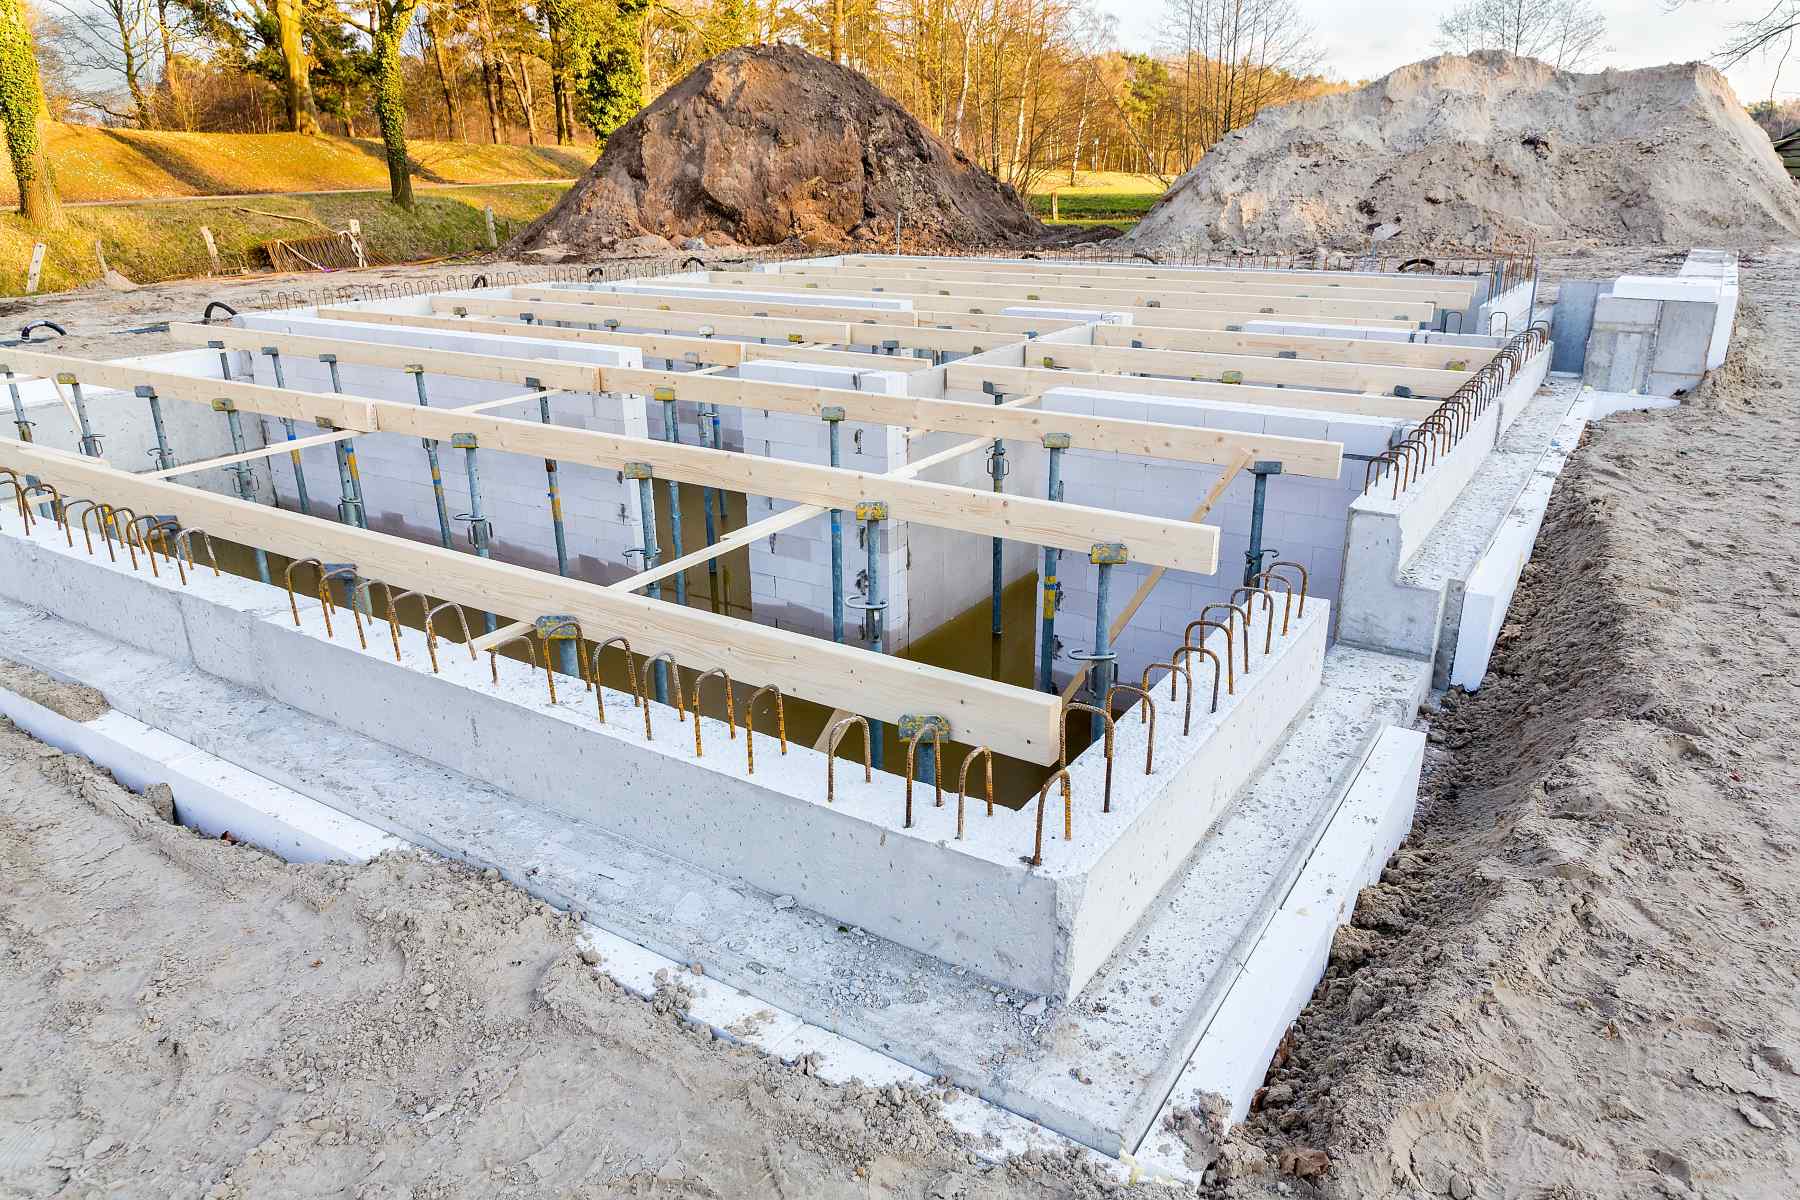
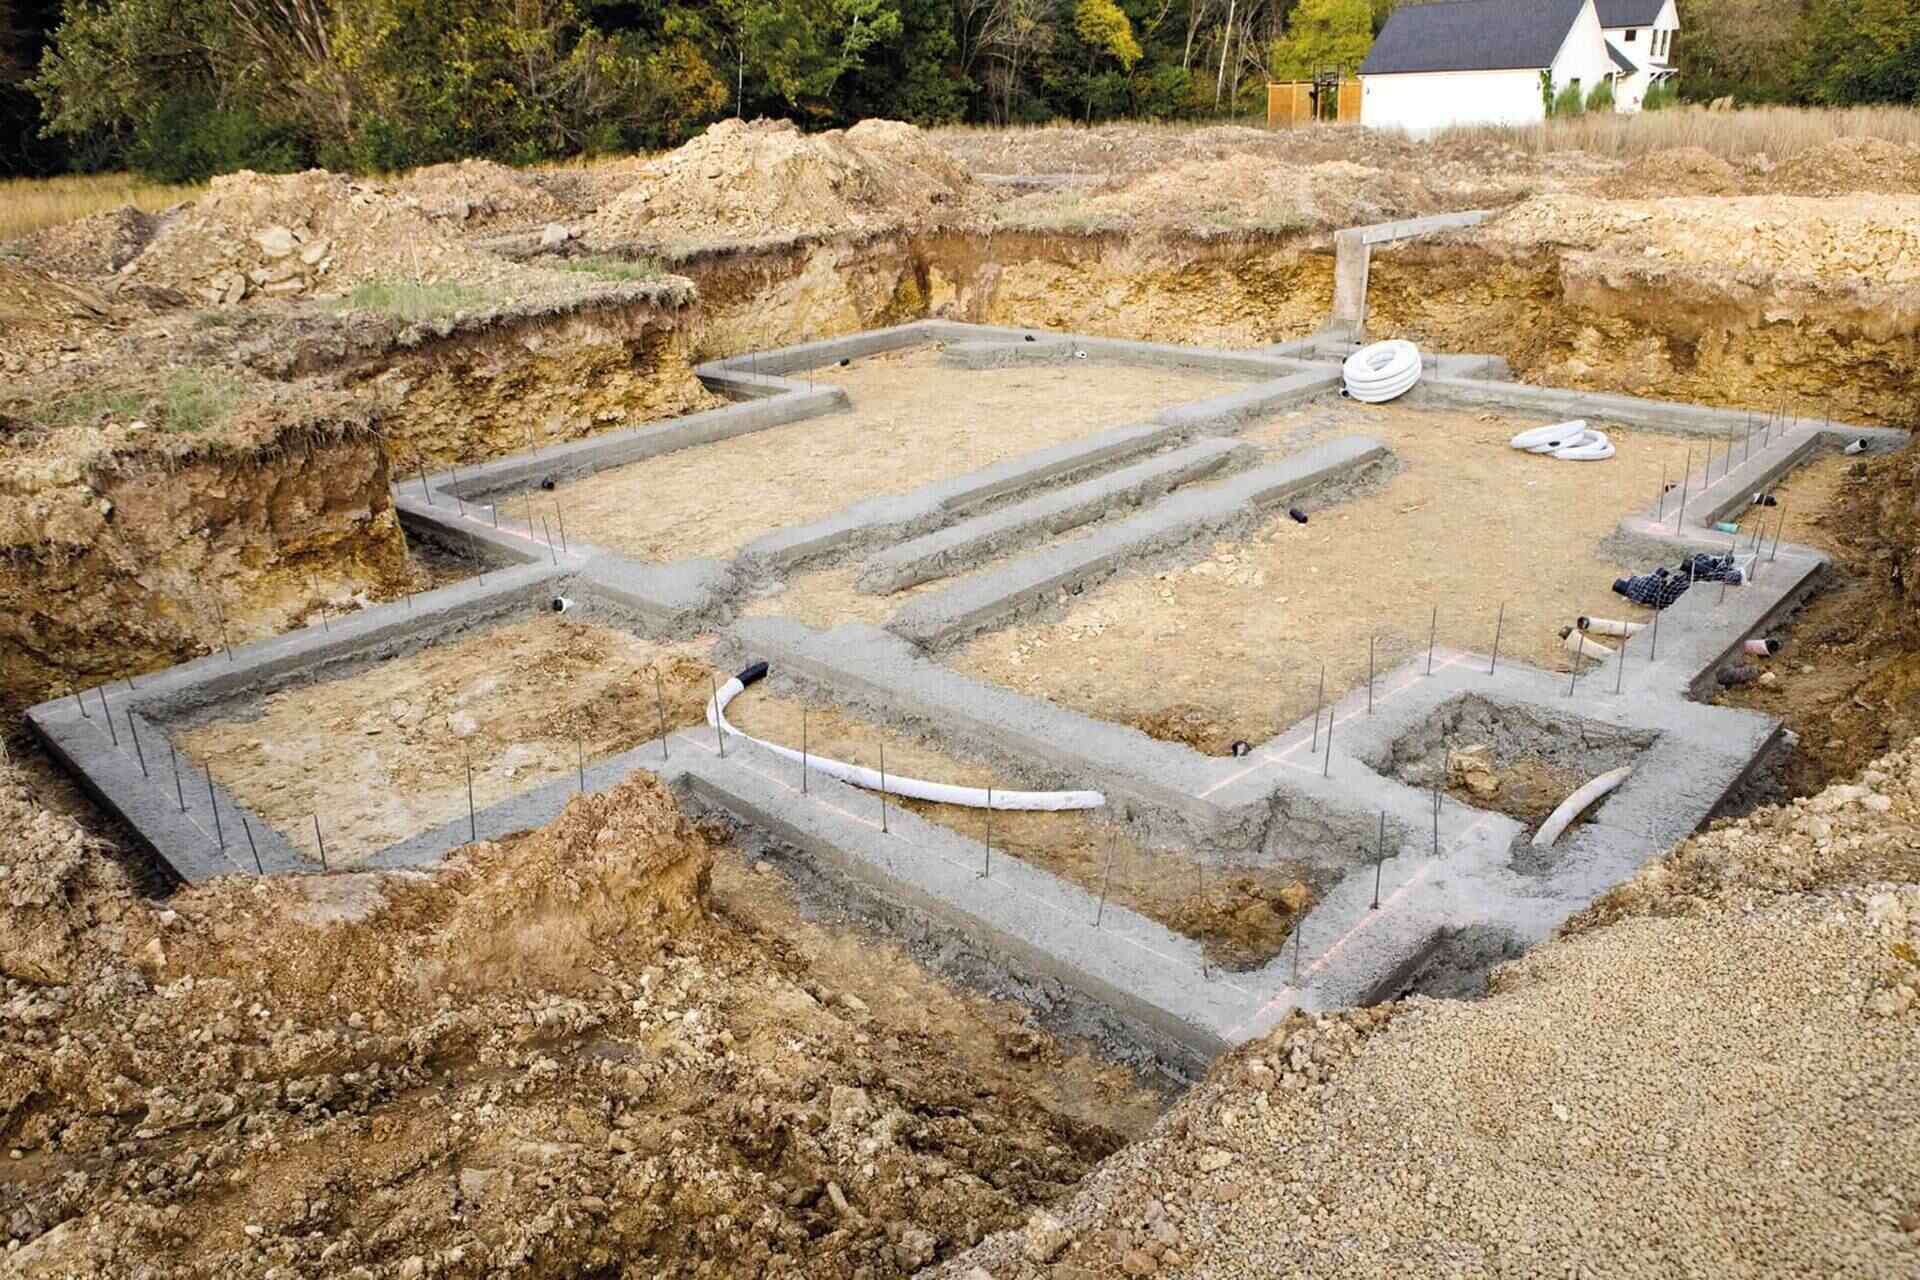
Step 2: Excavate a Trench Around the Foundation
Now that you’ve prepared the area around the foundation, it’s time to start the excavation process. By digging a trench around the perimeter of your home, you will create a space to house the drainage gravel. Here’s how to do it:
- Mark the trench location: Use stakes and string to mark the desired location of the trench around the foundation. This will serve as a guide to ensure that the trench is evenly spaced and follows the contour of your home.
- Start digging: Use a shovel or a small excavator to begin digging the trench. The depth of the trench will depend on your specific needs and the recommendations of a professional or local building codes. Typically, a depth of 8-12 inches is sufficient.
- Keep the width consistent: Maintain a consistent width for the trench along its entire length. Typically, a width of 12-18 inches should be sufficient, but again, consult professional guidelines if needed.
- Be mindful of utility lines: As you dig, be cautious of any utility lines, such as water pipes or electrical cables, that may be buried near the foundation. Contact your local utility company if you are unsure of their location to avoid any accidents or damage.
Remember, the goal of excavating a trench is to create a space where the drainage gravel can be placed to effectively redirect water away from the foundation. Take your time with this step to ensure the trench is of appropriate depth and width, following any local regulations or professional recommendations.
Step 3: Add a Layer of Landscape Fabric
With the trench prepared, it’s time to take the next step in pointing drainage gravel around the foundation: adding a layer of landscape fabric. This fabric acts as a barrier between the soil and the gravel, preventing soil particles from mixing with the gravel and ensuring proper water flow. Here’s how to add the landscape fabric:
- Measure and cut the fabric: Measure the length of your trench and cut a piece of landscape fabric to match. Leave some excess fabric on the sides to fold over the gravel later.
- Place the fabric in the trench: Lay the landscape fabric directly into the trench, ensuring that it covers the entire length and width of the excavation. Smooth it out and press it down to remove any wrinkles or folds.
- Overlap multiple pieces of fabric: If your trench is longer than the width of your landscape fabric, you may need to overlap multiple pieces. Overlapping the fabric by a few inches will ensure a seamless barrier along the entire length of the trench.
- Secure the fabric: Use landscaping staples or stakes to secure the fabric in place. Place them strategically along the edges of the fabric to keep it from shifting during the next steps of the installation process.
Adding a layer of landscape fabric is a crucial step in the drainage gravel installation process. It creates a barrier that prevents soil intrusion and allows water to flow freely through the gravel. By taking the time to install the fabric properly, you are creating a sturdy foundation for the next steps of the process.
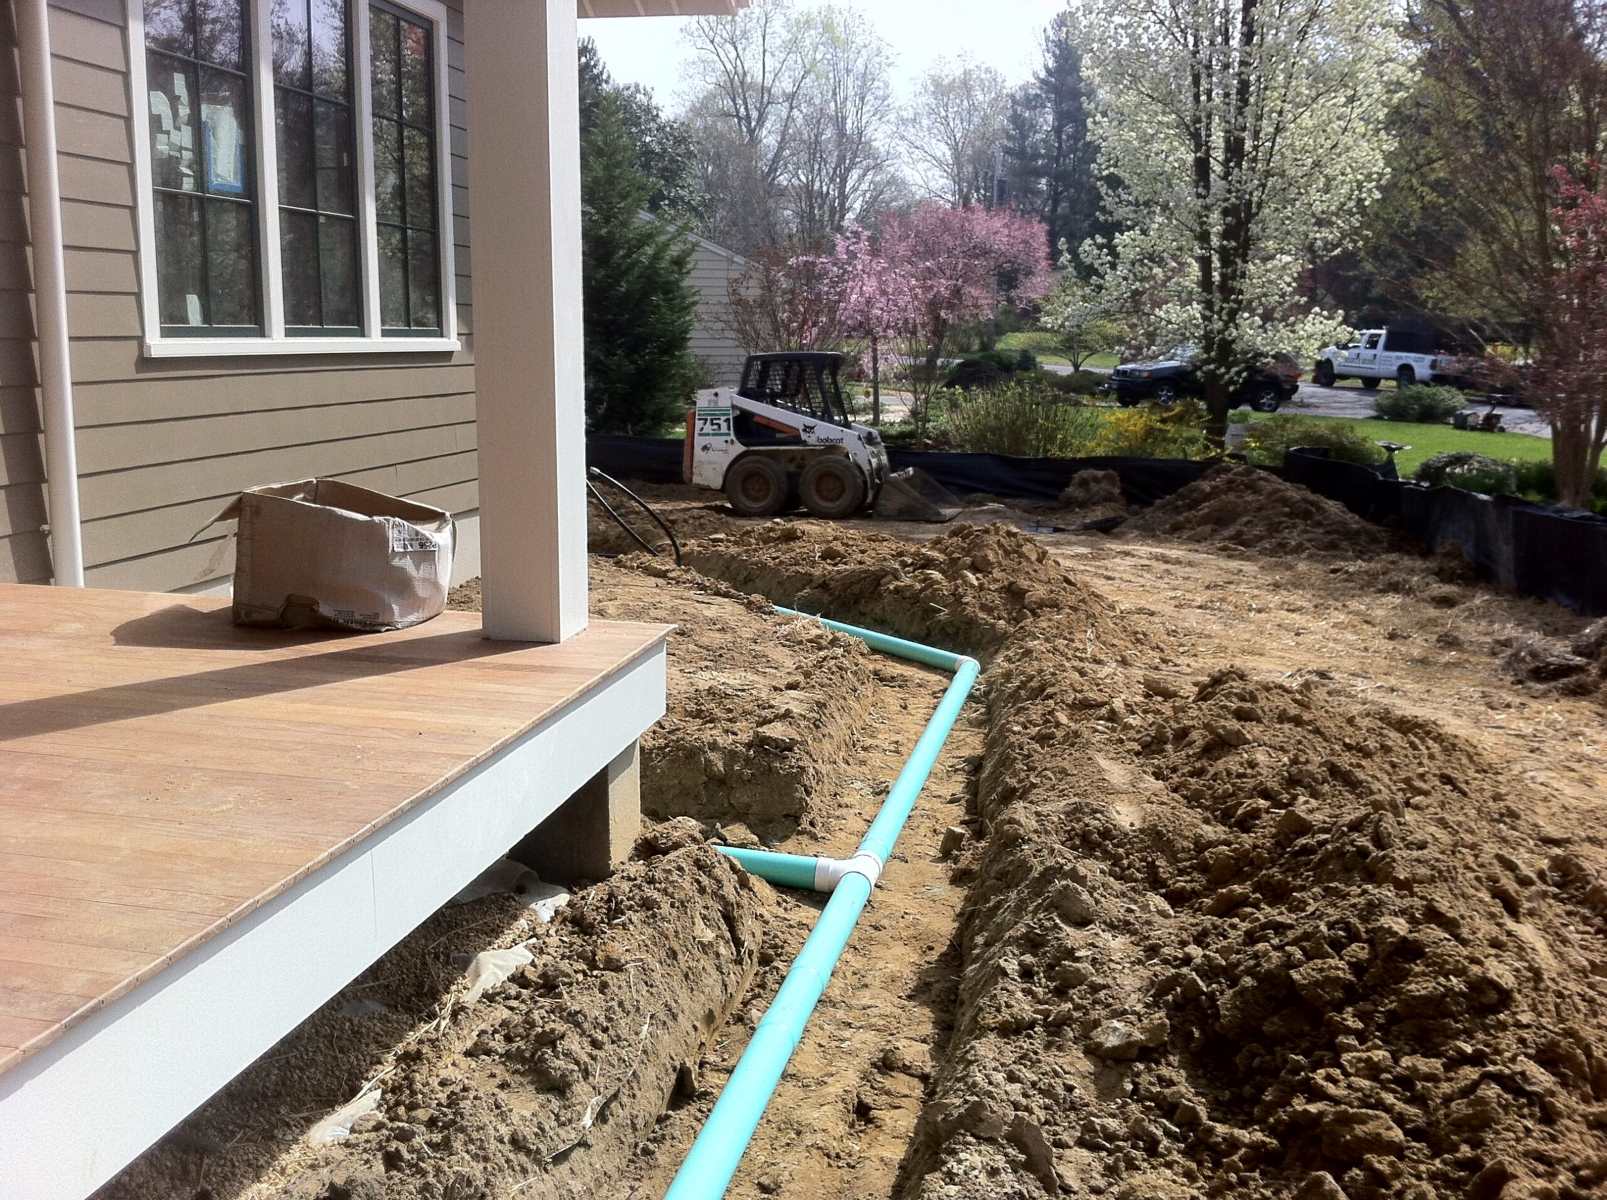
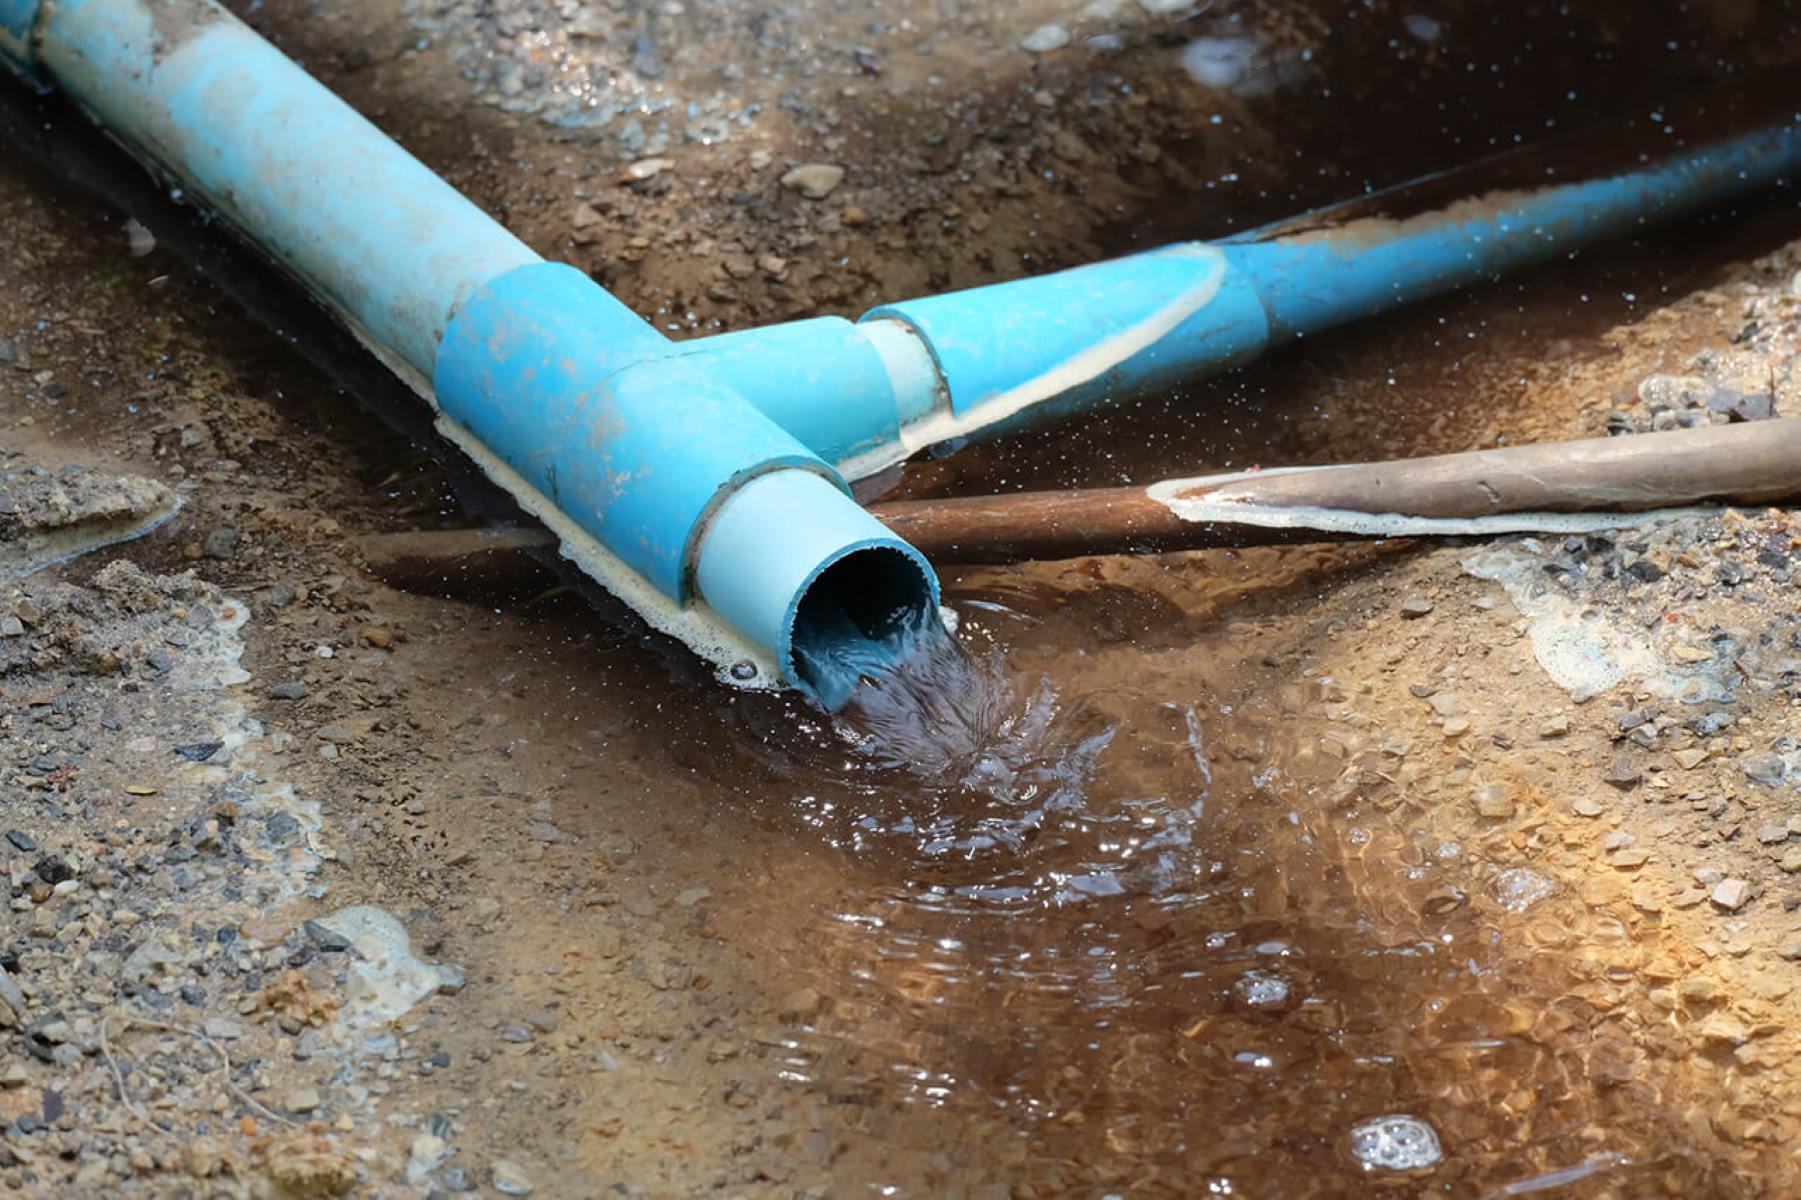
Step 4: Install a Perforated Drainage Pipe
Once the landscape fabric is in place, it’s time to move on to the next important step: installing a perforated drainage pipe. The drainage pipe will serve as the conduit for the water to flow away from the foundation and into a designated drainage area. Follow these steps to install the drainage pipe:
- Select the appropriate size and type of drainage pipe: Consult with a professional or local building code guidelines to determine the correct size and type of drainage pipe for your specific needs. Generally, a 4-inch diameter pipe with perforations works well for residential applications.
- Start at the lowest point of the trench: Begin installing the drainage pipe at the lowest point of the trench, ensuring it slopes away from the foundation. This slope will facilitate the proper flow of water, preventing any standing water near the foundation.
- Connect the pipe sections: Connect the sections of the drainage pipe using appropriate connectors or fittings. Make sure the connections are secure to avoid any leaks or separation during the installation process.
- Extend the pipe around the foundation: Continue placing the drainage pipe along the length of the trench, following the marked path around the foundation. Avoid any sharp bends or abrupt angles as this can impede the flow of water. Aim to maintain a consistent slope throughout the installation.
- Add a pop-up emitter or drainage outlet: At the end of the drainage pipe, install a pop-up emitter or a drainage outlet to redirect the water away from the foundation and towards a designated drainage area. Ensure that the emitter is securely attached and positioned appropriately for effective water flow.
Installing a perforated drainage pipe is a key component of an effective foundation drainage system. It helps remove excess water from the surrounding soil, preventing it from seeping into the foundation walls. Take your time to install the pipe properly, ensuring the correct slope and secure connections to guarantee optimal performance.
Make sure the drainage gravel slopes away from the foundation to prevent water from pooling. Use a minimum of 6 inches of gravel for effective drainage.
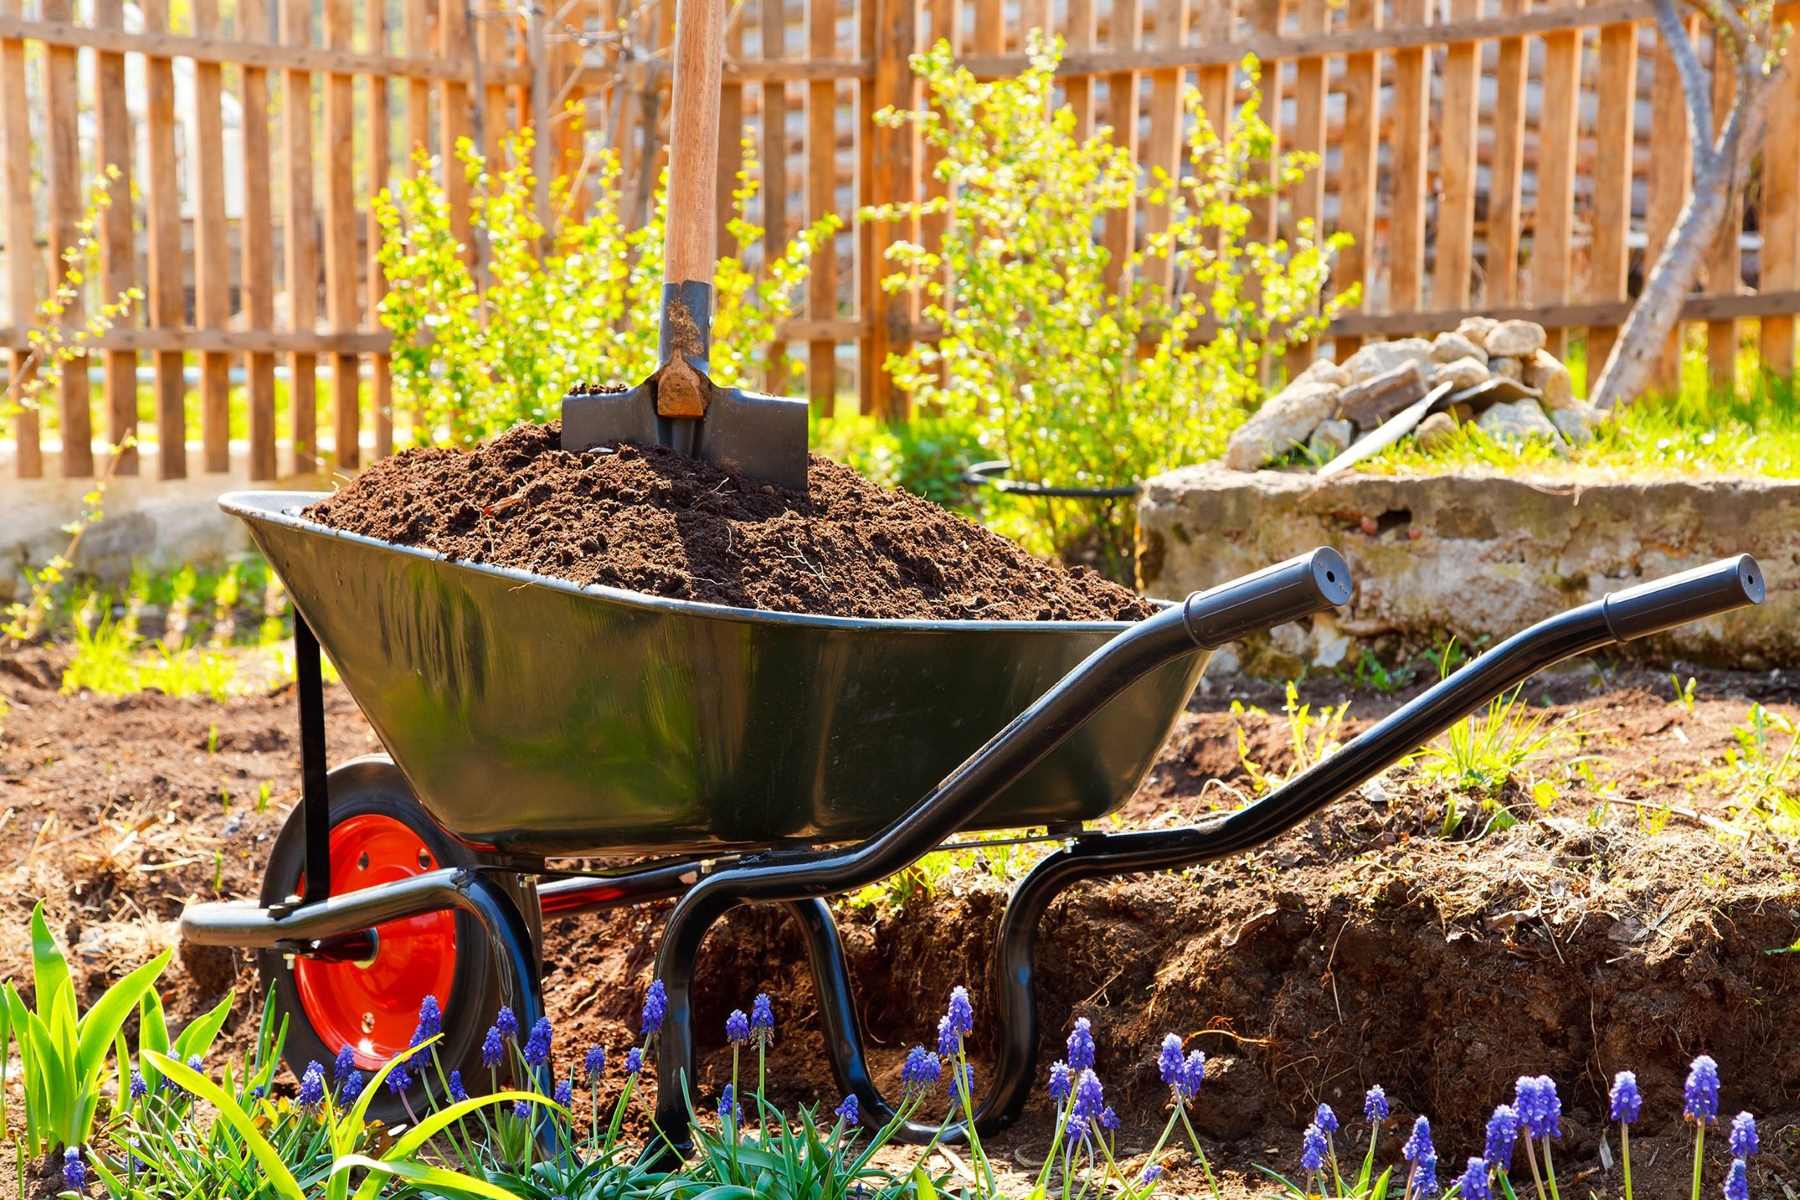
Step 5: Fill the Trench with Drainage Gravel
Now that the landscape fabric and drainage pipe are in place, it’s time to fill the trench with drainage gravel. The gravel will act as a porous medium that allows water to flow freely and prevents the buildup of hydrostatic pressure against the foundation. Follow these steps to fill the trench with drainage gravel:
- Select the right type of gravel: Choose a high-quality, clean, and angular gravel specifically designed for drainage purposes. Avoid using rounded or pea gravel, as they don’t provide optimal drainage due to their smooth surfaces.
- Fill the trench with a layer of gravel: Begin by adding a layer of gravel to the bottom of the trench. The depth of this layer will depend on the recommendations of a professional or local guidelines, typically ranging from 2-4 inches.
- Distribute the gravel evenly: Use a rake or shovel to spread the gravel evenly across the bottom of the trench. Distribute it in such a way that the surface remains level and sloping away from the foundation.
- Place the drainage pipe on top of the gravel: Carefully position the perforated drainage pipe on top of the layer of gravel. Ensure that the pipe is aligned properly and centered within the trench.
- Surround and cover the drainage pipe with gravel: Gradually fill the trench on both sides of the drainage pipe with additional gravel. Gently distribute the gravel, ensuring that it surrounds and covers the pipe evenly. Maintain the slope of the trench, allowing water to flow freely towards the designated drainage area.
Filling the trench with drainage gravel creates a pathway for water to flow away from the foundation, promoting proper drainage and minimizing the risk of moisture-related issues. Take your time to add the gravel in layers, distributing it evenly and ensuring that the drainage pipe remains surrounded and covered. This will result in a well-constructed drainage system for your foundation.
Step 6: Compact the Gravel
Once the trench is filled with drainage gravel, it’s important to compact it to ensure stability and proper water flow. Compacting the gravel will prevent settling and maintain the desired slope for effective drainage. Follow these steps to compact the gravel:
- Use a hand tamper or plate compactor: Depending on the size of the trench, choose a hand tamper or a plate compactor as the compacting tool. A hand tamper is suitable for smaller trenches, while a plate compactor is more efficient for larger areas.
- Start at one end of the trench: Begin compacting the gravel at one end of the trench, working your way towards the other end. Apply downward pressure and make overlapping passes to ensure even compaction.
- Repeat the compaction process: Continue to make multiple passes over the entire length of the trench, compacting the gravel in layers. This will help achieve the desired level of compaction and stability.
- Check for any low spots: After compacting, inspect the trench for any low spots or areas where the gravel may have settled. Add additional gravel and compact those areas to achieve a consistent surface along the entire length of the trench.
Properly compacting the gravel is crucial to creating a solid foundation for your drainage system. It ensures that the gravel remains in place, allowing water to flow freely and preventing the formation of voids or uneven surfaces. Take your time during this step to achieve the desired compaction level and ensure the long-term effectiveness of your drainage system.
Step 7: Backfill the Remaining Space with Soil
With the gravel compacted, it’s time to backfill the remaining space in the trench with soil. Backfilling helps to conceal the drainage system and restore the aesthetic appeal of your landscaping. Here’s how to backfill the trench with soil:
- Select suitable soil: Choose a quality soil that is free of debris, stones, and excessive clay content. The soil should promote good drainage to prevent water from pooling around the foundation.
- Start at one end of the trench: Begin by adding a layer of soil at one end of the trench. Gradually fill the trench, ensuring that the soil is evenly distributed and loosely packed around the drainage system.
- Compact the soil: Use a hand tamper or the back of a shovel to lightly compact the soil as you backfill the trench. This will help prevent excessive settling and ensure that the soil has good contact with the drainage gravel.
- Continue backfilling: Move along the trench, adding more soil and gradually increasing the compactness as you go. Be mindful of maintaining the desired slope away from the foundation to facilitate proper water drainage.
- Leave a slight gap: As you approach the surface level, leave a slight gap between the soil and the surrounding ground. This will allow for settlement and prevent the soil from compressing excessively.
- Smooth and level the surface: Once the trench is fully backfilled, use a rake or a shovel to smooth and level the surface of the soil. This will help blend the backfilled area with the surrounding landscape.
Backfilling the trench with suitable soil is an important step as it helps restore the appearance of your landscape and promotes proper water drainage away from the foundation. Take care to add the soil gradually, compact it lightly, and maintain the desired slope throughout the backfilling process.
Step 8: Maintain the Drainage System
Once you have completed the installation of the drainage system around your house foundation, it’s important to maintain it regularly to ensure its effectiveness and longevity. Regular maintenance will help prevent clogs, blockages, and other issues that may compromise the proper functioning of the system. Here are some maintenance tips:
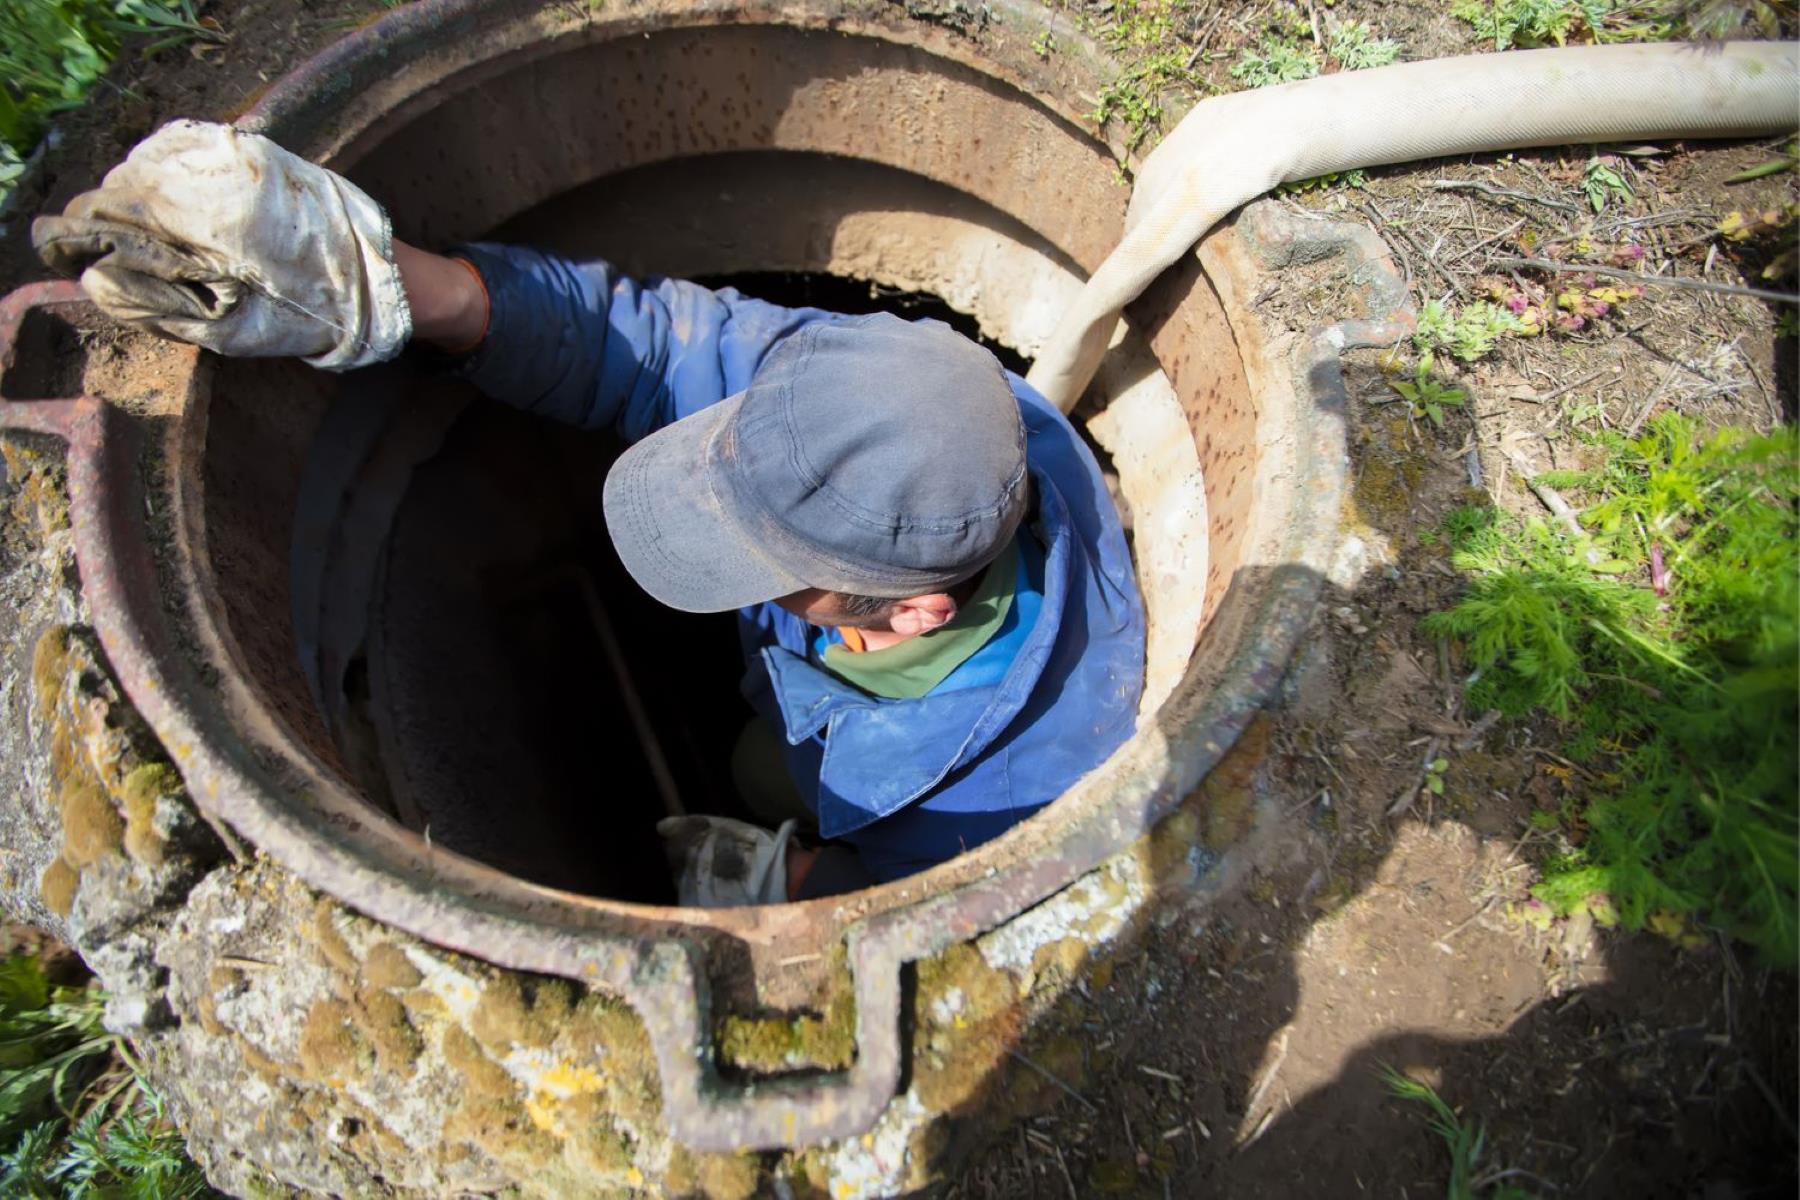
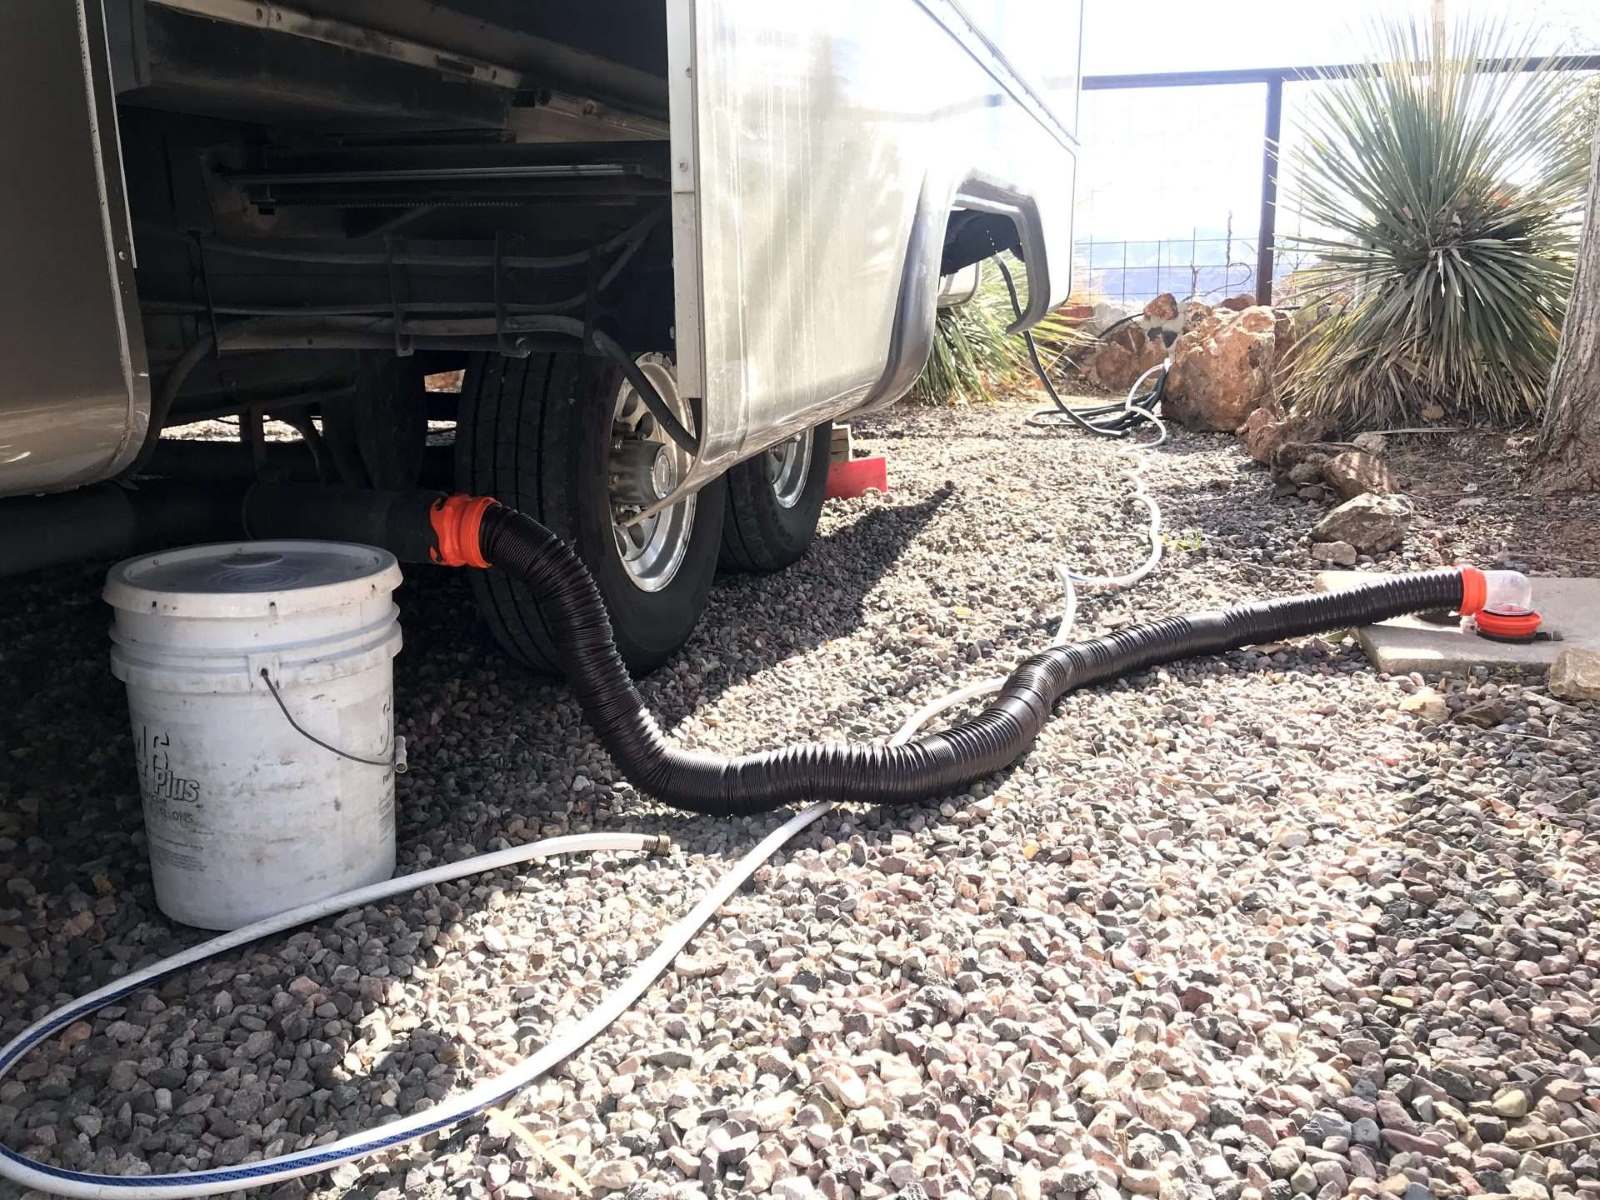
- Clean the drainage pipe: Periodically check the drainage pipe for any debris or sediment buildup. Remove any obstructions to maintain a clear pathway for water flow. You can use a garden hose or a drain snake to flush or remove any blockages.
- Inspect the landscape fabric: Inspect the landscape fabric for any signs of damage or deterioration. Replace any torn or worn-out areas to ensure that it continues to act as an effective barrier against soil intrusion.
- Monitor the water flow: Regularly observe the flow of water through the drainage system during heavy rain or periods of excess moisture. Ensure that water is being efficiently channeled away from the foundation and towards the designated drainage area.
- Attend to foundation cracks or damage: Keep an eye out for any new cracks or damage to your foundation. Promptly address any issues to prevent water from seeping into the foundation walls, compromising their integrity.
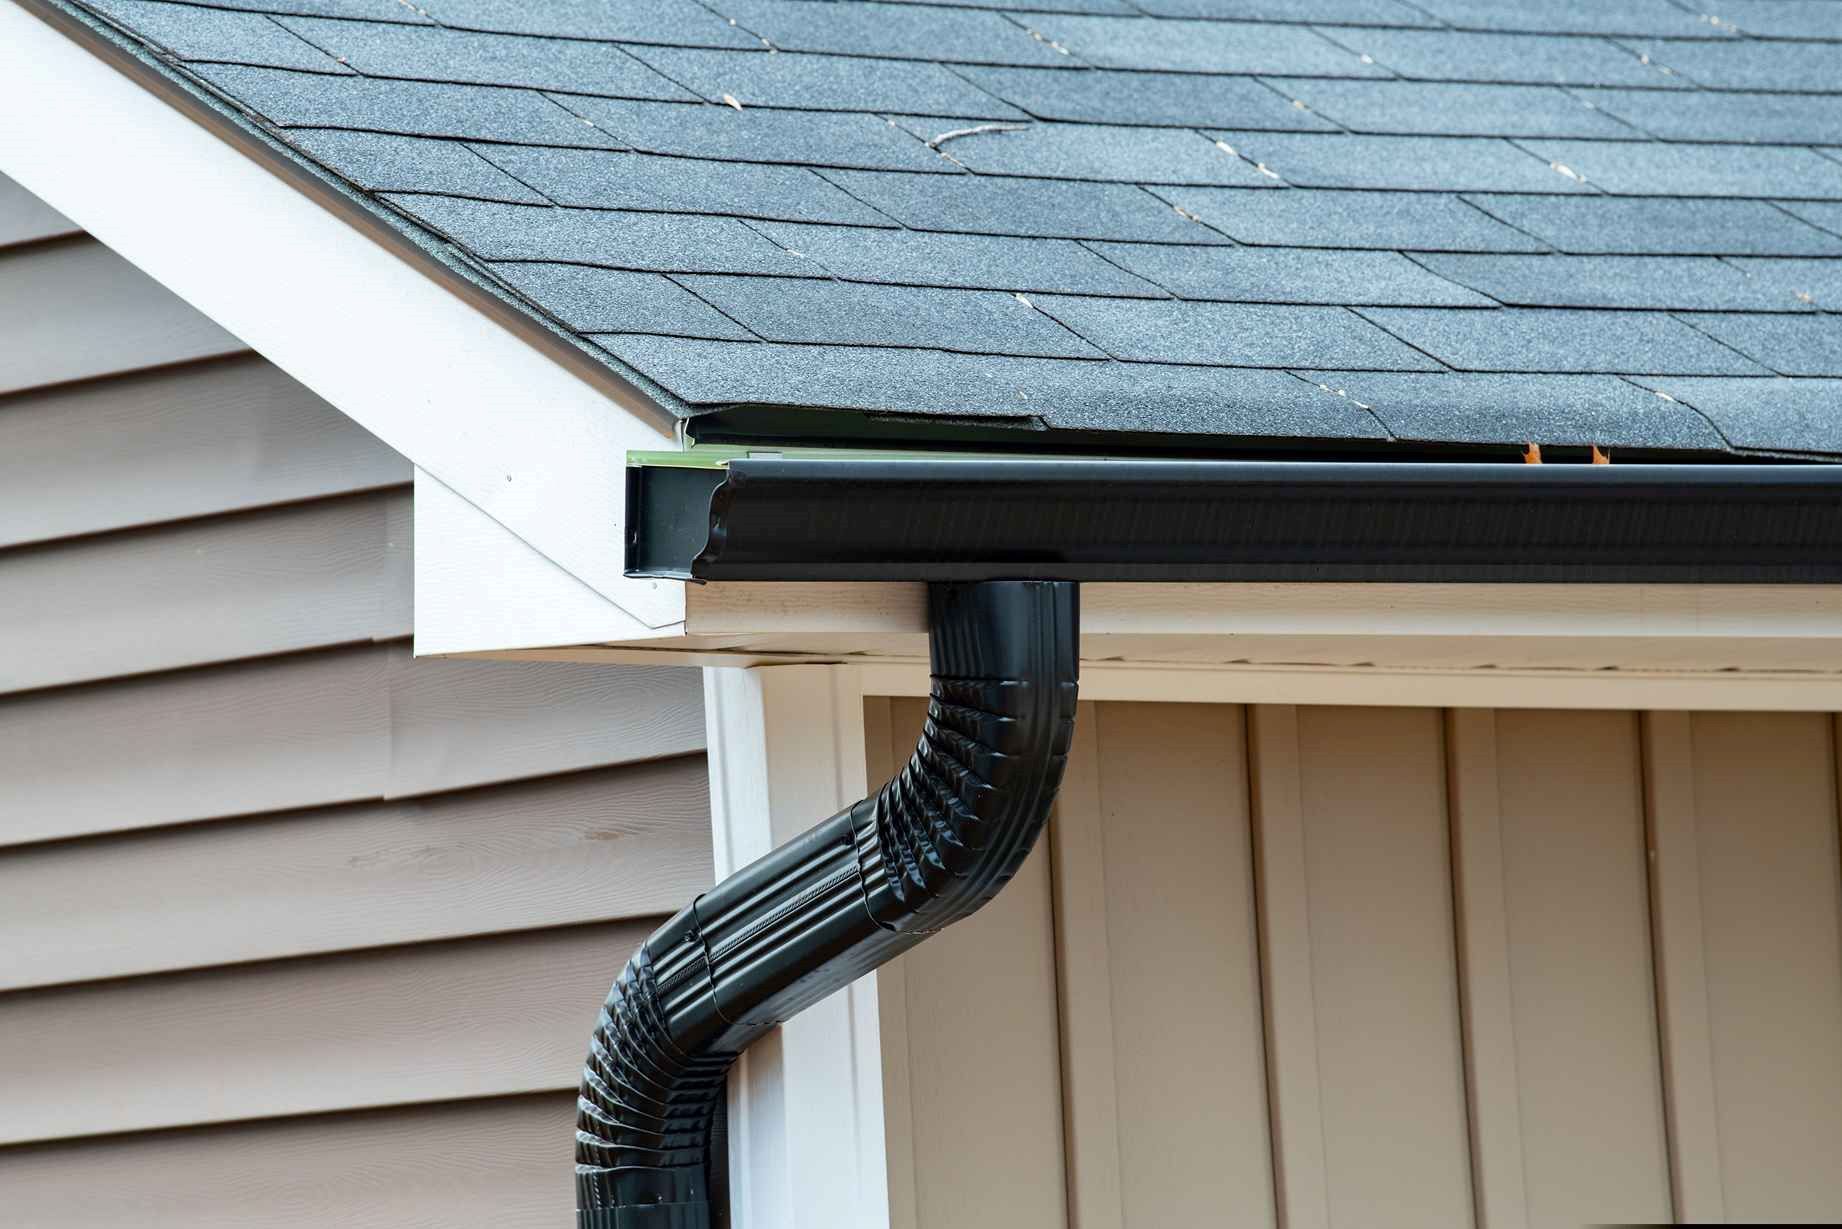
- Maintain downspouts and gutters: Keep your downspouts and gutters clean and free from debris. Ensure they are properly directing water towards the drainage system, preventing any excess water from pooling near the foundation.
- Check for grading issues: Regularly inspect the grading around your home to ensure that the soil is sloping away from the foundation. Correct any grading issues to prevent water from pooling near the foundation walls.
- Seek professional assistance if needed: If you are unsure or encounter any significant problems with your drainage system, it is always recommended to seek the assistance of a professional who can assess the issue and provide appropriate solutions.
Maintaining the drainage system is key to its efficiency and longevity. By implementing these maintenance practices, you can ensure that your foundation remains protected from excess moisture and potential water damage, prolonging the life of your home.
Read more: How To Improve Drainage Around The House
Conclusion
Properly pointing drainage gravel around the foundation of your home is an essential step in maintaining a dry and structurally sound property. By following the step-by-step process outlined in this guide, you can effectively redirect water away from your foundation, mitigating the risk of moisture-related issues.
From preparing the area around the foundation to excavating a trench, adding landscape fabric, installing a perforated drainage pipe, filling the trench with drainage gravel, compacting the gravel, backfilling with soil, and maintaining the drainage system, each step contributes to the overall effectiveness of your drainage system.
Regular maintenance is crucial to ensure the continued functionality of your drainage system. By cleaning the drainage pipe, inspecting the landscape fabric, monitoring water flow, attending to foundation cracks, maintaining downspouts and gutters, checking for grading issues, and seeking professional assistance when needed, you can ensure a reliable and efficient drainage system for years to come.
Remember, the proper installation and maintenance of your drainage system will help protect your foundation, prevent water damage, and enhance the longevity of your home. It’s an investment in both the structural integrity and value of your property
So, put on your DIY hat or reach out to a professional if needed, and take the necessary steps to point drainage gravel around your house foundation. Your home will thank you for it!
Frequently Asked Questions about How To Point Drainage Gravel Around House Foundation
Was this page helpful?
At Storables.com, we guarantee accurate and reliable information. Our content, validated by Expert Board Contributors, is crafted following stringent Editorial Policies. We're committed to providing you with well-researched, expert-backed insights for all your informational needs.


0 thoughts on “How To Point Drainage Gravel Around House Foundation”