Home>Home Maintenance>How To Build A Drainage System Near A House
Home Maintenance
How To Build A Drainage System Near A House
Modified: March 7, 2024
Learn how to build a home-maintenance-friendly drainage system near your house for efficient water management and protection against water damage.
(Many of the links in this article redirect to a specific reviewed product. Your purchase of these products through affiliate links helps to generate commission for Storables.com, at no extra cost. Learn more)
Introduction
Welcome to our comprehensive guide on how to build a drainage system near a house. Proper drainage is essential for maintaining the structural integrity of your home and protecting it from water damage. Whether you are dealing with excess rainwater or poor soil drainage, a well-designed drainage system can help prevent water from pooling around your house and causing issues such as foundation damage, dampness, and mold growth.
In this article, we will take you through the step-by-step process of building a drainage system near your house, from assessing the site to completing the finishing touches. By following these guidelines, you can effectively redirect water away from your home and improve its overall maintenance and longevity.
Before we dive into the details, it is important to mention that building a drainage system near your house may require some physical effort and basic knowledge of home maintenance. If you are uncertain about any of the steps or feel uncomfortable carrying out the work yourself, it is always best to consult with a professional.
Now, let’s get started with the first step of assessing the site to determine the drainage needs of your property.
Key Takeaways:
- Proper drainage near your house is crucial to prevent water damage. Assess the site, plan the system, and test its functionality to ensure effective water redirection and protect your home.
- Building a drainage system requires careful steps, from digging trenches to creating outlets. Add finishing touches and maintain the system regularly for long-term protection against water damage.
Step 1: Assessing the Site
Before you begin building a drainage system near your house, it’s crucial to assess the site and understand the specific drainage issues you are facing. This will help you determine the most appropriate solution and ensure the effectiveness of your drainage system.
Here are a few key factors to consider when assessing the site:
- Observe Water Accumulation: Take note of any areas where water tends to accumulate around your house. This could be in the form of standing water, soggy soil, or even water seeping into your basement. These areas will require special attention when designing your drainage system.
- Identify Sloping and Grading: Determine the slope of your property to understand how water flows and where it tends to collect. Ideally, the land should slope away from your house to facilitate natural drainage. If you notice improper grading, you may need to make adjustments or incorporate additional drainage solutions.
- Consider Soil Type: Different soil types have varying drainage capabilities. Clay-based soil, for example, tends to retain more water and can cause drainage issues. Understanding your soil composition will help you select the appropriate drainage system components and plan the layout accordingly.
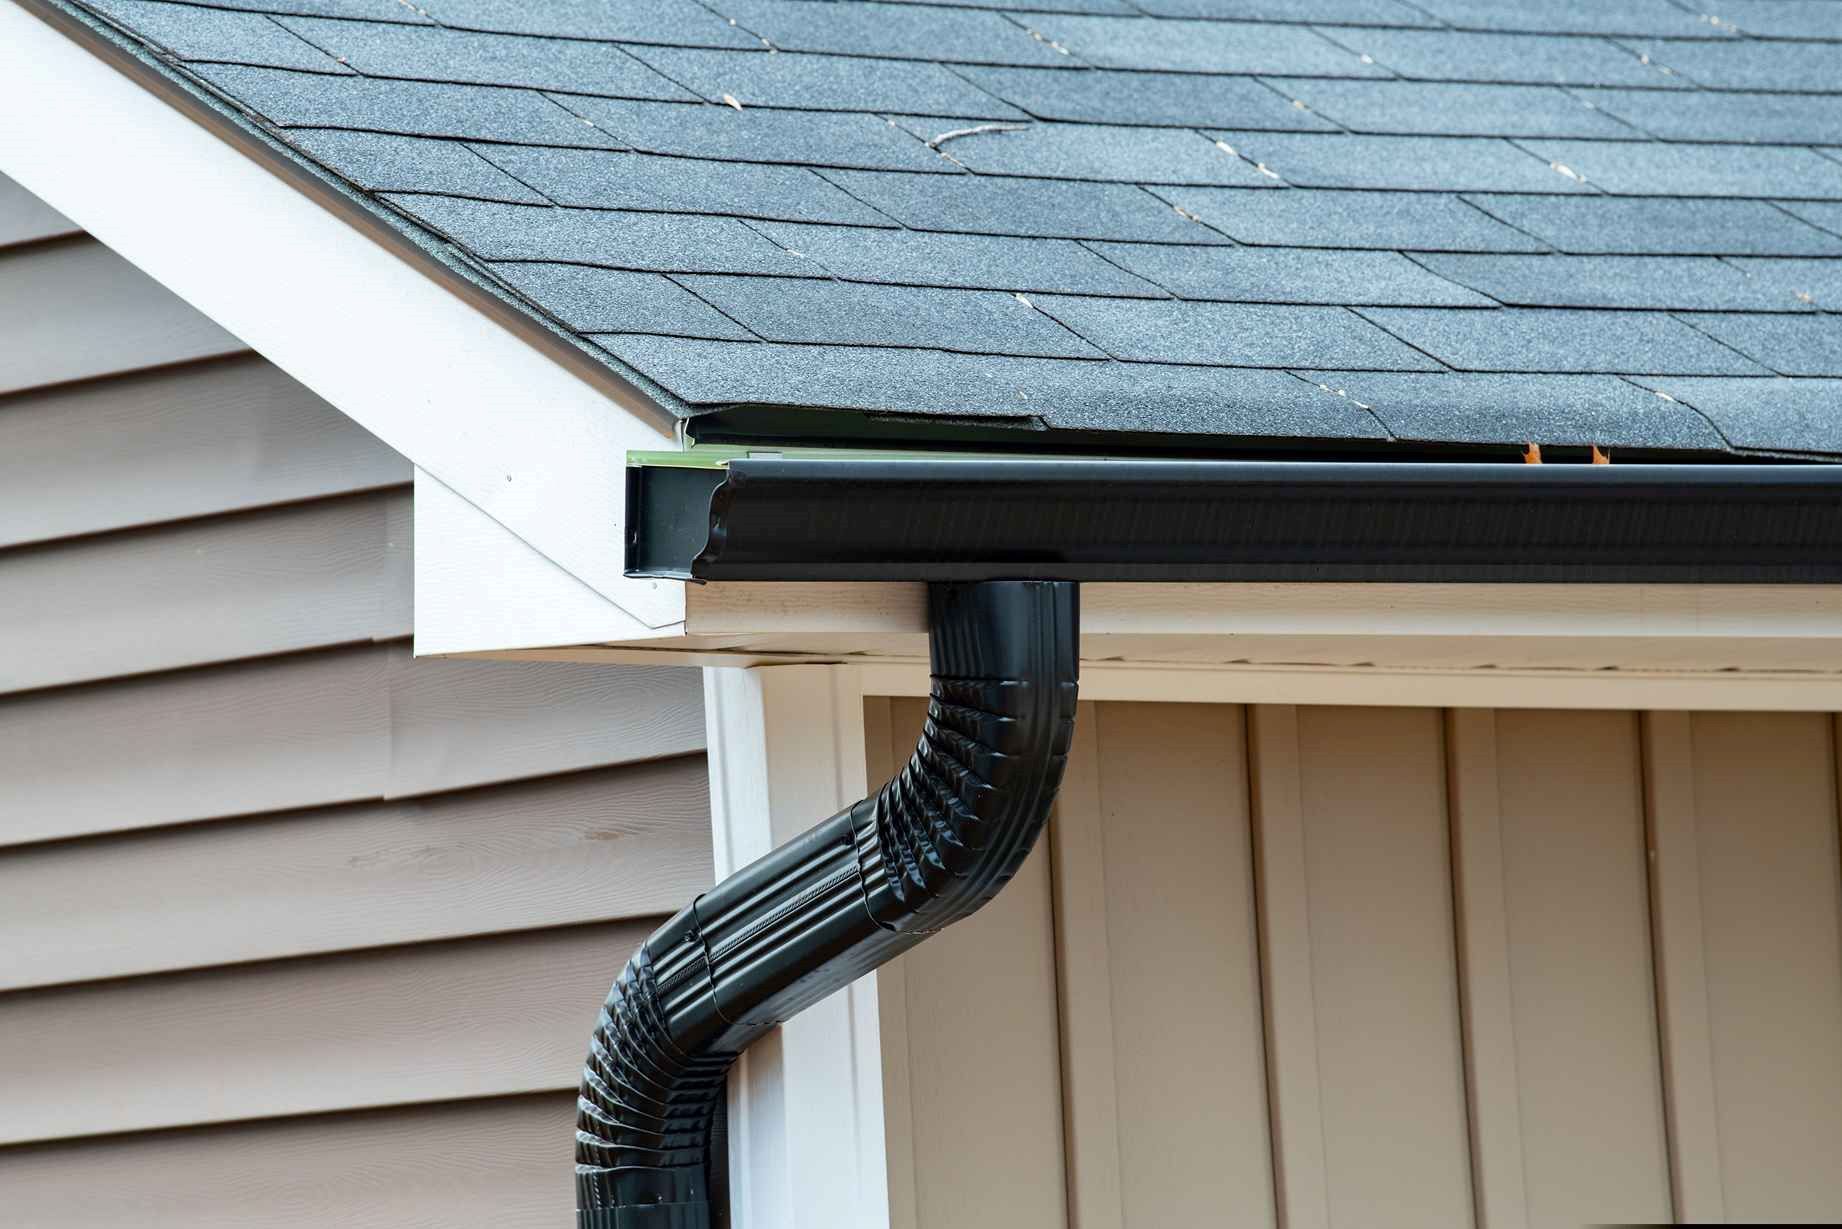
- Take Note of Downspout Locations: Examine the locations of your downspouts from the gutters. Ensure that they are directing water away from the foundation of your house. If the downspouts are currently causing water to pool near the house, you may need to extend them or redirect them to a more suitable area.
By conducting a thorough site assessment, you will have a better understanding of the drainage challenges you need to address. This information will be invaluable in the next step of planning your drainage system.
Now that you have assessed the site, let’s move on to step two: planning the drainage system.
Step 2: Planning the Drainage System
Now that you have assessed the site and understand the drainage needs of your property, it’s time to move on to planning your drainage system. Proper planning is essential to ensure the effectiveness and efficiency of the system.
Here are some important considerations when planning your drainage system:
- Determine the Type of Drainage System: There are various types of drainage systems to choose from, including surface drainage, subsurface drainage, and French drains. Consider the specific requirements of your property and the extent of the drainage issue to determine which system will work best.
- Decide on the Layout: Based on the site assessment, determine the best placement of your drainage system. Identify the low-lying areas where water tends to collect and plan the route for the drains accordingly. It’s important to ensure that the system covers the entire problem area and effectively diverts water away from your house.
- Calculate the Size and Capacity: You need to determine the size and capacity of your drainage system, taking into account the amount of water it needs to handle. Consider the average rainfall in your area and the rate of water flow during heavy downpours. This will help you select the appropriate pipe diameter and drainage capacity.
- Select the Right Materials: Choose high-quality materials that are durable and suitable for your specific drainage needs. This may include drainage pipes, fittings, catch basins, grates, and gravel. Consult with a professional or your local home improvement store to ensure you have the right materials for the job.
- Obtain Necessary Permits: Depending on your local regulations, you may need to obtain permits before installing a drainage system. Check with your municipality or homeowners association to ensure compliance with any permits or regulations.
By carefully planning your drainage system, you can address the specific issues of your property and ensure long-term effectiveness. Take the time to create a well-thought-out plan before moving on to the next steps.
Now that you have planned your drainage system, it’s time to gather the necessary materials and tools for installation. This will be covered in step three.
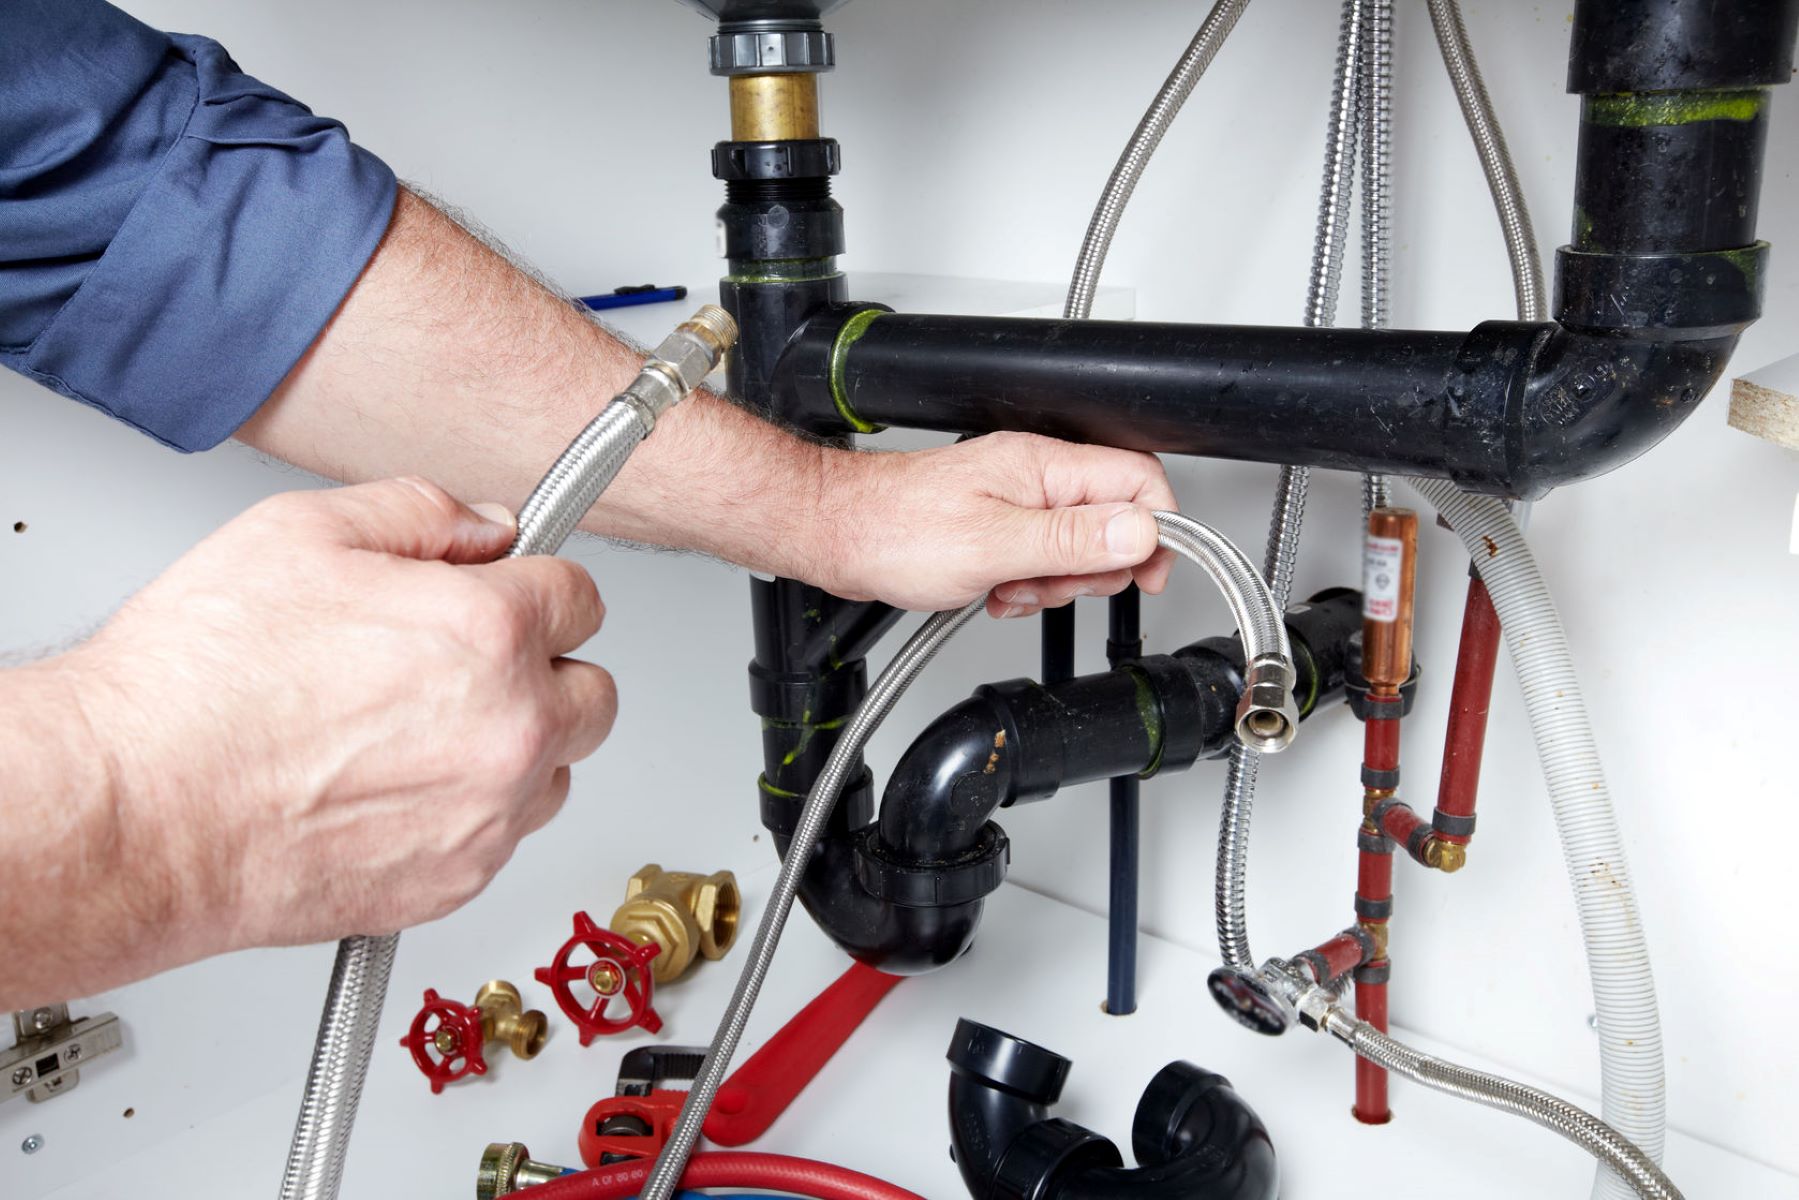
Step 3: Gathering Materials and Tools
Now that you have planned your drainage system, it’s time to gather the necessary materials and tools for its installation. Having the right supplies on hand will make the process smoother and more efficient.
Here are the materials and tools you’ll typically need for building a drainage system near your house:
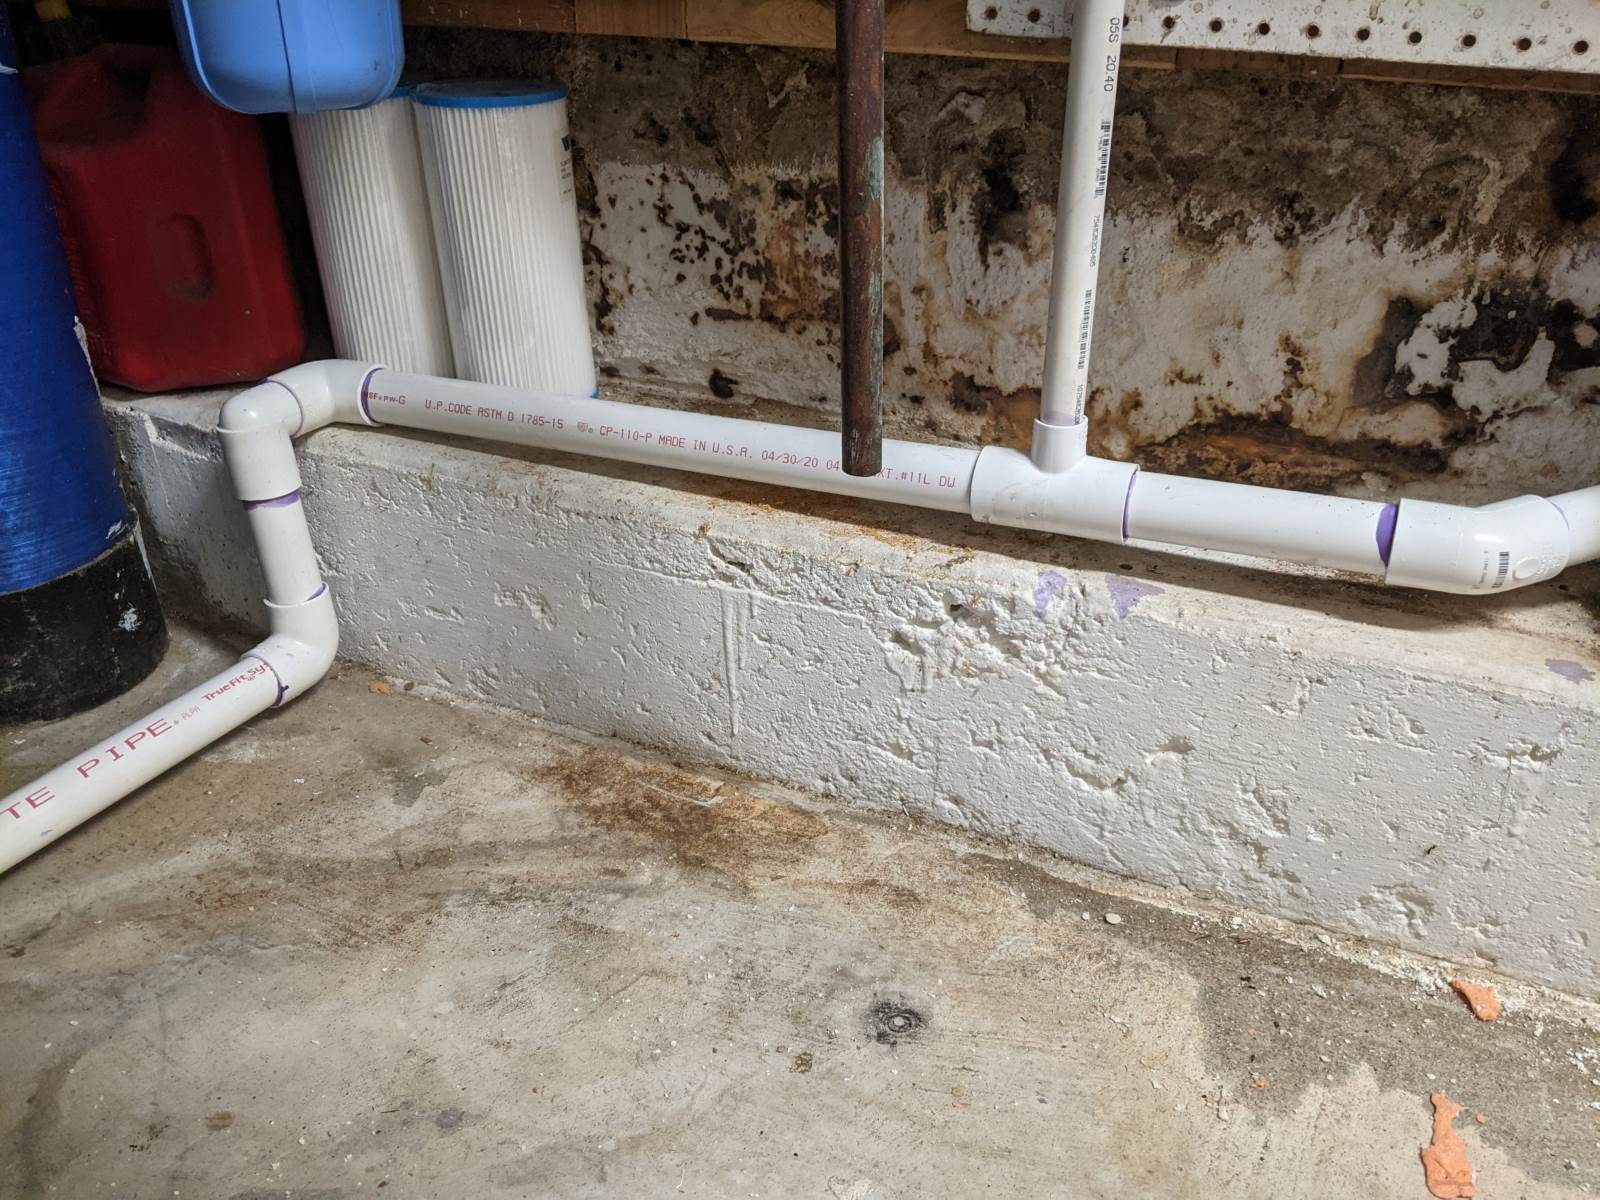
- Drainage Pipes: Purchase high-quality, durable pipes that are suitable for your specific needs. PVC pipes are commonly used for drainage systems due to their strength and durability.
- Fittings and Connectors: Depending on your drainage system design, you will need fittings and connectors to connect the pipes together. This may include couplings, elbows, tees, and adapters.
- Catch Basins and Grates: If you are including catch basins in your drainage system, ensure you have the necessary basins and grates. These will help collect excess water and debris and prevent clogging.
- Gravel or Crushed Stone: A layer of gravel or crushed stone is often used as a base for the drainage pipes. This helps with water filtration and prevents the pipes from being clogged with soil or debris.
- Backfill Material: Select an appropriate backfill material to fill in the trenches after installing the drainage pipes. This may include a mixture of soil and compost or sand, depending on your soil type and drainage requirements.
- Shovels and Digging Tools: Digging trenches for the drainage pipes requires the use of shovels, a pickaxe, or a trenching tool. Make sure you have the necessary digging tools to excavate the trenches to the required depth.
- Measuring and Marking Tools: A tape measure, level, and marking spray paint will come in handy for measuring distances, ensuring proper slope, and marking the trench lines.
- Protective Gear: Always prioritize safety when working on any home project. Consider wearing gloves, safety goggles, and sturdy footwear to protect yourself during the installation process.
Prior to starting the installation, ensure that you have all the necessary materials and tools readily available. This will help streamline the process and minimize any delays.
With your materials and tools gathered, you’re now ready to move on to step four: digging trenches for the drains.
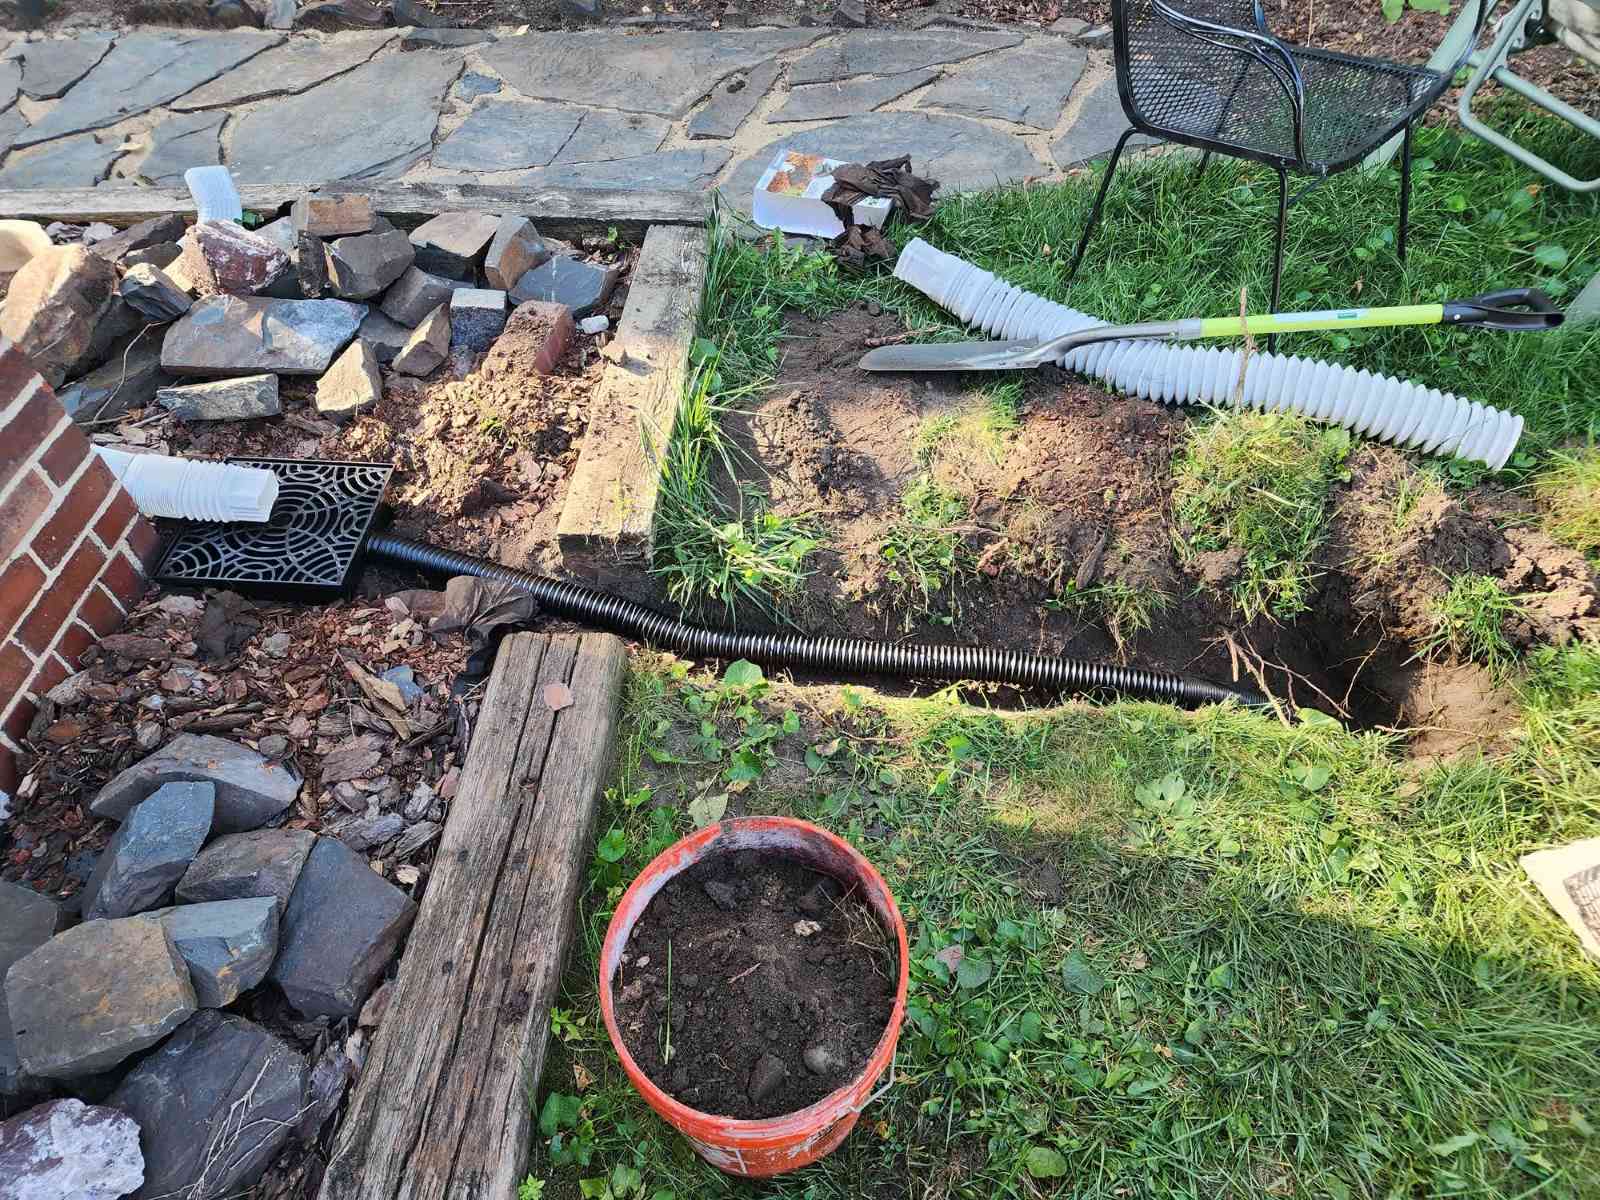
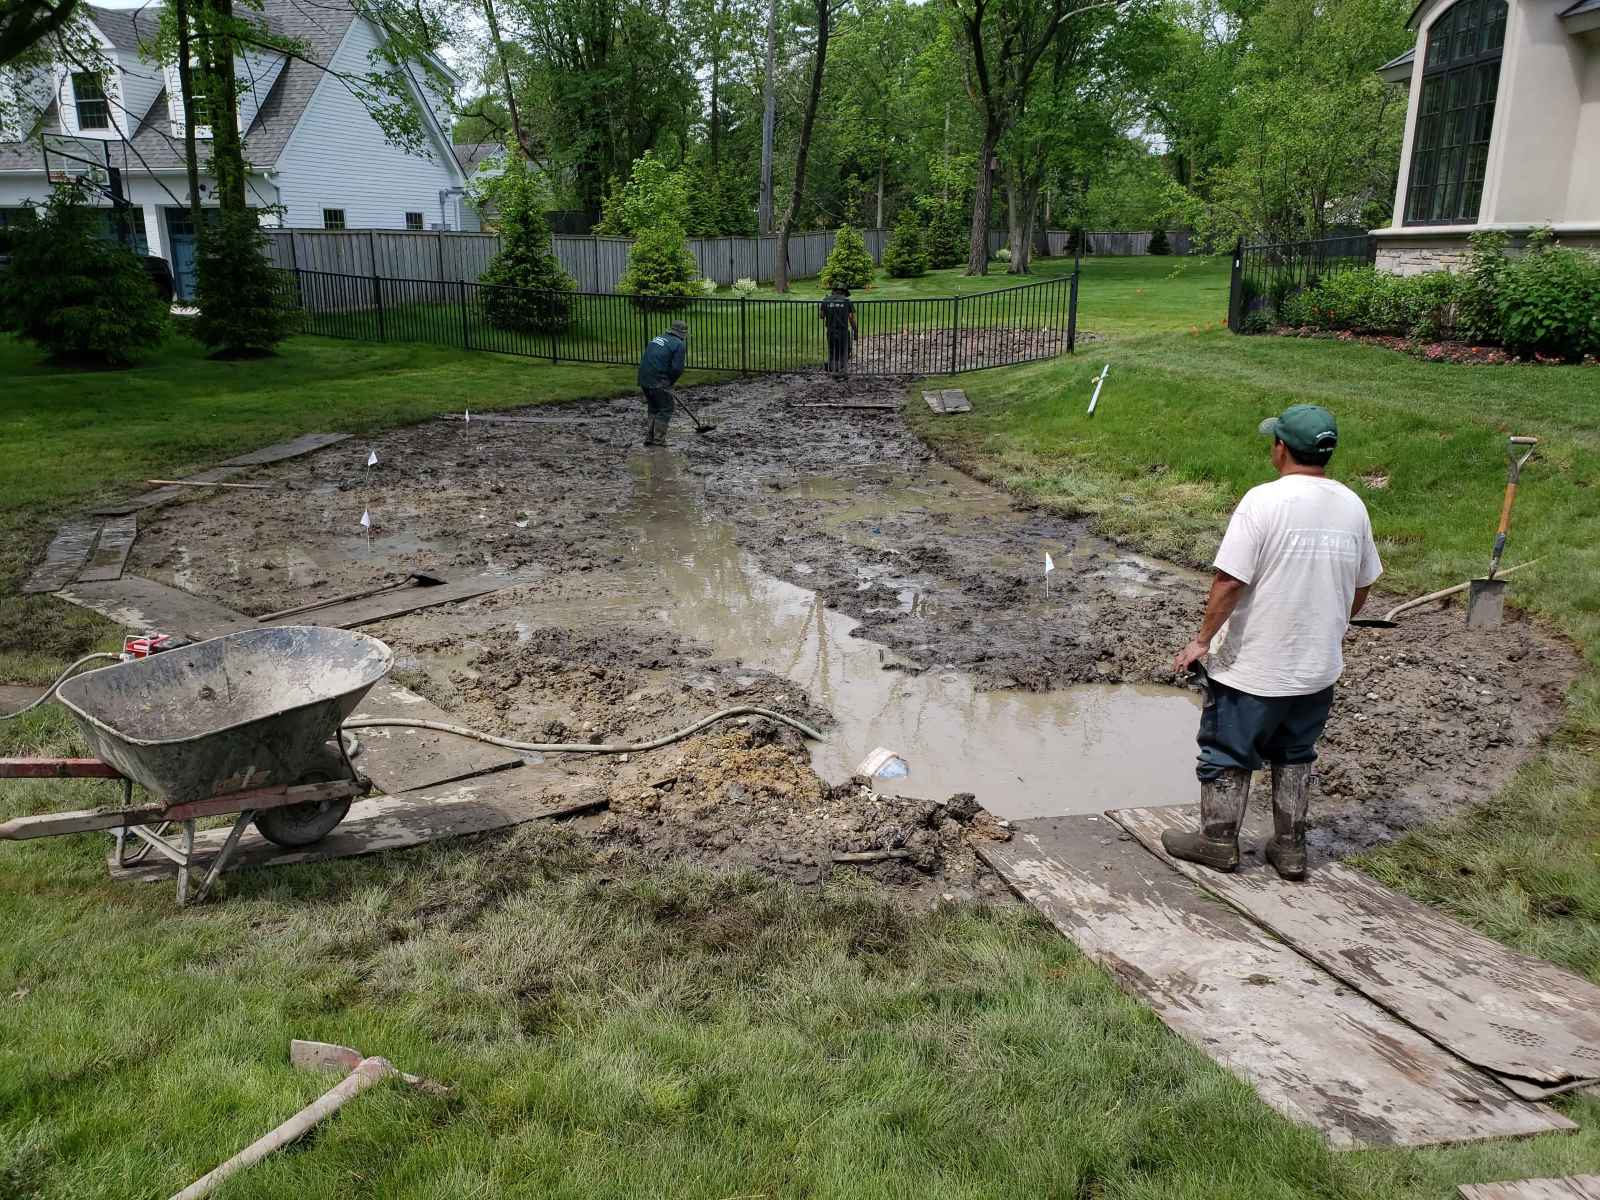
Step 4: Digging Trenches for the Drains
With your materials and tools in hand, it’s time to start digging trenches for the drains. Trenches provide the pathway for the drainage pipes, allowing water to flow away from your house.
Here’s a step-by-step guide on how to dig trenches for your drainage system:
- Mark the Trench Lines: Use spray paint or stakes and string to mark the desired path of the trenches. Ensure that the trenches slope away from your house to facilitate proper drainage.
- Dig the Trenches: Start digging the trenches using shovels or a trenching tool. The width and depth of the trenches will depend on the size of your drainage pipes and the amount of backfill material needed. Generally, a width of 8-12 inches and a depth of 12-24 inches should suffice.
- Maintain a Consistent Slope: While digging the trenches, ensure that you maintain a consistent slope throughout the entire length. The recommended slope is typically ¼ inch of drop for every foot of horizontal distance. This will ensure proper drainage flow.
- Smooth the Trench Bottoms: After digging the trenches, use a shovel or rake to smooth out the bottoms. This will help prevent any obstructions or uneven surfaces that may hinder the flow of water.
- Ensure Proper Depth: Double-check and adjust the depth of the trenches as needed to ensure that they are deep enough to accommodate the drainage pipes and provide sufficient coverage.
- Keep Excess Soil Nearby: While digging, keep the excess soil near the trenches for later use. This soil can be used to backfill the trenches once the drainage pipes are installed.
Take your time to ensure that the trenches are dug accurately and to the appropriate depth and slope. This will contribute to the overall effectiveness of your drainage system.
Now that the trenches are dug, it’s time to move on to step five: installing the drainage pipes.
Read more: How To Build A Drainage Ditch Around A House
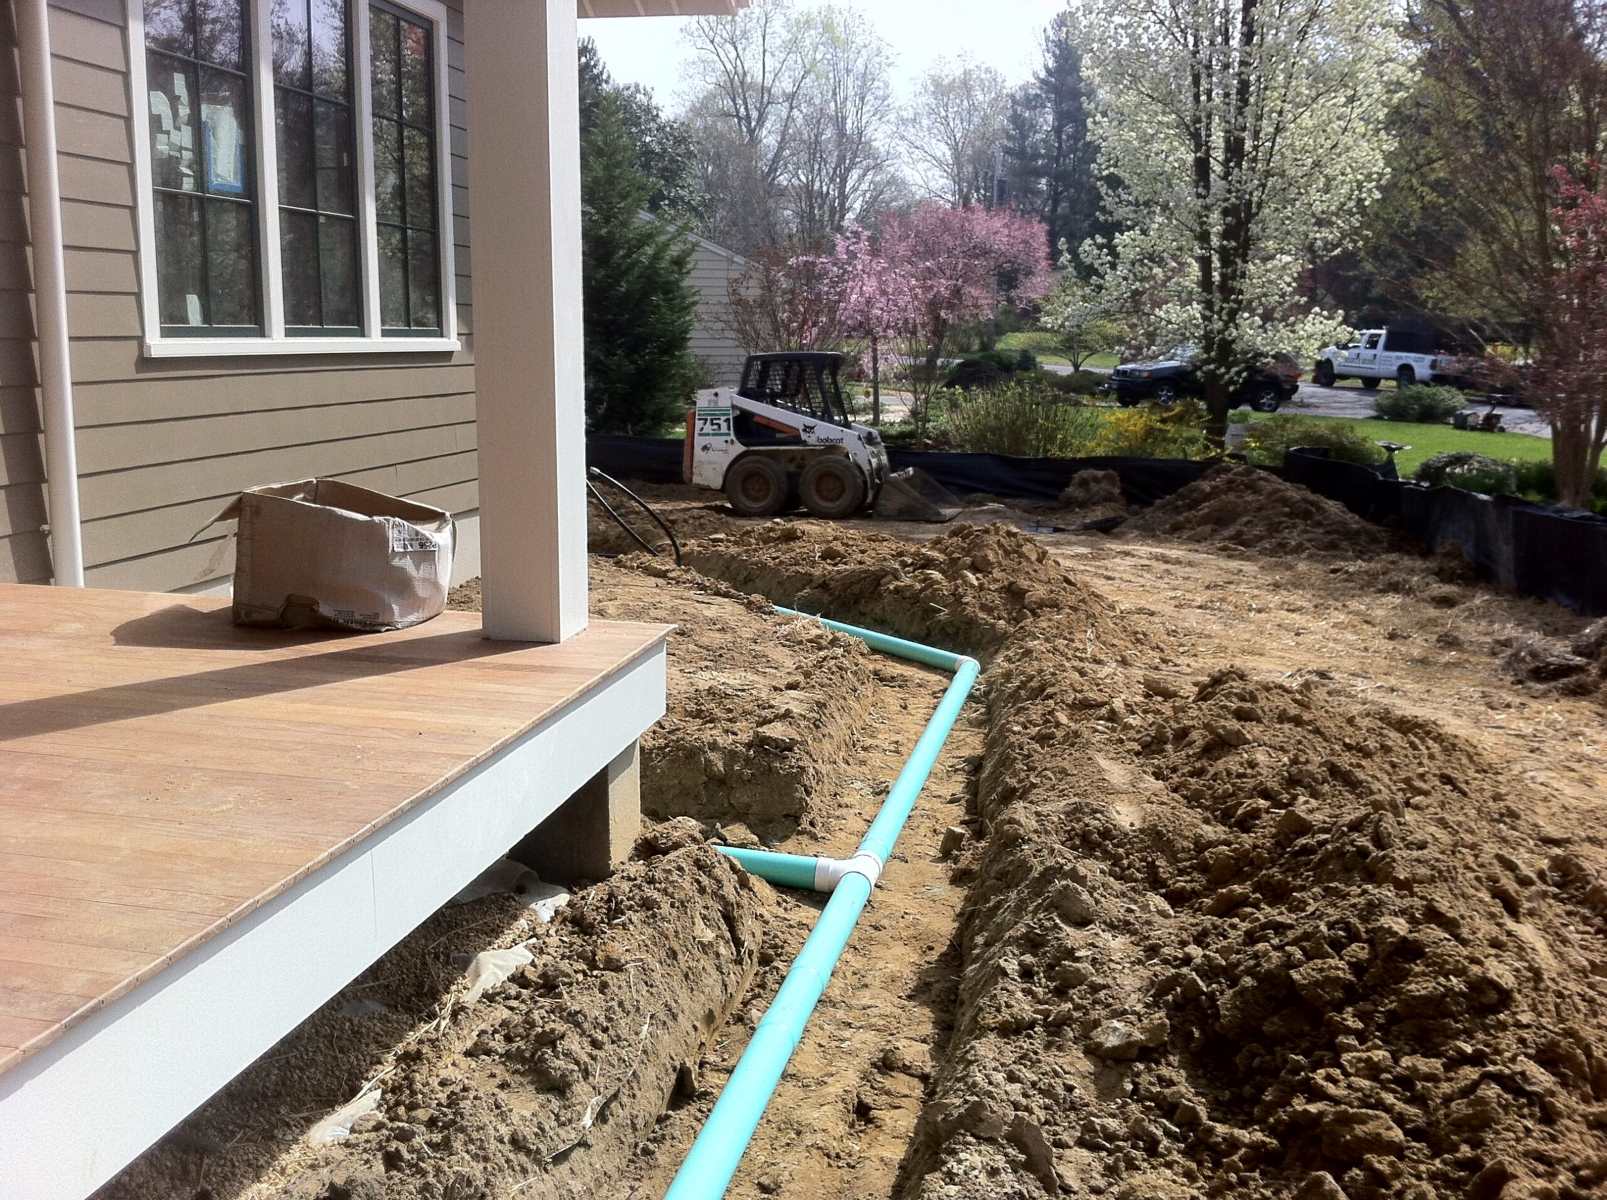
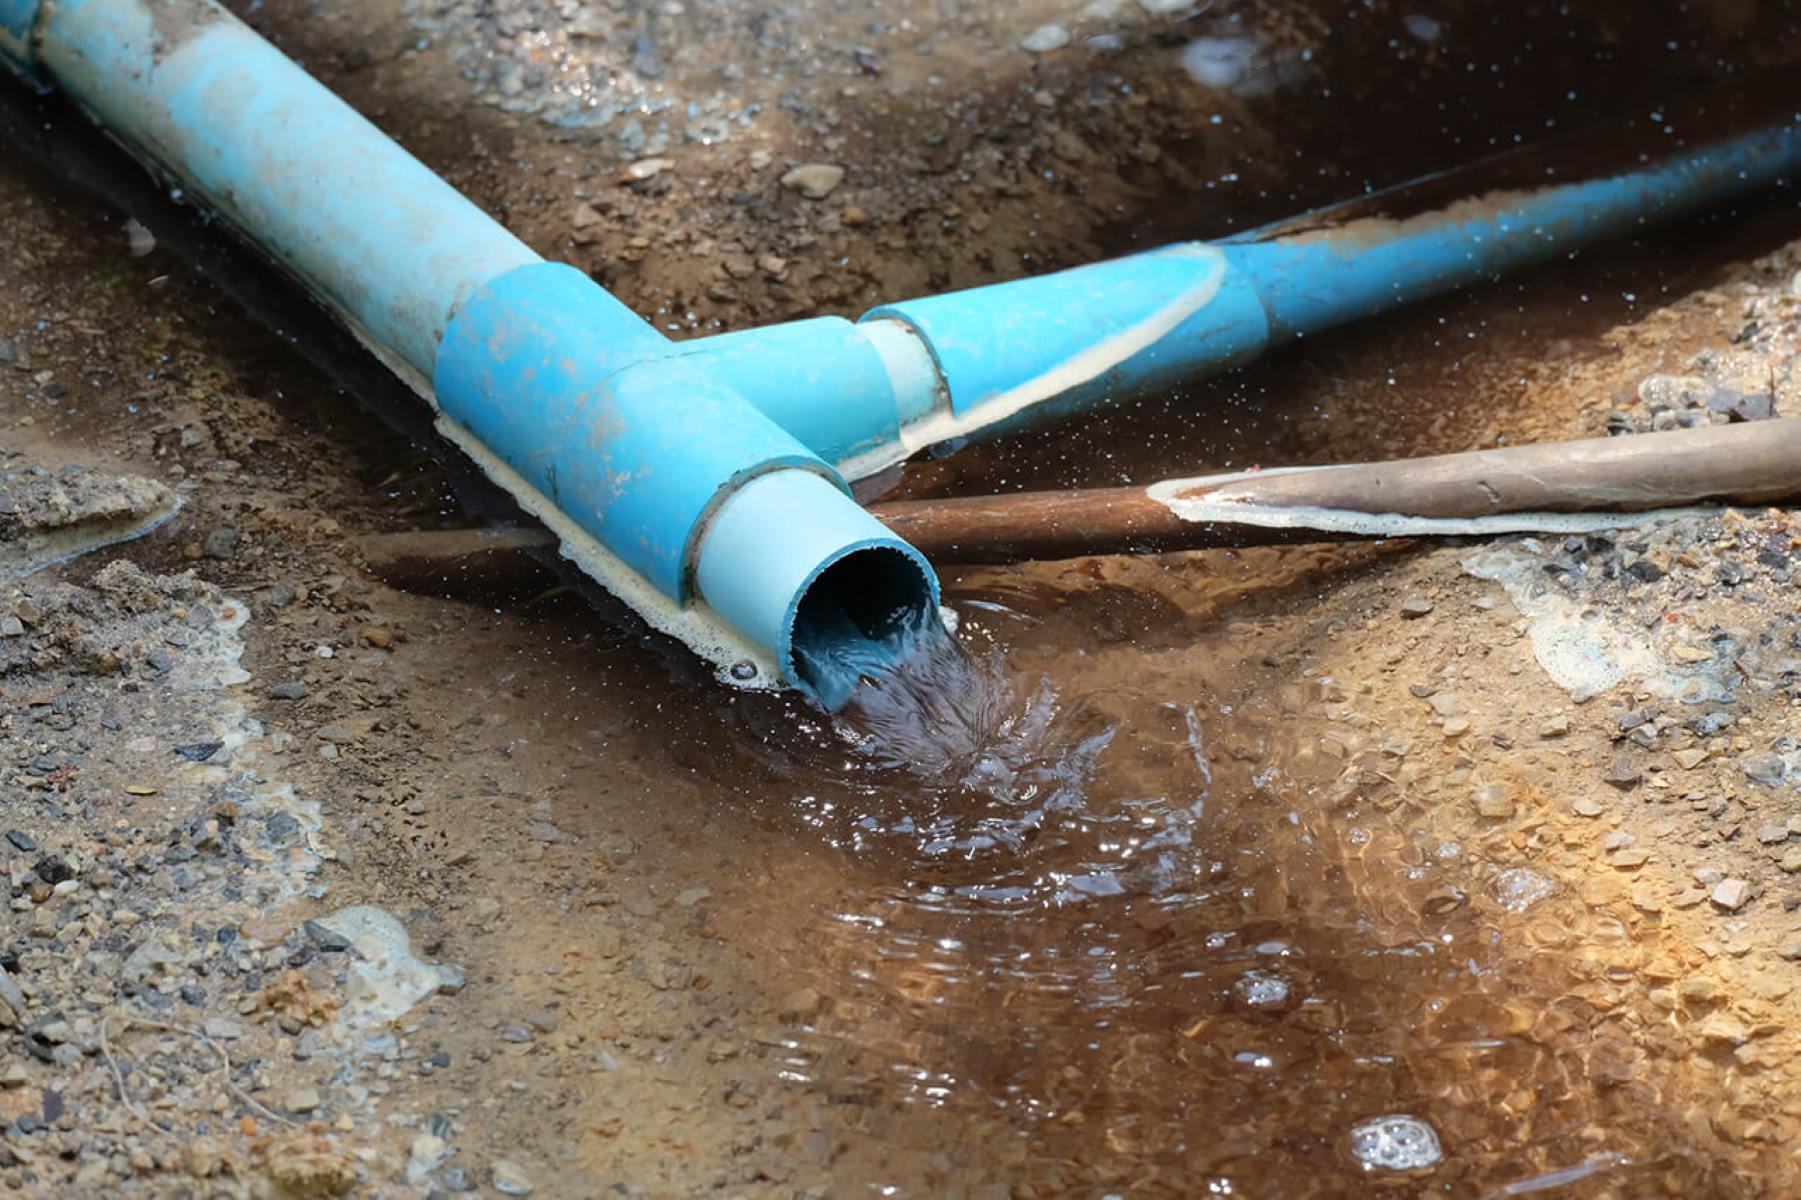
Step 5: Installing the Drainage Pipes
With the trenches dug, it’s time to move on to the installation of the drainage pipes. The pipes will carry the excess water away from your house, allowing for proper drainage and preventing water-related issues.
Follow these steps to install the drainage pipes:
- Lay a Gravel Bed: Before placing the pipes, create a layer of gravel or crushed stone at the bottom of the trenches. This will help with water filtration and prevent the pipes from being clogged with soil or debris.
- Connect Sections of Pipe: Begin by connecting the sections of drainage pipe together using the appropriate fittings and connectors. Ensure a secure and watertight connection.
- Place the Pipes in the Trenches: Carefully place the connected drainage pipes on top of the gravel bed in the trenches. Ensure that the pipes follow the desired slope and alignment for proper water flow.
- Make Connections to Catch Basins: If your drainage system includes catch basins, connect the drainage pipes to the basins using the appropriate fittings. Make sure the connections are tight and secure.
- Inspect and Adjust: Double-check all the pipe connections and alignments to ensure that they are properly installed. Make any necessary adjustments or corrections as needed.
- Backfill the Trenches: Once the pipes are installed and inspected, use the excess soil you kept nearby to backfill the trenches. Start by filling in the gaps around the pipes and compact the soil lightly as you go. Continue the process until the trenches are completely filled.
- Compact the Soil: After backfilling, use a tamper or a rake to compact the soil gently. This will help stabilize the ground and prevent settling or shifting of the drainage pipes.
- Leave Access Points: If necessary, leave access points or cleanouts along the drainage system to allow for maintenance and cleaning in the future. These access points can be covered with grates or removable covers.
It’s important to take your time when installing the drainage pipes to ensure proper alignment, secure connections, and accurate slope. This will ensure the functionality and longevity of your drainage system.
Now that the drainage pipes are installed, it’s time to move on to step six: creating outlets for water.
Ensure that the slope of the drainage system is at least 1/8 inch per foot to direct water away from the house. Use perforated pipe surrounded by gravel to allow water to flow and prevent clogging.
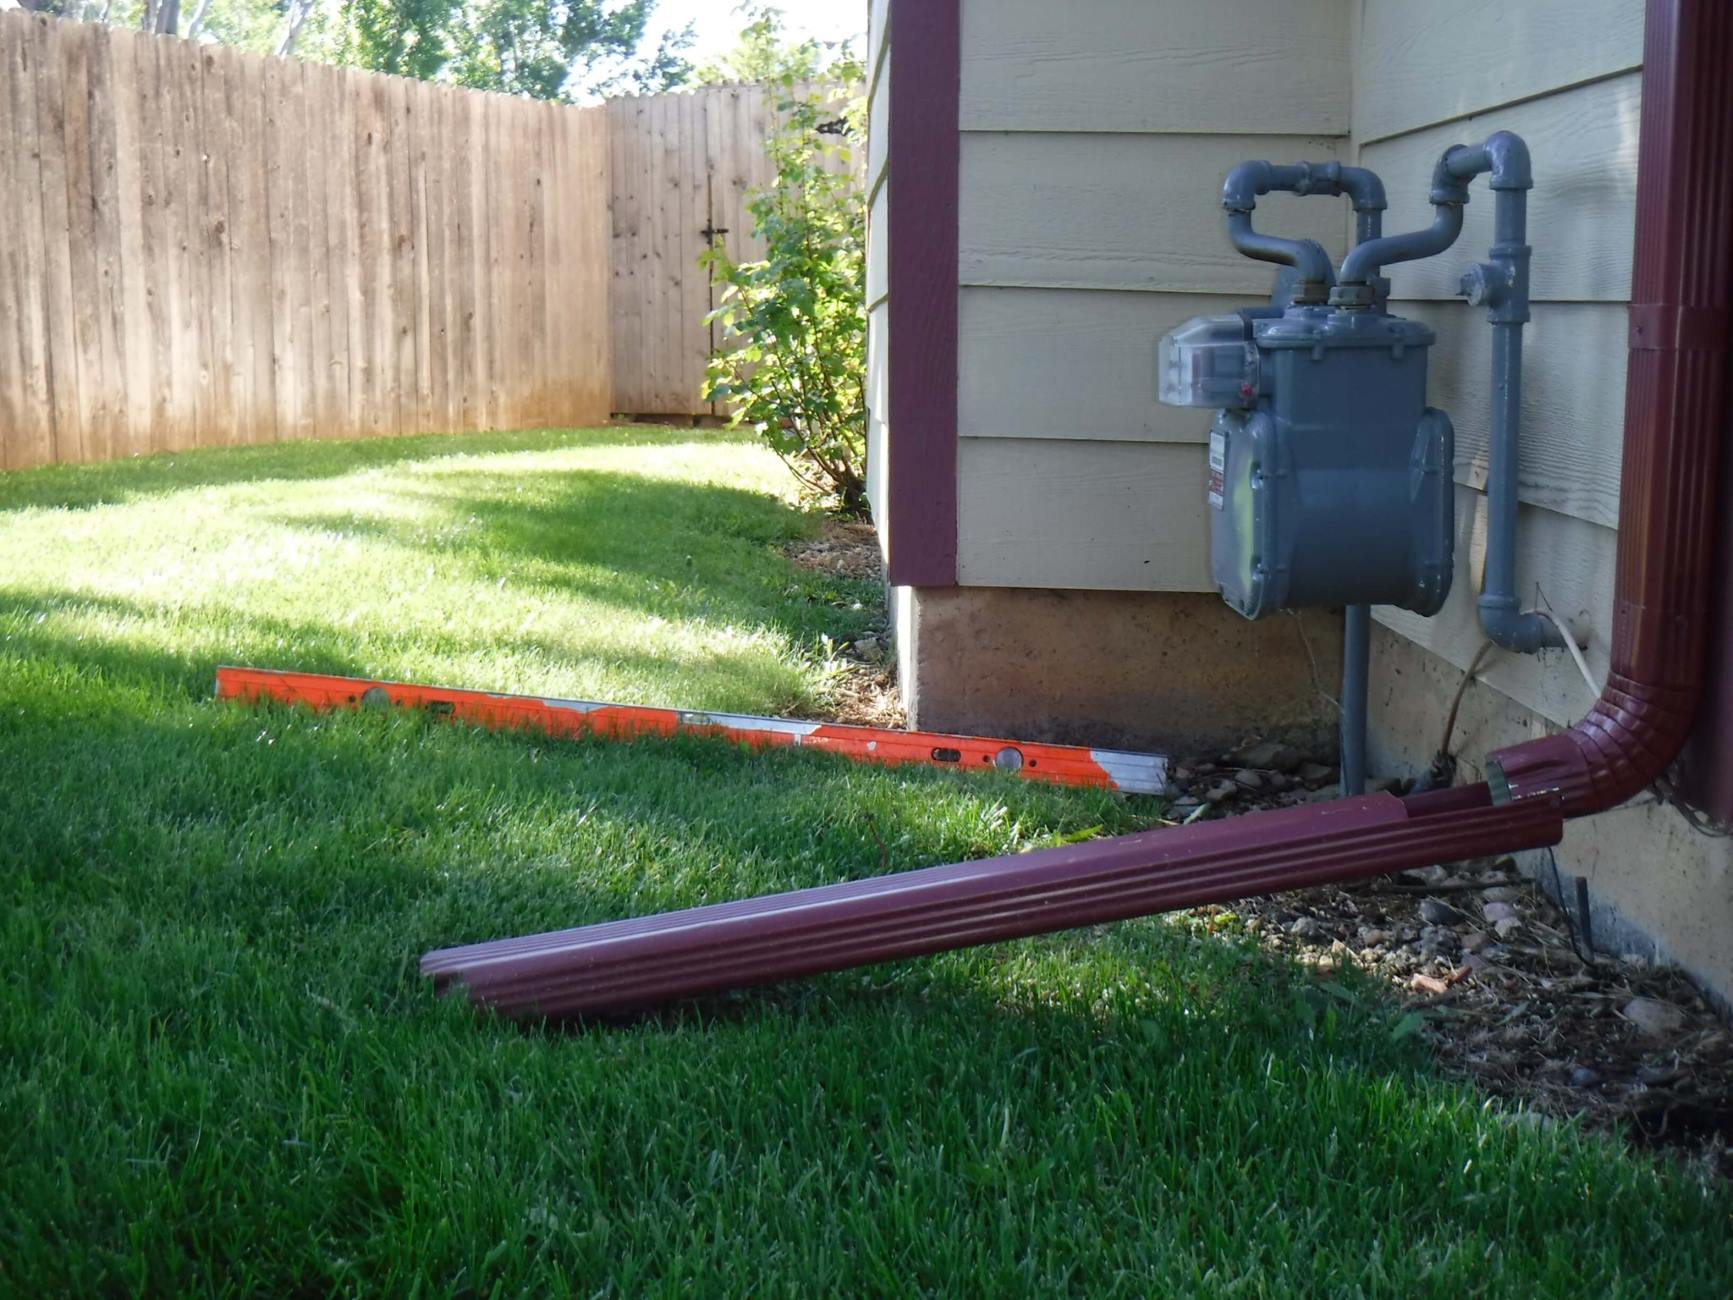
Step 6: Creating Outlets for Water
Creating outlets for water is an essential step in building a drainage system near your house. These outlets will redirect the excess water away from your property, preventing water buildup and potential damage.
Follow these steps to create outlets for water in your drainage system:
- Identify Suitable Outlet Locations: Determine the best locations to direct the water away from your house. This could be a nearby storm drain, a swale, a dry well, or a designated runoff area on your property.
- Plan the Route: Plan the route from the drainage pipes to the outlet locations. Ensure that the route follows a natural slope or redirects the water away from any structures or vulnerable areas.
- Create a Path for the Water: Dig trenches or utilize piping to create a path for the water to flow towards the outlets. Ensure the path has a consistent slope for efficient drainage.
- Install Outlet Structures: Depending on the chosen outlet method, install appropriate outlet structures such as downspout extensions, popup emitters, or catch basins. These structures will help guide the water towards the desired outlet location.
- Secure Connections: Ensure that all connections between the drainage system and outlet structures are secure and watertight. This will prevent leaks and ensure efficient water flow.
- Test the Water Flow: Once the outlets are installed, test the water flow by directing water into the drainage system. Observe if the water is properly diverted towards the outlets and if there are any issues such as clogs or leaks. Make any necessary adjustments or repairs.
- Consider Additional Drainage Solutions: Depending on your property’s needs, you may need to consider additional drainage solutions, such as swales, dry wells, or French drains, to further redirect water away from problem areas.
Creating outlets for water is crucial for the proper functioning of your drainage system. By effectively redirecting water away from your house, you can protect your property from potential water damage.
With the outlets in place, it’s time to move on to step seven: backfilling the trenches.
Step 7: Backfilling the Trenches
After installing the drainage pipes and creating outlets for water, it’s time to move on to backfilling the trenches. Backfilling involves filling the trenches with soil to cover and secure the drainage system.
Follow these steps to properly backfill the trenches:
- Begin the Backfilling Process: Start by filling in the gaps around the drainage pipes with the excess soil that was set aside during the trenching process. Use a shovel or rake to distribute the soil evenly.
- Add Soil Gradually: Gradually add soil to the trenches, compacting it lightly as you go. Use a tamper or a rake to ensure that the soil is evenly distributed and there are no air pockets.
- Fill the Trenches Completely: Continue filling the trenches until they are completely filled to the ground level. Ensure that the backfilled soil is compacted enough to provide stability for the drainage system.
- Avoid Over-compaction: While it’s important to compact the soil to provide stability, avoid over-compacting it. Excessive compaction can impact the drainage system’s ability to function properly.
- Create a Sloping Surface: During the backfilling process, create a slight slope away from your house to facilitate proper drainage. This will ensure that water flows away from your property as intended.
- Leave Room for Settling: Keep in mind that the backfilled soil may settle over time. Leave some extra room for settling, and be prepared to add additional soil if necessary in the future.
- Reseed or Replant: If necessary, reseed or replant the area where the trenches were dug to restore the landscape. This will help minimize any disruption caused during the installation process.
Properly backfilling the trenches is essential for the stability and functionality of your drainage system. Take your time to ensure that the soil is adequately distributed and compacted, allowing for proper water flow.
With the trenches backfilled, it’s time to move on to step eight: testing the drainage system.
Step 8: Testing the Drainage System
After completing the installation and backfilling of the drainage system, it’s crucial to test its functionality to ensure that water is properly redirected away from your house. Testing the drainage system will help identify any issues or potential areas of improvement.
Follow these steps to test the drainage system:
- Imitate Rainfall: Simulate a rainfall event by gently spraying water or using a garden hose near the areas where water tends to accumulate. This will help assess how well the drainage system handles excess water.
- Observe Water Flow: Watch for any signs of water pooling, clogging, or improper drainage. Take note of any areas that require additional attention or adjustments.
- Check for Leakage: Inspect the entire drainage system, including the pipes, fittings, and outlet structures, for any signs of leakage. Address any leaks or loose connections promptly to ensure the system operates efficiently.
- Assess Soil Moisture: Monitor the moisture levels of the soil around your house after the test. Proper drainage should result in soil that is neither excessively saturated nor dry. Adjustments may be needed if the soil remains too wet or dry.
- Identify Areas of Improvement: If any issues are discovered during the testing process, identify areas that need improvement. This may involve making adjustments to the slope, adding additional drainage components, or addressing specific problem areas.
- Consult a Professional, if Needed: If significant issues or recurring problems are encountered during the test, it may be beneficial to consult with a professional landscaper or drainage expert. They can provide expert guidance and offer solutions to address specific challenges.
Testing the drainage system is a critical step to ensure its effectiveness in preventing water damage and maintaining the integrity of your home. By identifying any issues and making any necessary adjustments, you can have peace of mind knowing that your drainage system is working efficiently.
Once the drainage system has been tested and necessary improvements have been made, it’s time to move on to the final step: adding finishing touches to your drainage system.
Step 9: Finishing Touches
After completing the installation, testing, and necessary adjustments to your drainage system, it’s time to add the finishing touches. These final details will help enhance the functionality and appearance of your drainage system.
Here are some finishing touches you can consider:
- Cover the Outlet Structures: If you have installed catch basins or other outlet structures, cover them with appropriate grates or covers. This will help prevent debris from entering the system and ensure the outlets are not blocked.
- Optimize Landscaping: Replant grass or vegetation in the areas that were disturbed during the installation process. This will help restore the appearance of your landscape and improve soil stability.
- Consider Aesthetics: If desired, consider adding decorative elements to the drainage system. For example, you can incorporate landscaping rocks or use decorative grates for a more appealing visual aspect.
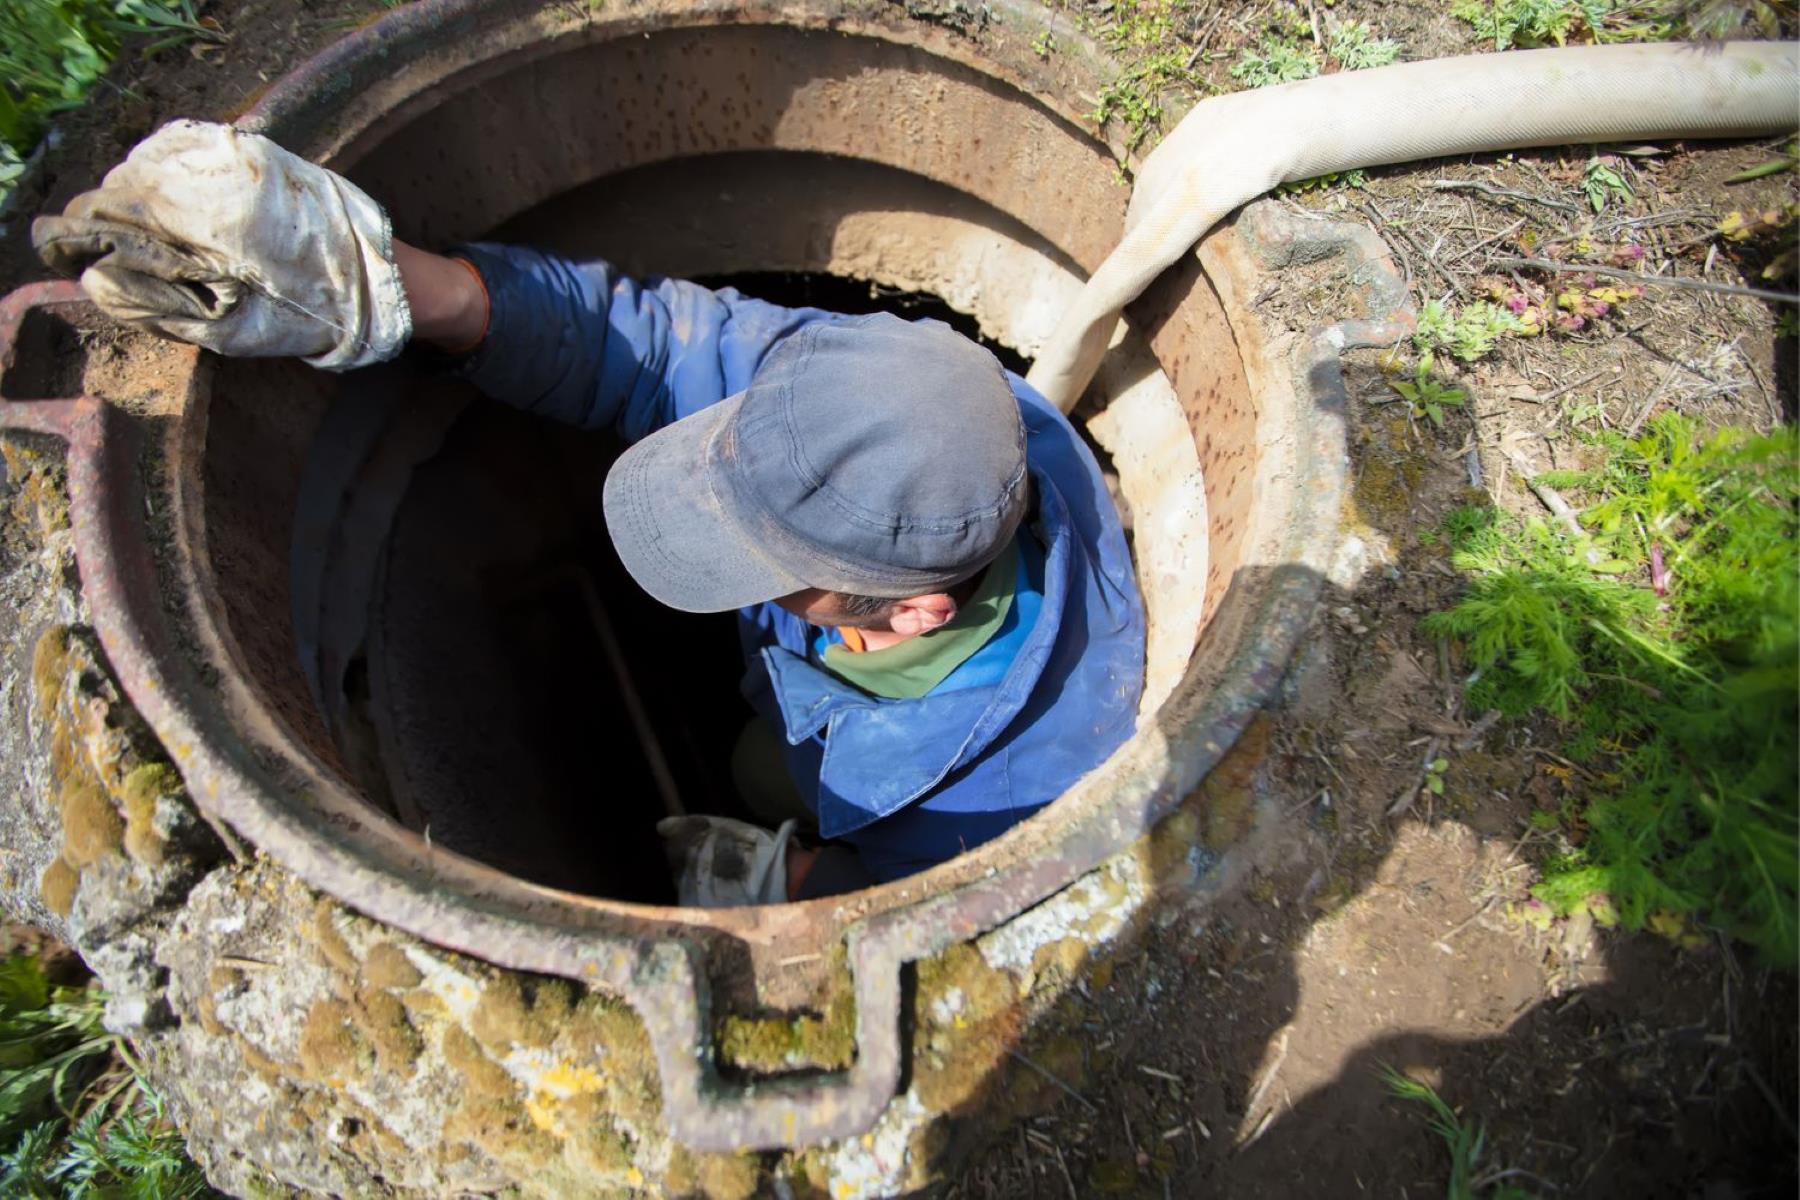
- Maintain Regular Inspection and Maintenance: Establish a routine schedule to inspect and maintain your drainage system. Regularly check for any signs of damage, clogging, or potential issues. Clean the system as needed and address any repairs or maintenance promptly.
- Keep Drainage Paths Clear: Ensure that the drainage paths remain clear of any obstructions, such as vegetation or debris. Regularly remove leaves, branches, or other blockages to retain the proper functioning of the drainage system.
- Monitor and Adjust as Needed: Keep an eye on the performance of your drainage system over time. Make any adjustments or improvements if you notice areas that require further attention. The effectiveness of the drainage system may evolve as your property landscape changes.
Adding these finishing touches will help complete the installation process and ensure that your drainage system functions optimally. Regular maintenance and monitoring will contribute to its long-term effectiveness and help prevent potential issues in the future.
Congratulations! By following these nine steps, you have successfully built a drainage system near your house, protecting it from water damage and maintaining its integrity for years to come.
Remember, if you ever feel unsure about any aspect of the installation or encounter significant challenges, it’s always recommended to consult with a professional to ensure the best results.
Conclusion
Building a drainage system near your house is a crucial step in maintaining its structural integrity and protecting it from water damage. By following the nine steps outlined in this guide, you can effectively redirect water away from your property and prevent issues such as foundation damage, dampness, and mold growth.
We began the process by assessing the site and understanding the specific drainage needs of your property. This allowed us to plan the drainage system accordingly, taking into account factors such as water accumulation, sloping and grading, soil type, and downspout locations.
Next, we gathered the necessary materials and tools for installation, ensuring that we had everything needed for a smooth and efficient process. Digging trenches for the drains was the next step, where we created a pathway for the drainage pipes following the desired slope and alignment.
With the trenches dug, we moved on to installing the drainage pipes, carefully connecting and placing them in the trenches. We created outlets for water to redirect it away from the house, preventing water buildup and potential damage.
Once the installation and outlets were in place, we backfilled the trenches, ensuring the stability of the drainage system. Testing the system allowed us to assess its functionality and identify any necessary adjustments or improvements.
Finally, we added finishing touches to enhance the appearance and maintenance of the drainage system. By covering outlet structures, optimizing landscaping, and implementing a regular inspection and maintenance routine, we ensured the long-term effectiveness of the system.
Building a drainage system near your house requires time, effort, and attention to detail. If at any point you feel unsure or encounter significant challenges, it’s always recommended to consult with a professional to ensure the best results.
By following these steps and maintaining your drainage system regularly, you can protect your home from water damage, maintain its structural integrity, and ensure a safe and comfortable living environment for years to come.
Frequently Asked Questions about How To Build A Drainage System Near A House
Was this page helpful?
At Storables.com, we guarantee accurate and reliable information. Our content, validated by Expert Board Contributors, is crafted following stringent Editorial Policies. We're committed to providing you with well-researched, expert-backed insights for all your informational needs.


0 thoughts on “How To Build A Drainage System Near A House”