Home>Home Maintenance>How To Fix Drainage Issues Around The House
Home Maintenance
How To Fix Drainage Issues Around The House
Modified: October 20, 2024
Learn how to fix drainage issues around your house with these effective home-maintenance tips. Prevent water damage and keep your property safe.
(Many of the links in this article redirect to a specific reviewed product. Your purchase of these products through affiliate links helps to generate commission for Storables.com, at no extra cost. Learn more)
Introduction
Having proper drainage around your house is essential to prevent water damage and maintain the overall integrity of your property. Drainage issues can lead to a variety of problems, such as water pooling in your yard, basement flooding, or even damage to the foundation of your home.
Understanding the common causes of drainage issues and knowing how to assess and fix them can save you time, money, and headaches in the long run. In this article, we will explore some of the most common causes of drainage issues and provide you with practical solutions to address them.
Whether you’re dealing with a soggy yard, a leaky basement, or water seeping into your home, we’ve got you covered. By implementing these solutions, you can ensure that your home is protected from the perils of poor drainage.
But first, let’s take a closer look at some of the common culprits behind drainage issues.
Key Takeaways:
- Keep your home safe from water damage by clearing clogged gutters, installing French drains, and redirecting downspouts. Regular maintenance and professional help can ensure effective drainage solutions.
- Address drainage issues by re-grading your landscape, creating a dry well system, and repairing foundation cracks. Proper assessment and expert guidance are key to maintaining a dry and stable home.
Common Causes of Drainage Issues
There are several factors that can contribute to drainage issues around your home. Understanding these common causes can help you identify the specific problem you’re facing and find the appropriate solution. Let’s take a look at some of the main culprits:
- Poorly designed grading: One of the most common causes of drainage issues is improper grading of the land around your house. If the slope of your yard directs water toward your home instead of away from it, you’re bound to encounter problems. Water pooling near the foundation can lead to leaks, cracks, and damage to your basement.
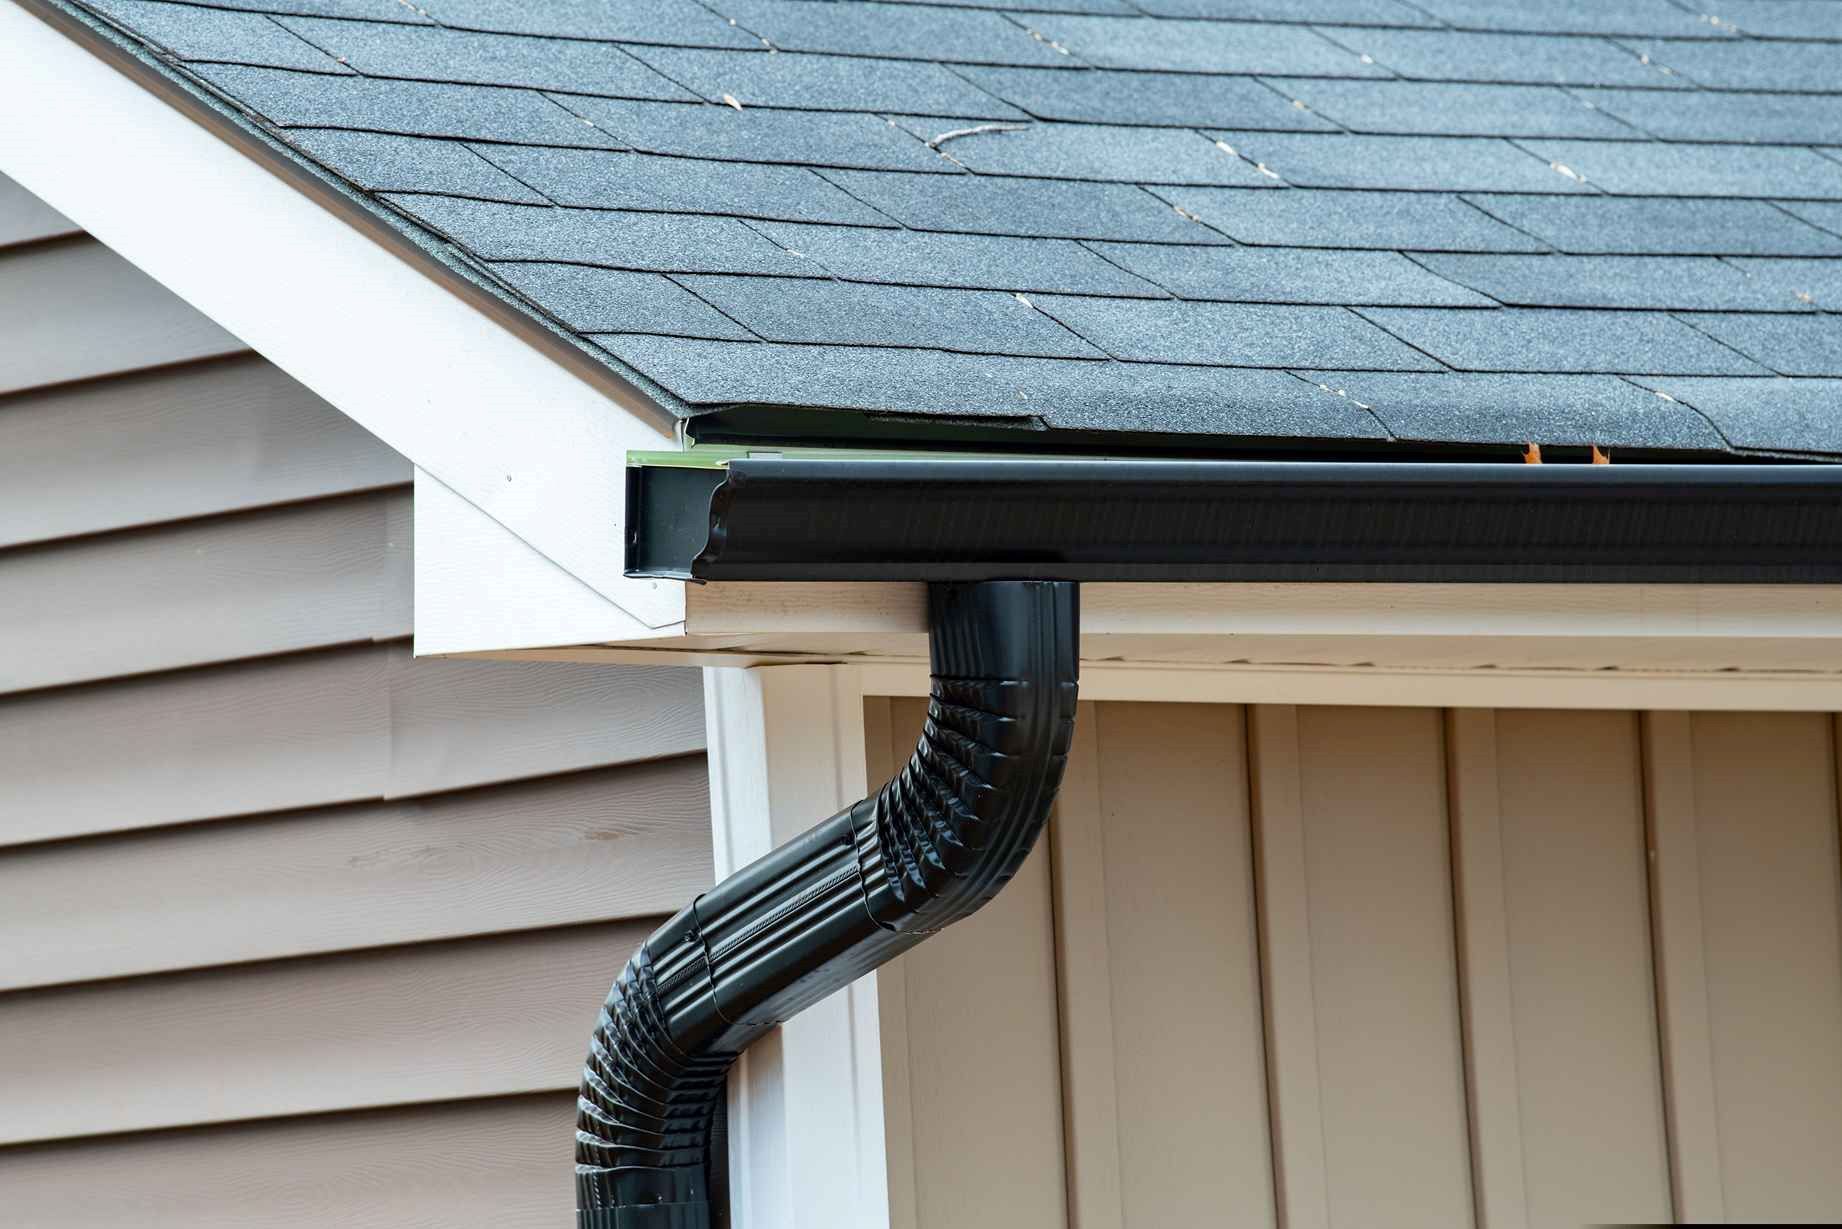
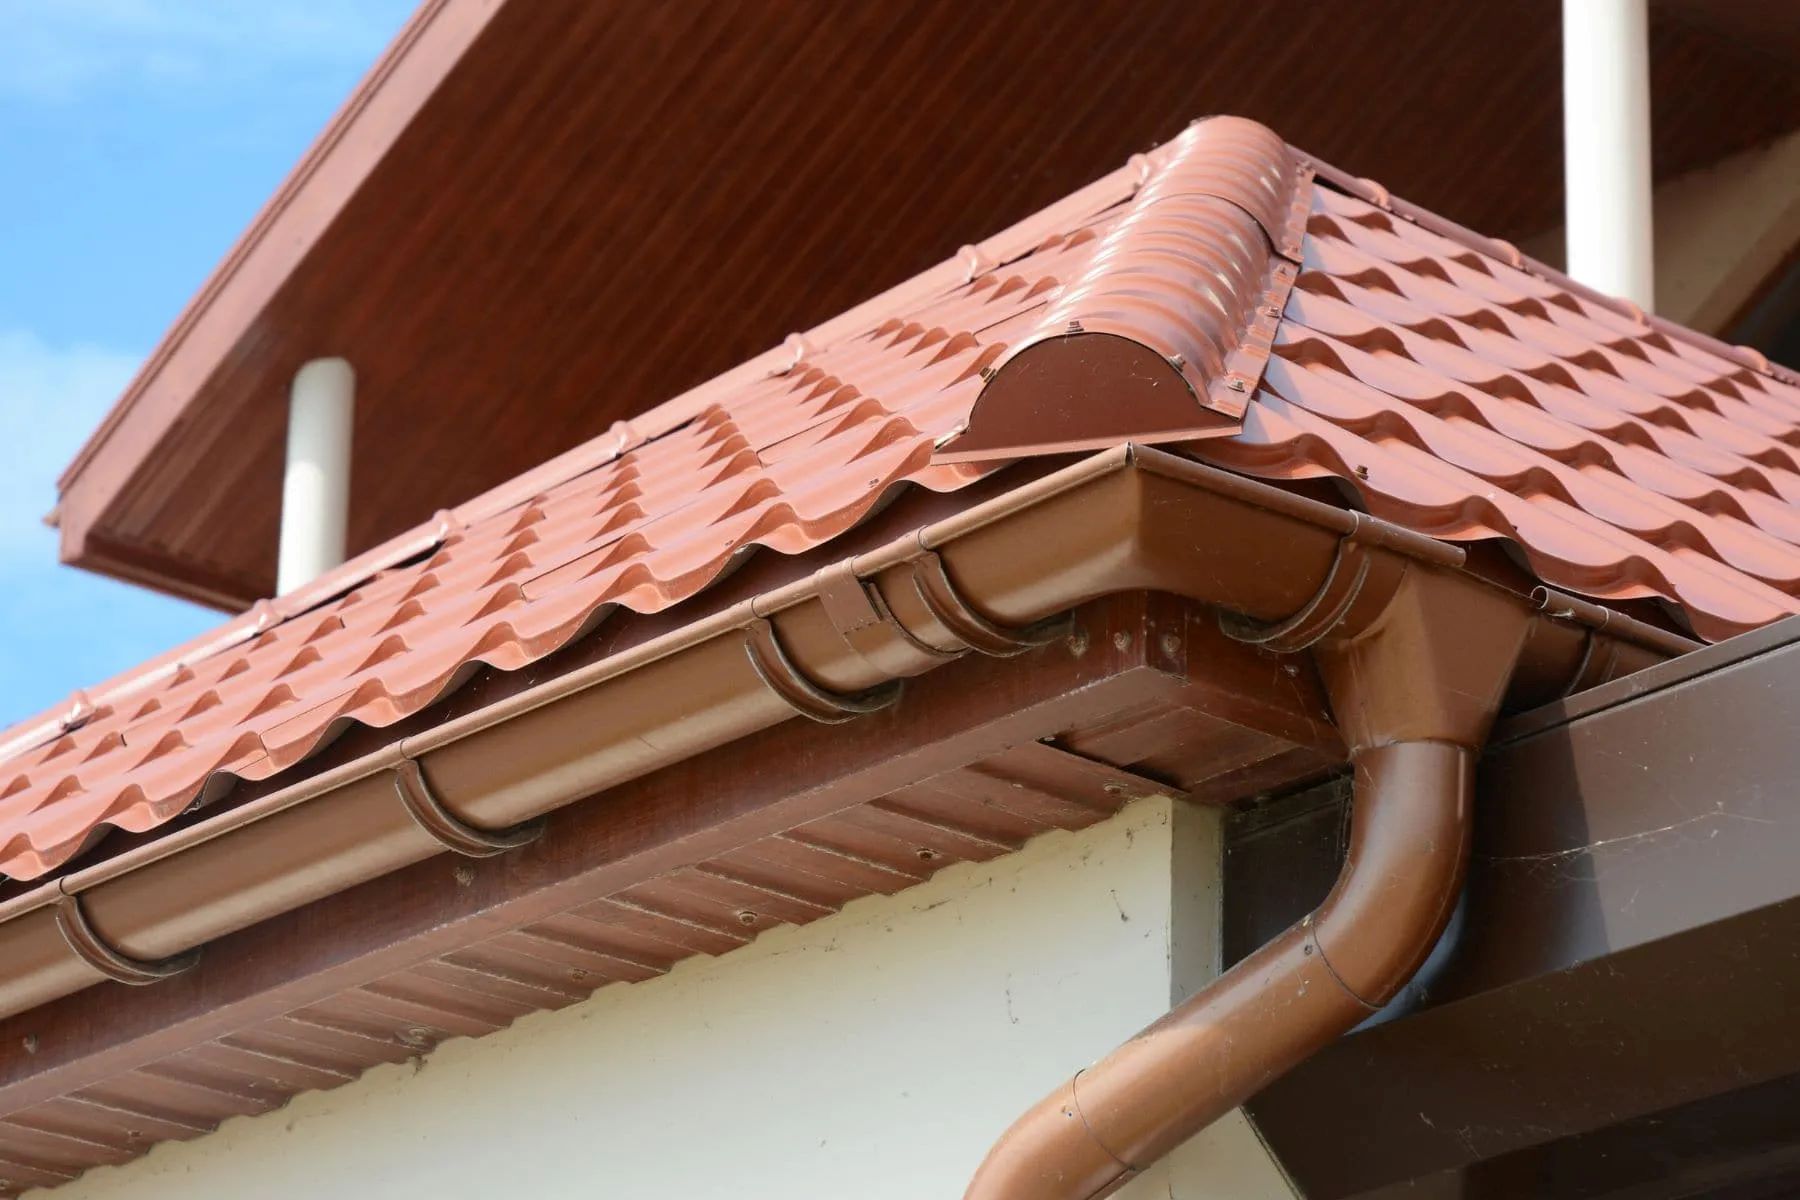
- Clogged gutters and downspouts: When leaves, debris, and other foreign objects accumulate in your gutters and downspouts, they can become clogged. This prevents water from flowing freely and can cause it to overflow, leading to water pooling around your home.
- Inadequate or faulty drainage systems: If your property doesn’t have a proper drainage system in place or if the existing system is damaged or faulty, it can contribute to drainage issues. This includes missing or broken French drains, dry wells, or malfunctioning sump pumps.
- Insufficient landscaping: The way your yard is landscaped can impact drainage as well. Plants, shrubs, and trees that absorb excessive amounts of water can lead to waterlogged soil and poor drainage. Similarly, compacted soil or the absence of mulch can hinder water absorption and cause water to build up in certain areas.
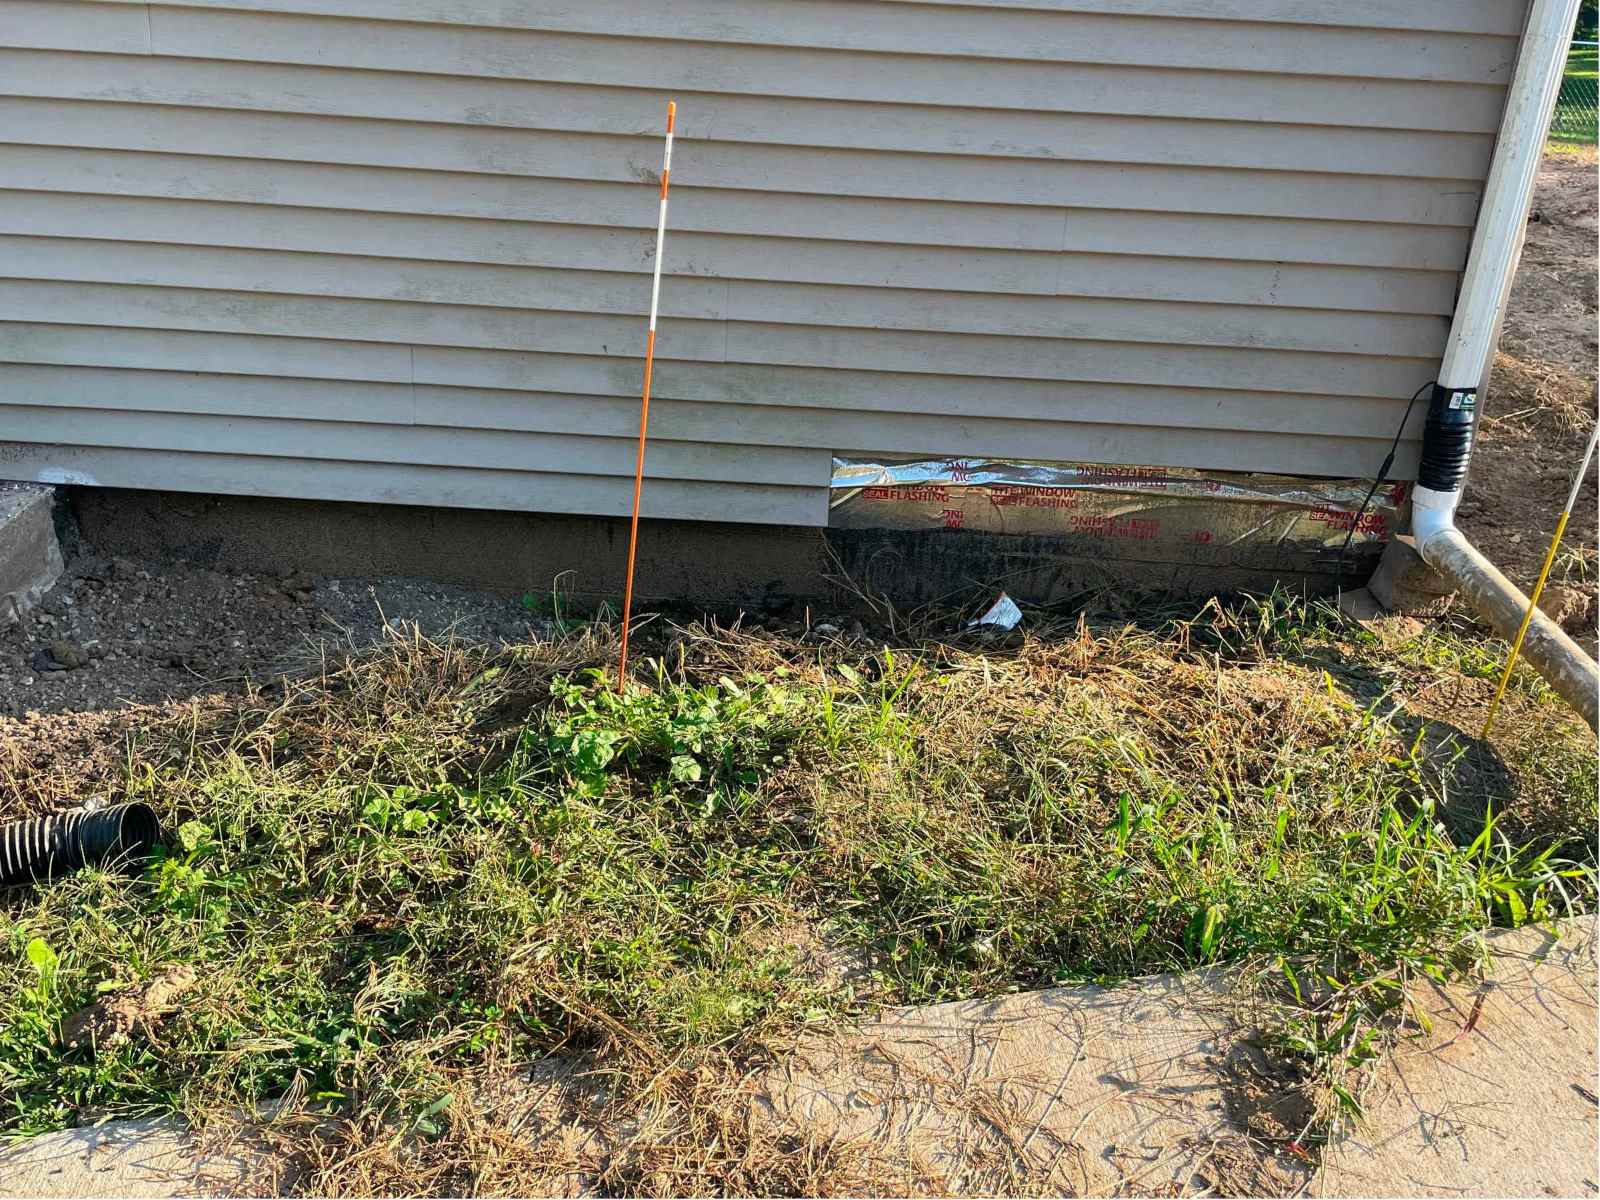
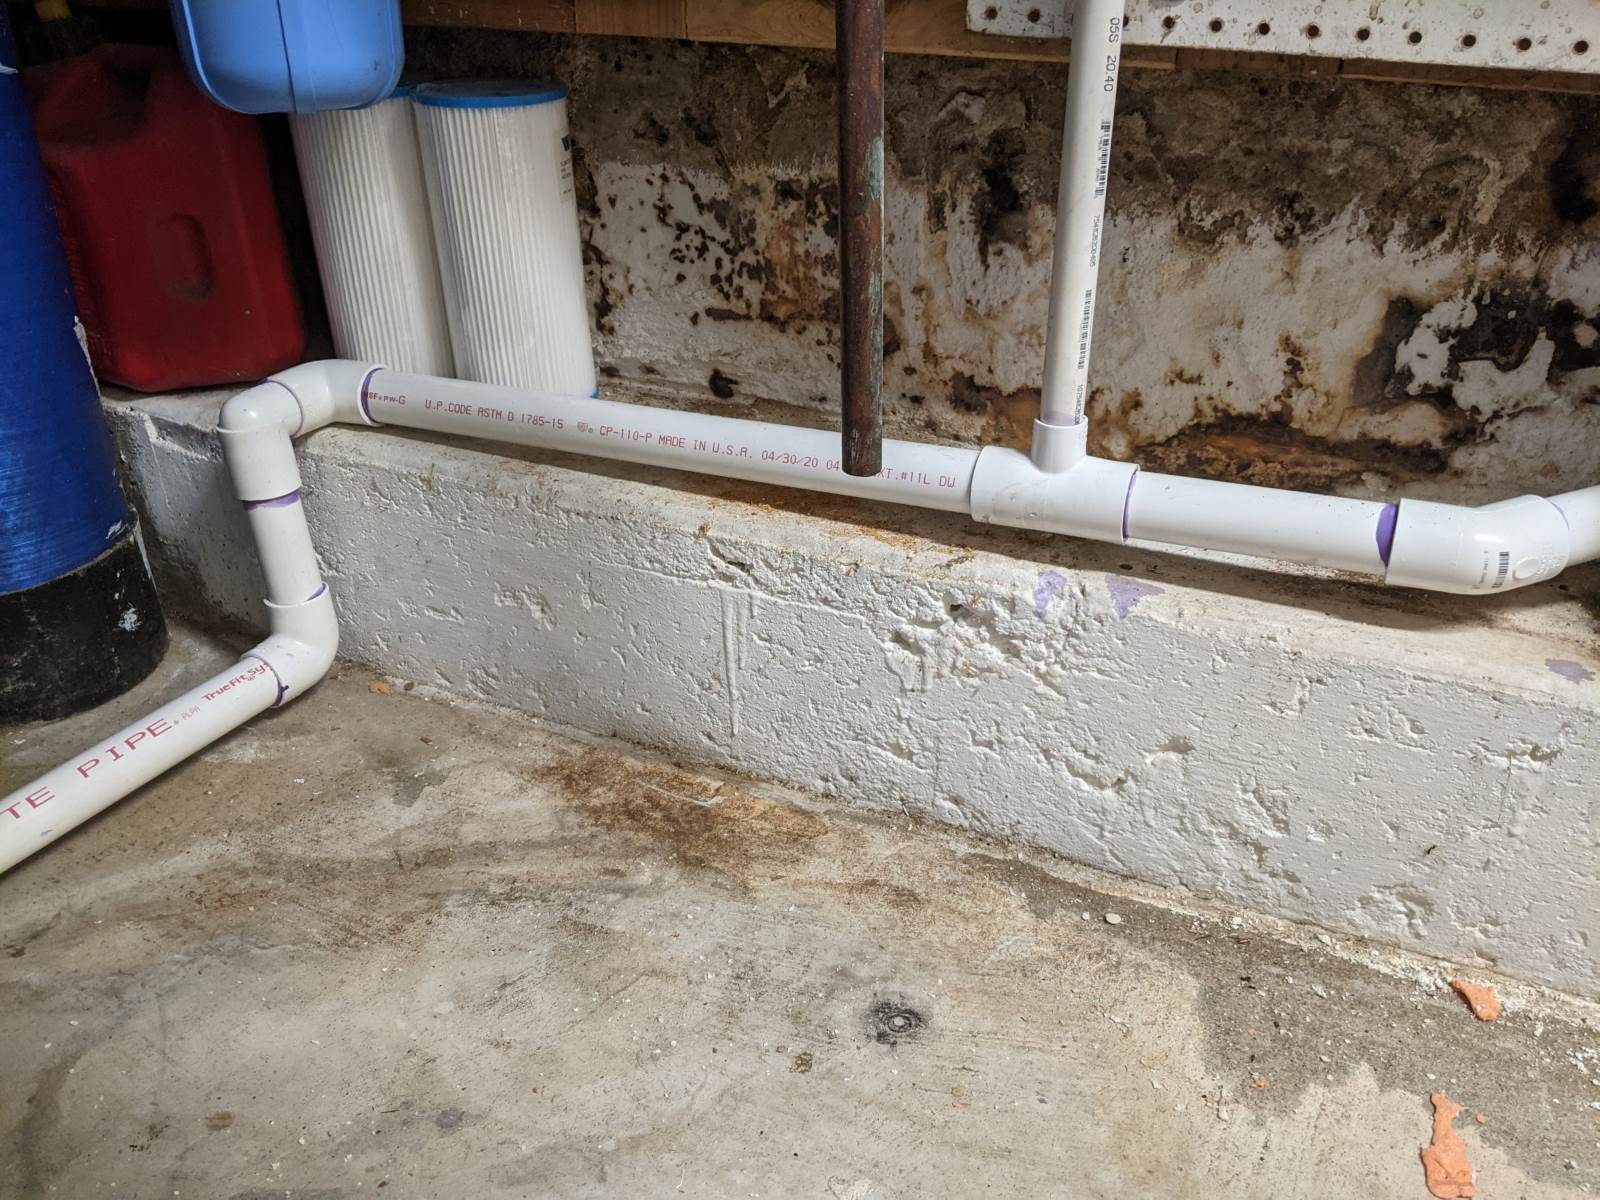
- Foundation cracks: Cracks or gaps in your home’s foundation can allow water to seep in during heavy rainfall or when the water table is high. This can lead to water intrusion in your basement or crawl space, causing significant damage over time.
By identifying the specific cause of your drainage issues, you can narrow down the appropriate solution. In the next section, we will discuss how to assess the drainage problem and provide effective solutions to fix it.
Assessing the Drainage Problem
Before diving into the solutions, it’s crucial to accurately assess the drainage problem you’re facing. This will help you determine the extent of the issue and ensure that you implement the most suitable solution.
Here are some steps to follow when assessing your drainage problem:
- Observe and detect signs of water accumulation: Take a walk around your property after a heavy rainfall or during a period of excessive watering. Look for areas where water is pooling or not draining properly. Note any signs of water damage, such as dampness in the basement or cracks in the foundation.
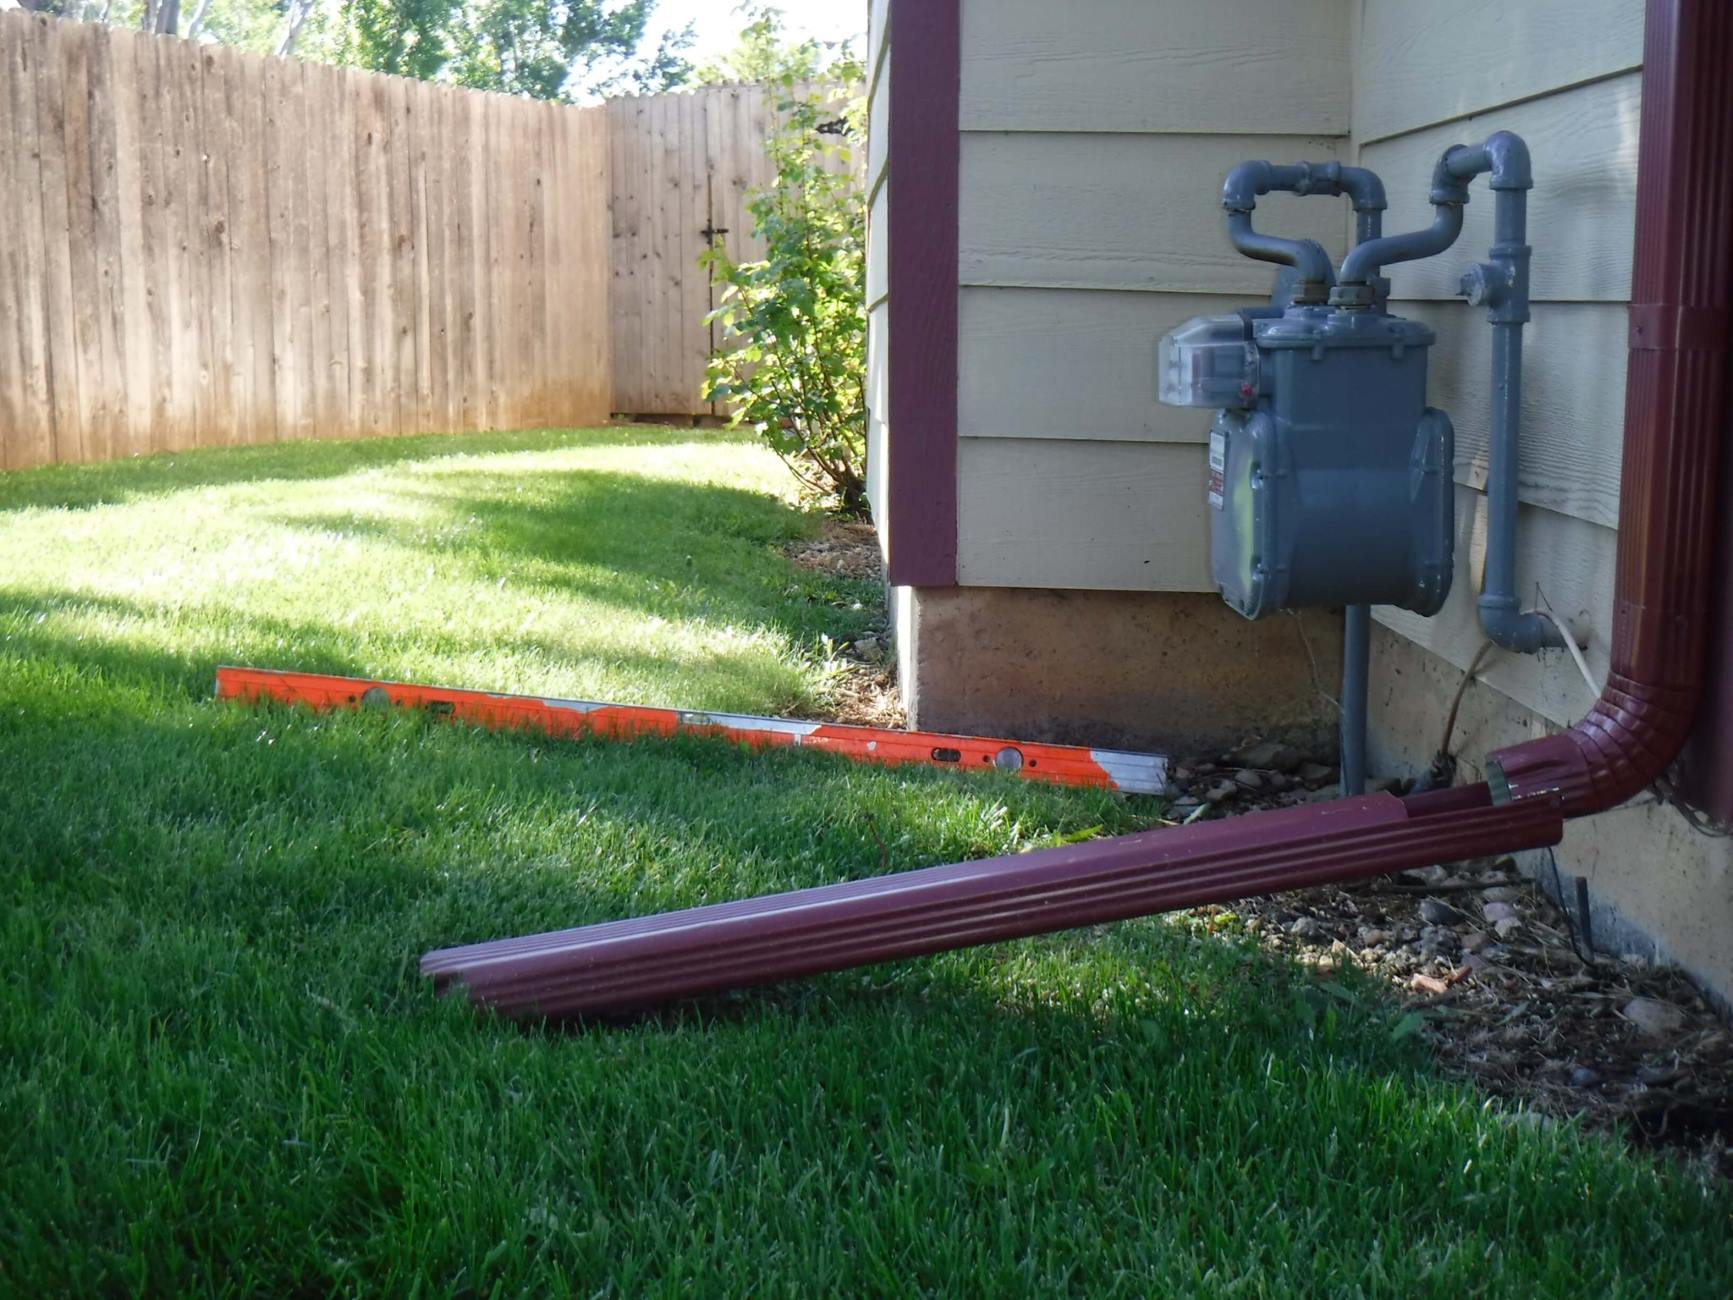
- Check the grading of your yard: Evaluate the slope and contour of your yard. Ideally, the ground should slope away from your home at a minimum of 6 inches over the first 10 feet. Use a level or a measuring tool to ensure proper grading.
- Inspect the gutters and downspouts: Check for signs of clogs, leaks, or improper alignment. Look out for overflowing water or water spilling over the sides of gutters. Examine the downspouts to ensure they are directing water away from your home’s foundation.
- Examine the landscaping: Assess the overall landscape design and the presence of foliage near your home. Look for areas where water is pooling due to poor drainage or excessive plant water consumption.
- Inspect the foundation: Examine the foundation for any cracks, gaps, or signs of moisture intrusion. This will help determine if foundation repairs are needed to address the drainage issue.
By carefully observing and assessing these factors, you will gain valuable insights into the root cause of your drainage problem. This will enable you to select the most appropriate solutions to fix the issue. In the following sections, we will explore various solutions for common drainage problems around the house.
Solutions for Drainage Issues
Now that you’ve assessed the drainage problem around your house, it’s time to implement the necessary solutions. Here are some effective strategies to address common drainage issues:
- Clearing Clogged Gutters and Downspouts: Start by cleaning out your gutters and downspouts to ensure proper water flow. Remove any debris, leaves, or dirt that may be obstructing them. Consider installing gutter guards or covers to prevent future clogs.
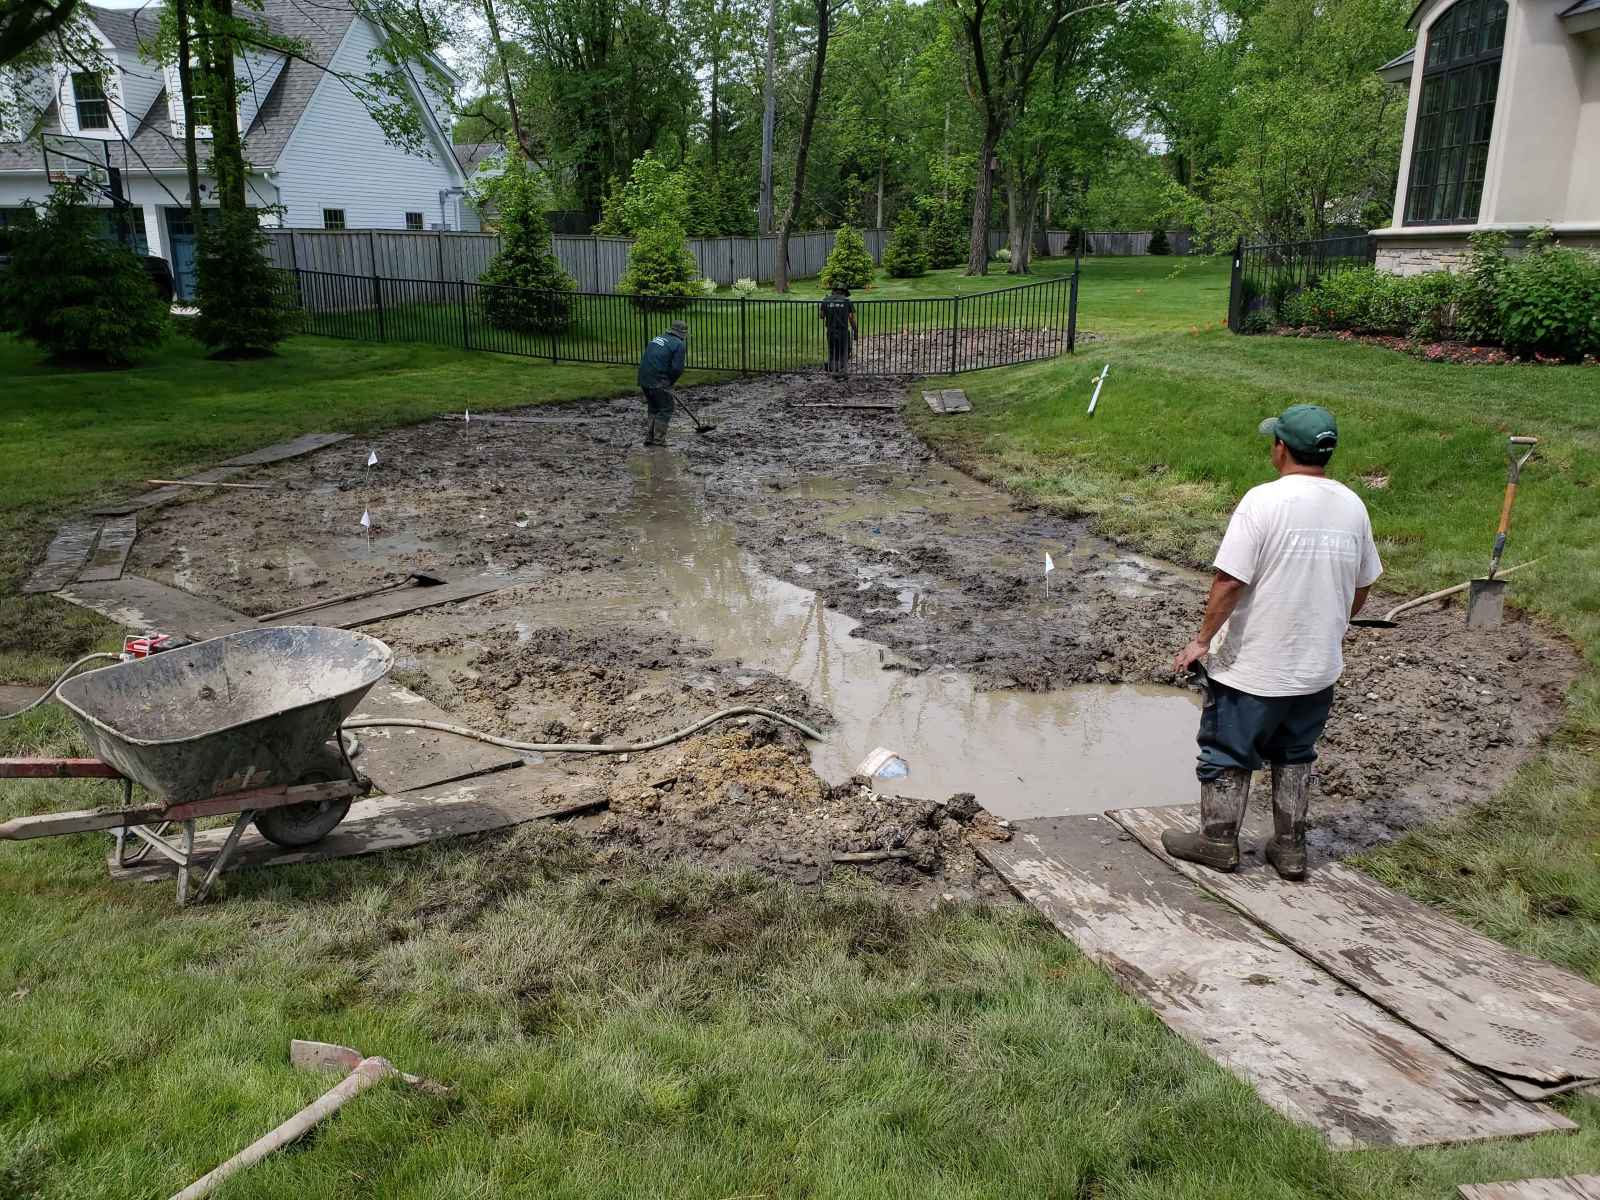
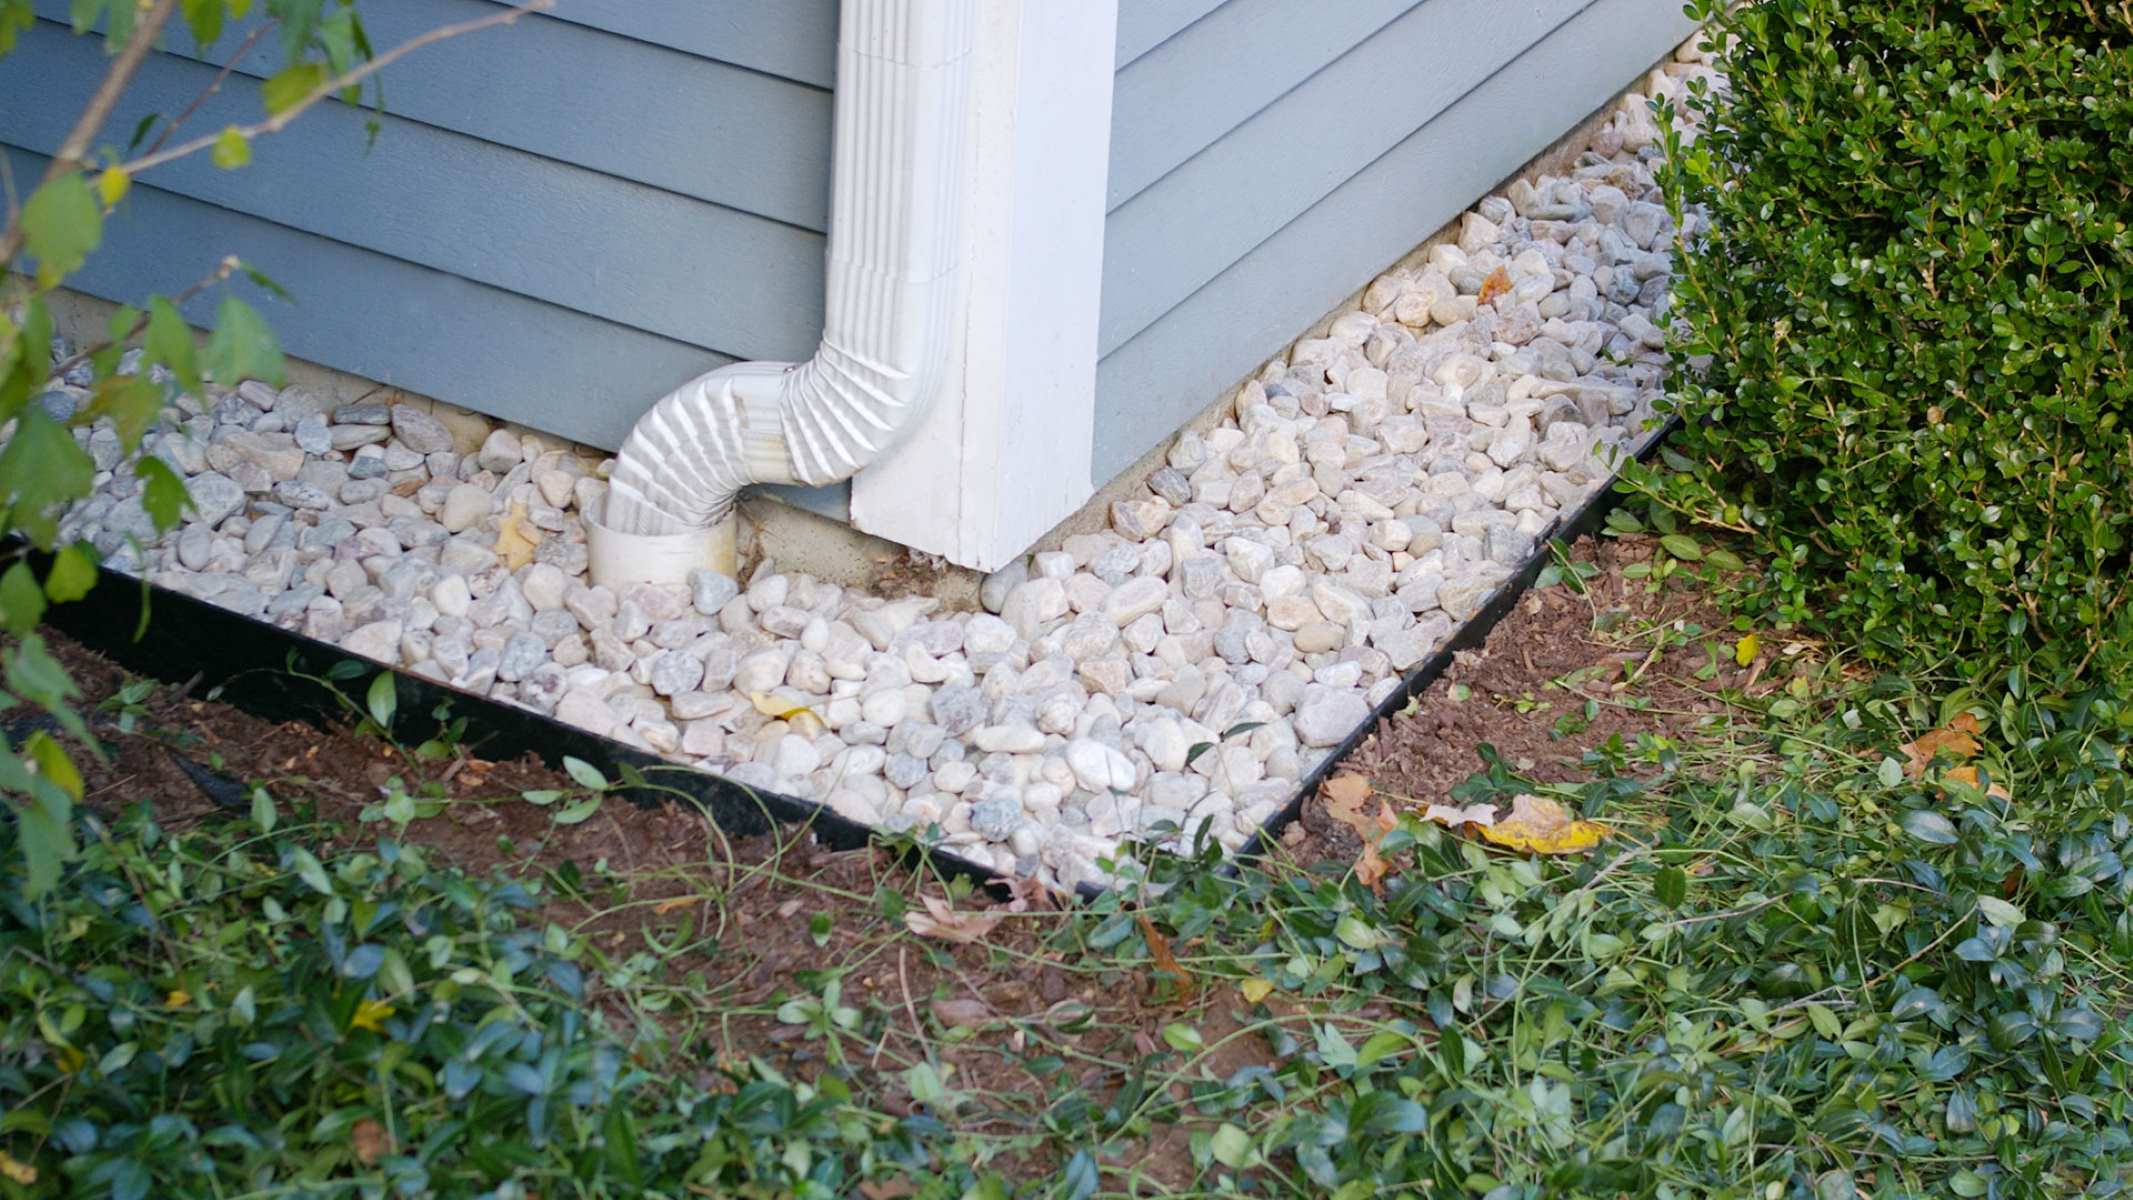
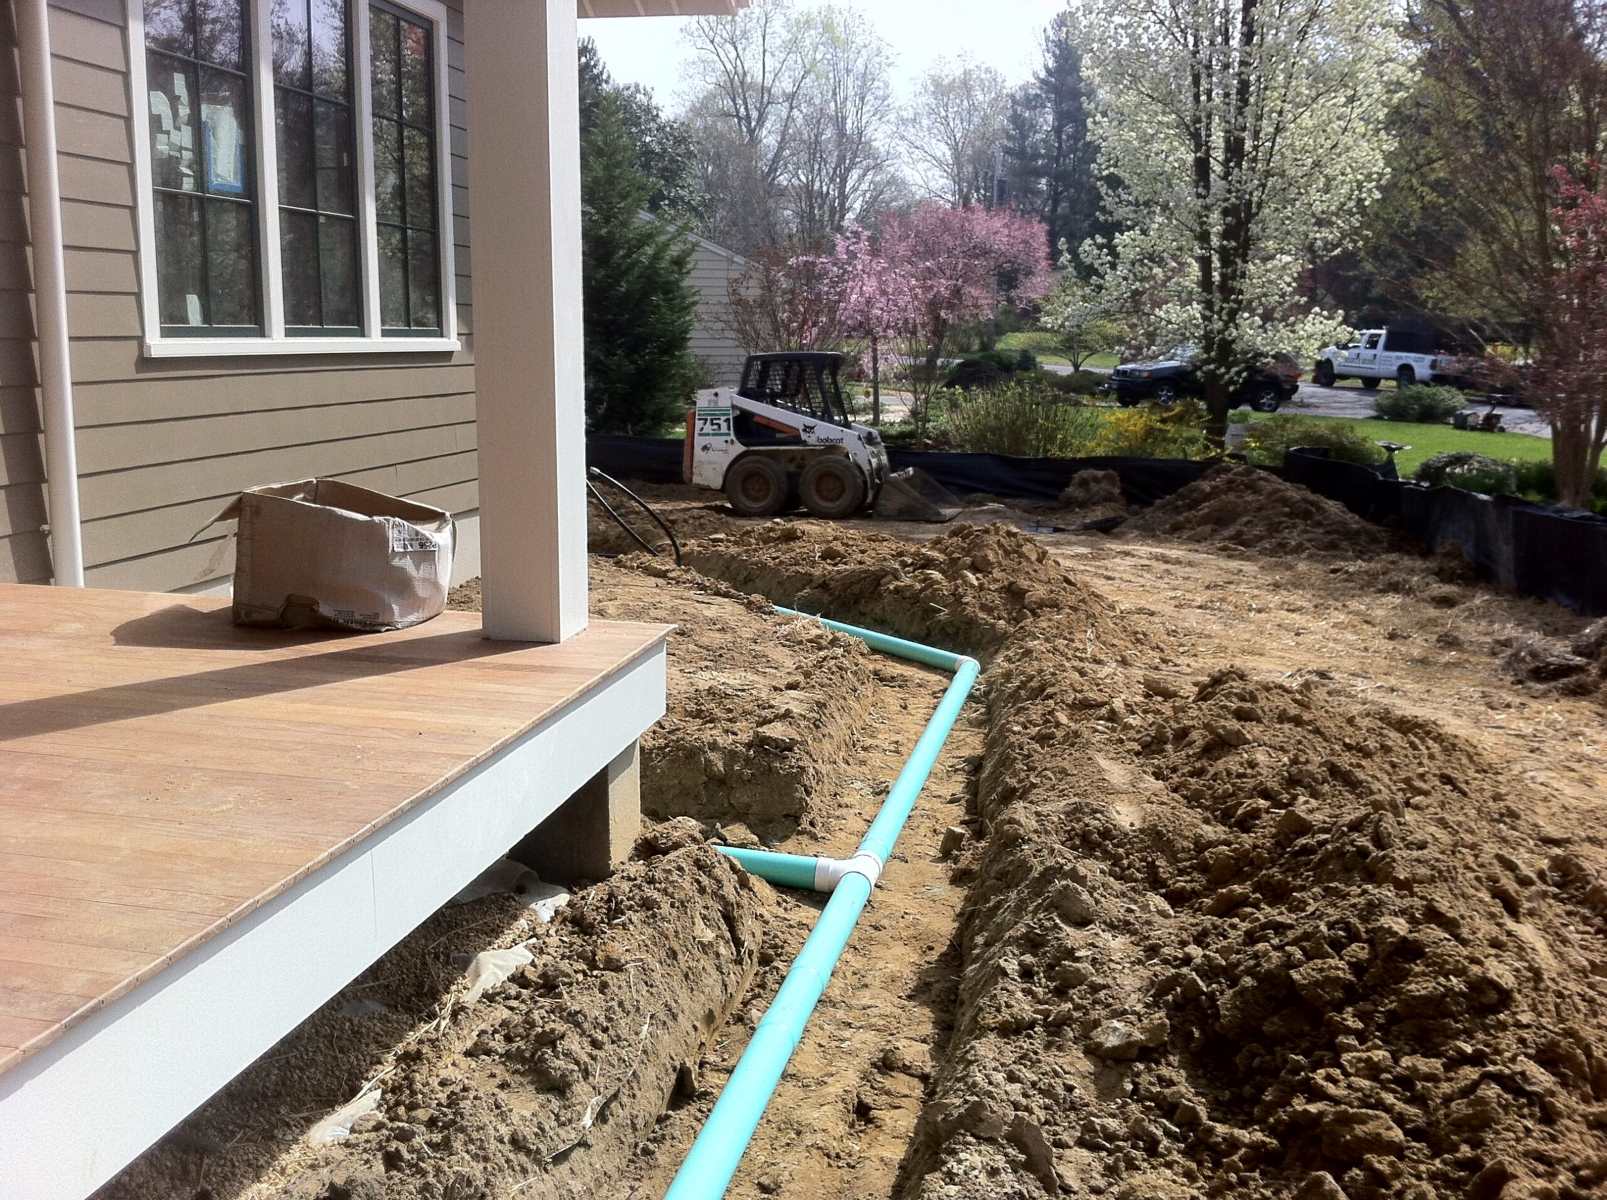
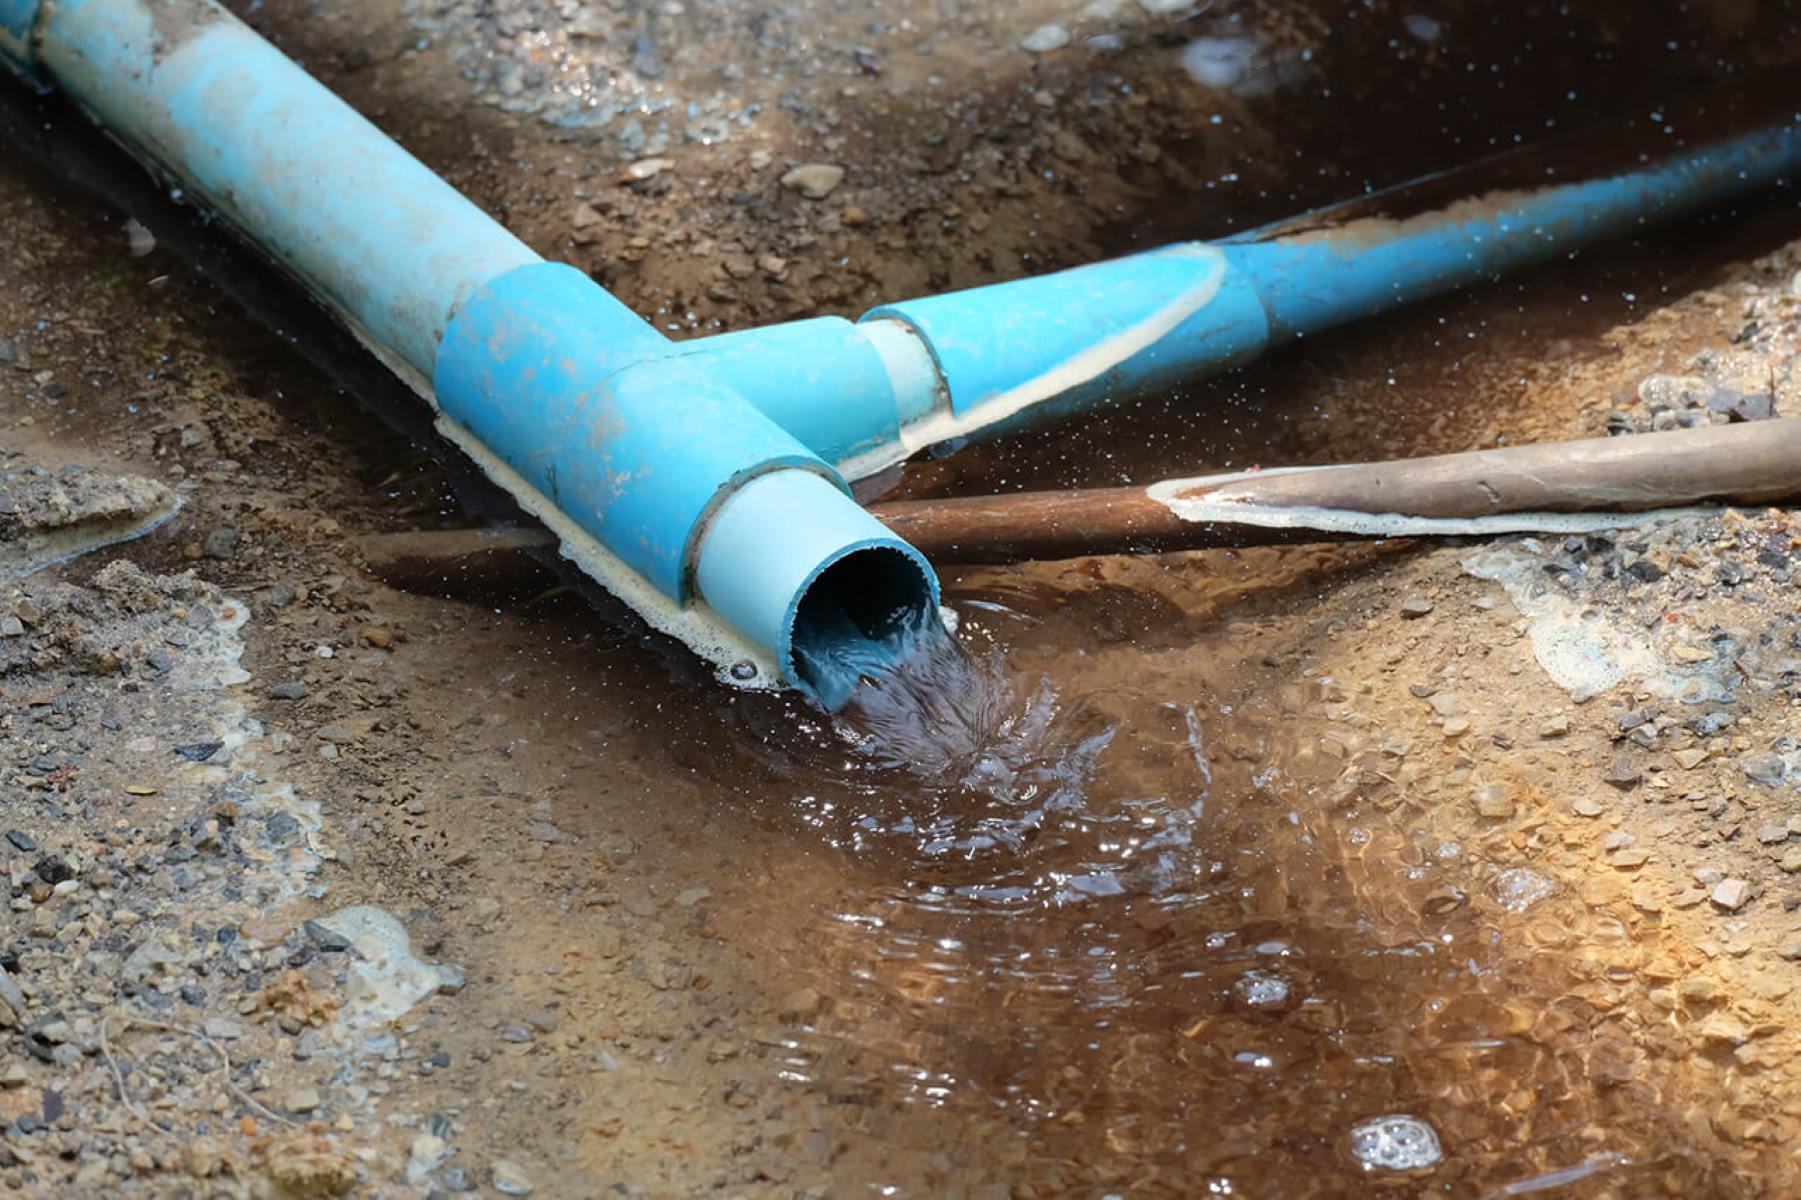
- Installing French Drains: French drains are an effective solution for redirecting excess water away from your home’s foundation. They consist of a perforated pipe surrounded by gravel or rock, which allows water to seep into the drain and flow away from your property. Proper installation is crucial for optimal performance.
- Creating a Dry Well System: A dry well is an underground chamber that collects and stores excess water from your property. It allows the water to slowly percolate into the ground, preventing water accumulation. Professional installation is recommended for a properly functioning dry well system.
- Re-grading the Landscape: If poor grading is the cause of your drainage issues, regrading the land can help redirect water away from your home. This involves adjusting the slope and contour of your yard to promote proper drainage. Consulting with a landscaping professional can ensure the job is done correctly.
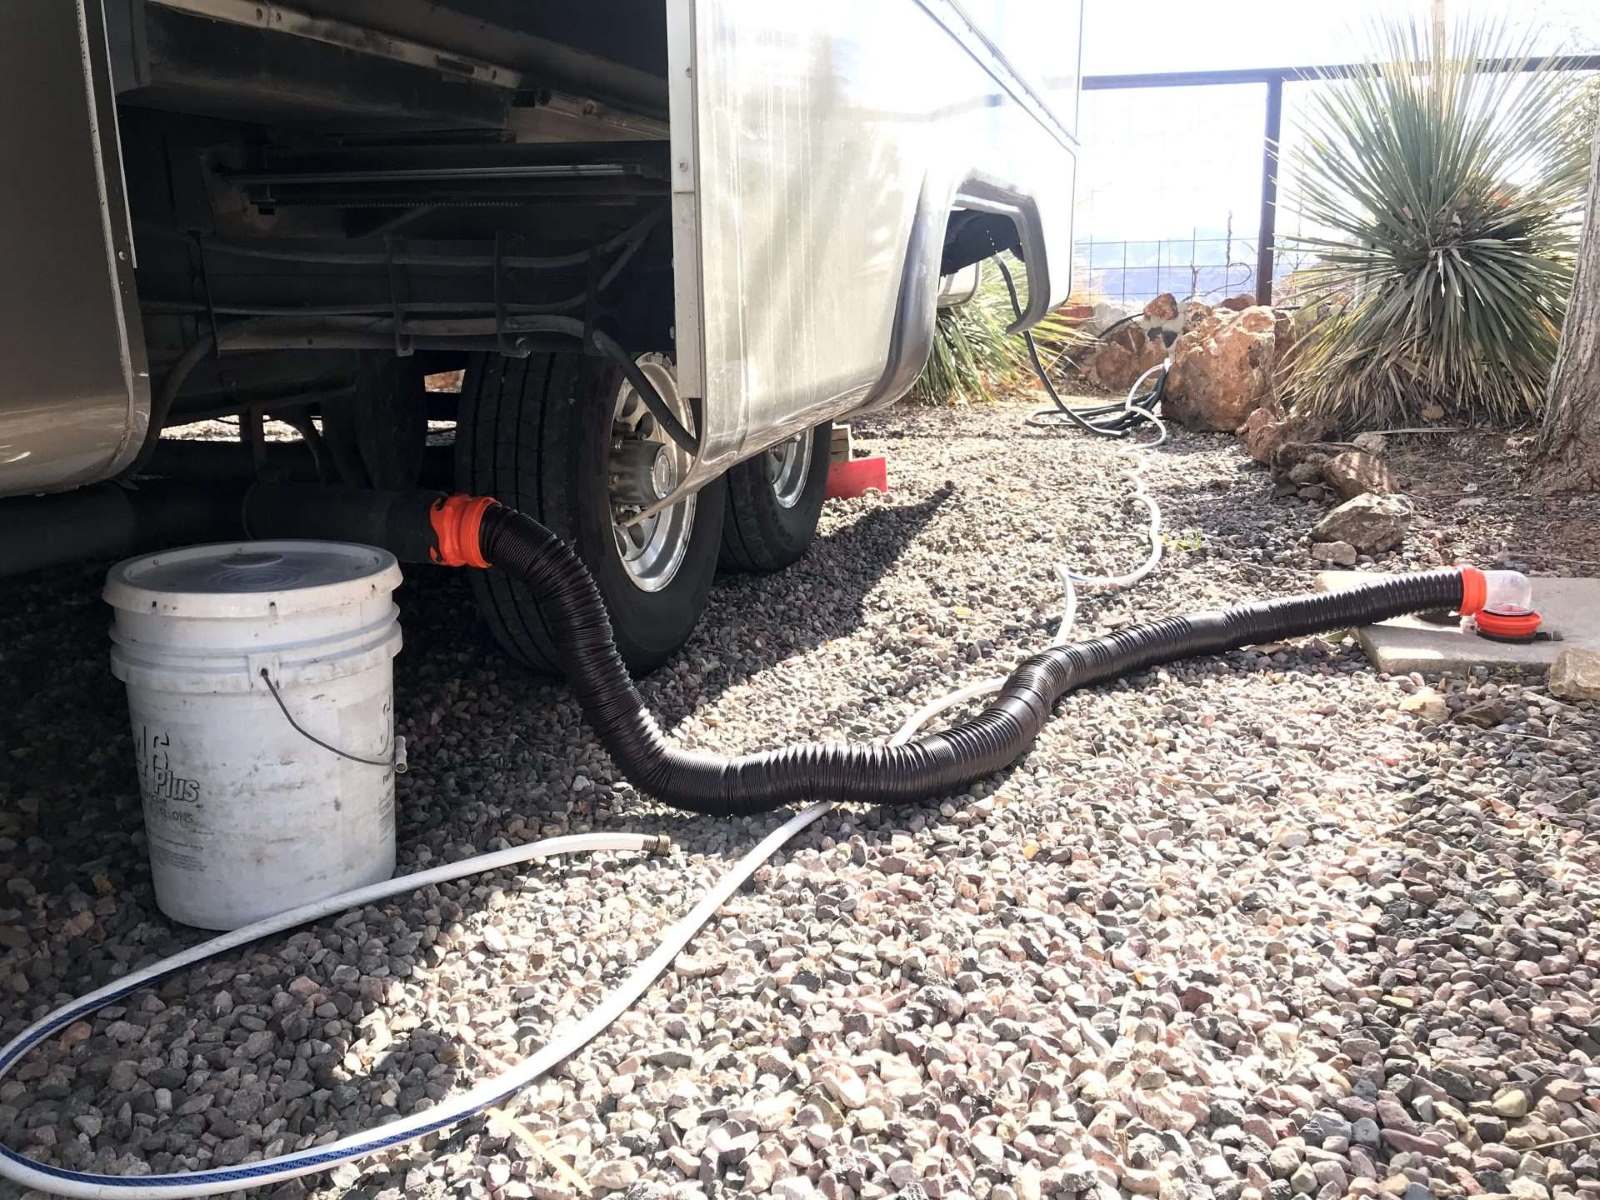
- Redirecting Downspouts: Ensure that your downspouts are directing water at least 10 feet away from your home’s foundation. Consider adding extensions or underground drainage pipes to carry water even further away from the house.
- Installing a Sump Pump: A sump pump is an effective solution for preventing basement flooding. It collects water from the ground around your home and pumps it away to a designated drainage area. Professional installation is recommended to ensure proper functioning.
- Repairing Foundation Cracks: If you have identified foundation cracks as the cause of your drainage problems, it’s essential to address them promptly. Consult with a foundation repair specialist to seal and repair the cracks to prevent further water intrusion.
Remember, the right solution for your drainage problem will depend on the specific issue you’re facing. It’s recommended to consult with professionals, such as landscaping experts or foundation repair specialists, to ensure the best outcome.
By implementing these solutions, you can effectively resolve drainage issues and protect your home from water damage. However, regular maintenance and inspections are essential to prevent future problems. Now that you’re equipped with the knowledge to tackle drainage issues, you can enjoy a dry and well-protected home.
Clearing Clogged Gutters and Downspouts
Clogged gutters and downspouts are a common culprit of drainage issues around the house. When debris, leaves, and other materials accumulate in your gutters, they can block the flow of water, leading to overflowing gutters and water pooling around your home’s foundation.
To fix this issue, follow these steps to clear clogged gutters and downspouts:
- Gather the necessary tools: You will need a sturdy ladder, work gloves, a trowel or scoop, a bucket, and a hose with a spray attachment.
- Safety first: Before climbing the ladder, ensure that it’s stable and secure. Use proper ladder safety techniques and have someone nearby to assist you if needed.
- Start at the downspout: Begin by removing any debris from the downspout opening. Use the trowel or scoop to gently scoop out any accumulated leaves and debris.
- Clear the gutter: Move along the length of the gutter, removing any debris with your hands or the trowel. Be sure to place the debris in the bucket to prevent it from falling onto the ground or clogging the downspout.
- Flush with water: Once the gutter is clear of debris, use a hose with a spray attachment to flush out any remaining dirt or small particles. Start from the opposite end of the downspout and work your way towards it.
- Check downspouts and extensions: Examine the downspouts and extensions for clogs or obstructions. Use a plumber’s snake or a high-pressure nozzle on the hose to dislodge any blockages.
- Inspect and repair: While cleaning the gutters, inspect them for any damage, such as leaks or sagging sections. Replace or repair any damaged components to ensure proper functioning.
- Maintain regular cleaning: To prevent future clogs, establish a regular gutter cleaning schedule. This will help keep your gutters clear and maintain proper drainage around your house.
Clearing clogged gutters and downspouts is a relatively simple task that can have a significant impact on your drainage system. By keeping your gutters clean and free of debris, you can ensure that water flows freely away from your home, reducing the risk of water damage and foundation issues.
Remember to always prioritize safety when working on ladders and roofs. If you’re uncomfortable performing gutter maintenance yourself, consider hiring a professional gutter cleaning service to ensure a thorough and safe cleaning.
Read more: How To Improve Drainage Around The House
Installing French Drains
French drains are an effective solution for redirecting excess water away from your home’s foundation, preventing water accumulation and potential damage. A French drain consists of a perforated pipe surrounded by gravel or rock, allowing water to seep into the drain and flow away from your property.
Here’s a step-by-step guide on how to install a French drain:
- Plan the drainage route: Determine where you need to install the French drain to address the drainage issue. Identify the areas where water tends to accumulate, such as along the foundation or in low-lying sections of your yard.
- Dig the trench: Start by digging a trench along the planned drainage route. The trench should slope downward away from your home at a 1% grade (approximately 1 inch per 8 feet). Make the trench wide and deep enough to accommodate the pipe and gravel, usually around 12-18 inches deep and 12-18 inches wide.
- Level the bottom of the trench: Ensure that the bottom of the trench is level to facilitate proper water flow. Use a level to check the slope along the length of the trench.
- Add a layer of gravel: Place a layer of gravel at the bottom of the trench to serve as a base for the French drain. This will allow water to flow freely through the system.
- Position the pipe: Lay the perforated pipe in the trench on top of the gravel, ensuring that the perforations face downward. Connect multiple sections of pipe with couplers as needed.
- Cover with more gravel: Once the pipe is in place, cover it with additional gravel, filling the trench up to a few inches below the surface level.
- Protect with landscape fabric: To prevent soil and debris from clogging the French drain, wrap landscape fabric around the gravel before backfilling the trench with soil.
- Backfill the trench: Finally, backfill the trench with the excavated soil, ensuring that it is firmly packed around the French drain.
- Maintain and monitor: Regularly inspect and maintain the French drain to ensure that it remains clear of debris and performs optimally. Clean the drain as needed and monitor the flow of water during heavy rainfall.
Remember, proper installation is crucial for the effectiveness of the French drain. If you’re unsure or uncomfortable performing the installation yourself, consider hiring a professional to ensure a proper and secure installation.
Installing a French drain can help mitigate drainage issues and protect your home from water damage. By redirecting excess water away from your foundation, you can maintain a dry and stable environment, ensuring the longevity of your home’s structure.
Make sure your gutters and downspouts are clear of debris to allow water to flow away from the house. Consider adding extensions to your downspouts to direct water at least 3 feet away from the foundation.
Creating a Dry Well System
A dry well system is an underground chamber designed to collect and store excess water from your property. It provides an effective solution for managing drainage issues by allowing water to slowly percolate into the surrounding soil, preventing water accumulation and potential damage to your home.
Here’s a step-by-step guide on how to create a dry well system:
- Determine the location: Choose a suitable location for the dry well system. Consider areas where water tends to accumulate, such as near downspouts or in low-lying sections of your yard.
- Check local regulations: Before starting the installation, check with your local municipality to ensure that you comply with any regulations or permits required for creating a dry well.
- Excavate the hole: Dig a hole that is wide enough to accommodate the dry well chamber and deep enough to allow for proper water absorption. The size will depend on the amount of water you anticipate the dry well to handle.
- Install the chamber: Place the dry well chamber in the hole. The chamber should have perforations to allow water to seep into the ground. Follow the manufacturer’s instructions for proper installation.
- Connect the inlet: Attach the inlet pipe to the dry well chamber. This pipe will collect the excess water and direct it into the chamber. Ensure the pipe is securely connected and properly angled to allow water flow.
- Backfill and level the area: Fill the surrounding area with gravel or crushed stone to aid in water absorption. Ensure that the ground is level around the dry well system to promote even water distribution.
- Protect with landscape fabric: To prevent soil and debris from entering the dry well system, wrap landscape fabric around the gravel before backfilling with soil.
- Monitor and maintain: Regularly inspect the dry well system to ensure proper functioning. Clear any debris or sediment that may accumulate over time to maintain optimal water absorption.
Creating a dry well system can effectively manage excess water and relieve drainage issues around your property. By allowing water to gradually infiltrate the ground, it reduces the risk of water pooling and potential damage to your home’s foundation.
If you’re unsure about the process or if you have specific needs regarding water capacity and design, consult with a professional landscaper or drainage expert. They can provide guidance and ensure that your dry well system meets your specific requirements and local regulations.
Re-grading the Landscape
Poor grading is a common cause of drainage issues around the house. If the slope of your yard directs water toward your home instead of away from it, you may experience water pooling and potential damage to your foundation. Re-grading the landscape is an effective solution to redirect water flow and improve drainage.
Here’s a step-by-step guide on how to re-grade your landscape:
- Survey the area: Take a careful look at your yard and identify the areas where water tends to accumulate. Observe the natural contours of the land and any existing drainage patterns.
- Plan the grading: Determine the desired slope and direction for proper drainage away from your home. The slope should be a minimum of 6 inches over the first 10 feet to ensure effective water flow.
- Mark the new levels: Use stakes and string to mark the desired level of the new grade. This will guide you during the excavation and filling process.
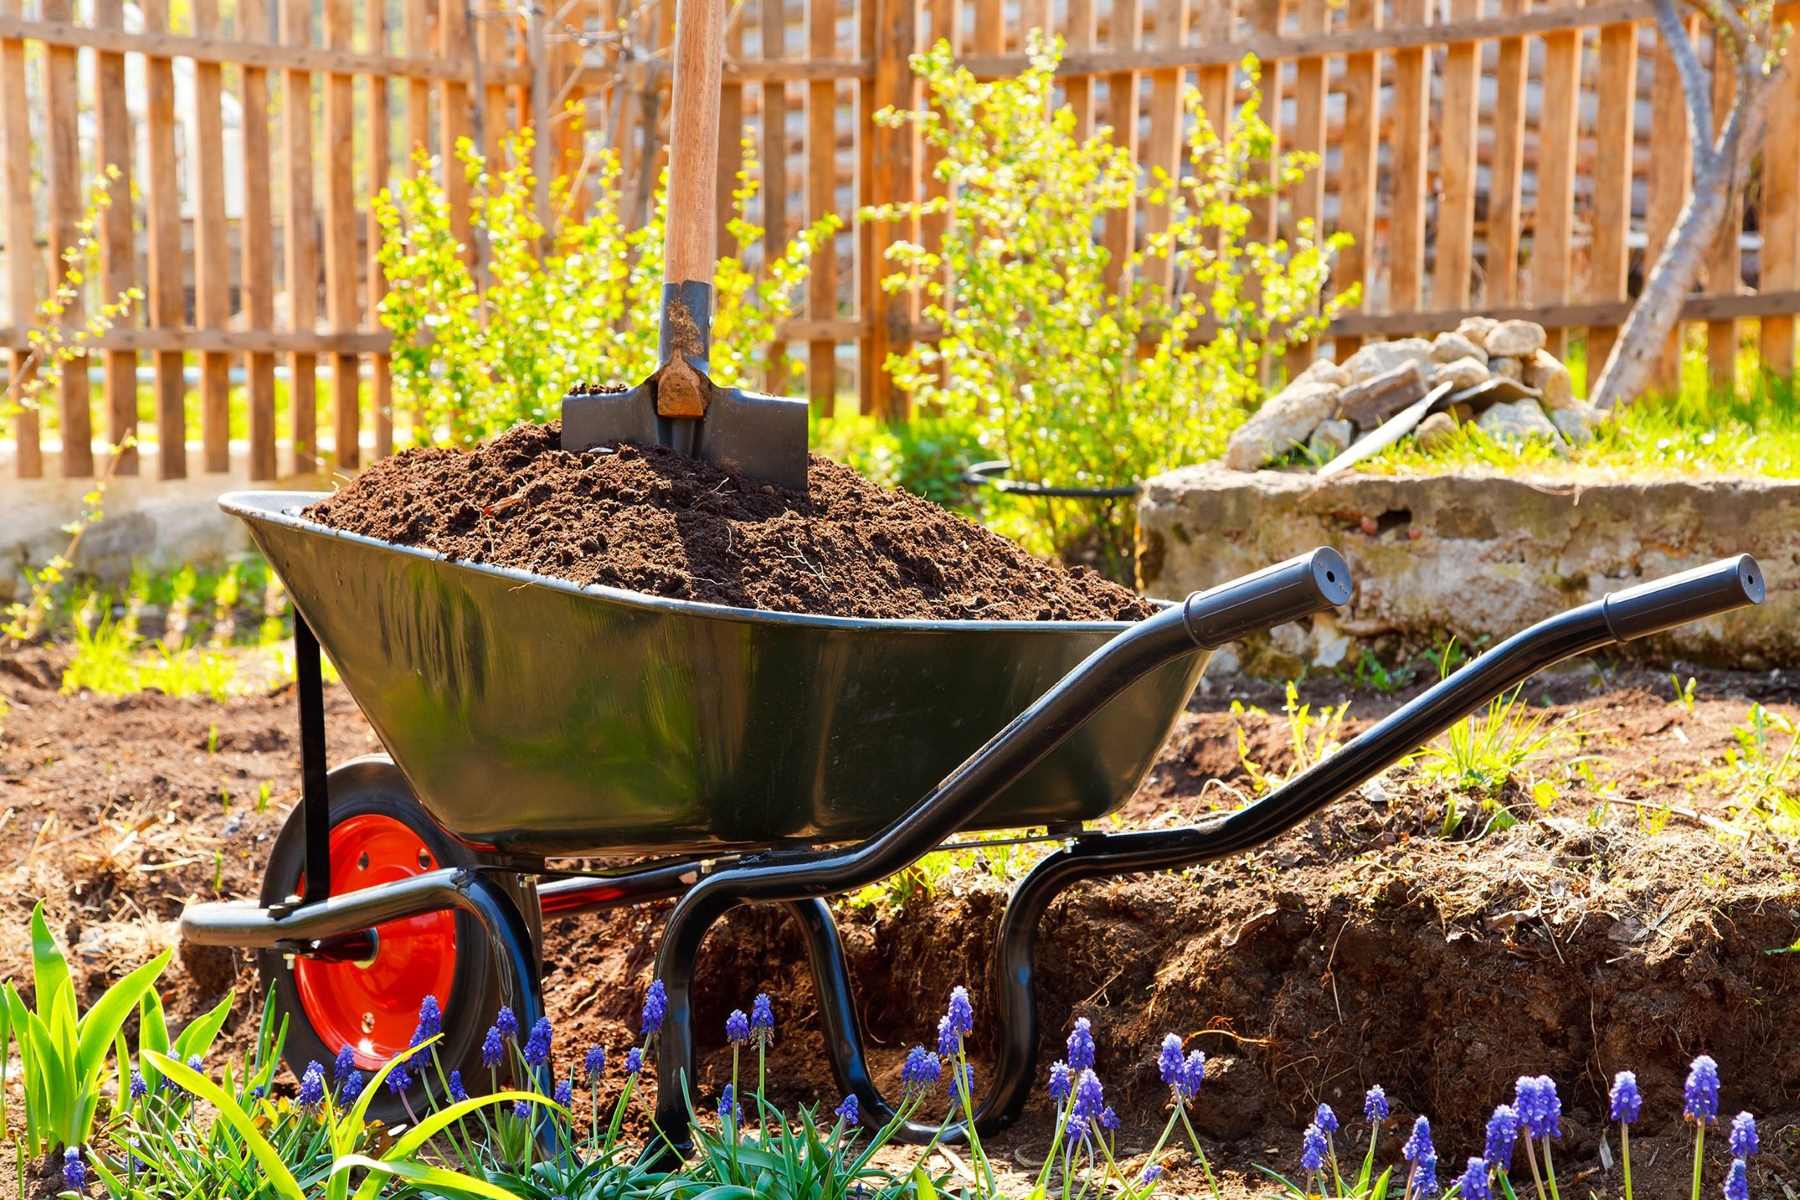
- Excavate the area: Start by digging out the areas where you need to lower the grade. Remove excess soil, rocks, or debris until you reach the desired level.
- Add fill dirt: Fill the lower areas with fill dirt to create the desired slope. Compact the soil layer by layer, ensuring it is firmly packed to prevent settling in the future.
- Compact the soil: Use a tamper or roller to firmly compact the soil. This will further ensure stability and prevent future sinking or shifting of the graded area.
- Monitor water flow: After re-grading, observe the flow of water during a rainfall or by using a garden hose. Make adjustments if necessary to ensure proper drainage away from your home.
- Consider professional assistance: If you have a large or complex landscape, or if you’re unsure about the process, consult with a landscaping professional. They can provide expert advice, equipment, and ensure the correct grading to improve drainage.
Re-grading the landscape is a critical step in managing drainage issues around your home. By adjusting the slope and redirecting water flow, you can significantly reduce the risk of water pooling and foundation damage.
Remember that re-grading may require significant effort and expertise depending on the size and layout of your yard. If you’re unsure or uncomfortable taking on this task yourself, it’s best to seek professional assistance to ensure a proper and effective re-grading of your landscape.
Redirecting Downspouts
Downspouts play a crucial role in guiding water from your roof and gutters away from your home’s foundation. If your downspouts are positioned incorrectly or discharge water too close to your house, it can contribute to drainage issues and water damage. Redirecting downspouts is a simple yet effective solution to improve drainage around your home.
Here’s a step-by-step guide on how to redirect downspouts:
- Identify the problem areas: Determine which downspouts are causing water to accumulate near your home’s foundation or other problematic areas.
- Plan the new downspout path: Decide on the new direction and location where you want the downspouts to discharge water. Ideally, aim for a spot at least 10 feet away from your house, where the water can flow freely without pooling.
- Measure and purchase necessary materials: Measure the length of downspout extensions or additional piping needed to redirect the water. Purchase the appropriate size and quantity of materials, such as extensions, elbows, or underground drainage pipes.
- Detach existing downspouts: Remove the existing downspouts by disconnecting them from the gutters. Be careful not to damage the gutters during this process.
- Attach extensions or additional piping: Depending on your specific needs, attach downspout extensions or additional sections of piping to redirect the water flow. Use appropriate connectors, elbows, or adapters to ensure a secure and watertight fit.
- Direct the downspout: Position the extended or redirected downspouts in the desired location. Ideally, aim for a slope away from your home to ensure proper drainage. Use brackets or straps to secure them to the exterior of your house, if needed.
- Consider burying the downspout: If desired, you can opt to bury the downspout underground to create a more aesthetically pleasing and discreet solution. Dig a trench and install a solid or perforated drainage pipe that leads the water away from your house. Ensure the pipe slopes away from your home for proper water flow.
- Inspect and maintain: Regularly check the redirected downspouts to ensure they are functioning correctly and directing water away from your home. Clear any debris or obstructions that may accumulate to maintain optimal drainage.
By redirecting your downspouts, you can effectively divert water away from your home’s foundation, preventing water damage and improving overall drainage. Performing this simple task can make a significant difference in mitigating drainage issues around your property.
If you’re unsure about the process or if you have specific concerns about the installation or underground piping, consult with a professional landscaper or drainage expert. They can provide guidance and ensure that the downspouts are redirected correctly and meet your specific needs.
Installing a Sump Pump
A sump pump is a valuable addition to your home’s drainage system, particularly in areas prone to flooding or with a high water table. It helps prevent basement flooding by collecting groundwater and pumping it away from your home. Installing a sump pump can be a practical solution to address and manage excess water issues.
Here’s a step-by-step guide on how to install a sump pump:
- Choose the right location: Select the lowest point in your basement where water tends to accumulate. This area is known as the sump pit or basin, and it’s where the sump pump will be installed.
- Prepare the sump pit: Dig a hole that is deep enough to accommodate the sump pit and ensure it’s below the level of the basement floor. The size of the pit can vary, but it’s typically around 18 inches in diameter and 24 inches deep.
- Install the sump pump: Place the sump pump into the pit, ensuring that it sits level on the bottom. Connect the discharge pipe to the pump and position it to direct water away from your home’s foundation.
- Connect the check valve: Install a check valve on the discharge pipe to prevent water from flowing back into the sump pit after the pump shuts off. This helps maintain the efficiency of the system.
- Install a backup power source: Consider installing a battery backup system or a generator to ensure that the sump pump continues to function during power outages. This is especially important during heavy storms when power failures are common.
- Install a sump pump cover: To prevent debris and odors from entering the pit, install a cover or lid on the sump pump. This also helps reduce noise and improve safety.
- Test the sump pump: Fill the pit with water to test the sump pump’s operation. Ensure that it turns on automatically, pumps out the water, and shuts off properly.
- Maintain the sump pump: Regularly inspect the sump pump and pit to ensure everything is in working order. Clean out any debris or sediment that may accumulate and test the pump periodically to maintain its efficiency.
If you’re unsure about the installation process or if you have specific concerns about the placement or operation of a sump pump, it’s recommended to consult with a professional plumber or basement waterproofing expert. They can provide guidance and ensure that the sump pump is installed correctly and fulfills your specific needs.
By installing a sump pump, you can effectively prevent basement flooding and protect your home from water damage. It’s a reliable solution for addressing excess water issues and ensuring the safety and integrity of your basement.
Repairing Foundation Cracks
Foundation cracks can be a significant cause of drainage issues and water intrusion in your home. Cracks in the foundation can allow water to seep in, leading to moisture problems, basement flooding, and potential structural damage. Repairing foundation cracks is crucial for maintaining a dry and stable foundation and addressing drainage issues effectively.
Here’s a step-by-step guide on how to repair foundation cracks:
- Assess the severity of the crack: Examine the foundation cracks to determine their size, width, and whether they are active or dormant. Active cracks may indicate ongoing movement and may require additional measures.
- Clean the crack: Use a wire brush or a scraper to remove any loose debris, dirt, or old caulking from the crack. Ensure that the surface is clean and free from loose particles for effective repair.
- Seal small cracks: For hairline cracks or cracks less than 1/8 inch wide, use a high-quality concrete crack sealant or epoxy. Apply the sealant or epoxy into the crack, ensuring it fills the entire depth and extends slightly above the surface.
- Repair larger cracks: For cracks wider than 1/8 inch, repair with a concrete patching compound or hydraulic cement. Mix the compound or cement according to the manufacturer’s instructions and apply it directly into the crack, smoothing it with a trowel. Ensure that the patching compound or cement is level with the surrounding foundation surface.
- Consider professional help: If the foundation cracks are severe, extensive, or indicative of underlying structural issues, it’s essential to consult with a professional foundation repair specialist. They can provide a thorough assessment and recommend the appropriate repair methods, such as carbon fiber reinforcement or underpinning.
- Monitor and inspect: After repairing the foundation cracks, monitor the repaired areas for any signs of further movement or water infiltration. Regularly inspect the foundation for new cracks or changes in existing cracks.
- Maintain proper drainage: Ensure that your drainage system, such as gutters, downspouts, and French drains, is functioning properly to prevent excess water from accumulating near the foundation. Proper drainage helps alleviate hydrostatic pressure on the foundation, reducing the likelihood of cracks.
It’s important to note that while smaller cracks can often be repaired by homeowners, comprehensive foundation repairs and addressing structural issues are best left to professionals. Consulting with a foundation repair specialist can provide you with expert advice and ensure that the appropriate measures are taken to address the underlying cause of the cracks.
By repairing foundation cracks, you can effectively manage drainage issues and prevent water intrusion in your home. Maintaining a structurally sound foundation is essential for the overall stability and longevity of your property.
Conclusion
Drainage issues around the house can lead to a myriad of problems, including water pooling, basement flooding, and damage to the foundation. However, by understanding the common causes of drainage issues and implementing the right solutions, you can effectively manage and prevent these problems.
In this article, we explored various solutions for addressing drainage issues, including clearing clogged gutters and downspouts, installing French drains, creating dry well systems, re-grading the landscape, redirecting downspouts, installing sump pumps, and repairing foundation cracks.
Clearing clogged gutters and downspouts ensures proper water flow and prevents water from pooling near your home. Installing French drains helps redirect excess water away from your foundation, while dry well systems collect and slowly release groundwater. Re-grading the landscape establishes proper slope and water flow, while redirecting downspouts ensures water is directed away from your home’s foundation. Sump pumps are useful for preventing basement flooding, and repairing foundation cracks helps maintain a stable foundation.
Remember to assess the drainage problem accurately before implementing the solutions. Observe the signs of water accumulation, check the grading of your yard, inspect the gutters and downspouts, examine the landscaping, and inspect the foundation for cracks or moisture intrusion.
While many of these solutions can be tackled by homeowners, it’s important to consult professionals when needed. Seeking expert advice and assistance ensures proper installation and repair, especially for complex tasks like installing French drains or conducting foundation repairs.
Regular maintenance and monitoring of your drainage system are also essential. Keep gutters and downspouts clean, clear away debris, and inspect your system regularly to catch any potential issues before they become major problems.
By applying these solutions and staying proactive with maintenance, you can effectively address drainage issues and protect your home from water damage. Remember, proper drainage is crucial for maintaining the integrity of your property and ensuring its longevity.
Frequently Asked Questions about How To Fix Drainage Issues Around The House
Was this page helpful?
At Storables.com, we guarantee accurate and reliable information. Our content, validated by Expert Board Contributors, is crafted following stringent Editorial Policies. We're committed to providing you with well-researched, expert-backed insights for all your informational needs.


0 thoughts on “How To Fix Drainage Issues Around The House”