Home>Articles>How To Install Drainage Around A Patio To Avoid Standing Water
Articles
How To Install Drainage Around A Patio To Avoid Standing Water
Modified: August 23, 2024
Learn how to properly install drainage around your patio in this informative article. Avoid the problem of standing water and keep your outdoor space dry and functional.
(Many of the links in this article redirect to a specific reviewed product. Your purchase of these products through affiliate links helps to generate commission for Storables.com, at no extra cost. Learn more)
Introduction
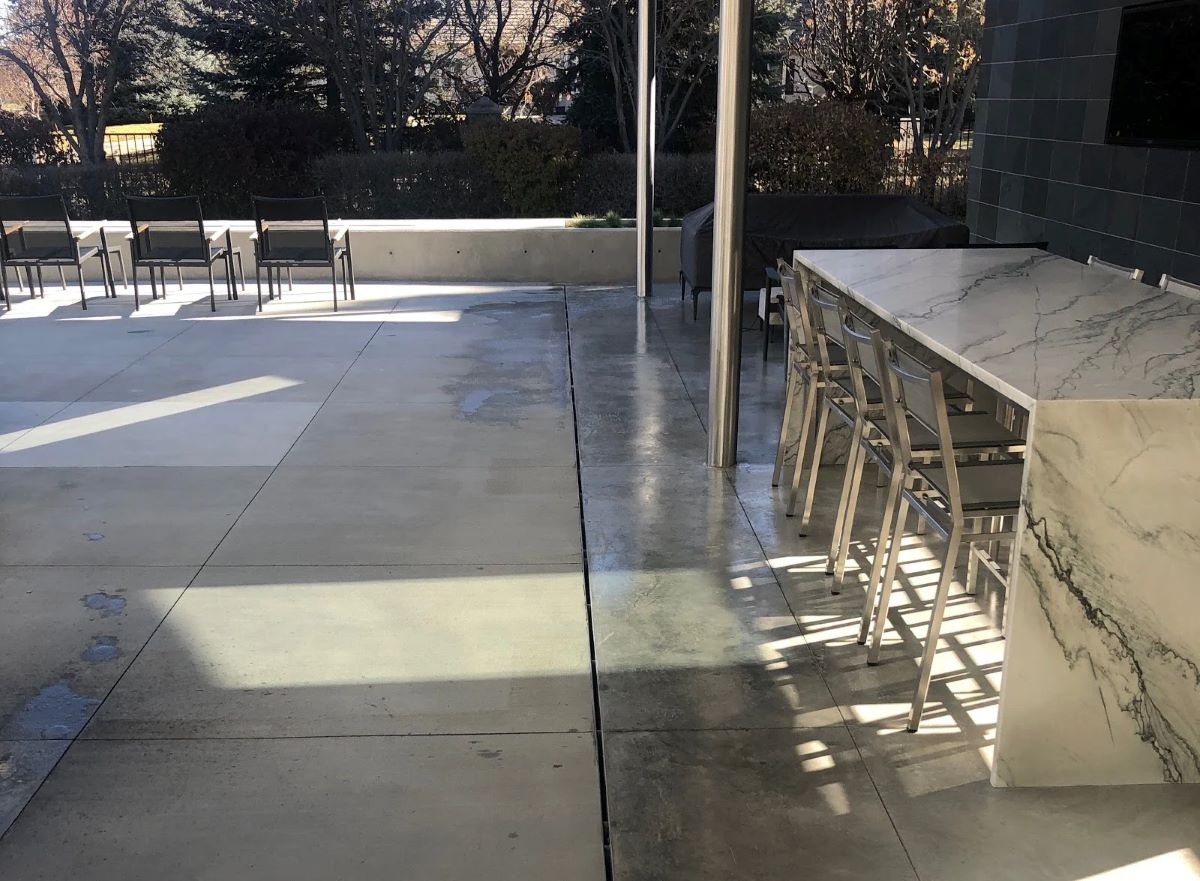
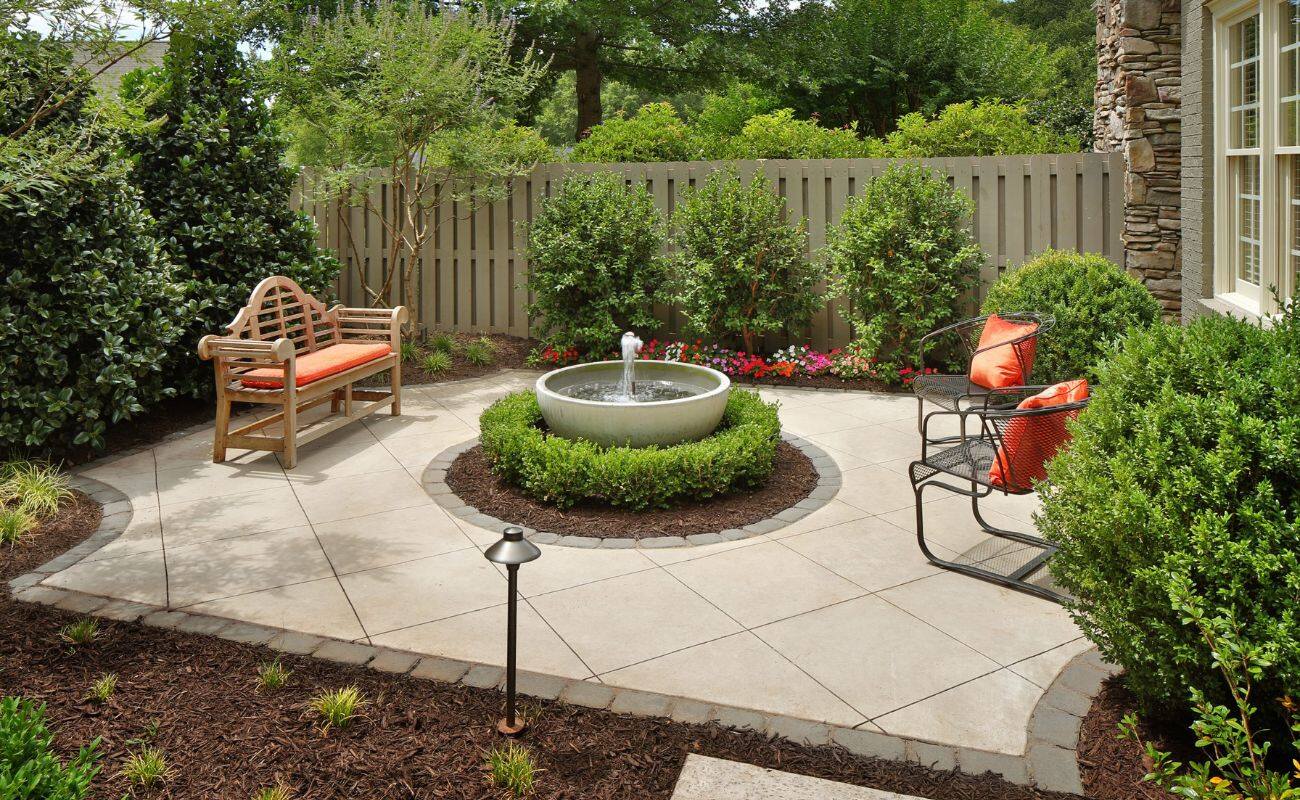
Welcome to our guide on how to install drainage around a patio to avoid standing water. If you have a patio and have noticed that water tends to accumulate after heavy rainfall, it’s important to address this issue early on to prevent damage to your patio and surrounding areas.
Standing water can not only be unsightly, but it can also lead to various problems such as erosion, mold growth, and damage to the foundation of your home. By installing a proper drainage system, you can effectively redirect the water away from your patio, ensuring a dry and usable outdoor space.
In this article, we will take you through the step-by-step process of assessing the drainage needs, gathering the necessary tools and materials, and installing a drainage system around your patio. With the right knowledge and a little bit of elbow grease, you can easily tackle this project and enjoy a patio free from water buildup.
Before you begin, it’s essential to assess the drainage needs of your patio area. Consider factors such as the slope of the land, nearby landscaping features, and the average amount of rainfall in your area. This assessment will help determine the most effective drainage solution for your patio.
Now, let’s get started on installing the drainage around your patio to prevent standing water and ensure a dry and enjoyable outdoor space.
Key Takeaways:
- Say goodbye to standing water on your patio by following our step-by-step guide to installing a drainage system. Keep your outdoor space dry and enjoyable, free from the hassle of water buildup.
- From assessing drainage needs to testing the system, our guide equips you with the knowledge and tools to prevent water damage and maintain a dry, worry-free patio. Enjoy your outdoor space without the stress of standing water.
Read more: How To Improve Drainage Around The House
Assessing the Drainage Needs
Before you begin the installation process, it’s crucial to assess the drainage needs of your patio area. By understanding the unique characteristics of your patio and its surroundings, you can determine the most effective drainage solution. Here are some important factors to consider:
1. Slope: Evaluate the slope of your patio and its surrounding land. Ideally, water should naturally flow away from the patio. If the slope is insufficient or directing water towards the patio, you’ll need to address this issue by creating artificial slope or implementing a drainage system.
2. Landscaping Features: Take note of any landscaping features such as flower beds, trees, or shrubs surrounding your patio. These features can affect water flow and may require additional drainage measures to prevent water from pooling around them.
3. Rainfall: Consider the average amount of rainfall in your area. If you experience heavy rainfall, you’ll need to ensure that your drainage system can handle a significant volume of water. Adequate drainage is especially important in areas prone to flooding.
4. Water Source: Identify the source of water that may be contributing to the standing water on your patio. It could be runoff from a neighboring property, a retaining wall, or even a faulty irrigation system. Understanding the source will help you determine the best placement for your drainage system.
5. Water Flow Patterns: Observe the natural flow patterns of water during rainfall. Look for areas where water tends to accumulate or flow towards your patio. This will guide you in planning the layout of your drainage system to effectively redirect the water away from the patio.
By carefully assessing these factors, you’ll gain a better understanding of the drainage needs of your patio. This knowledge will inform your decision-making process when it comes to selecting the appropriate drainage solution and the steps required to install it effectively.
Tools and Materials Required
Before you begin the installation process, it’s essential to gather all the necessary tools and materials. Having everything on hand will help streamline the installation process and ensure that you have everything you need. Here is a list of the tools and materials required for installing drainage around your patio:
Tools:
- Shovel: A sturdy shovel will be required for excavating the trench.
- Tape Measure: Use a tape measure to accurately measure the dimensions of the patio and other areas.
- Level: A level will help ensure that the slope of the drainage system is properly aligned.
- Handsaw or Pipe Cutter: Depending on the type of drainage pipe you’re using, a handsaw or pipe cutter may be needed to cut the pipe to the desired length.
- Screwdriver or Allen Wrench: Depending on the type of catch basin you’re using, a screwdriver or Allen wrench may be necessary for assembly.
- Wheelbarrow or Buckets: Use a wheelbarrow or buckets to transport backfill material and debris.
- Tamp or Compactor: A tamp or compactor will be required to compact the backfill material in the trench.
- Safety Gear: Don’t forget to wear safety gear, including gloves, safety glasses, and a dust mask, to protect yourself during the installation process.
Materials:
- Perforated Drainage Pipe: This pipe will serve as the main component of your drainage system, allowing water to flow through it.
- PVC Couplings: Use PVC couplings to connect sections of the drainage pipe together.
- Catch Basin (if necessary): A catch basin collects water and prevents debris from entering the drainage system. This may be required depending on the layout of your patio and the water flow patterns.
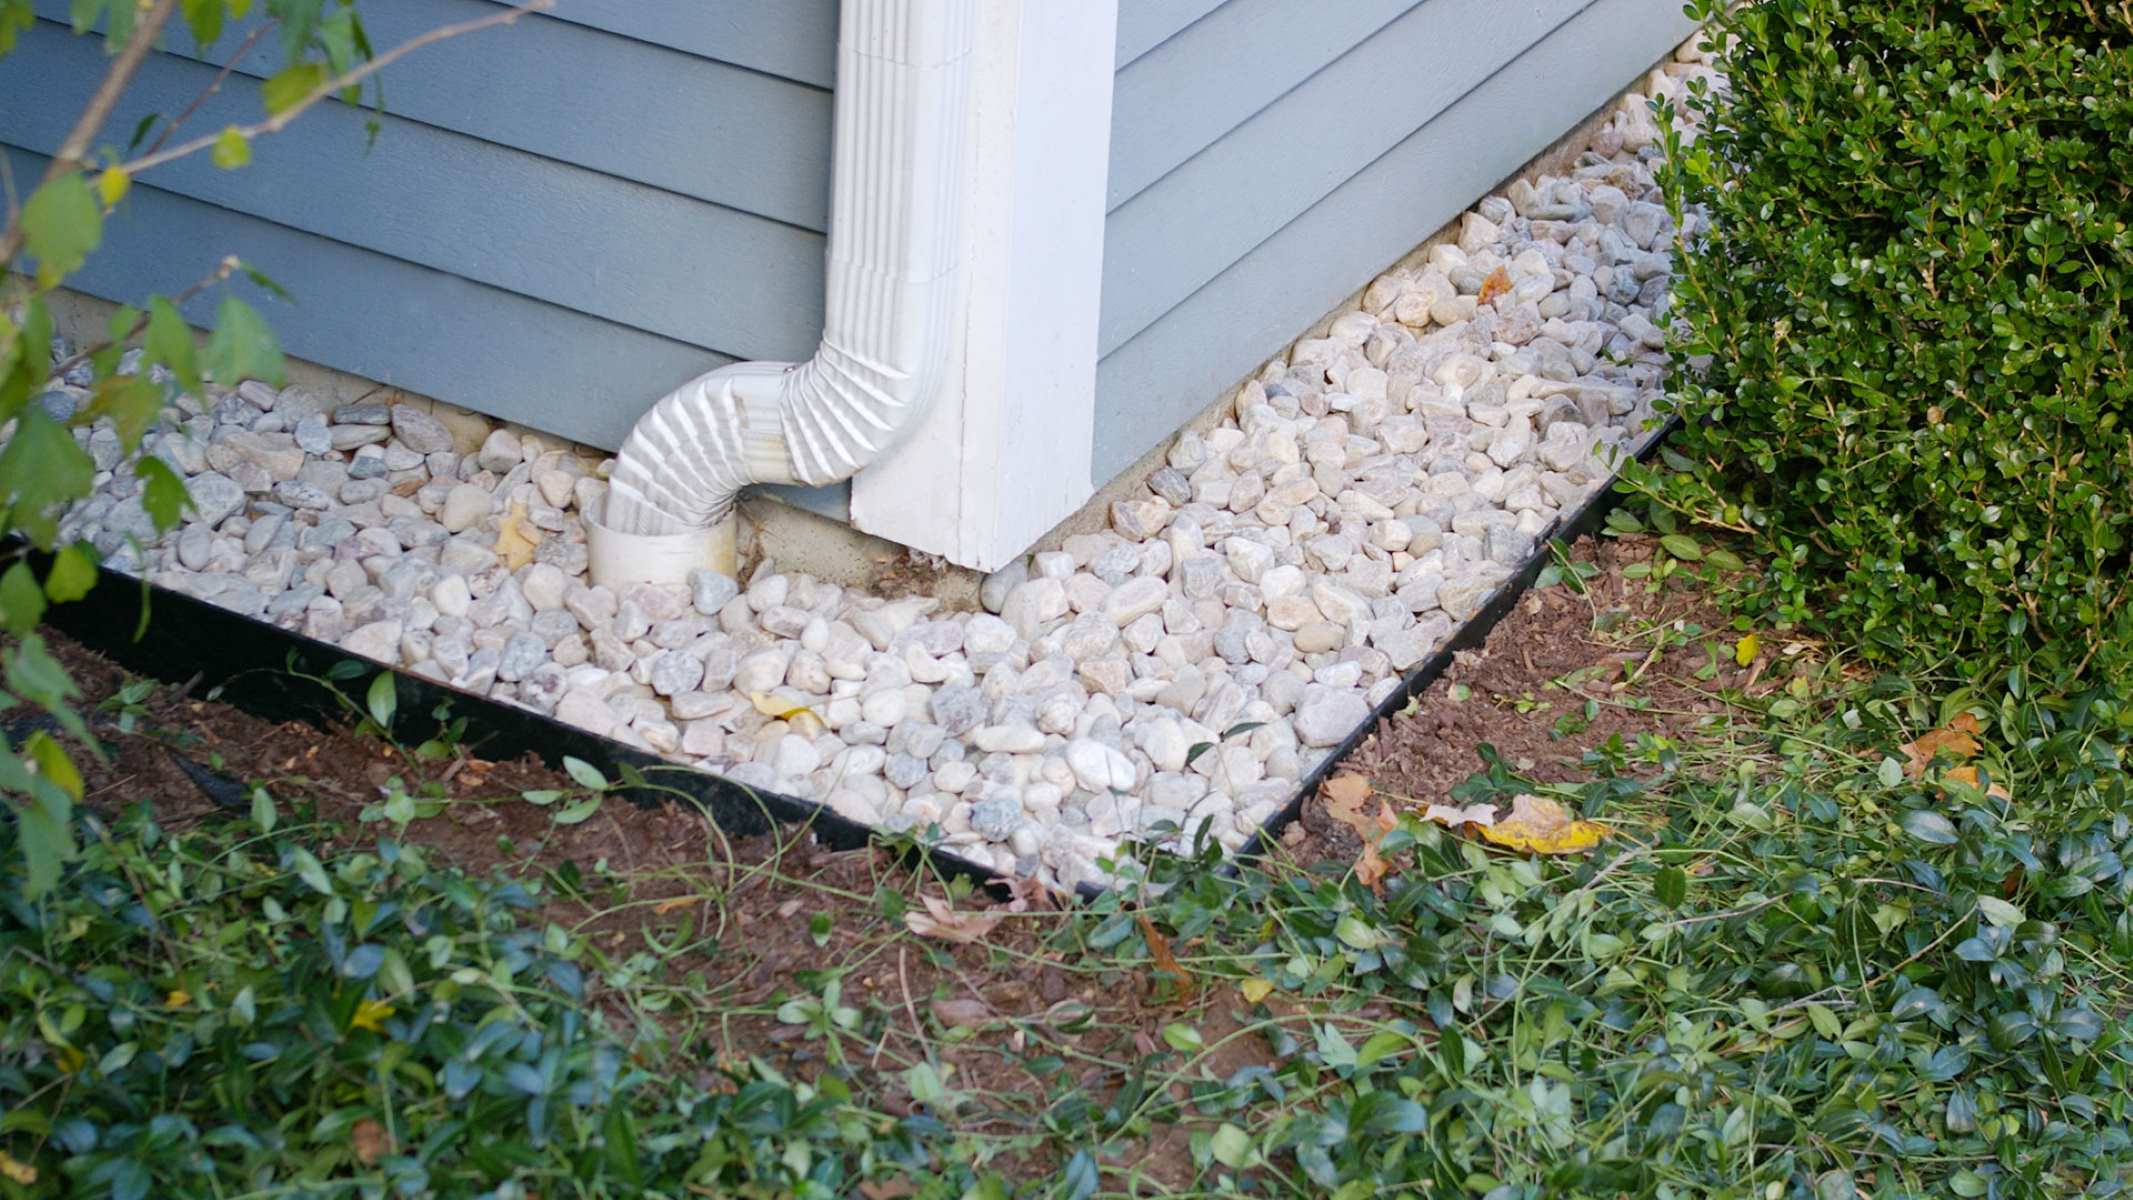
- Gravel or Aggregate: Use gravel or aggregate to create a stable and permeable base for the drainage system.
- Backfill Material: Backfill material, such as sand or soil, will be used to fill in the trench and provide support for the drainage system.
- Landscape Fabric: Landscape fabric helps prevent soil from clogging the drainage system while allowing water to flow through.
- Concrete or Pavers (optional): If you plan to cover the trench with concrete or pavers, you’ll need the necessary materials for that as well.
Ensure that you have all the necessary tools and materials before you begin the installation process. This will make the task more efficient and ensure that you can complete the project without any delays.
Step 1: Marking the Drainage Path
The first step in installing drainage around your patio is to mark the drainage path. This involves determining the route that the drainage system will take to effectively divert water away from the patio. Here’s how to mark the drainage path:
- Start by assessing the slope of your patio and the surrounding area. The goal is to create a downward slope that directs water away from the patio. Determine the lowest point where the water will naturally flow towards.
- Using stakes and string, mark the starting point and endpoint of your drainage path. Ensure that the endpoint is lower in elevation than the starting point to facilitate the proper flow of water.
- Measure the distance between the starting point and endpoint of the drainage path. This measurement will help determine the length of the drainage pipe needed.
- Next, mark the path that the drainage pipe will follow. It’s important to ensure that the path avoids any obstacles such as trees, flower beds, or other landscaping features.
- Use spray paint or a similar marking tool to clearly indicate the path. This will help during the excavation process to ensure that the trench is dug in the correct location.
- If you plan to install a catch basin, determine its location along the drainage path. The catch basin should be strategically placed to collect water efficiently.
By accurately marking the drainage path, you will have a clear guide to follow during the installation process. This step is crucial in ensuring that the drainage system is properly aligned and effectively diverts water away from your patio. Take the time to carefully mark the drainage path, considering the natural flow of water and any obstacles that may be present.
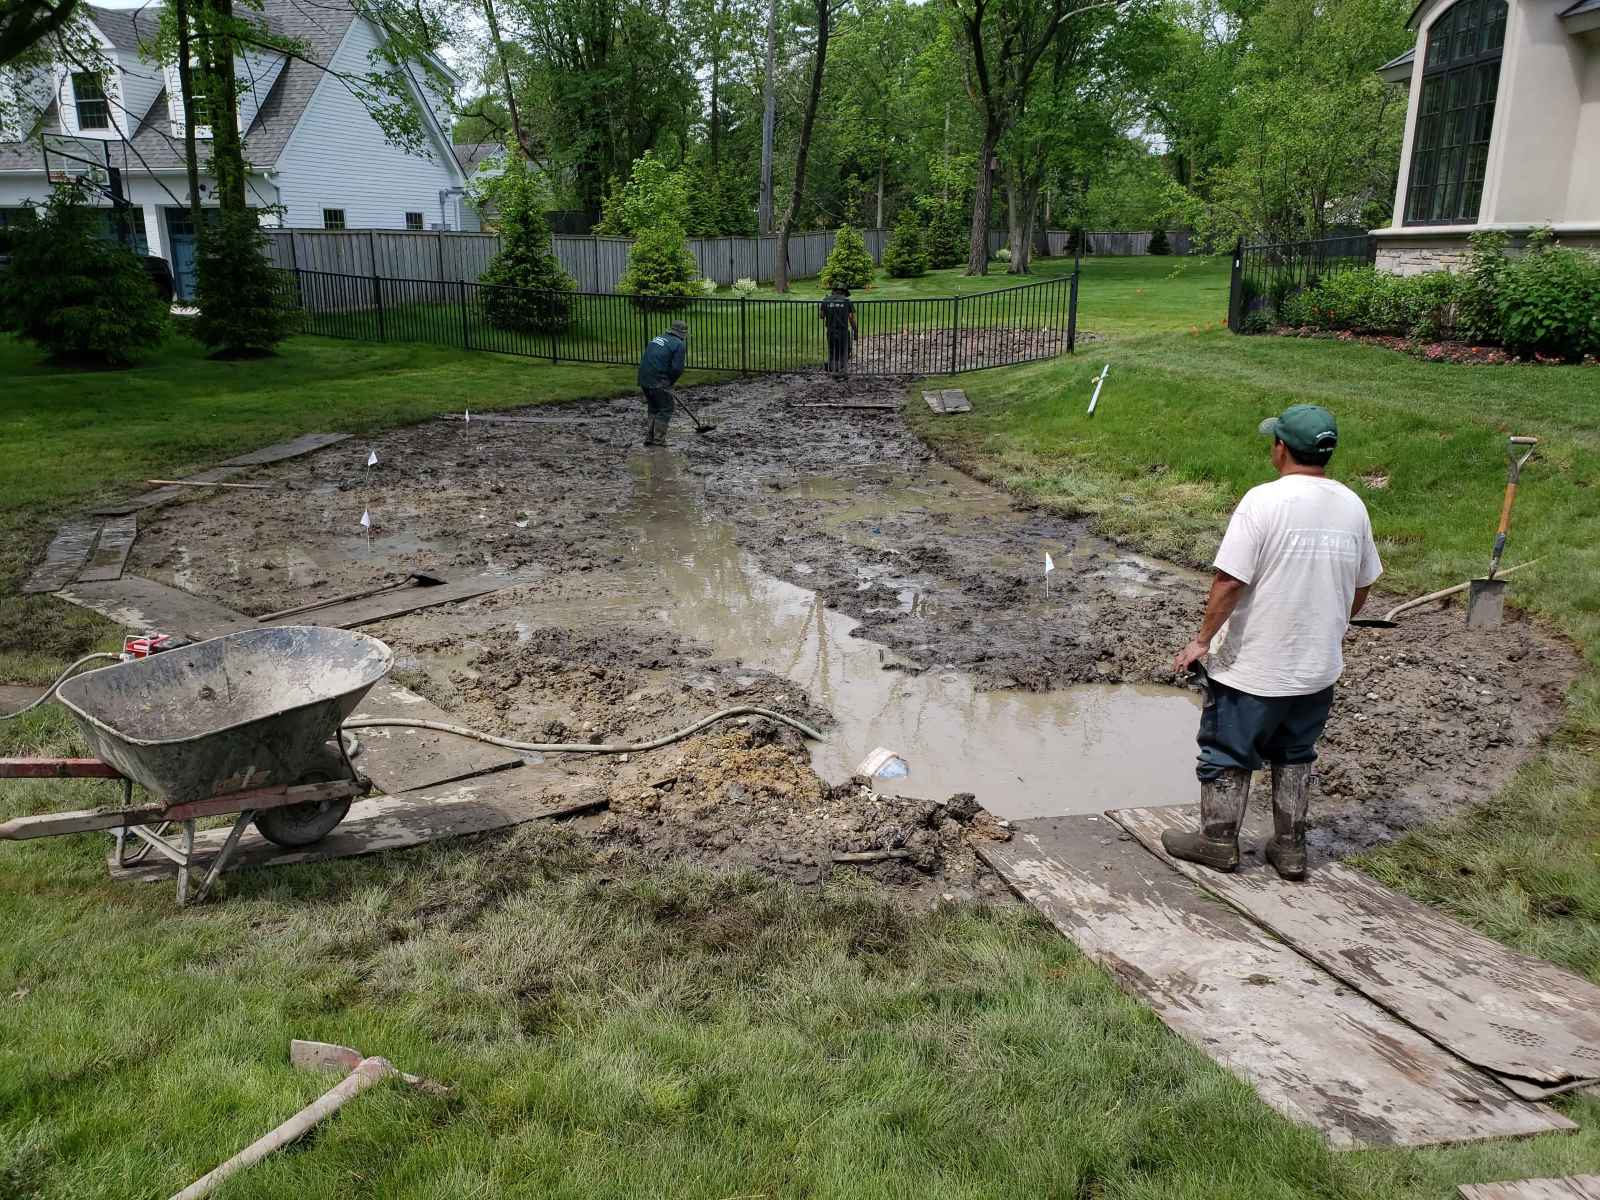
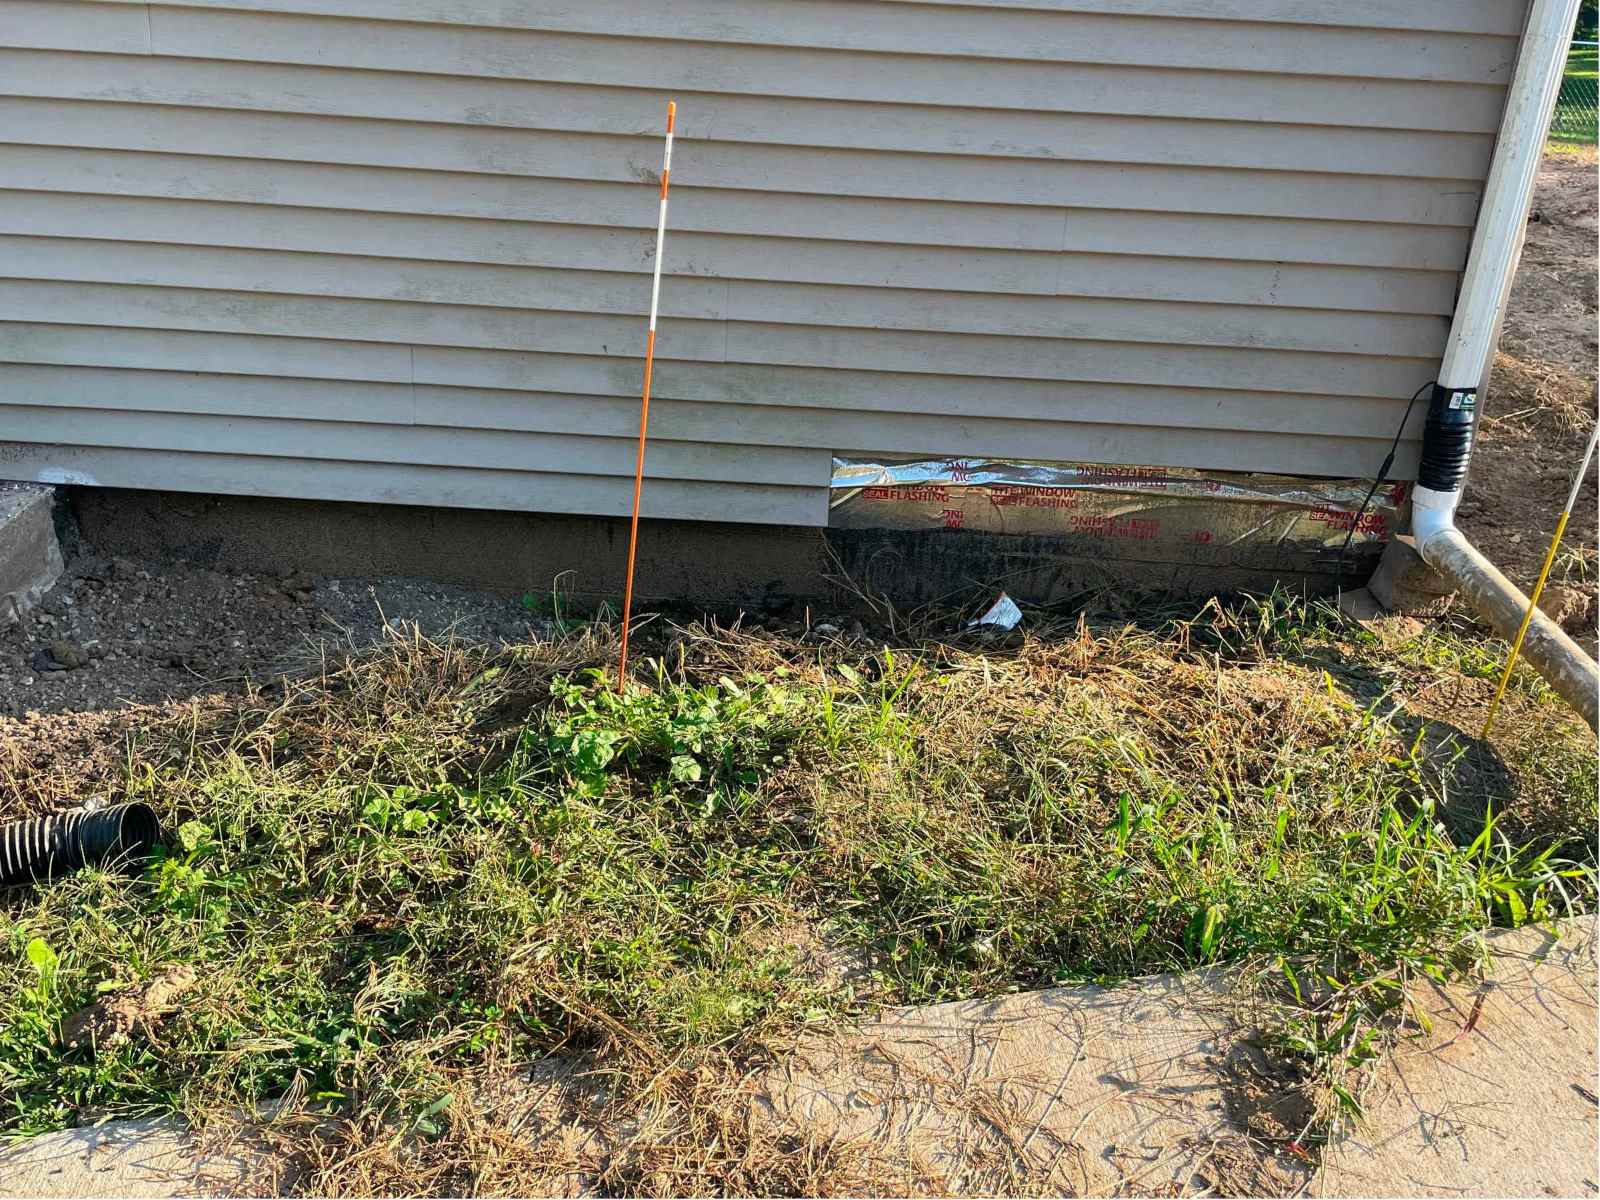
Step 2: Excavating the Trench
Once you have marked the drainage path, the next step is to excavate the trench. This trench will provide the space for installing the drainage pipe and creating the necessary slope for water flow. Follow these steps to excavate the trench:
- Using a shovel, start digging the trench along the marked path. The width and depth of the trench will depend on the size of the drainage pipe you are using. Typically, a width of 6-8 inches and a depth of 12-18 inches are sufficient.
- As you excavate, ensure that the trench is consistently wide and deep, maintaining the desired measurements. Use a tape measure to check the dimensions periodically, especially if the trench extends over a long distance.
- Remove any rocks, roots, or debris from the trench. These obstructions can impede the water flow and potentially damage the drainage system.
- Create a gentle slope in the trench by gradually sloping it downwards towards the endpoint of the drainage path. The recommended slope is 1/4 inch per foot for efficient water flow.
- Use a level to ensure that the trench is properly sloped. This will prevent water from pooling and ensure that it flows freely through the drainage system.
Excavating the trench is a critical step in the installation process. It provides the foundation for the drainage system and ensures that water is effectively redirected away from your patio. Take your time and make sure to accurately dig the trench, maintaining the desired width, depth, and slope.
Step 3: Installing Perforated Drainage Pipe
With the trench excavated, it’s time to install the perforated drainage pipe, which will serve as the main component of your drainage system. The perforations in the pipe allow water to enter and be redirected away from your patio. Follow these steps to install the pipe:
- Measure the length of the trench and cut the perforated drainage pipe to the appropriate size. Use a handsaw or pipe cutter for a clean and precise cut.
- Place the drainage pipe into the trench, ensuring that the perforations are facing downwards. This allows water to enter the pipe and be carried away.
- If necessary, use PVC couplings to connect multiple sections of the drainage pipe together. Make sure the connections are secure to prevent leaks.
- Position the pipe in the center of the trench, ensuring that it follows the marked drainage path. Use a level to make sure the pipe is properly aligned and sloping towards the endpoint.
- Fill the trench around the drainage pipe with gravel or aggregate. This not only provides support and stability for the pipe but also improves water flow by allowing water to filter through the gaps in the gravel.
Installing the perforated drainage pipe is a crucial step in ensuring proper water drainage around your patio. Take care to position the pipe correctly and securely connect multiple sections if necessary. The gravel or aggregate surrounding the pipe will help enhance its performance by promoting efficient water filtration and flow.
When installing drainage around a patio, make sure to slope the ground away from the patio to direct water away. Use a combination of gravel, perforated pipe, and landscape fabric to create an effective drainage system.
Step 4: Connecting the Drainage Pipe
Once the perforated drainage pipe is installed in the trench, the next step is to connect it to ensure proper water flow. Proper connections will prevent leaks and ensure that water is effectively diverted away from your patio. Follow these steps to connect the drainage pipe:
- Inspect the ends of the drainage pipe to ensure they are clean and free from any debris or obstructions.
- If using PVC couplings, apply PVC primer to the outside of the pipe ends and the inside of the coupling. Then, apply PVC cement to both surfaces.
- Insert one end of the pipe into the PVC coupling and make sure it is securely in place. Repeat this step for each connecting point along the drainage pipe if there are multiple sections.
- If using a catch basin, follow the manufacturer’s instructions to connect the pipe to the basin. Typically, this involves attaching the pipe to the designated outlet or inlet using the appropriate coupling.
- Ensure that all connections are tight and secure. This will prevent water from escaping through the joints and ensure that the entire drainage system functions smoothly.
Connecting the drainage pipe is an important step to ensure the efficiency and effectiveness of your drainage system. Properly secure and tight connections will prevent leaks and keep the water flowing freely away from your patio. Take the time to clean the pipe ends and use the appropriate primer and cement for a secure connection, following the manufacturer’s guidelines if using a catch basin.
Step 5: Backfilling the Trench
After the drainage pipe is connected, the next step is to backfill the trench with the appropriate material. Backfilling serves to provide support to the drainage system, promote proper water flow, and restore the surrounding area. Follow these steps to backfill the trench:
- Ensure that the drainage pipe is securely in place and the connections are tight.
- If using landscape fabric, lay it over the gravel or aggregate before backfilling. This will help prevent soil from clogging the drainage pipe while still allowing water to flow through.
- Begin by adding a layer of backfill material, such as sand or soil, to cover the drainage pipe. Use a shovel to distribute the material evenly, filling the trench up to a few inches below the surface level.
- Compact the backfill material using a tamp or compactor. This will provide stability to the trench and help prevent settling over time.
- Continue adding layers of backfill material and compacting until the trench is completely filled. Make sure to leave a slight depression along the drainage pipe to allow water to flow towards it.
- If desired, you can add a layer of topsoil over the backfilled trench to restore the landscaping. This will help blend the trench into the surrounding area and promote healthy growth of grass or plants.
Backfilling the trench is an important step to ensure the stability and functionality of your drainage system. Properly compacting the backfill material will prevent settling and maintain the desired slope for water flow. Adding landscape fabric can further enhance the longevity and effectiveness of the drainage system by preventing soil infiltration.
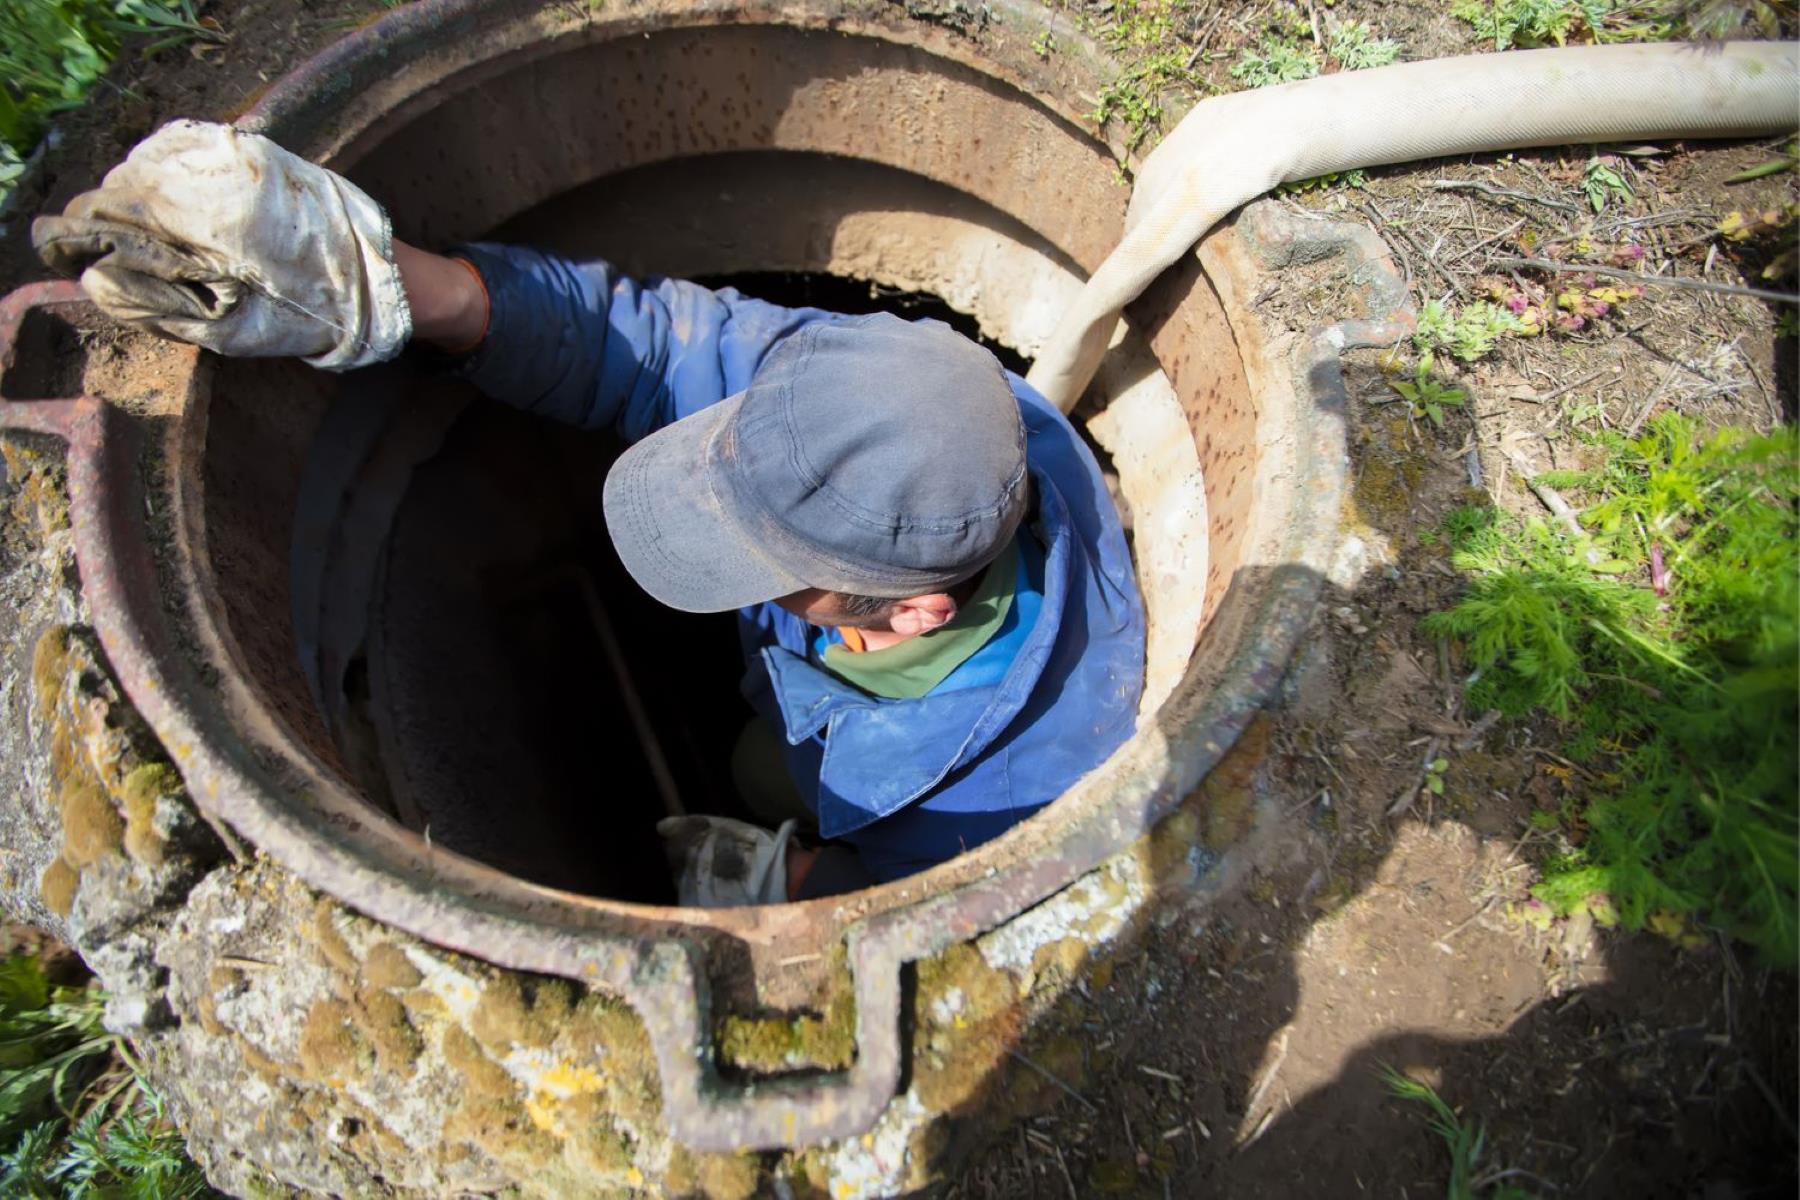
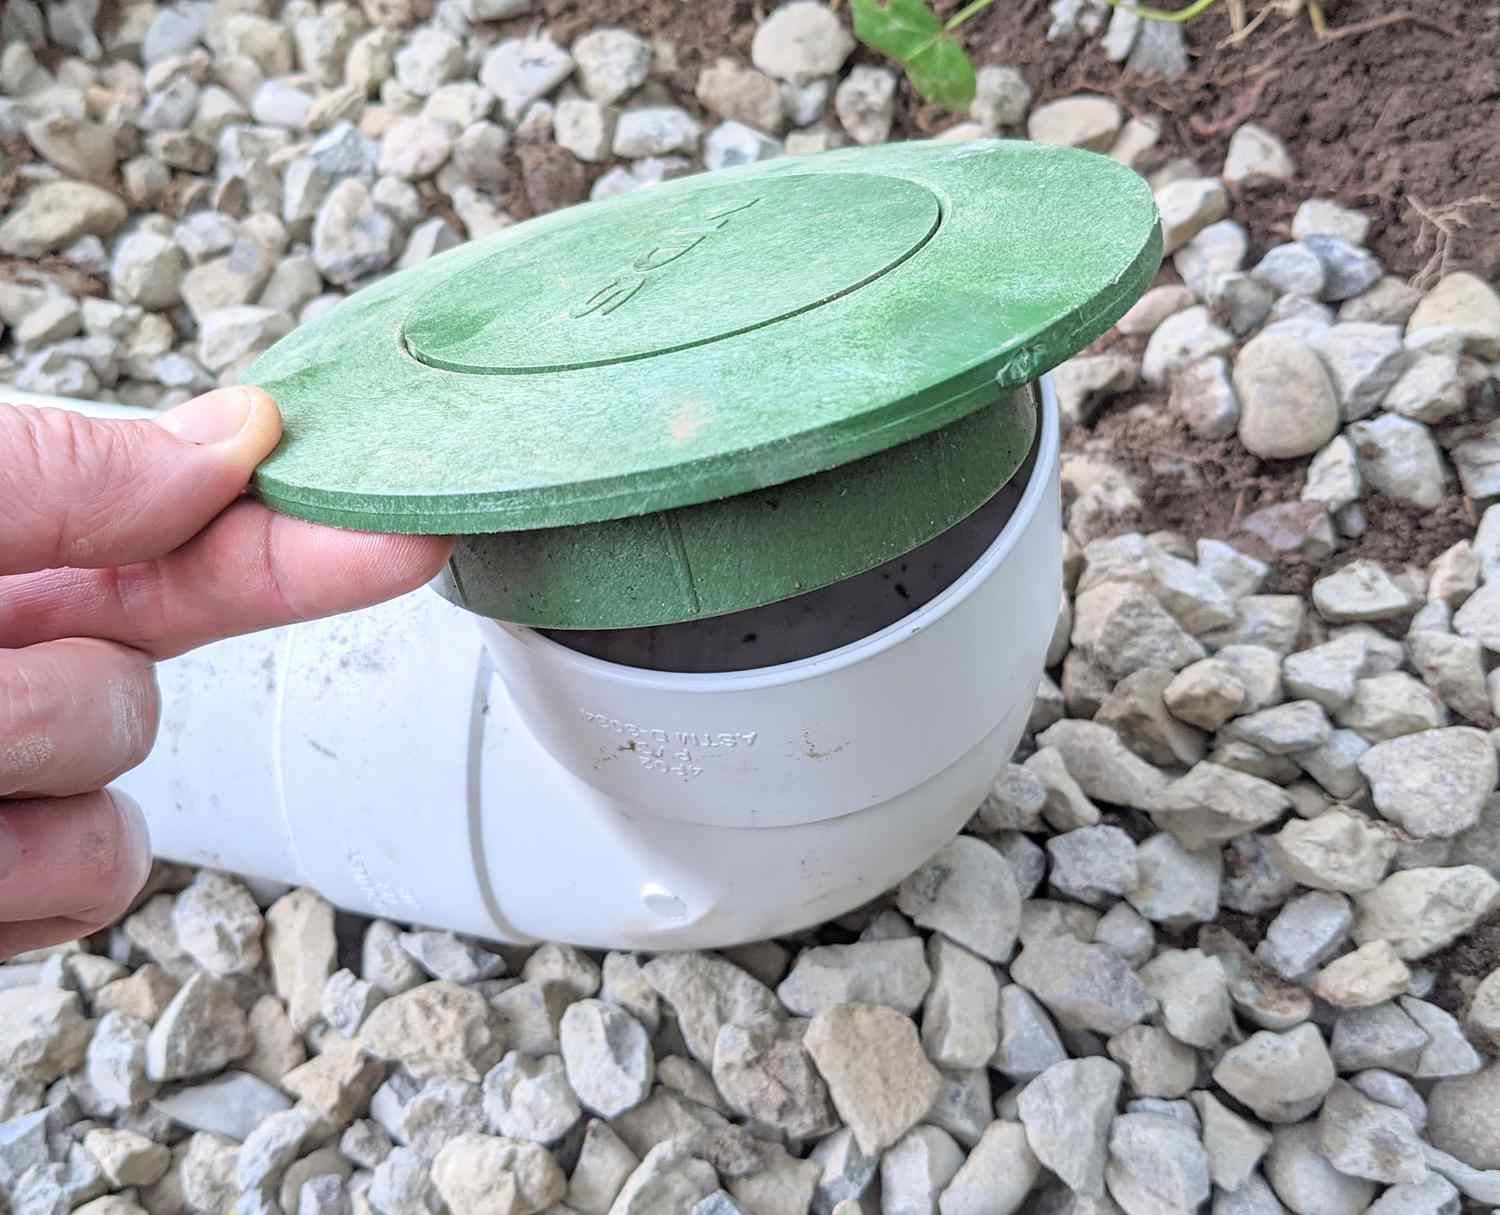
Step 6: Installing a Catch Basin (if necessary)
If your patio layout and water flow patterns require it, installing a catch basin can further improve the effectiveness of your drainage system. A catch basin acts as a collection point for water runoff and prevents debris from entering the drainage system. Here’s how to install a catch basin, if necessary:
- Determine the ideal location for the catch basin along the drainage path. It should be strategically placed to efficiently collect water.
- Excavate a hole in the ground that is deep enough to accommodate the catch basin. Make sure the hole is slightly larger than the size of the basin.
- Place the catch basin in the hole, ensuring that it is level and properly aligned with the drainage pipe. If there are multiple catch basins, connect them using the appropriate couplings.
- Backfill the surrounding area of the catch basin with gravel or aggregate, providing stability and allowing water to flow into the basin.
- If included with the catch basin, install the grate or cover over the top of it. This will prevent debris from entering the basin while still allowing water to enter.
- Ensure that the catch basin is securely in place, and the connections, if any, are tight.
Installing a catch basin can help improve the efficiency of your drainage system by collecting water from specific areas and preventing debris from clogging the pipes. Make sure to consider the layout of your patio and the water flow patterns before deciding whether a catch basin is necessary. Follow these steps to install the catch basin securely and optimize the functionality of your drainage system.
Read more: How To Build A Drainage Ditch Around A House
Step 7: Ensuring Proper Slope
Ensuring that there is a proper slope in your drainage system is crucial for efficient water flow and preventing standing water around your patio. Without the correct slope, water may not be effectively redirected, leading to drainage issues. Follow these steps to ensure the proper slope:
- Verify the desired slope for your drainage system. The recommended slope is typically 1/4 inch per foot or 2% grade.
- Use a level and measuring tape to check the slope of the drainage pipe at multiple points along the trench. The pipe should be sloping downwards away from the patio towards the endpoint or catch basin.
- If the slope is not sufficient, make adjustments by adding or removing backfill material as needed. Gradually slope the trench to ensure a smooth and consistent decline.
- Recheck the slope by placing the level on top of the drainage pipe. Confirm that the bubble is centered within the indicator lines, indicating a level position.
- Double-check the slope after backfilling the trench to ensure that the weight of the material did not cause any settling or changes to the slope.
- If necessary, make any final adjustments to the slope by adding or removing backfill material until the desired slope is achieved.
An adequate slope is essential for effective drainage. By ensuring the proper slope, you can effectively direct water away from your patio and prevent any potential water buildup issues. Regularly check and maintain the slope of your drainage system to ensure its optimal functionality.
Step 8: Testing the Drainage System
Testing the drainage system is a crucial final step to ensure that it is functioning properly and effectively diverting water away from your patio. By conducting a thorough test, you can identify and address any potential issues before they cause damage. Follow these steps to test your drainage system:
- Wait for a dry period or ensure that there is no immediate rainfall expected.
- Slowly pour water into the catch basin or directly onto the patio where the drainage system begins. Start with a small amount and gradually increase the flow.
- Observe the water flow as it travels through the drainage system. Ensure that it is flowing freely and being effectively redirected away from the patio.
- Pay attention to any signs of water pooling or backup. These may indicate a blockage or insufficient drainage capacity.
- Check for any leaks or water escaping from the connections in the drainage pipe or catch basin.
- Monitor the water as it drains away from the patio. Ensure that it is not causing pooling or erosion in other areas of your property.
- If any issues are identified, make the necessary adjustments or repairs. This may involve clearing any blockages, adjusting the slope, or reinforcing connections.
By testing your drainage system, you can ensure its proper functioning and address any potential problems. This step allows you to identify and resolve drainage issues before they cause damage to your patio or surrounding areas. Regular testing and maintenance will help keep your drainage system in optimal condition and prevent any water buildup concerns.
Conclusion
Congratulations! You have successfully learned how to install drainage around your patio to avoid standing water. By following the step-by-step process outlined in this guide, you have taken the necessary measures to prevent water damage and maintain a dry and enjoyable outdoor space.
Assessing the drainage needs of your patio and gathering the right tools and materials were crucial initial steps. The markings along the drainage path and the excavation of the trench set the foundation for the drainage system. Installing the perforated drainage pipe, connecting it securely, and backfilling the trench with the appropriate materials ensured proper water flow.
If required, the installation of a catch basin helped enhance the efficiency of the drainage system by collecting water and preventing debris from entering the pipes. Checking and adjusting the slope of the system ensured that water would be effectively redirected away from the patio.
Finally, testing the drainage system confirmed its proper functionality and identified any potential issues that needed to be addressed. Regular maintenance and testing will help you keep your patio free from standing water and prevent any water-related damage.
Remember, it’s important to regularly inspect and maintain your drainage system to ensure its ongoing effectiveness. Clear any debris or blockages, monitor the slope and flow of water, and address any issues promptly. By doing so, you can continue to enjoy your patio without the worry of standing water.
With your new knowledge and the completed installation of the drainage system, you can confidently face rainy days, knowing that your patio will remain dry and ready for your enjoyment.
Frequently Asked Questions about How To Install Drainage Around A Patio To Avoid Standing Water
Was this page helpful?
At Storables.com, we guarantee accurate and reliable information. Our content, validated by Expert Board Contributors, is crafted following stringent Editorial Policies. We're committed to providing you with well-researched, expert-backed insights for all your informational needs.


0 thoughts on “How To Install Drainage Around A Patio To Avoid Standing Water”