Home>Renovation & DIY>Tools & Equipment>How To Clean Car Headlights With Sandpaper
Tools & Equipment
How To Clean Car Headlights With Sandpaper
Published: December 20, 2023
Discover the easy and effective way to clean car headlights using sandpaper. Find out the necessary tools and equipment for this DIY project.
(Many of the links in this article redirect to a specific reviewed product. Your purchase of these products through affiliate links helps to generate commission for Storables.com, at no extra cost. Learn more)
Introduction
Clear and bright headlights are not only essential for a vehicle’s aesthetics but also play a critical role in ensuring safety on the road. Over time, car headlights can become hazy, scratched, or oxidized, compromising their functionality and diminishing overall visibility. While several methods are available for cleaning headlights, one effective technique involves using sandpaper to restore their original clarity.
In this article, we will delve into the step-by-step process of cleaning car headlights with sandpaper. We will explore the importance of clean headlights, gather the necessary materials, and guide you through each stage, from preparation to final touches. By the end of this article, you will be armed with the knowledge needed to rejuvenate your car’s headlights and enhance your driving experience.
Key Takeaways:
- Restore clarity and safety to your car headlights by using sandpaper to remove scratches and oxidation, enhancing visibility and aesthetics while saving on costly replacements.
- Protect your investment and ensure long-lasting clarity by sealing headlights after cleaning, and maintain their appearance with regular cleaning and preventive measures.
Read more: What Grit Sandpaper To Polish Headlights
Understanding the Importance of Clean Headlights
Properly functioning headlights are a crucial component of vehicle safety. They provide visibility during nighttime driving and adverse weather conditions, helping you see the road ahead and ensuring that other drivers can see you. However, over time, headlights can become cloudy, yellowed, or covered in a layer of grime, diminishing their effectiveness.
Dirty or foggy headlights can significantly reduce your visibility on the road, increasing the risk of accidents. When headlights accumulate dirt, dust, and debris, the light output becomes scattered and diffused, resulting in a weaker and less focused beam. This can make it challenging to spot obstacles, pedestrians, or oncoming traffic from a distance.
In addition to reduced visibility, cloudy headlights can also affect the appearance of your vehicle. You may notice that your car’s headlights look dull and aged, detracting from its overall aesthetics. As headlights play a significant role in defining the front-end design of many vehicles, restoring their clarity can make a substantial difference in your car’s appearance.
Regularly cleaning and restoring your headlights not only improves visibility and enhances the look of your vehicle but also saves you money. Many car owners mistakenly believe that the only solution to foggy or yellowed headlights is to replace them entirely. However, this can be expensive, especially if both headlights require replacement. By utilizing the sandpaper cleaning method, you can restore your headlights to their original condition, avoiding the need for costly replacements.
Moreover, clean headlights contribute to the overall safety of your vehicle and can prevent issues during mandatory vehicle inspections. In some jurisdictions, foggy or severely damaged headlights can lead to citations or even impoundment of the vehicle. Therefore, ensuring that your headlights are in optimal condition is not only a matter of safety but also a legal requirement.
Now that we understand the significance of clean headlights, let’s move on to the next step—gathering the necessary materials.
Gathering the Necessary Materials
Before embarking on the process of cleaning your car headlights with sandpaper, it is essential to gather all the necessary materials. Having the right tools and products will make the process much smoother and ensure better results. Here is a list of items you will need:
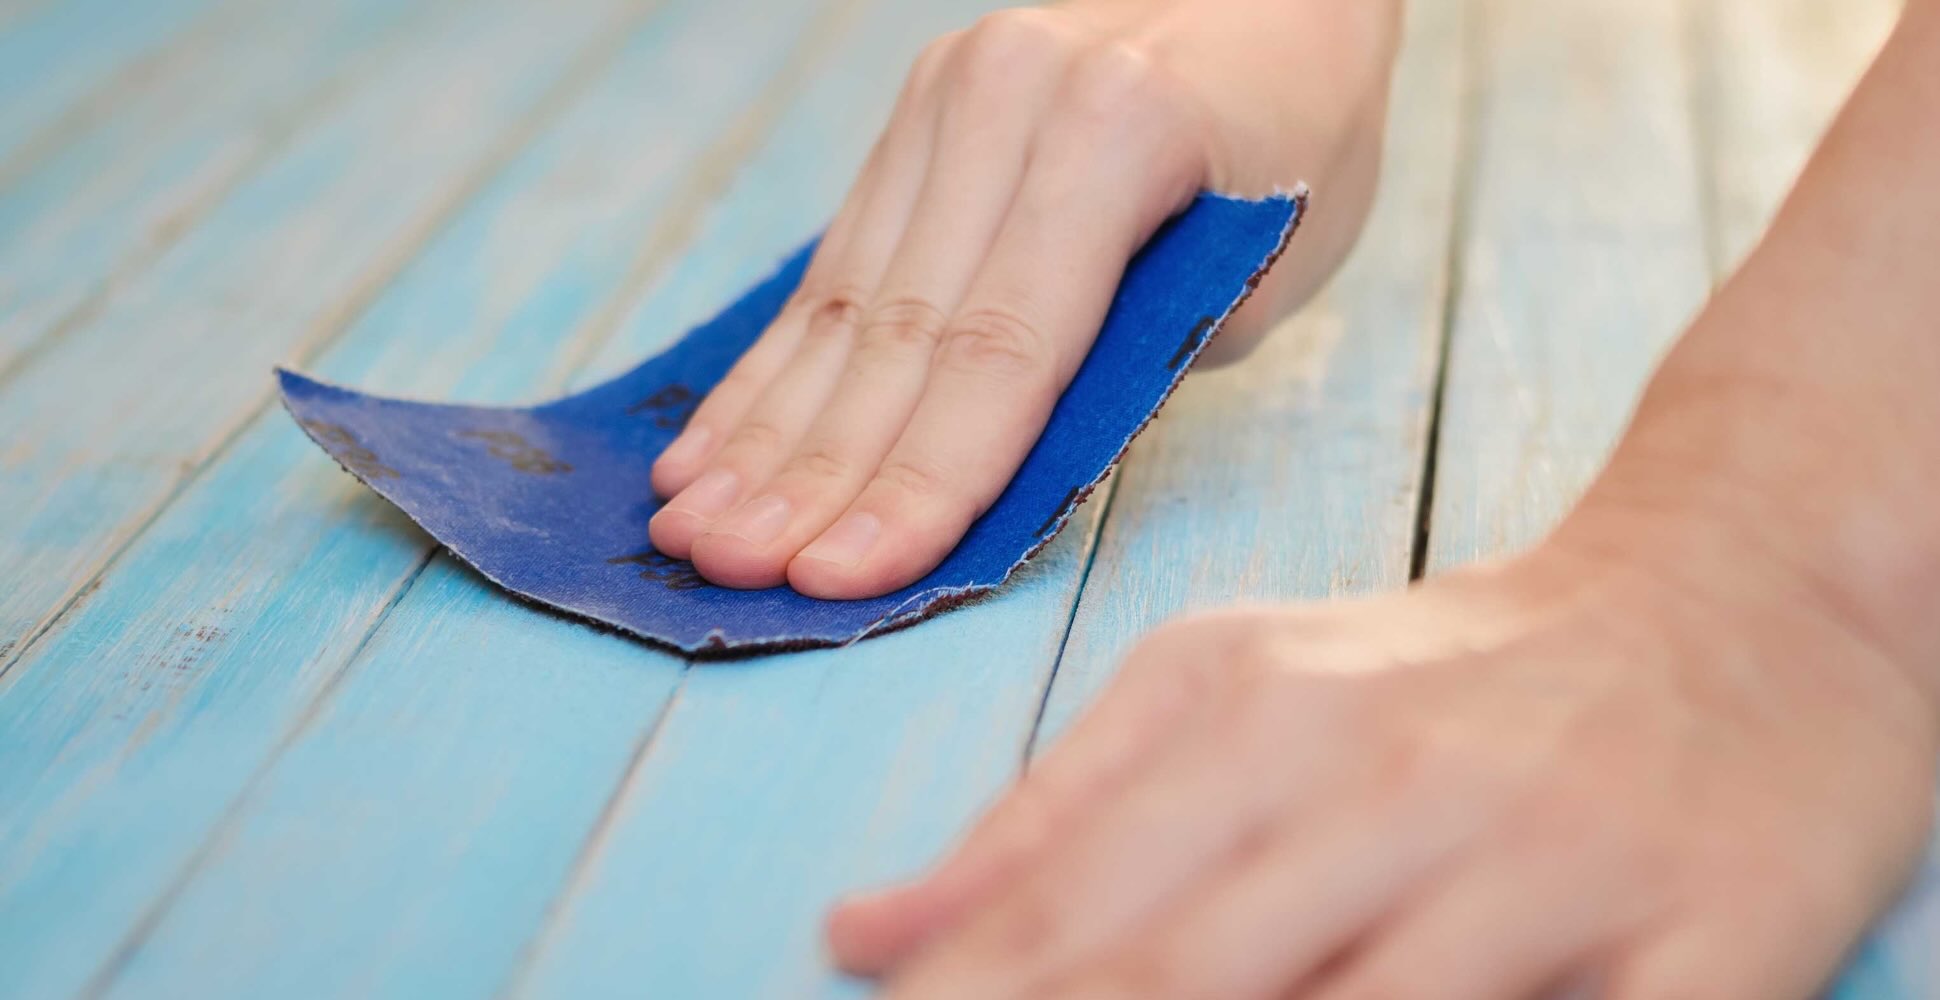
- Sandpaper: Opt for a fine-grit sandpaper between 800 and 2000 grit. This range will allow you to effectively remove scratches and oxidation without causing further damage to the headlights.
- Water: You will need water to wet the sandpaper during the sanding process. Be sure to have a clean container or spray bottle filled with water handy.
- Masking tape: This will be used to protect the surrounding area of the headlights from accidental scratches or damage. Ensure you have enough masking tape to cover the edges and paintwork around the headlights.
- Bucket of soapy water: Prepare a bucket of water mixed with a mild car wash soap. This will be used to clean the headlights before and after the sanding process.
- Microfiber towels: These will be used for drying the headlights and applying polish and sealant.
- Headlight polish: Choose a headlight-specific polishing compound to remove any remaining scratches and restore clarity to the headlights.
- Headlight sealant: This is an optional step but highly recommended. Applying a headlight sealant after cleaning and polishing will help protect the headlights from future damage and maintain their clarity for a longer period.
Ensure that you have all these items ready before you begin the cleaning process. This will save you time and allow for a seamless workflow without interruptions. Additionally, make sure the sandpaper is suitable for wet sanding, as dry sanding can cause irreparable damage to the headlights.
Now that you have gathered all the necessary materials, it’s time to prepare the car and the headlights for the cleaning process.
Preparing the Car and Headlights
Before diving into the sanding process, it is crucial to properly prepare the car and the headlights for cleaning. Taking the necessary precautions will help protect the surrounding areas and ensure a smooth and effective cleaning process.
Here are the steps to prepare your car and headlights:
- Park your car in a shaded area: This will prevent the water and cleaning solutions from drying too quickly, which can leave streaks or residue on the headlights.
- Clean the surrounding areas: Use a mild car wash soap and water mixture to clean the paintwork and any other areas near the headlights that may come into contact with the sandpaper or water.
- Apply masking tape: Shield the edges and paintwork around the headlights with masking tape. This will protect them from accidental scratches or damage during the sanding process.
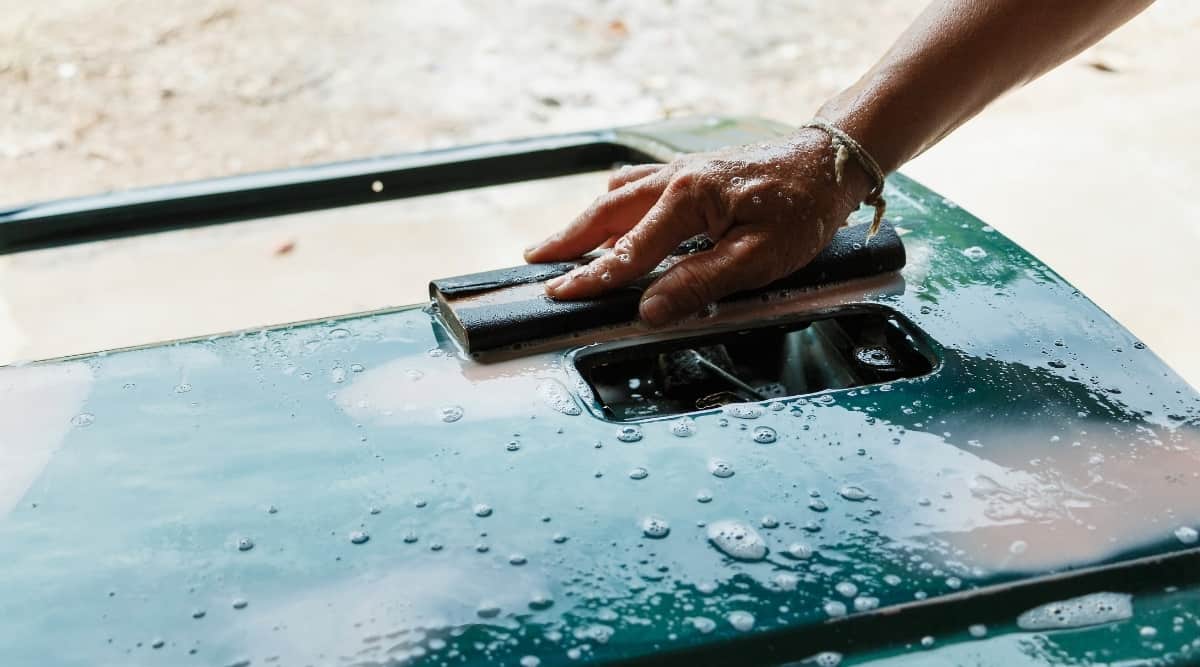
- Wet the headlights: Spray a generous amount of water onto the headlights. This will help lubricate the sandpaper and prevent it from causing excessive scratching or damage.
By taking these preparatory steps, you create a clean and protected environment to work on your car’s headlights. The masking tape acts as a barrier, safeguarding the surrounding areas, while wetting the headlights reduces the friction between the sandpaper and the surface, minimizing scratches and ensuring a smoother sanding process.
With your car and headlights properly prepared, you are now ready to move on to the next step: wet sanding the headlights. This process will help remove scratches and oxidation, restoring the clarity and brightness of your headlights. Let’s dive in!
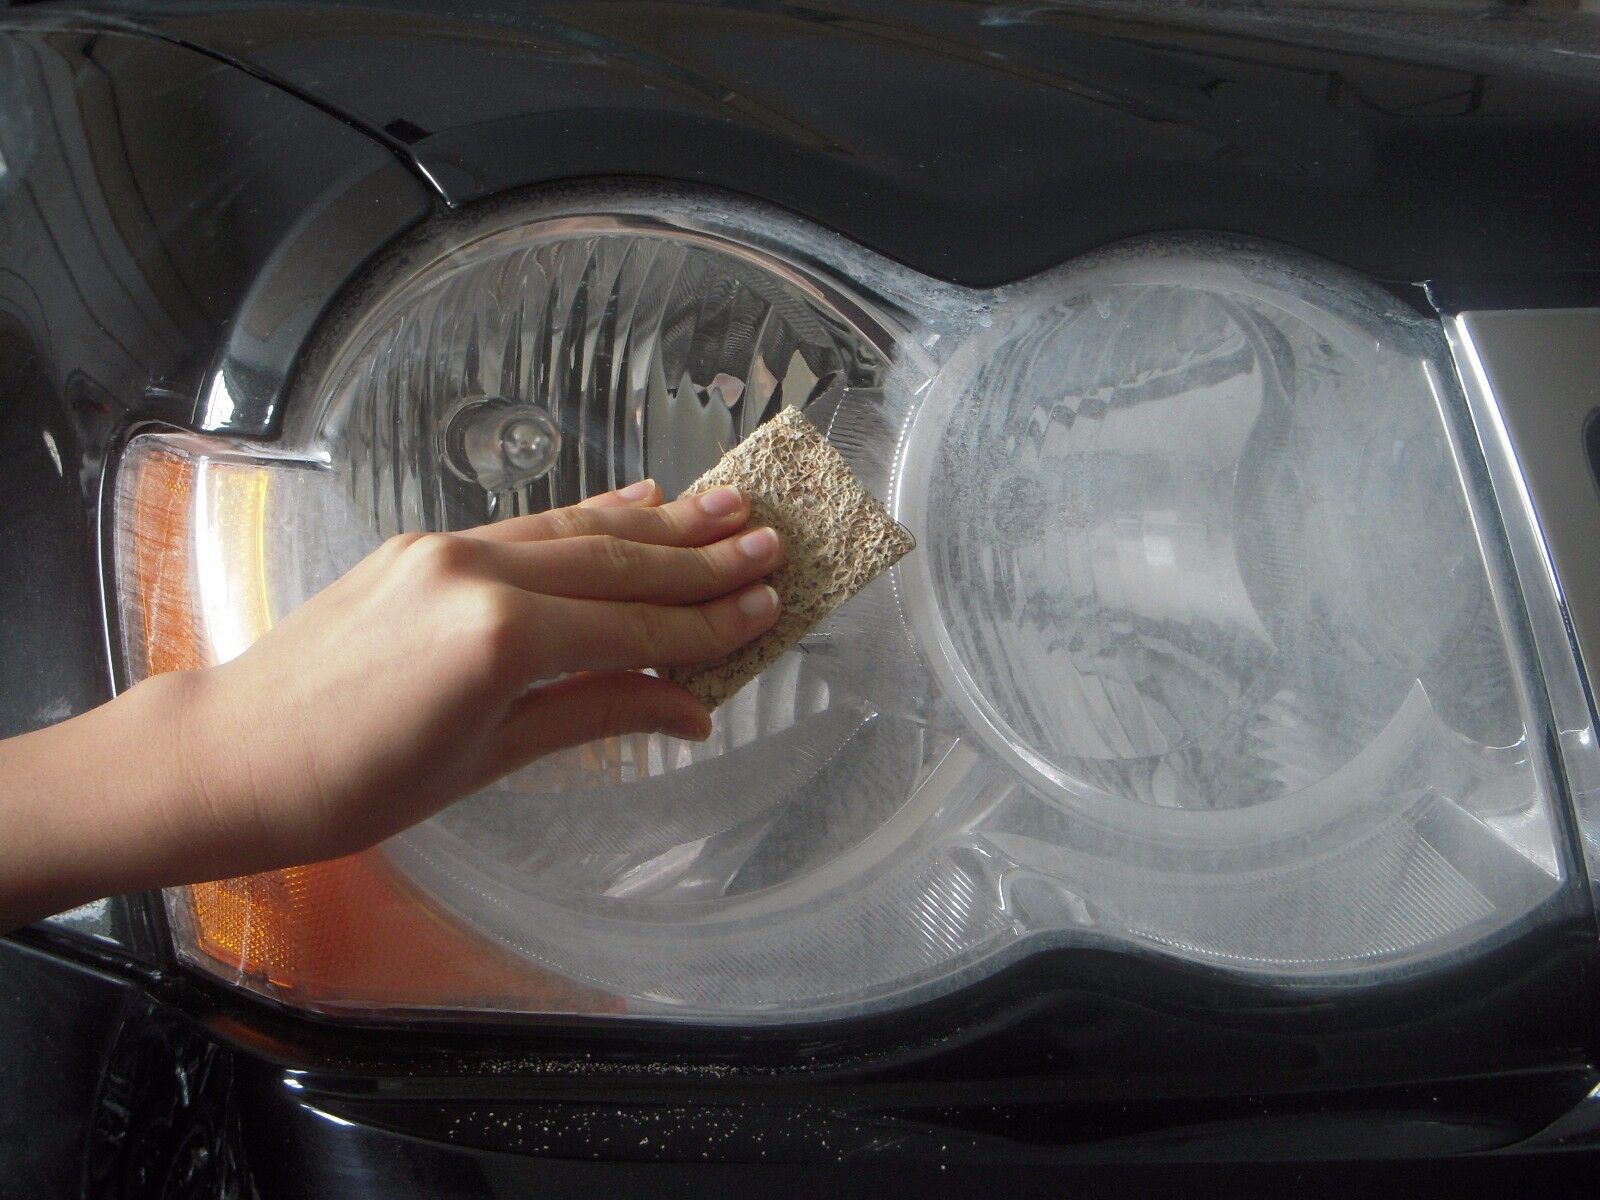
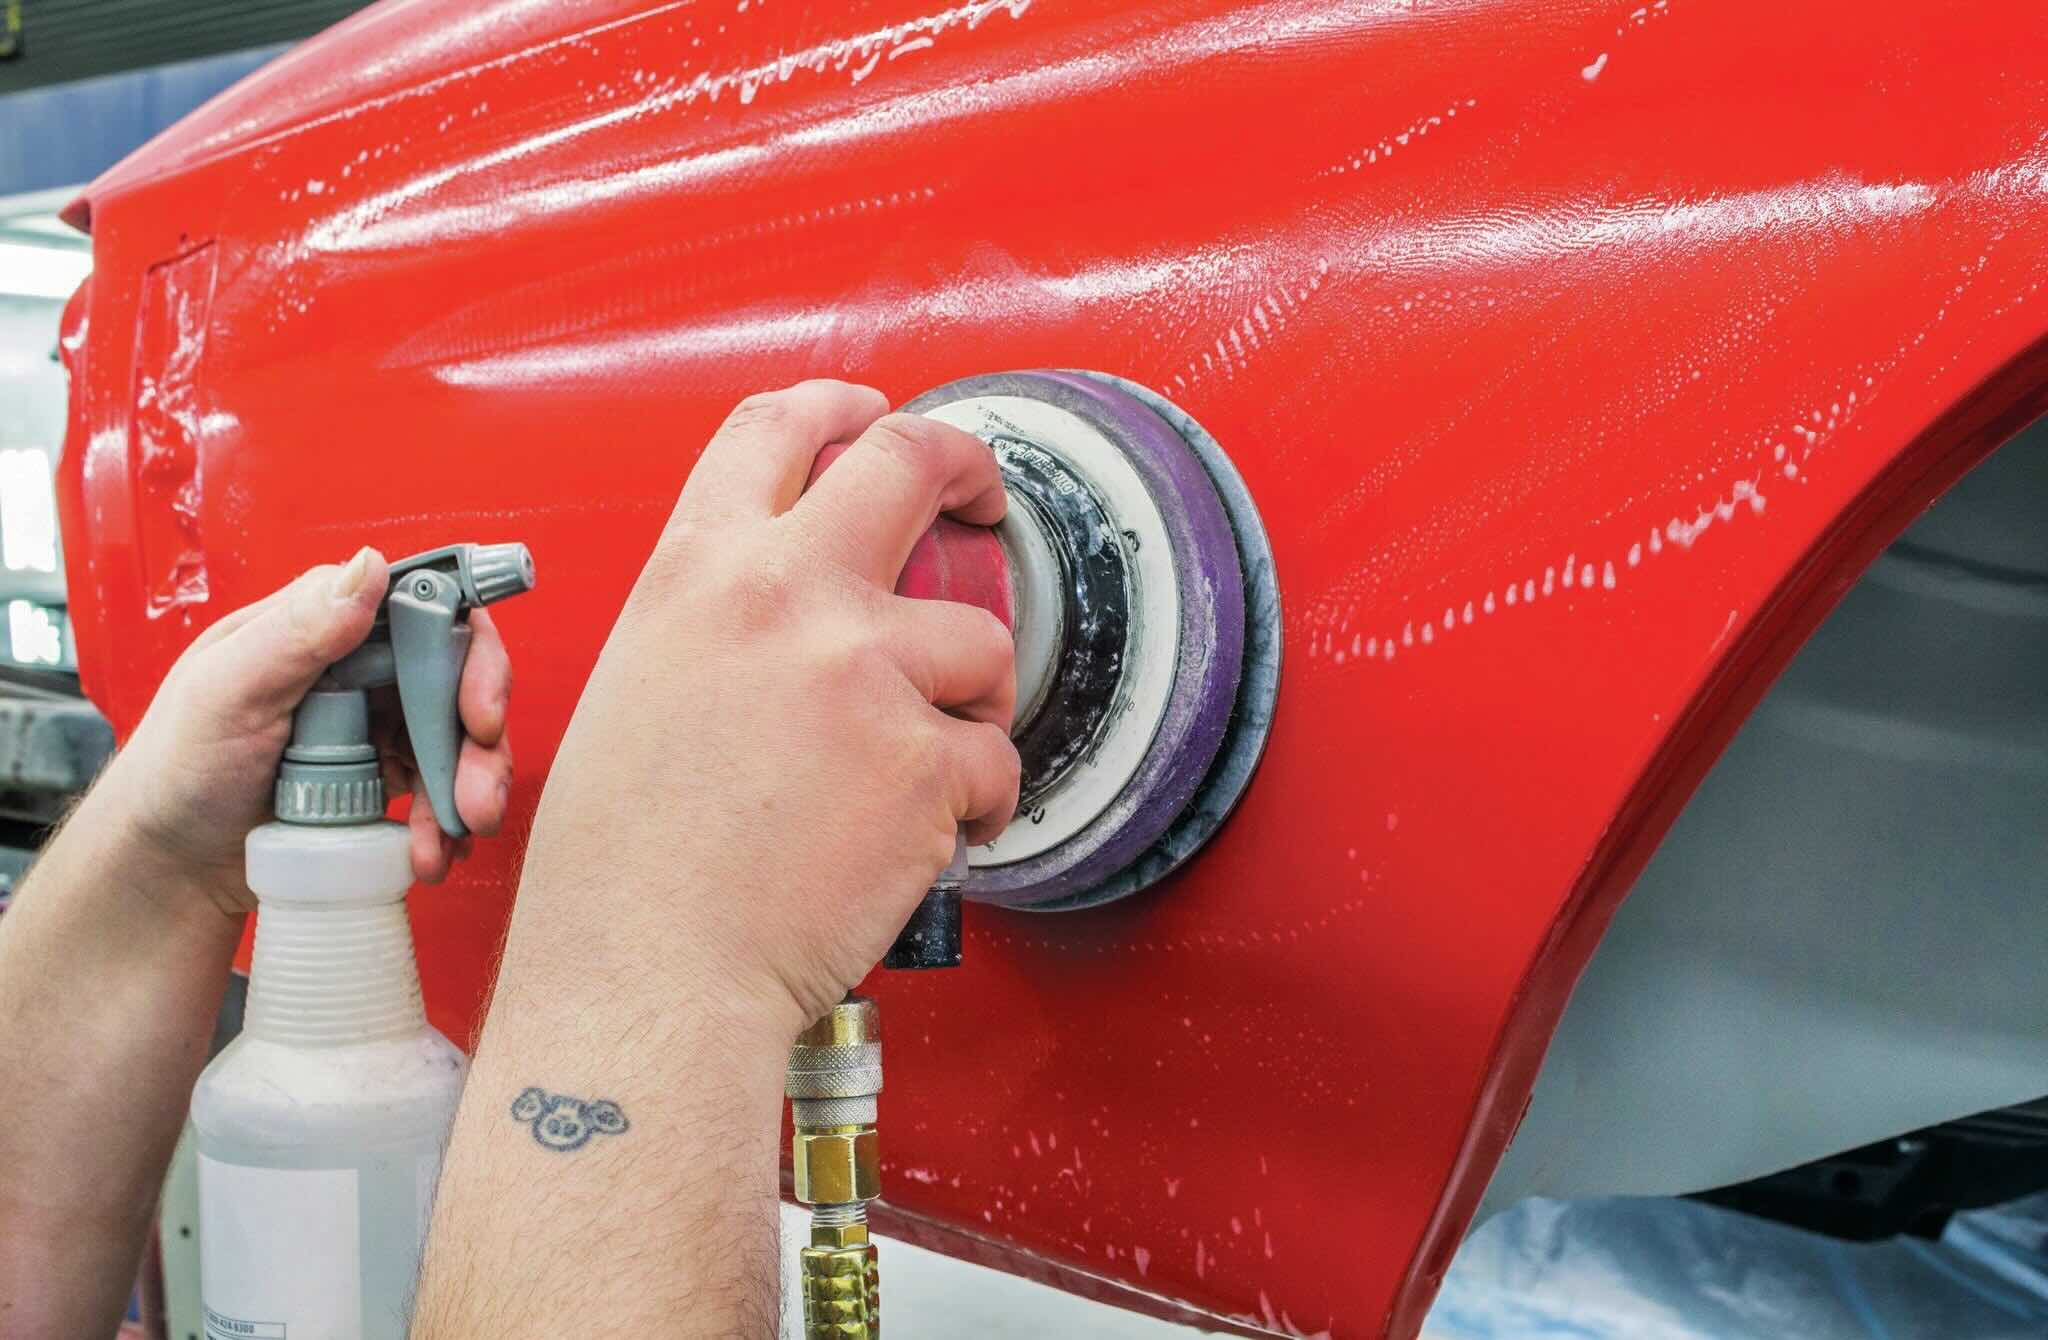
Wet Sanding the Headlights
Wet sanding is an essential step in the process of cleaning and restoring car headlights. This technique involves using a fine-grit sandpaper and water to gently remove scratches, oxidation, and other imperfections from the surface of the headlights.
Here are the steps to wet sand your car headlights:
- Choose the appropriate sandpaper: Select a fine-grit sandpaper between 800 and 2000 grit. Soak the sandpaper in water for a few minutes to soften it.
- Start sanding: Hold the wet sandpaper firmly and begin sanding the headlight surface in a horizontal or vertical motion. Keep the sandpaper wet throughout the process by spraying water onto it periodically.
- Apply even pressure: Apply light to moderate pressure while sanding. Be mindful not to press too hard, as this can damage the headlights. Keep the sandpaper flat against the surface and avoid angling it.
- Change directions: After a few minutes of sanding in one direction, change the motion to a crosshatch pattern (diagonal) to ensure even sanding and prevent visible lines or scratches.
- Rinse and check: Stop sanding periodically to rinse the headlights and assess your progress. This will help you determine if you need to continue sanding in specific areas.
- Repeat if necessary: Depending on the condition of your headlights, you may need to repeat the sanding process several times, gradually moving to a higher grit sandpaper, to achieve the desired results.
Remember, wet sanding is a delicate process, and patience is key. Take your time and carefully monitor your progress to avoid excessive sanding. The goal of wet sanding is to smooth out the surface and remove imperfections, not to remove the entire top layer of the headlights.
Once you are satisfied with the results of wet sanding, it’s time to move on to the next step: removing any remaining scratches and oxidation from the headlights.
When using sandpaper to clean car headlights, start with a lower grit sandpaper and gradually move to a higher grit for a smoother finish. Always use water to keep the surface lubricated and prevent damage to the headlights.
Read more: Where To Buy Sandpaper For Cars
Removing Scratches and Oxidation
After completing the wet sanding process, you may notice that some scratches and oxidation still remain on the surface of the headlights. To achieve a truly clear and polished finish, it is necessary to address these imperfections.
Here are the steps to remove scratches and oxidation from your car headlights:
- Clean the headlights: Rinse off any residue from the wet sanding process and clean the headlights using a mild car wash soap and water.
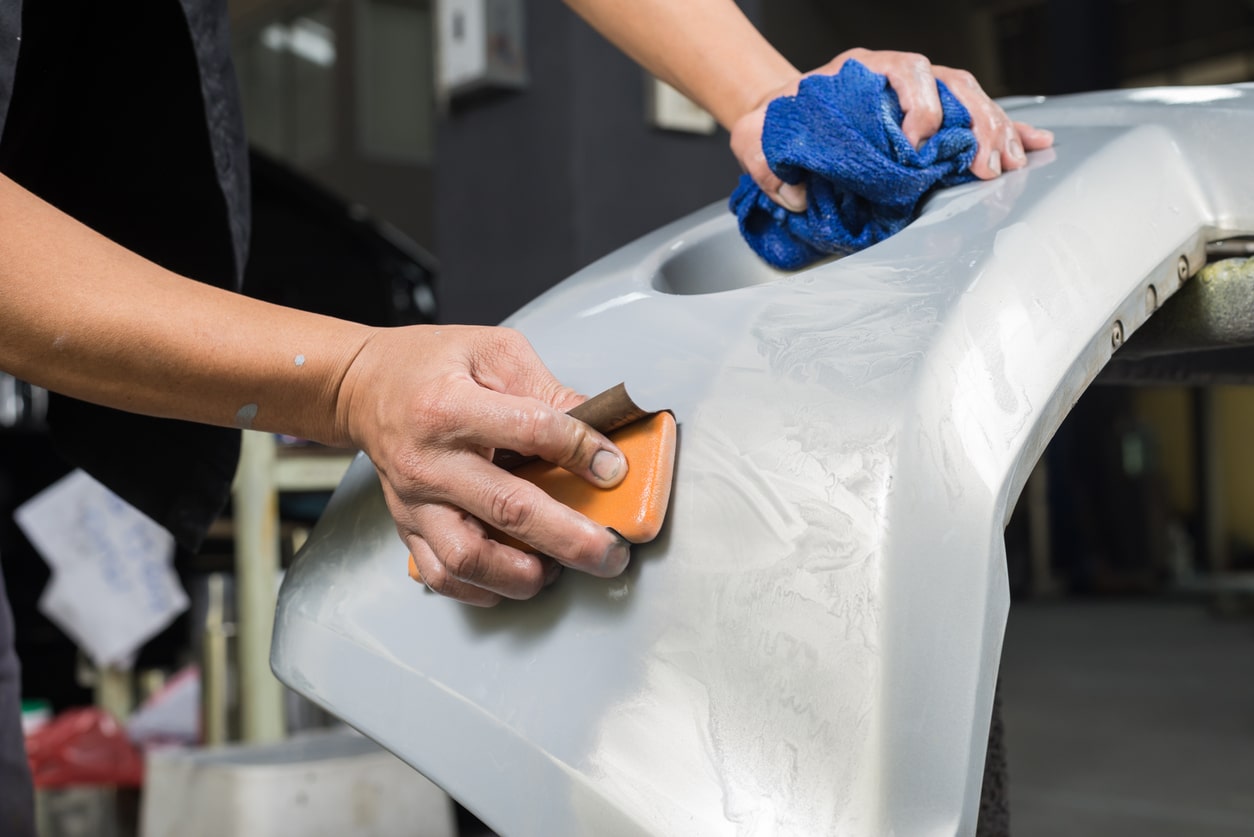
- Apply headlight polish: Squeeze a small amount of headlight polish onto a clean microfiber cloth. Gently rub the polish onto the headlight surface in circular motions, focusing on areas with scratches or oxidation.
- Buff the surface: Use a clean, dry microfiber cloth to buff the headlights. Apply gentle pressure and continue buffing until the polish residue is removed and the headlights are shiny.
- Inspect and repeat if necessary: After polishing, inspect the headlights for any remaining scratches or oxidation. If needed, repeat the polishing process until the desired results are achieved.
By using a headlight-specific polishing compound, you can effectively remove surface scratches and oxidation, further improving the clarity and overall appearance of your headlights. The polishing process helps restore the smoothness and shine to the headlights, enhancing their performance and visual appeal.
Once you have successfully removed scratches and oxidation, it is recommended to apply a headlight sealant to protect the headlights from future damage and maintain their newfound clarity. This optional step can significantly extend the lifespan of your headlights and reduce the frequency of cleaning and restoration.
Now that your headlights are looking smooth and polished, it’s time to move on to the final step: sealing the headlights.
Polishing the Headlights
Once the scratches and oxidation have been removed from your car headlights, it’s time to give them a final polish. The polishing step helps to further enhance their clarity and bring out a brilliant shine.
Here’s how you can polish your headlights:
- Select a headlight polish: Choose a high-quality headlight polish specifically designed to restore clarity and shine to automotive headlights. Follow the instructions on the product for best results.
- Apply the polish: Squeeze a small amount of the polish onto a clean microfiber cloth. Gently apply the polish in circular motions to the entire surface of the headlight, ensuring full coverage.
- Work in sections: If you’re treating both headlights, it’s best to work on one at a time. This will allow you to focus on each headlight and ensure an even application of the polish.
- Buff the headlights: Use a clean, dry microfiber cloth to buff the headlights. Apply moderate pressure and use circular motions, working the polish into the surface. Continue buffing until the polish is fully absorbed and the headlights are shiny and clear.
- Inspect and repeat if necessary: After polishing, inspect the headlights to ensure that you have achieved the desired level of clarity. If needed, you can repeat the polishing process for an even better result.
Polishing your headlights not only improves their appearance but also helps to remove any residual imperfections that may have been missed during the previous steps. It adds a final touch to the restoration process, leaving your headlights looking brand-new and crystal clear.
Remember, the key to successful headlight polishing is to use a good-quality headlight polish and a clean microfiber cloth. This will ensure that you achieve optimal results without causing any damage or scratches to the headlights.
Now that the polishing is complete, it’s time to move on to the final step: sealing the headlights to protect them from future damage.
Sealing the Headlights
Sealing your headlights is an optional but highly recommended step to prolong the clarity and protect them from future damage. The sealant creates a protective barrier that helps to prevent oxidation, yellowing, and hazing caused by environmental factors such as UV rays, pollution, and harsh weather conditions.
Follow these steps to seal your car headlights:
- Select a headlight sealant: Choose a high-quality headlight sealant that is specifically formulated for automotive headlights. Look for one that provides UV protection and is compatible with your headlights’ material.
- Clean the headlights: Before applying the sealant, ensure that the headlights are thoroughly clean and free from any polish residue or dirt. Use a mild car wash soap and water to clean the headlights and dry them completely.
- Apply the sealant: Follow the instructions provided with the sealant. Typically, you will need to apply a small amount of the sealant onto a microfiber applicator pad or cloth. Gently rub the sealant onto the entire surface of each headlight in circular motions, working it into the plastic lens.
- Allow the sealant to cure: After applying the sealant, allow it to cure according to the manufacturer’s instructions. This usually involves letting it sit undisturbed for a specific period, usually around 24 hours. During this time, it’s important to keep the headlights dry and avoid any contact that can disrupt the curing process.
By sealing your headlights, you create a protective layer that helps to minimize future damage and maintain the clarity and brightness of your headlights for a longer time. The sealant provides an added layer of defense against UV rays, environmental contaminants, and other factors that can degrade the appearance and performance of your headlights.
Remember, sealing your headlights should be done periodically, as the protective layer may wear off over time. It’s a good practice to reapply the sealant every six months to a year, depending on the specific product and your driving habits.
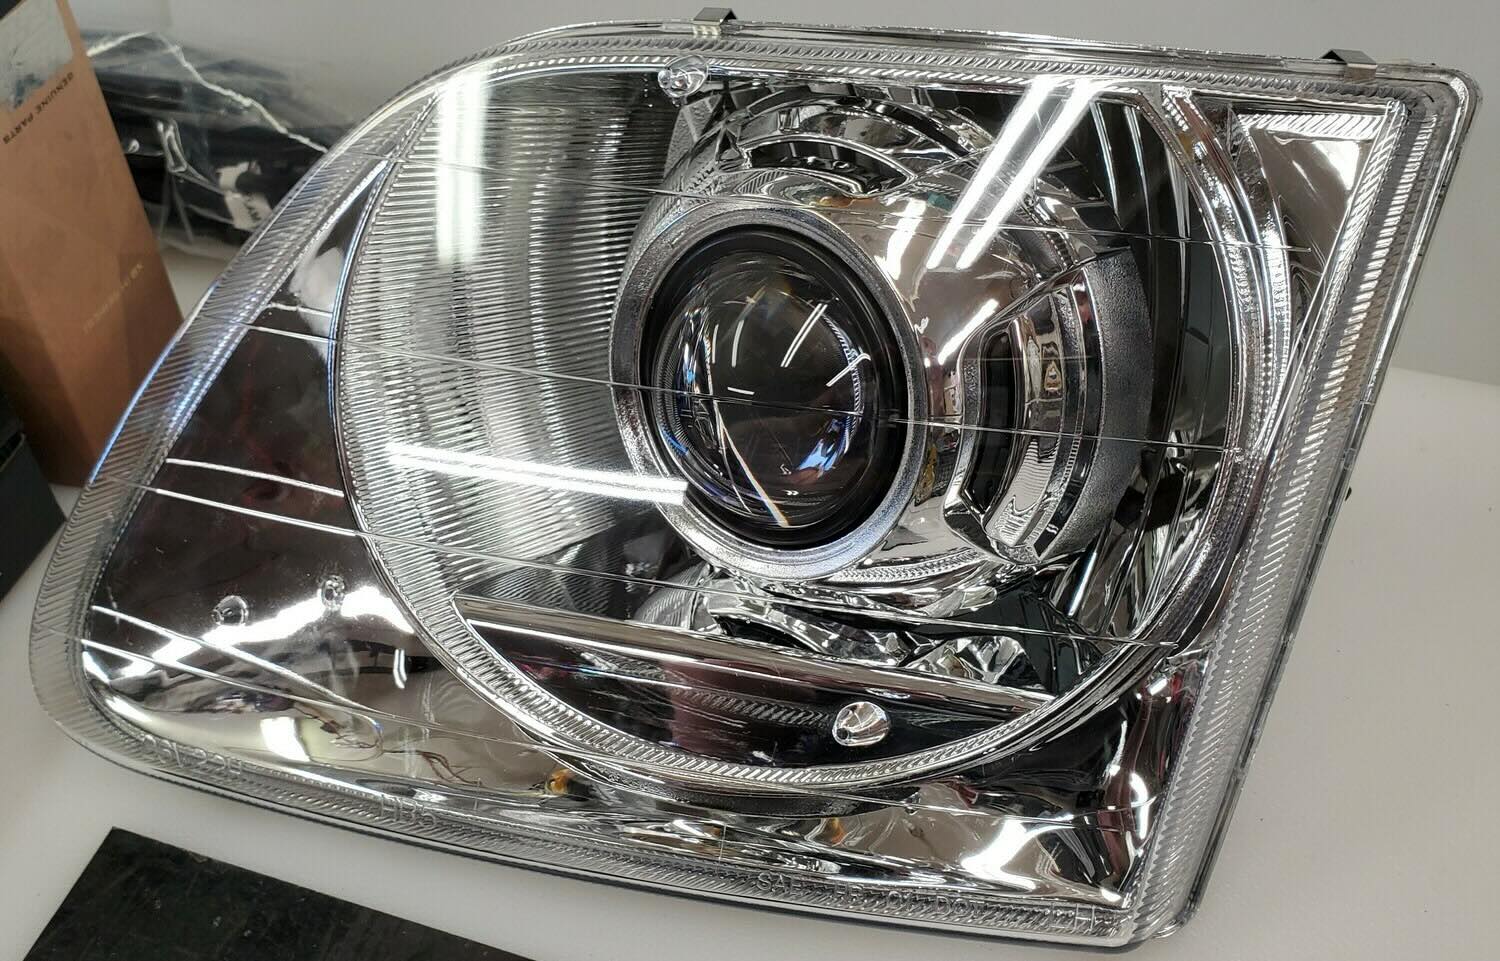
With the headlights successfully sealed, you have completed the restoration process. Your car’s headlights should now be clear, bright, and ready to illuminate the road ahead.
In the next section, we will cover some final touches and maintenance tips to help you preserve the cleanliness and longevity of your headlights.
Final Touches and Maintenance Tips
Now that you have successfully cleaned, polished, and sealed your car headlights, it’s time to add some final touches and learn how to maintain their clarity and longevity.
Here are some final touches and maintenance tips to consider:
- Remove masking tape: Carefully remove the masking tape from around the headlights to reveal the clean and restored surface. Take your time to avoid any accidental damage.
- Inspect the headlights: After completing the restoration process, thoroughly inspect the headlights to ensure that they are clean, clear, and free from any residue or scratches.
- Take preventive measures: To protect your headlights from future damage, consider using a quality wax or ceramic coating on the headlight surface. These products provide an additional layer of protection against UV rays, pollution, and other environmental factors.
- Maintain regular cleaning: Regularly clean your headlights using a mild car wash soap and water to remove dirt, grime, and bugs. This will prevent a buildup of debris and help maintain the clarity of the headlights.
- Address issues promptly: If you notice any signs of hazing, yellowing, or reduced clarity on your headlights, address them promptly. Ignoring these issues can lead to further deterioration and may require more extensive restoration in the future.
- Consider professional restoration: If your headlights are severely damaged or the DIY restoration process does not yield satisfactory results, it may be worth consulting a professional headlight restoration service. They have specialized tools and expertise to restore heavily damaged headlights effectively.
By following these final touches and maintenance tips, you can prolong the lifespan of your headlights and keep them looking clear and bright for a longer time. Regular maintenance and addressing any issues promptly will help prevent the need for extensive restoration in the future.
Remember, properly functioning headlights are crucial for your safety on the road. Clear and bright headlights provide optimal visibility, allowing you to navigate safely, especially during nighttime driving or adverse weather conditions. By investing time and effort into maintaining your headlights, you contribute to a safer and more enjoyable driving experience.
With these final touches and maintenance tips, you have reached the end of our guide to cleaning car headlights with sandpaper. We hope these steps have been helpful and that you have achieved excellent results. Now, go out and enjoy your renewed and shining headlights!
Safe travels!
Read more: What Grit Sandpaper For Rust On Car
Conclusion
Keeping your car headlights clean and clear is not only important for safety but also enhances the overall appearance of your vehicle. The process of cleaning car headlights with sandpaper offers an effective and affordable solution to restore clarity, remove scratches, and improve visibility on the road.
Throughout this article, we have covered the step-by-step process of cleaning car headlights with sandpaper. We began by understanding the importance of clean headlights, highlighting the role they play in ensuring safety and the overall aesthetics of your vehicle. We then moved on to gathering the necessary materials, emphasizing the importance of using the right tools and products for achieving optimal results.
Next, we discussed the crucial steps of preparing the car and headlights for the cleaning process. By carefully cleaning the surrounding areas and applying masking tape, we protect the car and ensure a seamless cleaning experience. We then explored the wet sanding process, which helps to remove scratches and oxidation, followed by the removal of any remaining imperfections through polishing.
Sealing the headlights was introduced as an optional but recommended step to prolong the clarity and protect them against future damage. Finally, we provided some final touches and maintenance tips to help you maintain the cleanliness and longevity of your headlights.
By following these steps and incorporating regular maintenance into your routine, you can ensure that your headlights shine brightly and reliably. Taking care of your headlights not only enhances your safety on the road but also adds to the overall aesthetic appeal of your vehicle.
We hope that this comprehensive guide has provided you with valuable insights and practical knowledge to successfully clean your car headlights using sandpaper. Remember, patience and attention to detail are key to achieving the best results. Enjoy the renewed clarity and shine of your headlights and drive safely!
Frequently Asked Questions about How To Clean Car Headlights With Sandpaper
Was this page helpful?
At Storables.com, we guarantee accurate and reliable information. Our content, validated by Expert Board Contributors, is crafted following stringent Editorial Policies. We're committed to providing you with well-researched, expert-backed insights for all your informational needs.


0 thoughts on “How To Clean Car Headlights With Sandpaper”